
Toggling blog post excerpts on hover can be an effective way to keep a compact grid layout for your blog posts without abandoning those excerpts altogether. The idea is to hide the excerpts initially and then toggle their visibility when hovering over a post item within the grid. This allows users to see more posts within the browser viewport while providing the user with the option to see excerpts of posts they are interested in by hover over the post.
In this tutorial, we are going to show you how to toggle blog post excerpts on hover in Divi. To do this, we will be adding a few snippets of custom CSS that will toggle the excerpts of a blog module’s post item on hover (no JQuery needed). Once the code is in place, you can style the blog module however you want using Divi’s built-in settings.
Let’s get started!
Sneak Peek
Here is a quick look at the design we’ll build in this tutorial.
Download the Layout for FREE
To lay your hands on the designs from this tutorial, you will first need to download it using the button below. To gain access to the download you will need to subscribe to our newsletter by using the form below. As a new subscriber, you will receive even more Divi goodness and a free Divi Layout pack every Monday! If you’re already on the list, simply enter your email address below and click download. You will not be “resubscribed” or receive extra emails.

To import the section layout to your Divi Library, navigate to the Divi Library.
Click the Import button.
In the portability popup, select the import tab and choose the download file from your computer.
Then click the import button.

Once done, the section layout will be available in the Divi Builder.
Let’s get to the tutorial, shall we?
What You Need to Get Started

To get started, you will need to do the following:
- If you haven’t yet, install and activate the Divi Theme.
- Create a new page in WordPress and use the Divi Builder to edit the page on the front end (visual builder).
- Choose the option “Build From Scratch”.
After that, you will have a blank canvas to start designing in Divi.
How to Toggle Blog Post Excerpts on Hover in Divi
Creating the Blog Module Layout
First, we need to create a basic layout for our blog posts. For this example, we are going to add a one-column row with a blog module inside it.
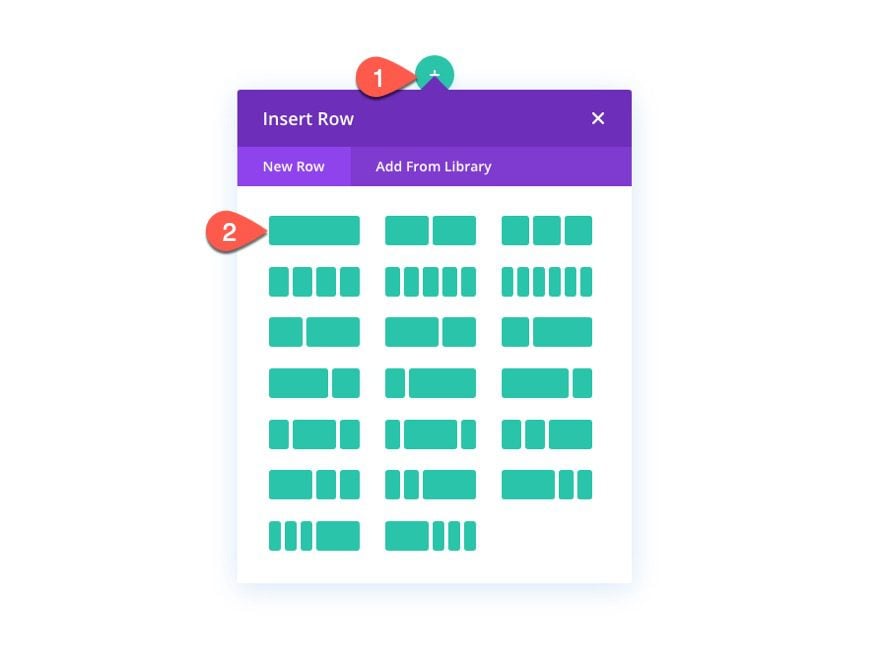
Create Row
Add a one-column row to the section.
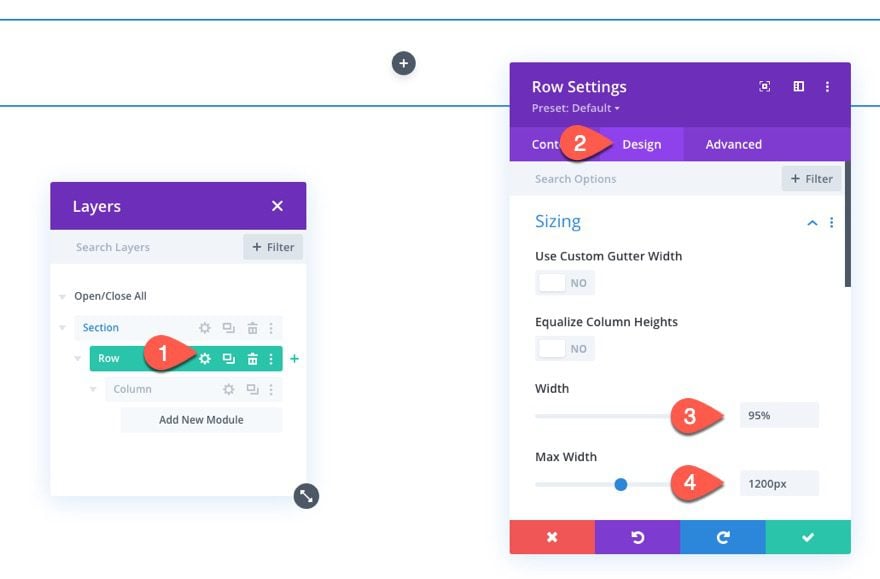
Row Width
In the row settings modal, update the following design settings to adjust the width.
- Width: 95%
- Max Width: 1200px
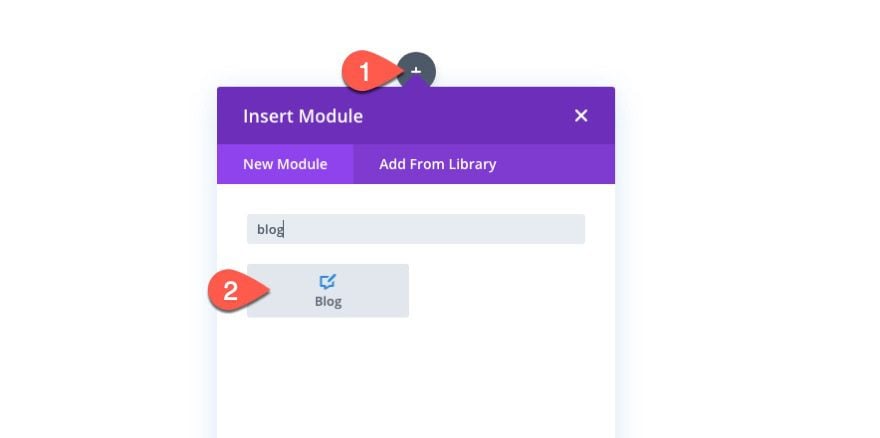
Add Blog Module
Inside the column of the row, add a new blog module.
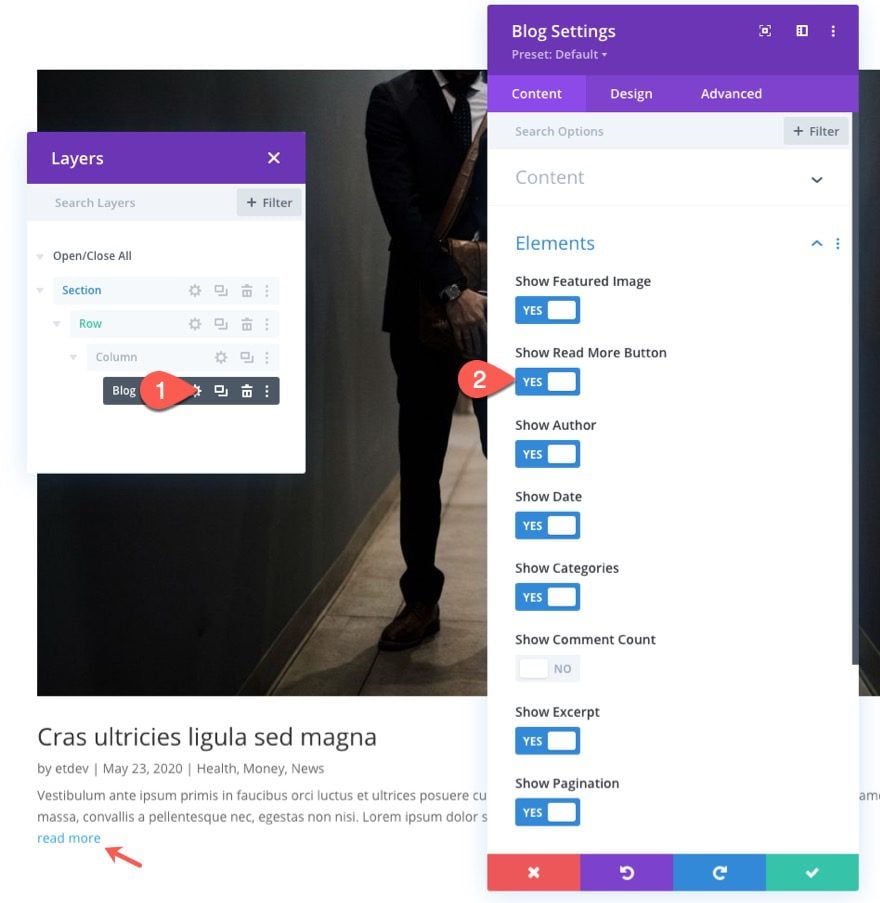
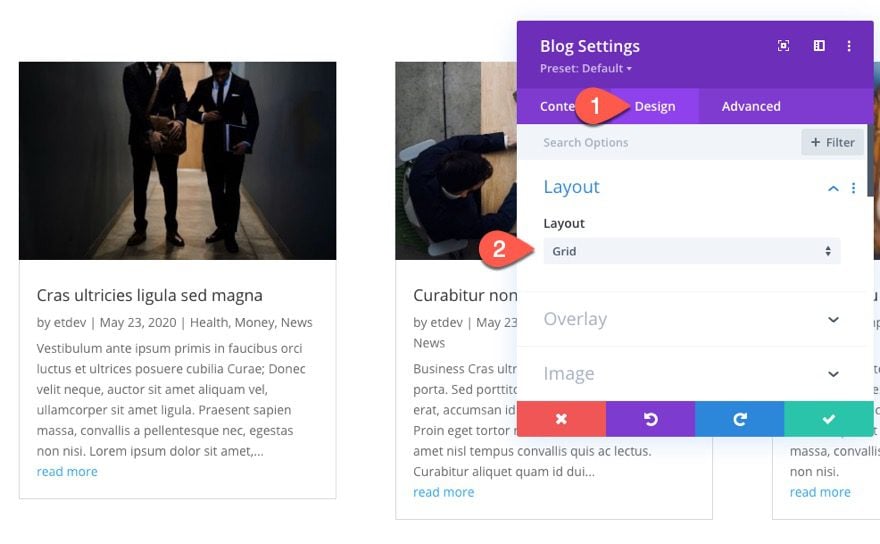
Blog Module Settings
Next, update the blog module content settings by selecting to show the read more button.
Under the design tab, select the Grid layout for the blog.
Under the advanced tab, add the following CSS Class:
- CSS Class: toggle-blog-excerpt
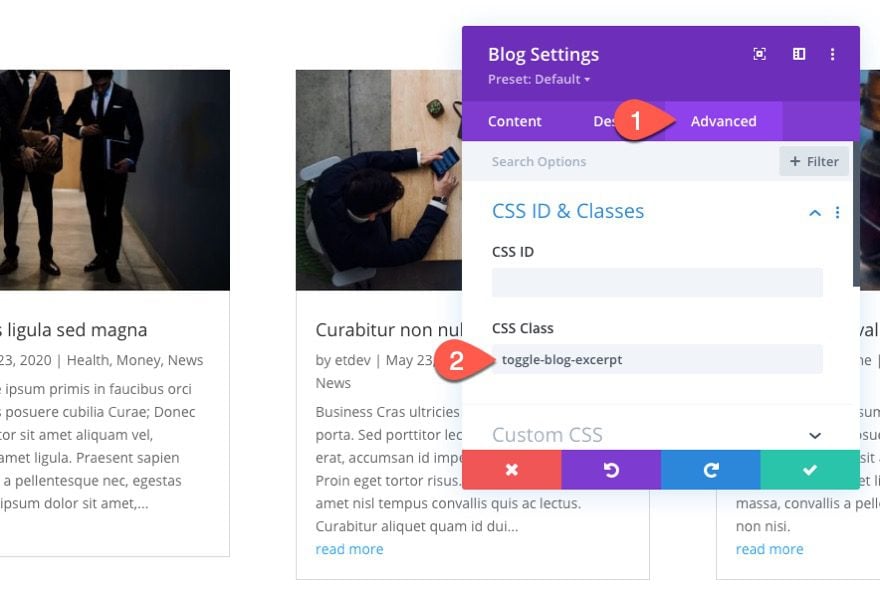
We will use this class as a selector for our custom CSS code in the next step.
Add Custom CSS with Code Module
At this point, we have a basic grid layout for our blog posts with a custom CSS class added to the blog module. We will use this CSS Class selector to target this specific blog module and add a toggle effect on hover to the post excerpt portion of the post item.
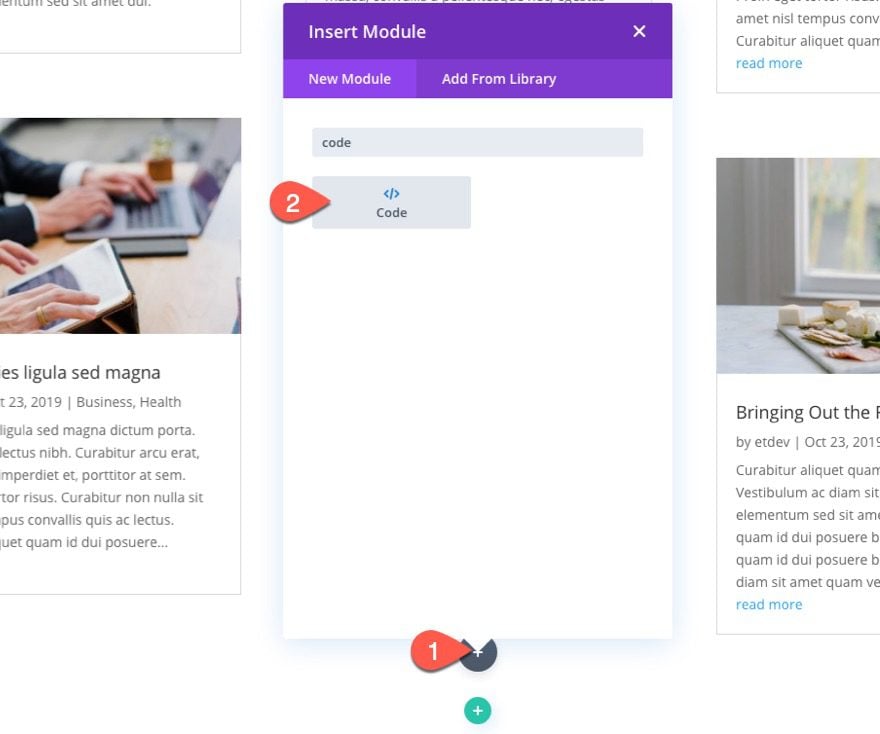
To add the CSS, we are going to use a code module. Add a new code module below the blog module.
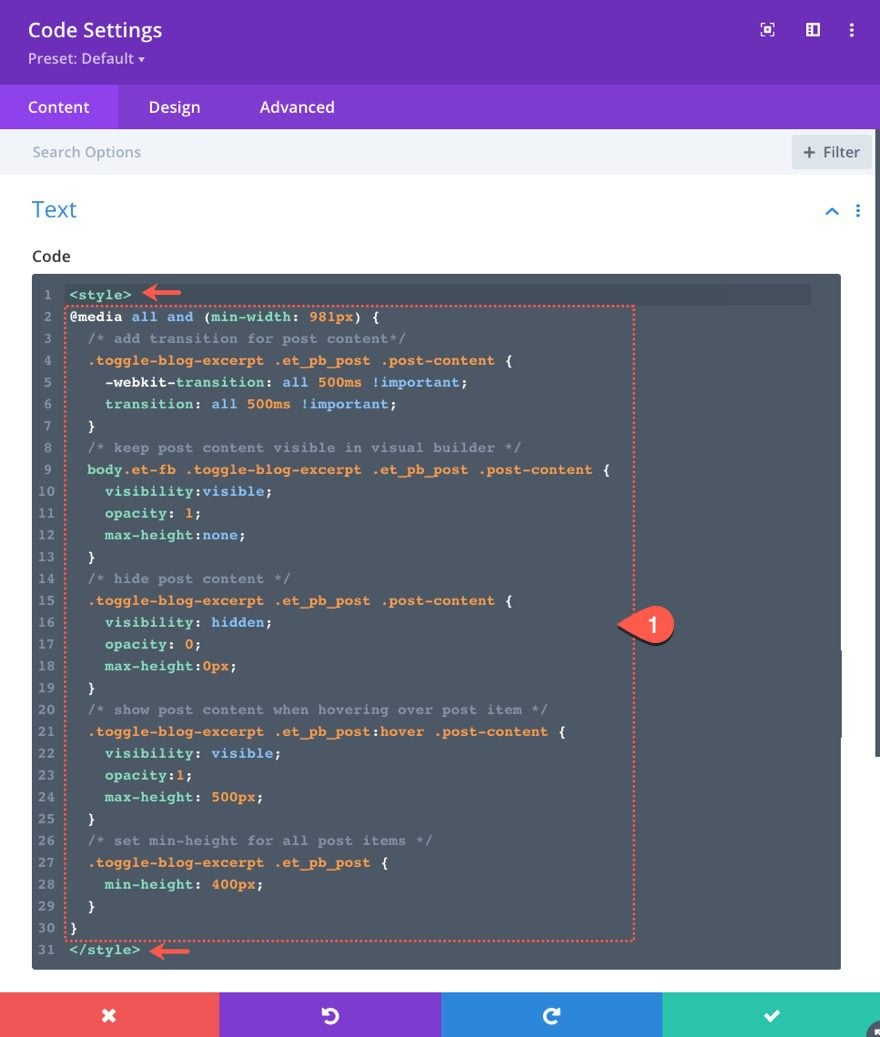
Paste the following custom CSS needed for the post excerpt toggle effect. Make sure to wrap the CSS in the necessary style tags.
@media all and (min-width: 981px) {
  /* add transition for post content*/
  .toggle-blog-excerpt .et_pb_post .post-content {
    -webkit-transition: all 500ms !important;
    transition: all 500ms !important;
  }
  /* keep post content visible in visual builder */
  body.et-fb .toggle-blog-excerpt .et_pb_post .post-content {
    visibility:visible;
    opacity: 1;
    max-height:none;
  }
  /* hide post content */
  .toggle-blog-excerpt .et_pb_post .post-content {
    visibility: hidden;
    opacity: 0;
    max-height:0px;
  }
  /* show post content when hovering over post item */
  .toggle-blog-excerpt .et_pb_post:hover .post-content {
    visibility: visible;
    opacity:1;
    max-height: 500px;
  }
  /* set min-height for all post items */
  .toggle-blog-excerpt .et_pb_post {
    min-height: 400px;
  }
}
Let’s check out the result so far on live page.
Result
We’ll go over the code a little more in detail at the end of the article. But for now, let’s check out the result so far.
Add Additional Styling to the Blog Module with Divi Builder
Now that the CSS is in place to give us the toggle effect for our blog post excerpts, we can add any additional styling to the blog module using the Divi Builder.
For this example, we are going to make minimal adjustments to the style, but feel free to explore your own styling as well.
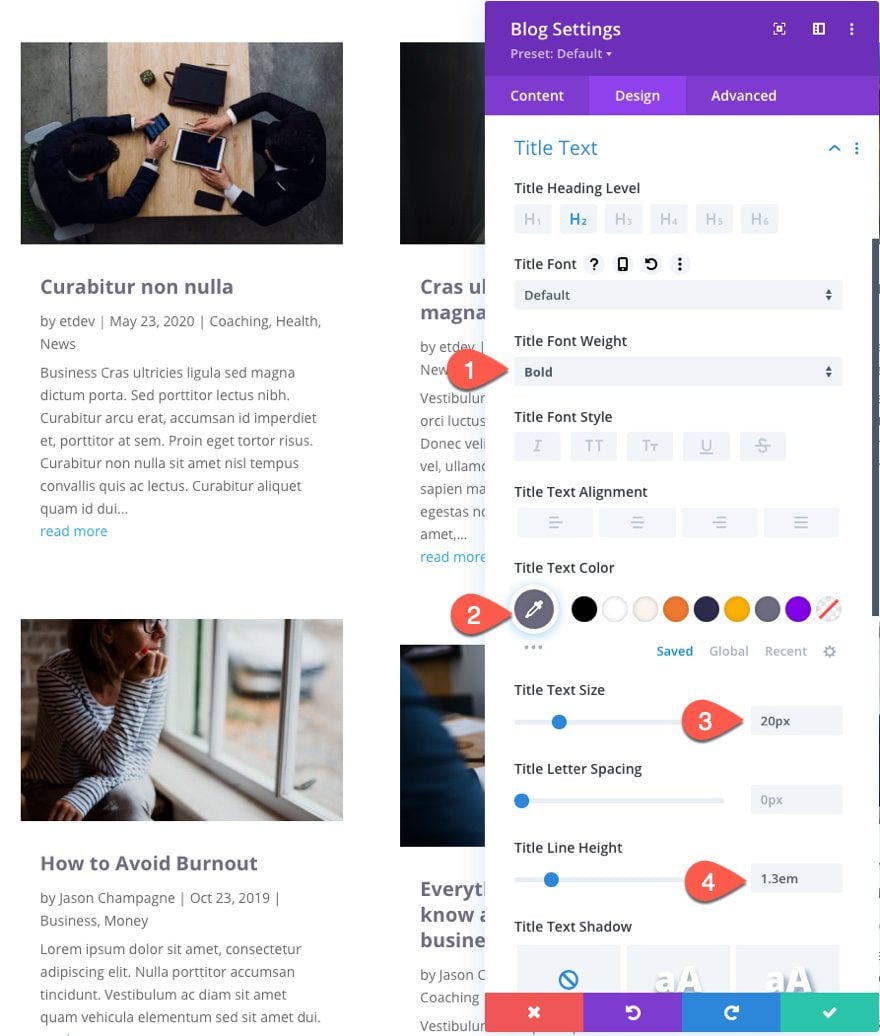
Style Post Title
- Title Font Weight: Bold
- Title Text Color: #6d6a7e
- Title Text Size: 20px
- Title Line Height: 1.3em
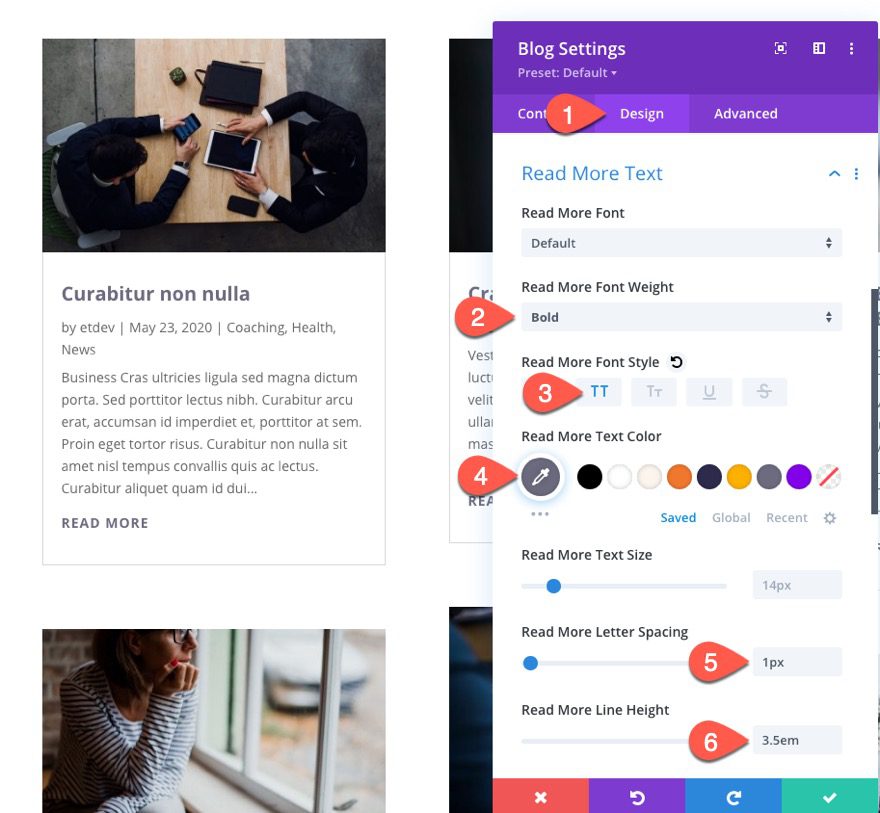
Style Read More Text
- Read More Font Weight: Bold
- Read More Font Style: TT
- Read More Text Color: #6d6a7e
- Read More Letter Spacing: 1px
- Read More Line Height: 3.5em
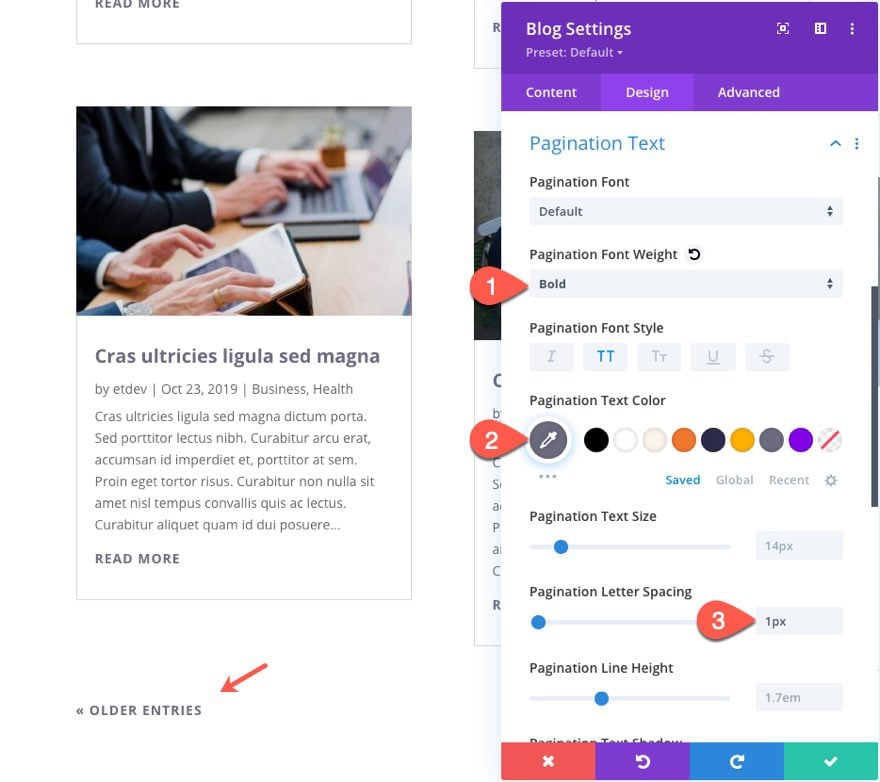
Style Pagination
- Pagination Font Weight: Bold
- Pagination Font Style: TT
- Pagination Text Color: #6d6a7e
- Pagination Letter Spacing: 1px
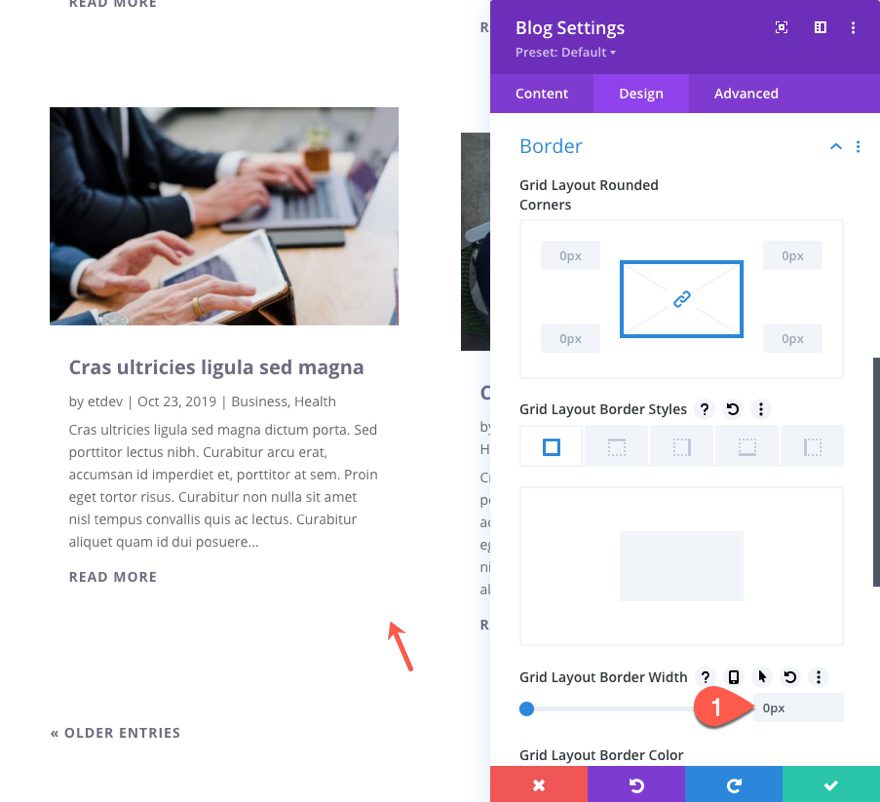
Remove Border
- Grid Layout Border Width: 0px
Style Box Shadow on Hover
- Box Shadow: See Screenshot
- Box Shadow Vertical Position: 0px
- Box Shadow Blur Strength: 38px
- Shadow Color (desktop): transparent
- Shadow Color (hover): rgba(109,106,126,0.25)

Final Result
About the CSS Code
If you are interested in the breakdown of the custom CSS added to the code module earlier, here it is.
First, we need to wrap all of the CSS in a media query that will only apply the CSS to desktop browsers.
@media all and (min-width: 981px) {

}
Second, we need to add a transition with a duration of 500ms to the post content/excerpt to the style changes that will occur when hovering over the post item.
  /* add transition for post content*/
  .toggle-blog-excerpt .et_pb_post .post-content {
    -webkit-transition: all 500ms !important;
    transition: all 500ms !important;
  }
Third, we need to make sure the post content/excerpt remains visible when using the visual builder so that we can make edits.
  /* keep post content visible in visual builder */
  body.et-fb .toggle-blog-excerpt .et_pb_post .post-content {
    visibility:visible;
    opacity: 1;
    max-height:none;
  }
Fourth, we need to hide the post content/excerpt by default when the page loads. To do this we use visibility:hidden to hide the content. Then we add opacity:0 so that we can get a fade in and fade out transition effect when we add opacity:1 to the hover state. We also use max-height:0px to get the sliding toggle effect when we add max-height:500px to the hover state.
  /* hide post content */
  .toggle-blog-excerpt .et_pb_post .post-content {
    visibility: hidden;
    opacity: 0;
    max-height:0px;
  }
Fifth, we show the post content/excerpt when the post item (.et_pb_post) is in the hover state. To do this we change the visibility to visible, the opacity to 1, and the max-height to 500px.
  /* show post content when hovering over post item */
  .toggle-blog-excerpt .et_pb_post:hover .post-content {
    visibility: visible;
    opacity:1;
    max-height: 500px;
  }
For the final snippet, we can give all the post items the same min-height for a cleaner vertically aligned grid layout.
  /* set min-height for all post items */
  .toggle-blog-excerpt .et_pb_post {
    min-height: 400px;
  }
Here’s one more look at the final code.
@media all and (min-width: 981px) {
  /* add transition for post content*/
  .toggle-blog-excerpt .et_pb_post .post-content {
    -webkit-transition: all 500ms !important;
    transition: all 500ms !important;
  }
  /* keep post content visible in visual builder */
  body.et-fb .toggle-blog-excerpt .et_pb_post .post-content {
    visibility:visible;
    opacity: 1;
    max-height:none;
  }
  /* hide post content */
  .toggle-blog-excerpt .et_pb_post .post-content {
    visibility: hidden;
    opacity: 0;
    max-height:0px;
  }
  /* show post content when hovering over post item */
  .toggle-blog-excerpt .et_pb_post:hover .post-content {
    visibility: visible;
    opacity:1;
    max-height: 500px;
  }
  /* set min-height for all post items */
  .toggle-blog-excerpt .et_pb_post {
    min-height: 400px;
  }
}
Final Thoughts
As shown in this tutorial, adding a few snippets of CSS can give you the functionality needed to toggle blog post excerpts with a nice hover effect. The best part about this method is that we can build upon this functionality by adding any additional styling we want to the blog module using Divi’s built-in options. This will allow you to add more advanced styling to the post items including more hover effects. Hopefully, this will help give your Divi website’s blog an additional boost in design and functionality.
I look forward to hearing from you in the comments.
Cheers!


Hi, this is great – can I also use this “mouse-over” effect on a text or a different module?
Petra
This blog layout seems to be a great solution for showing page content where the copy is too long.
Is there a way to use this for a page layout in stead of a blog layout?
For example I’d like to create a services page that shows all of the services my client offers but truncate the copy using this method.
Thanks
Stu
Stu,
You would need to update the CSS code to target the body content of a Blurb module (or CTA Module, or Text Module) for this work. However, there are other options that may not require external CSS to achieve what you are looking for. Here are a few posts that may help…
Hope that helps.
Good easy-to-follow directions Jason, it spiced up a kind of boring blog section at the bottom of my home page. Thanks.
Awesome!!
Hi,
thanks for your great articles!
I think that these individual modifications are very unique for the Divi theme.
Kind regards
Jan