
Image galleries are a favorite destination on most websites. And, in many cases, it may be best to keep those image galleries happy and static, letting the images work their magic. But, adding a sliding puzzle scroll effect to an image gallery (like we are going to do in this tutorial), can put a refreshing spin on a timeless classic.
In this tutorial, we are going to show you how to build a simple layout that reveals an image gallery with a sliding puzzle scroll effect in Divi. The key is to understand how the size of the images relates to the vertical and horizontal offset values of each scroll effect to move the image exactly one spot over. But once complete, the resulting motion effect is crisp and precise as it progressively assembles and reveals an image gallery in a unique way.
Sneak Peek
Here is a quick look at the image gallery layout with the sliding puzzle scroll effect we will create in this tutorial.
Download the Layout for FREE
To lay your hands on the designs from this tutorial, you will first need to download it using the button below. To gain access to the download you will need to subscribe to our newsletter by using the form below. As a new subscriber, you will receive even more Divi goodness and a free Divi Layout pack every Monday! If you’re already on the list, simply enter your email address below and click download. You will not be “resubscribed” or receive extra emails.

To import the layout to your page, simply extract the zip file and drag the JSON file into the Divi Builder.
Let’s get to the tutorial, shall we?
What You Need to Get Started

To get started, you will need to do the following:
- If you haven’t yet, install and activate the Divi Theme.
- Create a new page in WordPress and use the Divi Builder to edit the page on the front end (visual builder).
- Choose the option “Build From Scratch”.
- Find or crop at least 4 square images that have identical height and width. For this tutorial, we will be using cropped images from the pottery layout pack that are exactly 500px by 500px.
After that, you will have a blank canvas to start designing in Divi.
Building the Header Section
To start things off, let’s build a quick heading section that will notify the user to scroll down the page to view the gallery and with the awesome scroll effects.
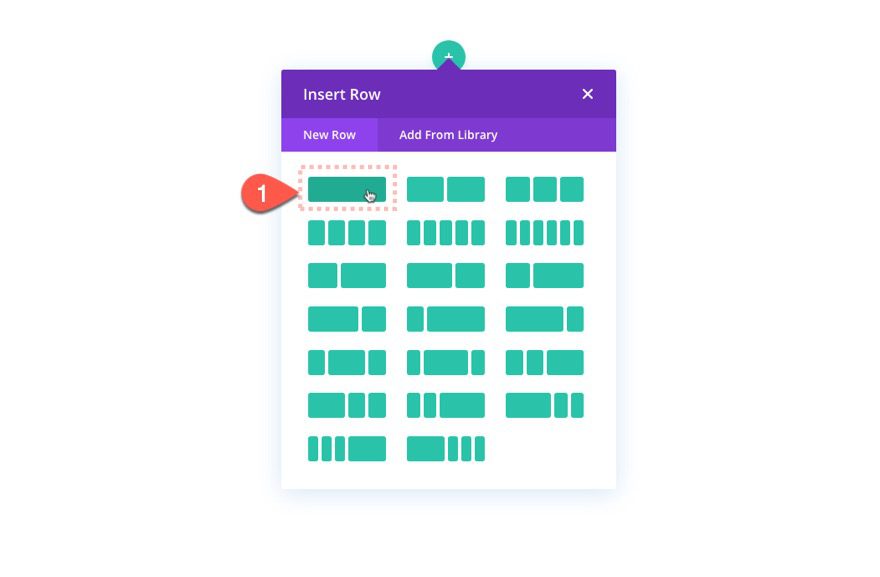
Add Row
Add a one-column row to the default section.
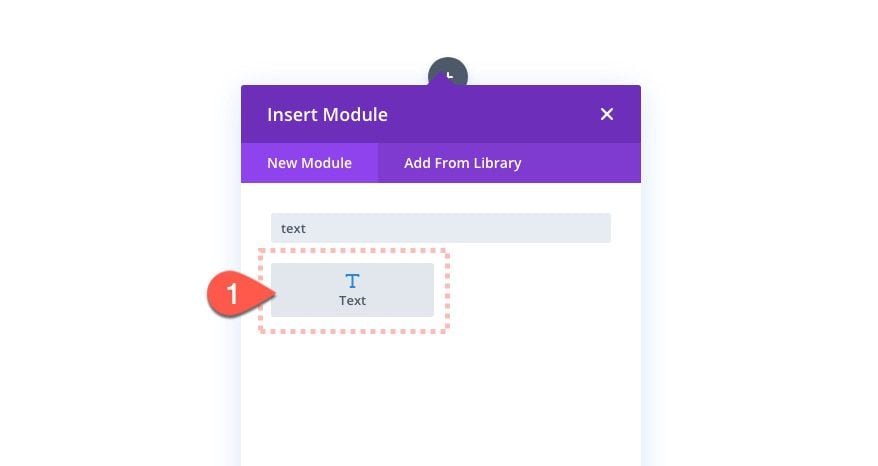
Add Text Module
Inside the column/row, add a new text module.
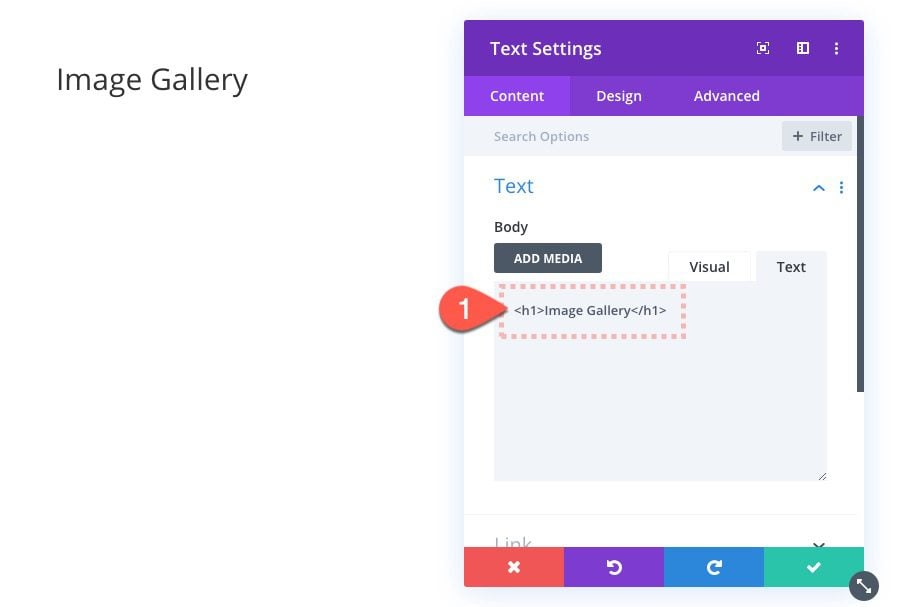
In the text settings, update the body content with the following:
<h1>Image Gallery</h1>
Text Module Settings
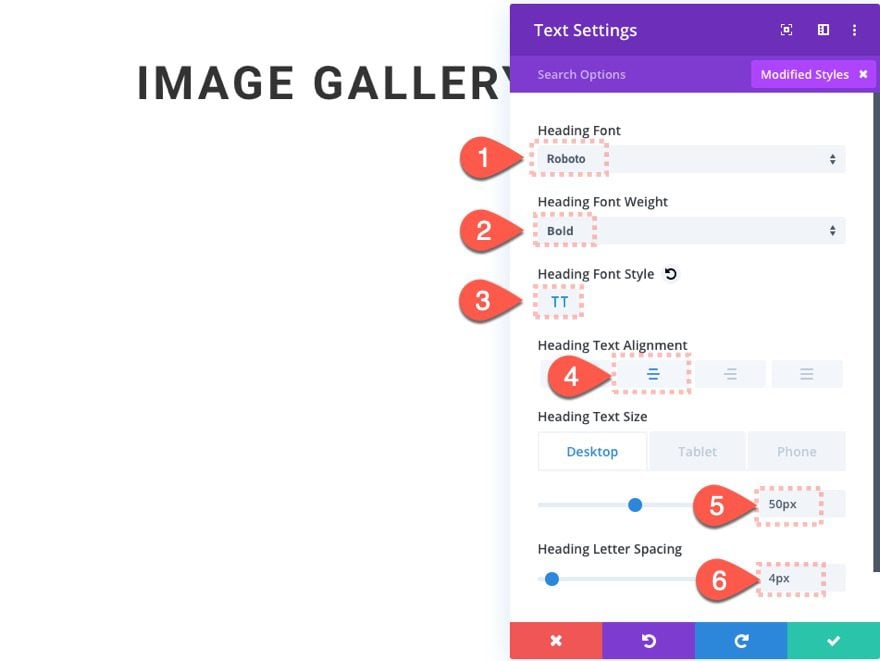
Under the design tab, update the text design as follows:
- Heading Font: Roboto
- Heading Font Weight: Bold
- Heading Font Style: TT
- Heading Text Alignment: center
- Heading Text Size: 50px (desktop), 40px (tablet and phone)
- Heading Letter Spacing: 4px
Add Blurb Module Icon
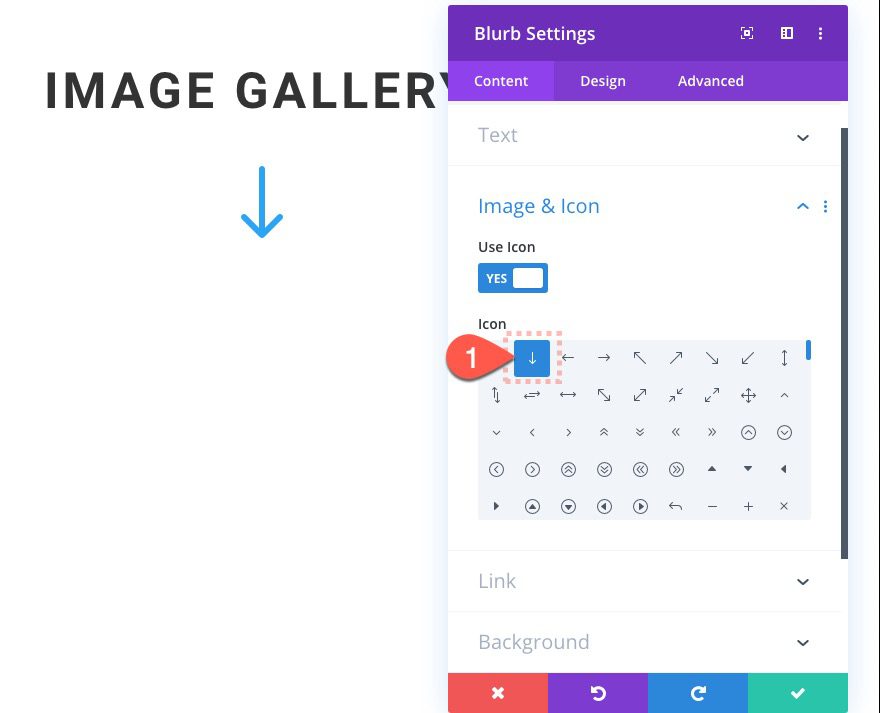
After the text is in place, add a new blurb module under the text module.

Then take out all the default title and body content and select to use the down arrow icon.
Blurb Settings
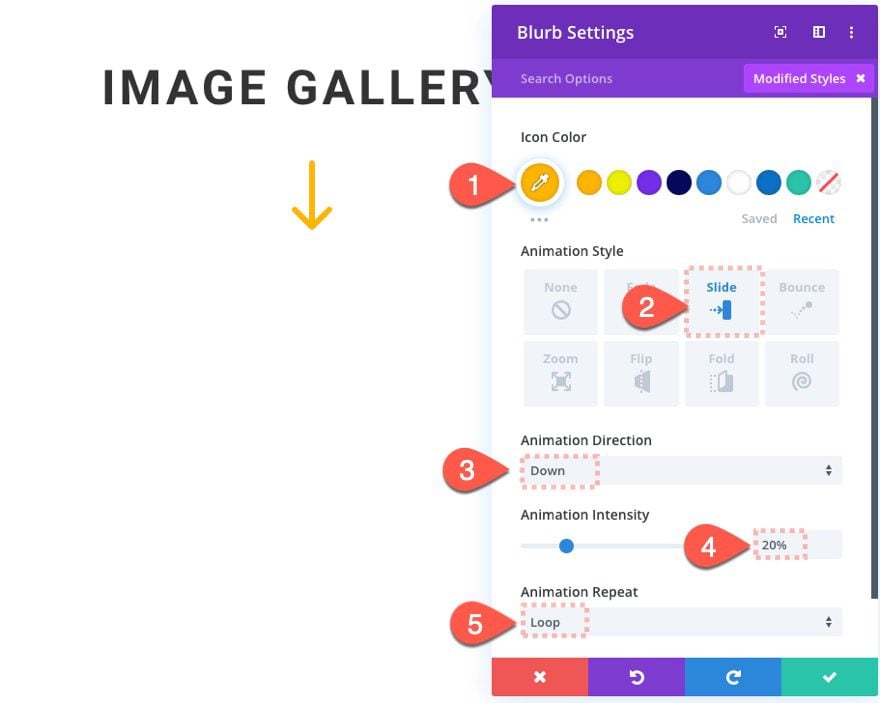
Then update the blurb settings with a new color and a repeating slide animation.
- Icon Color: #ffb500
- Animation Style: Slide
- Animation Direction: Down
- Animation Intensity: 20%
- Animation Repeat: Loop
Section Padding
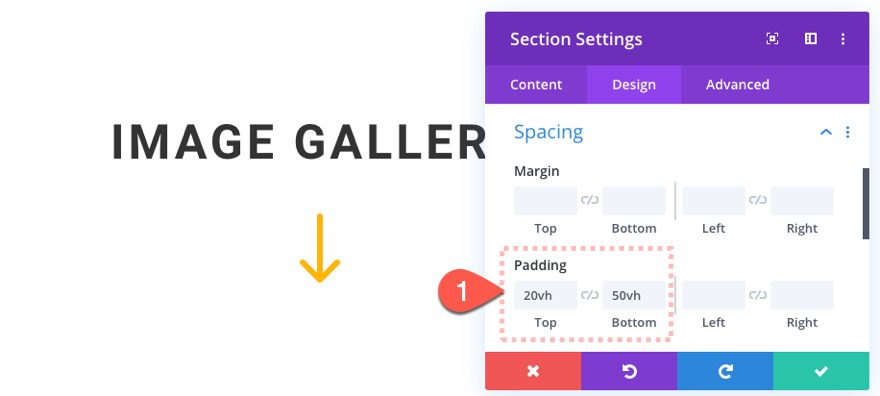
To give the section some room for scrolling, update the padding as follows:
- Padding: 20vh top, 50vh bottom
Here we use the vh length unit which is relative to the height of the browser window so that the spacing will adjust consistently on all browser sizes.
Creating the Image Gallery with Scroll Effects
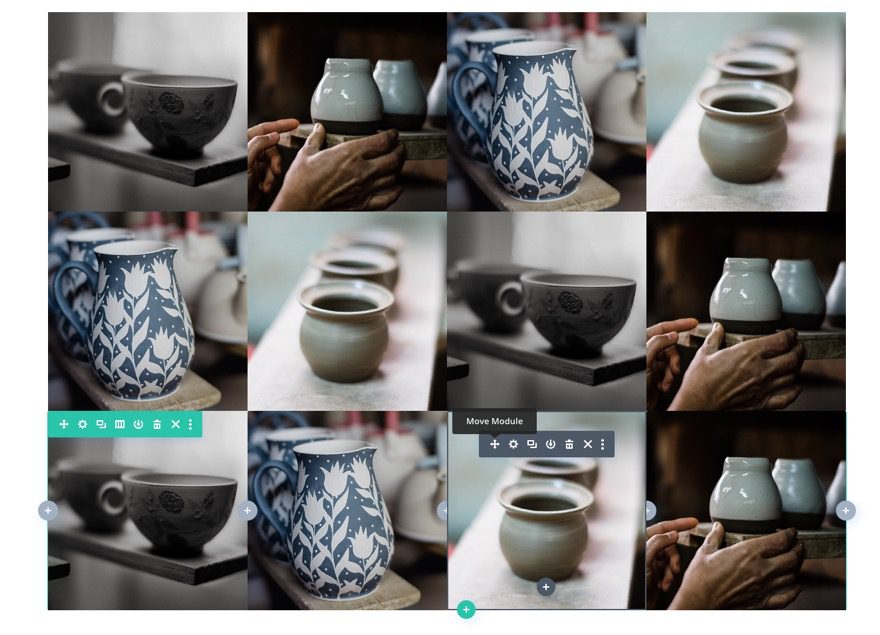
Now that our heading section is complete, we are ready to build the actual image gallery with the sliding puzzle scroll effects. The entire gallery will consist of three rows of 4 images/columns in each row to make a total of 12 images. However, you can easily add more rows and images to the layout once it is complete.
Building the Section and Row
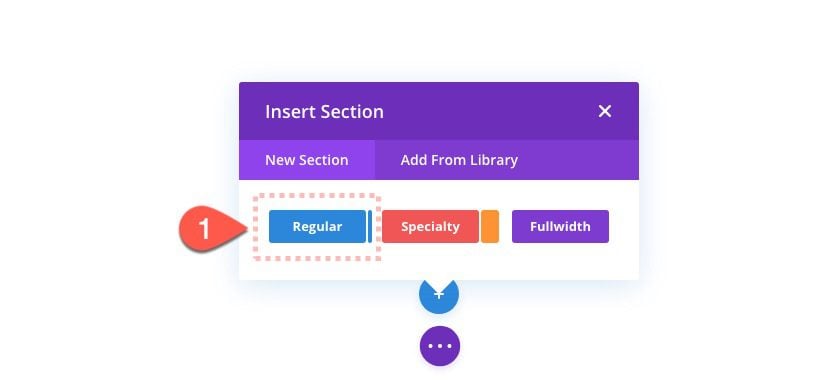
Add New Section
Let’s start by adding a new regular section under the heading section.
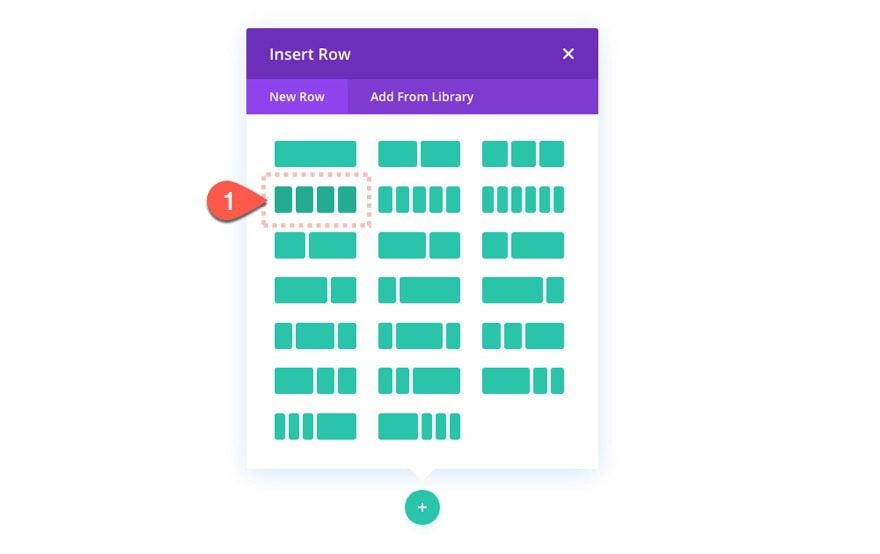
Add Row
Next, add a four-column row to the section.
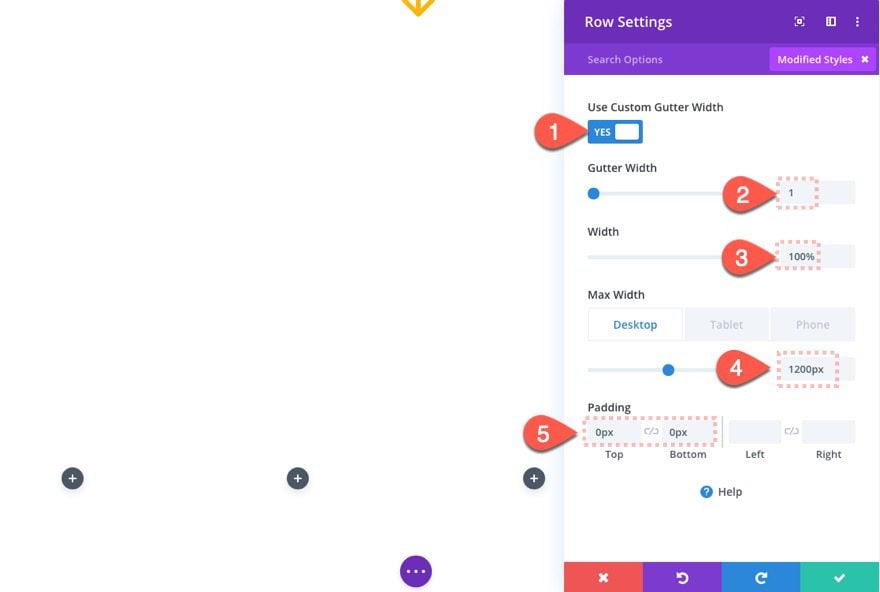
Row Settings
Under the row settings, update the following:
- Gutter Width: 1
- Width: 100%
- Max Width: 1200px (desktop), 600px (tablet), 300px (phone)
How Row Width Determines Image Size
The width of the row is very important to this design because it will dictate the width of each of the four columns. Once we set the gutter width to 1, there will be no margin between the images. And when we set the max-width to 1200px, the four-column layout will make each of the columns/images exactly 300px wide (1200px/4 = 300px). Furthermore, since each of the images is square, we know the height of each image will also be 300px. We don’t have to keep it this way if we don’t want to. For example, We could also choose to have a three-column layout with images that are 400px by 400px. Know the image width (300px) and height (also 300px) will be key to creating the scroll effect later on.
Adding the Images
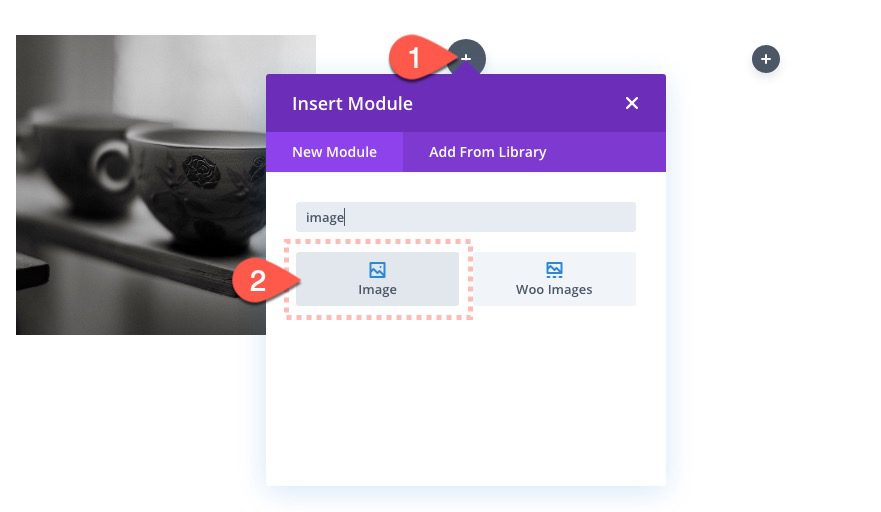
Add Image 1
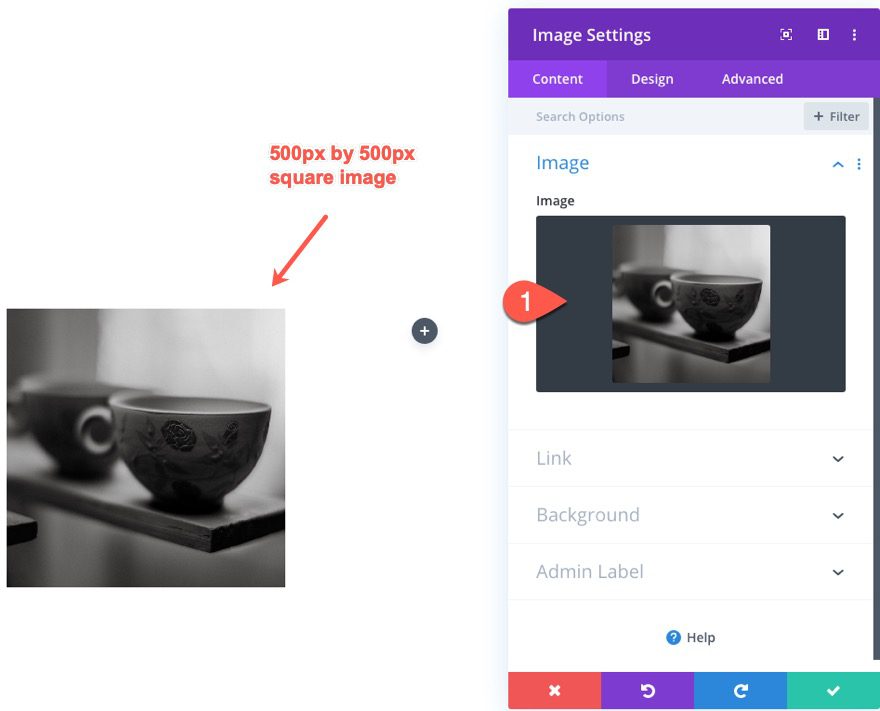
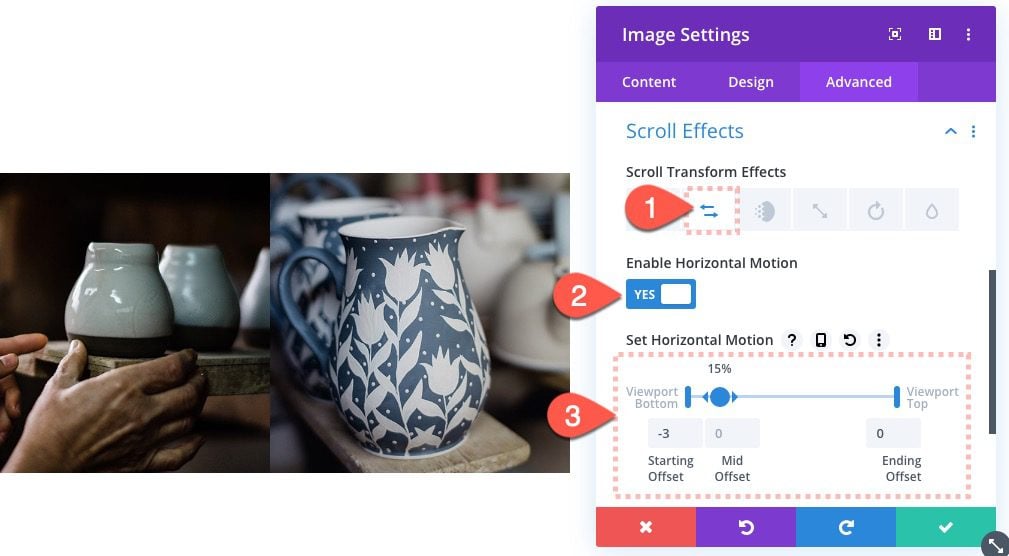
Image 1 Scroll Effects
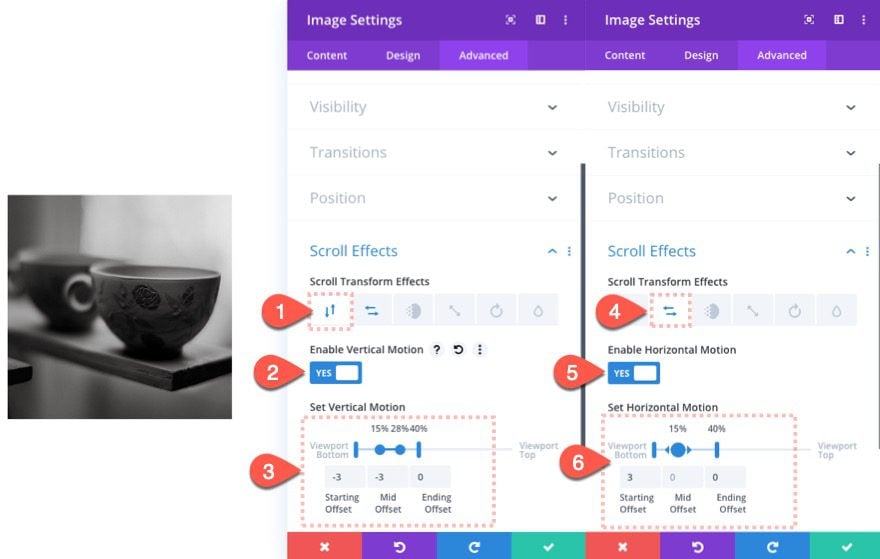
How Image Size Relates to the Scroll Effect Offsets
When using the vertical and horizontall scroll effect, it is important to understand what the number value entered represents. In this example, we have a vertical motion starting offset of -3. This -3 is actually -300px (or 300px toward the bottom) which is the width of the image. Then the offset reaches 0 (the original position) as the user scrolls. This is what creates the scroll effect that moves the image over exactly one block/image over. The horizontal motion starts at 3 (300px from the right) and comes to rest in its default position. These two effect combine to create a unique two-part scroll effect.
Add Image 2
Once the scroll effects have been added to image 1. Add a new image to column 2.
We are going to leave this image static without any scroll effects.
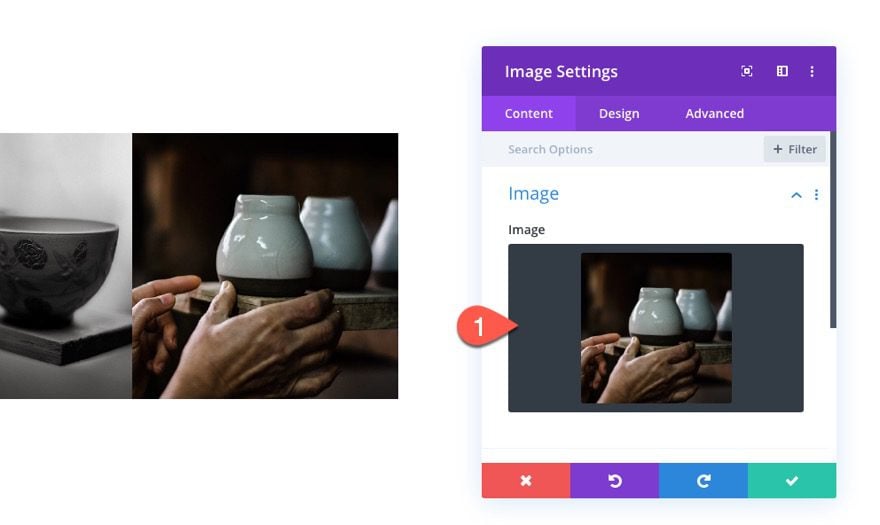
Add Image 3
Next, add another image module to column 3 and update the module with a new image.
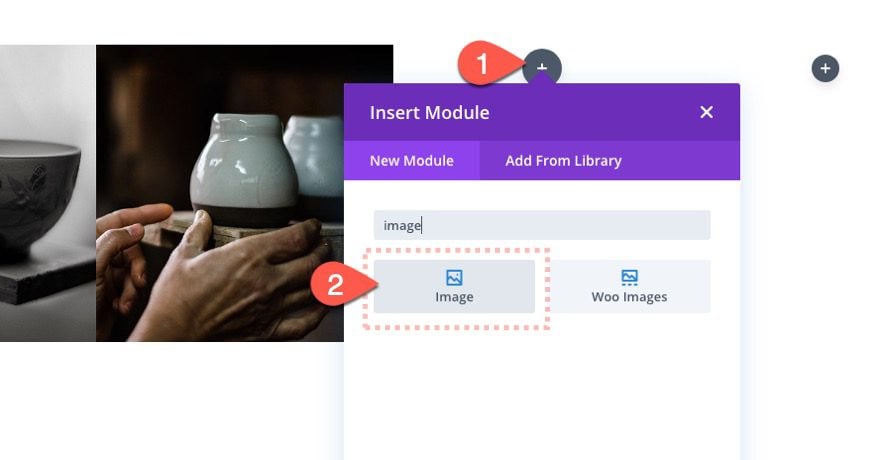
Image 3 Scroll Effects
Under the image settings, update the following scroll effects:
Under the Horizontal Motion Tab…
- Enable Horizontal Motion: YES
- Starting Offset: -3 (at 0% viewport)
- Mid Offset: 0 (at 15% viewport)
- Ending Offset: 0 (at 100% viewport)
Add Image 4
To create the last image, copy image 1 and paste it into column 4.
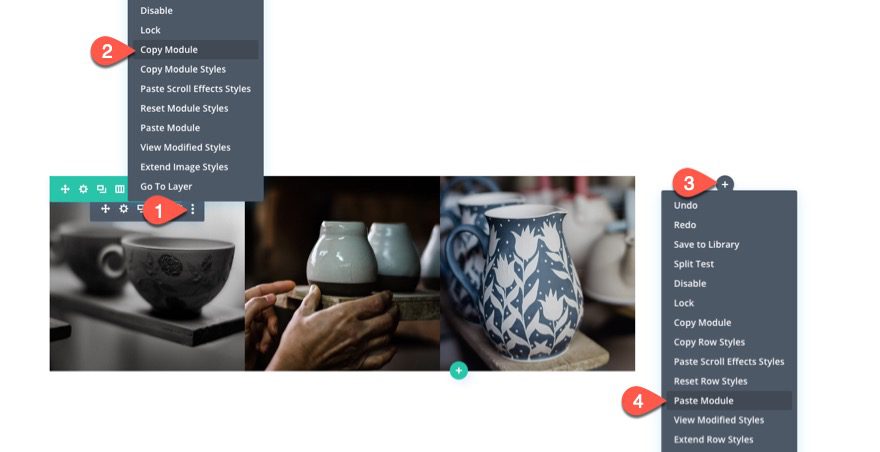
Upload a new image within image settings.
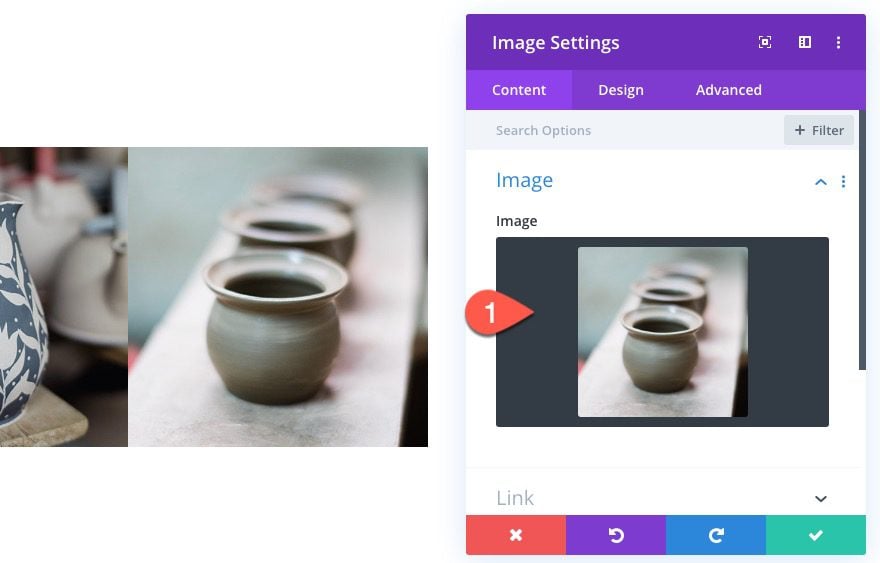
Image 4 Scroll Effects
Then update the following scroll effects:
Under the Vertical Motion Tab…
- Enable Vertical Motion: YES
- Starting Offset: 3 (at 0% viewport)
- Mid Offset: 0 (at 15%-28% viewport)
- Ending Offset: 0 (at 40% viewport)
Under the Horizontal Motion Tab…
- Enable Horizontal Motion: YES
- Starting Offset: 3 (at 0% viewport)
- Mid Offset: 3 (at 28% viewport)
- Ending Offset: 0 (at 40% viewport)

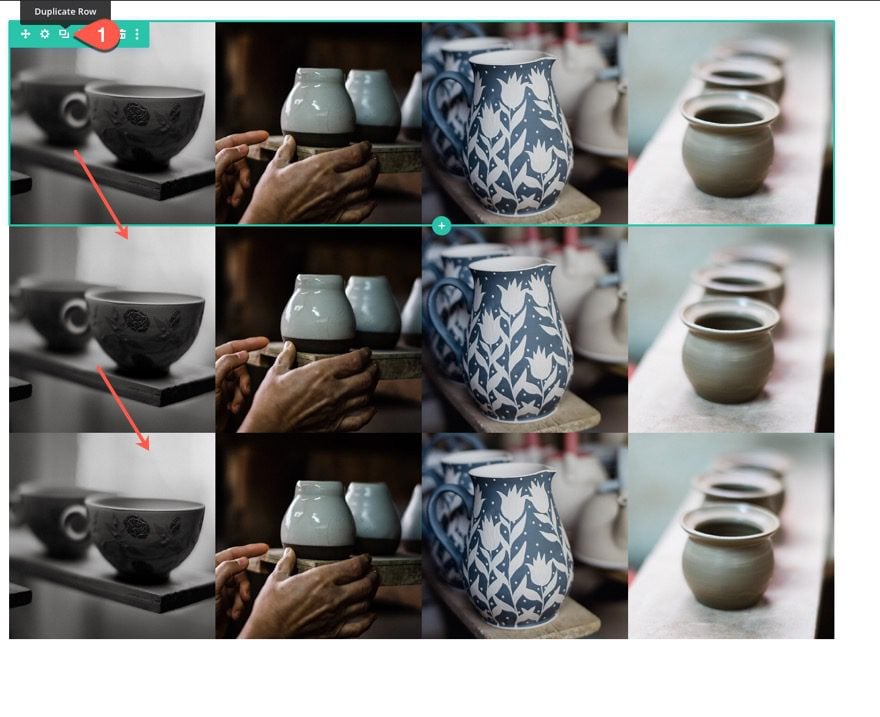
Duplicate Row
Now that the image scroll effects are complete for the first row, all we need to do is duplicate the row to create more images and their corresponding scroll effects. For this example, let’s duplicate the row twice to create a total of three rows.
Replace and Rearrange Images as Needed
Then we can move the images around using the drag and drop feature wherever we want. This is where you can get creative and see how the images move will scrolling. And once the images are in place, you can replace the content of the image module with new images that fit the needs of the website.
Final Touchups
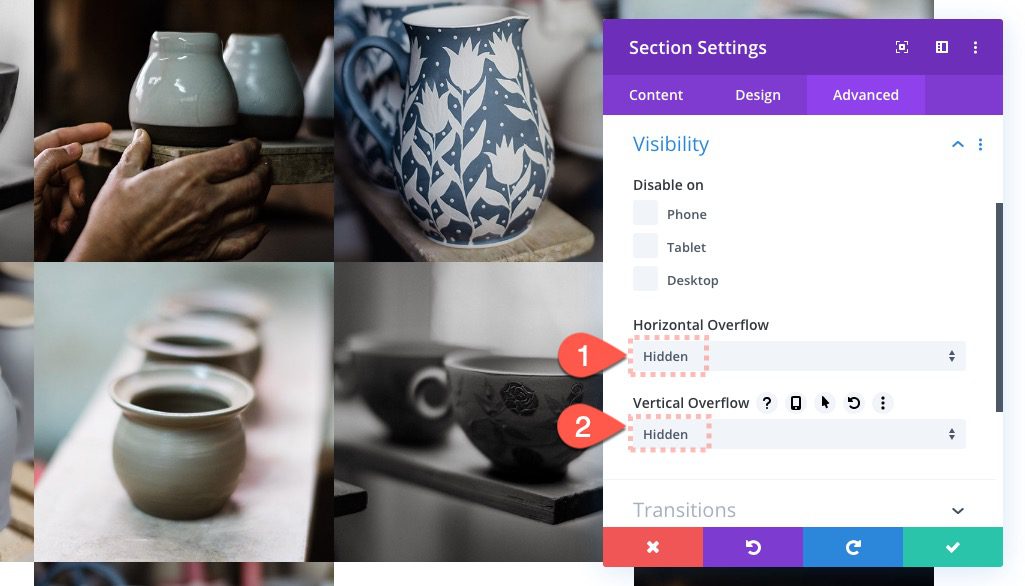
Section Visibility
Since our images will probably extend outside of the section/viewport, let’s hide the overflow to clean it up a bit. Open the section settings and update the following:
- Horizontal Overflow: Hidden
- Vertical Overflow: Hidden
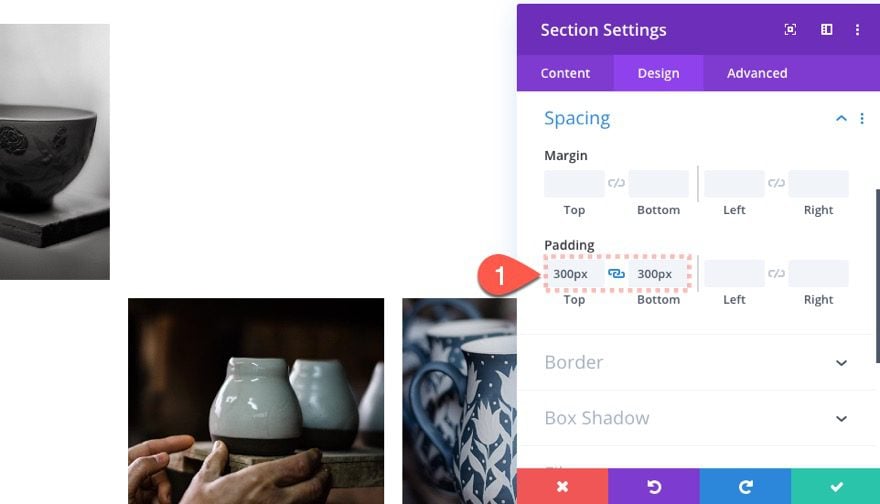
Section Padding
We want the vertical scroll effect of the top image (which extends above the section) to be visible despite the hidden overflow. So, let’s add top and bottom padding equal to the height of the image (300px).
Result So Far
Right now we can stop here if you want to keep the gallery design without any spacing between the images. Here is what the result looks like so far. Notice how nicely the images shift vertically and horizontally exactly one block/image over.
Adding Space Between Images
Because we have set the gutter width to 1, we no longer have any margin between our columns or images. To recreate a similar spacing, we can add padding to each image. This will allow us to create the spacing we need without compromising the functionality of the scroll effects. This is possible because adding padding the image will not add to the width or height of the image container (for more on this read about box-sizing in Divi). You can also have a similar effect using borders as well.
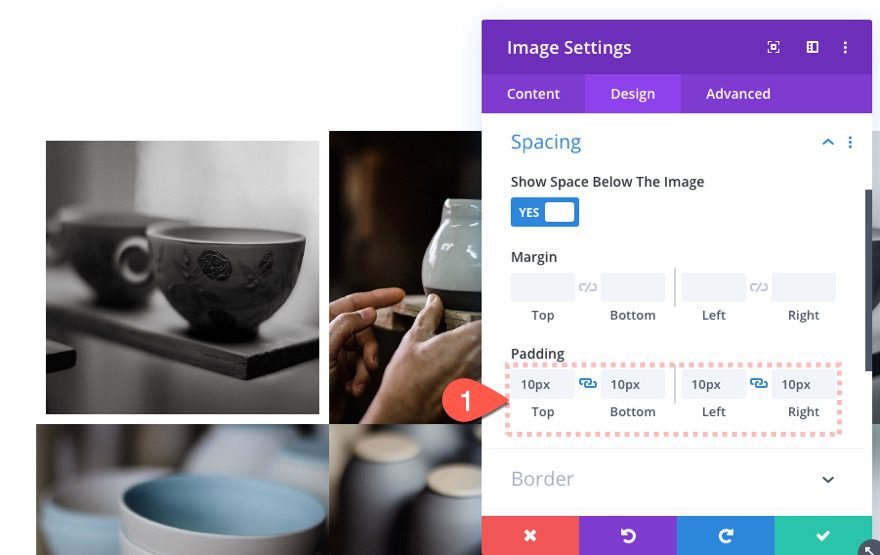
Image 1 Padding
Open the settings for image 1 and update the following:
- Padding: 10px top, 10px bottom, 10px left, 10px right
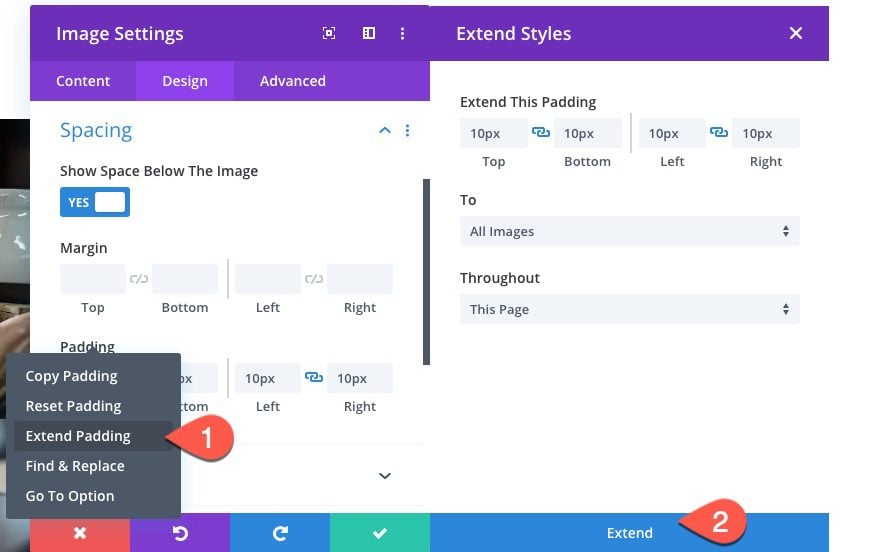
Extend Padding to All Images
Before saving, right-click on the padding option and select “Extend Padding”. In the extend styles popup, click the extend button to extend that padding to all images on the page.
Final Result
That’s it!
Here is the final result on desktop.
Here it is on tablet and phone.
Final Thoughts
The sliding puzzle scroll effect featured in this post does more than give us a unique design for an image gallery. It also highlights the horizontal and vertical motion offsets can be used for more precise scroll effects. Feel free to explore different variations of this layout by tweaking the offsets and mixing up the image placements. You can also change the number of columns as long as you understand how the size of the columns/image will change and then how to update the scroll effect offsets with the corresponding value.
I hope this comes in handy. And, as always, I look forward to hearing from you in the comments.
Cheers!


My frustration is my images of my art work are all different dimensions and so the gallery option never really worked properly for my art. If it worked so that images in this tiled mode are just thumbnail previews that when you click on it the whole image pops up on the screen that would be better, It is rare that all images will be square. I have mostly rectangle images!
So happy to read after reading dozens of articles, i must say i’m fully satisfied with your explaination. Thank you very muh!
This is a great way to share bulk content and improve your visitors’ user experience.