
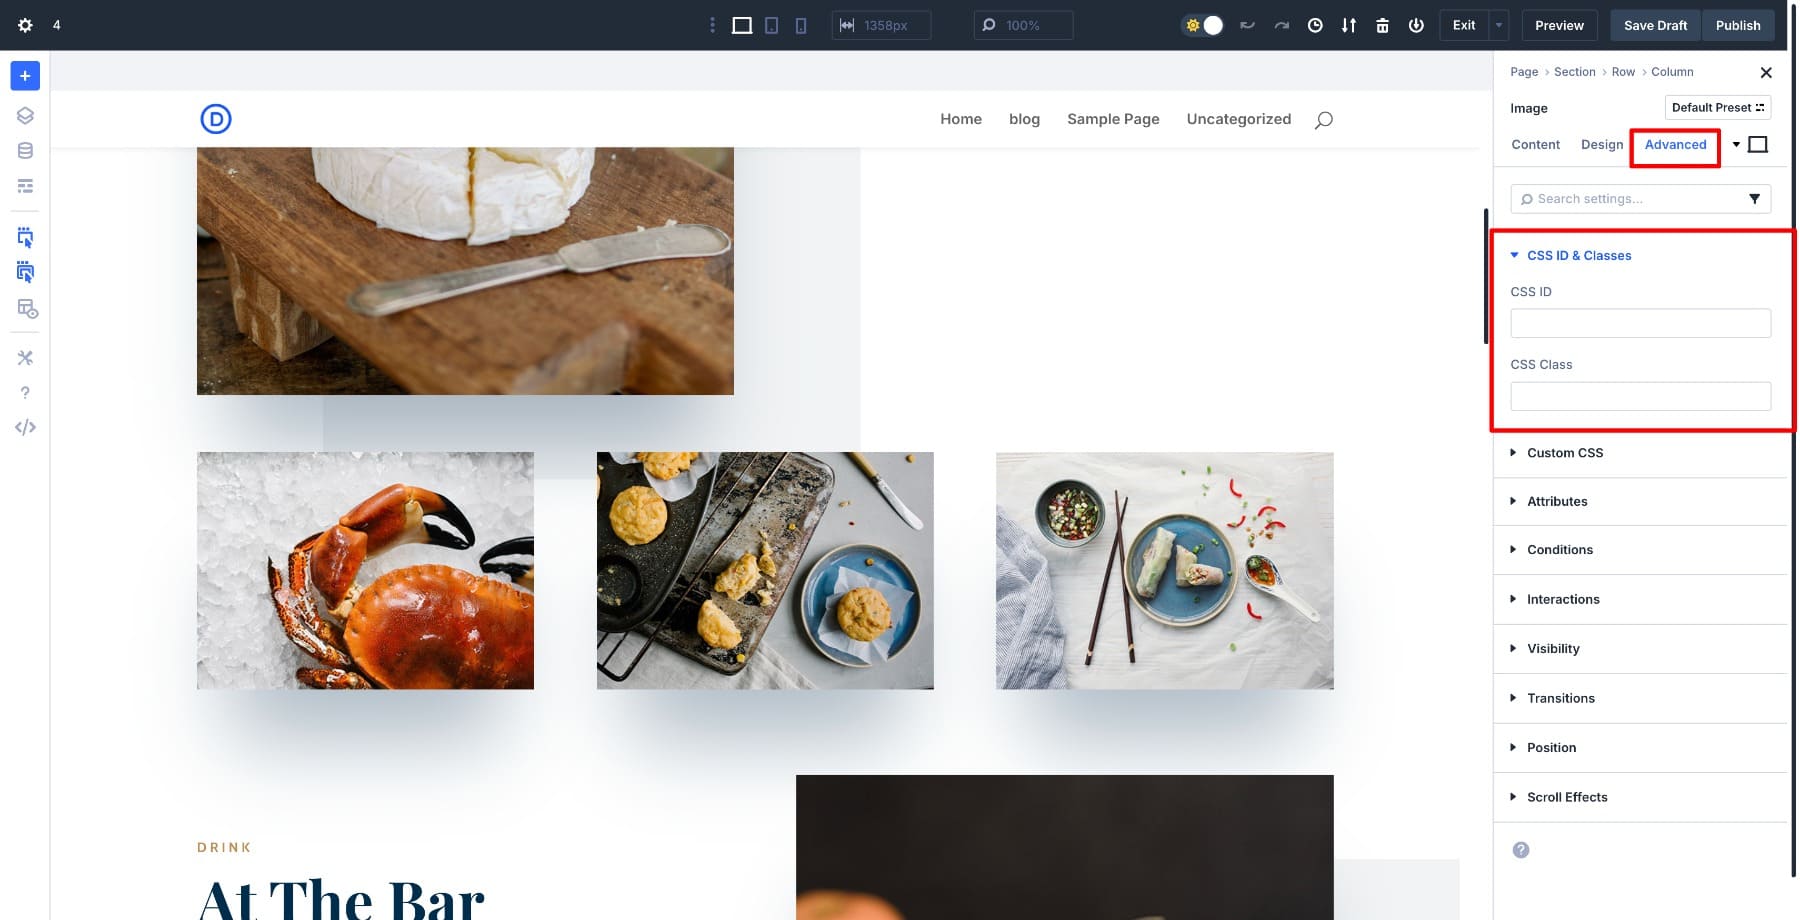
In older versions of Divi, you’d find separate fields in the Advanced tab to add CSS IDs and Classes. In Divi 5, those fields are no longer there.
But nothing’s actually missing. Everything moved into Attributes under the same Advanced tab. You can still add IDs and Classes exactly like before, plus any other custom attributes you need. The difference is how it’s organized: one unified space instead of scattered fields.
In this post, we’ll walk you through adding CSS classes and ID attributes using Custom Attributes.
What Are Custom Attributes In Divi 5
Custom Attributes let you add any HTML attribute, like IDs, classes, ARIA labels, or data tags, directly to your Divi elements from the builder. It’s a way to control how elements behave, get styled, or get read by browsers and assistive technologies.
In older Divi versions, you had dedicated fields for CSS ID & Classes. They handled basic styling needs, but that’s all they could do.
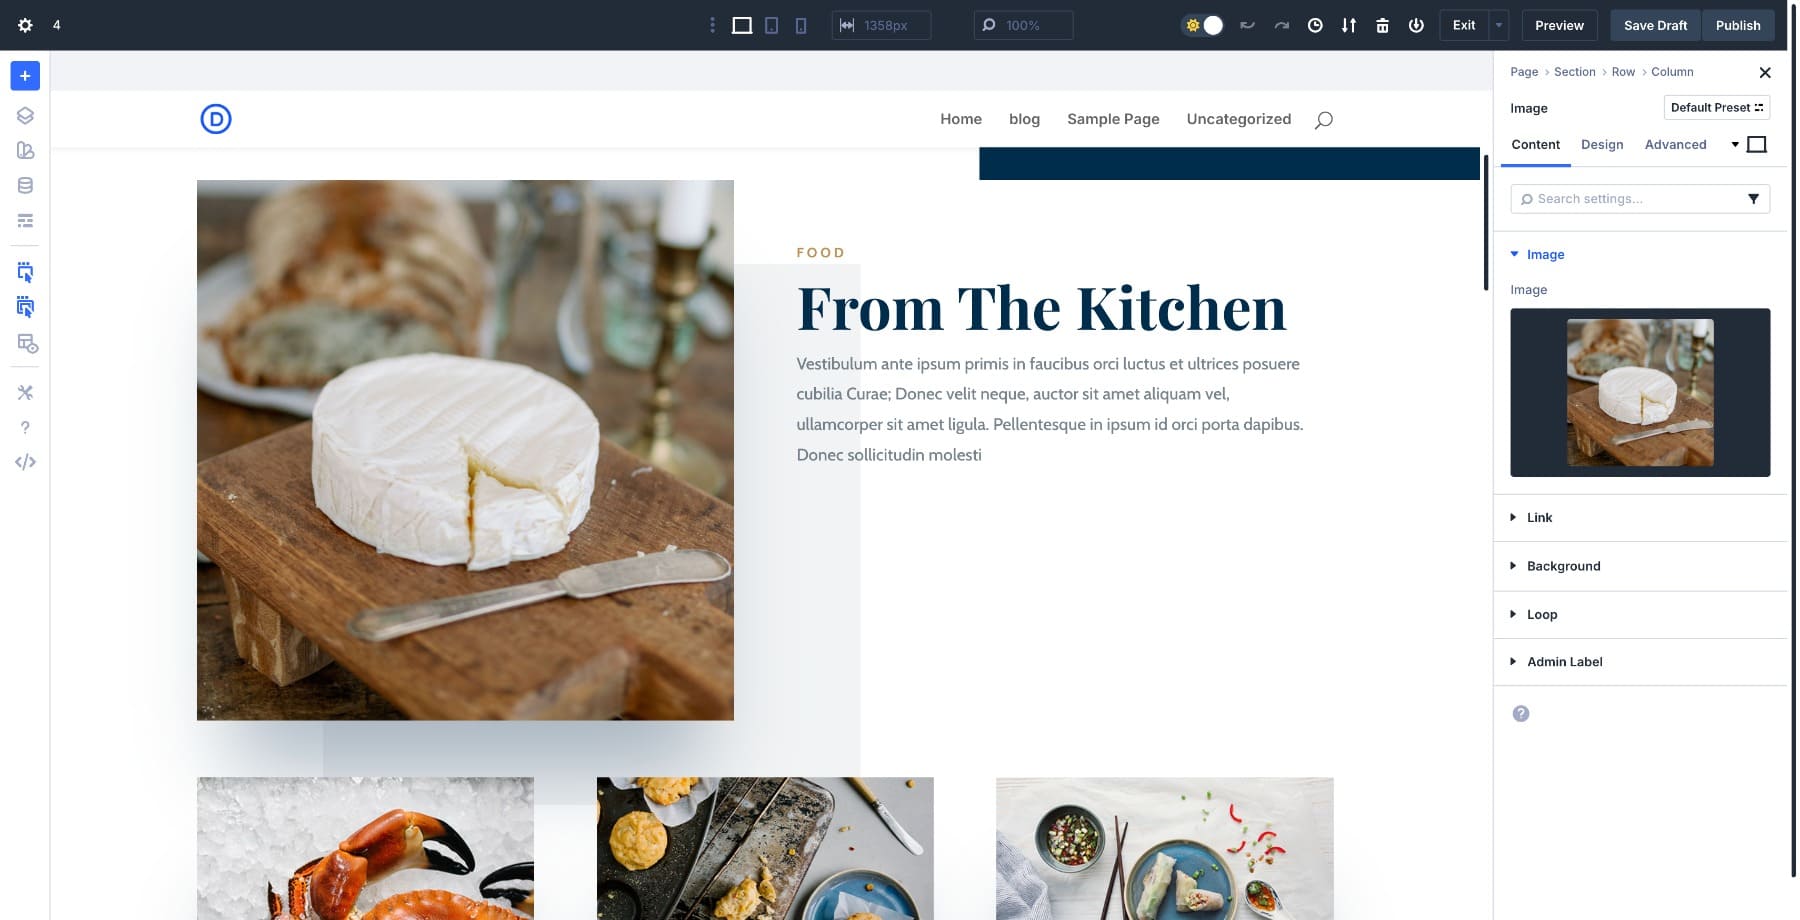
Now, there’s a dropdown Attributes option in the Advanced tab. Open it up and you can add any HTML attribute to a section, row, column, or module. IDs and classes still work the same way, but you’re no longer limited to just those two.
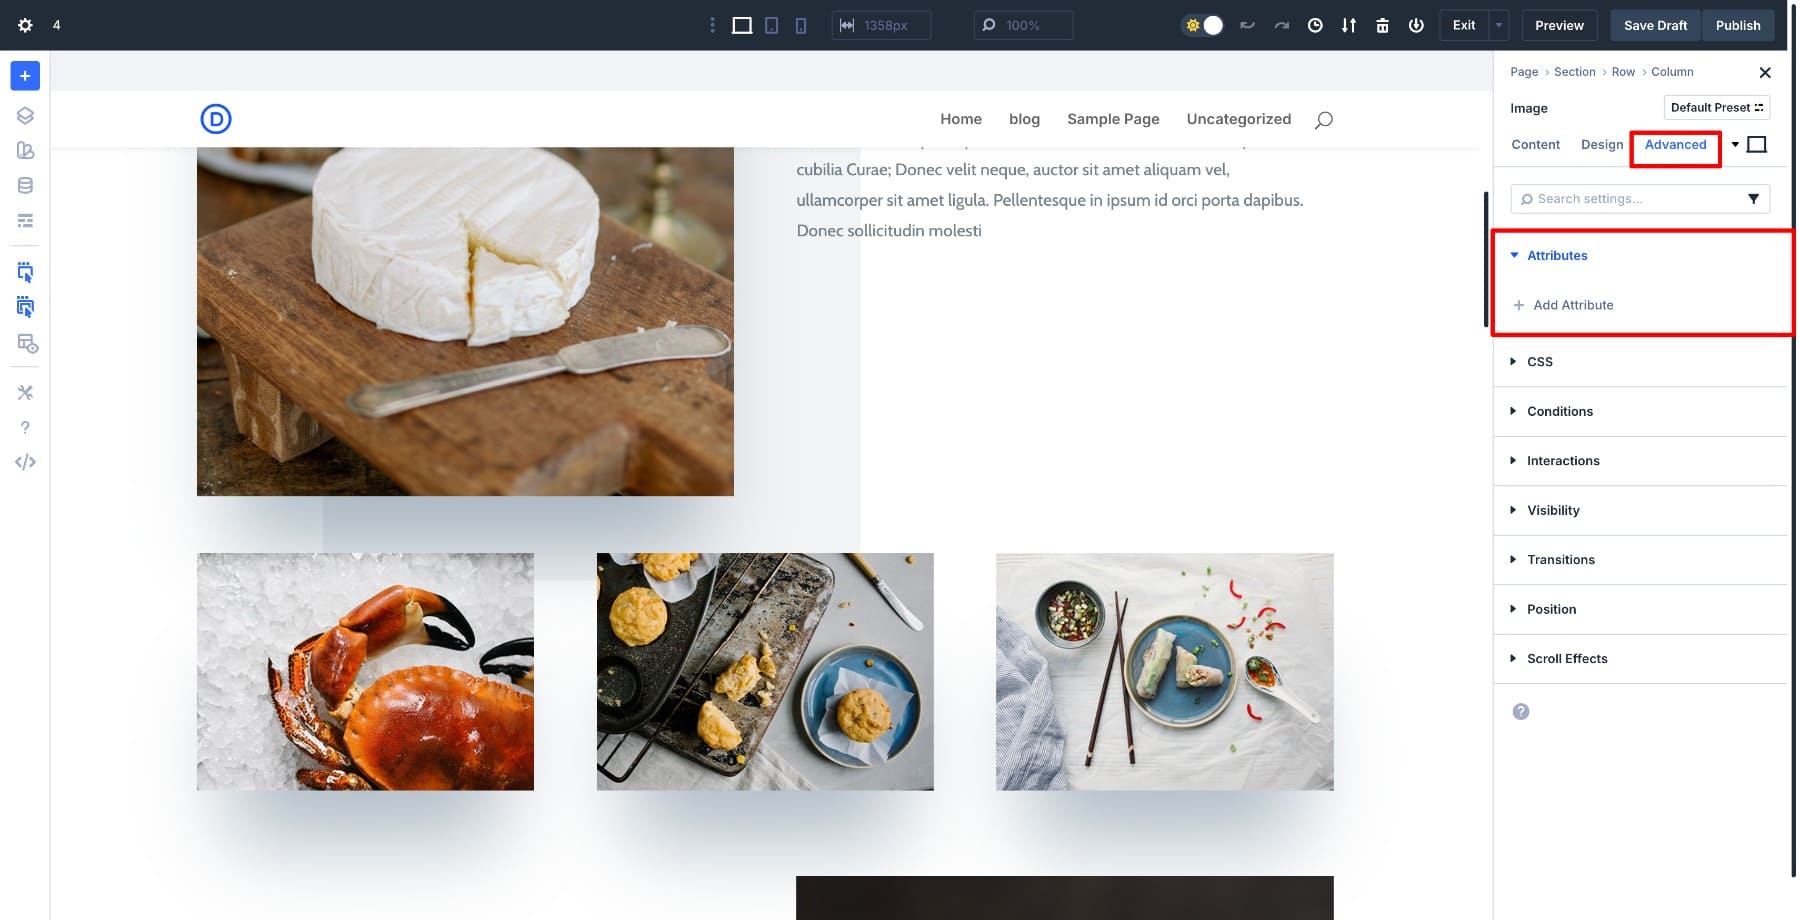
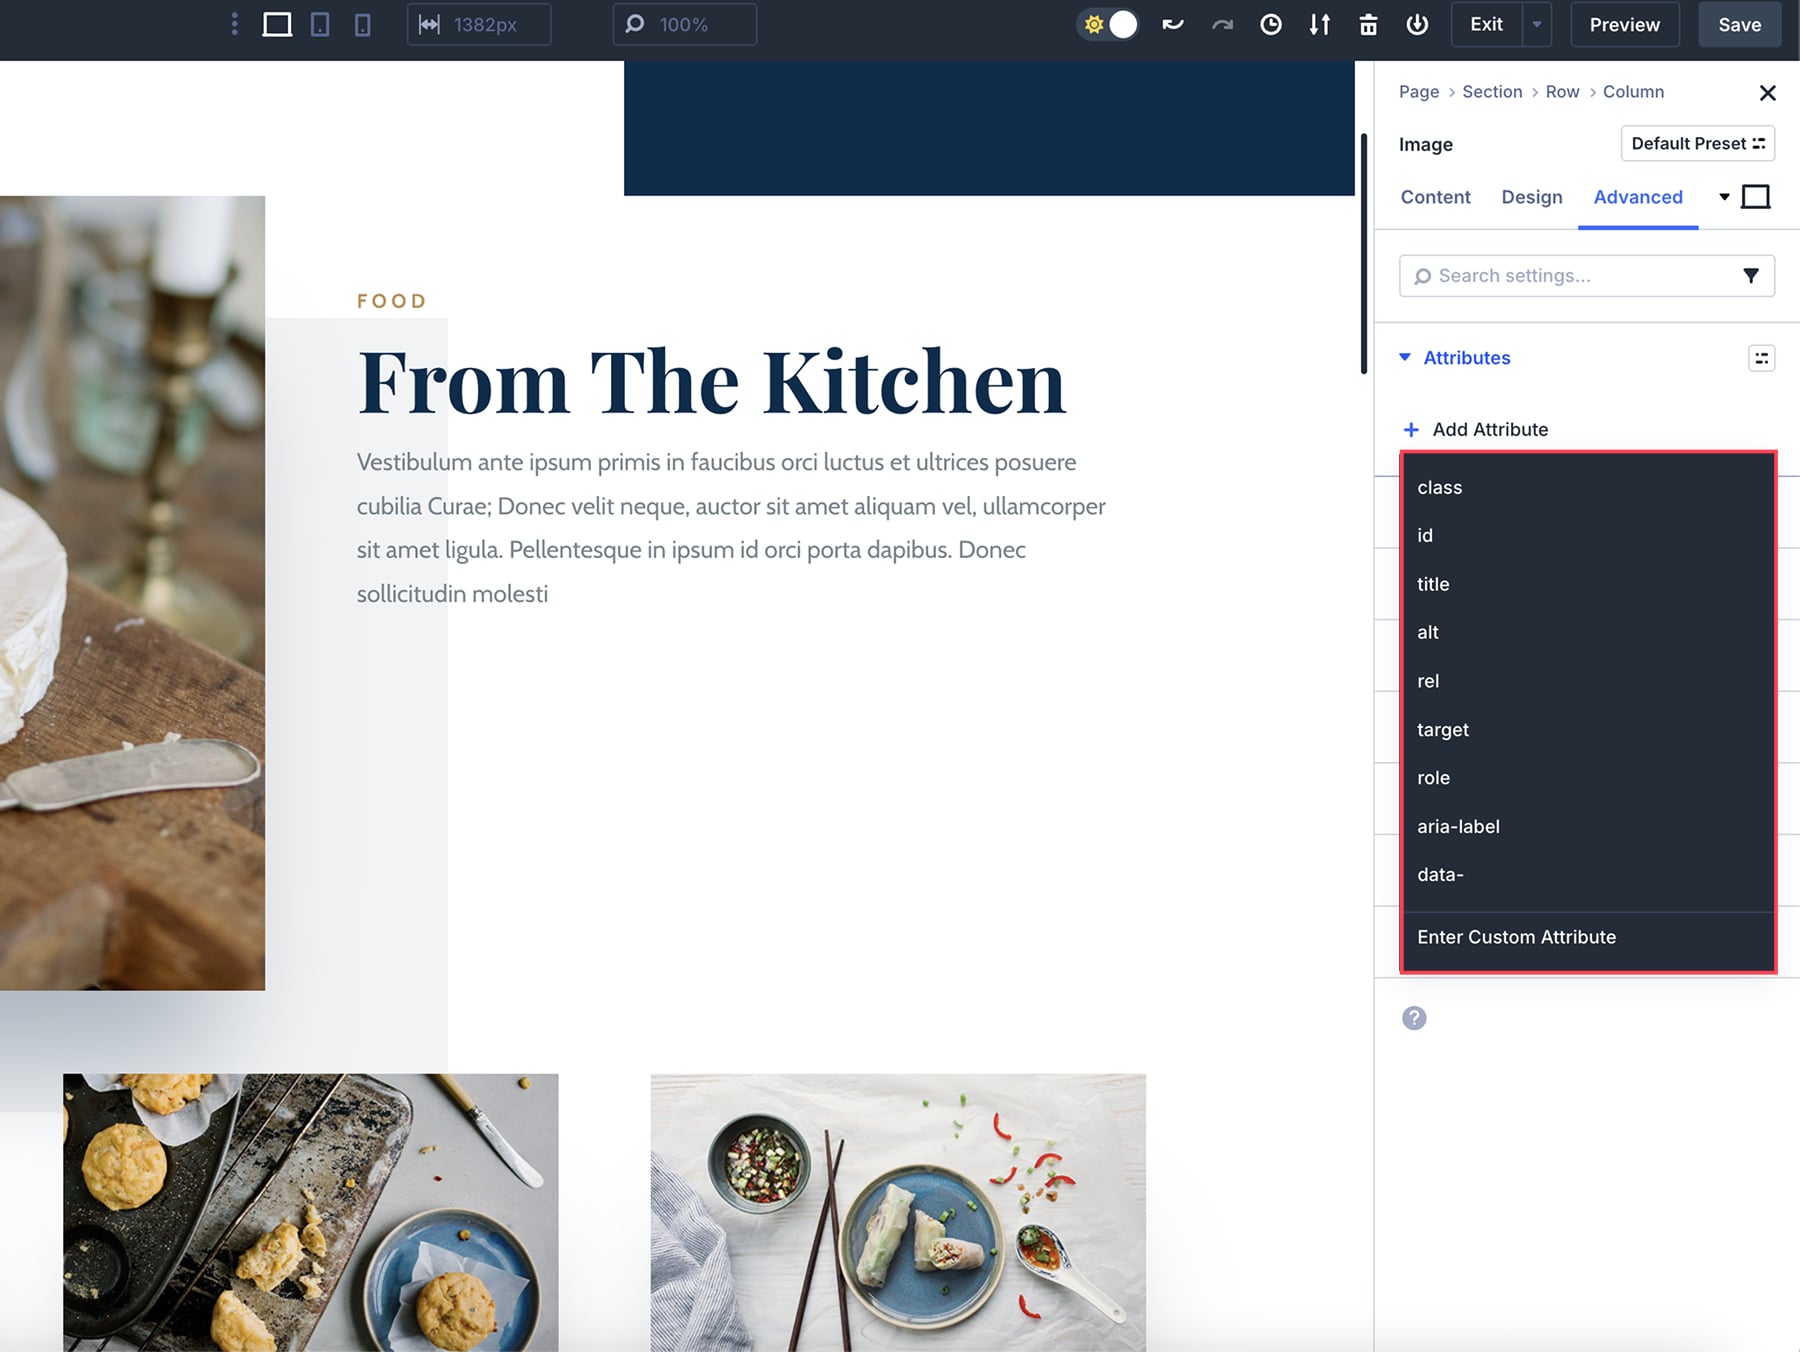
Click Add Attribute to open the panel where you can create, edit, or remove attributes. You can choose the type of attribute in the dropdown or manually enter a custom attribute.
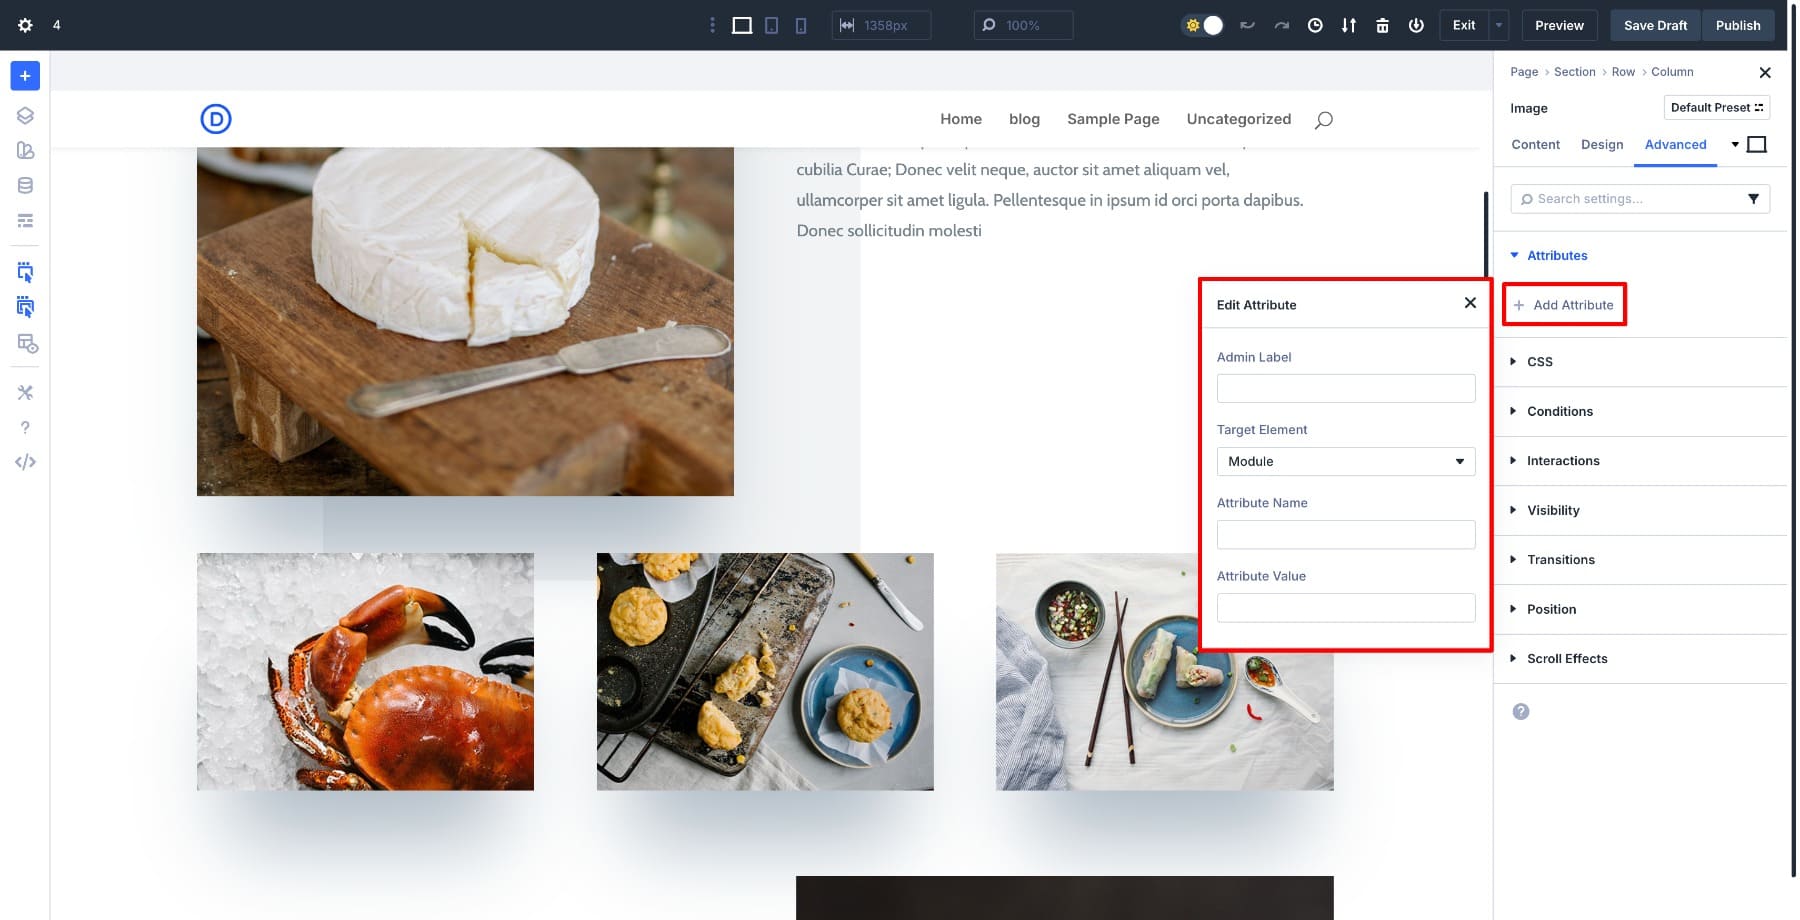
Each attribute needs a Name (id, class, aria-label, or data-info) and a Value, such as hero-section or button-large. You can also add an Admin Label for your own reference and choose a Target Element to control whether the attribute applies to the module itself or specific items inside it.
Once you fill those in, Divi writes the attribute directly into the HTML. For example, setting the Attribute Name to id and the Attribute Value to hero-section produces this:
<div id="hero-section"></div>
Beyond IDs and classes, you can add accessibility attributes like aria-label, tracking codes with data-*, or SEO elements like rel and title. No need for third-party plugins or custom code snippets to make your site more accessible or add tracking. You handle it directly in the builder, keeping everything in one place while giving you better control over how elements work with CSS, JavaScript, and assistive technologies.
Why We Replaced the CSS ID & Classes Option
Before, CSS IDs and Classes sat in their own separate fields. They worked fine, but adding anything else meant custom code or workarounds. Consolidating everything into one Attributes panel means you’re not hunting through different sections to apply what you need. You see all your attributes in one spot, which makes managing them simpler and keeps your workflow consistent.
For anyone comfortable with HTML, this also feels more natural. You’re working with attributes the way they actually exist in code, just without leaving the visual builder.
✅ Don’t Worry — Your Old IDs And Classes Are Still There ✅
If you added IDs or classes in older Divi versions, you will not lose them. When you update to Divi 5, those values are mapped into the new Attributes panel automatically. Nothing is erased, and your front end does not change.
Here’s what to know:
- Where to find them: Open the element, go to Advanced > Attributes. You will see your past entries listed with Name set to id or class.
- Your CSS and JS still work: Any selectors that referenced those IDs or classes continue to apply without edits.
- Imports and Presets: Old layouts, Theme Builder templates, and global presets keep their IDs/classes. They appear in the Attributes list the moment you open them in Divi 5.
- Quick check: If styling looks off, confirm the Target Element is what you expect. Most elements default to the module wrapper. If your CSS was aimed at an inner element, set the target accordingly.
Learn Everything About Divi 5’s Custom Attributes
Using Custom Attributes To Add CSS Classes & ID Attributes
Adding IDs and Classes in Divi 5 works the same way it always has. You can apply them to any module, section, or row. Let’s walk through both.
Adding An ID Attribute
An ID targets one specific element on a page. You’d use it for something that only appears once, like the main hero image, a newsletter signup form, or the footer contact section.
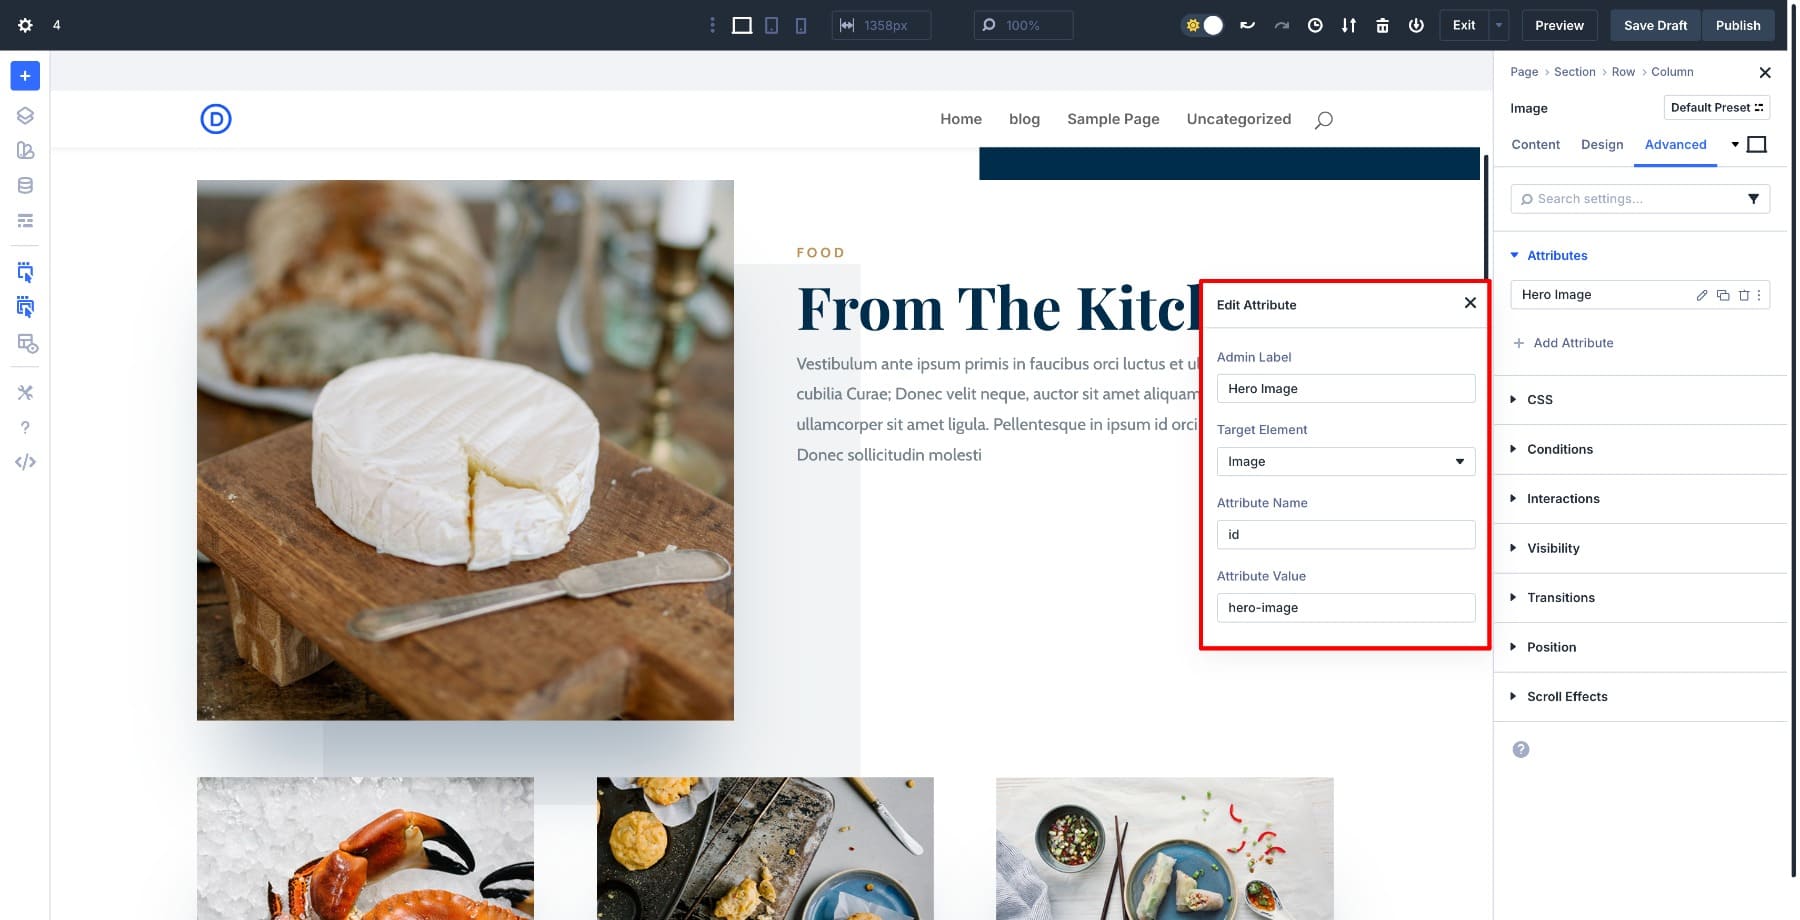
For this example, we’ll label an image as the hero image of the page.
Click on the image, go to Advanced > Attributes, and click Add Attribute. Set the Attribute Name to id and the Attribute Value to hero-image. Then select Image as the Target Element so the ID applies to the image itself, not the module wrapper.
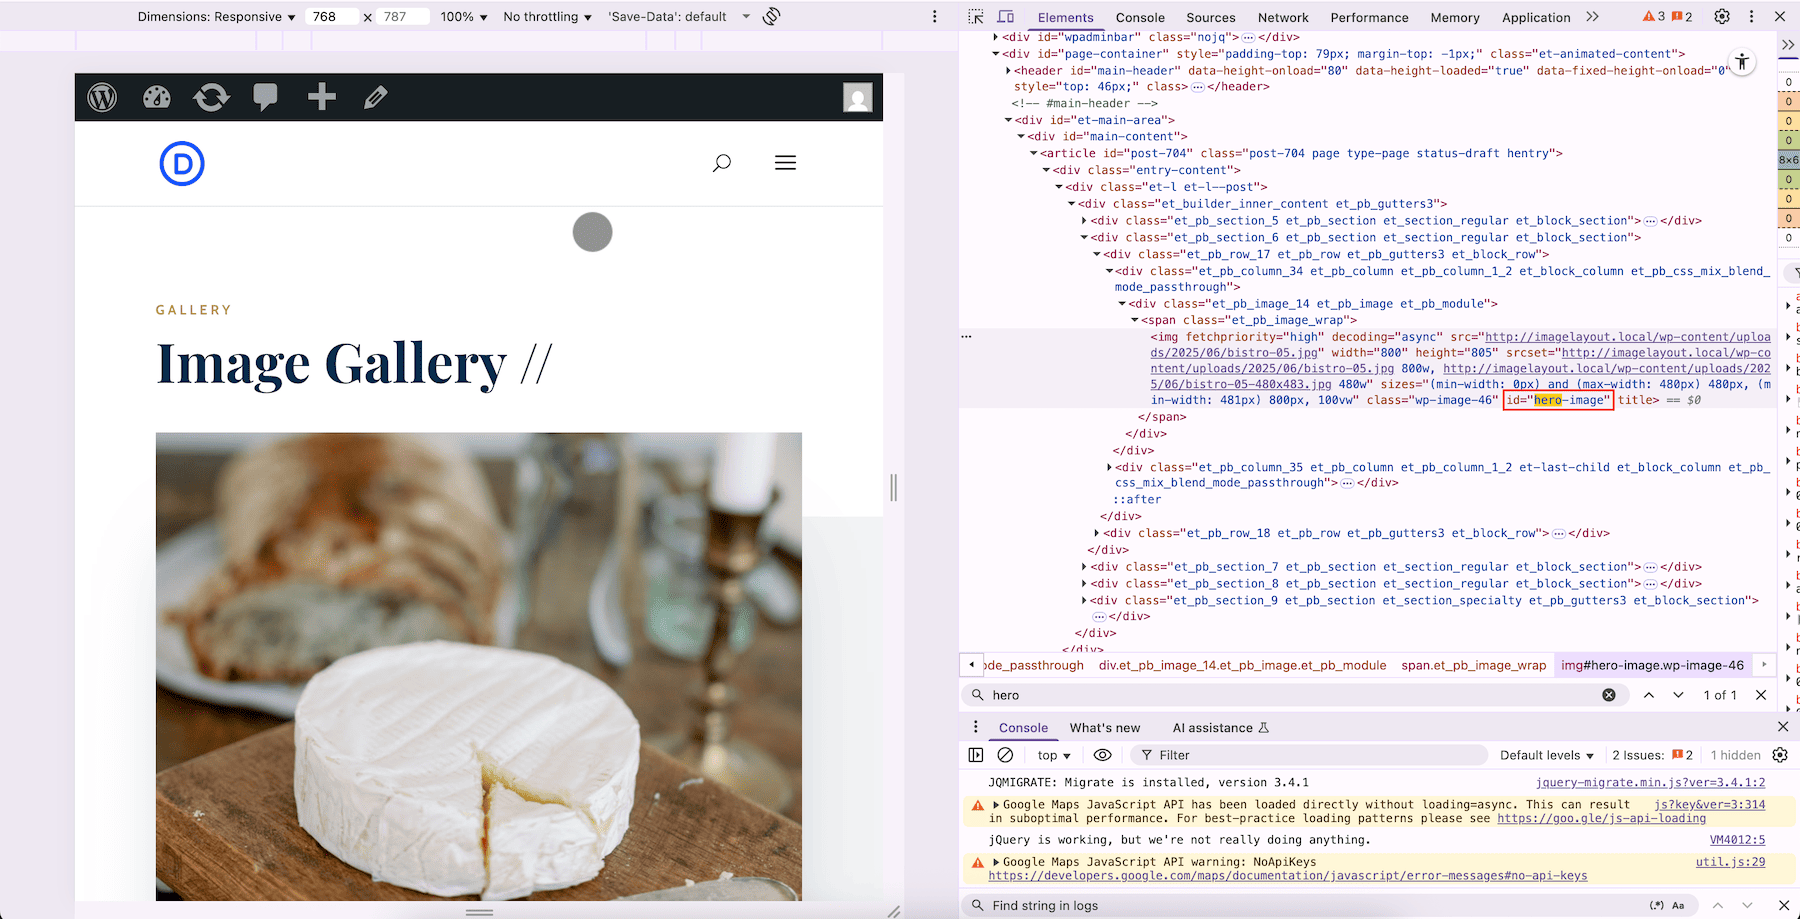
Save and preview the page.
If you inspect the element in your browser, you’ll see the ID attached to the image in the HTML.
Adding A Class Attribute
Unlike an ID, a class can be applied to multiple elements. This makes it useful when you want the same styling or behavior across several items at once, like all your CTA buttons, testimonial cards, or pricing tables.
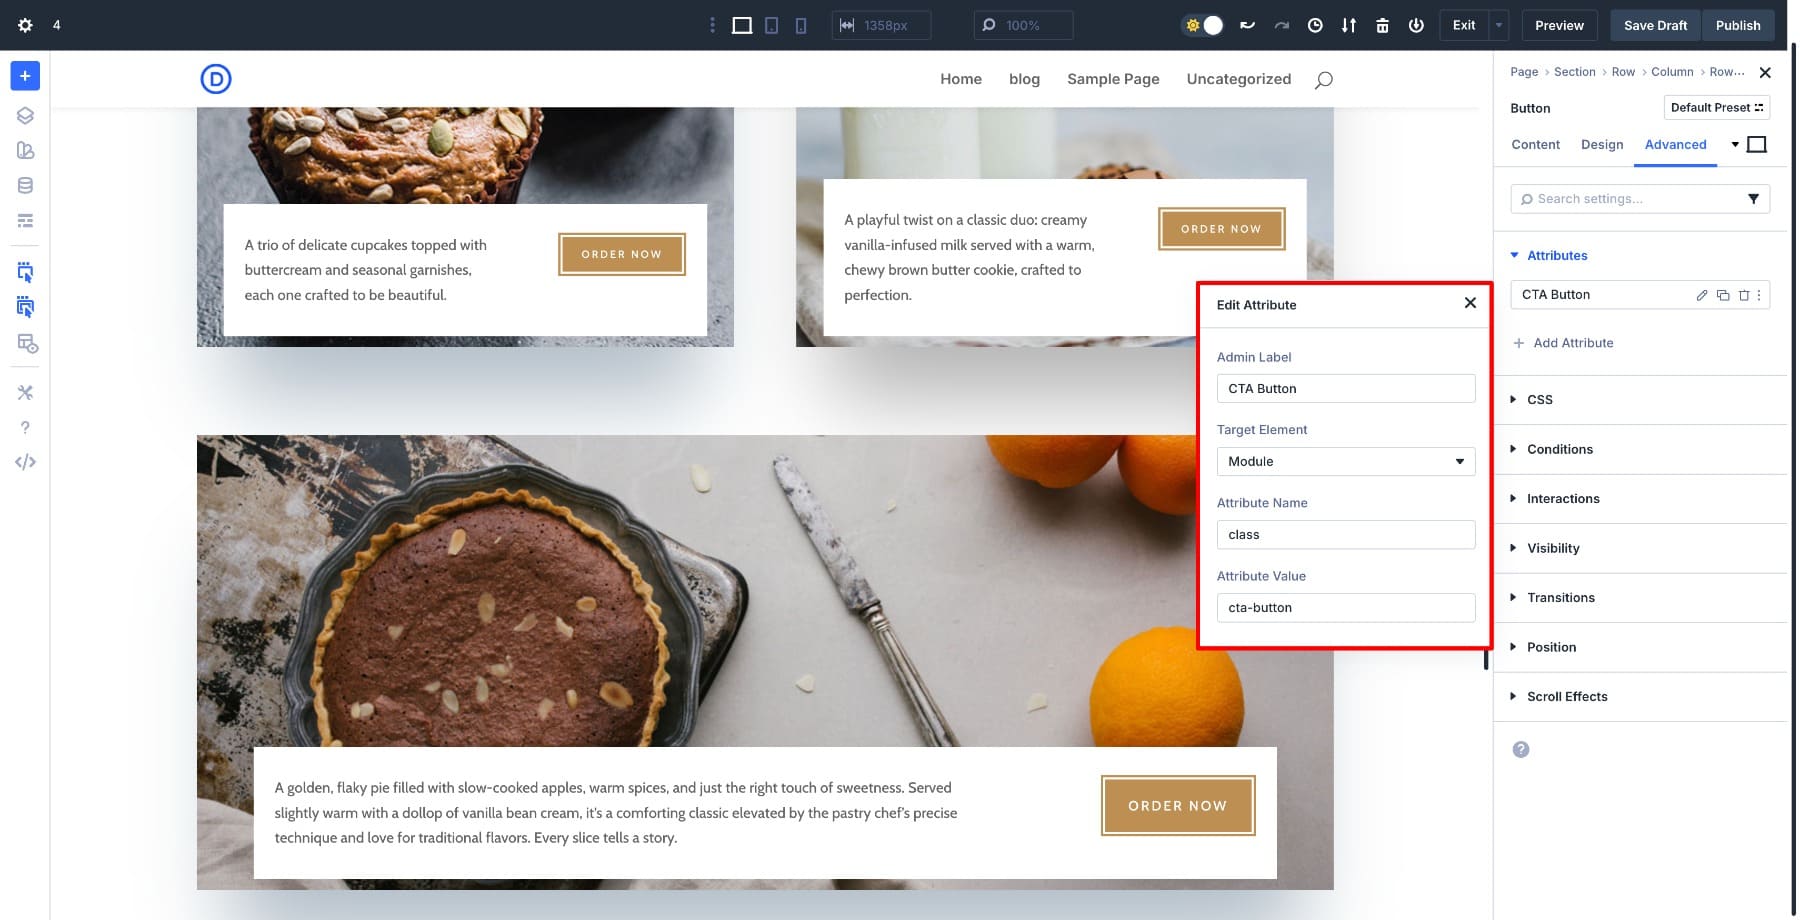
Here, we’ll assign a class to every CTA button on the page so they share the same styling. Open the first button, go to Advanced > Attributes, and set the Attribute Name to class and the Attribute Value to cta-button.
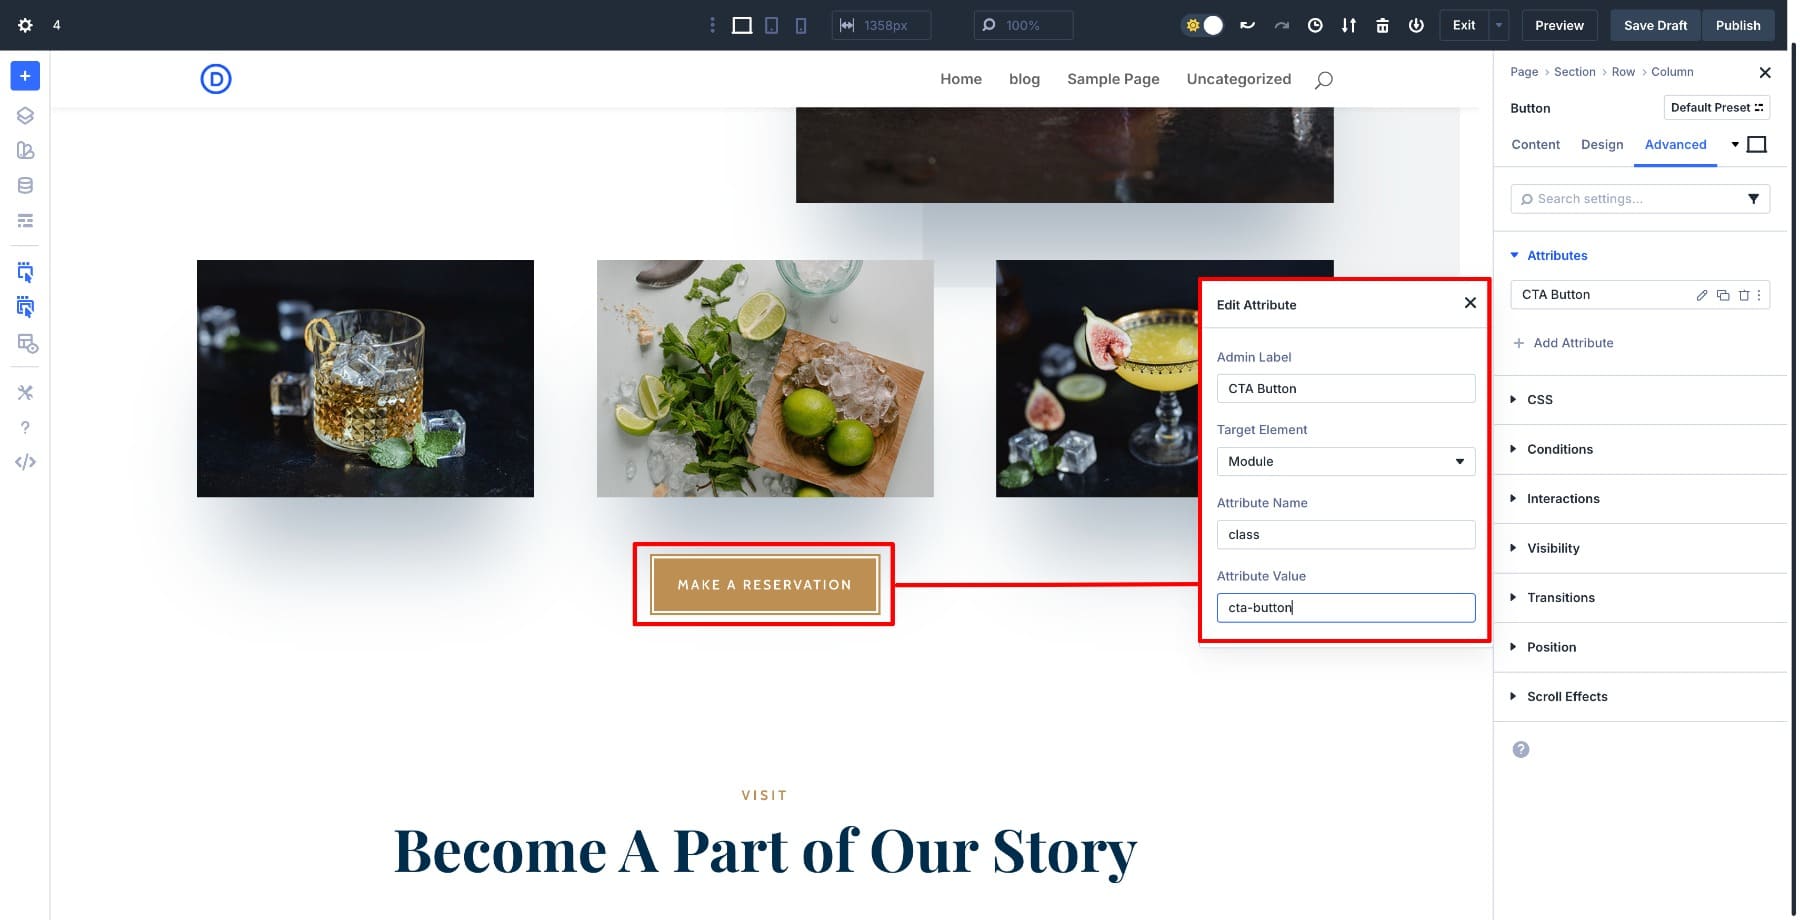
Then repeat the same steps for each button you want to include in the cta-button class.
Once all the buttons share the same class, you can style them together using the page’s Advanced > Custom CSS panel. Any changes you make to that class will apply to every button at once.
Try Custom Attributes In Divi 5 Today
Custom Attributes don’t reinvent IDs and classes. They just put everything you need in one predictable spot. The Attributes panel keeps it organized so you don’t have to jump between fields or write workarounds to get things done.
If you haven’t already, download the latest version of Divi 5 to start using Custom Attributes along with all the other updates 👇🏻


I understand the logic behind the change, but at the end of the day, what used to be 1 click away (go to the Advanced tab -> start entering a CSS ID / CSS classes) is now several clicks away (go to Advanced -> Add Attribute -> select ID -> click on Confirm). It’s simply not much of a quality of life improvement.