
Sticky (or fixed) elements are parts of a website that remains in place as the user scrolls down the page. There are many uses for this sort of feature. Maybe the main navigation menu follows the user. Or an email opt-in scrolls along the side of the page. Perhaps just a nice design element adds to the user’s overall experience. Whatever you need to stick to the page, Divi has built-in options to add this effect to your site simply and quickly.
In this tutorial, we’re going to show you how to make any element on your page “sticky” (fixed) using built-in Divi settings so that you won’t have to worry about code of plugins at all. It’s simple, easy, and fast. So let’s dig in.
What You’ll Need for This Tutorial
To make any element sticky on your site, you will need the following:
- Divi Theme
- Elements to make sticky
- That’s it!
How to Make Any Divi Page Element Sticky
The first step to making an element sticky is to open the page you want to work with. Because this isn’t a global or extended setting and only applies to a single element, we will be working directly within a page (or theme builder layout). Be sure to open it in the Divi builder to edit.
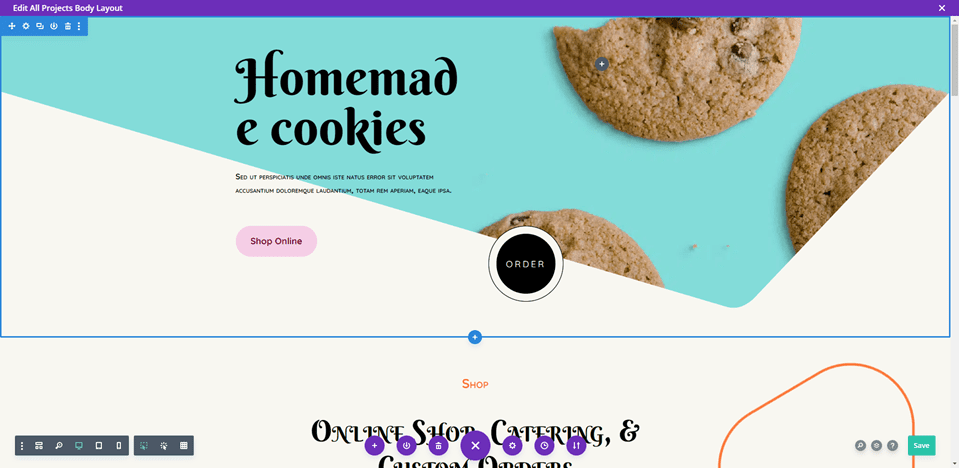
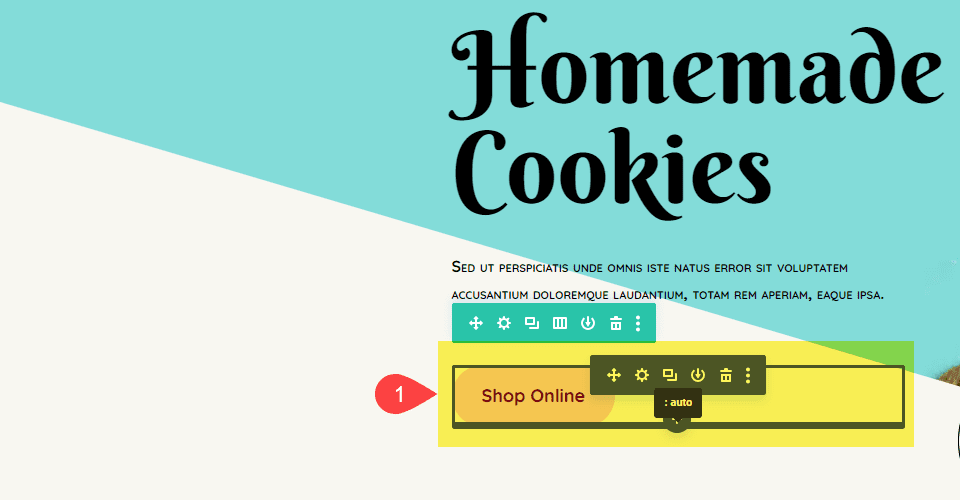
Next, you will choose your Divi sticky element. It can be anything on the page, but we are going to be working with a single module for today. Let’s choose the Shop Online Button Module because that’s a pretty common element to affix to the screen.
Then, open the settings for the module by clicking the gear icon and navigate to the Advanced tab. Scroll down until you find the Scroll Effects entry. Choose either Stick to Top, Stick to Bottom, or Stick to Top and Bottom. The difference means that the element will stick on downward scroll if you select Stick to Top. (Think about it as being pushed down by that part of the viewport.) Stick to Bottom means that it will still be sticky when the user scrolls upward, too, rather than being left behind.
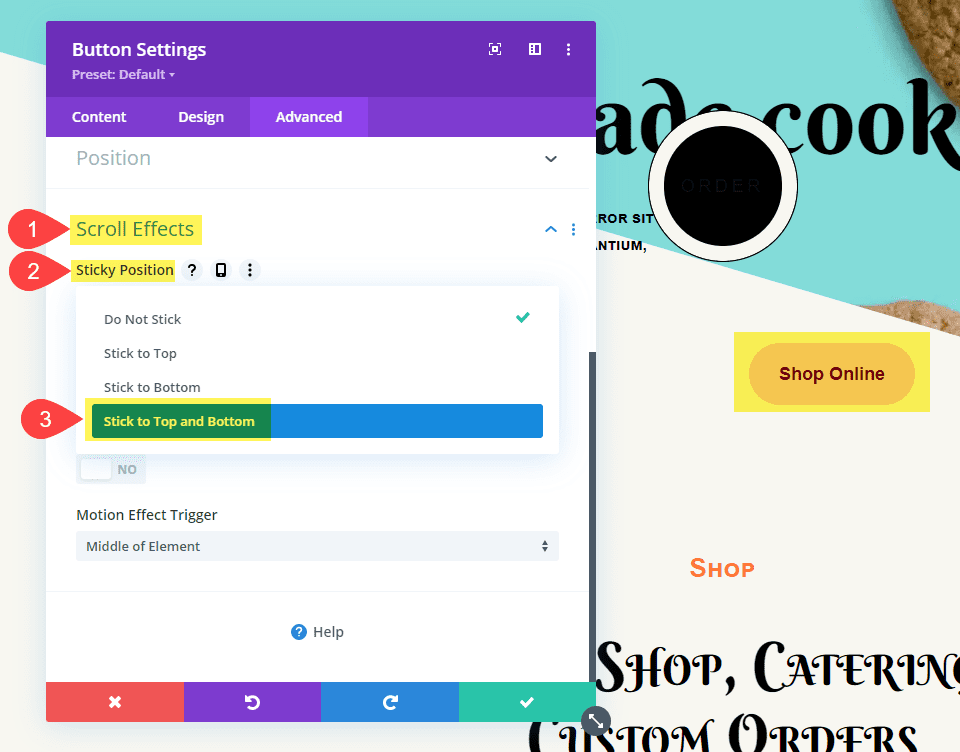
Stick to Top and Bottom is a combination those. And that’s it! The element is sticky now. Now, you can set limits to the element and make it only scroll to certain parts of the page or certain distances from the viewport.
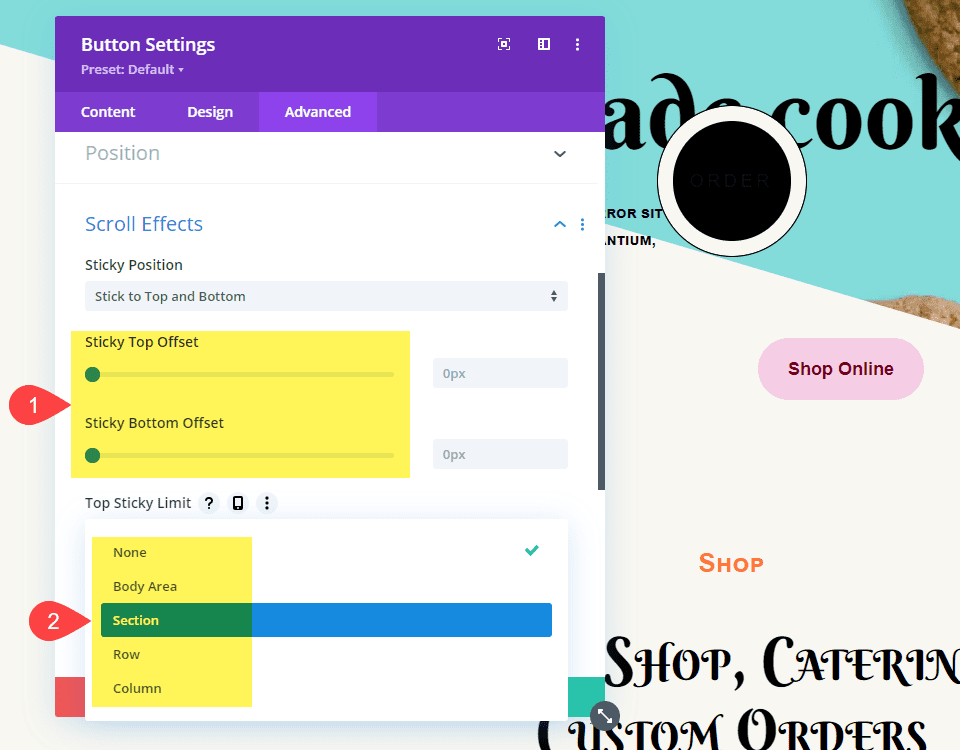
Once you have selected how you want the Divi element to stick, you can choose how far away from the top and/or bottom it will stick once the user starts scrolling. If you choose 0px, for instance, the element will only stick to the very edge of the viewport. Likewise, if you choose 55px, it will always be that distance from the viewport’s edge once as it scrolls. It will also only begin scrolling when the viewport’s edge reaches that distance from it.
The Top/Bottom Sticky Limit dropdowns adjust where the remains sticky. You can choose to have any element stick within any of its parent containers (column, row, or section), or you can choose to let it stick too the entire page using the body area option. This setting can be different for either. You can choose to have an element stick all the way to the bottom of the page on a downward scroll, but stop at the top of its section if the user scrolls above it.
You might be using multiple sticky elements and want them to keep their distance. If that’s the case, enable Offset from Surrounding Sticky Elements and the offset values you use above will apply to other stick elements. If you do not, there is a chance your sticky elements will overlap as you scroll. No one wants that.
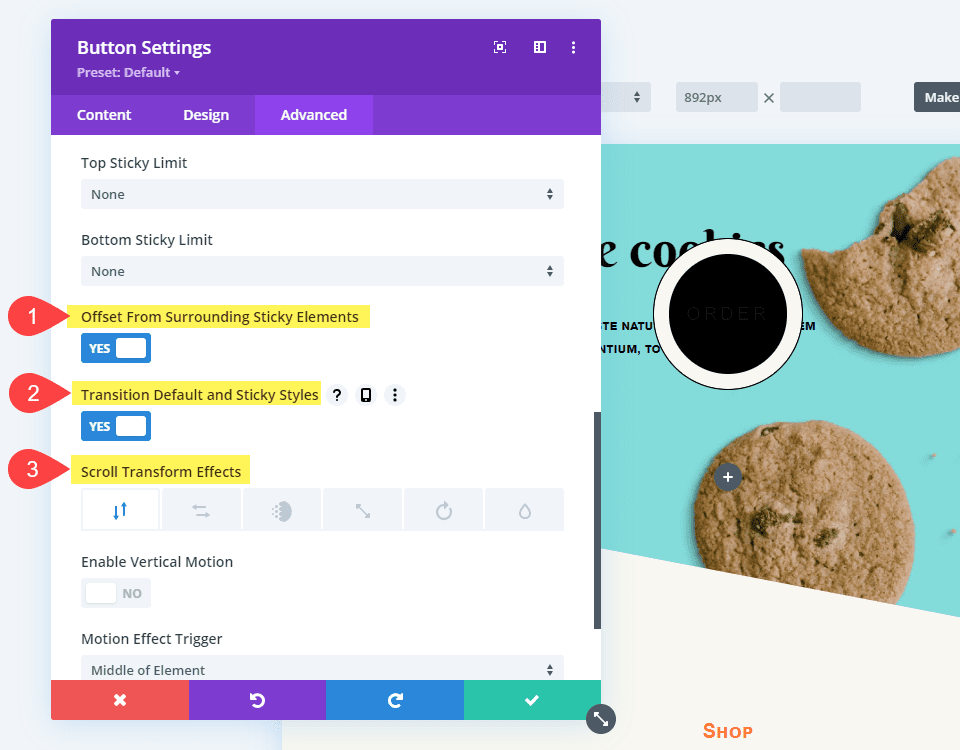
The Transform Default and Sticky Styles is a fantastic option to experiment with. You can change both the transition/animation that an element takes using Scroll Transform Effects. You can make the element fade into being sticky or rotate to call attention to the element that is now following them.
Also, you can use this option to change the entire styling of any sticky element. In the Design tab, you can enable Sticky Styles by clicking on the thumbtack icon. Note this icon will only appear if you have enabled stickiness in Advanced – Scroll Effects already.
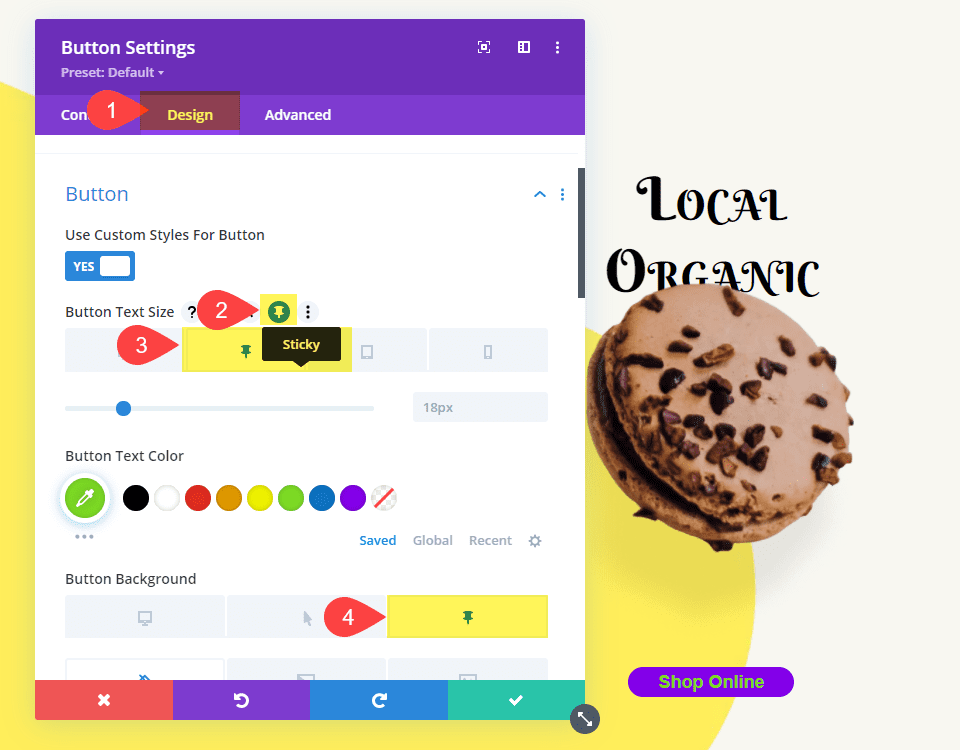
You can then adjust the sticky element’s styling just as you would with any other secondary Divi styling. You just click the thumbtack tab instead of mobile, desktop, or tablet. Divi gives you the option to change anything from backgrounds to color to size, so that the sticky element always looks different from the one that’s static.
We also want to point out that if you turn a section sticky, for instance, the thumbtack icon will appear for all children elements in it—rows, columns, modules. Because their parent is sticky, they inherit that property but can be styled individually for scroll.
Adjusting the Z-Index
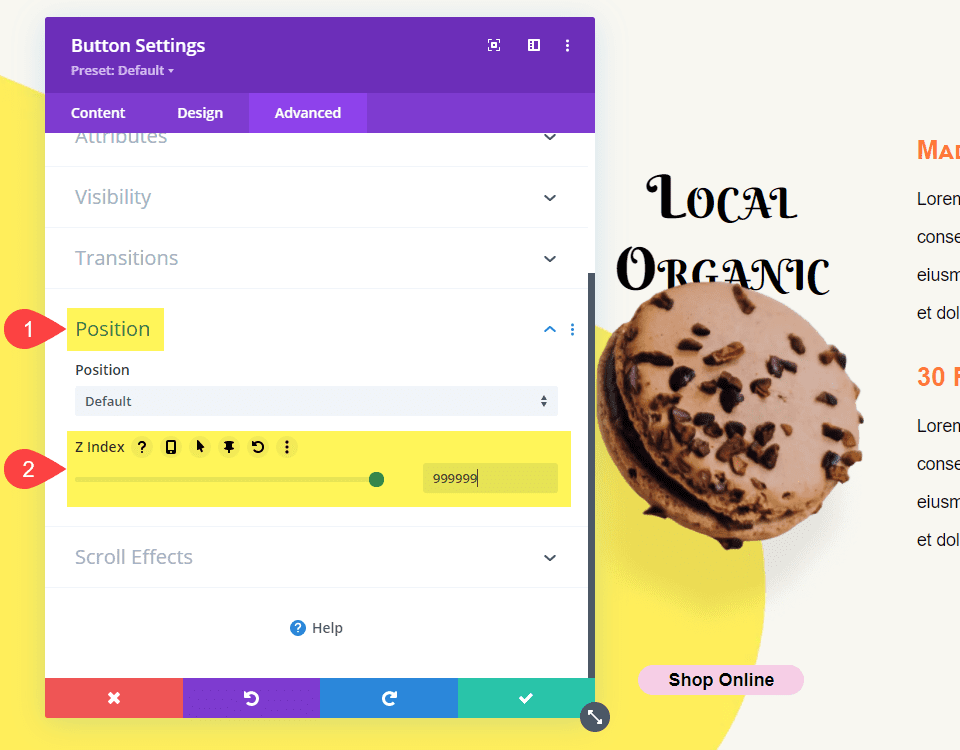
You will most likely want the Divi sticky elements to remain on top of the other content on the page. So you will need to adjust their Z-index value. You will find that in the Position section of the Advanced tab. Z-index is the relative depth of the elements on the page. This means that an element with a higher Z-index will appear in front of elements with a lower value.
If you adjust the value and the sticky element stays beneath others on the page, even if they have a lower Z-index value, then you will need to adjust the Z-index of the containing row or section.
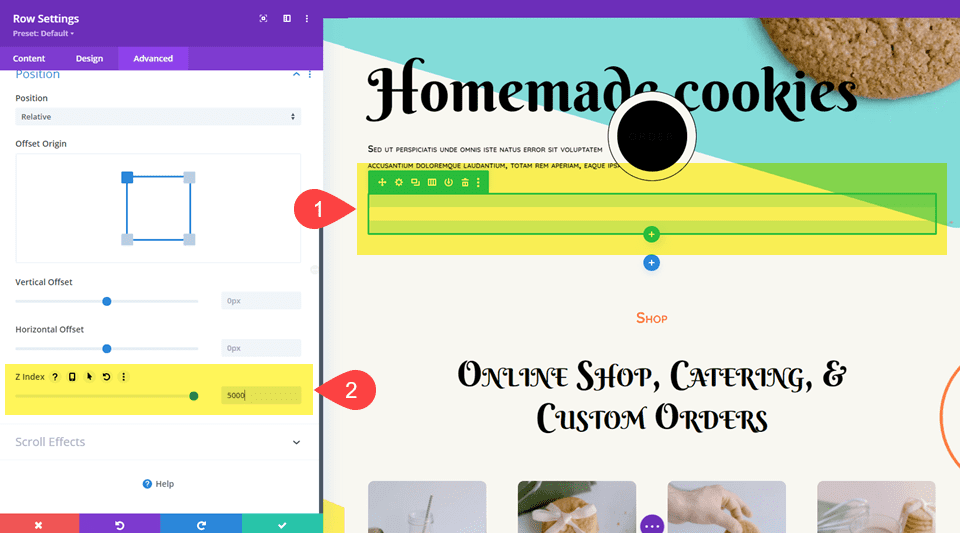
As long as both of these are greater than the other elements on the page, the sticky element will float on top.
Wrapping Up with Divi Sticky Elements
With Divi’s built-in sticky element options, you can stick any module, row, column, or section to your users’ screens as they scroll. Whether it’s a CTA, sub menu, promo offters, or anything else you can think of, we have put some powerful options in your hands. And we can’t wait to see how you put them into use!


This is fantastic, thank you for highlighting it! I never knew this was a feature, and always thought you need a plugin or super-fancy extra code.