
This post is part 1 of 5 in our mini series titled 5 Impressive Ways to Style Divi’s Countdown Timer Module. Stay tuned this week for all five unique examples of Divi’s countdown module, with a tutorial on how to achieve each one!
Adding a countdown timer to your website can be a very effective way to engage your website visitors. Whether you want to create urgency for a special offer or promotion, build suspense before an epic product or website launch, or count down to a specific event such as a wedding or concert, countdown timers can be the perfect “added touch” to your WordPress website.
In this mini series, I’m going to share with you 5 different ways that you can style Divi’s countdown timer in an impressive way. But, instead of just showing you the design, I’m going to dive deeper and provide a tutorial on all aspects of the design process so you can learn how to do it yourself.
The Divi Countdown Module: Before & After
Before we dive in, it’s important to see what we’re starting with. Below is a screenshot of the Divi countdown module with the default settings.
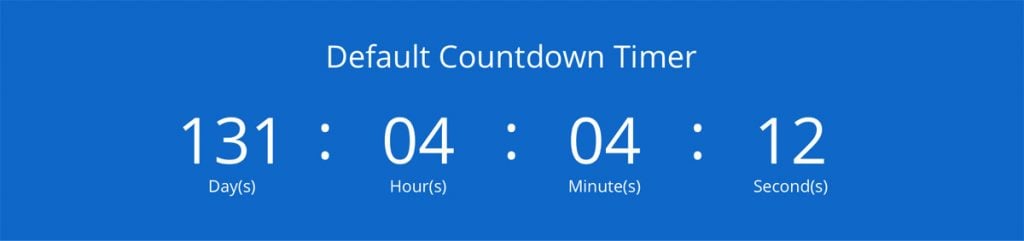
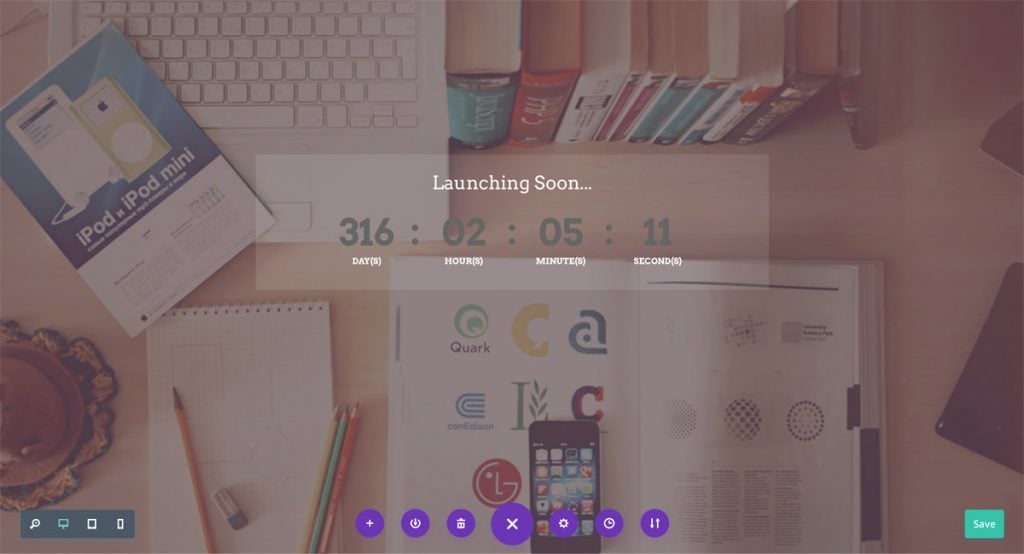
Now there’s nothing wrong with using the Divi countdown module with it’s default settings. It’s simple, clean, and will do the job. But, this mini series is meant to take the design several steps forward in order to hold down the title of being “impressive.” So let’s take a look at what we’ll be creating today.
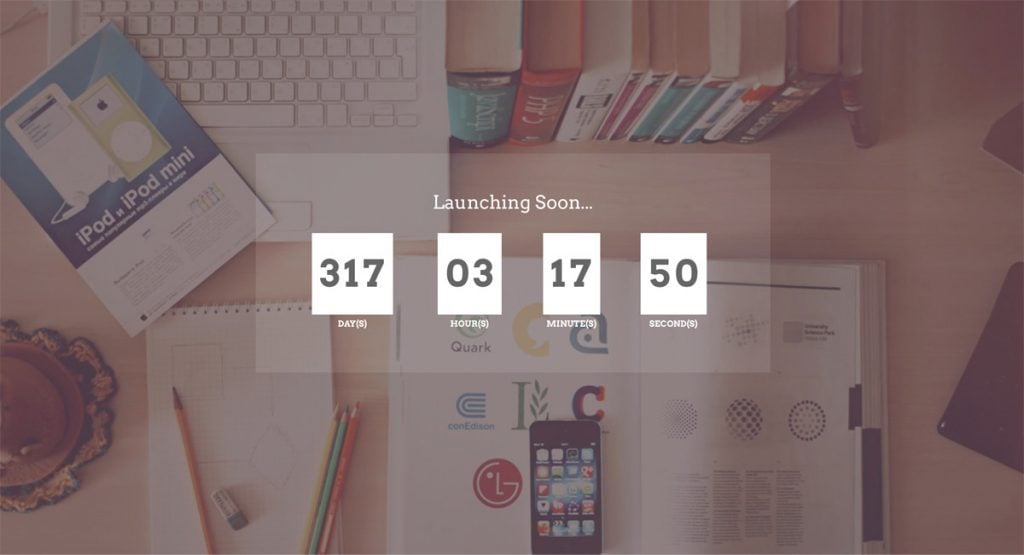
What makes this countdown timer unique is the full screen background image behind the countdown. The subtle semi-transparent background color of the countdown timer gives it separation, and helps it stand out from the background, but still allows the background image to show through.
The great thing about this example is you can use lots of different styles of images with different color palettes and it will still look great. So you can follow along and use it as-is, or use as a jumping off point for creating something unique to you.
Creating the “Simple Elegance” Divi Countdown Timer Module Design
Subscribe To Our Youtube Channel
Preparing the Design Elements
The majority of this countdown timer is achieved through Divi settings and CSS, so there isn’t a lot of prep work that we need to do. However, we do need to choose and retouch a background image.
As I mentioned previously, you’ll have a lot of flexibility with choosing an image. Since the colors of the countdown timer are neutral, and the background is semi-transparent, it leaves us a lot of room to play with different images and have it still look great.
There are a lot of places online to purchase stock images, as well as find free images too. My favorite source of free images is unsplash.com, and that’s where I found the image for today’s tutorial.
After you have an image chosen, it can be helpful to darken the image a bit to put the focus on the countdown timer. To darken the image for today’s tutorial, I used Adobe Photoshop to a Fill Layer of black. I then played around with the opacity until I got it just right–just as a previous tutorial of ours shows how to do, step by step.
If you don’t have Photoshop, there are other cheaper (or free) alternatives, such as the Pixlr Editor, that can be great for making simple image edits.
Here’s a before and after of the image that has been edited.

Implementing the Design with Divi
Now that we have our image chosen and prepared, it’s time to head to Divi. This particular countdown works well as a landing page for a website, so let’s create a new page in WordPress, give it a title, enable Divi, and head to the Visual Builder. Keep in mind you don’t have to create a new page though. Simply skip this first step if you’d like to add the countdown timer to an existing page.
If you’ve created a new page, then there’s already a blank section in place for us. Otherwise, create a new section if you’re adding this to your existing Divi page.
Now, Insert a one column row, and add a countdown timer module to the row. You’ll then be prompted to choose a date to count down to. You can optionally choose a countdown timer title as well. In our example, we added “Launching Soon…” as our title. We’ll be back to tweak the settings for the module in a bit, but for now click the green checkbox to save the module settings.
Now, we’re going to add our image to the section as a background image. To do this, hover over the section until you see it outlined in blue. Then, in the upper left, click on the gear icon to open up the section settings.
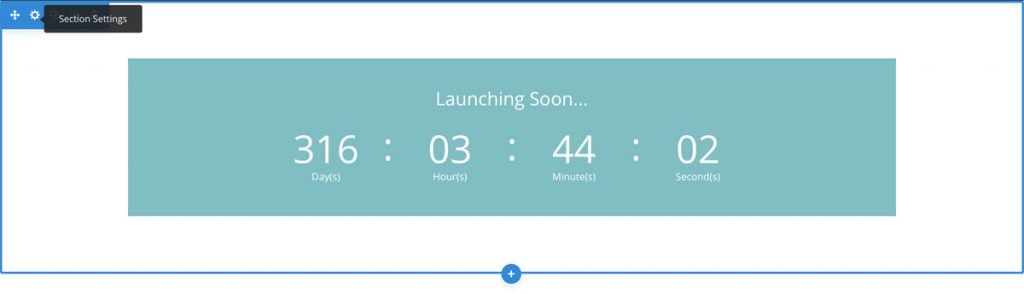
Then, upload your image as the background image. In the below image, you’ll see what we have so far. It’s not great, but we’re making progress.

Adjusting the Module Settings
Now it’s time to start digging into the countdown timer settings. Hover over the countdown timer and open up the Module Settings (click on the gear icon in the dark gray set of controls that appears when you hover over the countdown timer).
In the General settings:
- change text color to ‘dark’
- change ‘Use Background Color’ to ‘No’
In the Design settings:
- change all fonts to ‘Arvo’
- change the Number Font and Label Font to bold
- change the Labels Font to all caps (TT icon)
- change the Header Text Color to white (#ffffff)
- change the Label Text Color to white (#ffffff)
- change the Numbers Font Size to 52px, and the Label Font size to 12px.
- add 0px to the Custom Margin for Bottom.
Adjusting the Row Settings
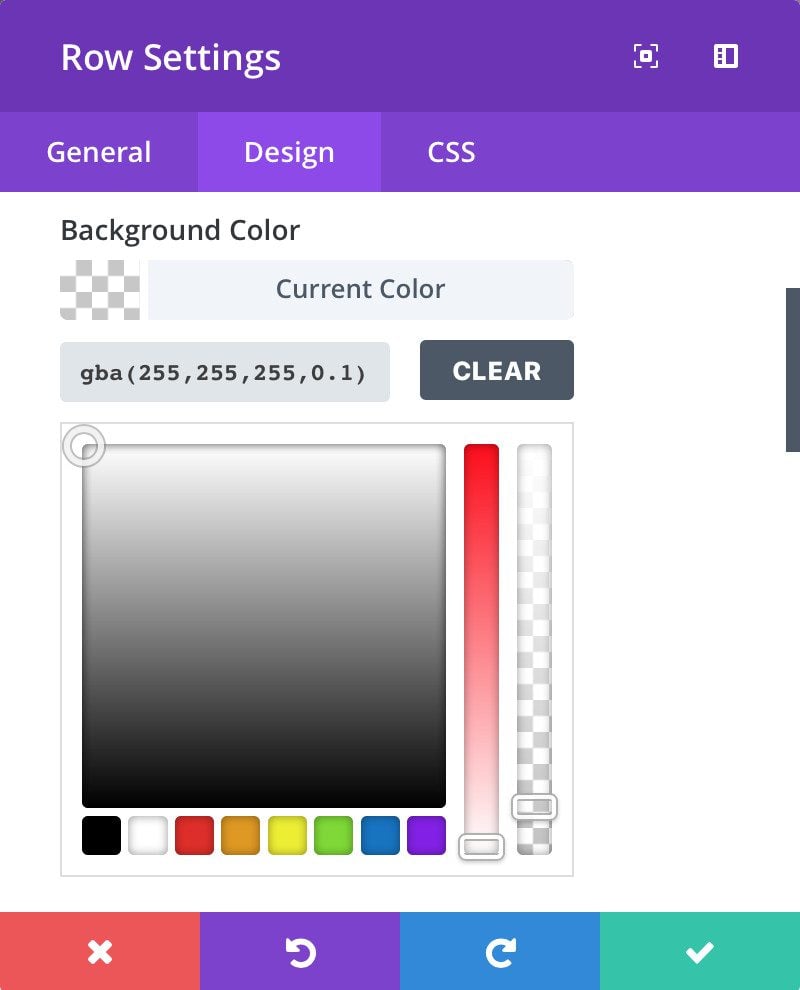
We now need to make a few minor adjustments to the row. Hover over the row and open up the Row Settings (click on the gear icon in the green set of controls that appears when you hover over the row). You’ll keep the General settings the same, but we’ll need to make some adjustments in the Design settings:
- Change the background color to rgba(255,255,255,0.1)
- Change the setting for ‘Keep Column Padding on Mobile’ to ‘Yes’
The row background color is what gives the countdown timer the translucent feel. Basically, it’s just a white background with the opacity turned down to only 10%. Or in other words, it’s 90% transparent. You can adjust the opacity by using the second slider control next to the color selector.
Next we’re going to add a couple lines of CSS to the main row element. Navigate to the CSS tab of the Row Settings. Scroll down until you see the box for “Main Element.” And paste the following CSS in the box:
max-width: 50%;
margin-left: auto;
margin-right: auto;
top: 20vh;
The above code does a couple of things. Firstly, it makes it so the row will not take up more than 50% of the screen (max-width: 50%). And since we’re changing the width, we need to make sure it will still be centered (margin-left: auto; margin-right: auto). Lastly, I wanted the row to not be perfectly vertically centered, but slightly above the center. To achieve this we’re going to utilize vh (viewport height). So by adding top:20vh, the distance from the top of the screen would be 20% of the entire viewport height. You can play around with this to get it where you want it.
Adjusting the Section Settings
We actually only have one very tiny tweak to make to the Section Settings. Open up the Section Settings (click on the gear icon in the blue set of controls that appears when you hover over the section), and click on the CSS tab of the Section Settings. Scroll down to Main Element and add the following line of CSS:
height: 100vh;
This line of CSS will make the section “full screen”, or in other words, make the height of the section 100% of the viewport height. This is very similar to the Full Screen setting that is available as a control for Full Width headers in Divi.
So here’s what we have so far.
You can see it’s really starting to take shape. We’re almost there.
Adding the Custom CSS
The last thing we need to add is a little custom CSS magic! Yes, we technically did already add some CSS into the section and row settings, however for this we’ll be adding it to the Custom CSS box of either the Divi Theme Options panel or the individual page settings custom CSS box.
Why do we add it over there and not directly within the module, row, or section? Well, Divi has pre-targeted CSS areas in the settings of the modules, row, and sections, but it doesn’t target every single CSS class that is available in the Divi stylesheet. Before we can start adding CSS though, we’ll need to add our own custom classes so that we’ll only customize the CSS of the module we’re working on now, and not ALL countdown timers that are on the site or will be on the site.
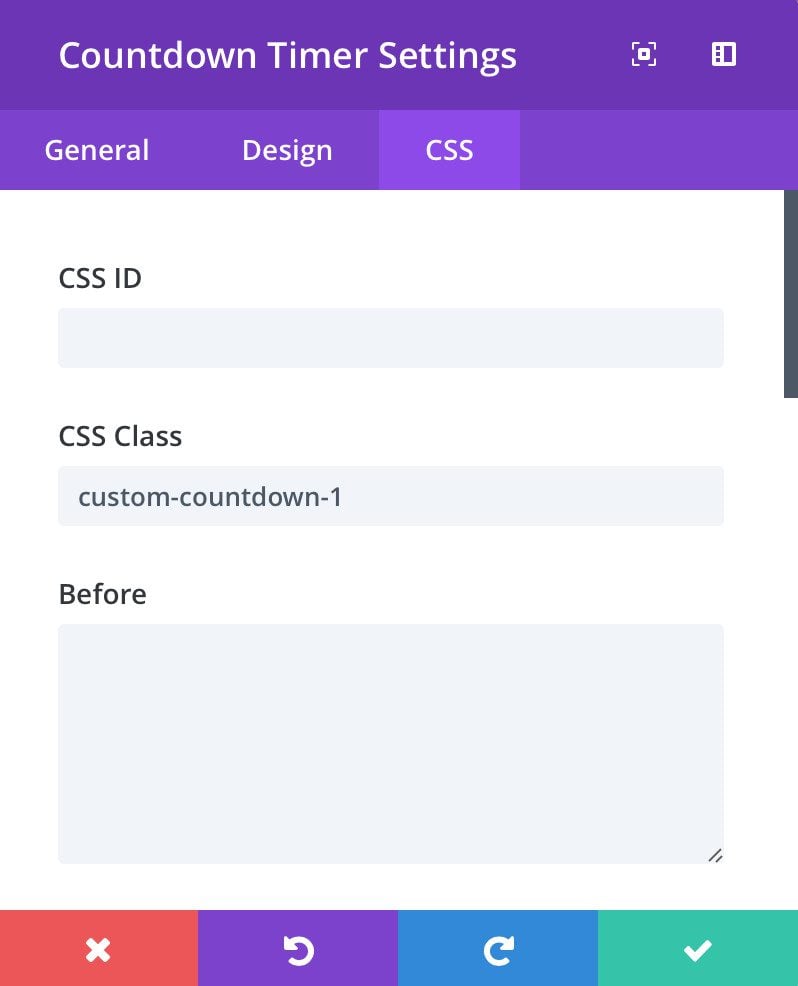
Open up, the module settings, and click over to the CSS tab of the module settings, and add custom-countdown-1 as the CSS class.
Okay, now we’re ready to add the custom CSS. I mentioned above that you have the option of adding the below CSS to the custom CSS box within the Divi Theme Options panel, or the custom CSS box within page settings for the individual page that you’re working on.
If you think you’ll be adding more countdown timers later with this same styling to other pages, then add the CSS to the Divi Theme Options panel. Otherwise, you can add it to the page settings custom CSS box.
To open up page settings, click on the purple gear icon at the bottom of your screen. If you don’t see the gear icon, click the purple button that you do see to expose the rest of the menu. Then, click on the CSS tab and paste the below CSS into the box.
.custom-countdown-1.et_pb_countdown_timer .section.values {
width: 21%;
}

.custom-countdown-1 div.sep.section {
display: none;
}

.custom-countdown-1 .value {
letter-spacing: 6px;
background-color: white;
padding: 30px 6px !important;
padding-left: 11px !important;
}
.custom-countdown-1 .hours {
margin-left: 21px;
}
You’ll notice right away (thanks to the live updating of the Visual Builder) that a few different things changed on our countdown timer. I recommend pasting the CSS above in small chunks to see what each section does to the countdown timer. This will also allow you to easily customize further, should you desire.
Be sure to save your changes; then you can admire what you just created!
Tomorrow: How to Create a Gorgeous Seasonal Transparent Countdown Timer in Divi
I hope today’s tutorial inspired you to take the Divi countdown timer module to the next level! Don’t forget that today is only day 2 of 5 of this miniseries! In tomorrow’s post, I’m going to show you how to achieve a transparent countdown timer a beautiful background image.
Be sure to subscribe to our email newsletter and YouTube channel so that you never miss a big announcement, useful tip, or Divi freebie!


Using assembly program I want to create a Digital clock .Which tool & program I am using , Please tell me?
This was so timely, I was just struggling with the timer module and had some ET tickets in. Your post has solved everything I was having an issue with, so thank you! Especially the “height: 100vh;”. I did find that if I kept the top: 20vh; in the row that on mobile resolutions the timer box started overlapping the following divi section, so I removed that. Also the custom CSS to be placed in the page (using the custom-countdown-1 class) didn’t work until I put !important in every line.
Glad to hear it! And thanks for sharing. That’s good to know.
Hello Tim,
Thanks for this wonderful tutorial.
I need a counter of the same kind but I would like to be able to add for example 3 minutes, with a button.
Is there a possibility?
Hi Gérard,
You can add a button module directly underneath the countdown module. You’ll have to style it to match the rest of the layout, but that can be done within the Design settings of the button module 🙂
Is there any way to put the countdown timer in the divi slider module?
Hello.
Great tutorial! Is there a way to change english words (days, hours, minutes, seconds) to another language words?
I love these video Divi tutorials for new ideas for my website.
Congratulations Tim.
Thanks Guillermo 🙂
Great guide, thanks for your continuos hard work.
Question:
¿What could be a better way to implement the count down timer in the fixed navigation bar or how can I make a alternative module that works as fixed bar with the count down timer? This function is great for sale pages.
Its great tutorial. Thank you. Is there any option to set timer to shows 12 or 5 day instead 012 or 005 days left?
Hi J.J.,
Thank you for the kind words. I’m glad you enjoyed the tutorial 🙂
As for your question, yes there is a way to remove the leading zero, but it requires a bit of jQuery code. Dan from Divi Booster has an excellent tutorial that shows you how to do this. Just Google “Remove the Leading Zero on Countdown Module Days” and you should find it 🙂
Thanks for great work and your support!!! You are the best! ?
You’re welcome! 🙂
Is there a way to put the Count Down Timer into a widget in a sidebar? I’d rather do it as a shortcode into, say a text widget, rather than creating a fullwidth page and simulating the sidebar so that I could use the module.
Hi Bill,
There isn’t a default way to add Divi Builder layouts into a widget. However, there is a 3rd party premium plugin (yet very affordable) called “Divi Widget Builder” from Divi Space. And yes, it would allow you to add a countdown timer, including the layout shown in this tutorial, into a widget and sidebar. Hope that helps!
I see your premium(yet very affordable) plugin and raise you a FREE plugin called Widgetify Divi Layouts.
Just log into the blog and search for the plugin in the plugins area.
That’s great to know, thanks for sharing.
Thank you for your post!
Last week I added a countdown timer to my website and found a minor issue with its presentation. When the screen gets smaller, the content of the timer doesn’t shift nicely. Please refer to this screenshot: http://goo.gl/tNGfZo
I would appreciate it if you could suggest a way to fix this issue.
I have exactly the same problem, Elena. Did you find a way to fix it?
I thought it would be great if it was possible to skip the seconds part for the mobile version, for example.
I found a solution provided by Gourav Shrivastava on the member support page:
Add the following custom css to the Custom CSS field of “Divi > Theme Options > General > Custom CSS”
@media screen and (max-width: 480px) {
.et_pb_countdown_timer .section p{
font-size:26px!important;
}
}
That’s where you can find his original post:
https://www.elegantthemes.com/forum/viewtopic.php?f=187&t=636934&p=3507732&hilit=countdown+mobile#p3507732
i had the same problem! :/
Thank you Strifler,
Can we do these for extra themes? I can not use divi 🙂
Hi Ali,
Excellent question. This tutorial (as well as the rest in the series) should work the same on Extra, as well as any theme using the Divi Builder plugin. 🙂