
A hero section is the eyecatcher of your website. It usually sets the tone for the rest of the website and shows visitors what they can expect. That’s why it can be helpful to make sure all focus is on the few elements you share in your hero section, such as the copy and call to action. But just because you want to highlight the hero section, doesn’t mean you don’t need a navigation bar too. If you’re looking for a user-friendly way to reveal your header once people start scrolling, you’ll love this post. Today, we’re showing you how to hide your header before scroll using Divi and its built-in sticky options. The effect we’re achieving is fully responsive and looks great across all screen sizes. You’ll be able to download the template JSON file for free as well!
Let’s get to it.
Preview
Before we dive into the tutorial, let’s take a quick look at the outcome across different screen sizes.
Desktop
Mobile
Download The Header Template for FREE
To lay your hands on the free header template, you will first need to download it using the button below. To gain access to the download you will need to subscribe to our newsletter by using the form below. As a new subscriber, you will receive even more Divi goodness and a free Divi Layout pack every Monday! If you’re already on the list, simply enter your email address below and click download. You will not be “resubscribed” or receive extra emails.

When uploading the template to your Divi Theme Builder and entering the template, you’ll notice that the section isn’t visible. That’s because the effect is already applied to it. To modify the different elements, you can either switch over to wireframe mode and access the elements there, or temporarily remove the section transform translate & main element settings and put them back when you’re done modifying the header design.
1. Building The Header Element Structure Inside a New Header Template
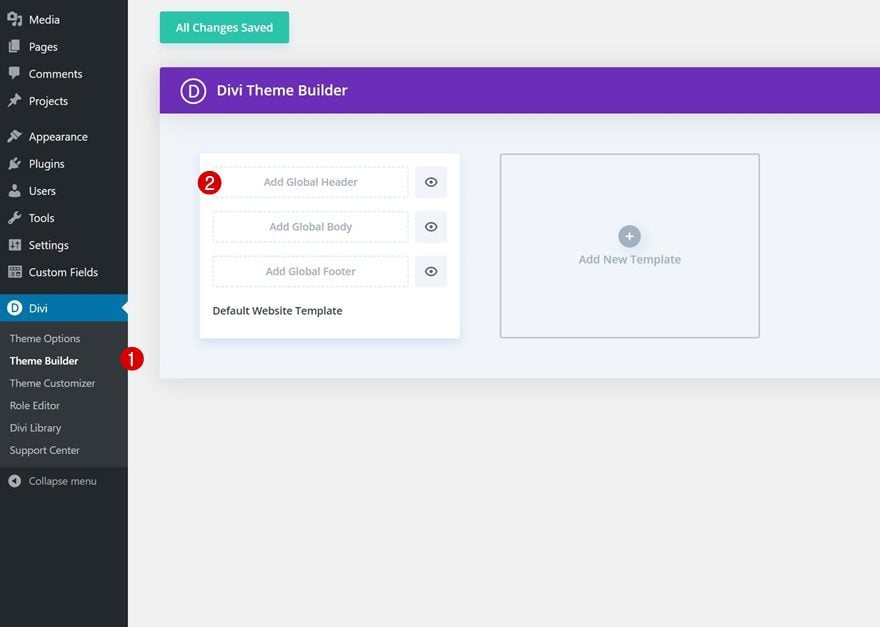
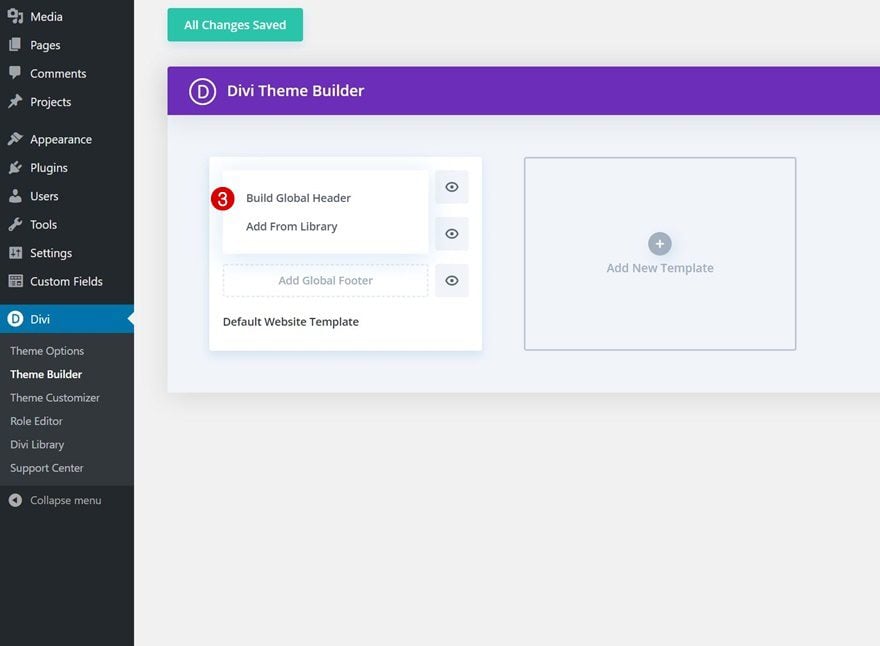
Create New Global Header Template
Start by going to the Divi Theme Builder. There, start building a new global or custom header.
Section Settings
Background Color
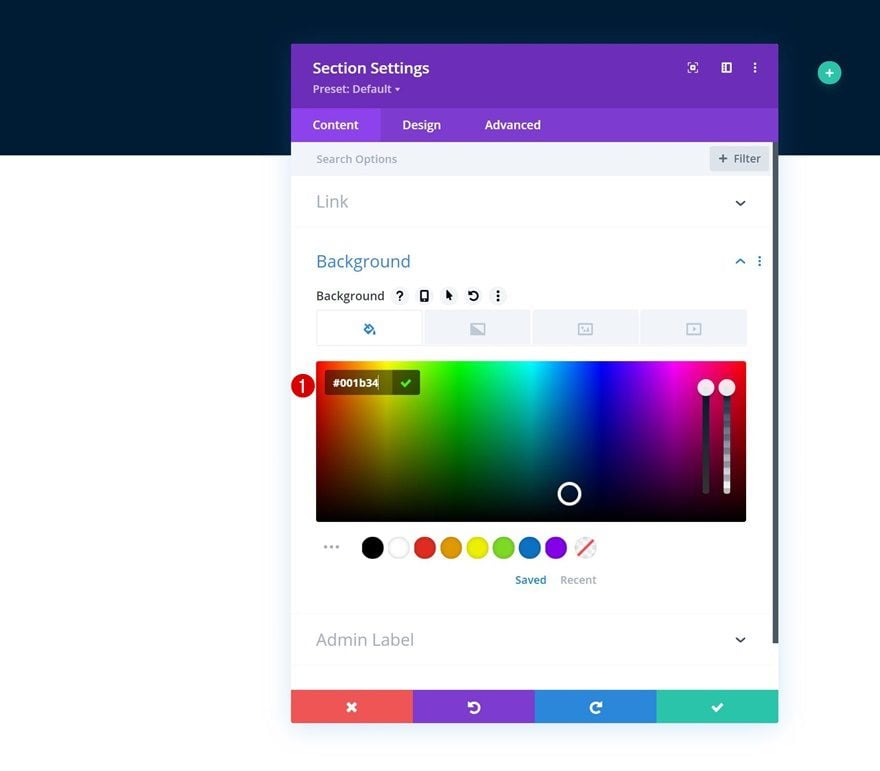
Once inside the template editor, you’ll notice a section. Open the section settings and change the background color.
- Background Color: #001b34
Spacing
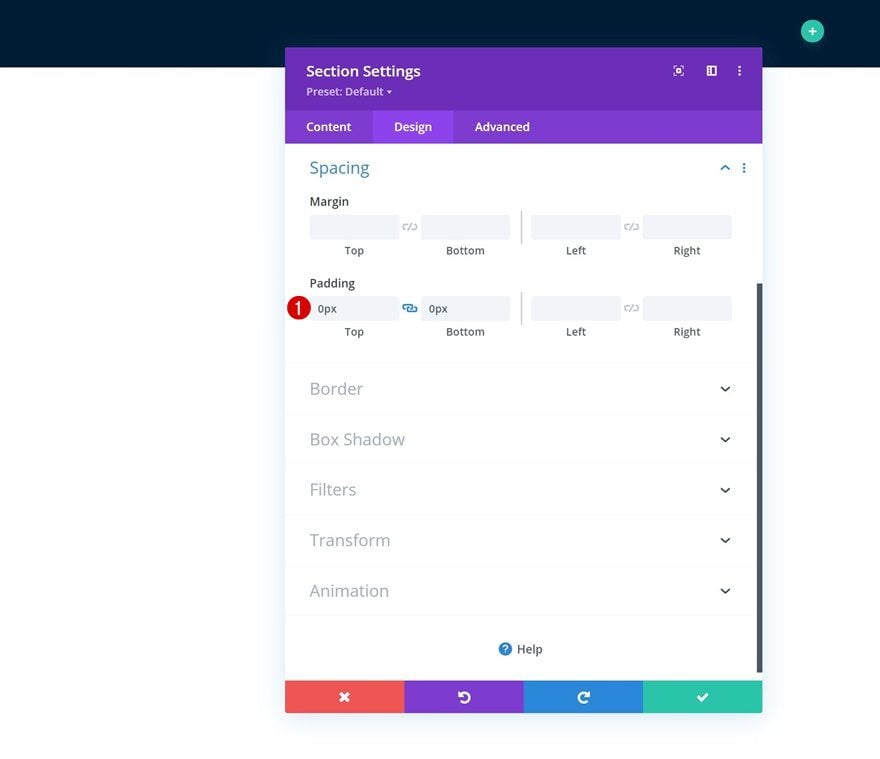
Move on to the section’s design tab and remove all default top and bottom padding next.
- Top Padding: 0px
- Bottom Padding: 0px
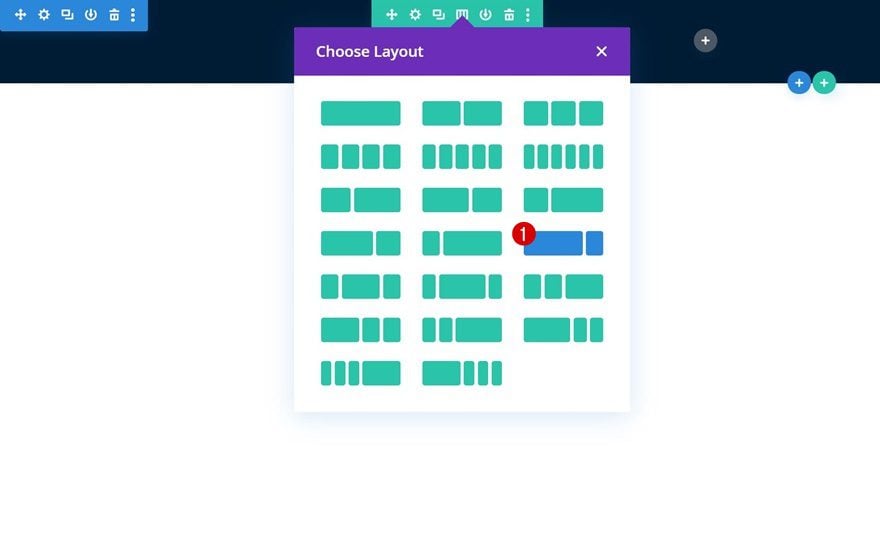
Add New Row
Column Structure
Continue by adding a new row using the following column structure:
Background Color
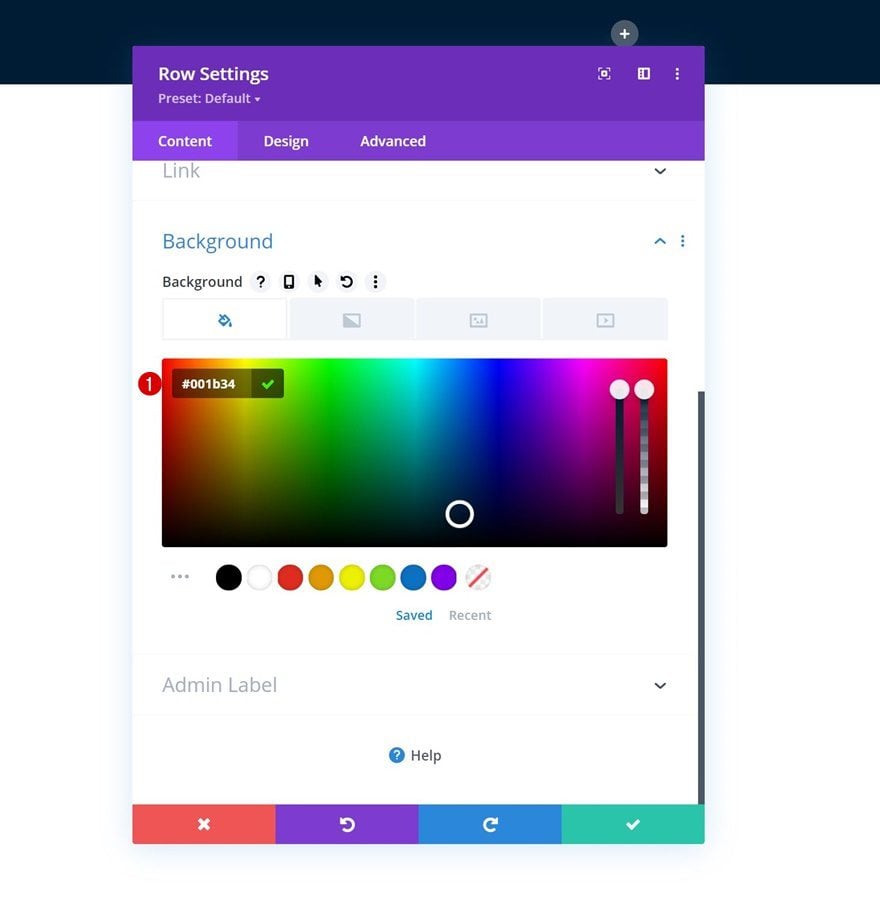
Without adding modules yet, open the row settings and apply a background color of your choice.
- Background Color: #001b34
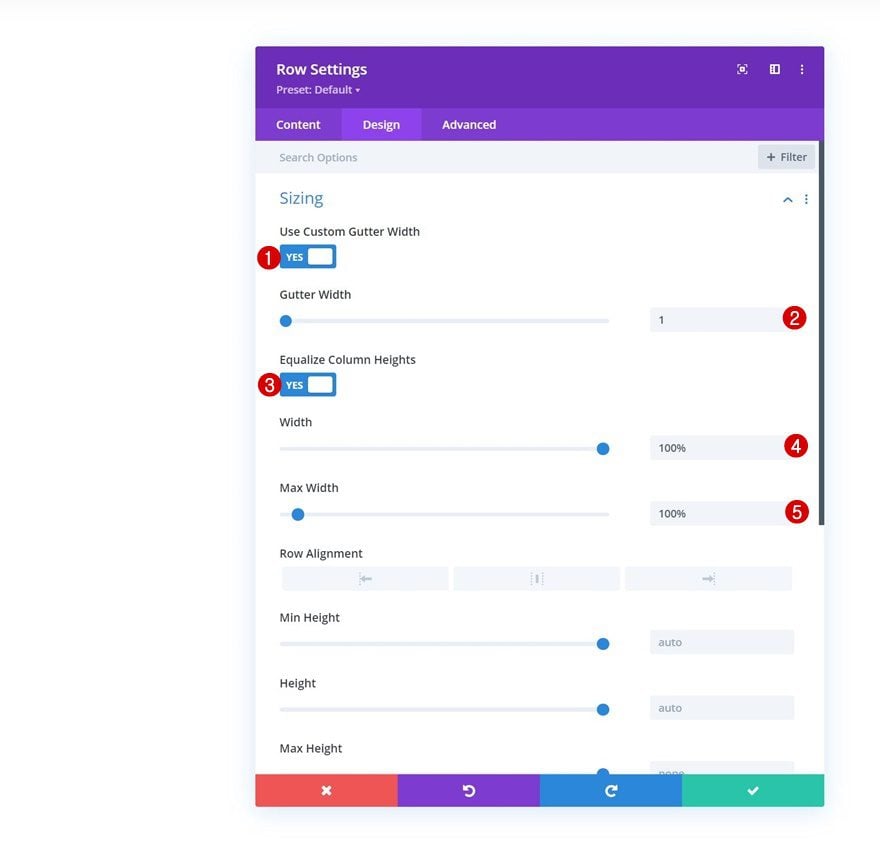
Sizing
Move on to the row’s design tab and change the sizing settings accordingly:
- Use Custom Gutter Width: Yes
- Gutter Width: 1
- Equalize Column Heights: Yes
- Width: 100%
- Max Width: 100%
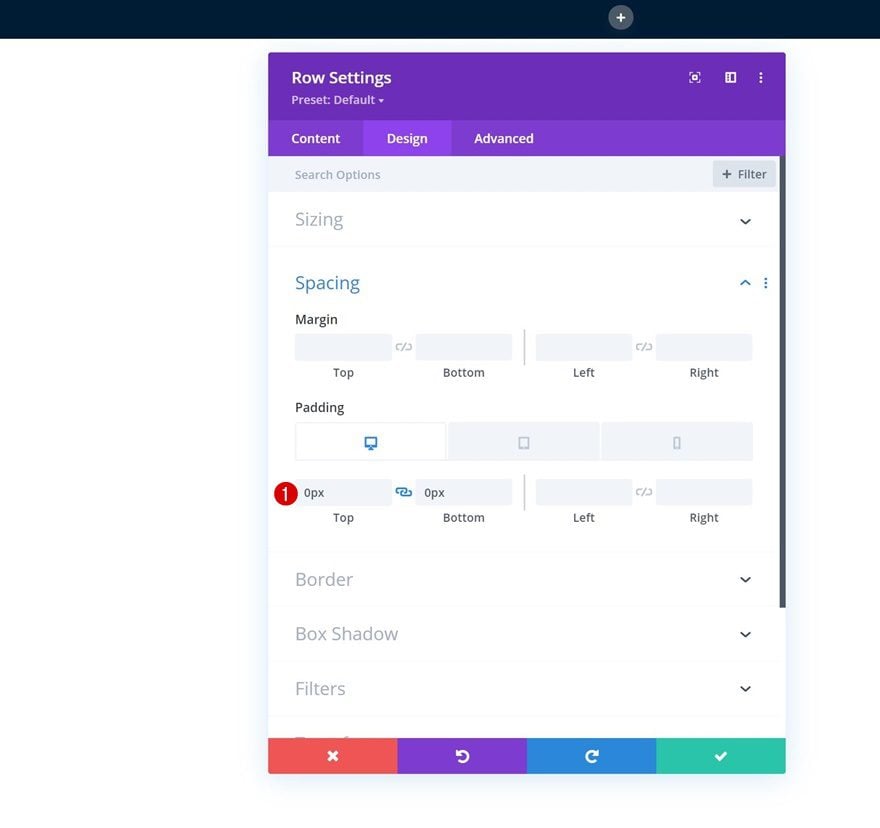
Spacing
Continue by changing the padding values accordingly:
- Top Padding: 0px
- Bottom Padding: 0
- Left Padding:
- Desktop: /
- Tablet & Phone: 5%
- Right Padding:
- Desktop: /
- Tablet & Phone: 5%
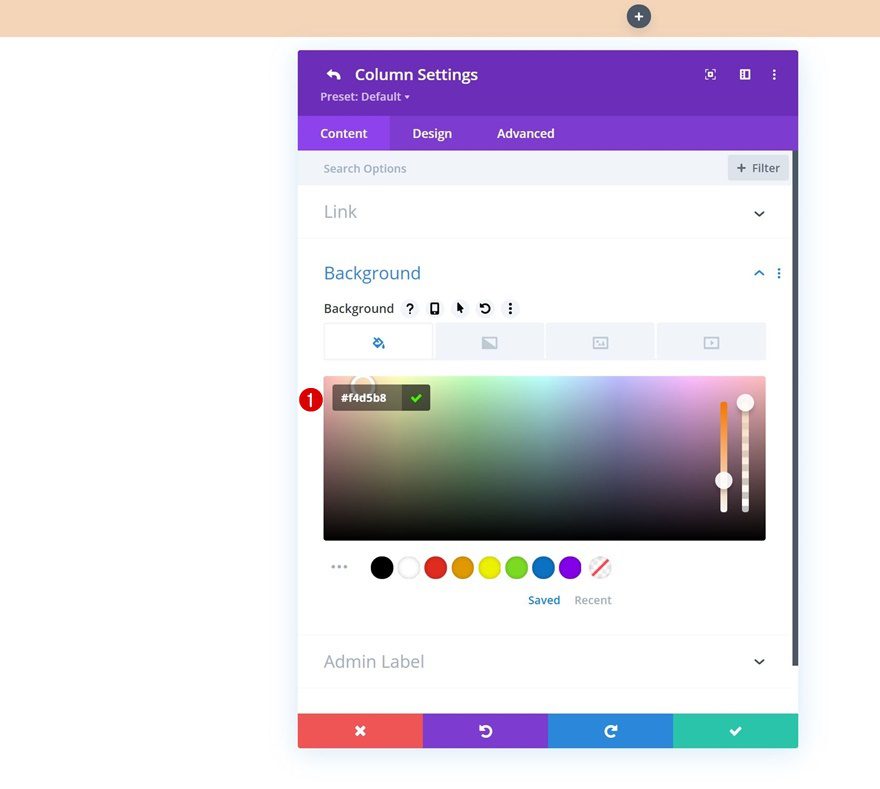
Column 1 Settings
Background Color
Once you’re done with the general row settings, open the column 1 settings and apply a background color.
- Background Color: #f4d5b8
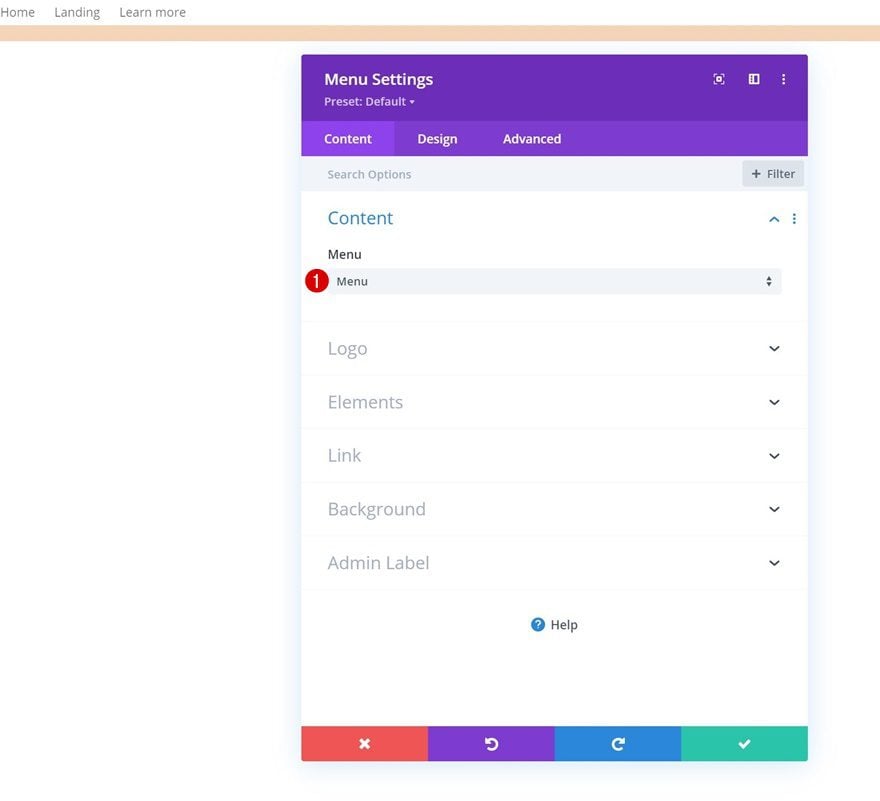
Select Menu
Time to add modules, starting with a Menu Module in column 1. Select a menu of your choice.
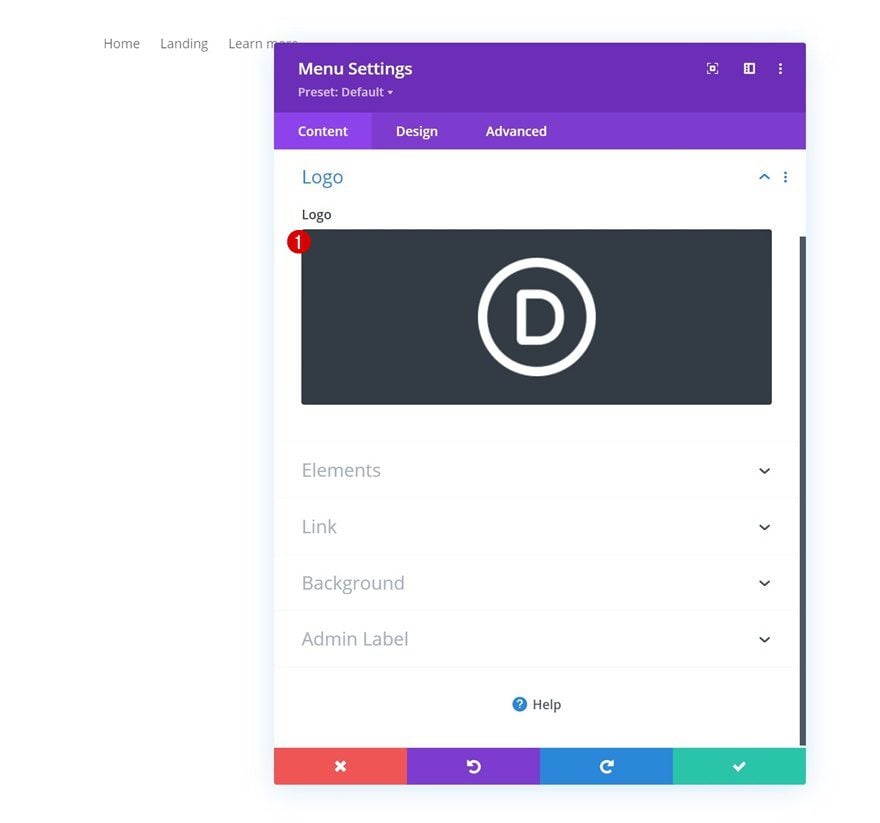
Upload Logo
Upload a logo next.
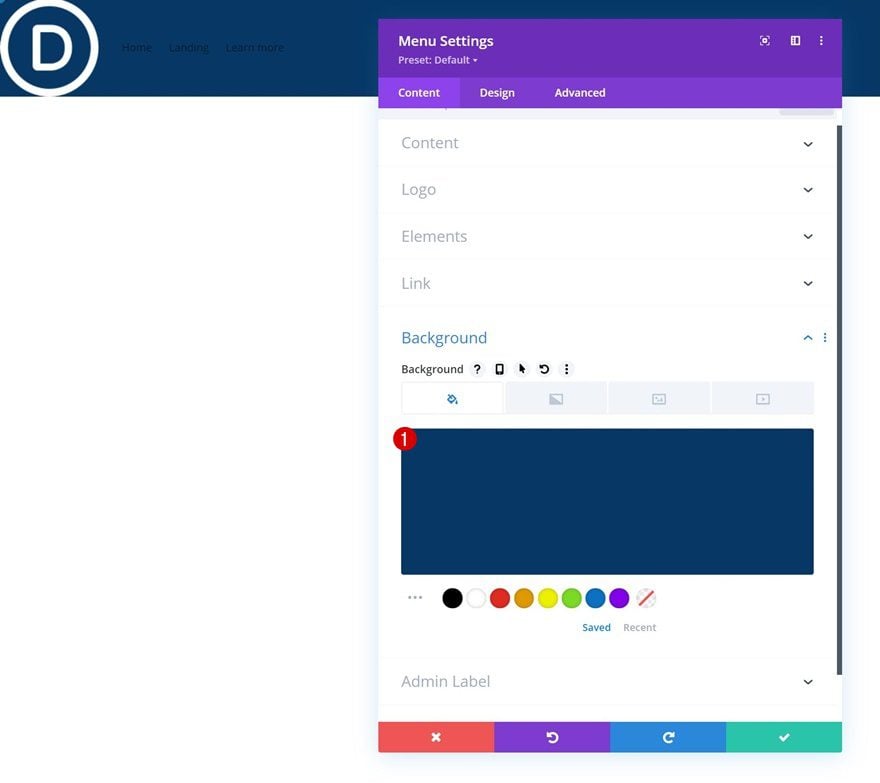
Background Color
Then, change the background color.
- Background Color: #063765
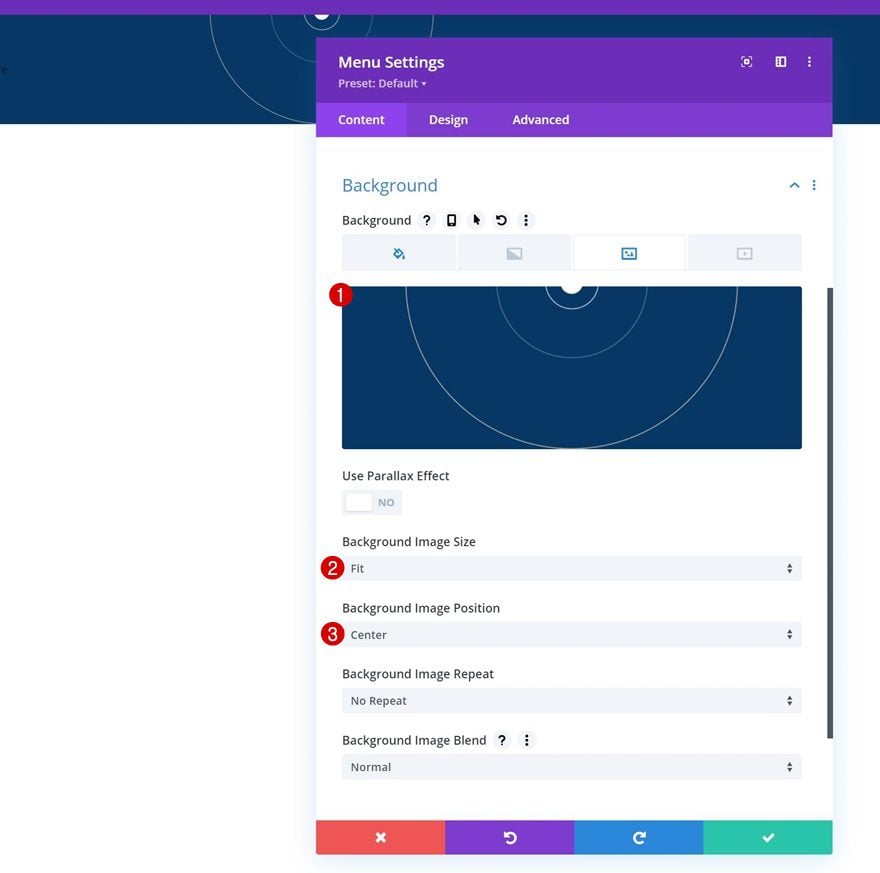
Background Image
And upload an illustration background image of your choice. You can find and use the one below by downloading the freebie at the beginning of this post.
- Background Image Size: Fit
- Background Image Position: Center
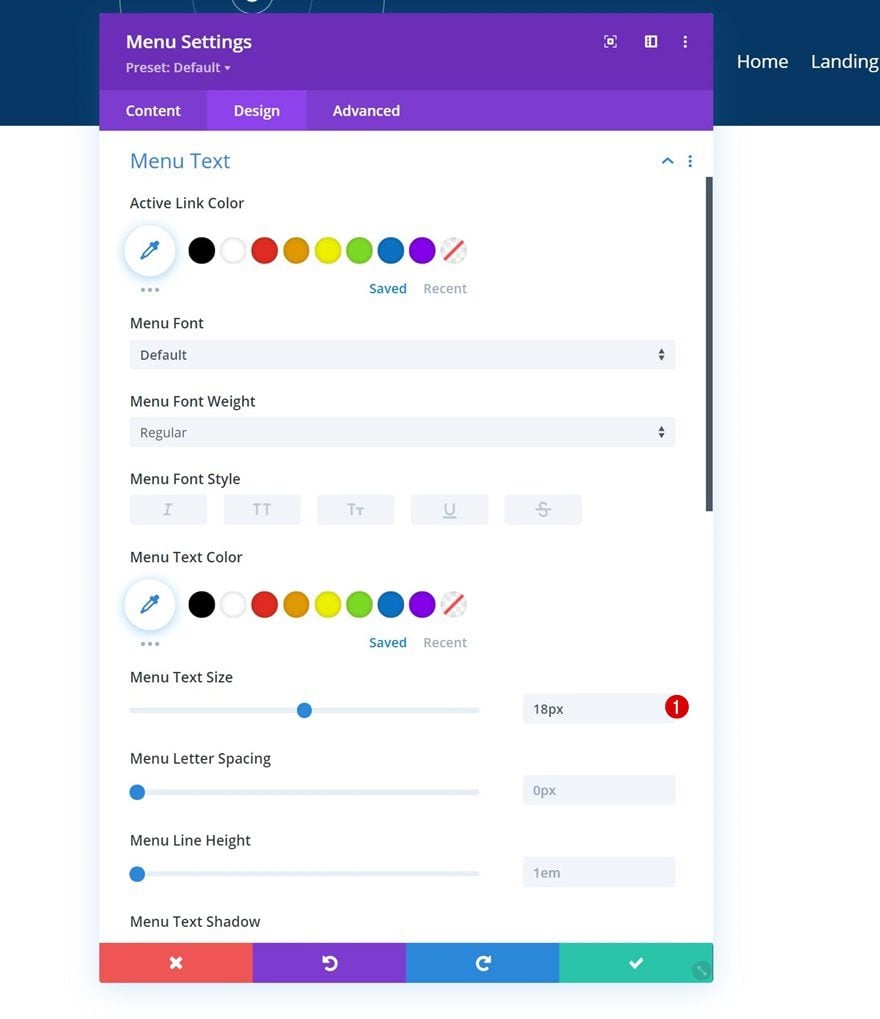
Menu Text Settings
Move on to the module’s design tab and change the menu text size.
- Menu Text Size: 18px
Dropdown Menu Settings
Then, change the dropdown menu settings accordingly:
- Dropdown Menu Line Color: rgba(0,0,0,0)
- Mobile Menu Background Color: #ddc1a7
- Mobile Menu Text Color: #063765

Icons Settings
Change the icon colors in the icons settings to white too.
- Shopping Cart Icon Color: #ffffff
- Search Icon Color: #ffffff
- Hamburger Menu Icon Color: #ffffff

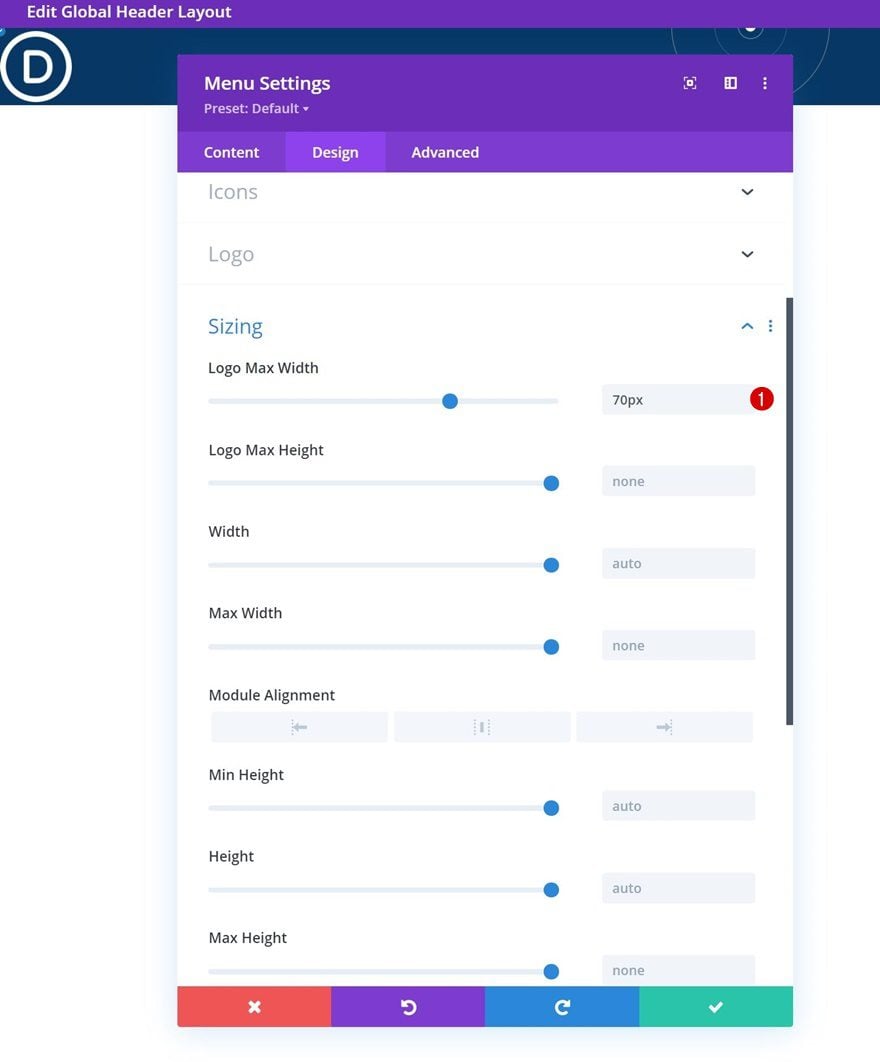
Sizing
Then, modify the logo max width in the sizing settings.
- Logo Max Width: 70px
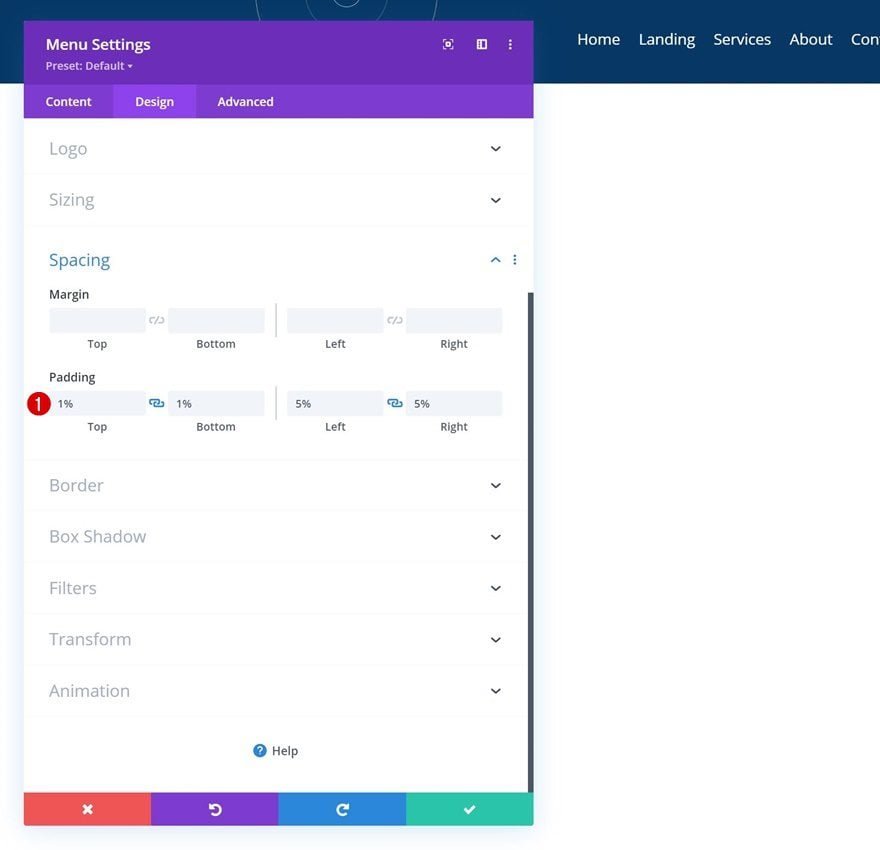
Spacing
Apply some custom padding values next.
- Top Padding: 1%
- Bottom Padding: 1%
- Left Padding: 5%
- Right Padding: 5%
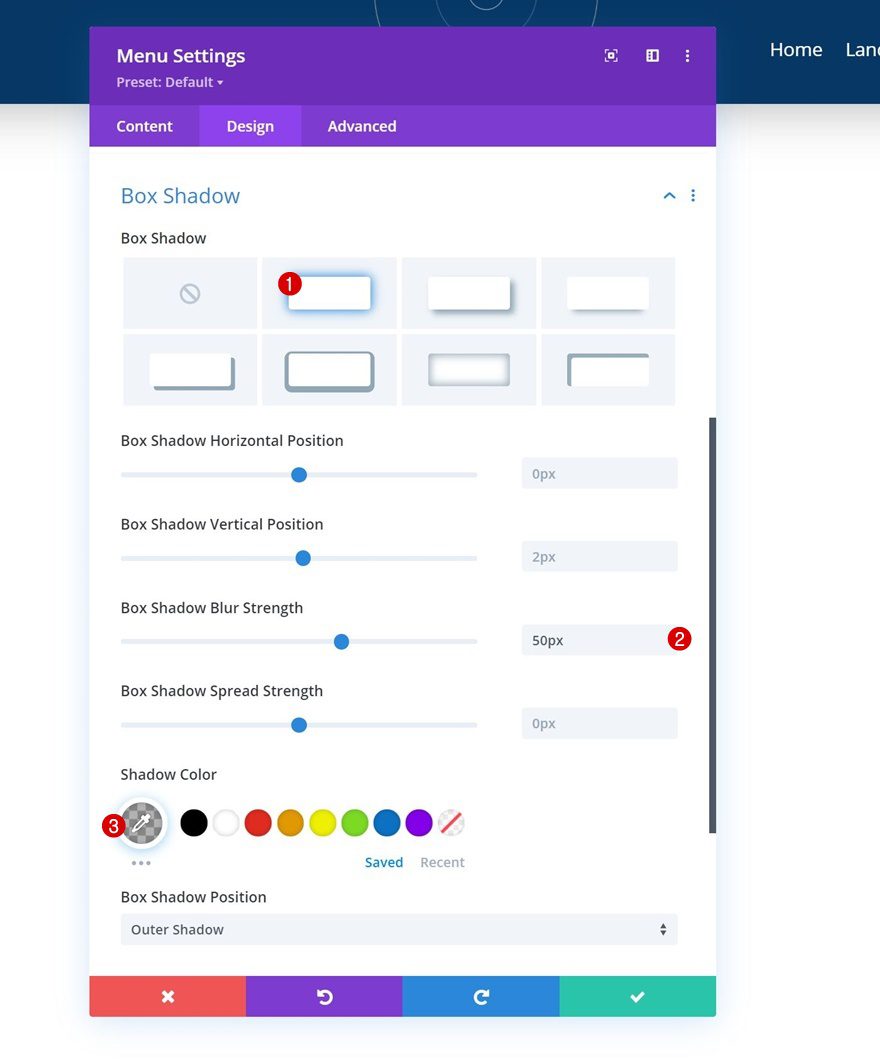
Box Shadow
Along with some custom box shadow.
- Box Shadow Blur Strength: 50px
- Shadow Color: rgba(0,0,0,0.3)
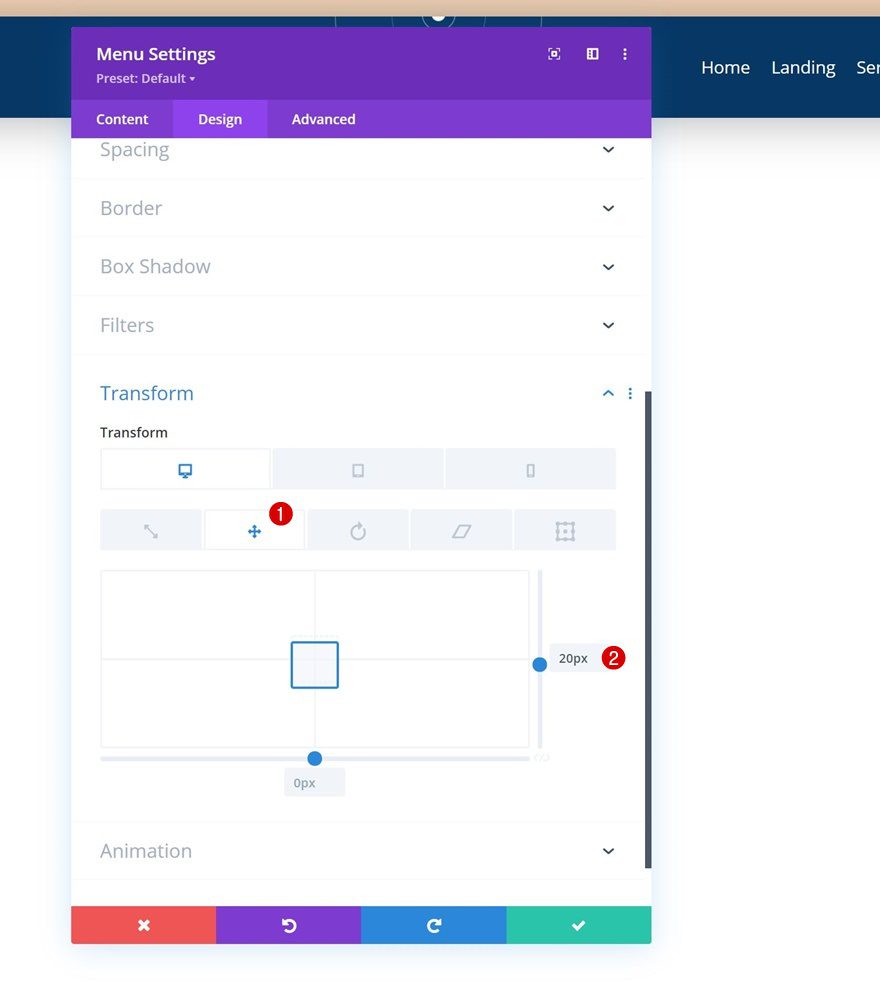
Transform Translate
And complete the module settings by modifying the transform translate settings as follows:
- Right:
- Desktop: 20px
- Tablet & Phone: 0px
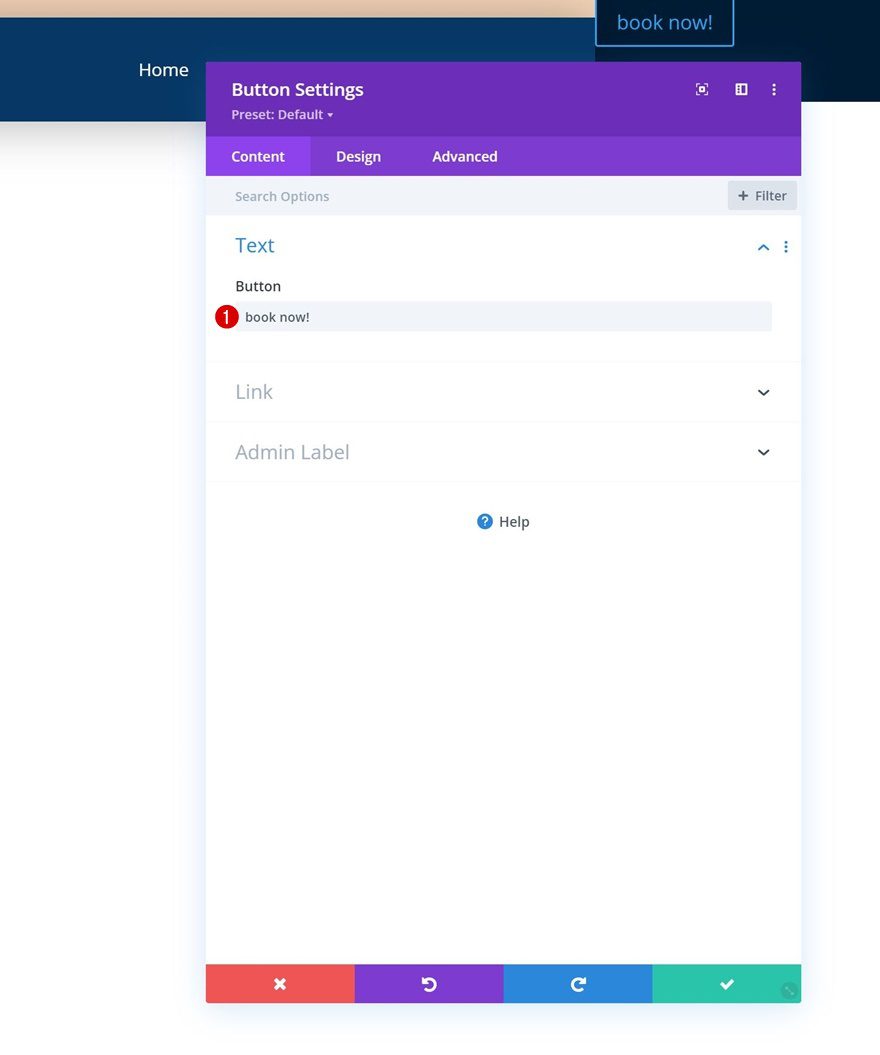
Add Copy
In column 2, the only module we need is a Button Module. Add some copy of your choice.
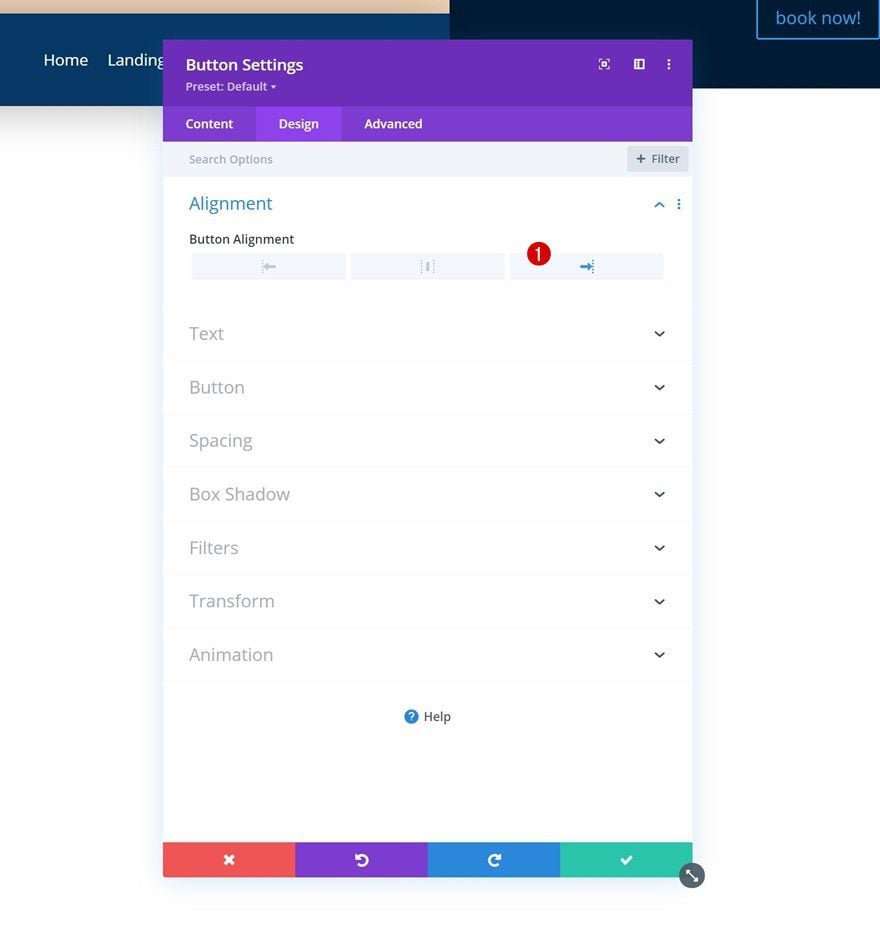
Button Alignment
Move on to the design tab and change the button alignment.
- Button Alignment: Right
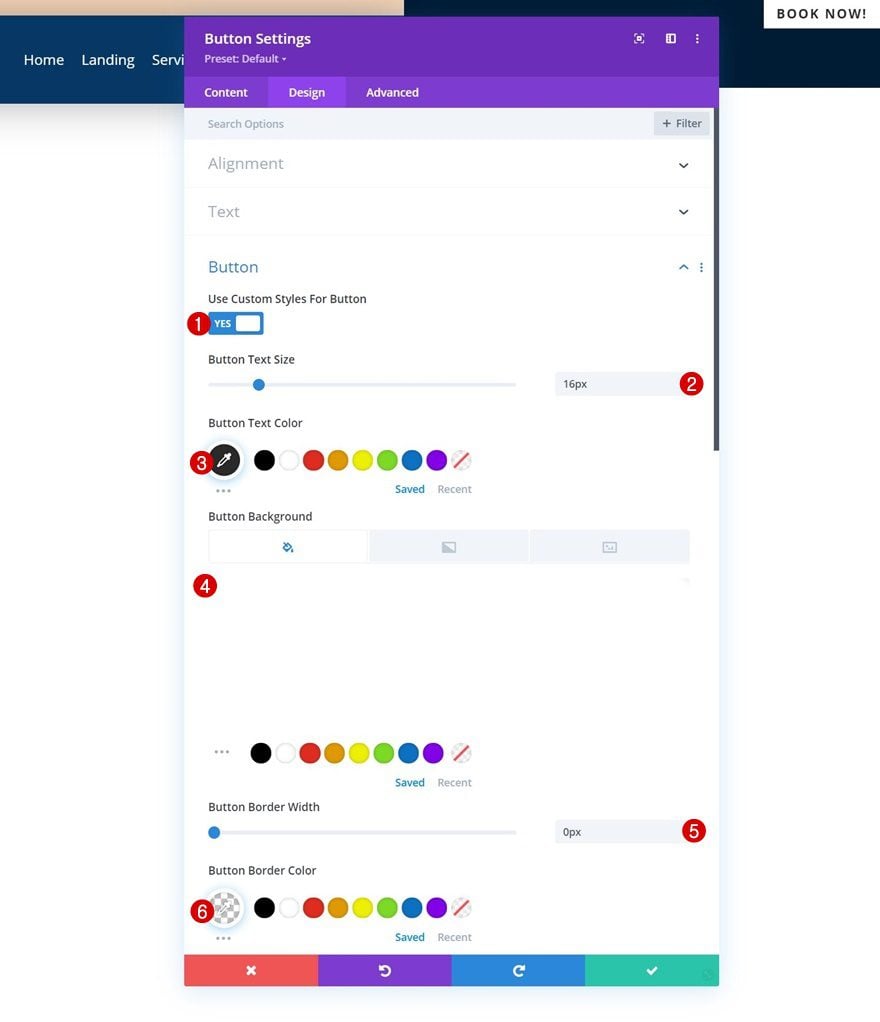
Button Settings
Then, style the button accordingly:
- Use Custom Styles For Button: Yes
- Button Text Size: 16px
- Button Text Color: #2a2a2a
- Button Background Color: #ffffff
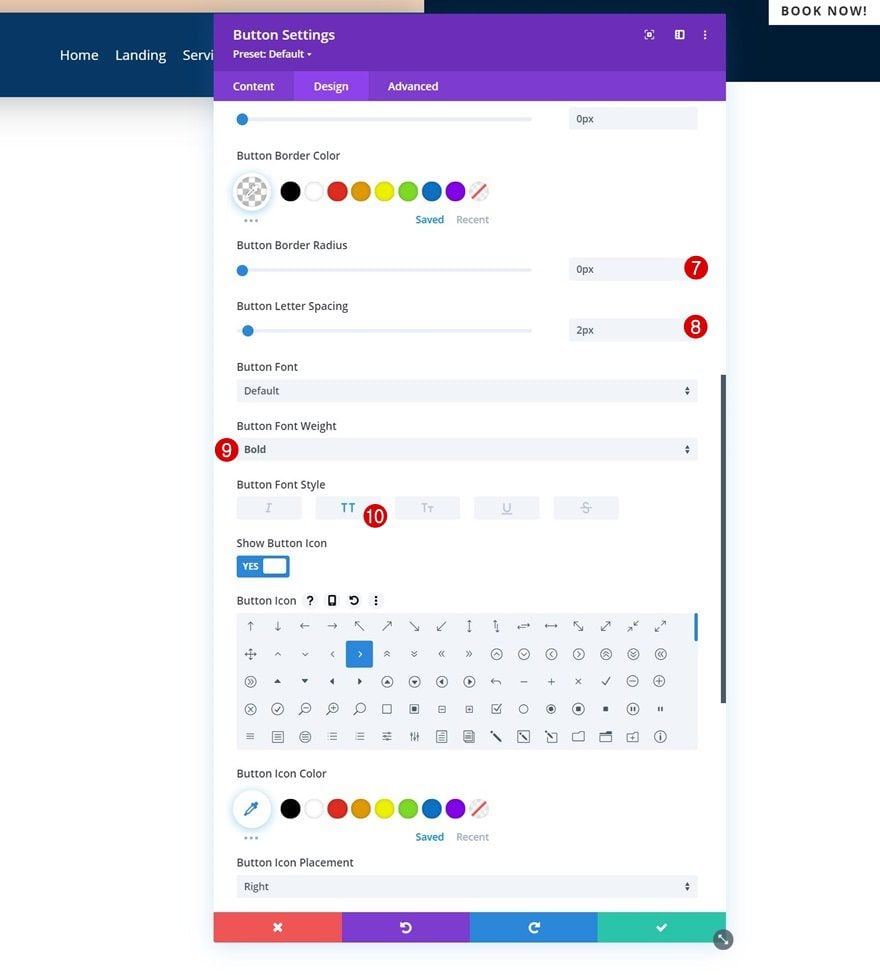
- Button Border Width: 0px
- Button Border Color: rgba(0,0,0,0)
- Button Font Weight: Bold
- Button Font Style: Uppercase
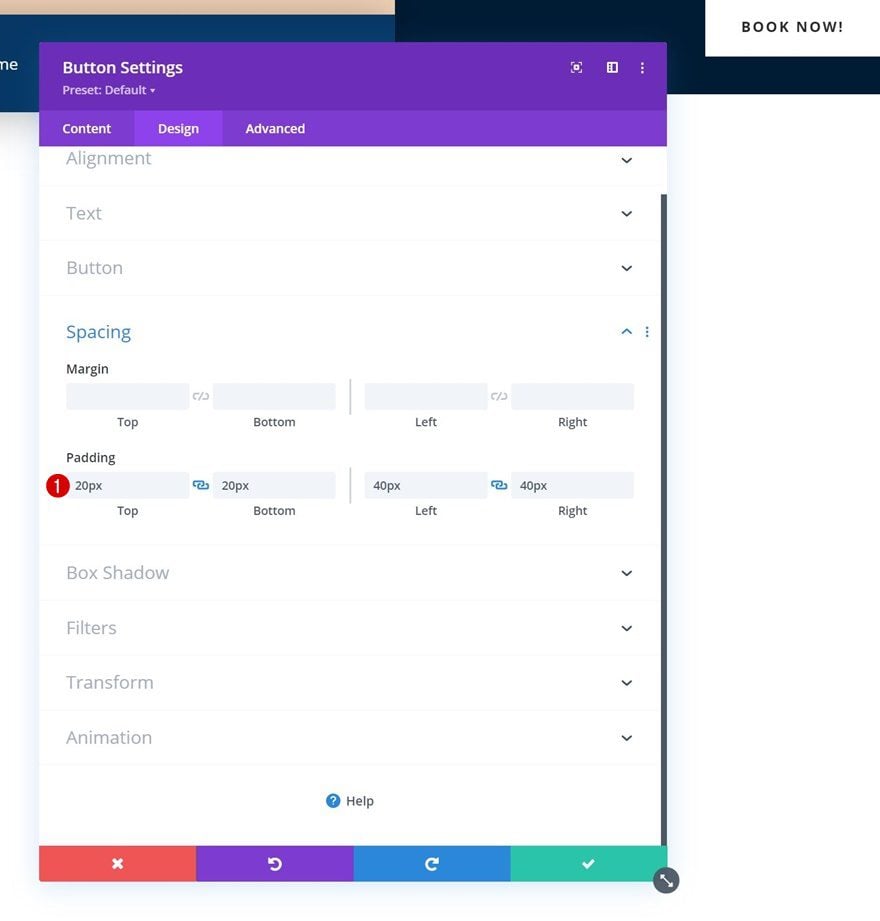
Spacing
Give some shape to your button using custom padding too.
- Top Padding: 20px
- Bottom Padding: 20px
- Left Padding: 40px
- Right Padding: 40px
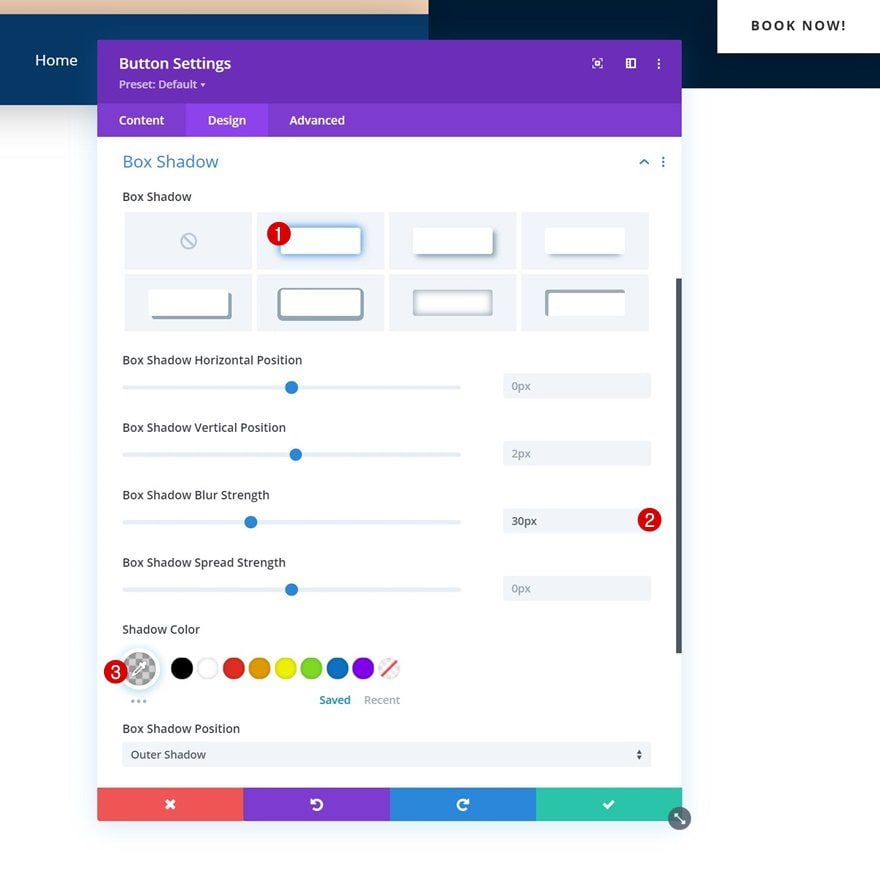
Box Shadow
Next, apply a box shadow.
- Box Shadow Blur Strength: 30px
- Shadow Color: rgba(0,0,0,0.18)
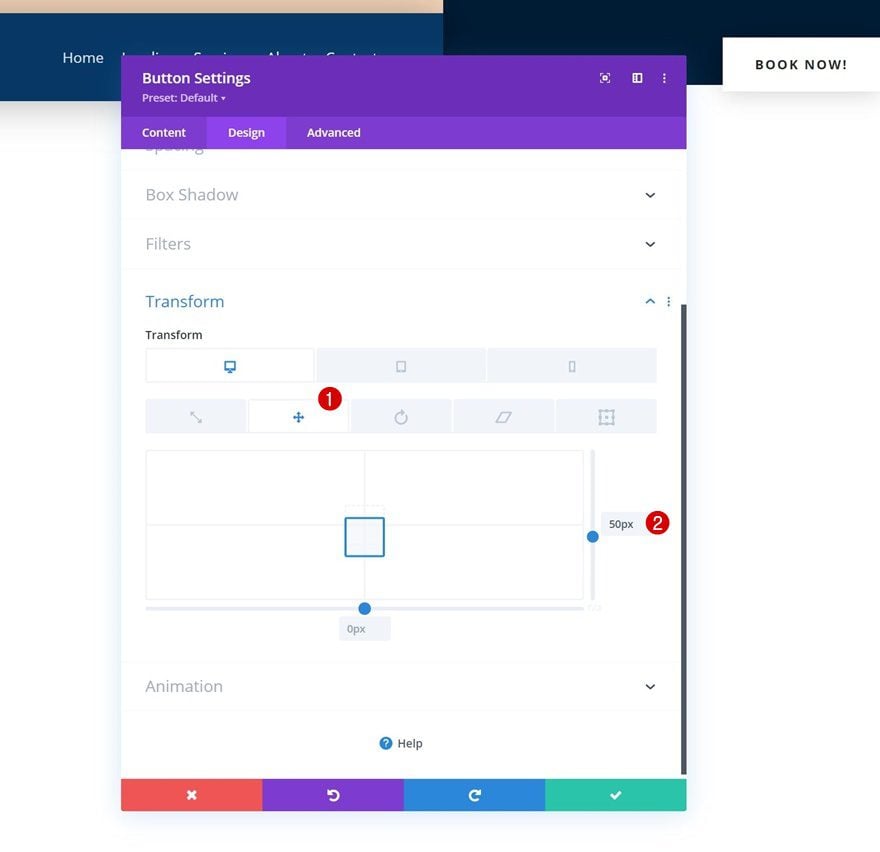
Transform Translate
And complete the module settings by modifying the transform translate values accordingly:
- Right:
- Desktop: 50px
- Tablet & Phone: 0px
2. Apply Custom Sticky Effects to Achieve Hide Before Scroll Effect
Make Row Absolute Positioned
Now that we’ve set the foundation of our header, we can apply the hide header before scroll effect. You can apply this effect to any header you build, as long as you follow the steps below. The first step is opening the row settings and turning the row absolute. This will help us prevent space from being taken up by the header at the top of our page.
- Position: Absolute
- Location: Top Left

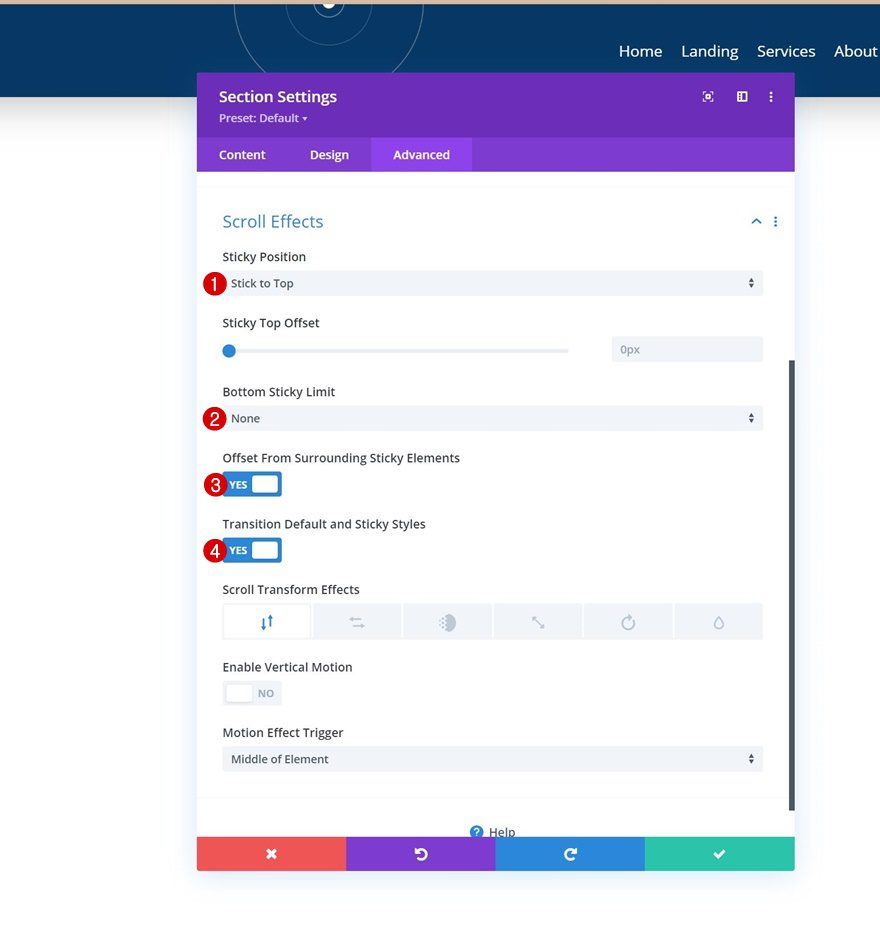
Make Section Sticky
Next, we’ll open the section settings and allow it to stick to the top.
- Sticky Position: Stick to Top
- Bottom Sticky Limit: None
- Offset From Surrounding Sticky Elements: Yes
- Transition Default and Sticky Styles: Yes
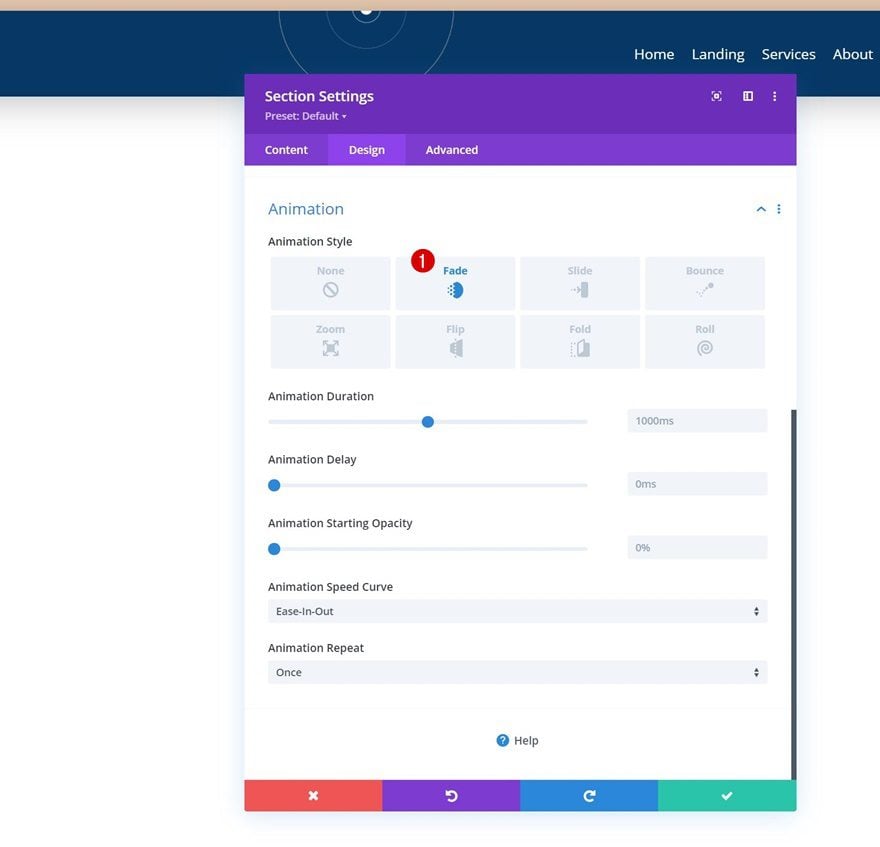
Section Animation
We’ll add an animation to our section too. This animation will help prevent the header from showing when your page is loading.
- Animation Style: Fade
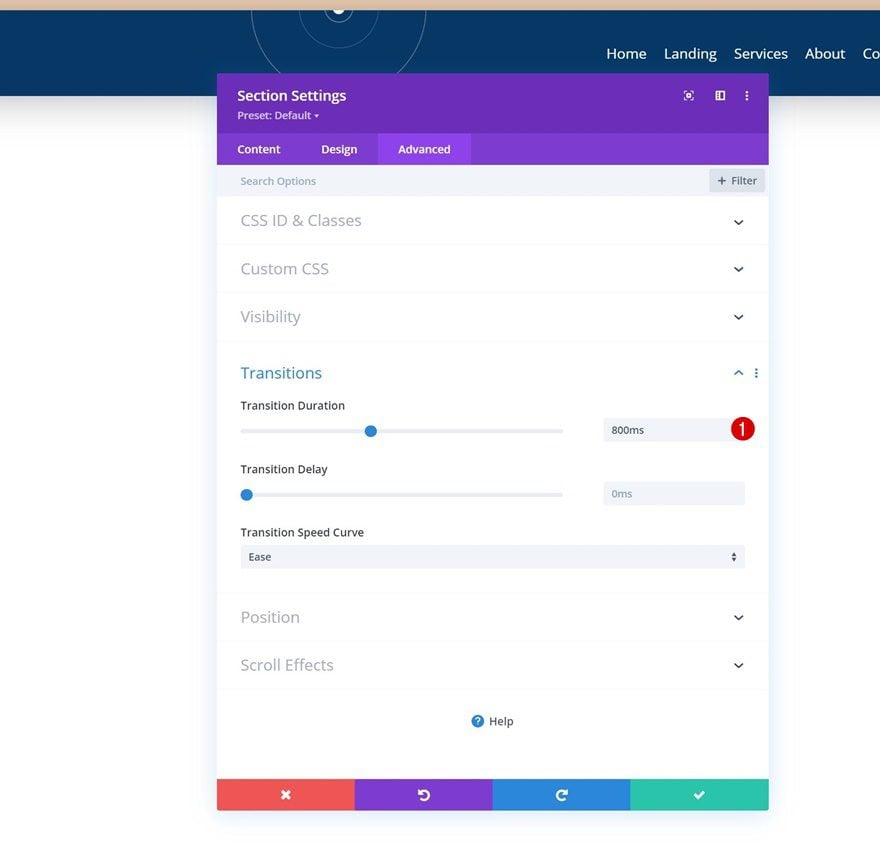
Section Transition Duration
You can decide for yourself how slow or fast the header slides down once you start scrolling by modifying the transition duration in the section’s advanced tab. The higher the duration, the slower the header slides down.
- Transition Duration: 800ms
Section Transform Translate
Now, in a default state, we don’t want the header to be visible. The first step to achieving that is going to the section’s transform settings and using a negative value for the Y-axis.
- Right: -300px
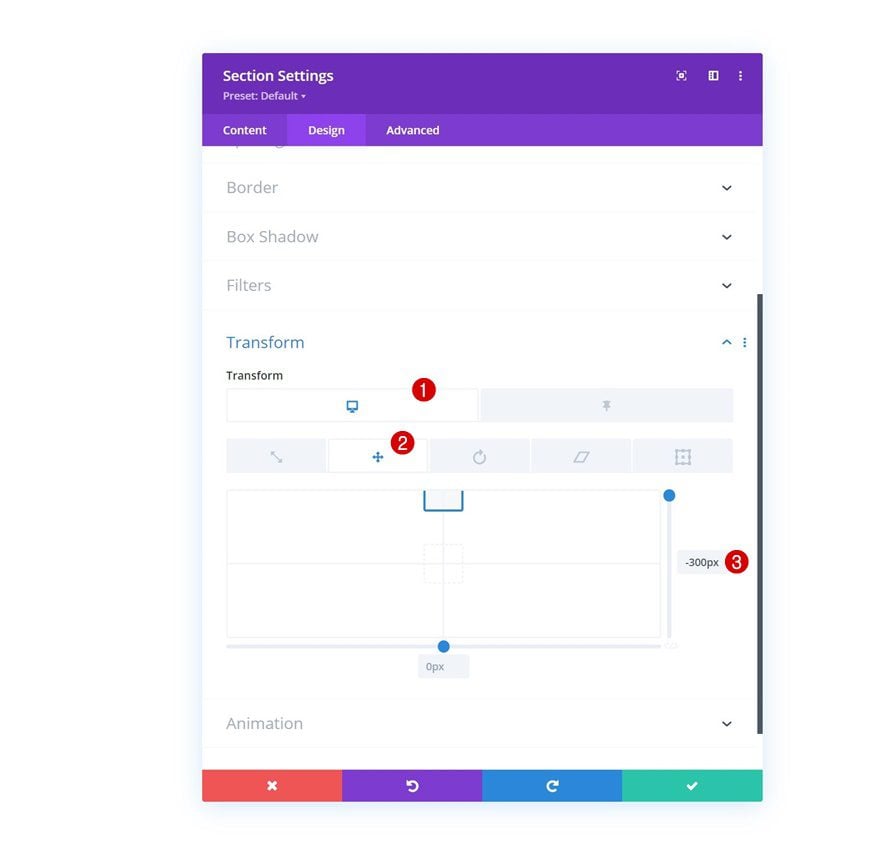
We’ll bring this value back to zero in a sticky state. This means that as soon as you start scrolling, the header becomes visible again.
- Sticky Right: 0px

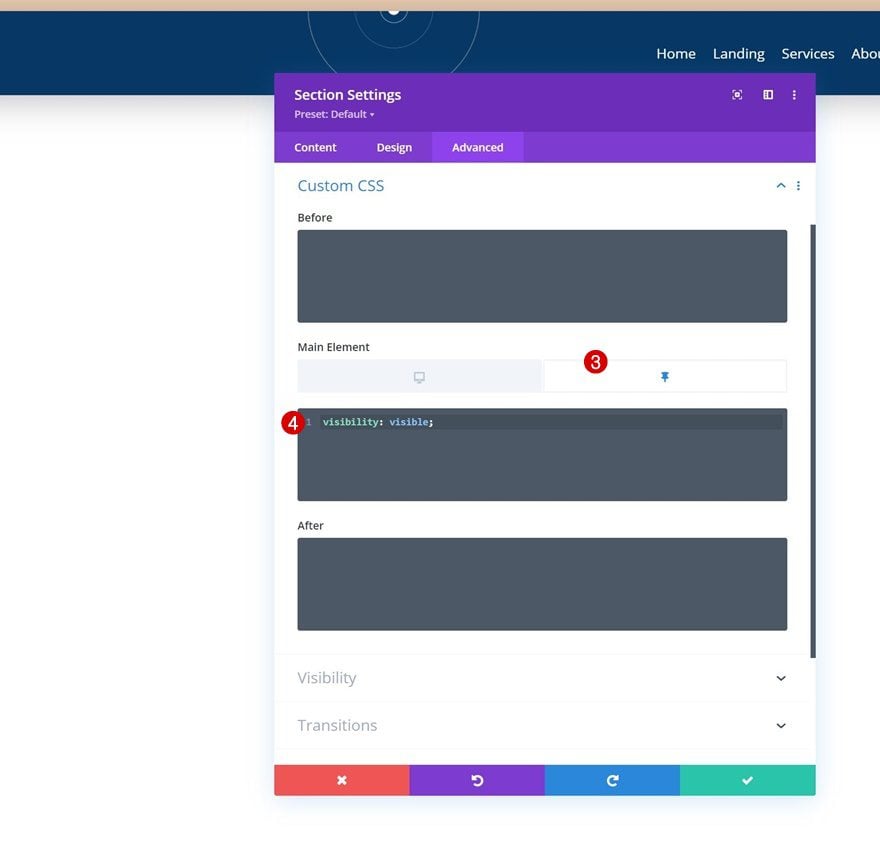
Section Visibility CSS Property
The next and last step of this tutorial isn’t theoretically needed to achieve the effect, but it’s a good practice to hide elements that aren’t in use. That’s why we’ll go to the section’s advanced tab and add the following line of CSS code in the main element box:
- Main Element:
visibility: hidden
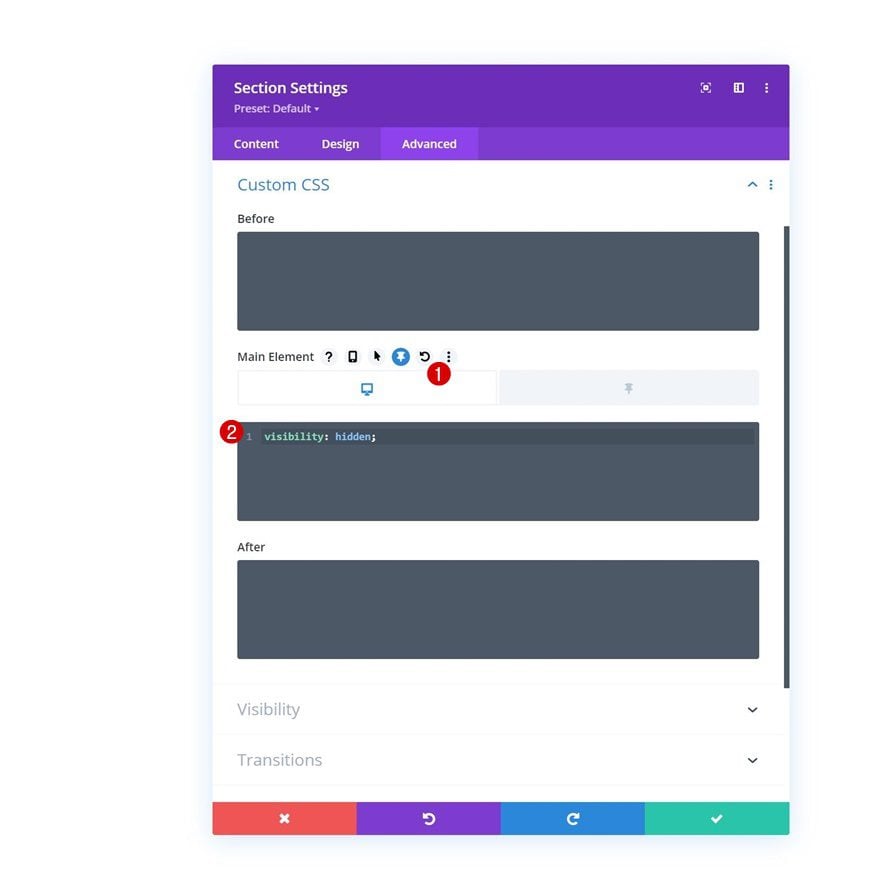
We’ll change back our content to visible in a sticky state. That’s it!
- Sticky Main Element:
visibility: visible;
Preview
Now that we’ve gone through all the steps, let’s take a final look at the outcome across different screen sizes.
Desktop
Mobile
Final Thoughts
In this post, we’ve shown you how to make sure your hero section is the focus of your page as soon as people enter your page. More specifically, we’ve shown you how to hide your header before scroll. This allows your visitors to process the hero section information first before they’re presented with an ability to navigate. You were able to download the JSON file for free as well! If you have any questions or suggestions, feel free to leave a comment in the comment section below.
If you’re eager to learn more about Divi and get more Divi freebies, make sure you subscribe to our email newsletter and YouTube channel so you’ll always be one of the first people to know and get benefits from this free content.


Sadly this tutorial needs to be updated for the new version of Divi, cause it’s not working properly.
I’m in the “Section Visibility CSS Property” section and I don’t see the “pin” associated with the “Main Element” field on the “Custom CSS” page. Can you help me figure out how to complete the steps in this section of this tutorial?
Is this article no longer up to date? In the Section Transform Translate menu, I don’t see an option for the sticky state (the tab witht he pin symbol in the picture). Is this no longer a feature?
Do we have to check the “Import Presets” box when importing this layout into the Divi library?
This is extremely useful! Thanks for the clear tutorial, Donjete.
Right in time… were I was going to look for!
Thank you!
This is phenomenal Donjete, thank you so much, I am litterally going to redesign my entire personal website with all the awesome techniques I’ve learned from you in just the last couple weeks, seriously, like right now, I’m going to just start all over and build it again with all this genius.
Thank You