

With Divi and its WooCommerce modules out there, there are tons of designs you can accomplish using Divi. In today’s Divi tutorial, we’ll try to inspire you with another design idea you can accomplish using Divi’s built-in options only. More specifically, we’ll show you how to frame a product in your background image. The outcome depends entirely on your background image, but if you go through this tutorial, you’ll know which steps to take to personalize the technique for your own website! You’ll be able to download the tutorial’s JSON file for free as well!
Let’s get to it.
- 1 Preview
- 2 Download The Frame Product Layout for FREE
- 3 Download For Free
- 4 You have successfully subscribed. Please check your email address to confirm your subscription and get access to free weekly Divi layout packs!
- 5 1. Set up Section with Responsive Background Image
- 6 2. Add Different Frame Elements to Column
- 7 3. Style, Resize & Reposition Column
- 8 Preview
- 9 Final Thoughts
Preview
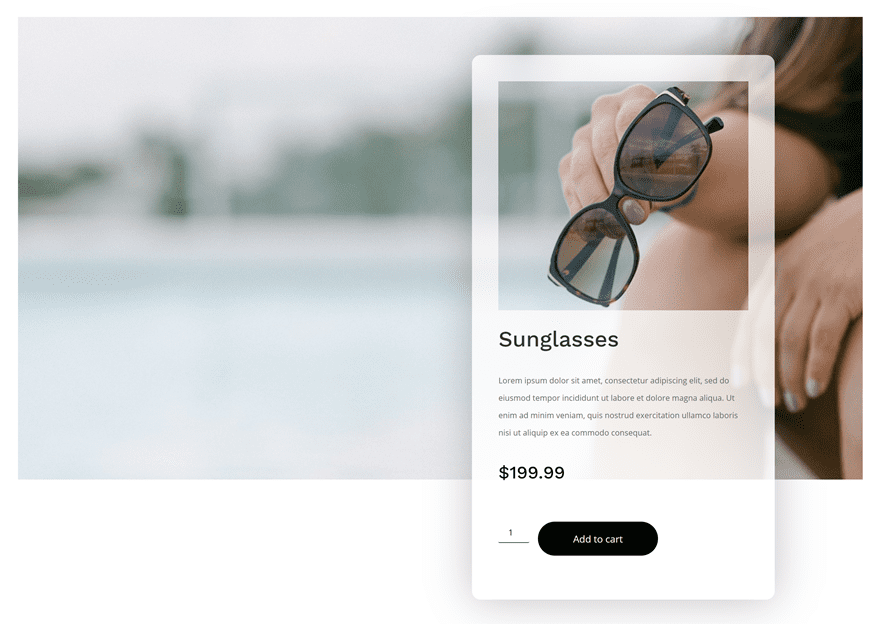
Before we dive into the tutorial, let’s take a quick look at the outcome across different screen sizes.
Desktop
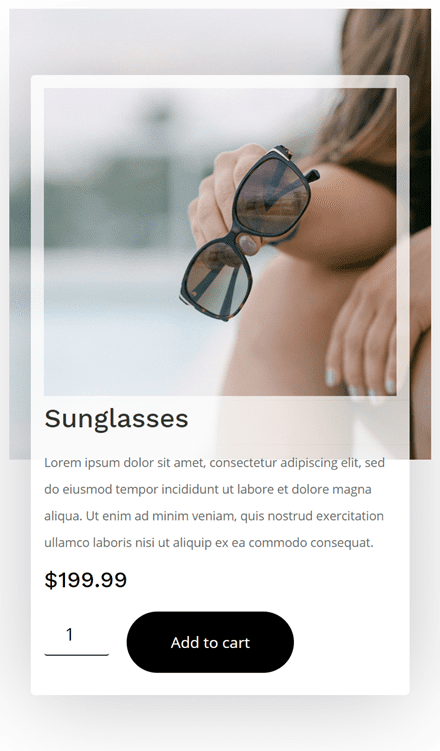
Mobile
Download The Frame Product Layout for FREE
To lay your hands on the free frame product layout, you will first need to download it using the button below. To gain access to the download you will need to subscribe to our newsletter by using the form below. As a new subscriber, you will receive even more Divi goodness and a free Divi Layout pack every Monday! If you’re already on the list, simply enter your email address below and click download. You will not be “resubscribed” or receive extra emails.

1. Set up Section with Responsive Background Image
Add New Section
Responsive Background Image
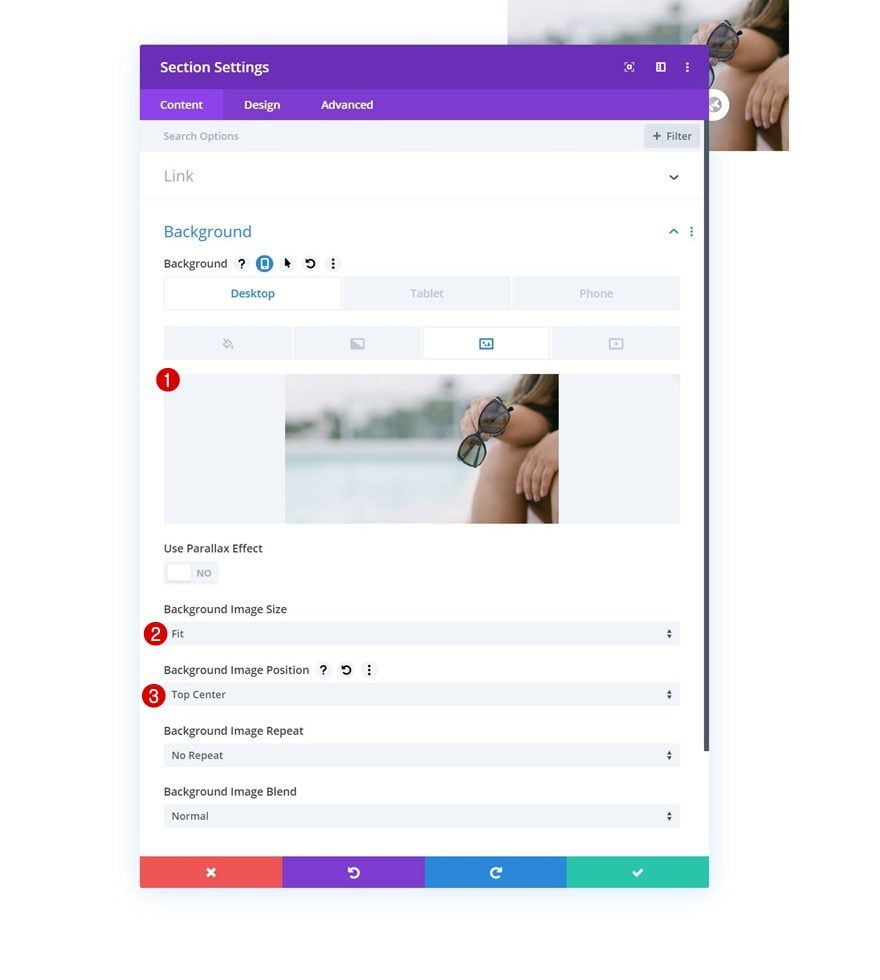
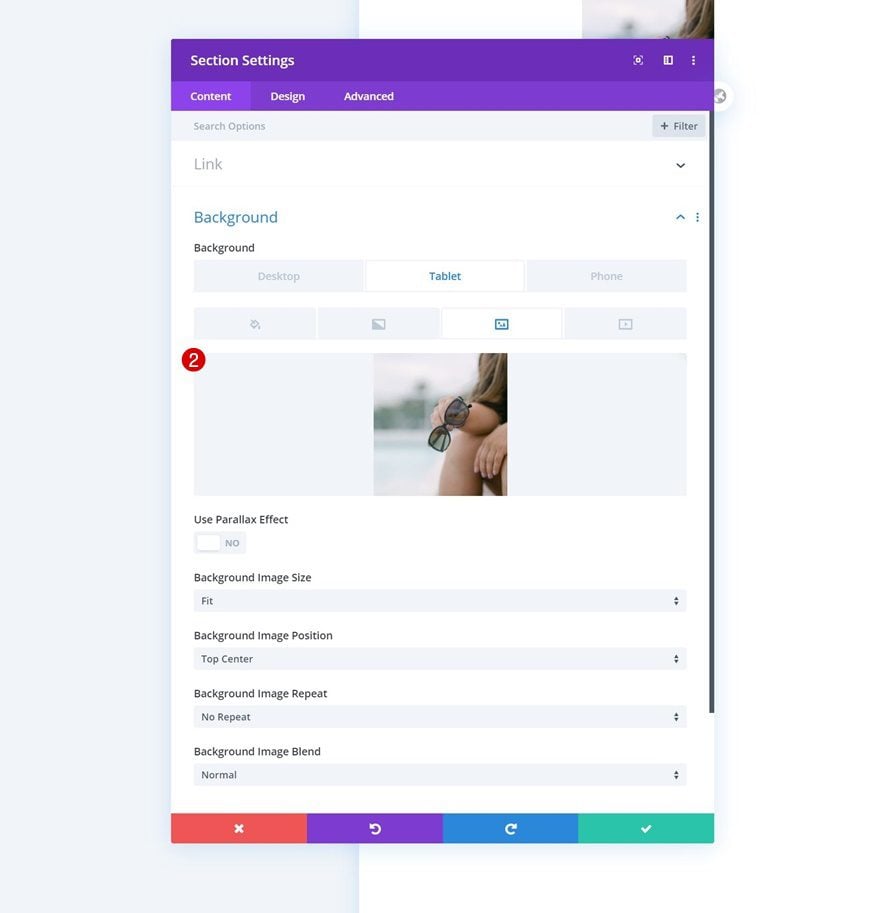
The first step to frame a product in your background image is adding a new section to the page you’re working on. Open the section settings and upload responsive background images. You can find both images we’ve used in the folder you were able to do download at the beginning of this post.
- Background image: Landscape
- Background Image Size: Fit
- Background Image Position: Top Center
- Background image: Square
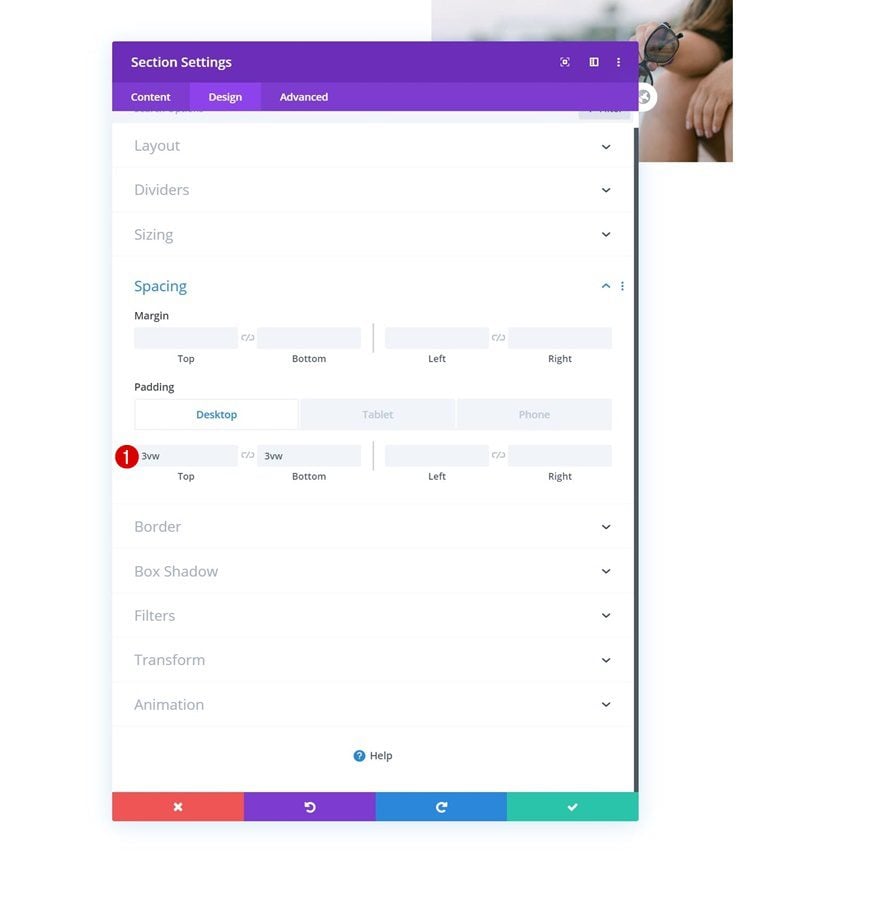
Spacing
Move on to the design tab and add some custom top and bottom padding across different screen sizes.
- Top Padding: 3vw (Desktop), 0vw (Tablet & Phone)
- Bottom Padding: 3vw (Desktop), 7vw (Tablet), 18vw (Phone)
Border
Complete the section settings by adding a border.
- Border Width: 2vw
- Border Color: #ffffff

2. Add Different Frame Elements to Column
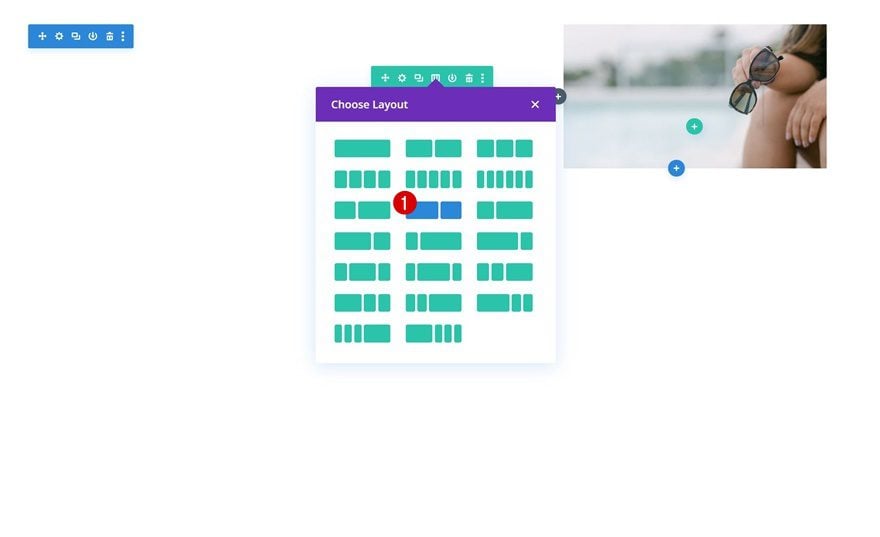
Add New Row
Column Structure
Now, as you can notice in the background image, the product is located on the right side of the background image. We’ll choose a matching column structure for a new row in our section. In this case, that’s the following column structure:
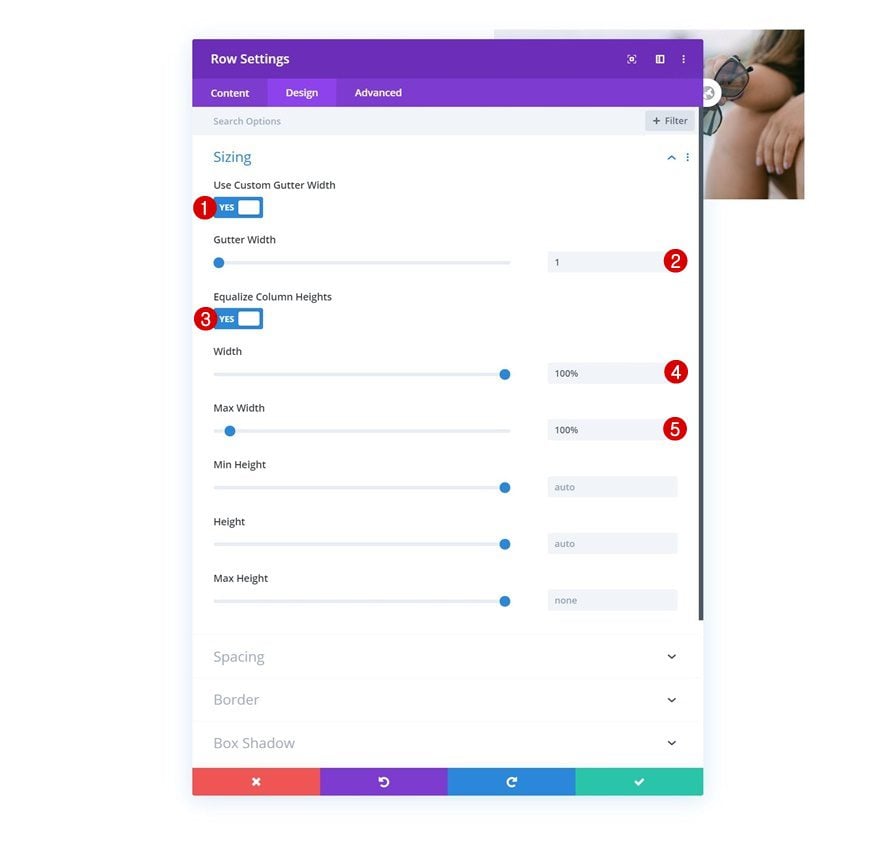
Sizing
Without adding any modules yet, open the row settings and modify the sizing settings accordingly:
- Use Custom Gutter Width: Yes
- Gutter Width: 1
- Equalize Column Heights: Yes
- Width: 100%
- Max Width: 100%
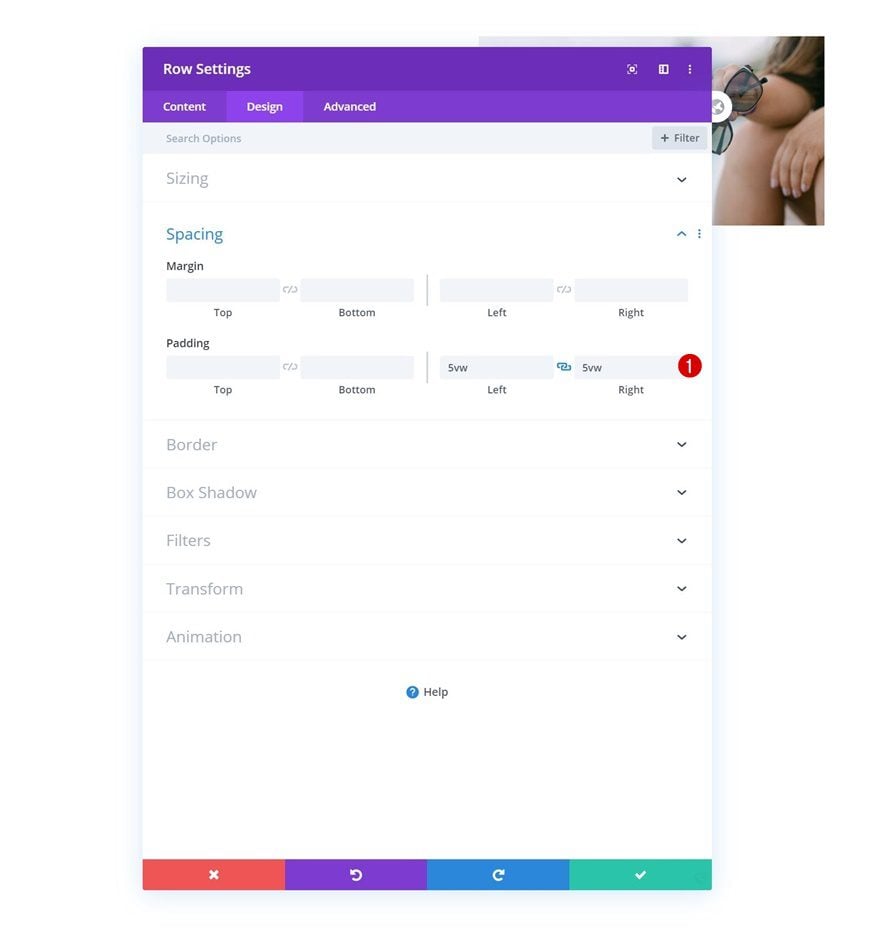
Spacing
Complete the row settings by adding some custom left and right padding.
- Left Padding: 5vw
- Right Padding: 5vw
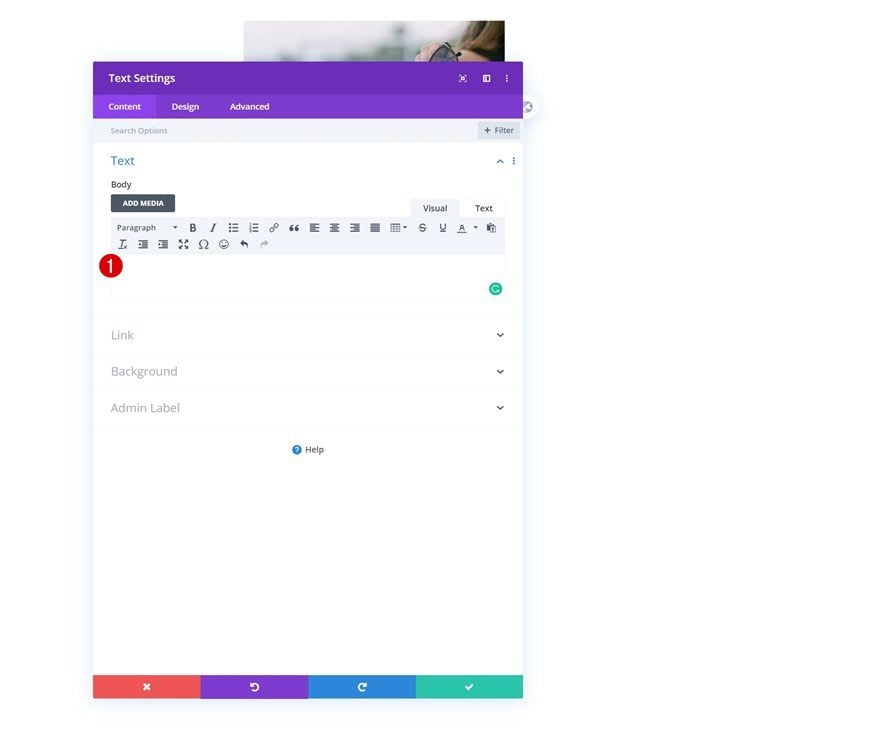
Add Text Module to Column 2
Leave Content Box Empty
Time to start adding modules! To allow the product to show through, we’ll use an empty Text Module.
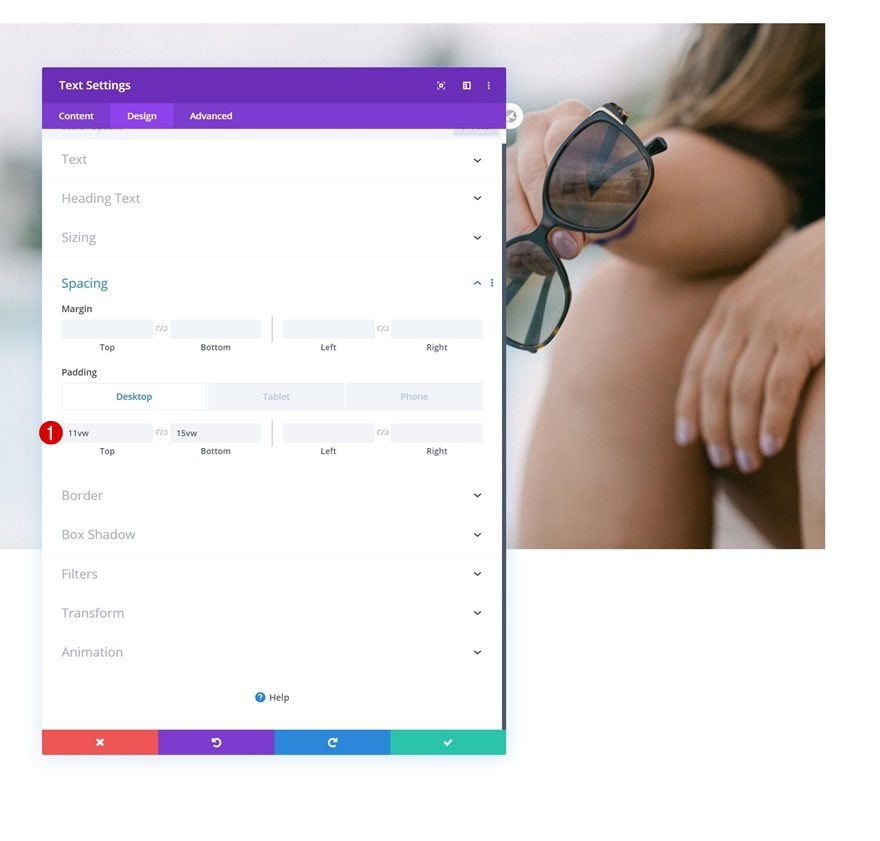
Spacing
We’ll increase the height of the module in the spacing settings next.
- Top Padding: 22vw (Desktop), 39vw (Tablet), 35vw (Phone)
- Bottom Padding: 15vw (Desktop), 39vw (Tablet), 35vw (Phone)
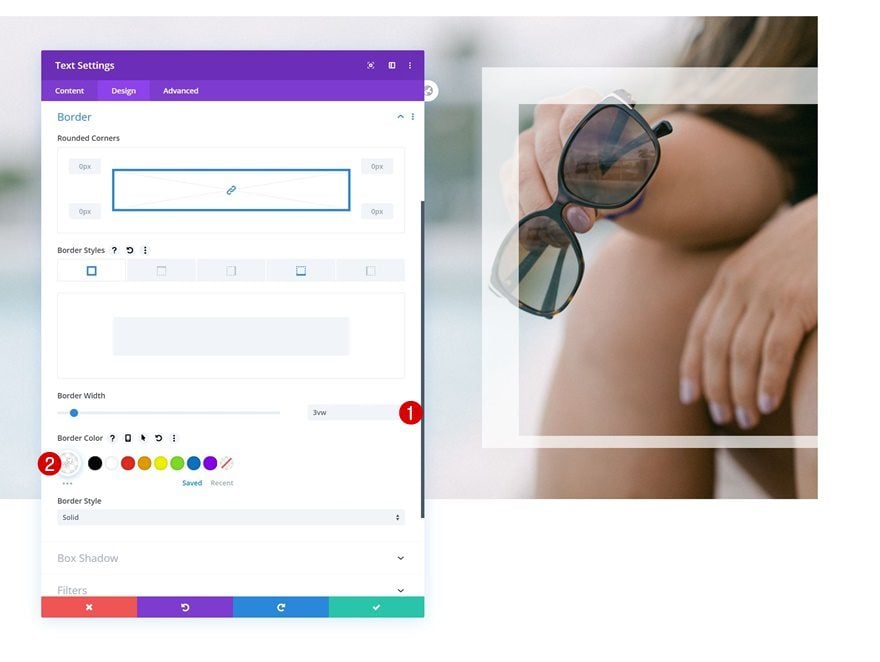
Border
And we’ll add a border too.
- Border Width: 3vw
- Bottom Border Width: 1vw
- Border Color: rgba(255,255,255,0.7)
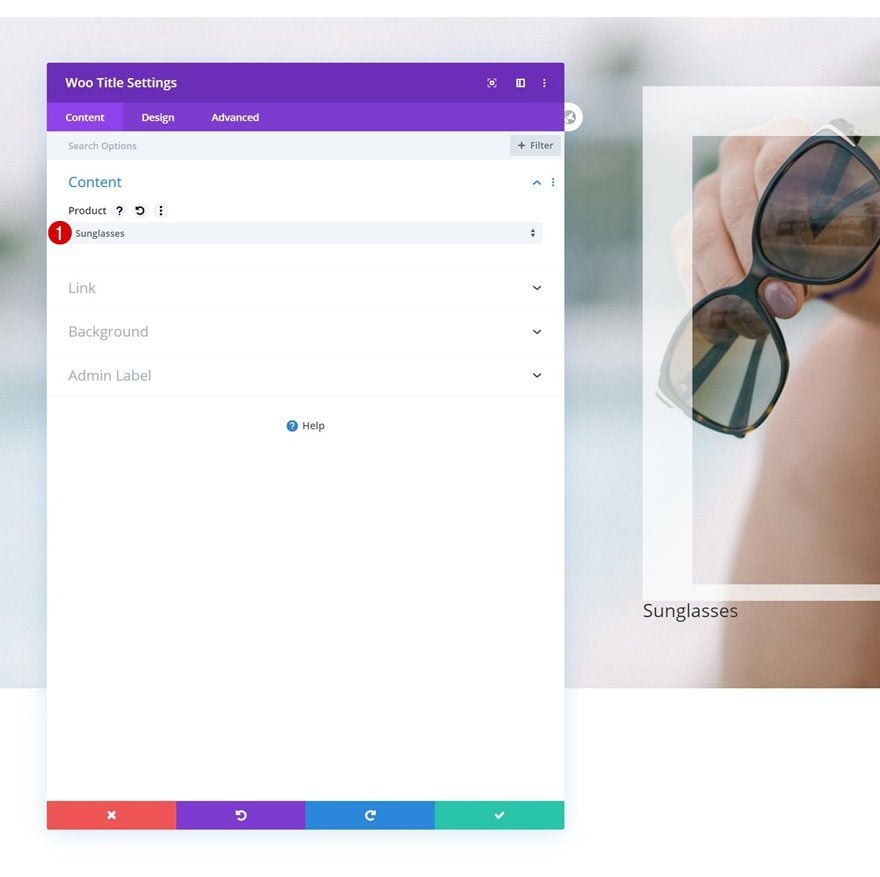
Add Woo Title Module to Column 2
Dynamic Content
On to the next module, which is a Woo Title Module. Select a product of your choice.
- Product: Find in List
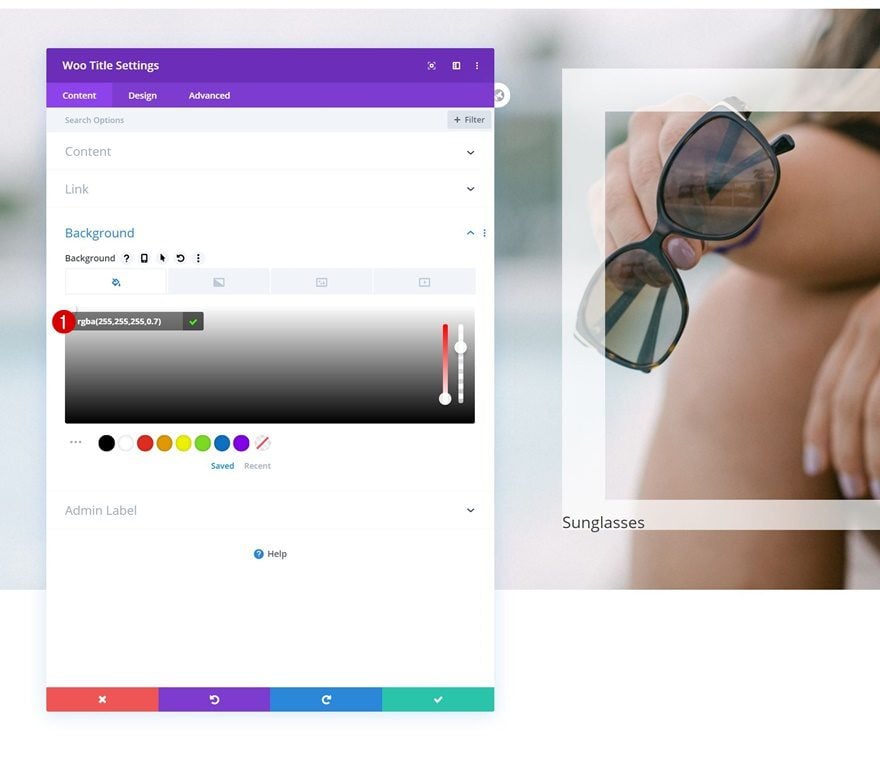
Background Color
Use the following background color:
- Background Color: rgba(255,255,255,0.7)
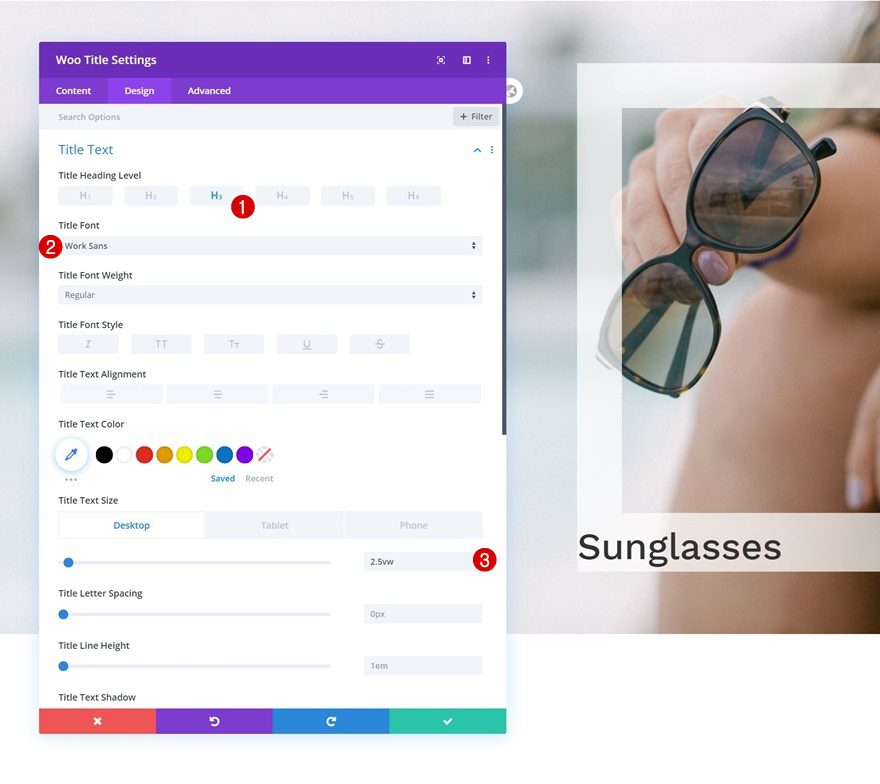
Title Text Settings
Move on to the module’s design tab and modify the H3 text settings accordingly:
- Title Heading Level: H3
- Title Font: Work Sans
- Title Text Size: 2.5vw (Desktop), 5vw (Tablet), 6vw (Phone)
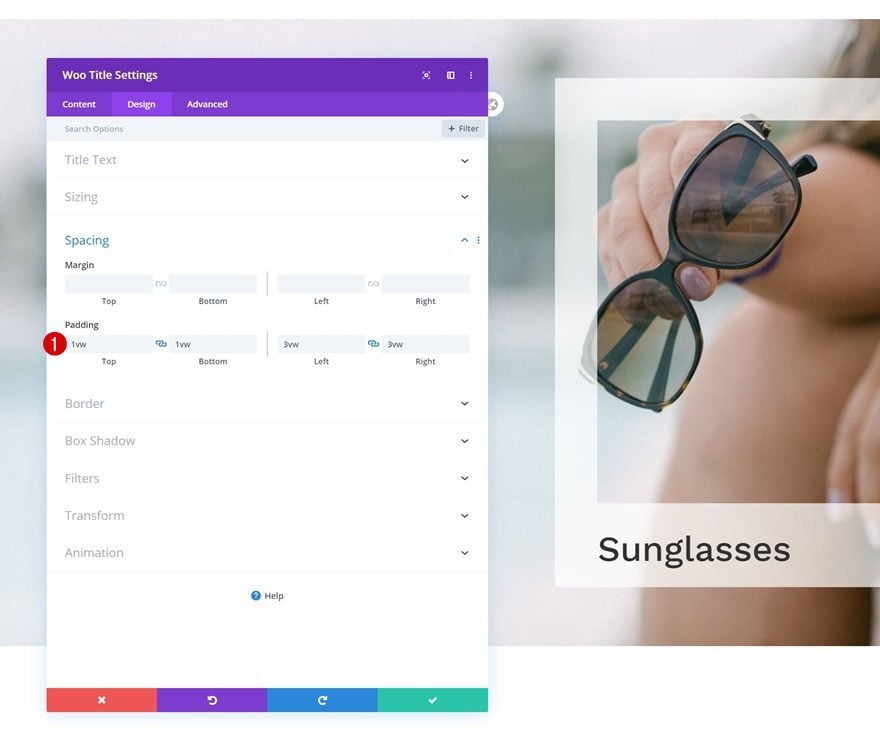
Spacing
Add some custom padding values as well.
- Top Padding: 1vw
- Bottom Padding: 1vw
- Left Padding: 3vw
- Right Padding: 3vw
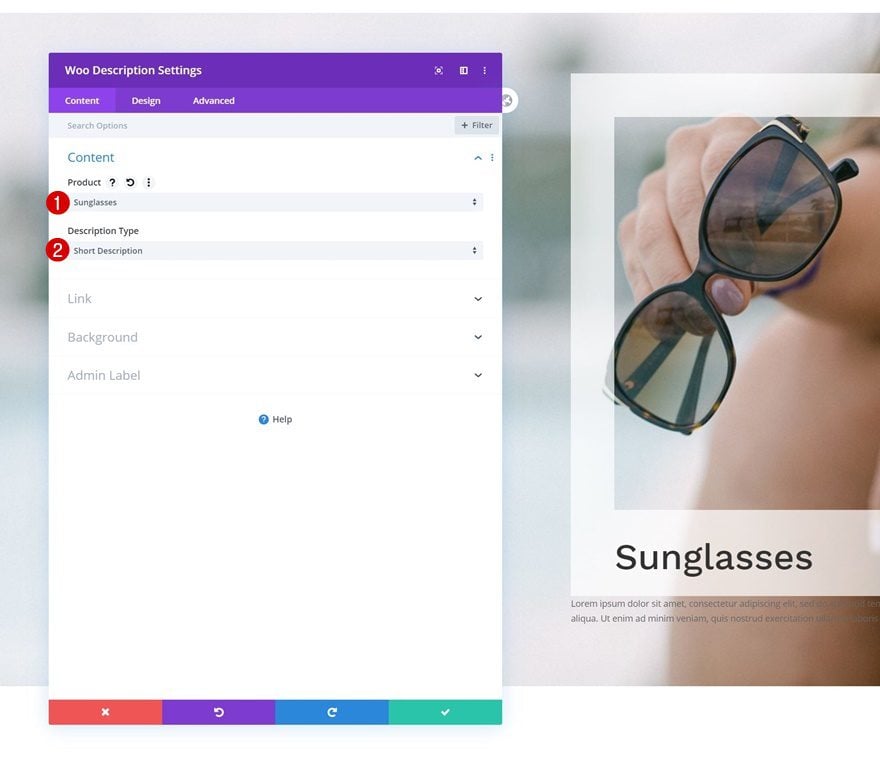
Add Woo Description Module to Column 2
Dynamic Content
The next module we need is a Woo Description Module. Select a product of your choice.
- Product: Find in List
- Description Type: Short Description
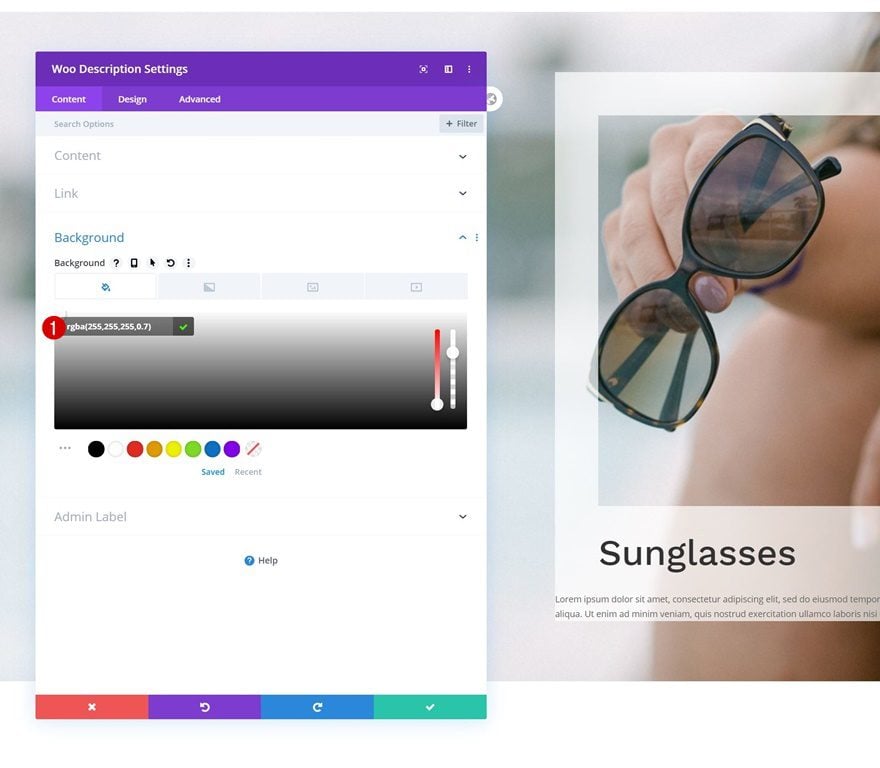
Background Color
Change the module’s background color accordingly:
- Background Color: rgba(255,255,255,0.7)
Text Settings
Move on to the module’s design tab and modify the text settings as follows:
- Text Font: Open Sans
- Text Size: 0.9vw (Desktop), 2.2vw (Tablet), 2.8vw (Phone)
- Title Line Height: 2.2em

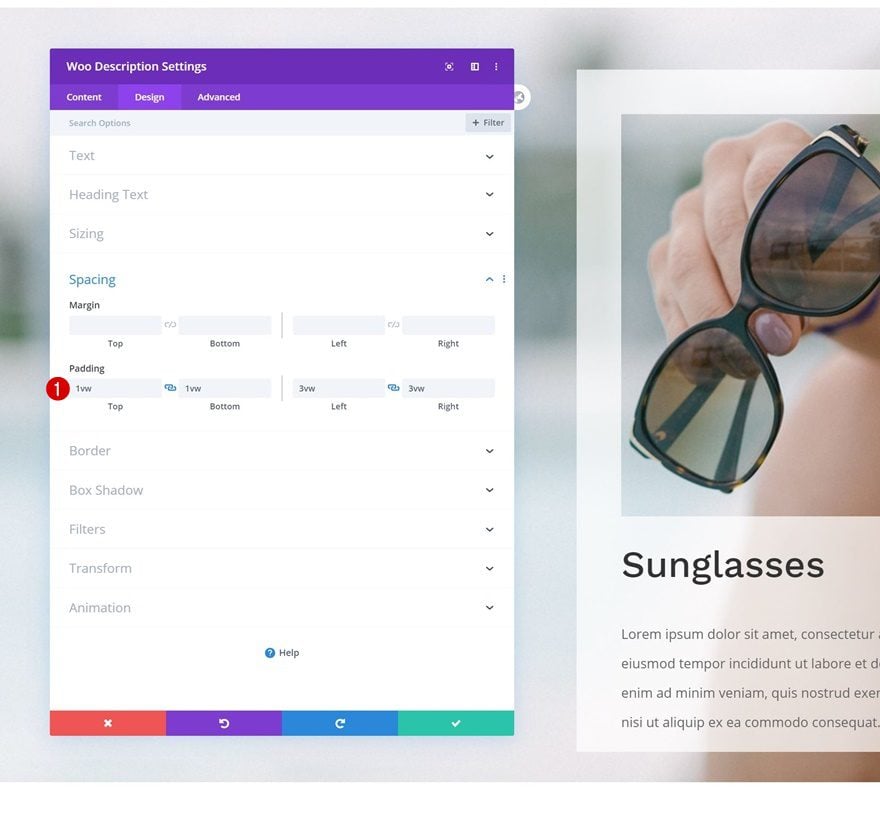
Spacing
Complete the module settings by adding some custom padding values.
- Top Padding: 1vw
- Bottom Padding: 1vw
- Left Padding: 3vw
- Right Padding: 3vw
Add Woo Price Text Module to Column 2
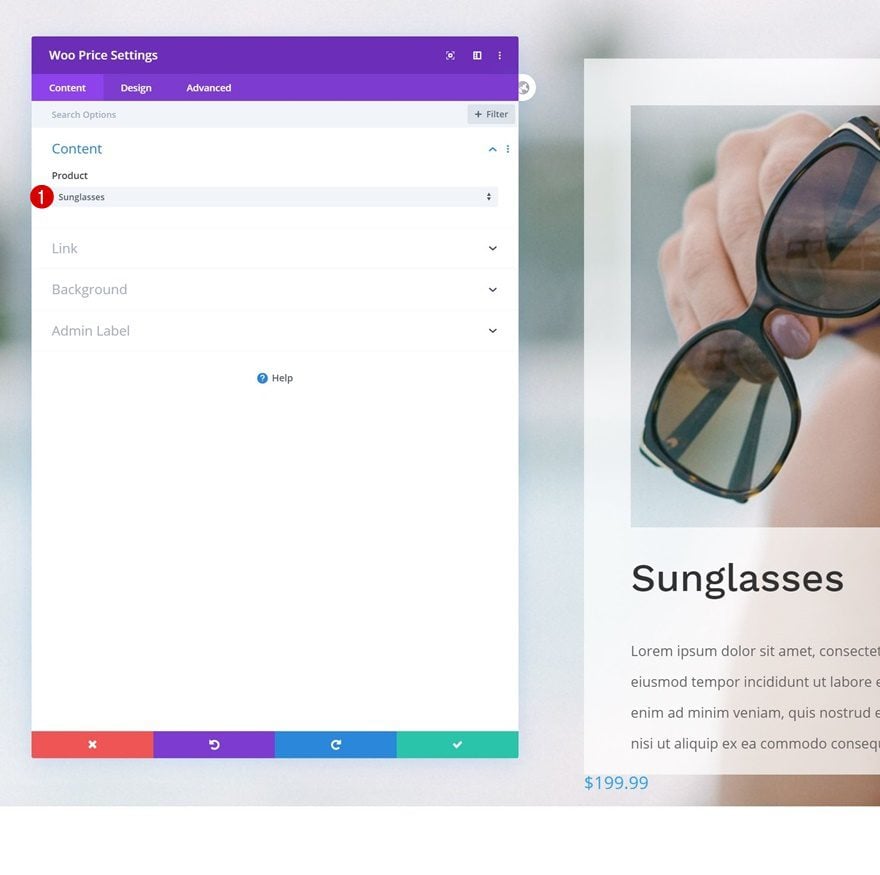
Dynamic Content
Next up, we have the Woo Price Text Module. Select a product of your choice.
- Product: Find in List
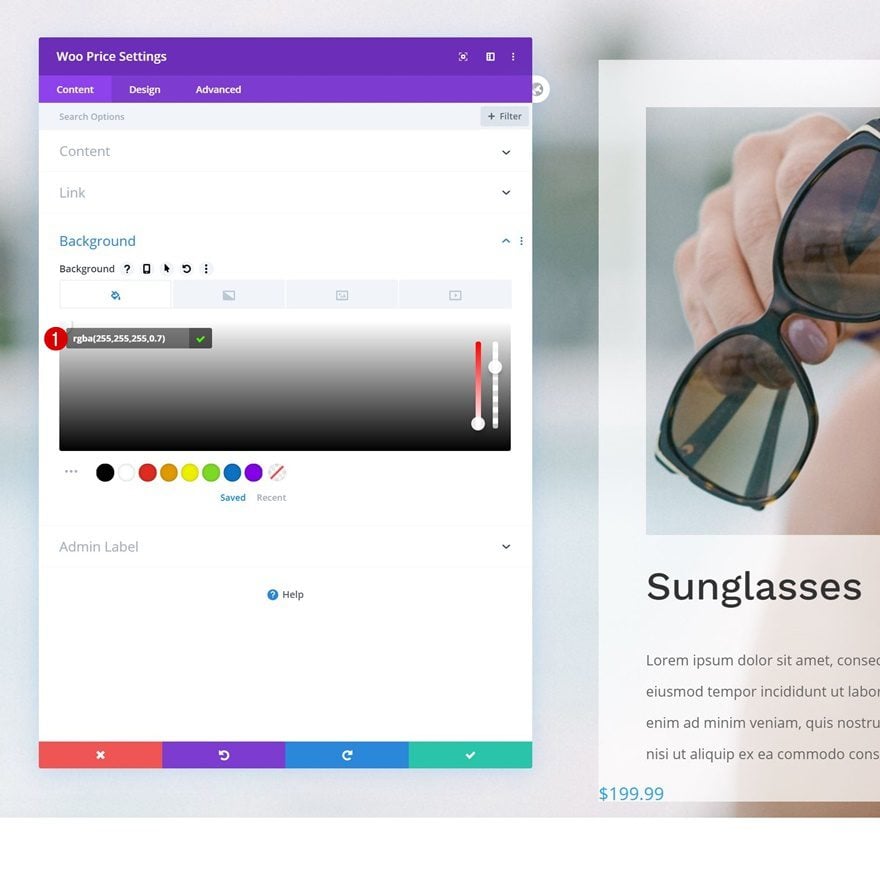
Background Color
Modify the background color.
- Background Color: rgba(255,255,255,0.7)
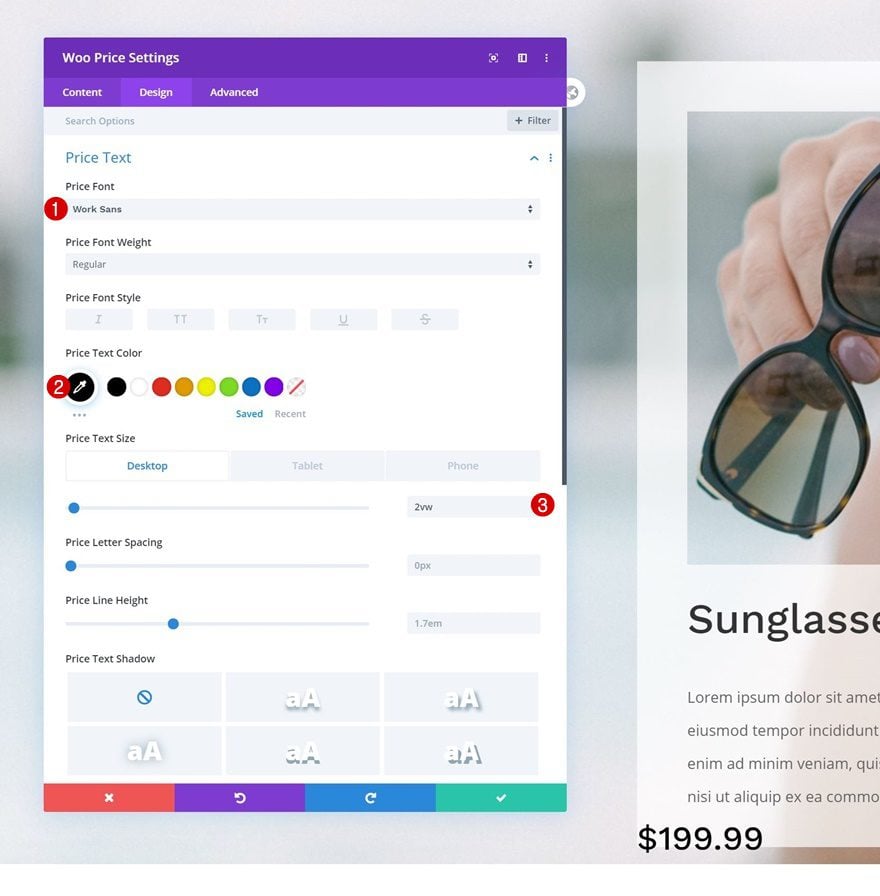
Price Text Settings
Move on to the module’s design tab and change the price text settings accordingly:
- Price Font: Work Sans
- Price Text Color: #000000
- Price Text Size: 2vw (Desktop), 4vw (Tablet), 5vw (Phone)
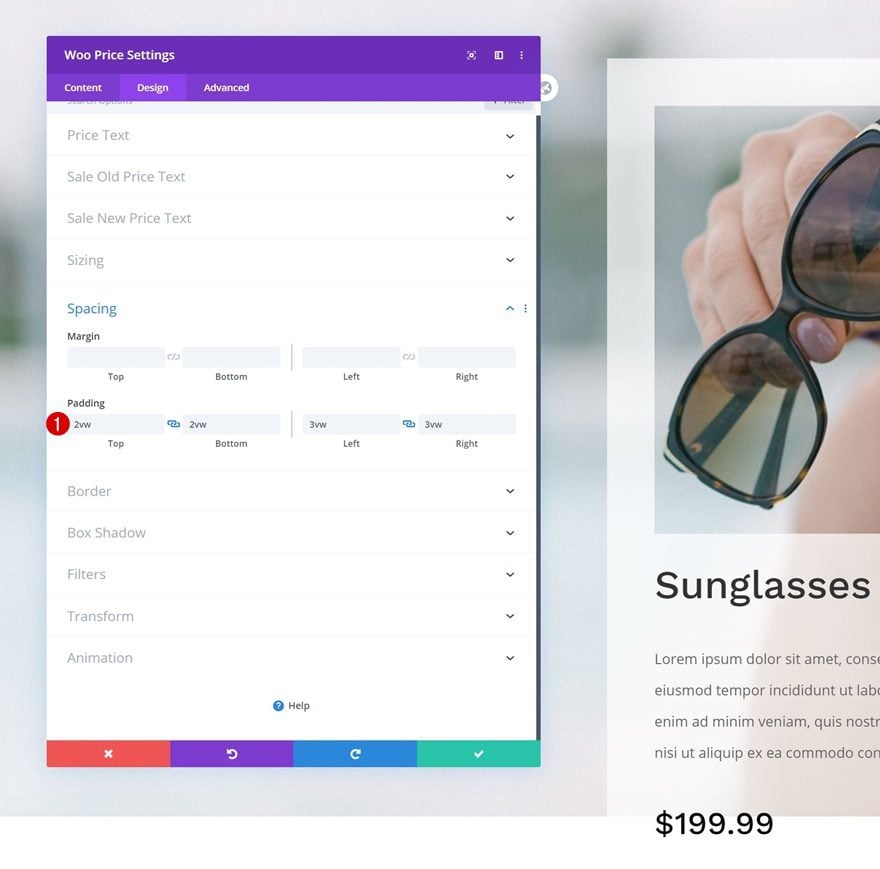
Spacing
Complete the module settings by adding some custom padding values.
- Top Padding: 2vw
- Bottom Padding: 2vw
- Left Padding: 3vw
- Right Padding: 3vw
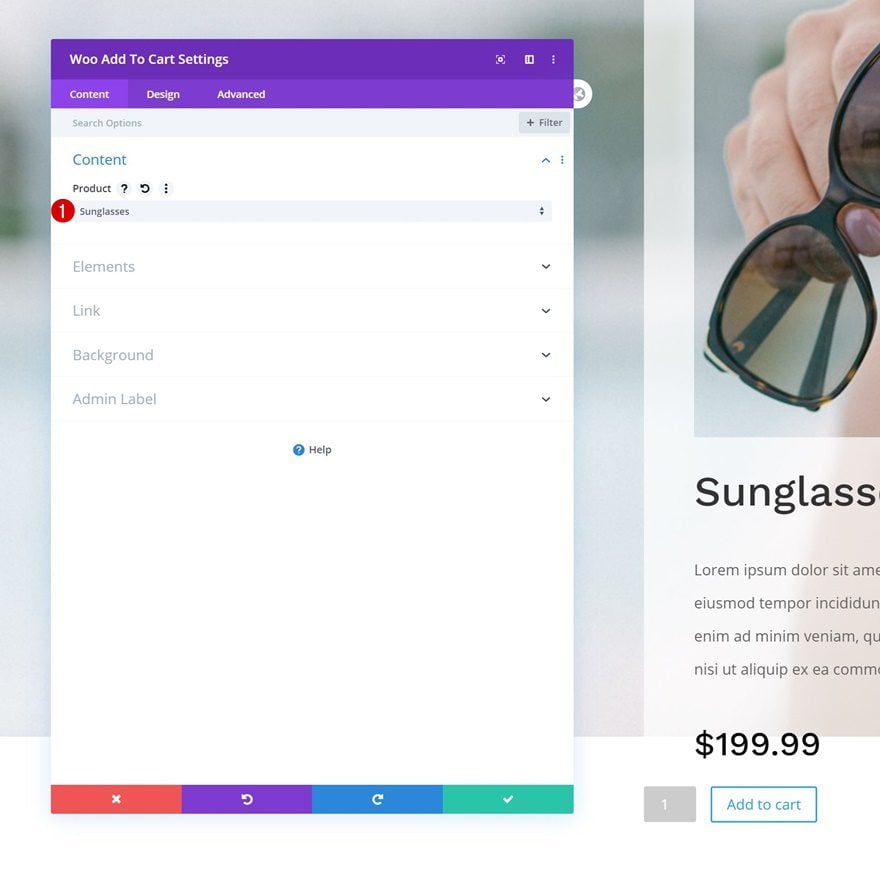
Add Woo Add To Cart Module to Column 2
Dynamic Content
On to the next and last module, which is the Woo Add To Cart Module! Select a product of your choice.
- Product: Find in List
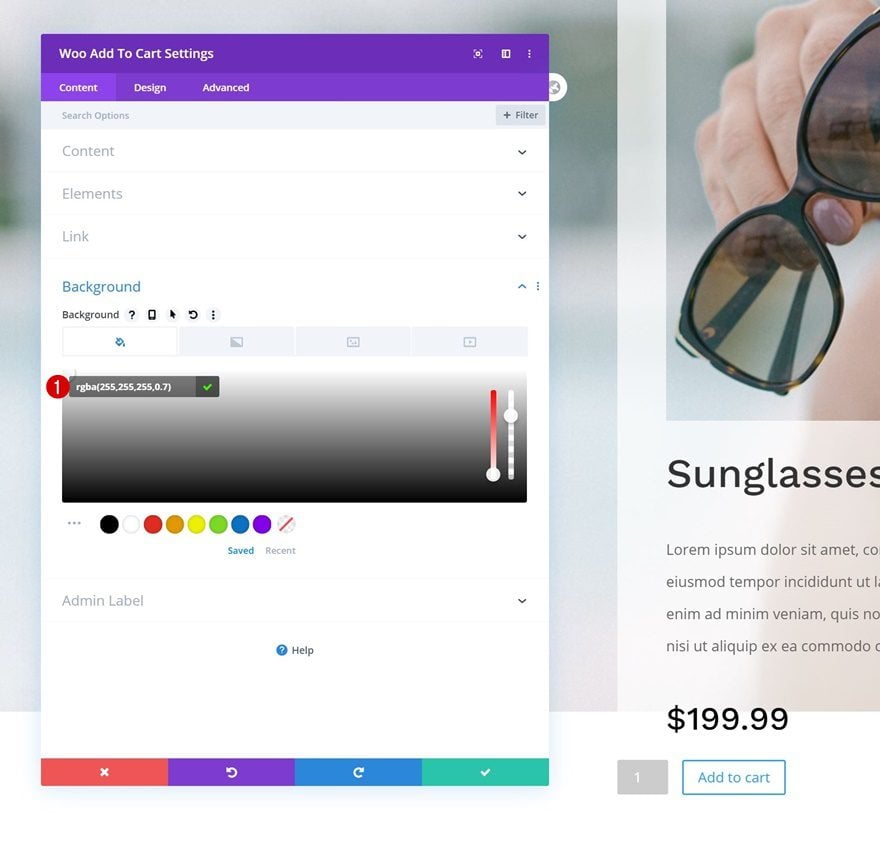
Background Color
Change the background color.
- Background Color: rgba(255,255,255,0.7)
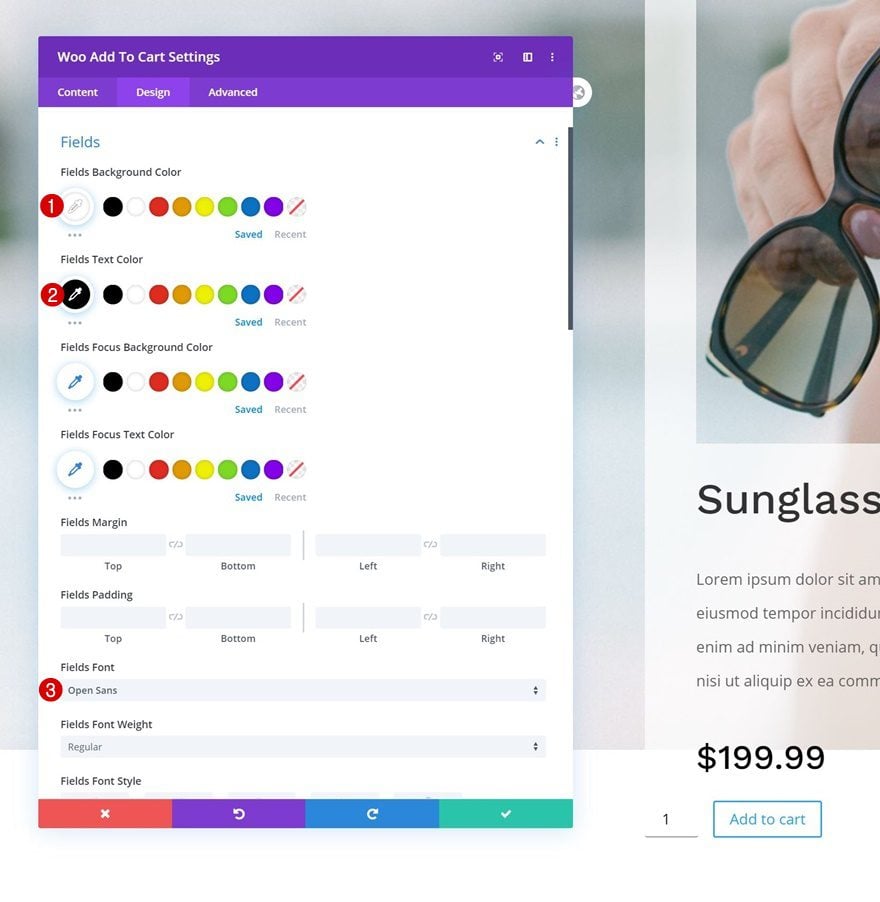
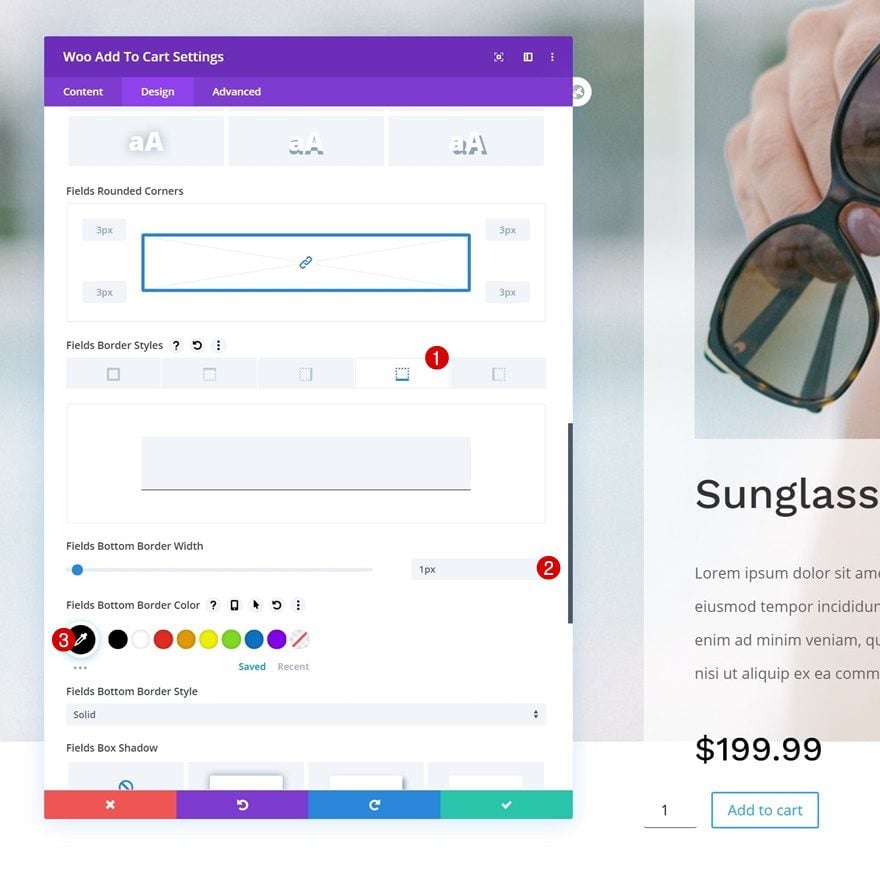
Fields Settings
Modify the module’s fields settings too.
- Fields Background Color: #ffffff
- Fields Text Color: #000000
- Fields Font: Open Sans
- Fields Bottom Border Width: 1px
- Fields Bottom Border Color: #000000
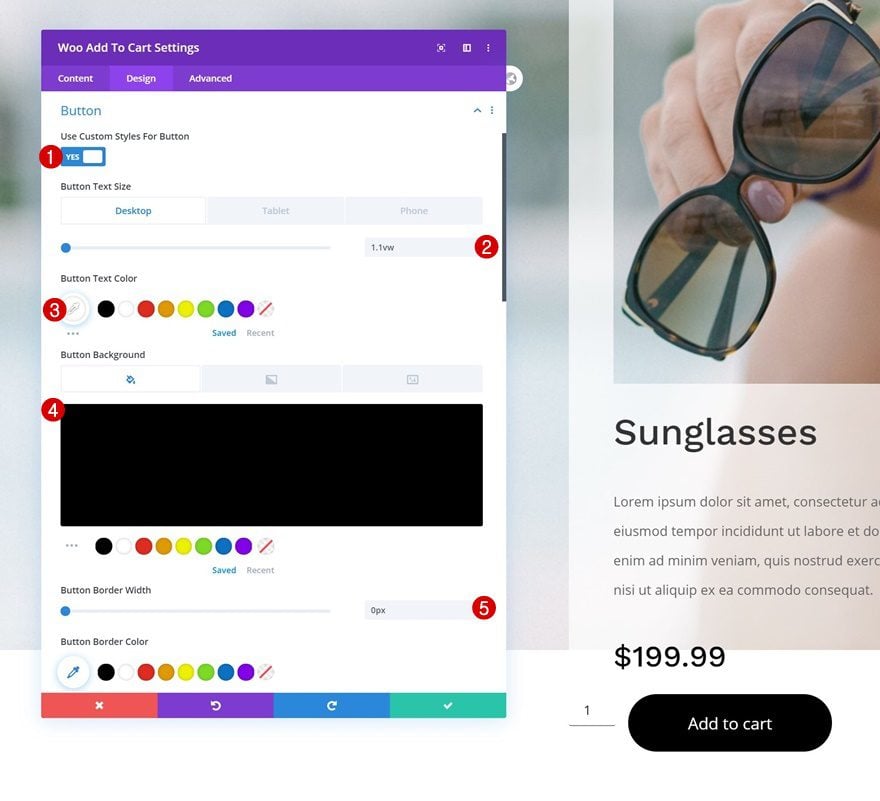
Button Settings
Continue by styling the button as follows:
- Use Custom Styles For Button: Yes
- Button Text Size: 1.1vw (Desktop), 2.5vw (Tablet), 3.5vw (Phone)
- Button Text Color: #ffffff
- Button Background Color: #000000
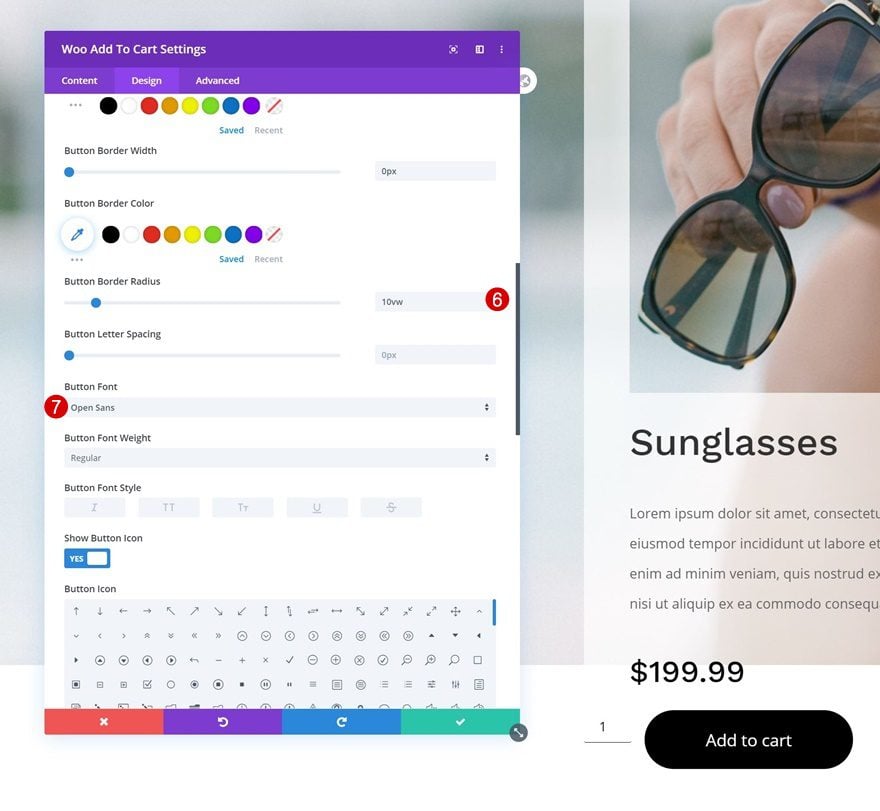
- Button Border Width: 0px
- Button Border Radius: 10vw
- Button Font: Open Sans
- Top Padding: 1vw (Desktop), 2vw (Tablet), 4vw (Phone)
- Bottom Padding: 1vw (Desktop), 2vw (Tablet), 4vw (Phone)
- Left Padding: 4vw (Desktop), 6vw (Tablet), 10vw (Phone)
- Right Padding: 4vw (Desktop), 6vw (Tablet), 10vw (Phone)
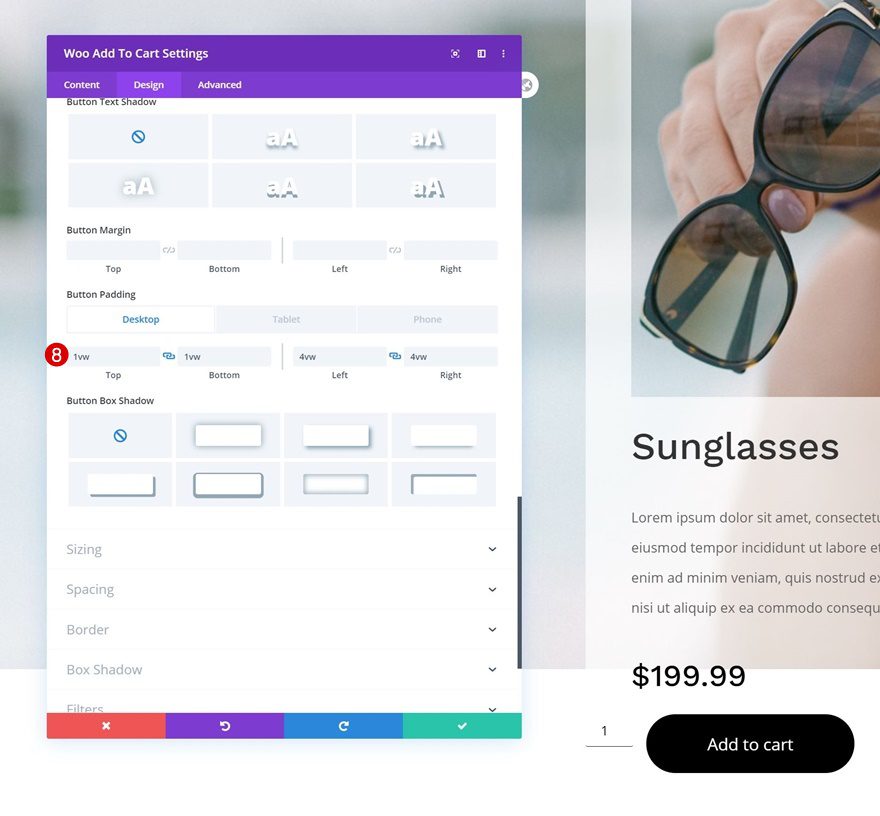
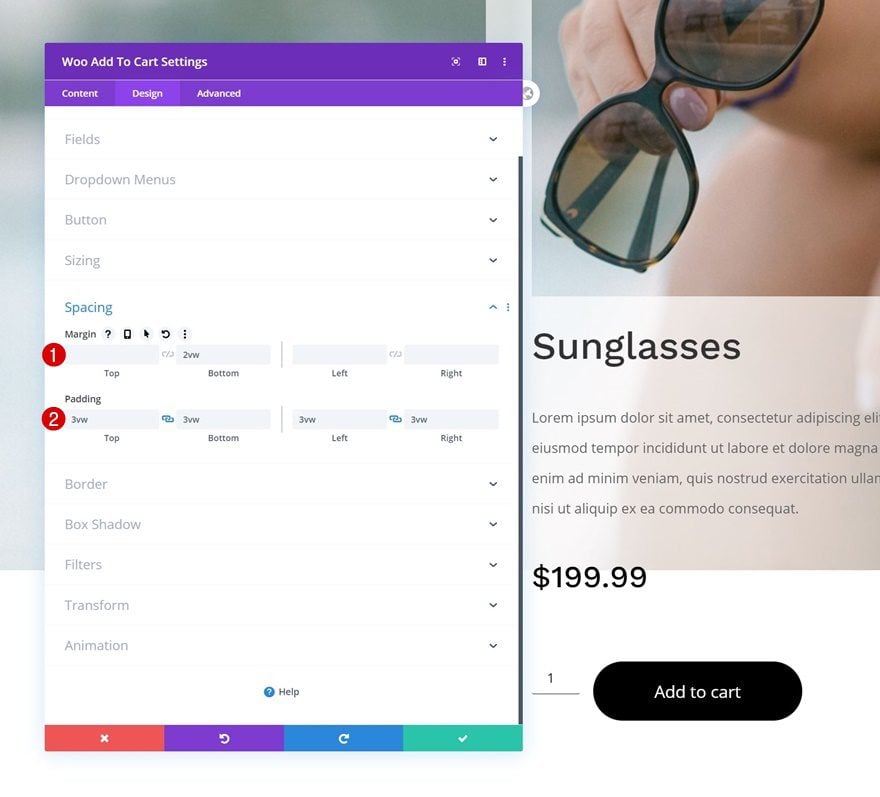
Spacing
And complete the module settings by adding some custom margin and padding values.
- Bottom Margin: 2vw
- Top Padding: 3vw
- Bottom Padding: 3vw
- Left Padding: 3vw
- Right Padding: 3vw
3. Style, Resize & Reposition Column
Modify Column 2 Settings
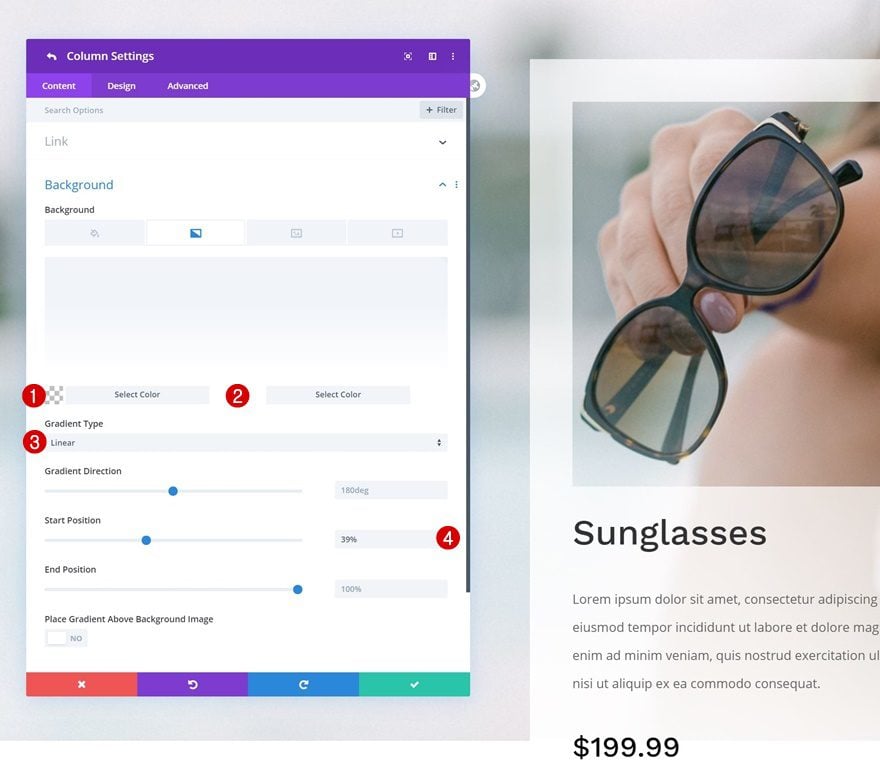
Gradient Background
Now, the last part of this tutorial allows us to unite the different modules. Open the column 2 settings and use the following gradient background for it:
- Color 1: rgba(43,135,218,0)
- Color 2: #ffffff
- Gradient Type: Linear
- Start Positon: 39%
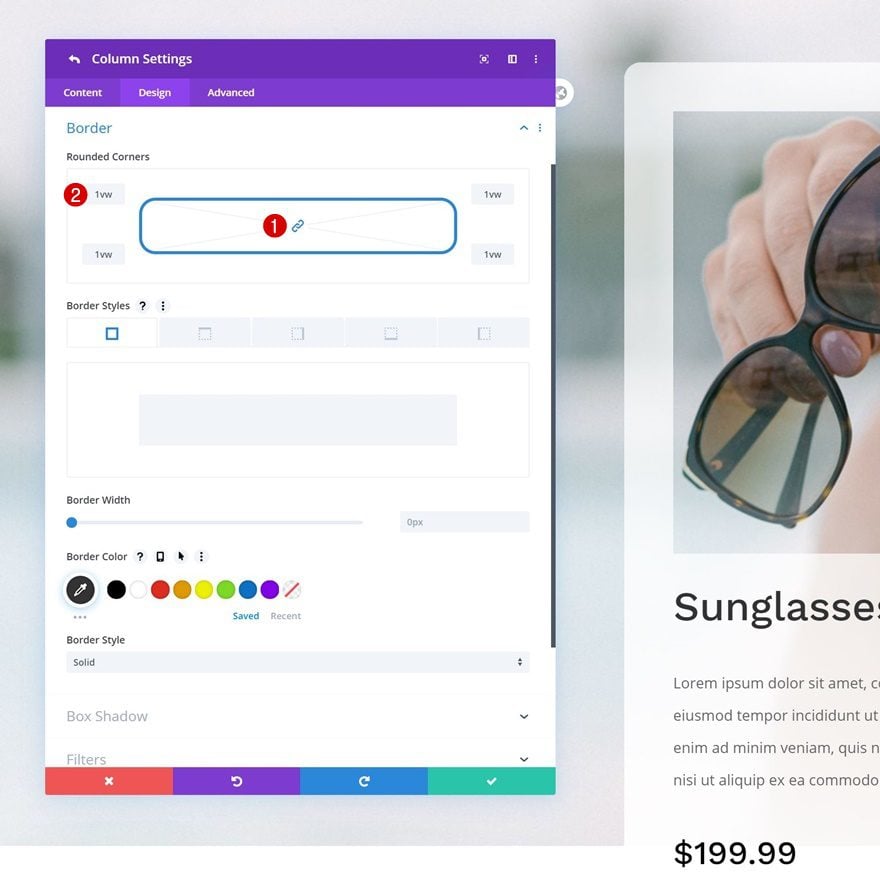
Border
Add some rounded corners too.
- All Corners: 1vw
Box Shadow
We’re creating some depth by adding a subtle box shadow as well.
- Box Shadow Blur Strength: 100px
- Shadow Color: rgba(0,0,0,0.24)

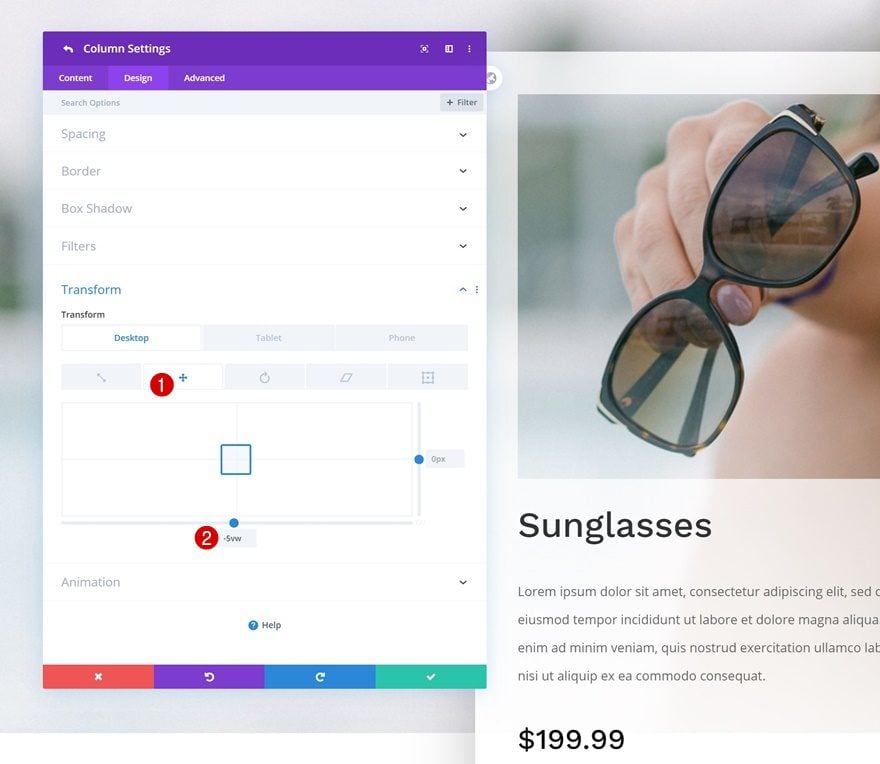
Transform Translate
And we’ll complete the column settings by changing the transform translate values across different screen sizes. This step allows us to reposition the column as we wish. When using your own background image, you’ll definitely enjoy this option!
- Right: 0px (Desktop), 9vw (Tablet & Phone)
- Bottom: -5vw (Desktop), 0vw (Tablet & Phone)
Preview
Now that we’ve gone through all the steps, let’s take a final look at the outcome across different screen sizes.
Desktop
Mobile
Final Thoughts
In this post, we’ve shown you how to frame a product in your background image using Divi’s built-in options and the WooCommerce modules that are included inside the Divi Builder. The approach you take on depends on the background image you’re using, but going through this tutorial will help you understand the overall approach. You were able to download the layout’s JSON file for free as well! If you have any questions or suggestions, feel free to leave a comment in the comment section below.
If you’re eager to learn more about Divi and get more Divi freebies, make sure you subscribe to our email newsletter and YouTube channel so you’ll always be one of the first people to know and get benefits from this free content.


Do we adjust the size of the photos in photoshop and then upload them to the library?
If so, what are the sizes and the placement of the square with respect to the columns to be used?
Is there an easy, clear way to know if you’re doing it correctly?
Thanks.
This technique will work on any kind of background image, no matter where the product is located, as long as you choose the matching column structure and use the column’s transform translate to reposition the column until the frame fits your product. You can also change the first Text Module’s spacing to increase the size of the frame that allows the background image to go through. No product background image is going to be the exact same so it’s a matter of playing around with these settings to get it right and get familiar with the different containers and their possibilities. Hope that helps! 🙂
Thanks Donjetë, for another excellent tutorial! Love this one!
Happy you like it Desirée! 🙂