
Floating elements within a section can provide an effective and unique way to reveal content as the user scrolls down the page. With Divi, you can float elements simply by giving them a fixed position using the built-in position options available. And when you combine the fixed elements with static elements, animation, and parallax, your content will come alive!
In this tutorial, we will show you how to float elements (images and a blurb module) within a section in Divi to create a beautiful, dynamic scrolling effect!
Let’s get started!
- 1 Sneak Peek
- 2 Download the Layout for FREE
- 3 Download For Free
- 4 What You Need to Get Started
- 5 Creating a Section with Three Columns
- 6 Adding the Images with Static and Fixed Positions
- 7 Adding the Blurb with a Fixed Position
- 8 Creating a Mock Top and Bottom Section
- 9 Final touches to the Middle Section
- 10 Final Result
- 11 Final Thoughts
Sneak Peek
Here is a quick look at the floating elements design we will build.

Subscribe To Our Youtube Channel
Download the Layout for FREE
To lay your hands on the designs from this tutorial, you will first need to download it using the button below. To gain access to the download you will need to subscribe to our newsletter by using the form below. As a new subscriber, you will receive even more Divi goodness and a free Divi Layout pack every Monday! If you’re already on the list, simply enter your email address below and click download. You will not be “resubscribed” or receive extra emails.

To import the layout to your page, simply extract the zip file and drag the JSON file into the Divi Builder.
NOTE: You will need to deploy the wireframe view mode and restore the default Z Index of the Middle section if you want to use the Divi Builder in visual mode to edit the items.
Let’s get to the tutorial, shall we?
What You Need to Get Started

To get started, you will need to do the following:
- If you haven’t yet, install and activate the Divi Theme.
- Create a new page in WordPress and use the Divi Builder to edit the page on the front end (visual builder).
- Choose the option “Build From Scratch”. After that, you will have a blank canvas to start designing in Divi.
- In order to use the same images used on this tutorial, you can click here to download the images from the Candy Shop Layout Pack.
Creating a Section with Three Columns
Let’s get things going by creating a three-column row.
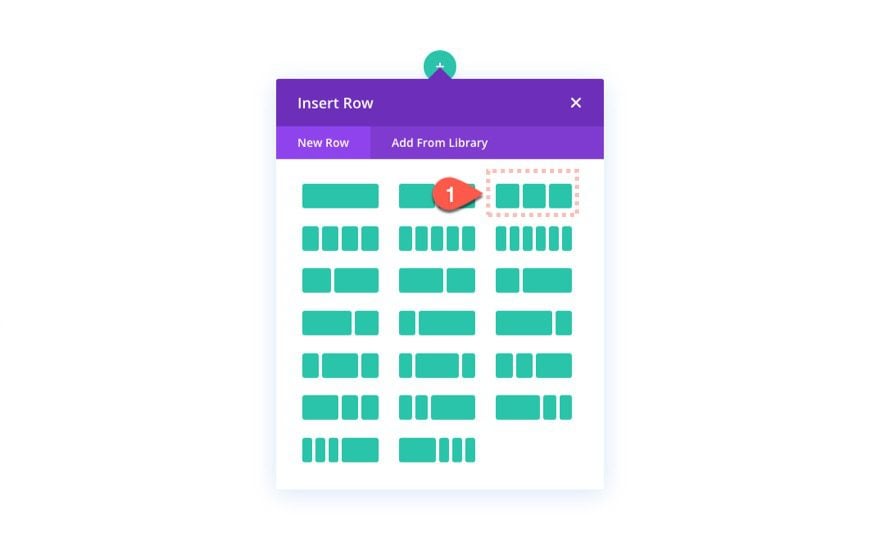
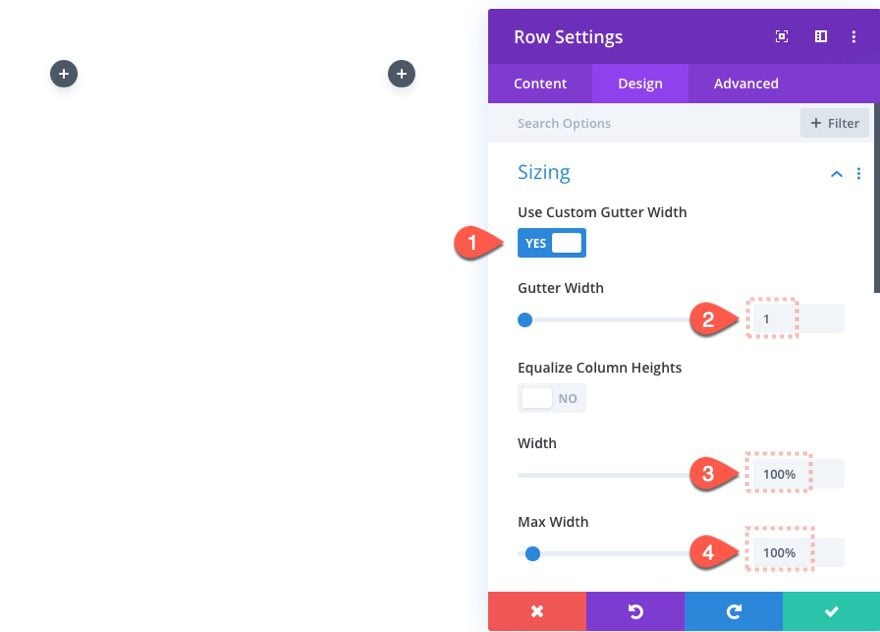
Then update the row settings as follows:
- Gutter Width: 1
- Width: 100%
- Max Width: 100%
Open the settings for column 1 and adding the following padding:
- Padding: 10vw Top, 5vw Bottom
This will help stagger the layout of the images a bit and add some height to our column.

Open the settings for column 2 and add the following Z Index:
- Z Index: 12
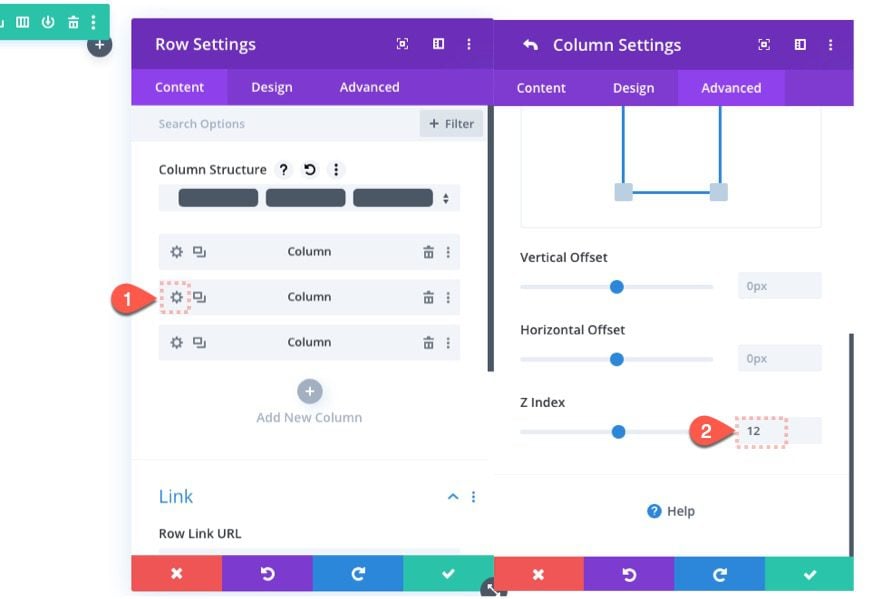
This will make sure the blurb module we will add to the middle column will stay above all other content on the section.
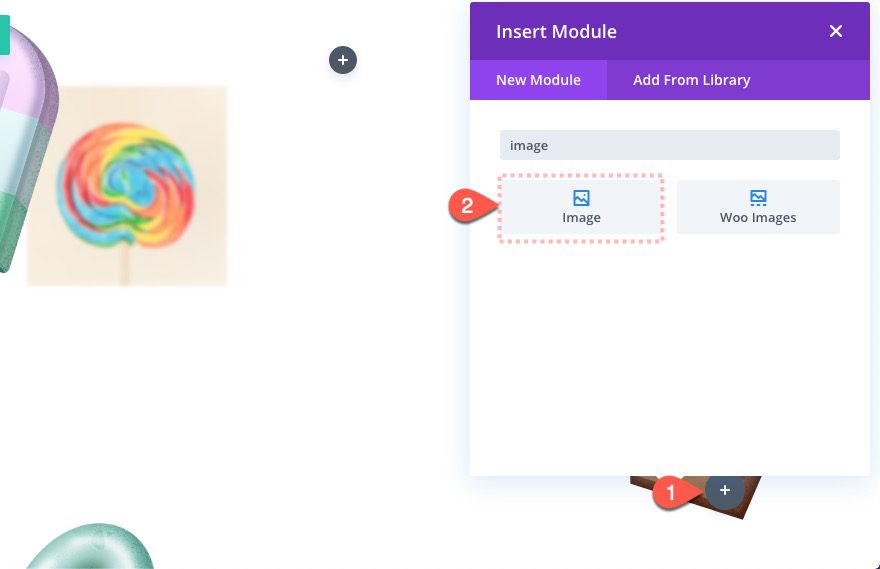
Adding the Images with Static and Fixed Positions
The next step will be to add the floating images to our left and right columns. Four of the images will keep their static (default) position but we will give two of them a fixed position. This will help give the illusion that some are floating.
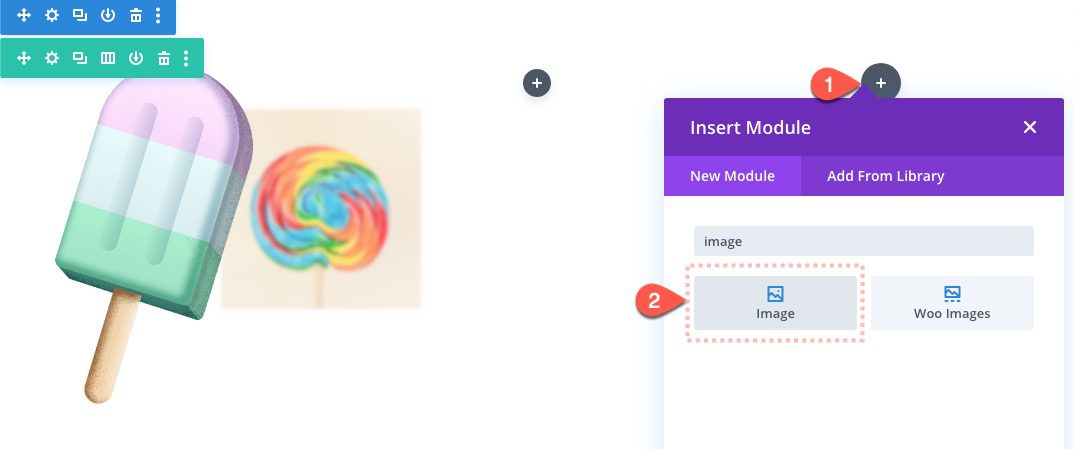
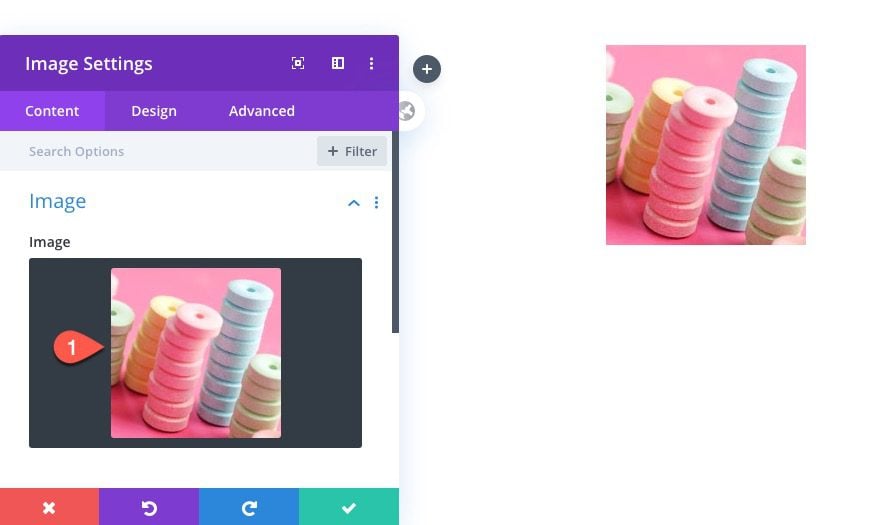
Image #1 (static)
Add a new image module to column 1.
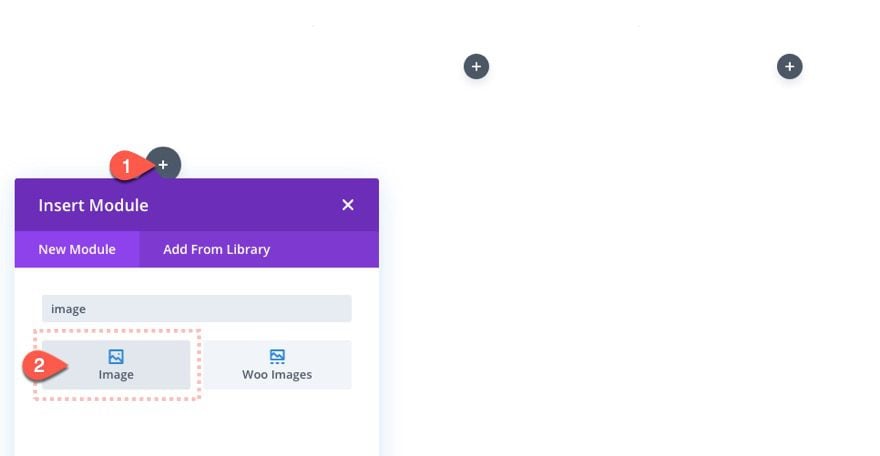
Upload an image to the module.
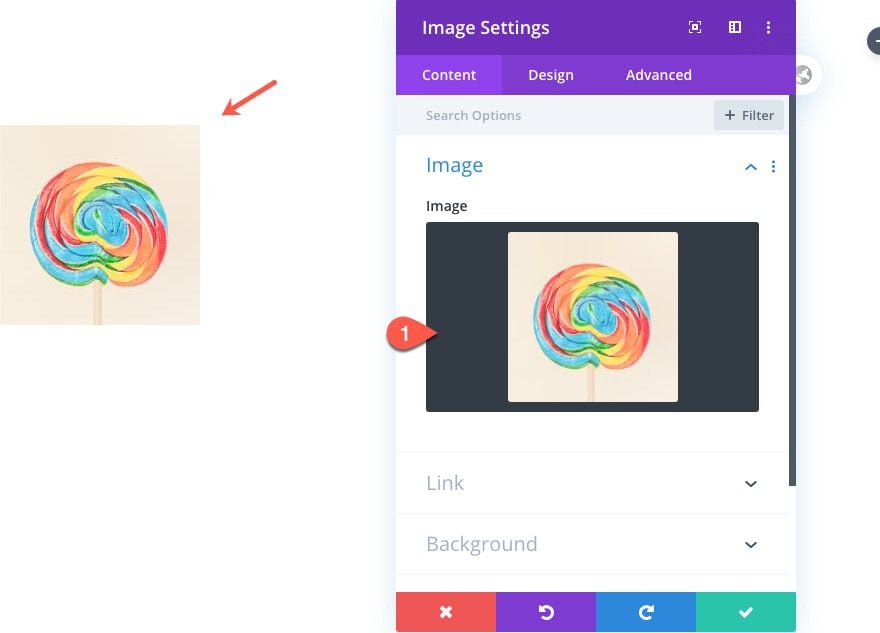
Update the following design settings for the image:
- Width: 200px
- Module Alignment: right
- Blur: 2px
- Transform Translate (Y): -58px
- Transform Translate (X): 63px
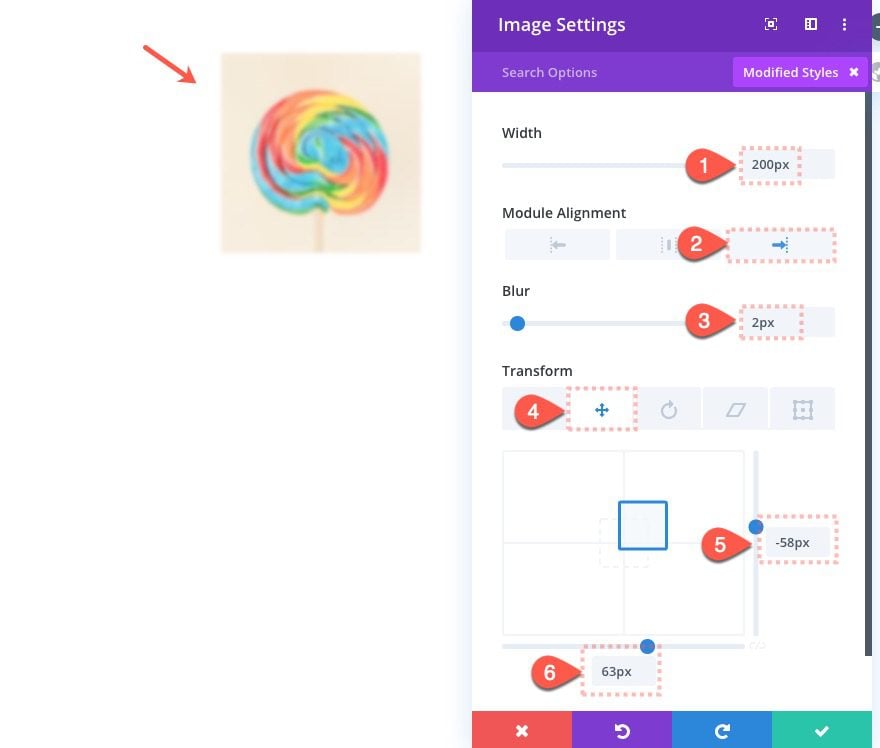
Image #2 (Fixed)
Add a second image module under the first in column 1.
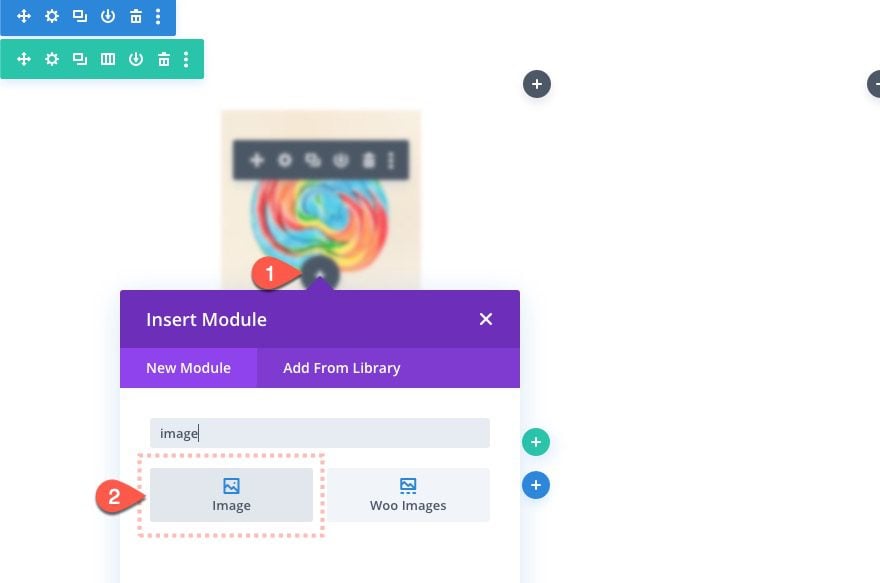
Upload a new image to the module.
Update the design settings for image #2 as follows:
- Width: 200px
- Position: Fixed
- Location: Top Left
- Vertical Offset: 7%
- Horizontal Offset: 5%
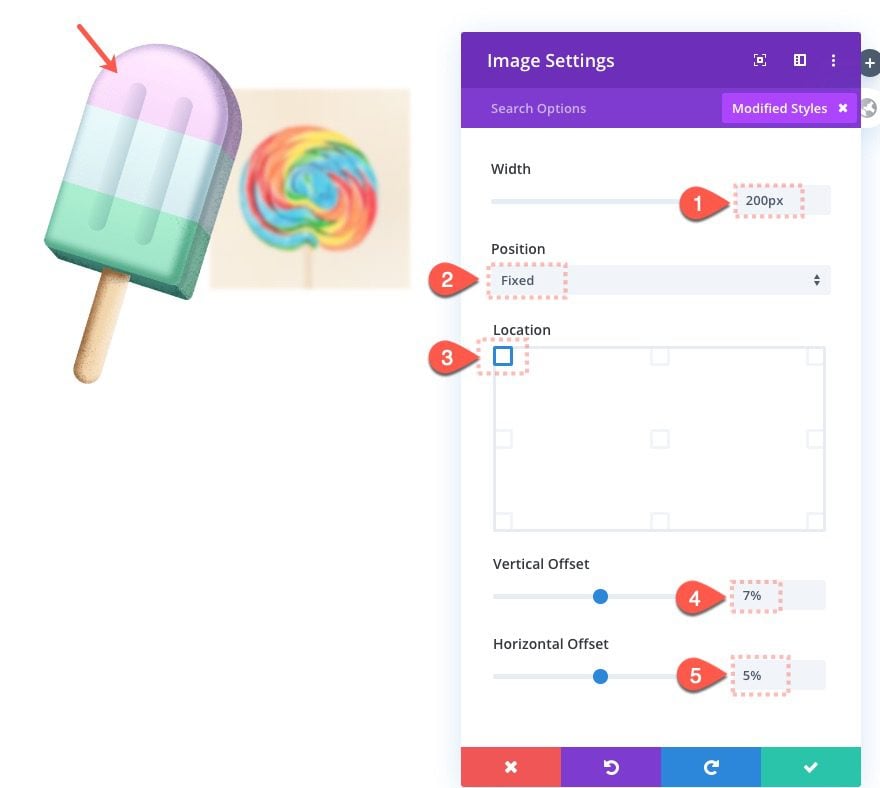
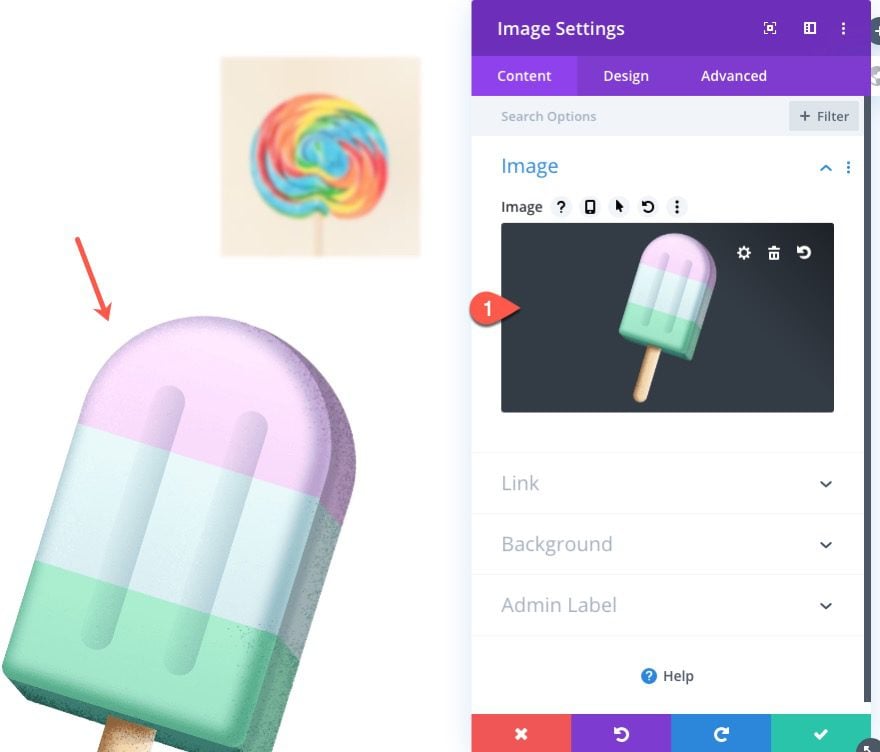
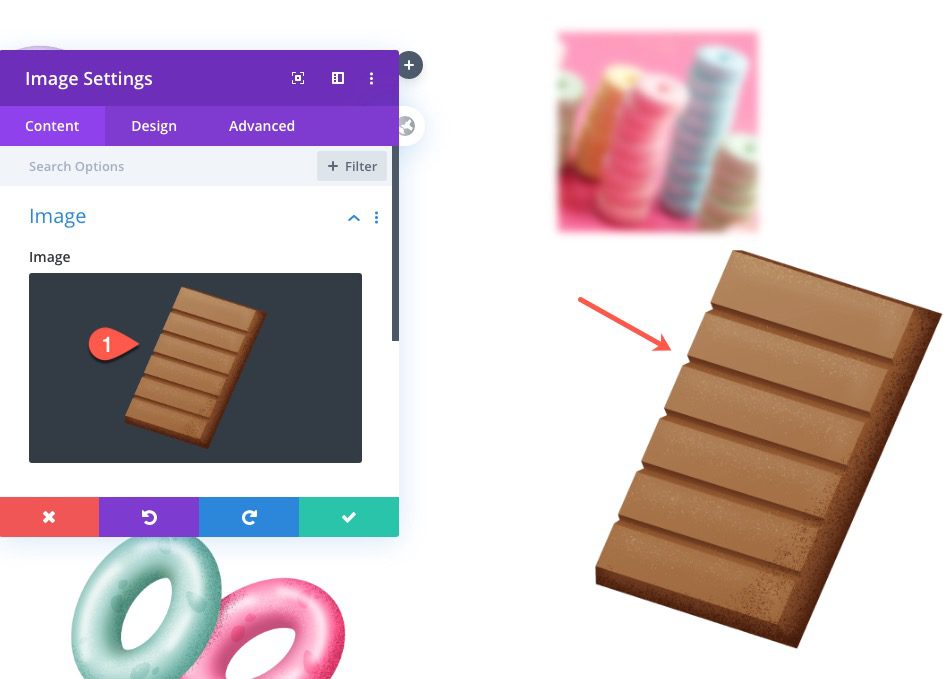
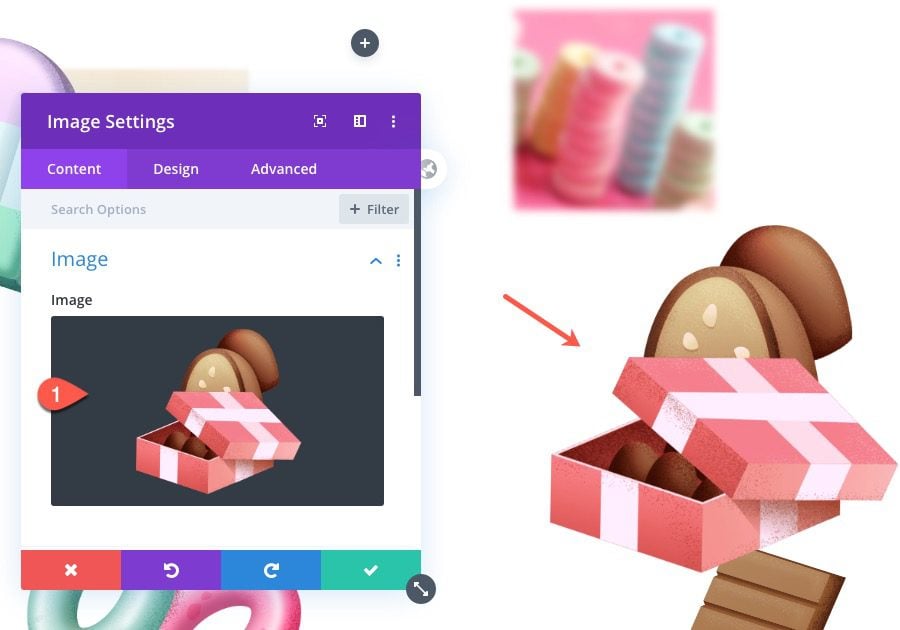
Image #3 (Static)
Add a third image under the second in column 1.

Upload a new image to the module.
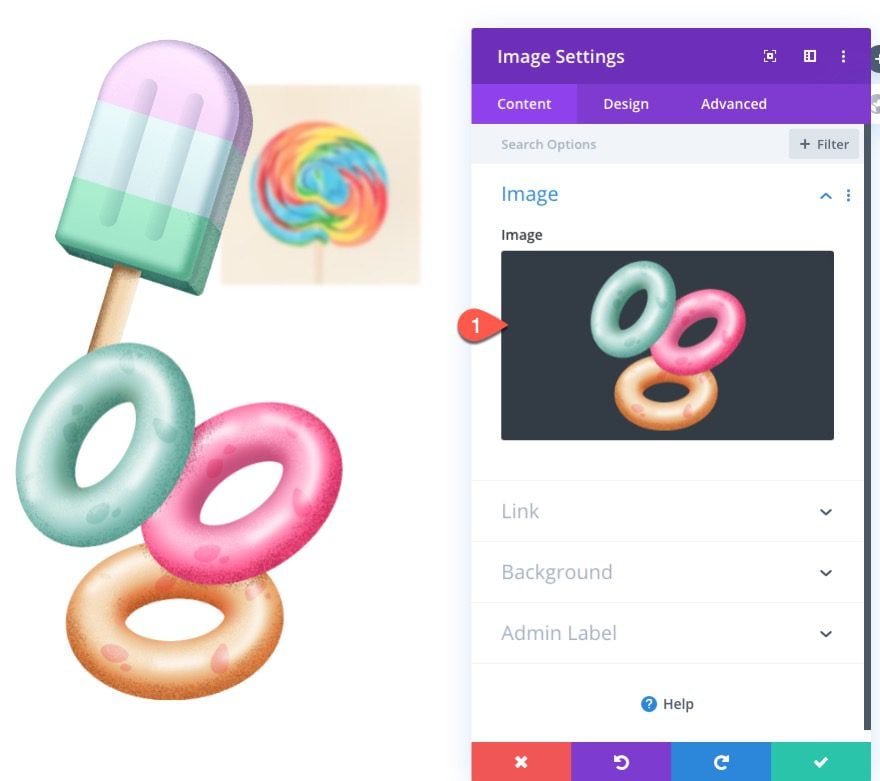
Update the design settings for the image as follows:
- Width: 300px
- Module Alignment: Right
- Transform Translate (Y): 179px
- Transform Translate (X): 128px
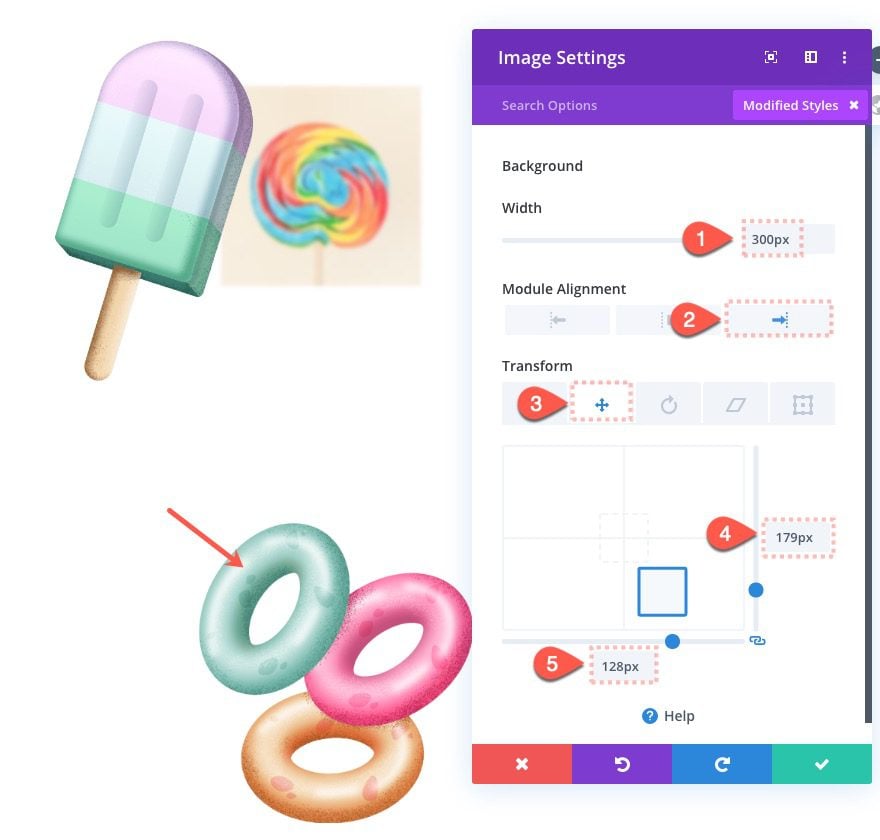
Image #4 (Static)
Add a fourth image module to column 3.
Upload a new image to the module.
Update the design settings for image #4 as follows:
- Width: 200px
- Module Alignment: Left
- Blur: 4px
- Transform Translate (Y): -9px
- Transform Translate (X): -30px
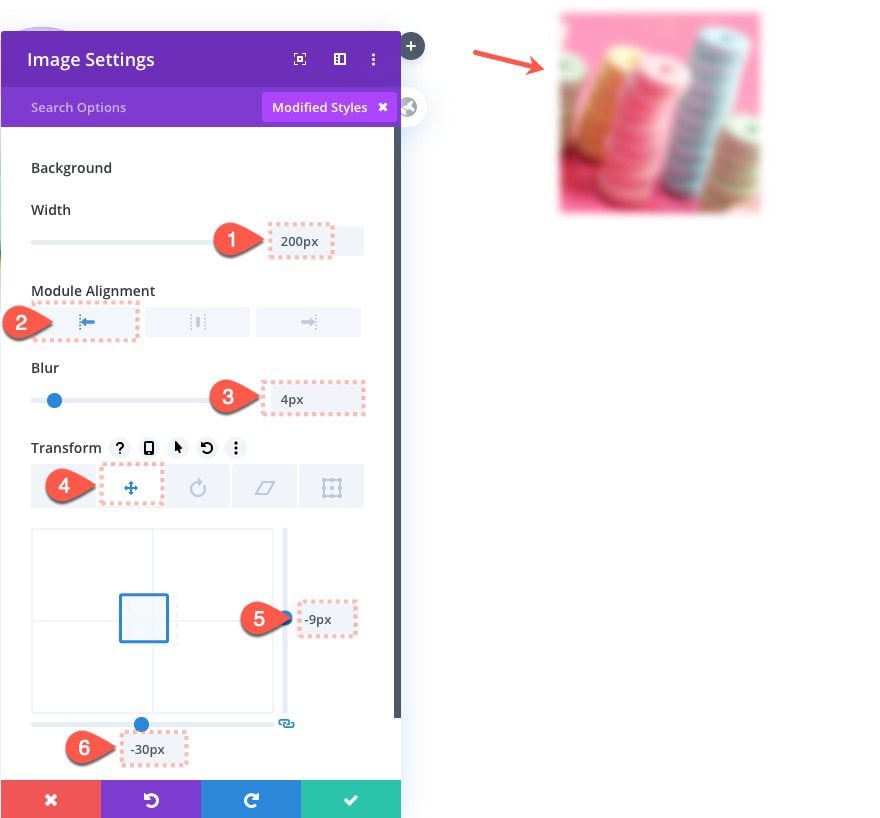
The blur effect helps to give the illusion that the image is farther away.
Image #5 (Fixed)
Next, add a new image module under image #4 in column 3.

Upload a new image to the module as follows:
Update the design settings for image #5 as follows:
- Width: 200px
- Position: Fixed
- Location: Bottom Right
- Vertical Offset: 7%
- Horizontal Offset: 5%
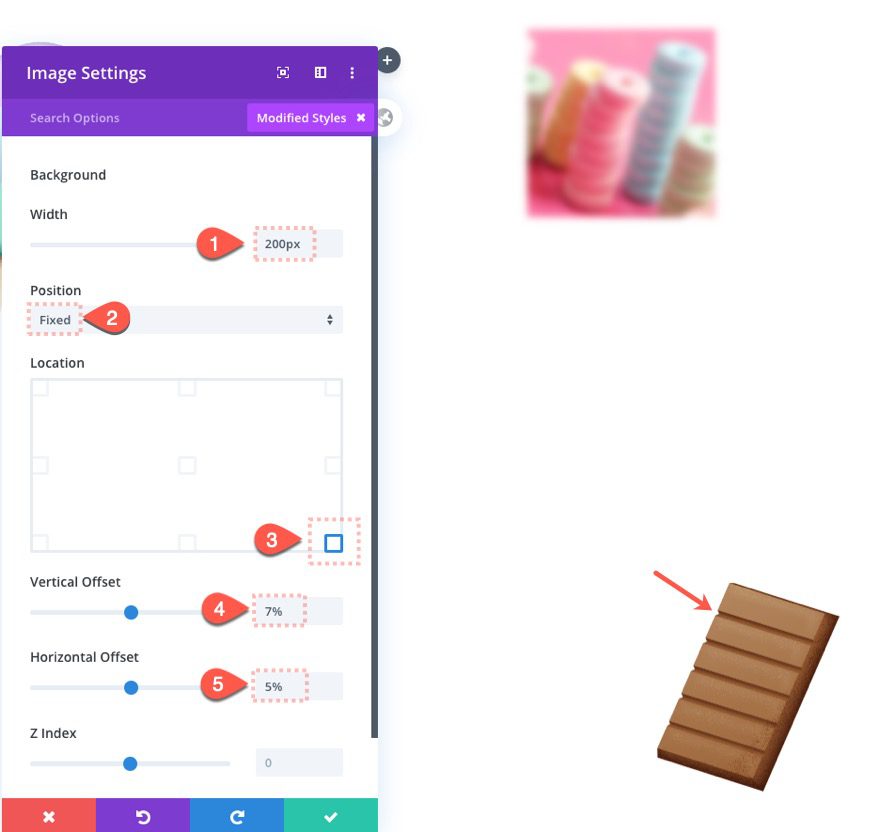
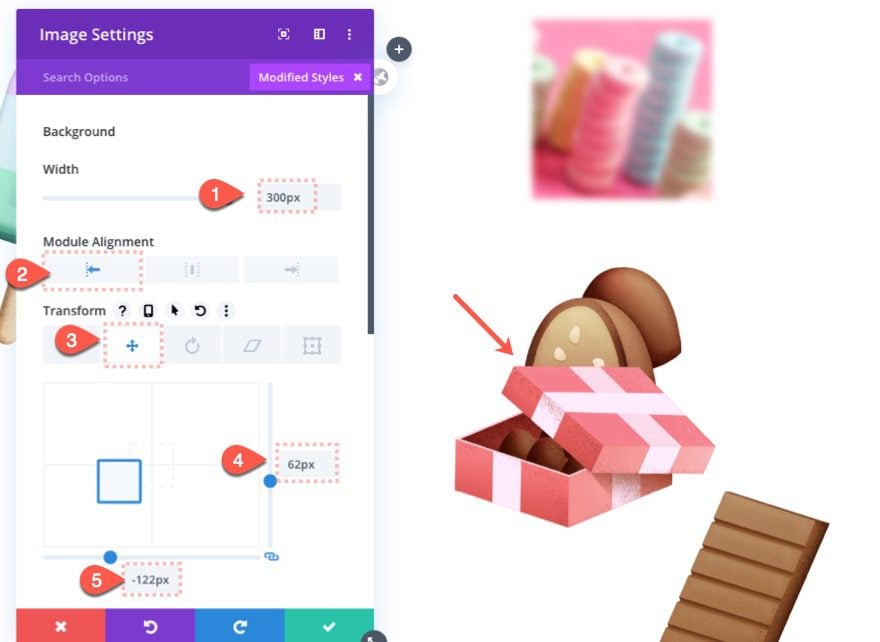
Image #6 (Static)
Add the sixth and final image under image #5 in column 3.
Upload a new image to the module.
Update the design settings for image #6 as follows:
- Width: 300px
- Module Alignment: Left
- Transform Translate (Y): 62px
- Transform Translate (X): -122px
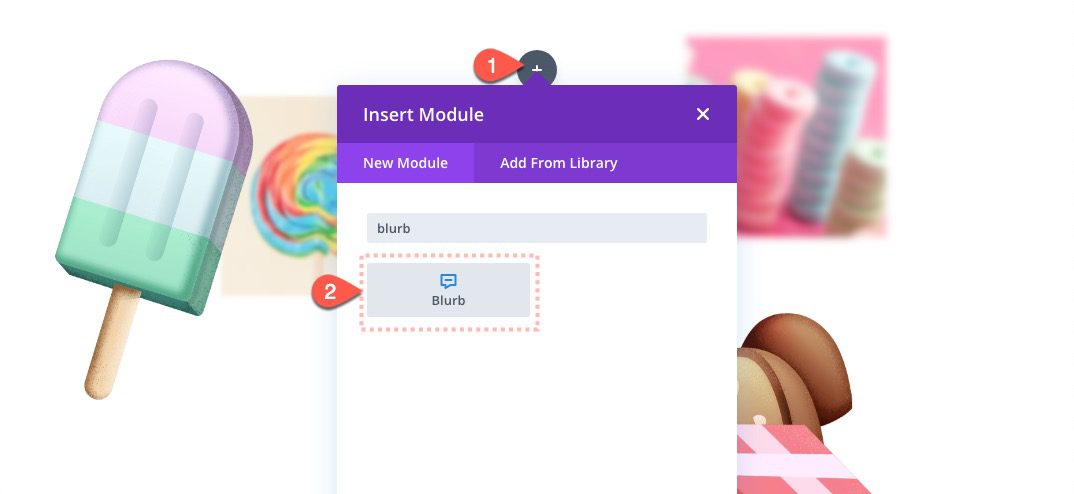
Adding the Blurb with a Fixed Position
We are ready to add the final piece of content to our section. This will be the main featured blurb that will also be in a fixed position.
Add a blurb module to the middle column (column 2).
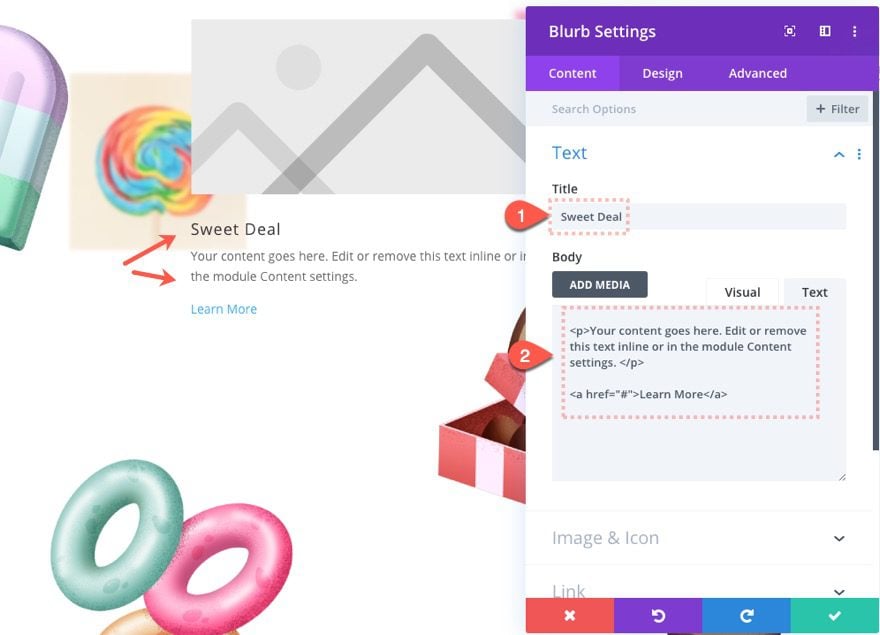
Then update the content of the blurb as follows:
- Title: Sweet Deal
Then add the following HTML to the body under the text tab:
<p>Your content goes here. Edit or remove this text inline or in the module Content settings.</p>

<a href="#">Learn More</a>
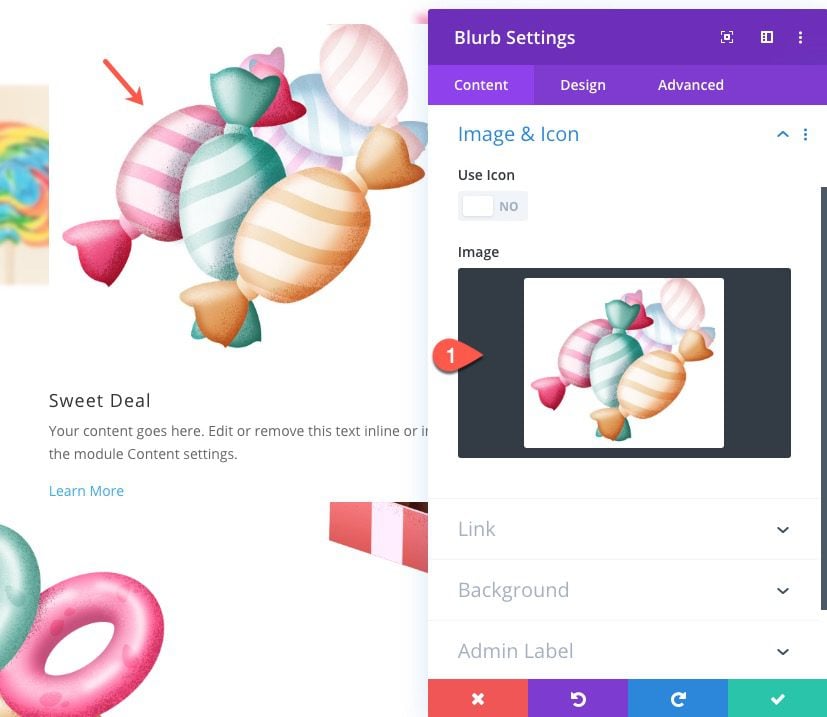
Add an image to the blurb.
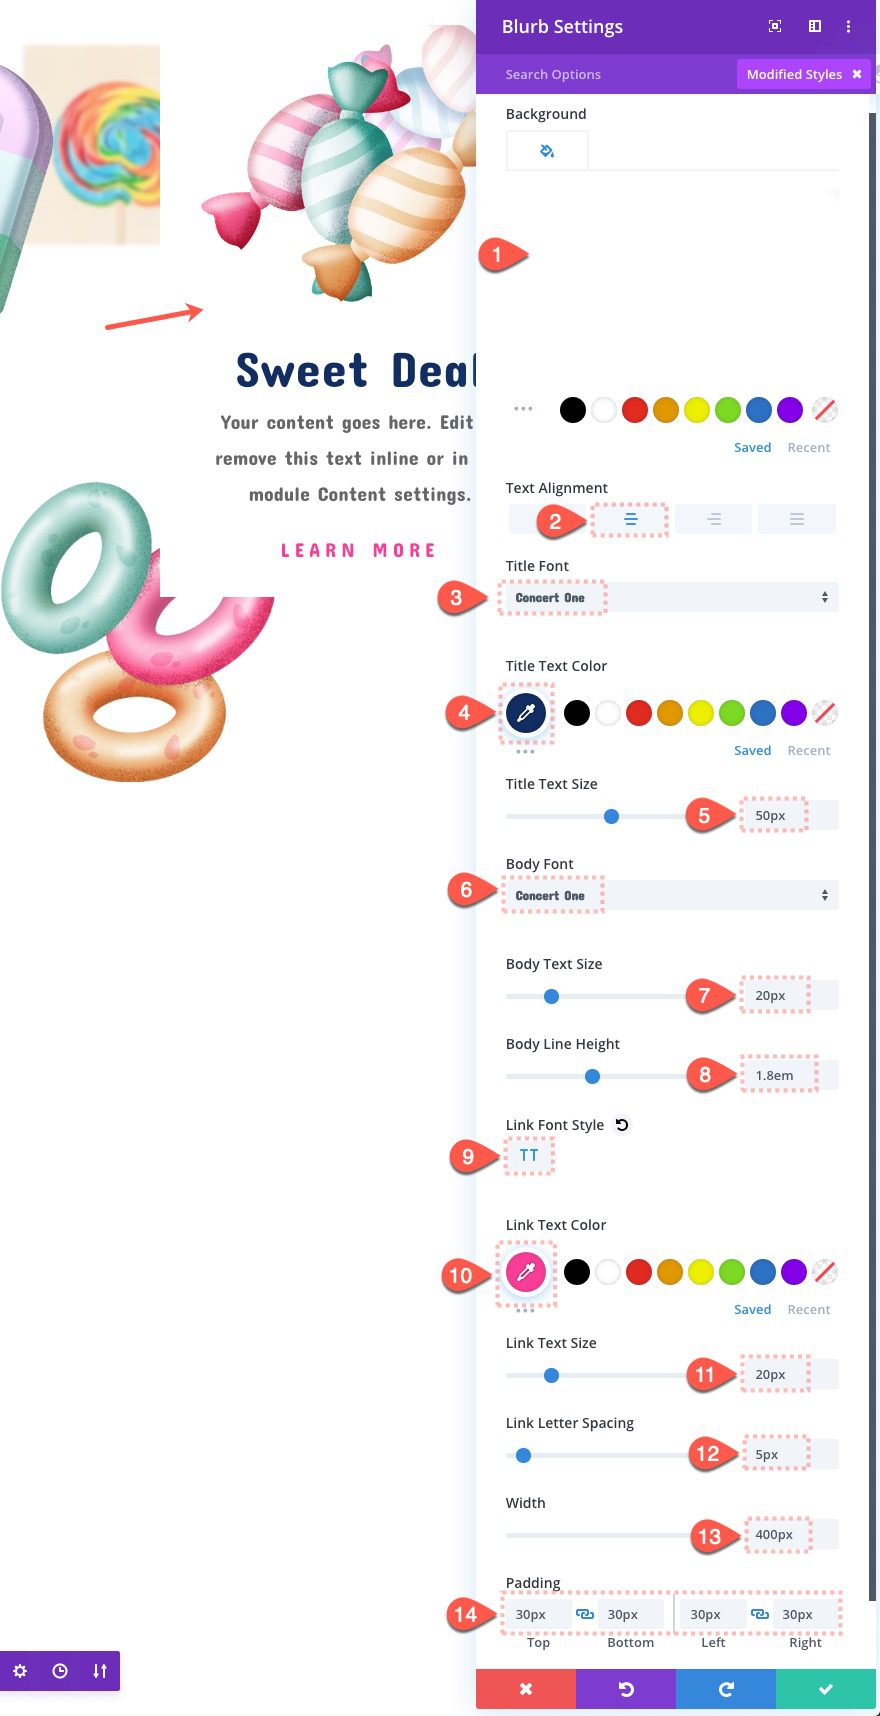
Design the blurb by updating the following settings:
- Background Color: #ffffff
- Text Alignment: Center
- Title Font: Concert One
- Title Text Color: #0a2d61
- Title Text Size: 50px
- Body Font: Concert One
- Body Text Size: 20px
- Body Line Height: 1.8em
- Link Font Syle: TT
- Link Text Color: #ff3d97
- Link Text Size: 20px
- Link Letter Spacing: 5px
- Width: 400px
- Padding: 30px top, 30px bottom, 30px left, 30px right
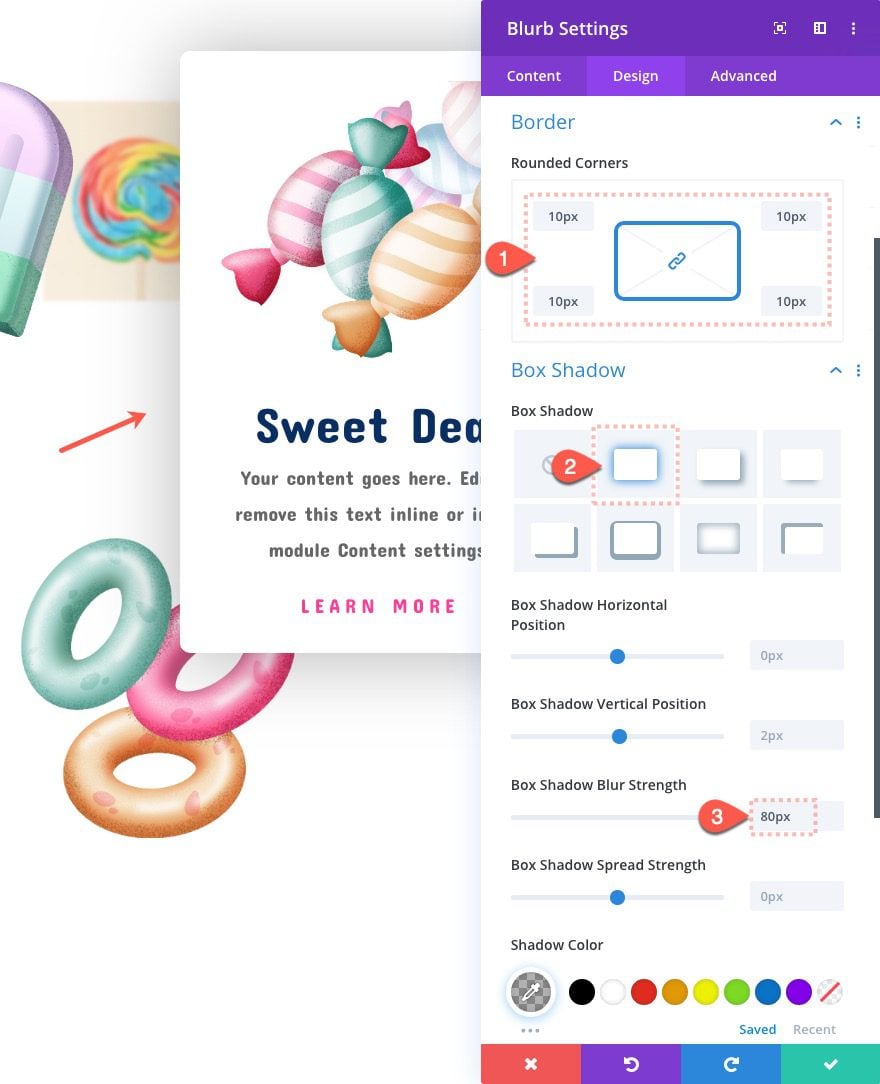
- Rounded Corners: 10px
- Box Shadow: see screenshot
- Box Shadow Blur Strength: 80px
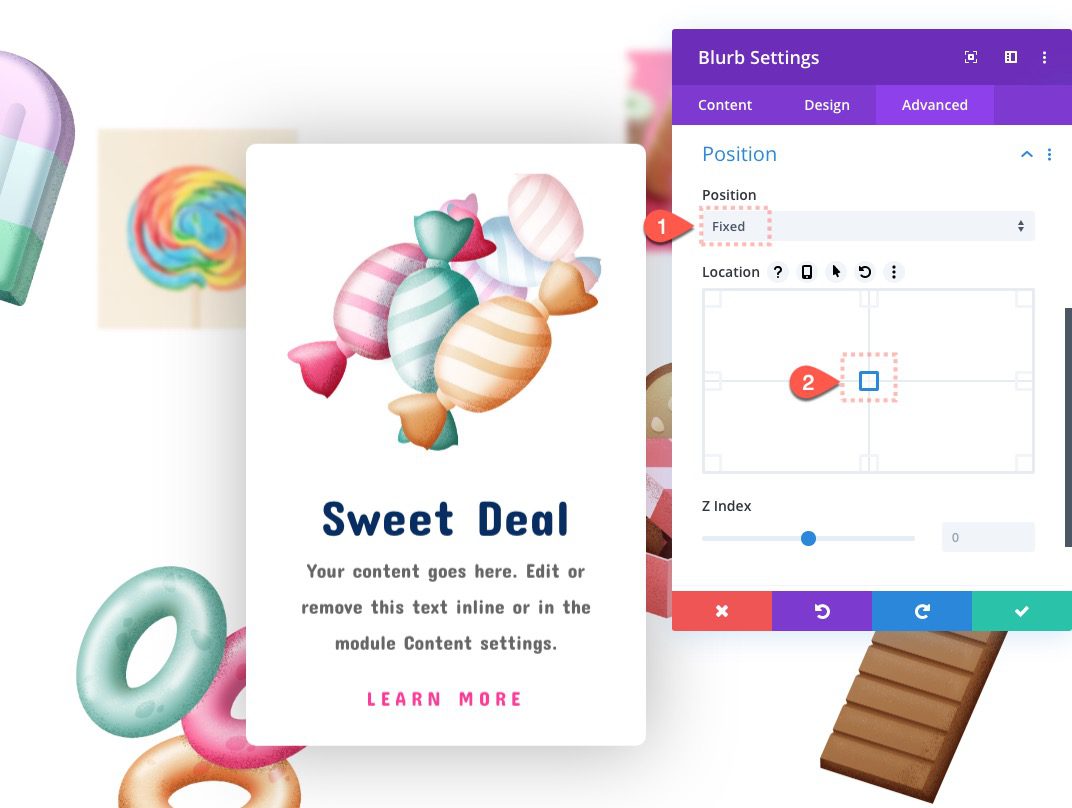
Then finally give the blurb a fixed position with a central location.
- Position: Fixed
- Location: Middle/Center
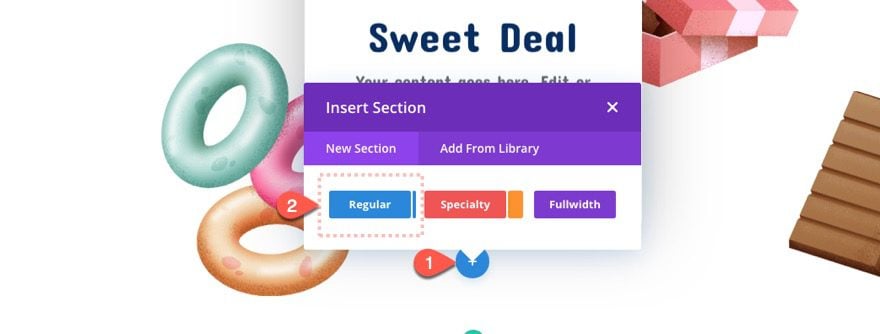
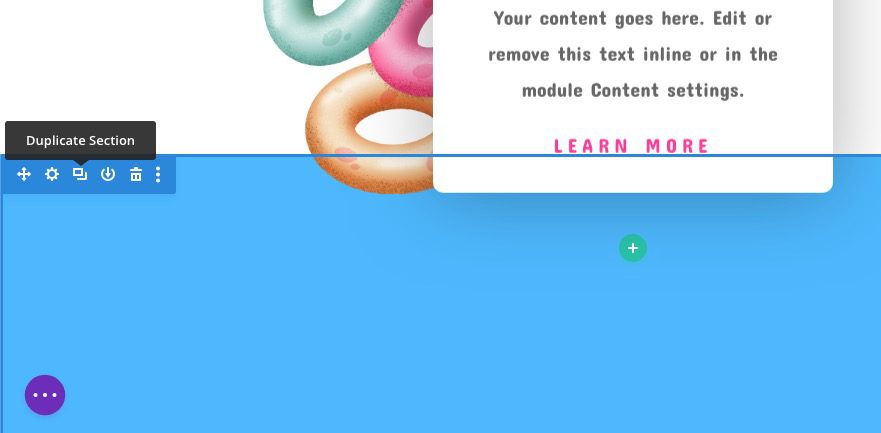
Creating a Mock Top and Bottom Section
Add a new regular section under the current section.
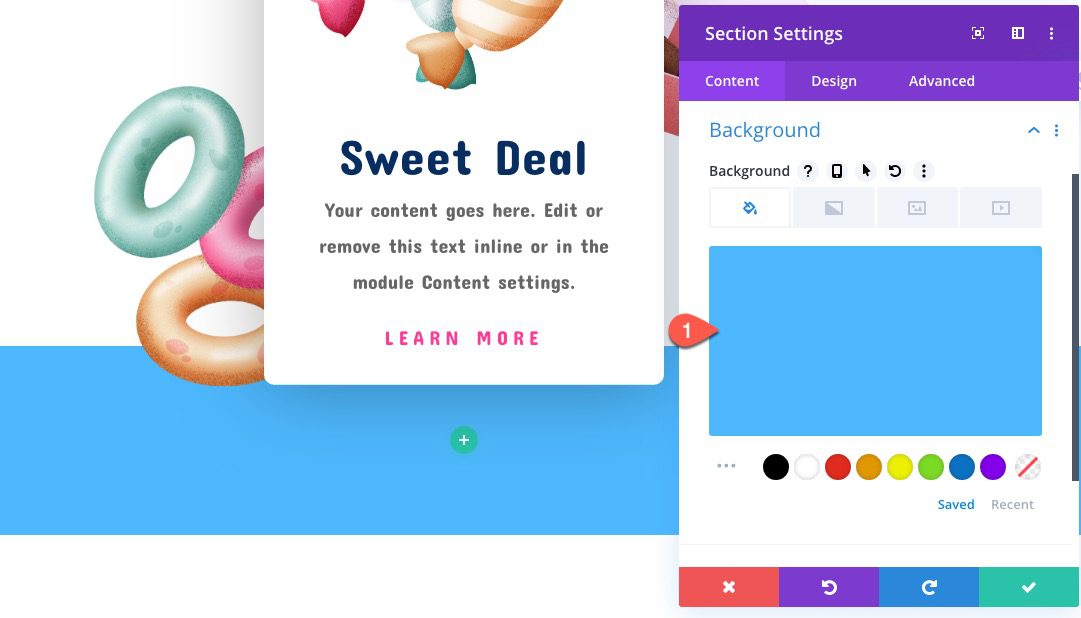
Give the section a background color.
- Background Color: #4DB9FF
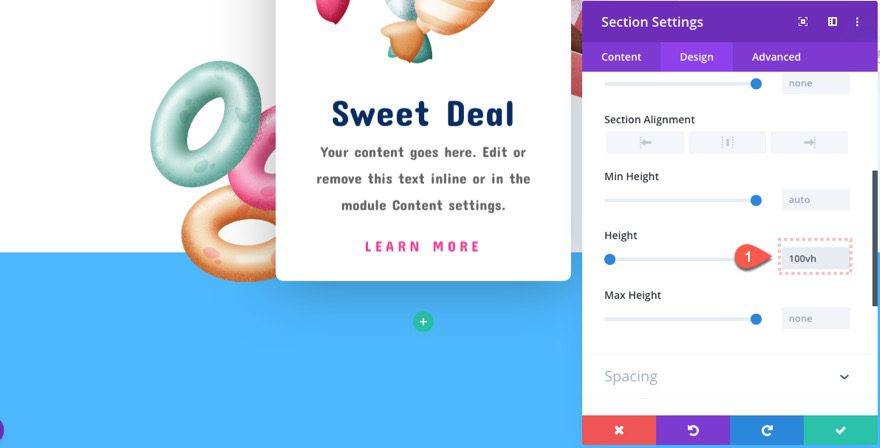
Then give it some height so that we can have enough room to scroll through our section with the floating elements.
- Height: 100vh
Duplicate the mock section and move the duplicate to the top of the page so that our main section with the floating elements becomes the middle section.
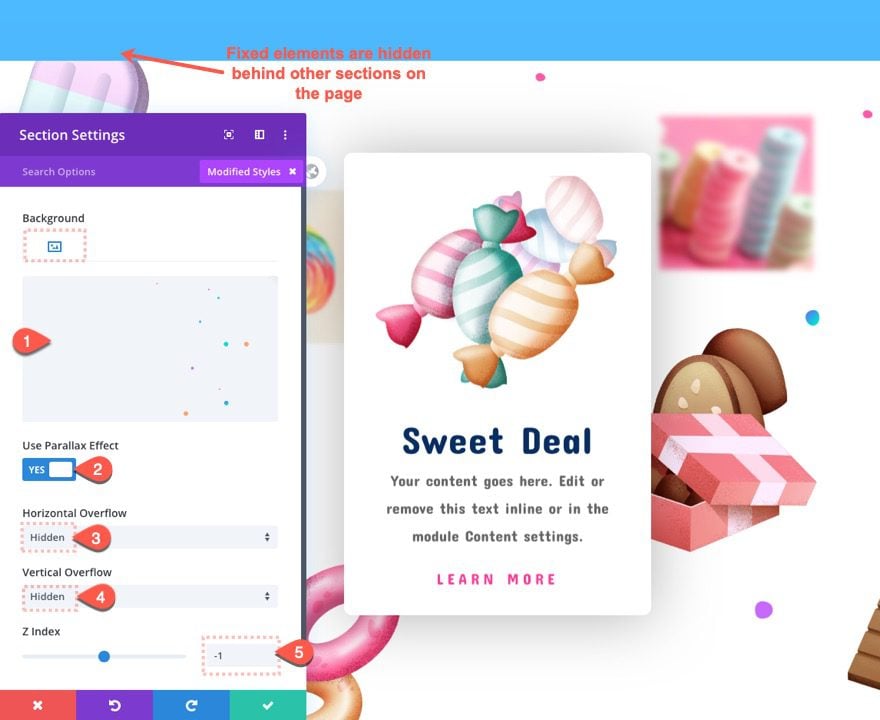
Final touches to the Middle Section
To finish off the design, we will add another layer of movement by adding a parallax background to the section. And we will also need to hide the overflow. But the main problem is that our fixed elements are still showing above the top and bottom sections. To fix this, we need to give our section a -1 Z Index.
- Background Image: insert image
- Use Parallax Effect: YES
- Parallax Effect: True Parallax
- Horizontal Overflow: Hidden
- Vertical Overflow: Hidden
- Z Index: -1
NOTE: Once you give the section a Z Index of -1, the visual builder in desktop view mode may not work correctly. Therefore you may need to deploy wireframe view mode to edit the section further.
Additional Animation for Static Elements
Use multi-select to select the four static images and then update the element settings with the following animation settings:
- Animation Style: Slide
- Animation Direction: Up
- Animation Duration: 4000ms
- Animation Starting Opacity: 100%
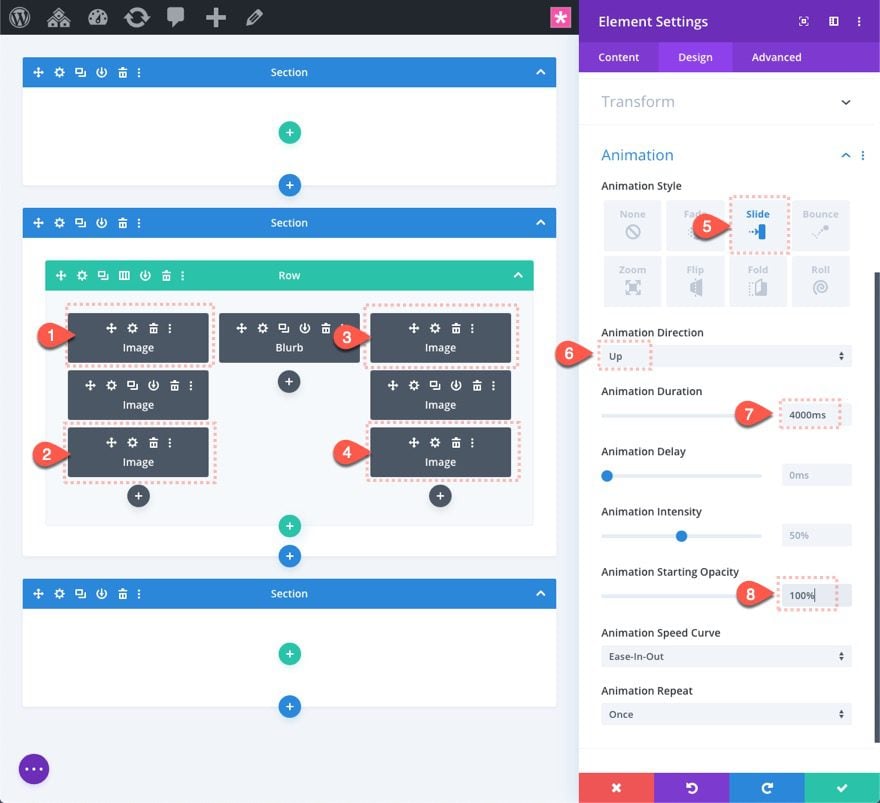
This will add the floating effect of the images when they come into view on scroll.
Final Result
Here is the final result.
Final Thoughts
Floating an element in Divi only requires a few clicks to give it a fixed position and then using the offsets to put it in the exact place you want it to stay fixed within your browser. Then you can use Z Index to ensure the fixed elements only are visible on a specific section. Once the basic setup is done, you can improve the scroll effect by adding additional static elements, parallax background, and animation to make the section come to life. I hope this inspires you to get a little creative with your next Divi build.
If you want to take this section to a whole new level, check out our new Scroll Effects which are now built-in to Divi.
I look forward to hearing from you in the comments.
Cheers!


Great effect! Very Nice result! THX
Since we know that “mobile first” is the way to go these days… Could we get some ideas for mobile animations please? I’ve just tried this tutorial and it doesnt really work on mobile.
Cheers
very useful for me..
thanks