
Divi’s Filterable Portfolio Module includes lots of style adjustments, allowing Divi users to customize the elements of the module independently. This includes an overlay revealed when the user hovers over the project’s images. The overlay is simple to style, and you can customize it further with CSS. In this post, we’ll show you how to customize the project overlay in Divi’s Filterable Portfolio to help you create a unique design for your projects.
Let’s get started.
Preview
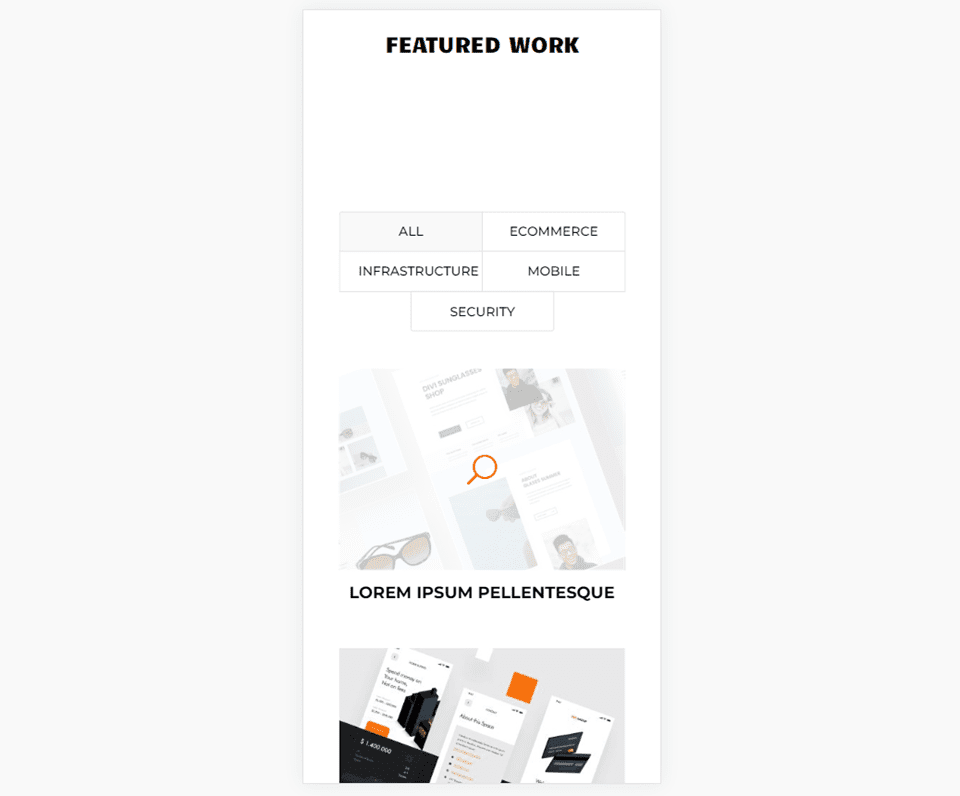
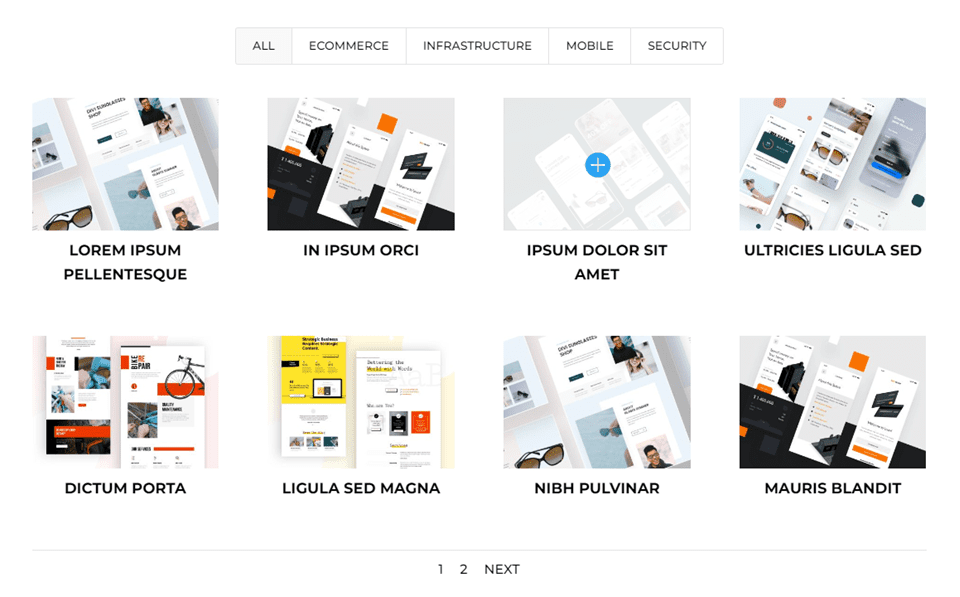
Here’s a look at what we’ll build in this tutorial. I’ve included phone examples even though phones don’t have a mouse to hover. Phones will display the overlay when the user clicks, so it’s a good idea to design them with phones in mind.
First Custom Project Overlay Desktop
First Custom Project Overlay Phone

Second Custom Project Overlay Desktop
Second Custom Project Overlay Phone
Third Custom Project Overlay Desktop
Third Custom Project Overlay Phone
How to Enable Overlays
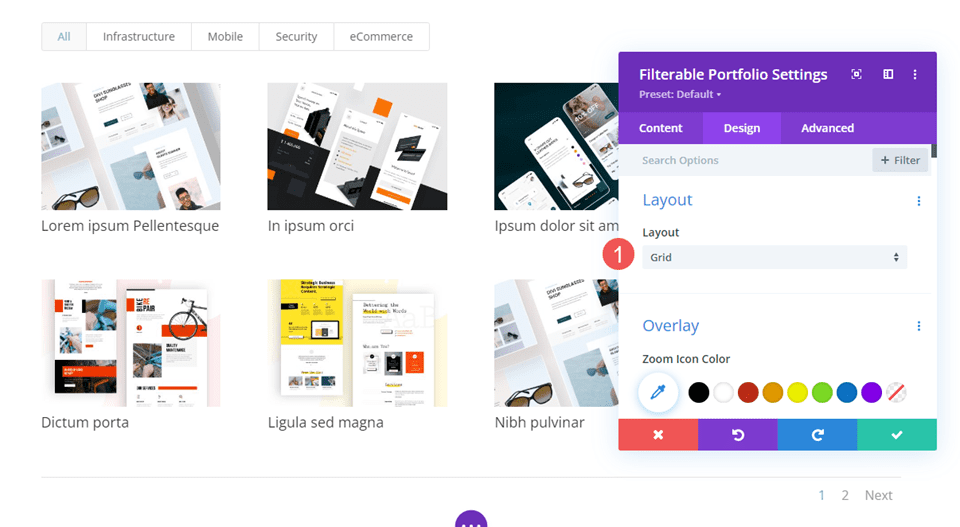
Overlays are not enabled in the Filterable Portfolio Module by default. The reason for this is the overlays only work with the Grid layout. The Fullwidth layout is the default setting. We’ll need to enable the Grid layout to see the overlay.
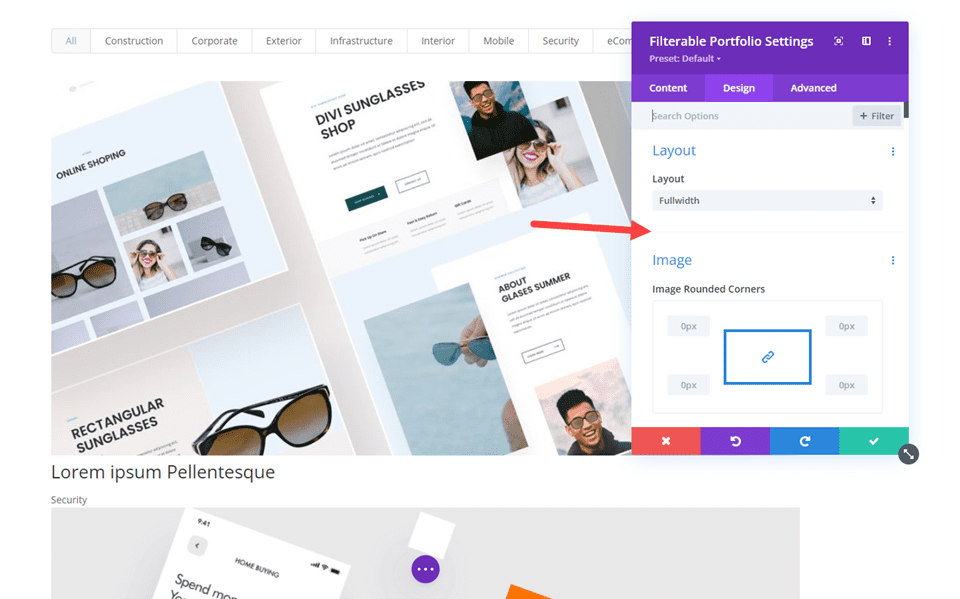
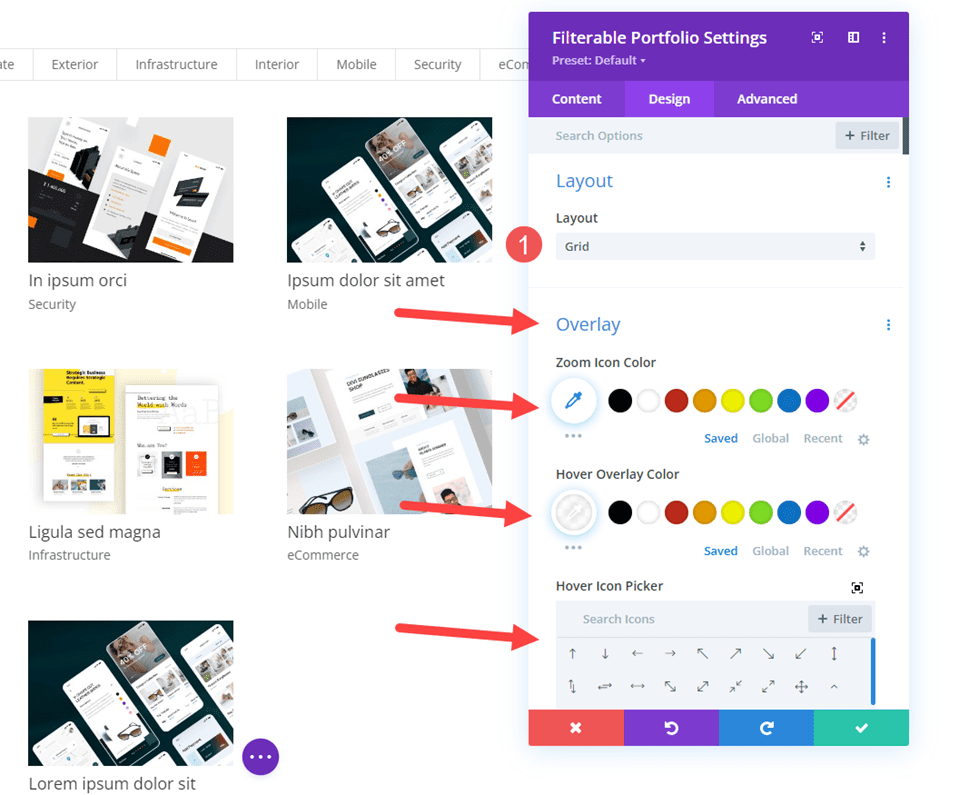
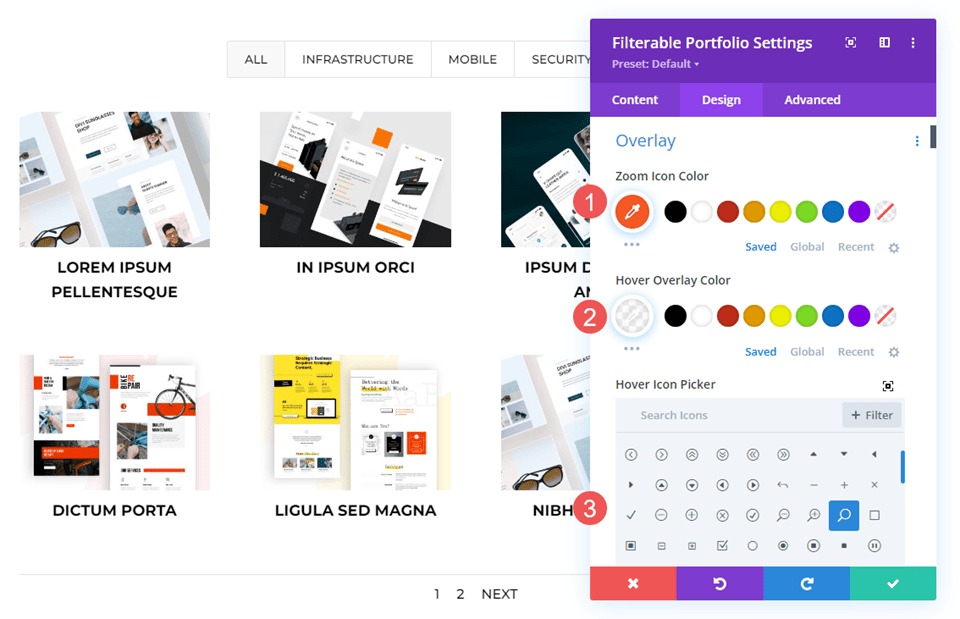
To enable overlays, select Grid as the layout option. To do this, go to the Design tab in the Filterable Portfolio Module. The first option is Layout. Click the dropdown box and choose Grid. You’ll then see a new set of options under Overlay. They include the Zoom Icon Color, Hover Overlay Color, and Hover Icon Picker.
Divi Layout Example
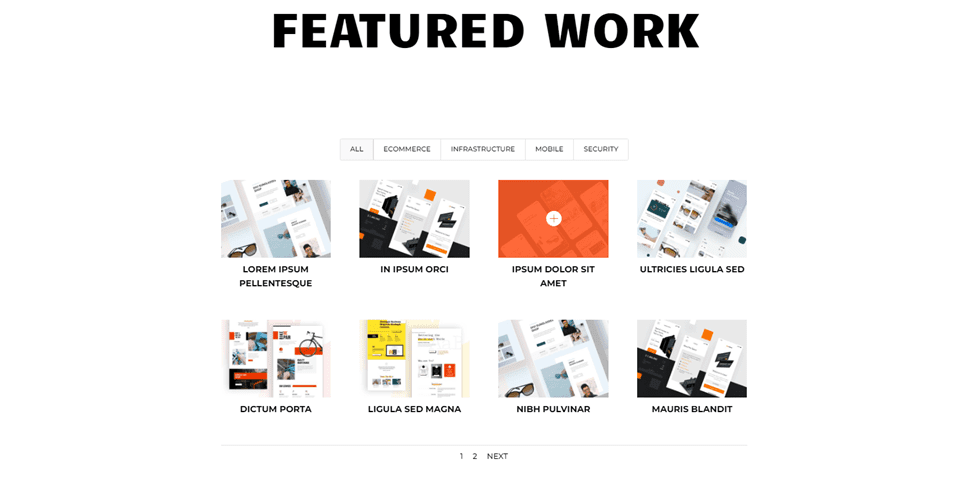
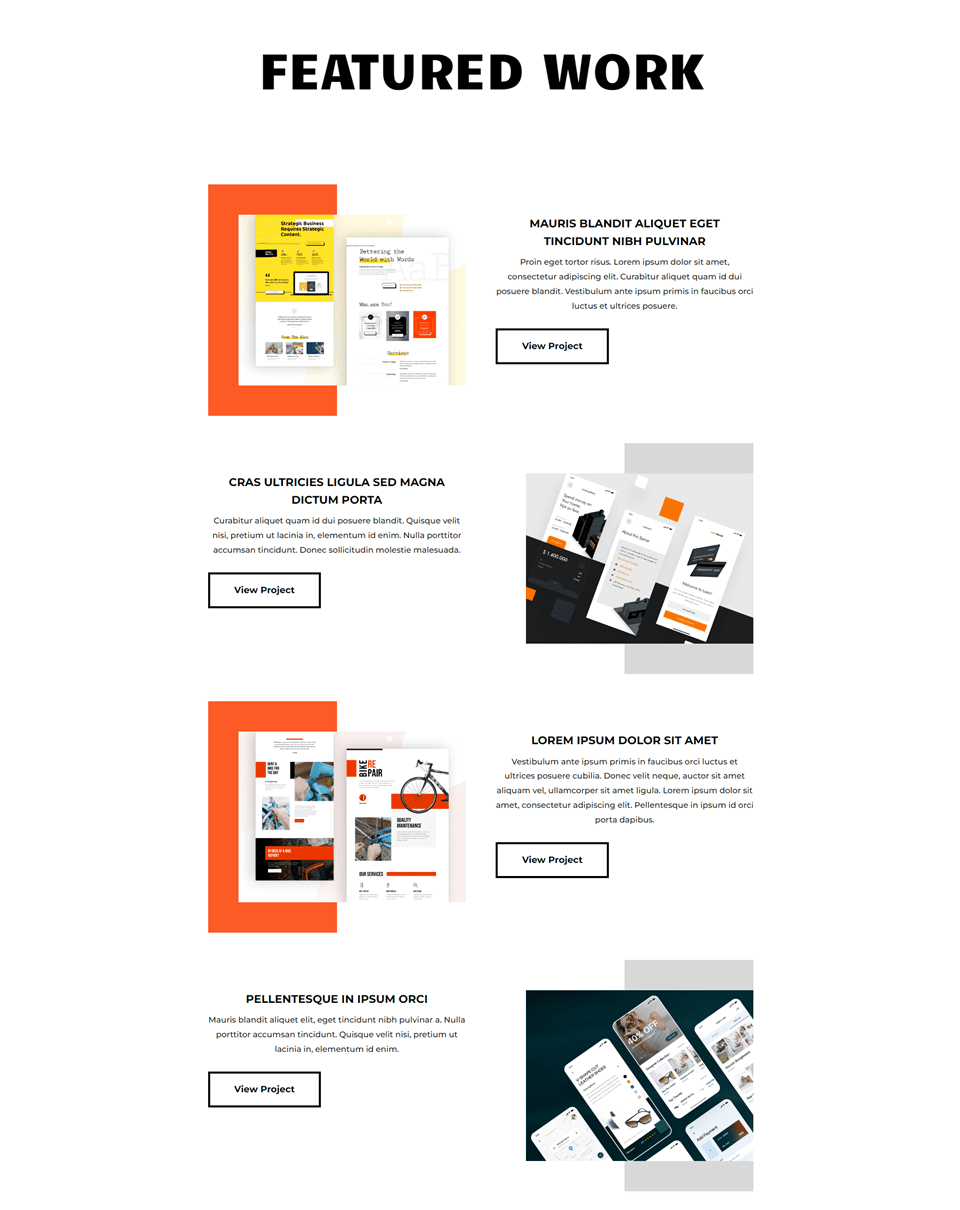
First, let’s add the Filterable Portfolio Module to a Divi layout. I’m using the Portfolio page from the free Creative CV Layout Pack available within Divi. For reference, here’s a look at the layout before adding the Filtered Portfolio Module. This shows the title and featured projects. I’ll add the module under the title above the featured projects. We’ll use design cues from the layout.
Add a Filterable Portfolio Module
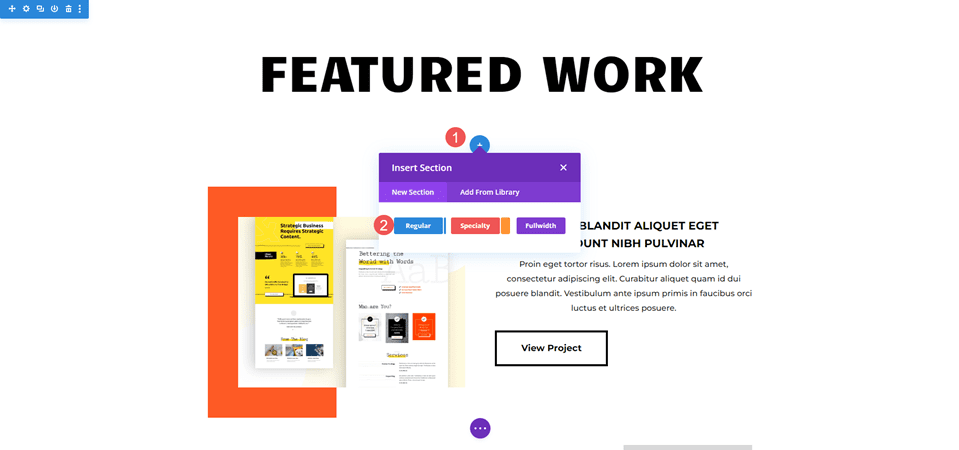
First, add a new Section under the hero Section.
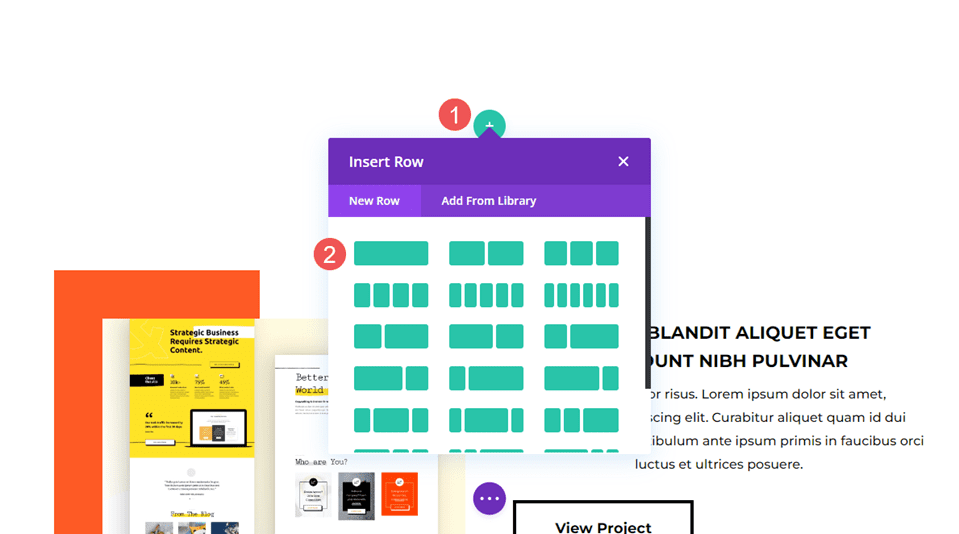
Next, add a single-column Row.
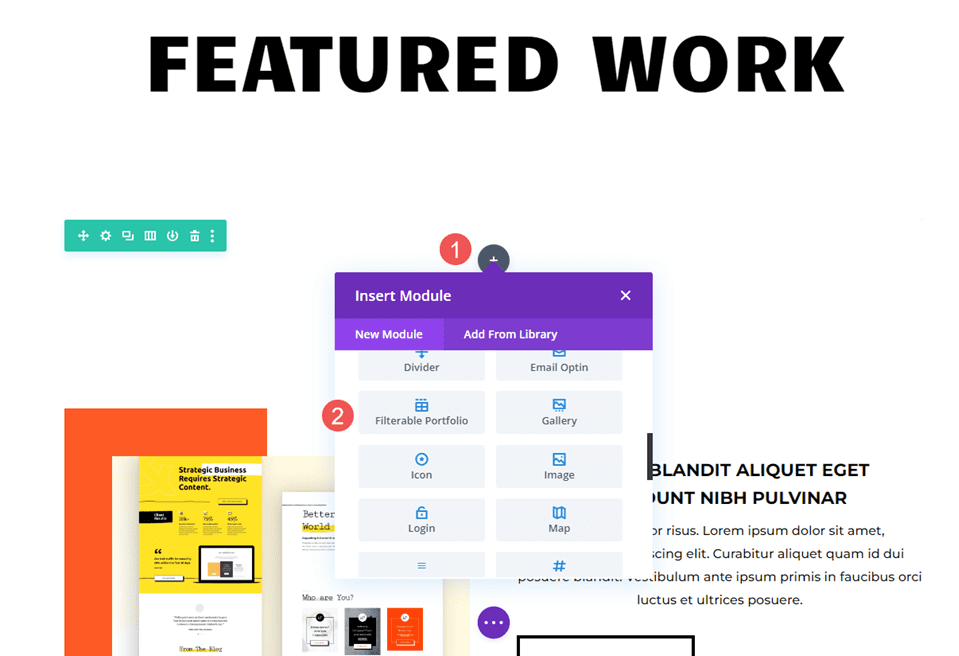
Finally, add a Filterable Portfolio Module. We can now choose the content and style the module.
Filterable Portfolio Content
First, set the Post Count to 8. This displays four columns with two rows of projects. Select your categories from the list of Included Categories.
- Post Count: 8
- Included Categories: your choice

Filterable Portfolio Elements
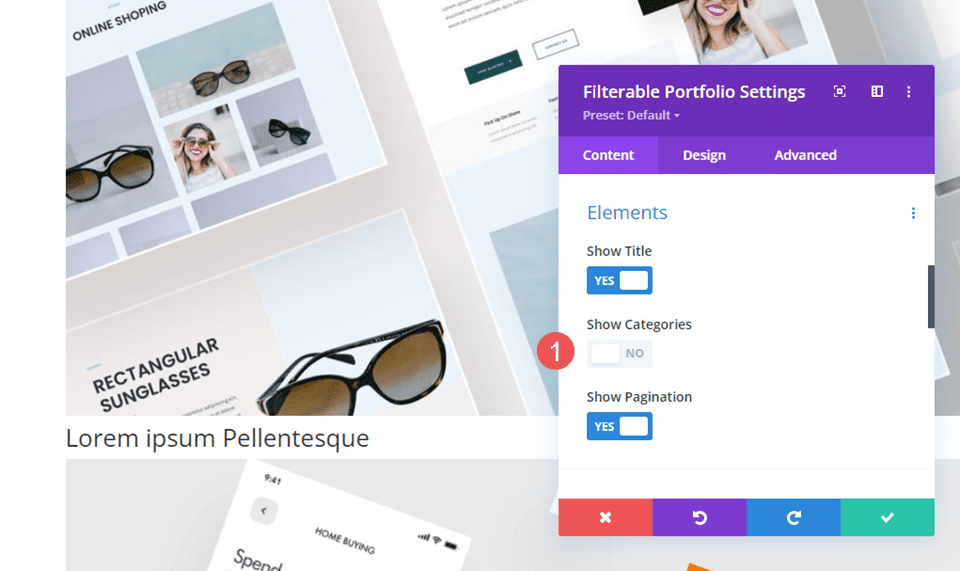
Next, scroll down to Elements and disable Show Categories. We’ll leave the rest at their default settings.
- Show Categories: No
Filterable Portfolio Layout
Next, select the Design tab and select Grid for the Layout. This enables the Overlay option. We’ll leave the overlay at its default for now. We’ll create three different overlays in the next section.
- Layout: Grid
Filterable Portfolio Text
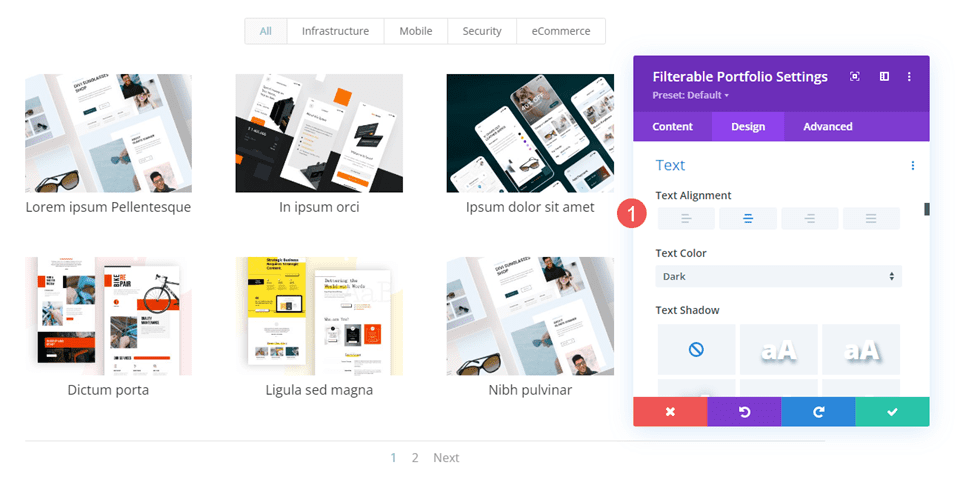
Scroll down to Text and set the Alignment to Center.
- Alignment: Center
Filterable Portfolio Title Text
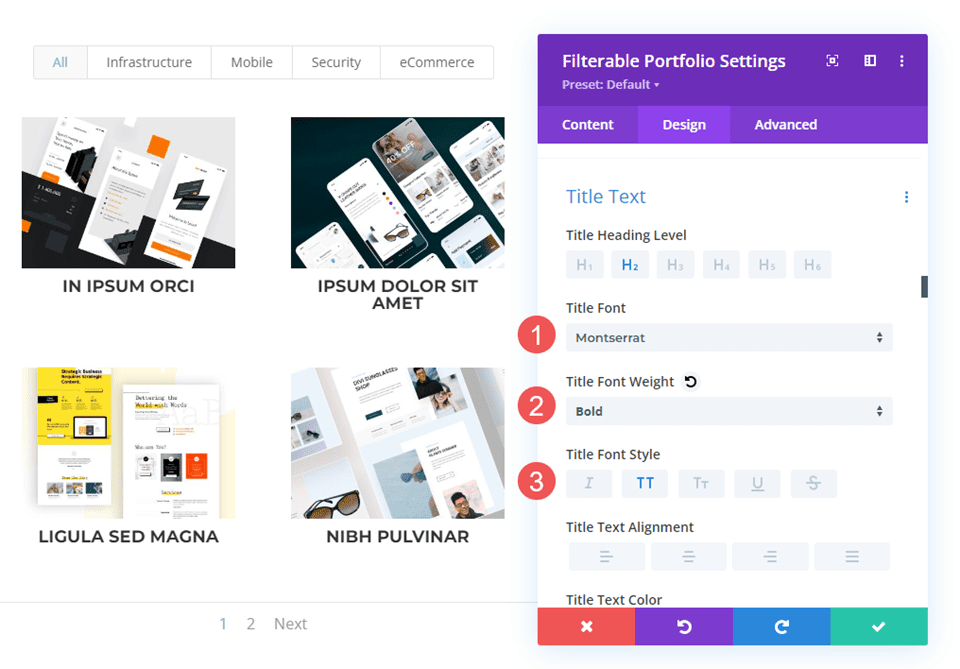
Scroll down to Title Text. Choose Montserrat for the Font, set the Weight to Bold, and the Style to TT.
- Font: Montserrat
- Weight: Bold
- Style: TT
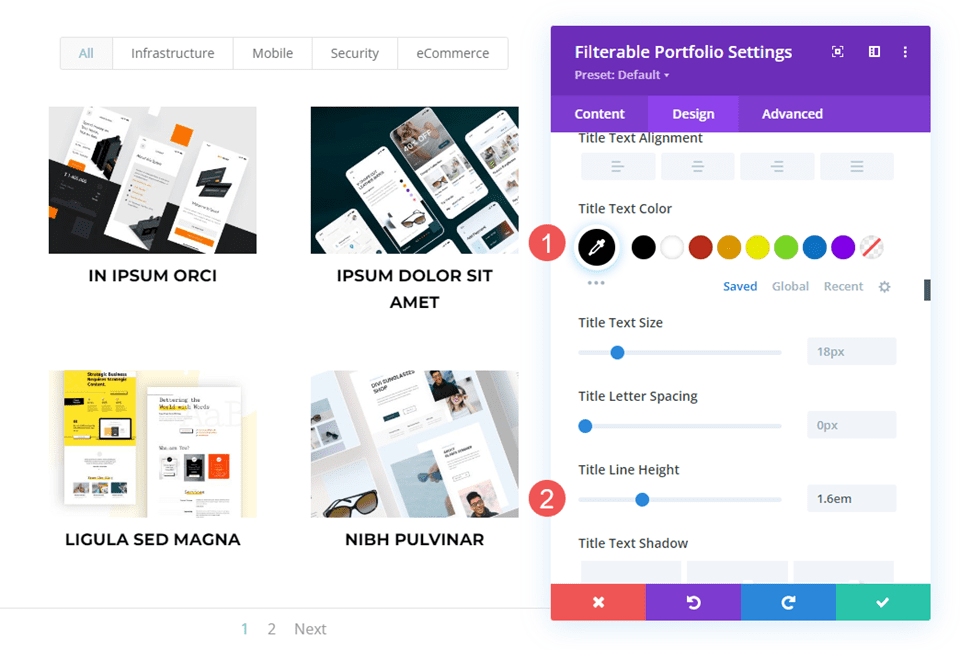
Next, set the Color to black. Change the Line Height to 1.6em. Leave the Font Size at its default settings.
- Color: #000000
- Line Height: 1.6em
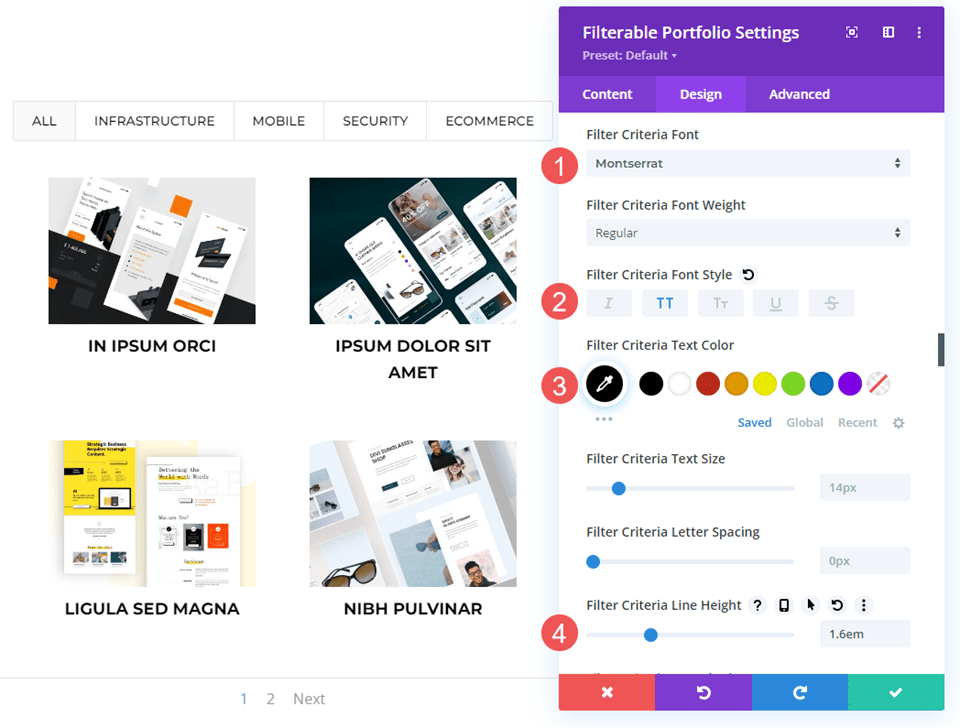
Filterable Portfolio Filter Criteria Text
Next, scroll down to Filter Criteria Text. Change the Font to Montserrat, the Style to TT, the Color to black, and the Line Height to 1.6em.
- Font: Montserrat
- Style: TT
- Color: #000000
- Line Height: 1.6em
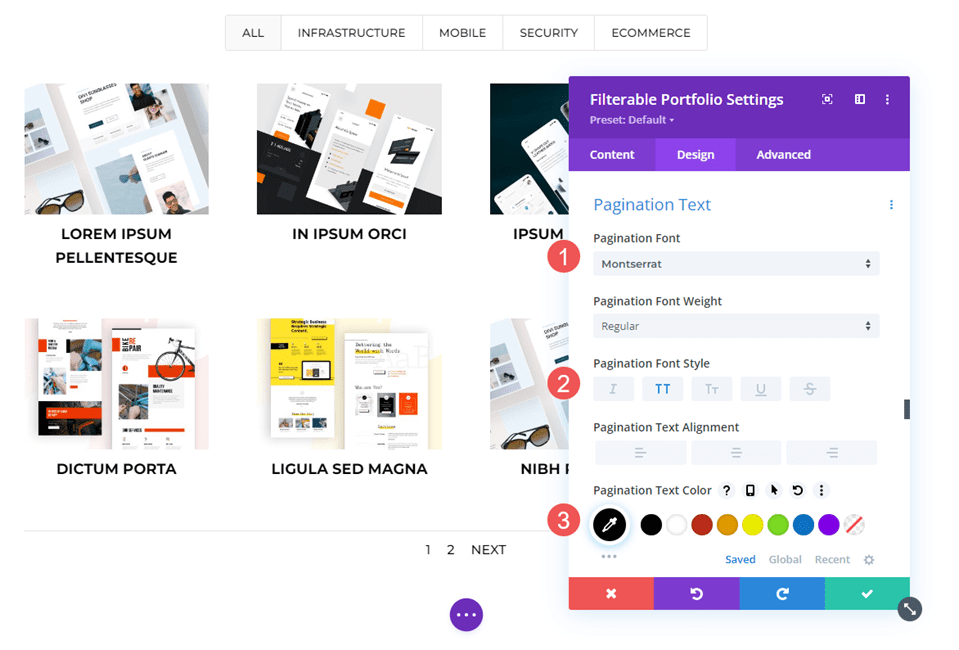
Filterable Portfolio Pagination Text
Finally, scroll to Pagination Text and choose Montserrat for the Font. Set the Style to TT and the Color to black. Save your work. Next, we’ll create three custom overlays.
- Font: Montserrat
- Style: TT
- Color: #000000
Custom Project Overlay Examples
Now, let’s create our three overlay examples. The first two use simple settings to get a different look. The third uses custom CSS. For reference, here’s a look at the default overlay. It doesn’t provide a color for the icon, so it displays in the default blue. The overlay uses rgba(255,255,255,0.9), which is white with 90% opacity. The icon is a solid circled plus.
Overlay Example One
We’ll darken the overlay for our first example so the image barely shows through. This one has an orange overlay with a white icon.
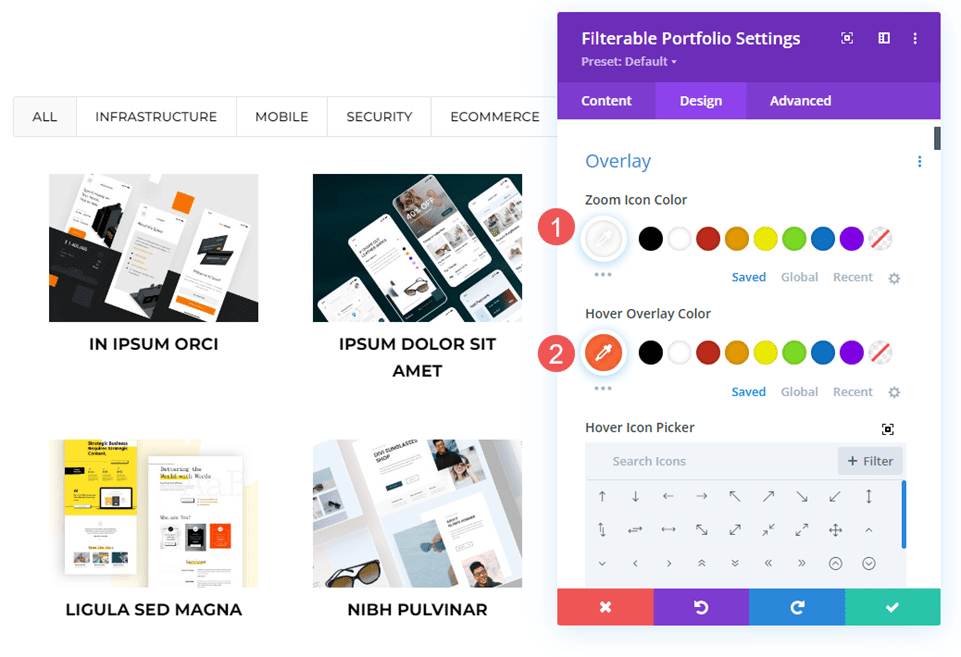
Overlay
Choose white for the Zoom Icon Color. Set the Overlay Color to rgba(254,90,37,0.9). For this one, we’ll use the default hover icon. Close the module and save your settings.
- Icon Color: rgba(254,90,37,0.9)
- Overlay Color: #ffffff
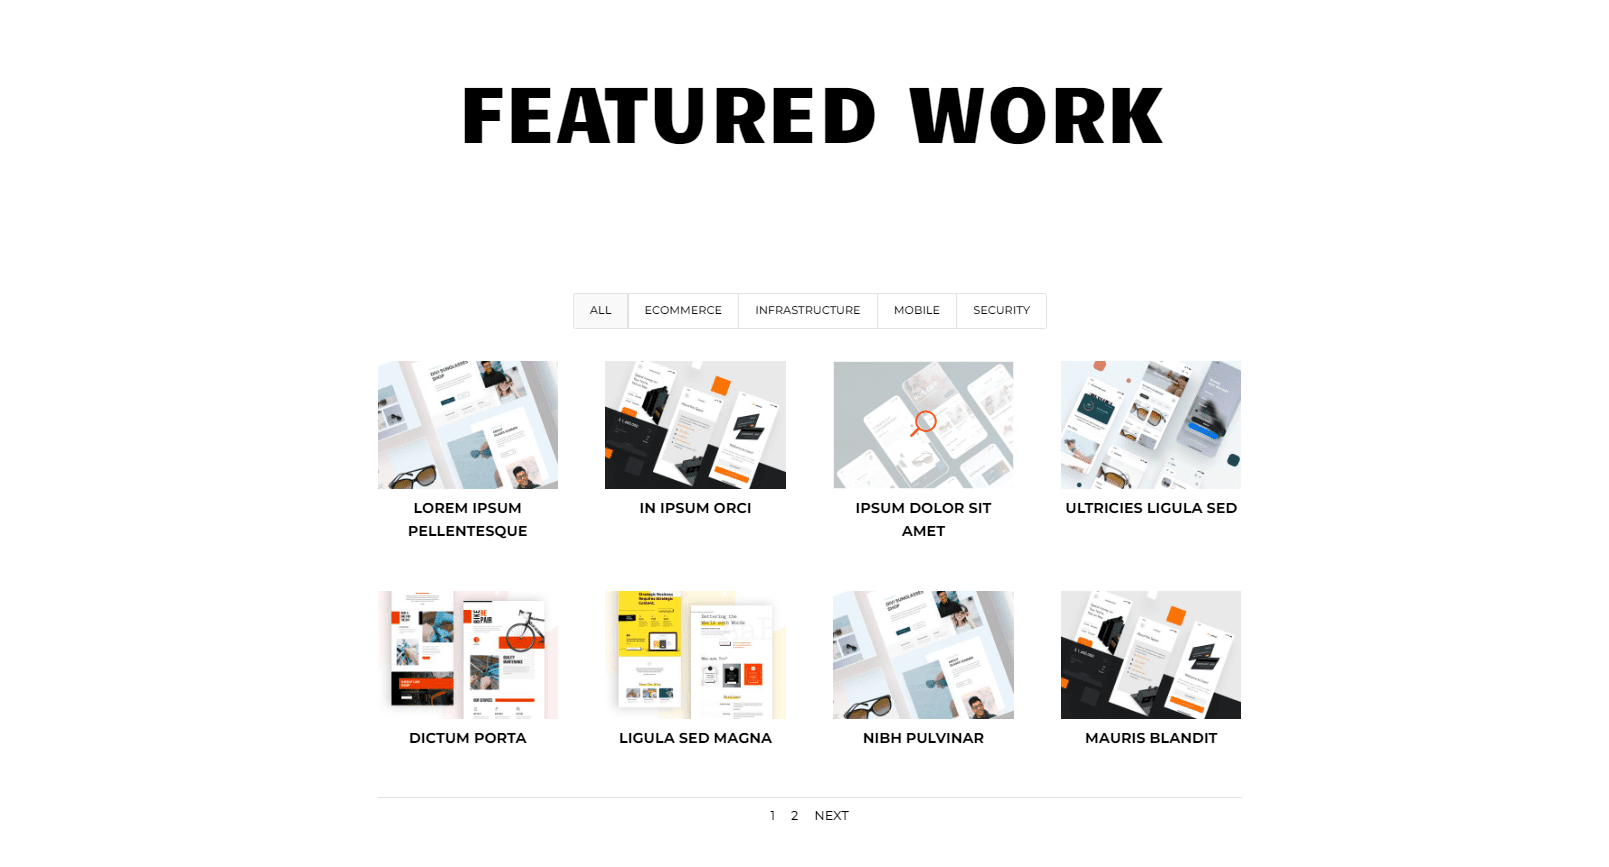
Overlay Example Two
For this example, we’ll reverse our direction from the previous example and allow most of the image to show through the overlay. This one has a white overlay with an orange icon.
Overlay
Set the Zoom Icon Color to #fe5a25 and the Overlay Color to rgba(255,255,255,0.75). In the Hover Icon Picker, select the magnifying glass. Close the module and save your settings.
- Icon Color: #fe5a25
- Overlay Color: rgba(255,255,255,0.75)
- Hover Icon: Magnifying Glass
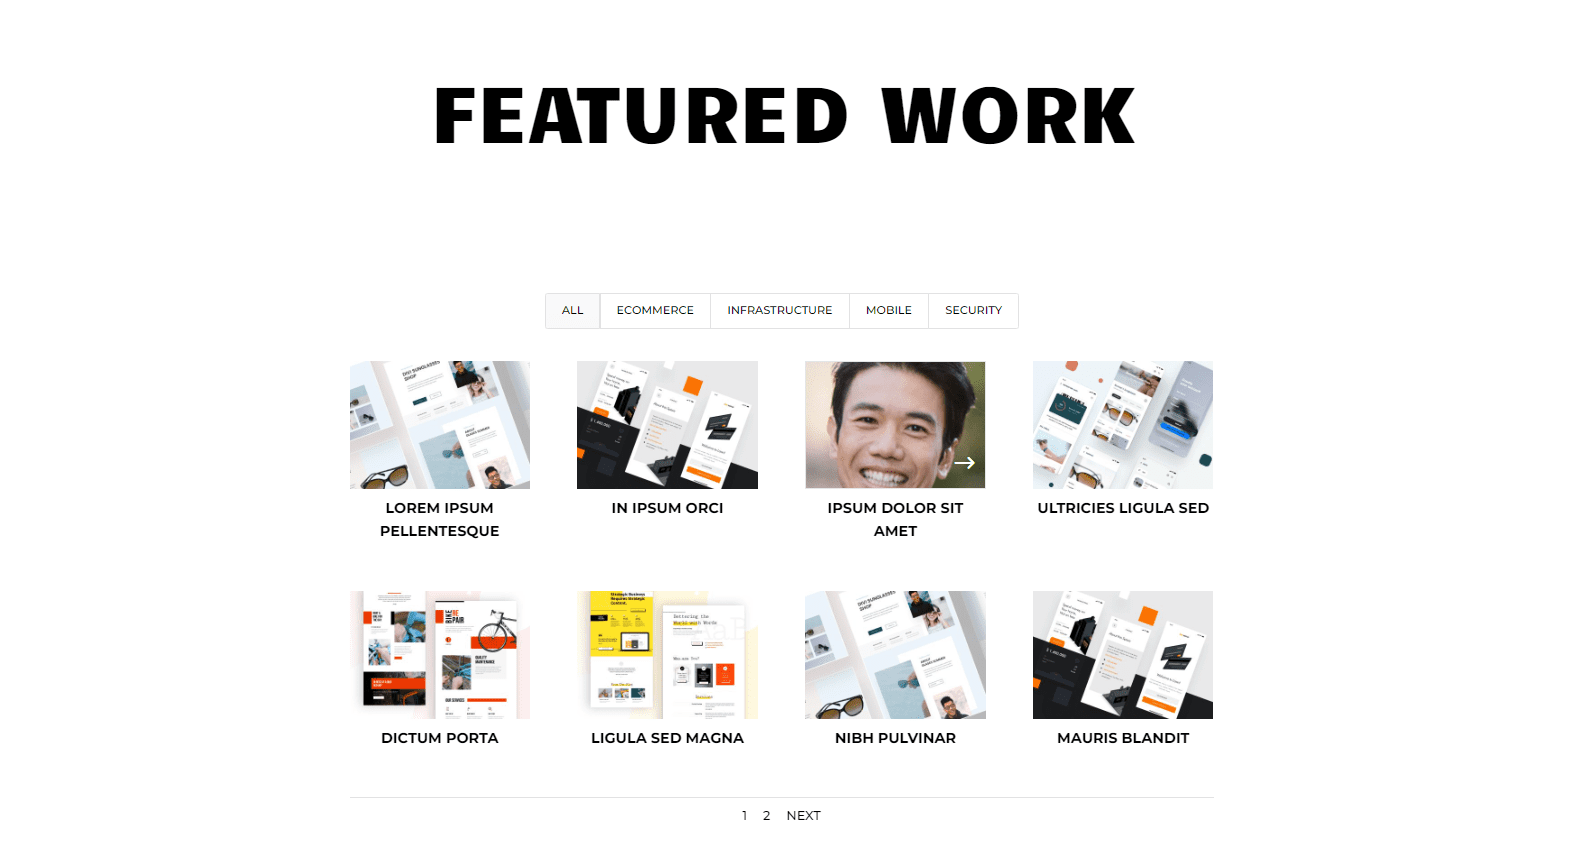
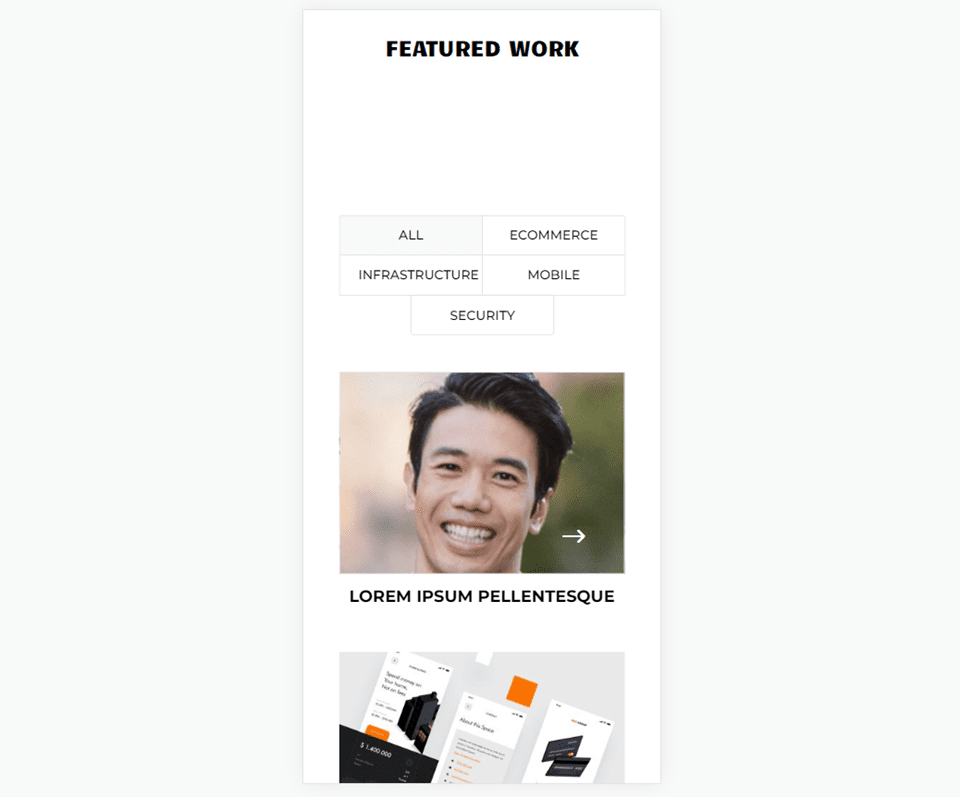
Overlay Example Three
For this example, we’ll use CSS to move the icon’s location. Instead of showing a color overlay, we’ll use CSS to change the image to something from the layout. Since this is a CV layout, we’ll use an image of the website owner. This will make the work more personal and appeal to potential clients or employers.
Overlay
Change the Zoom Icon Color to white. In the Hover Icon Picker, select the right arrow. We won’t need to make selections for the overlay color this time. We’ll handle the overlay in the Custom CSS field.
- Zoom Icon Color: #ffffff
- Hover Icon: Right Arrow
![]()
Custom CSS
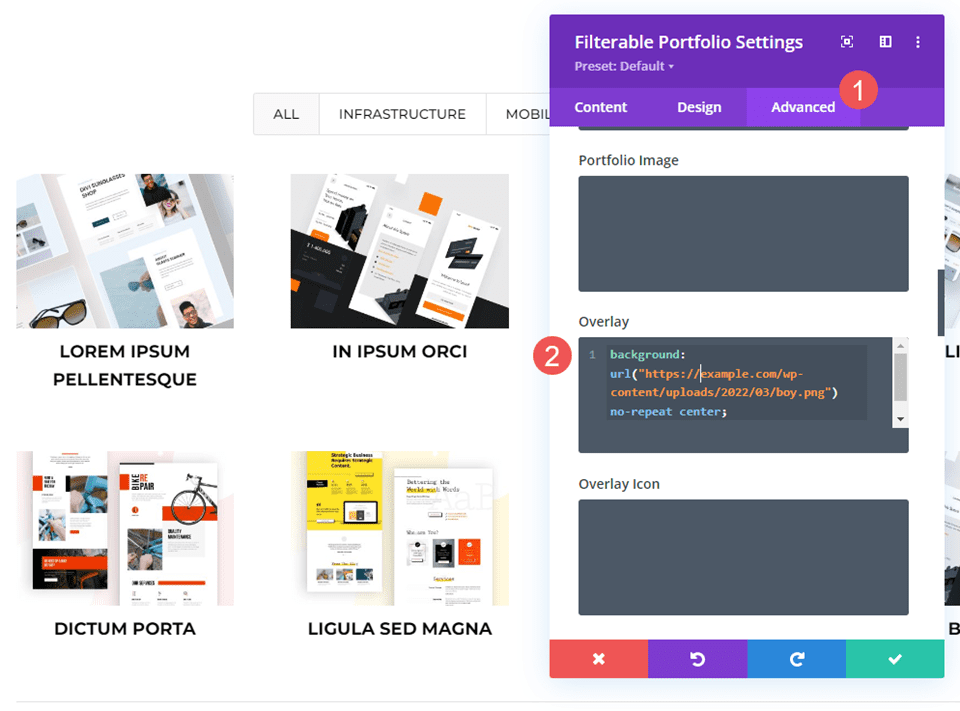
Next, we’ll use some simple CSS to replace the featured image and move the icon. Select the Advanced tab and scroll down to Overlay and Overlay Icon.
Overlay
Add this CSS in the Overlay field. This displays an image from your media library when a user hovers over the featured image. It’s set to no-repeat and center. Replace the URL with the image you want to display.
- Overlay CSS:
background: url("") no-repeat center;
Overlay Icon
Next, we’ll move the icon’s position. Enter this CSS into the Overlay Icon CSS field. We’ll also add CSS for tablets and phones. Tablets and phones typically do not display hover (because the user just clicks with their finger instead of hovering with a mouse). However, the hover overlay does display when the user clicks the image. With this in mind, it’s safer to include settings for tablets and phones than not.
The icon will now move to the lower right corner, and the image will change to show the image from our library.
- Desktop CSS:
margin:50px 86px;
- Tablet CSS:
margin:40px 60px;
- Phone CSS:
margin:70px 100px;
![]()
Results
First Custom Project Overlay Desktop
First Custom Project Overlay Phone
Second Custom Project Overlay Desktop
Second Custom Project Overlay Phone
Third Custom Project Overlay Desktop
Third Custom Project Overlay Phone
Ending Thoughts
That’s our look at how to customize the project overlay in Divi’s Filterable Portfolio Module. The settings are simple but can significantly impact the module’s design. You can style the overlay and the icon to match your website and customize it even further with CSS. A few simple settings or short lines of CSS can make your project overlay look great with any Divi layout.
We want to hear from you. Do you use custom project overlays for your Filterable Portfolio Module? Let us know about it in the comments.


Leave A Reply