")
Some people are hesitant to feature their service prices on their website. But as much as it can scare some visitors, it also shows confidence and expertise. Being transparent with your pricing helps you attract the right clients with a budget you can work with. In today’s tutorial, we’re going to show you how to create a stunning price calculation design that you can use for your next Divi project. You’ll be able to download the JSON file for free as well!
Let’s get to it.
- 1 Preview
- 2 Download The Price Calculations Layout for FREE
- 3 Download For Free
-
4
Let’s Start Recreating!
- 4.1 Add Section #1
- 4.2 Add New Row
- 4.3 Add Text Module #1 to Column
- 4.4 Add Text Module #2 to Column
- 4.5 Add Divider Module to Column
- 4.6 Add Section #2
- 4.7 Add Row #1
- 4.8 Add Blurb Module to Column 1
- 4.9 Add Text Module #1 to Column 2
- 4.10 Add Text Module #2 to Column 2
- 4.11 Add Text Module to Column 3
- 4.12 Clone Row as Many Times as Needed
- 4.13 Add New Row
- 4.14 Add Code Module to Column 1
- 4.15 Add Text Module to Column 2
- 4.16 Add Empty Text Module to Column 3
- 4.17 Add JQuery to Divi Theme Options
- 5 Preview
- 6 Final Thoughts
Preview
Before we dive into the tutorial, let’s take a quick look at the outcome across different screen sizes.
Desktop

Mobile
Download The Price Calculations Layout for FREE
To lay your hands on the free price calculations layout, you will first need to download it using the button below. To gain access to the download you will need to subscribe to our newsletter by using the form below. As a new subscriber, you will receive even more Divi goodness and a free Divi Layout pack every Monday! If you’re already on the list, simply enter your email address below and click download. You will not be “resubscribed” or receive extra emails.

Don’t forget to add the JQuery code to your website as well! You can find the code at the end of this tutorial.
Let’s Start Recreating!
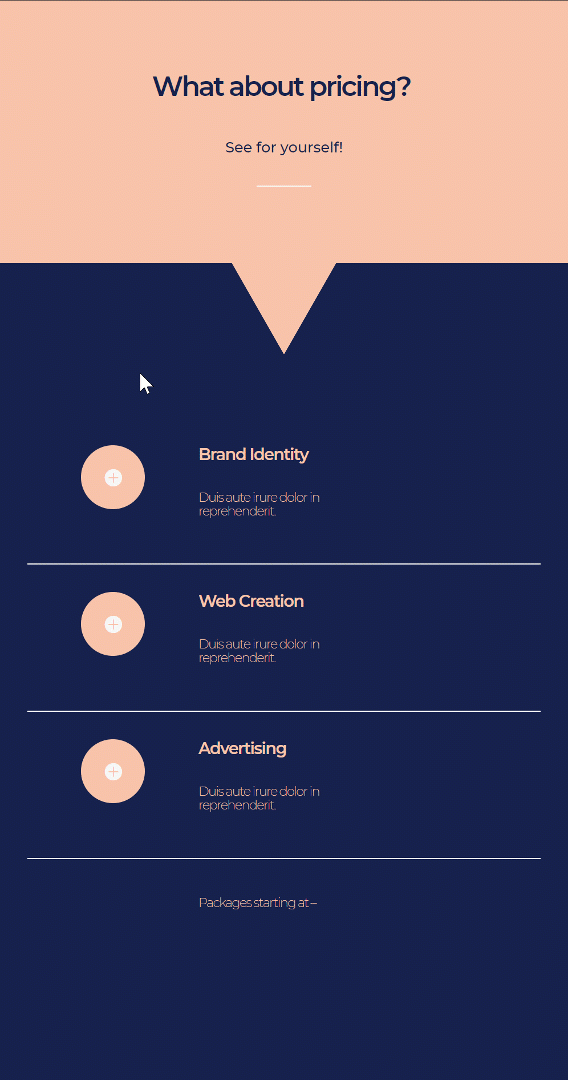
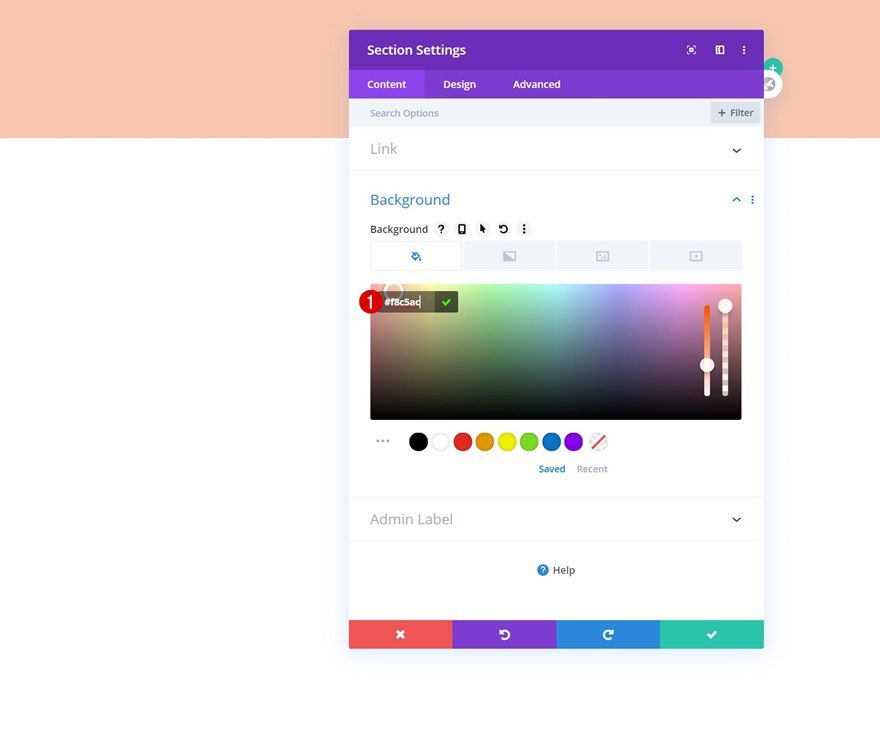
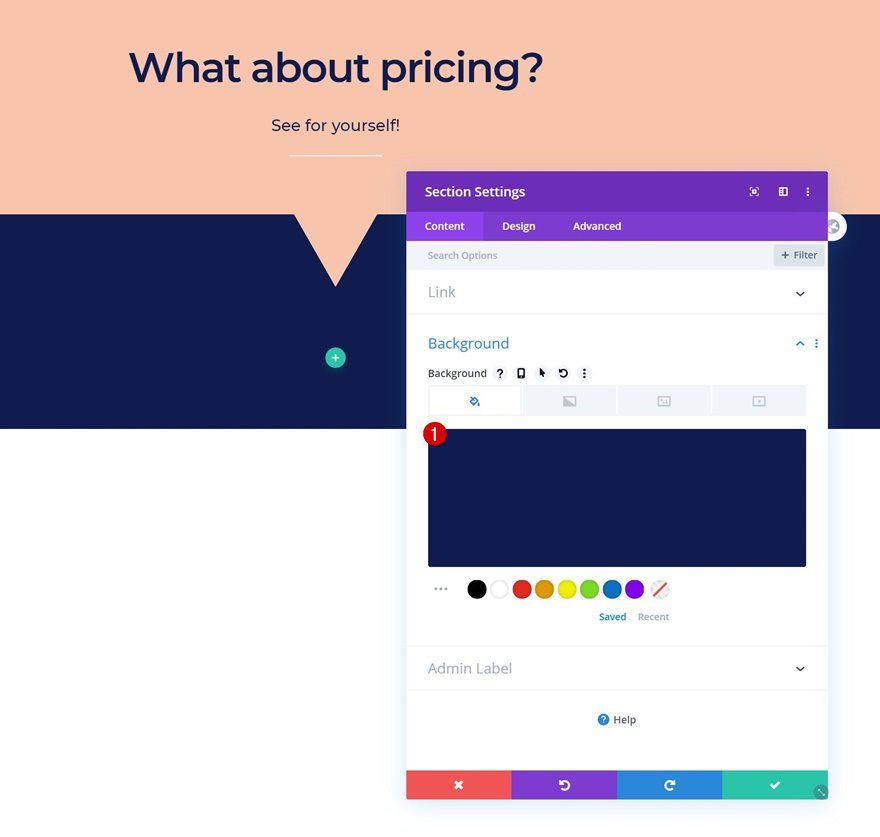
Add Section #1
Background Color
Start by adding a new section to the page you’re working on. Open the section settings and change the background color.
- Background Color: #f8c5ac
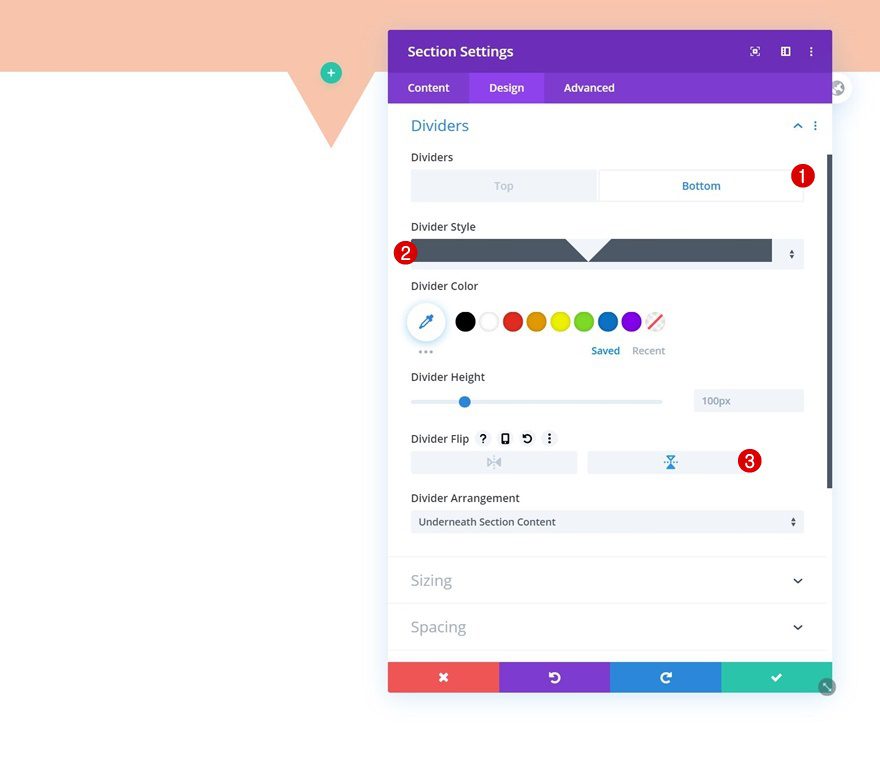
Bottom Divider
Add a bottom divider to the section next.
- Divider Style: Find in List
- Divider Flip: Vertical
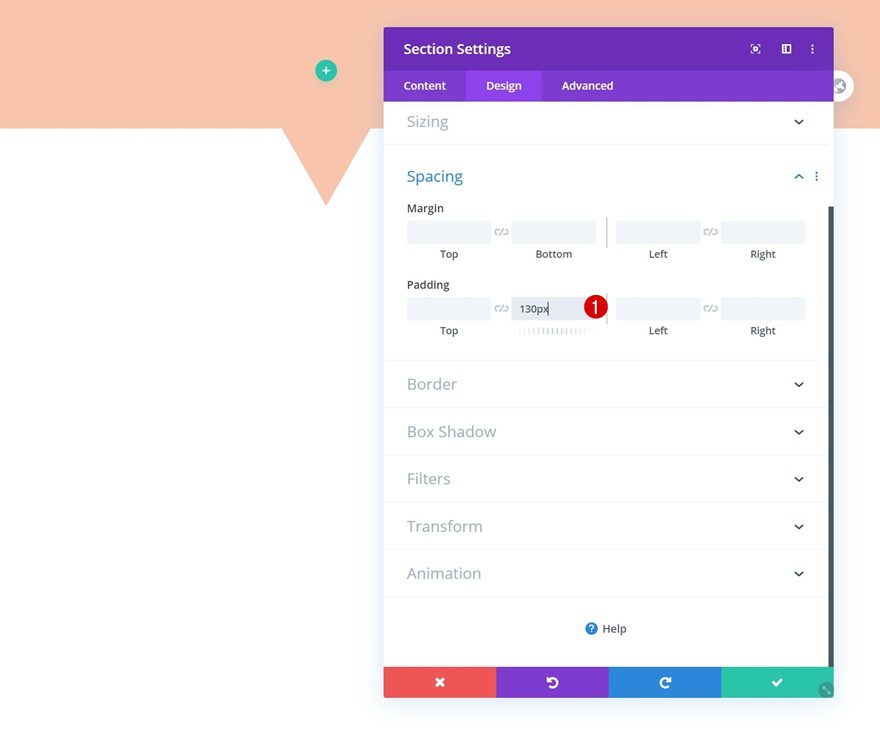
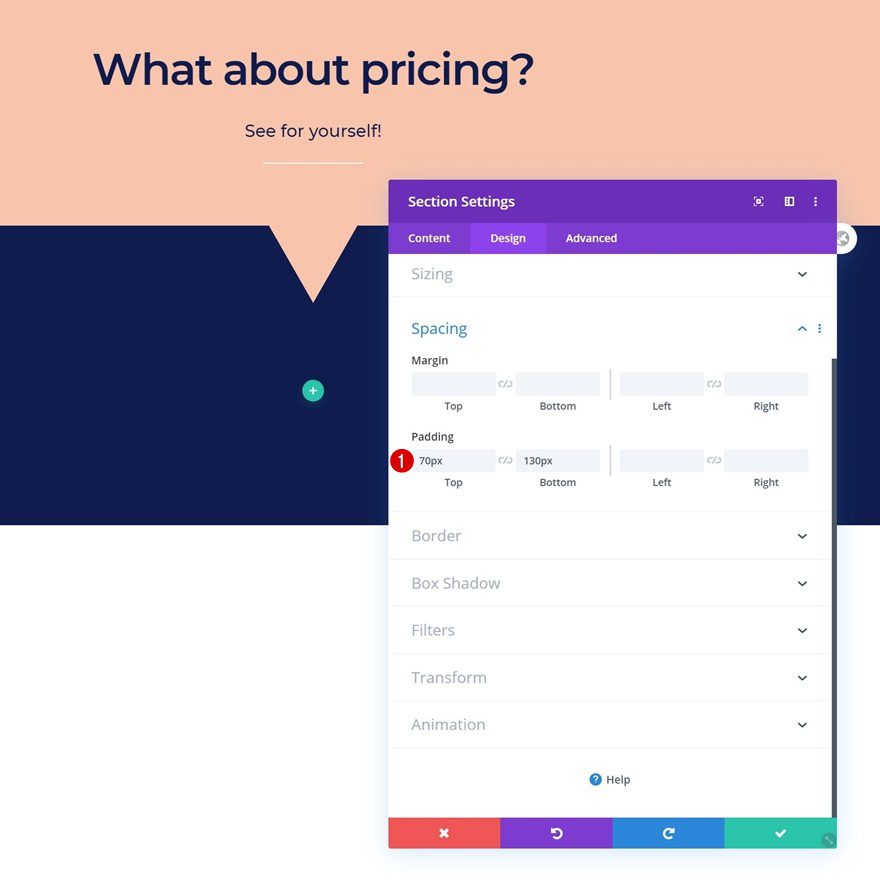
Spacing
Add some bottom padding as well.
- Bottom Padding: 130px
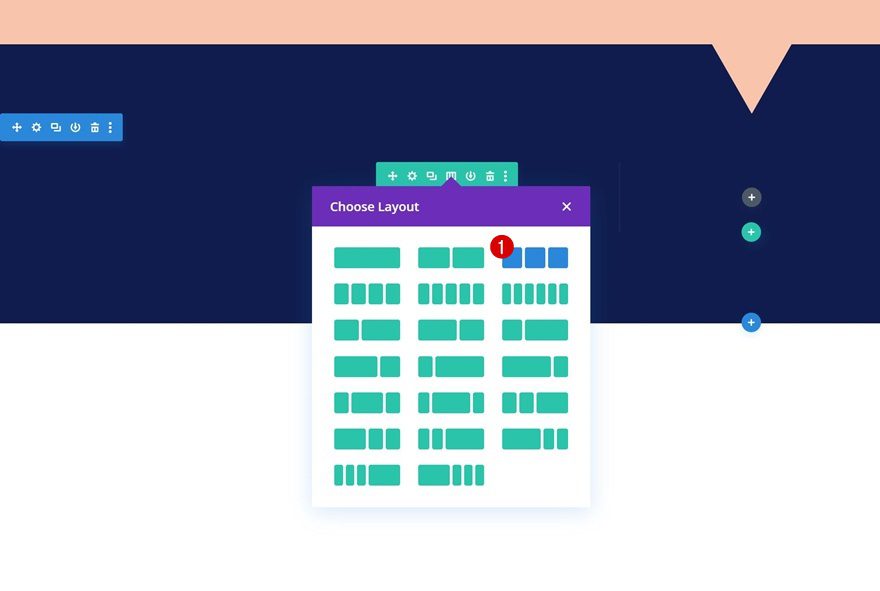
Add New Row
Column Structure
Continue by adding a new row using the following column structure:
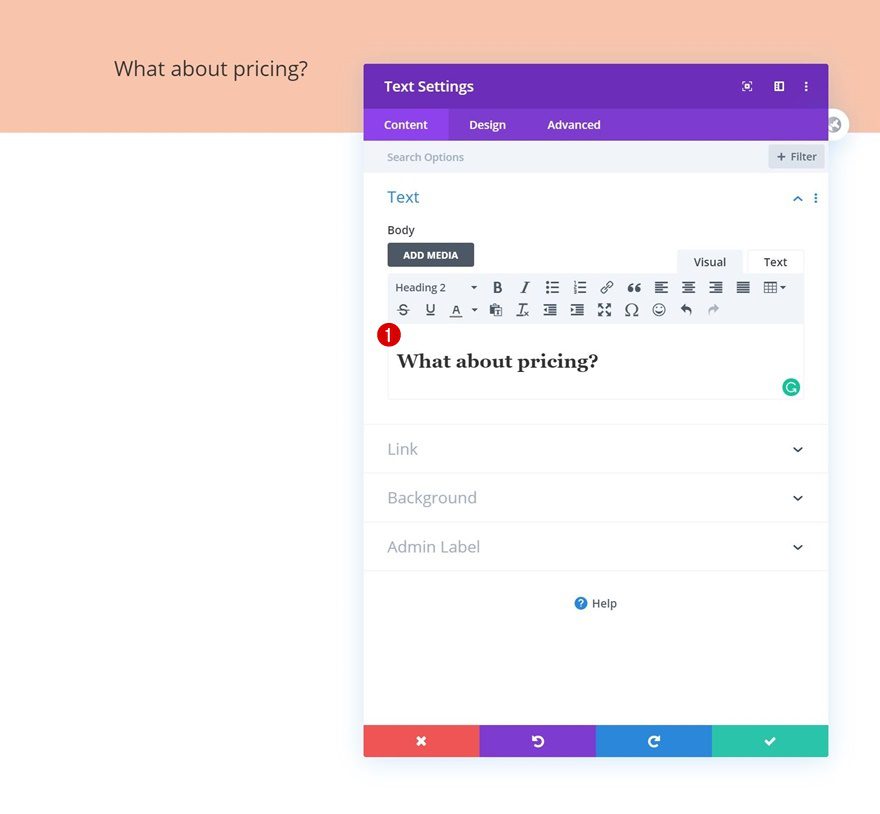
Add Text Module #1 to Column
Add H2 Content
Add the first Text Module to your column and insert some H2 content of your choice.
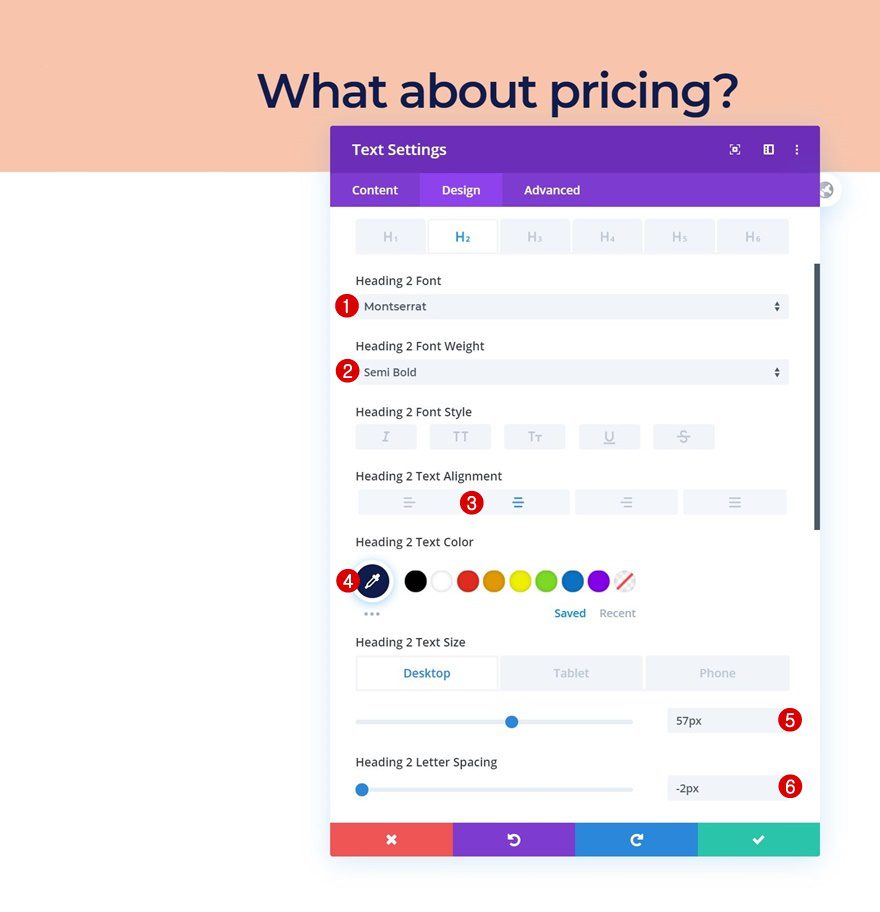
H2 Text Settings
Move on to the design tab and change the H2 text settings accordingly:
- Heading 2 Font: Montserrat
- Heading 2 Font Weight: Semi Bold
- Heading 2 Text Alignment: Center
- Heading 2 Text Color: #0f1c4d
- Heading 2 Text Size: 57px (Desktop), 35px (Tablet), 30px (Phone)
- Heading 2 Letter Spacing: -2px
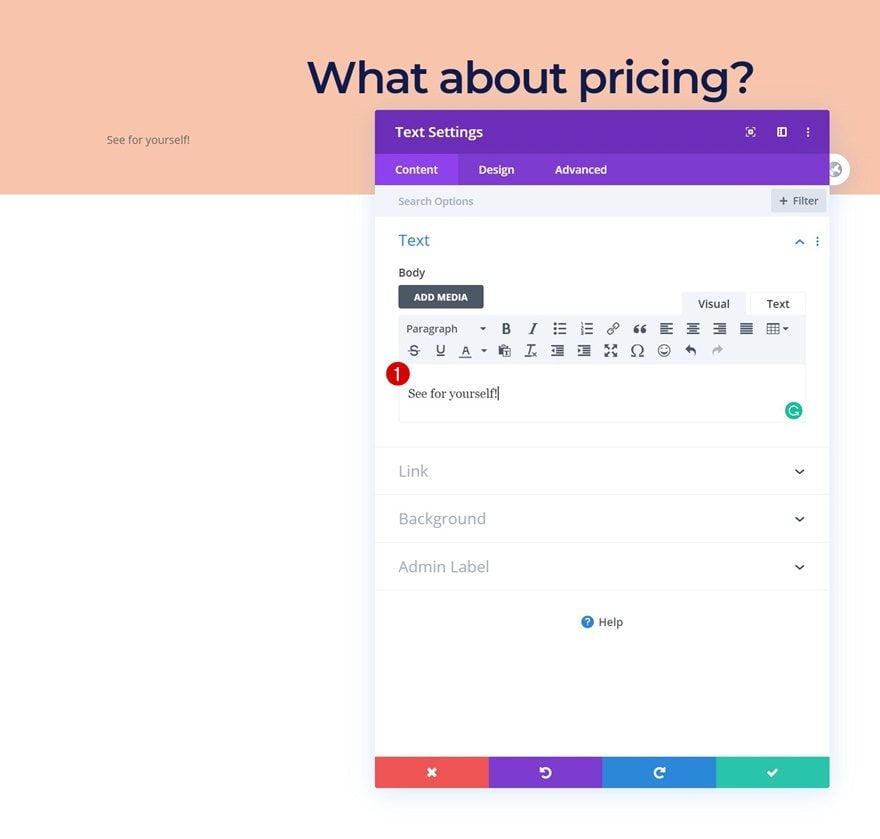
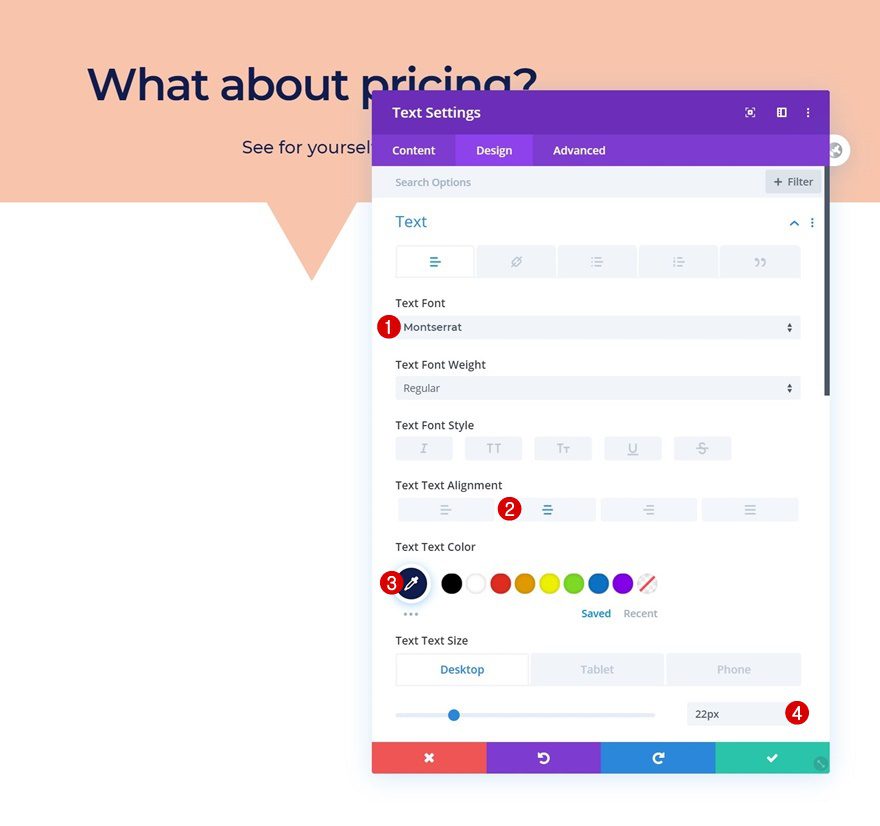
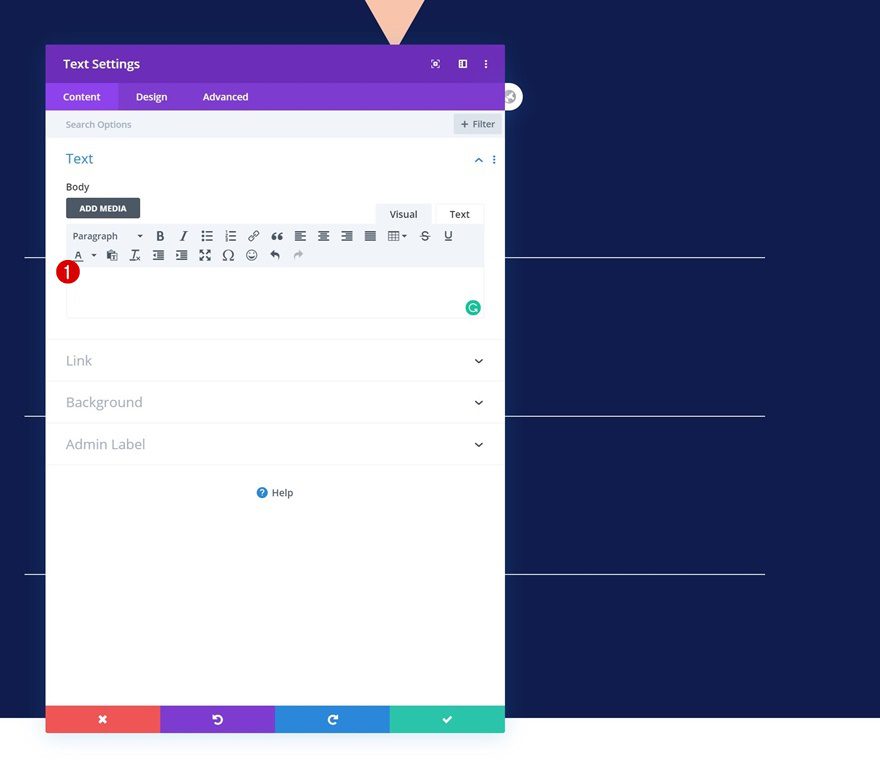
Add Text Module #2 to Column
Add Content
Add another Text Module right below the previous one and insert some content of your choice.
Text Settings
Move on to the design tab and change the text settings accordingly:
- Text Font: Montserrat
- Text Alignment: Center
- Text Color: #0f1c4d
- Text Size: 22px (Desktop), 18px (Tablet), 16px (Phone)
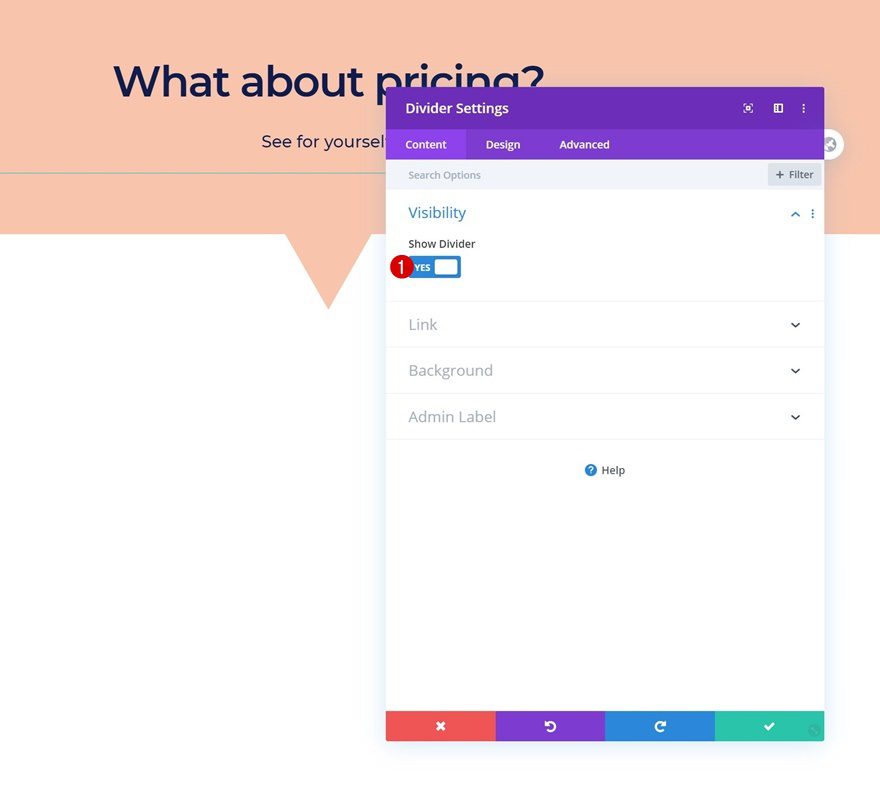
Add Divider Module to Column
Visibility
The next and last module needed in this column is a Divider Module. Make sure the ‘Show Divider’ option is enabled.
- Show Divider: Yes
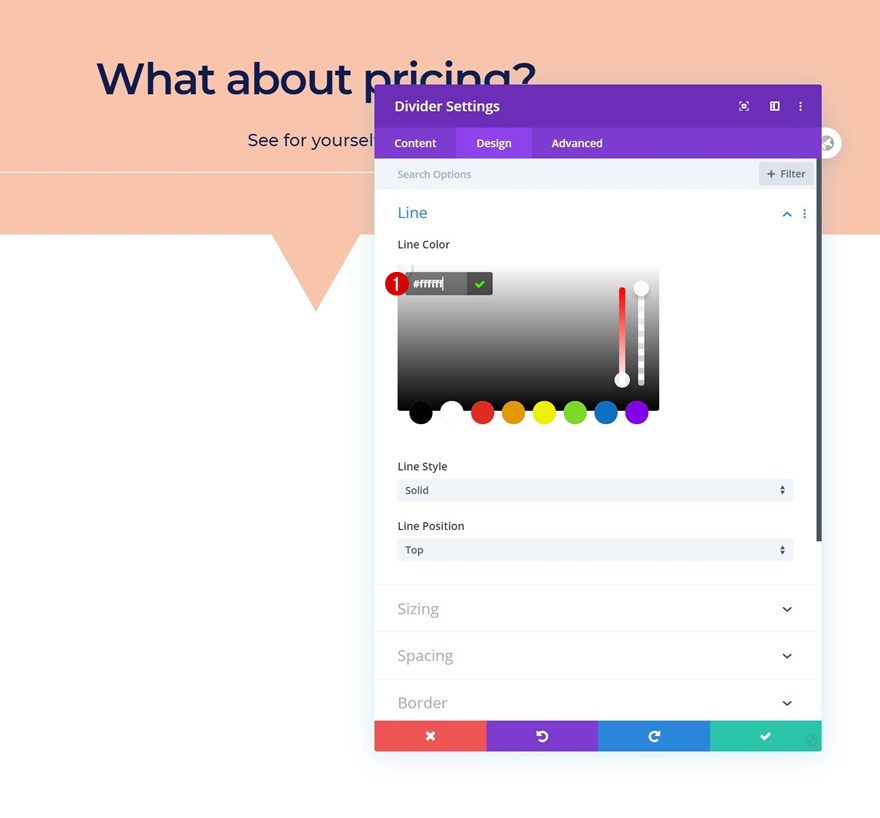
Line
Move on to the design tab and change the line color into white.
- Line Color: #ffffff
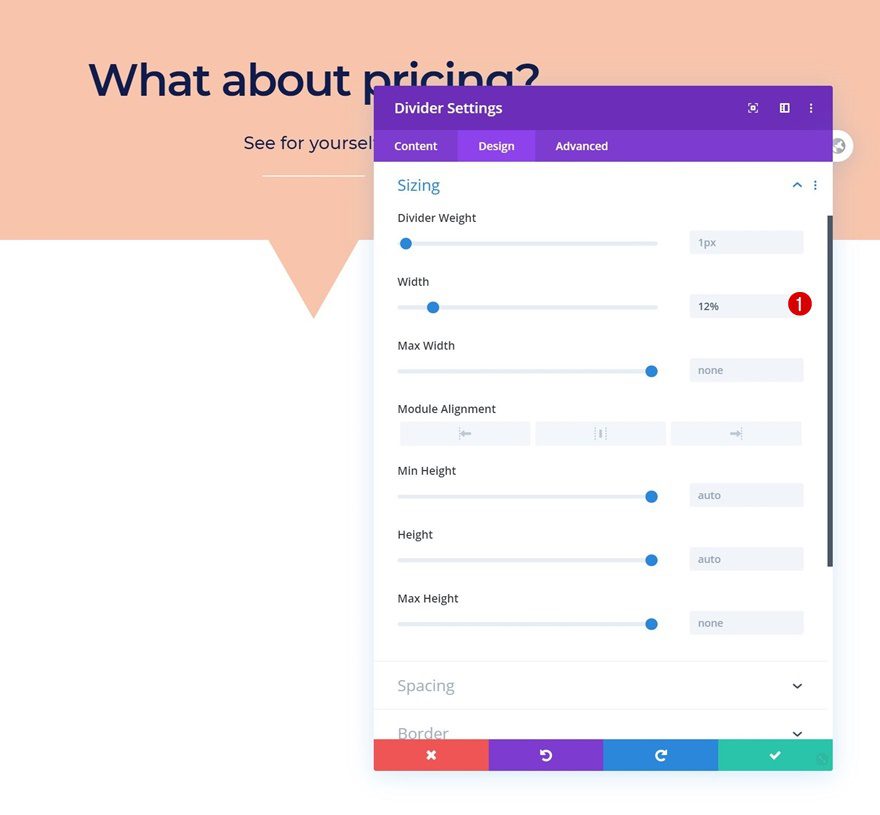
Sizing
Modify the width of the divider as well.
- Width: 12%
Add Section #2
Background Color
On to the next part of the design! Add a new section and change the background color.
- Background Color: #0f1c4d
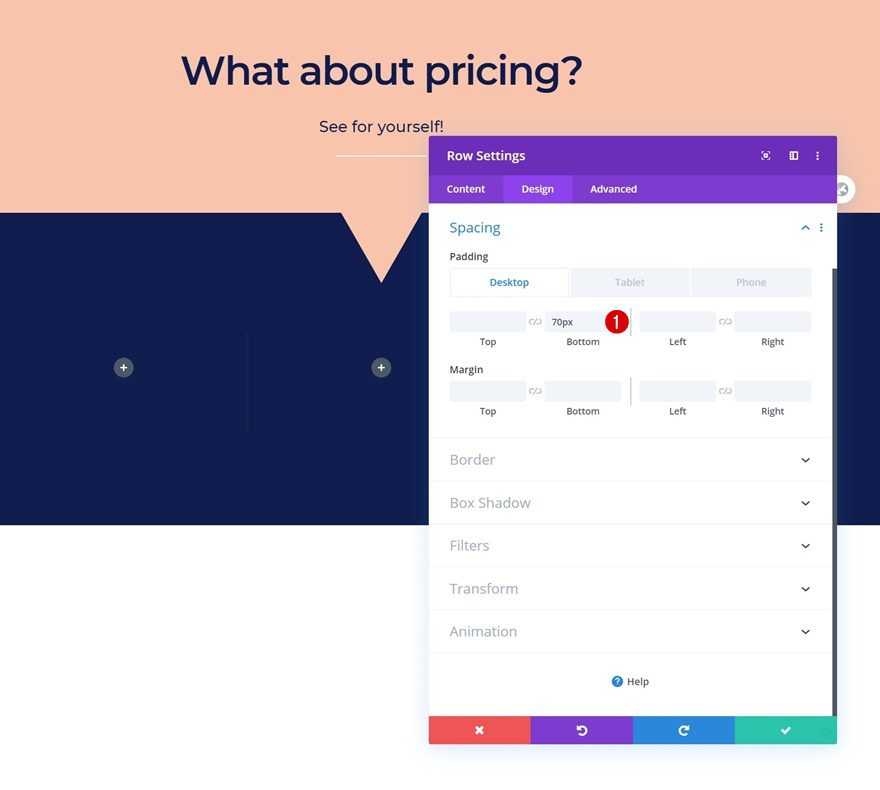
Spacing
Add some custom top and bottom padding next.
- Top Padding: 70px
- Bottom Padding: 130px
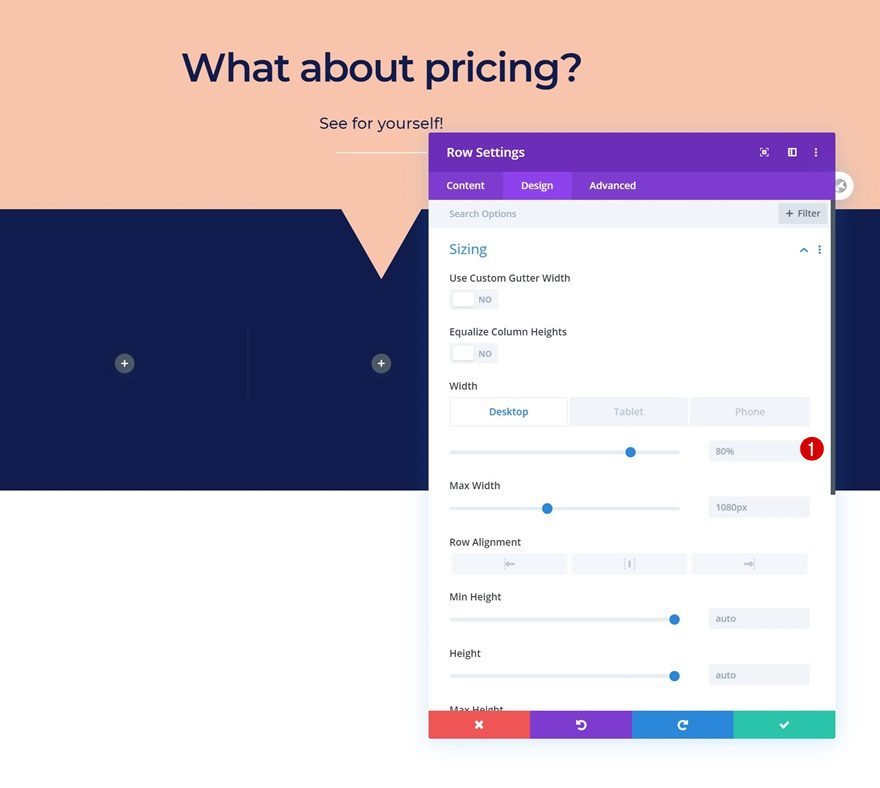
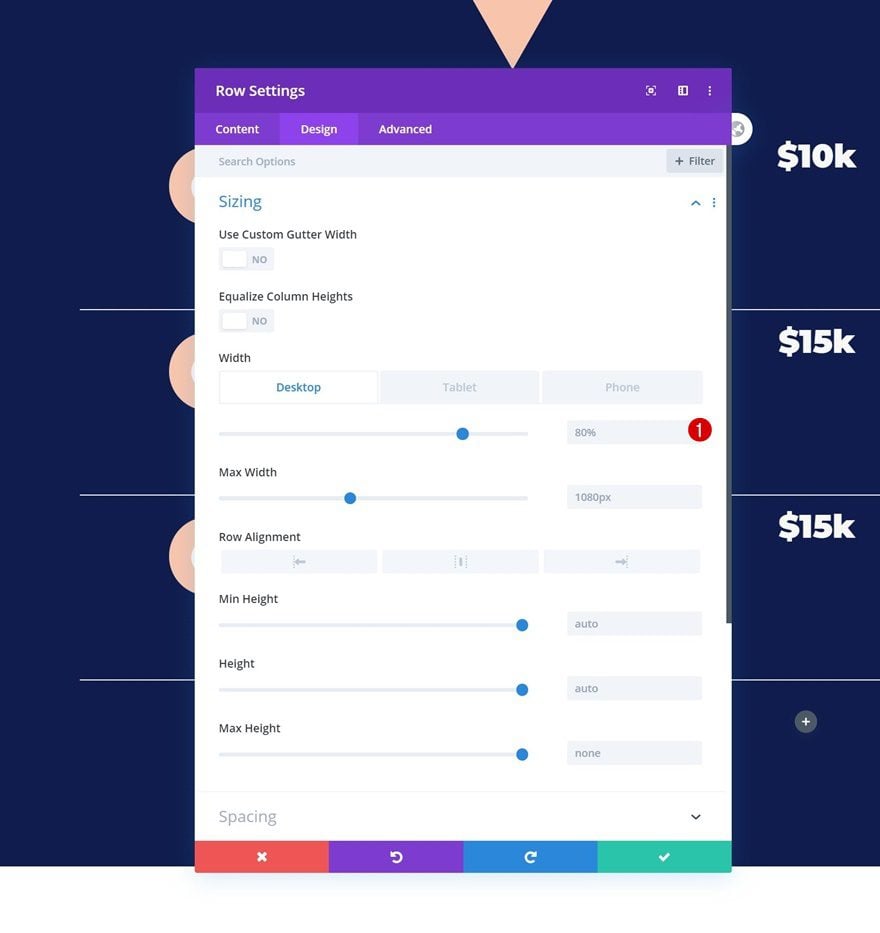
Add Row #1
Column Structure
Continue by adding a new row to the section using the following column structure:
Sizing
Without adding any modules yet, open the row settings and change the width across smaller screen sizes.
- Width: 80% (Desktop), 90% (Tablet & Phone)
Spacing
Add some custom bottom padding next.
- Bottom Padding: 70px (Desktop), 20px (Tablet), 0px (Phone)
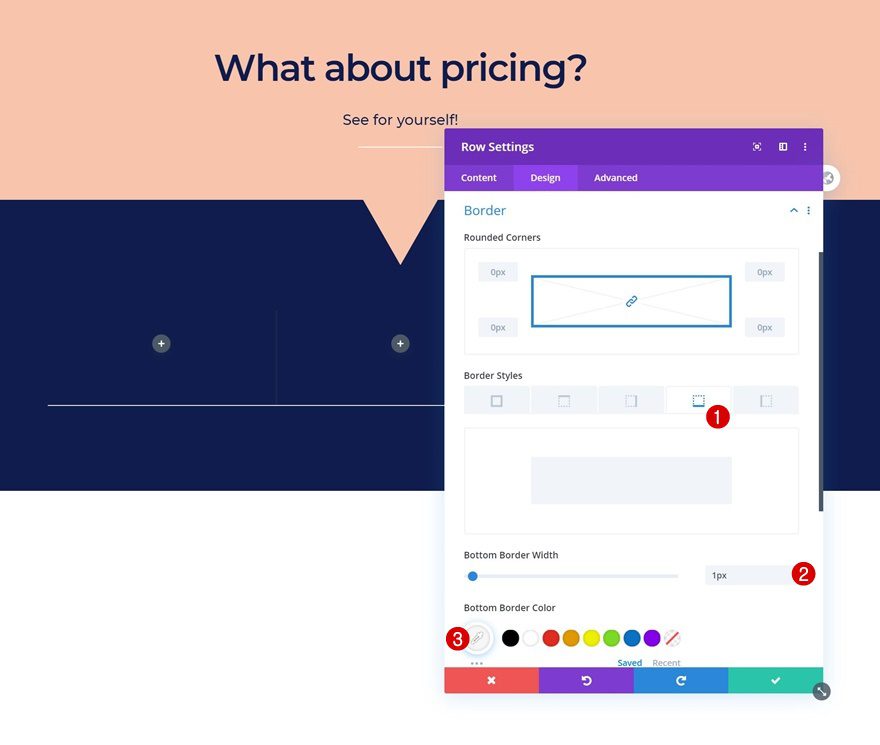
Border
Add a bottom border to the row as well.
- Bottom Border Width: 1px
- Bottom Border Color: #ffffff
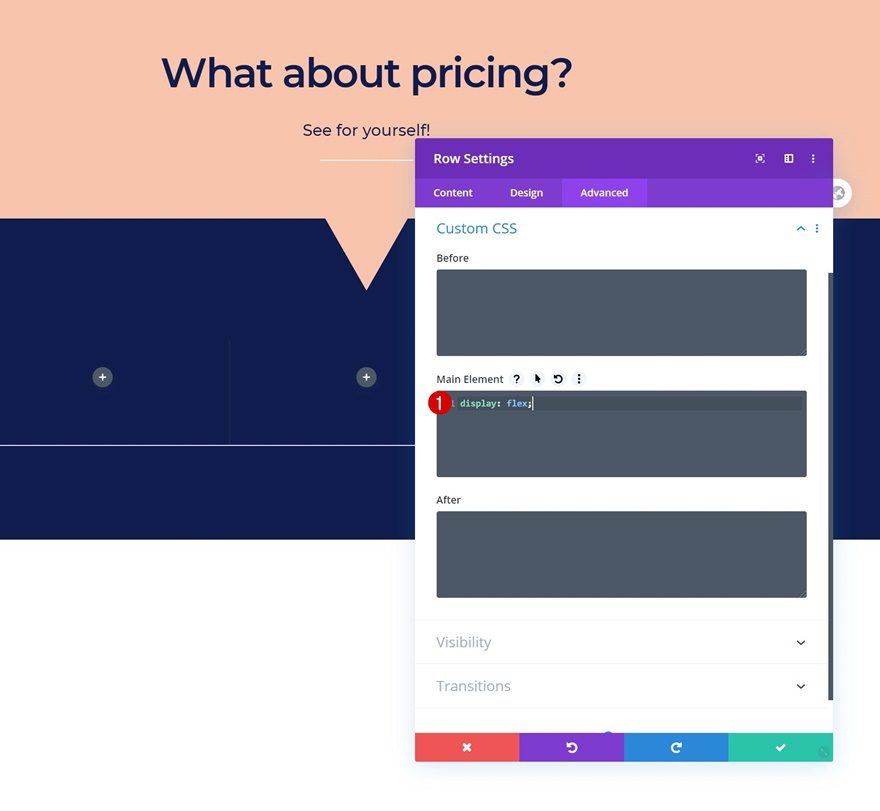
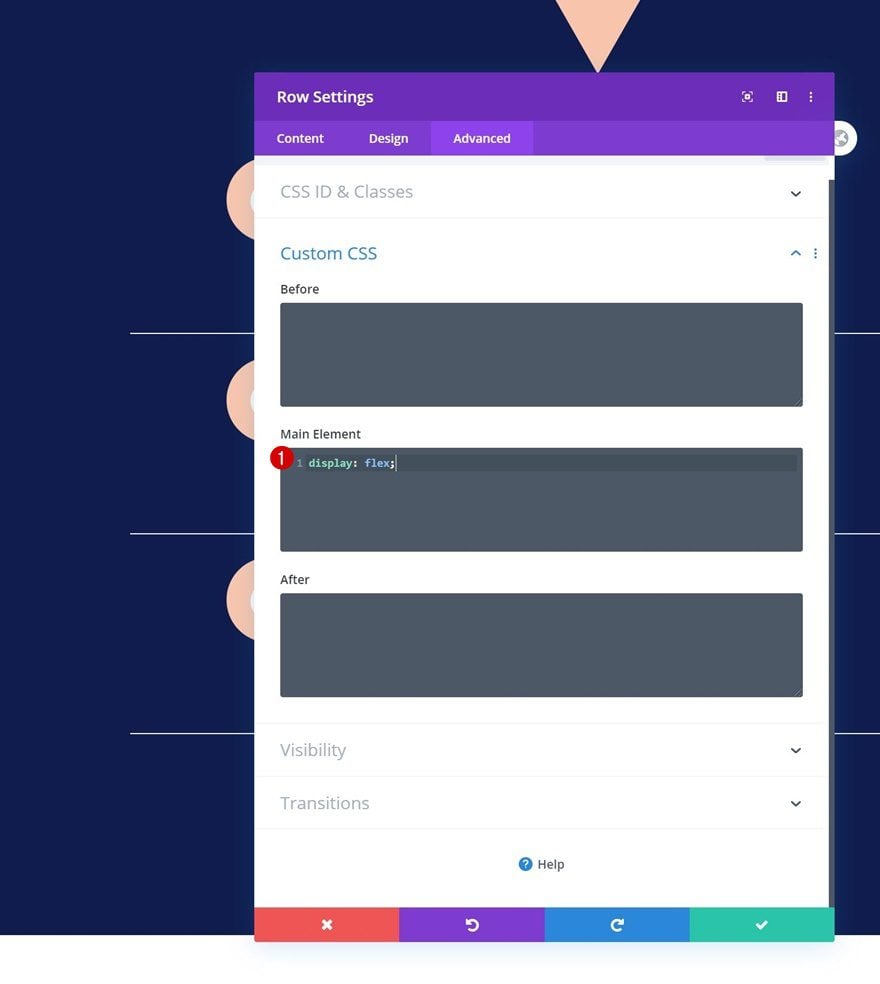
Display
And lastly, to make sure all columns are displayed next to each other, we’re going to add one line of CSS code to the main element of the row.
display: flex;
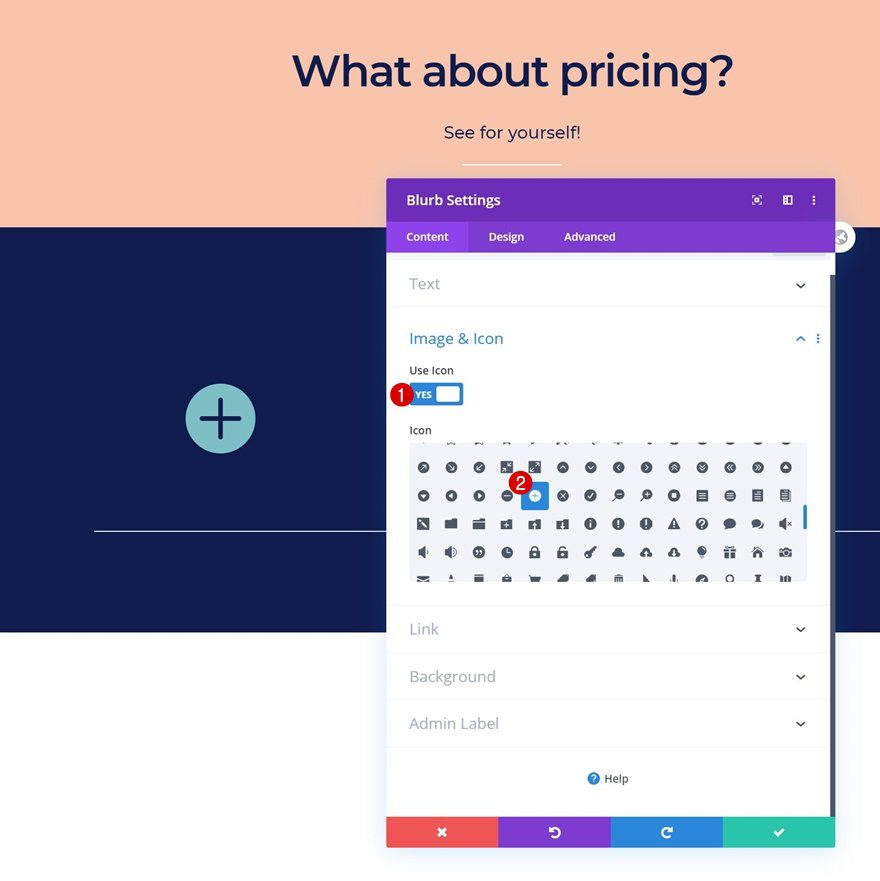
Add Blurb Module to Column 1
Select Icon
Time to start adding modules! Add a Blurb Module to column 1 and select an icon of your choice.
Default Icon Settings
Move on to the design tab and change the icon settings accordingly:
- Icon Color: #f7f7f7
- Circle Icon: Yes
- Circle Icon: #f8c5ac
- Icon Placement: Top
- Use Icon Font Size: Yes
- Icon Font Size: 96px (Desktop), 20px (Tablet & Phone)
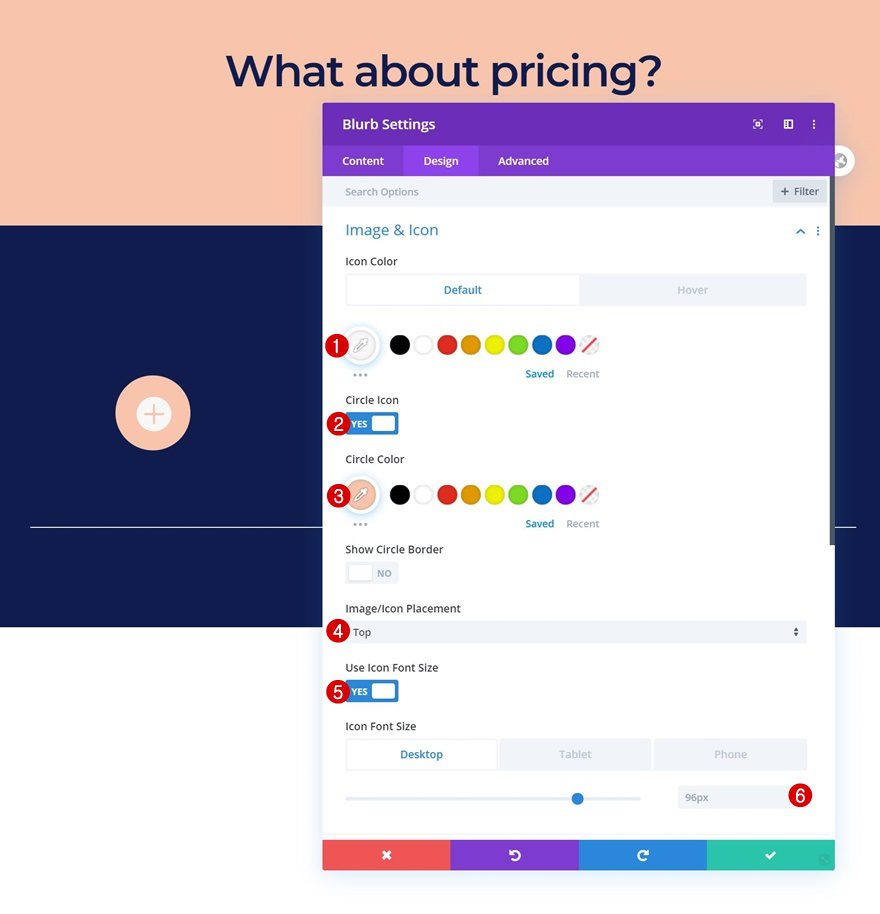
Hover Icon Settings
Modify the icon color on hover.
- Icon Color: #000000
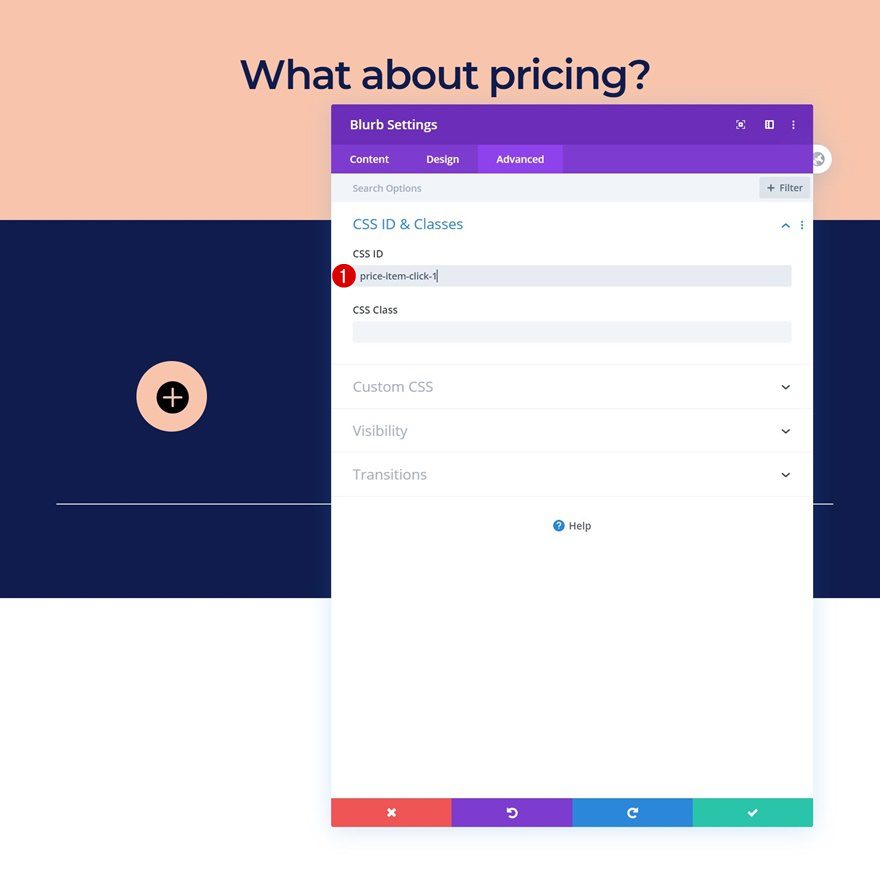
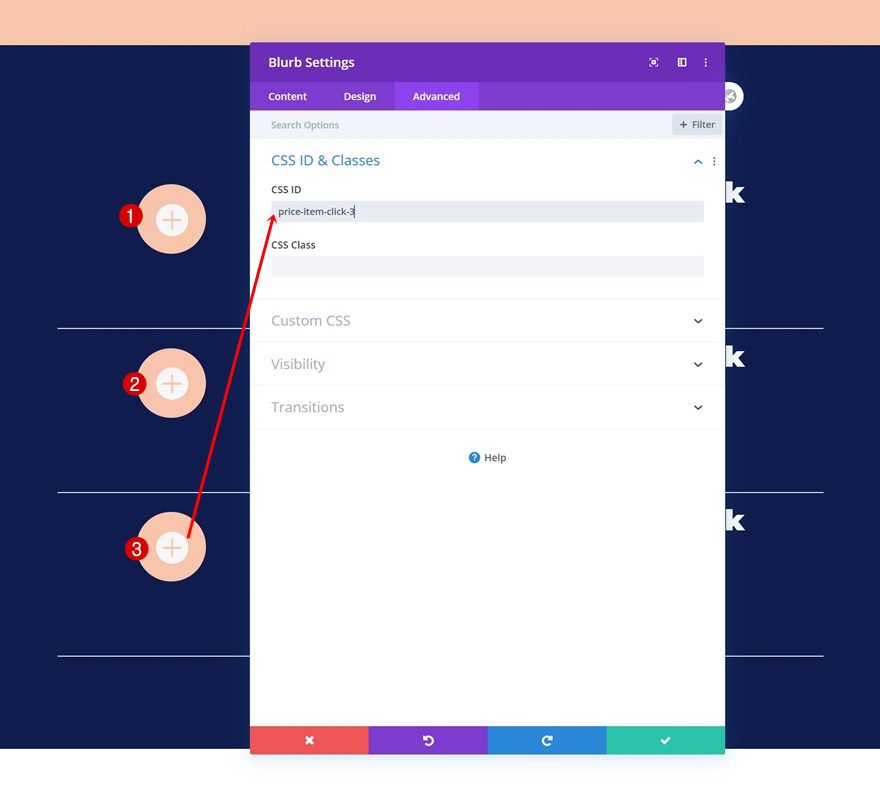
CSS ID
Insert a CSS ID as well.
- CSS ID: price-item-click-1
Add Text Module #1 to Column 2
Add H3 Content
On to the second column! Add the first Text Module and insert some H3 content.
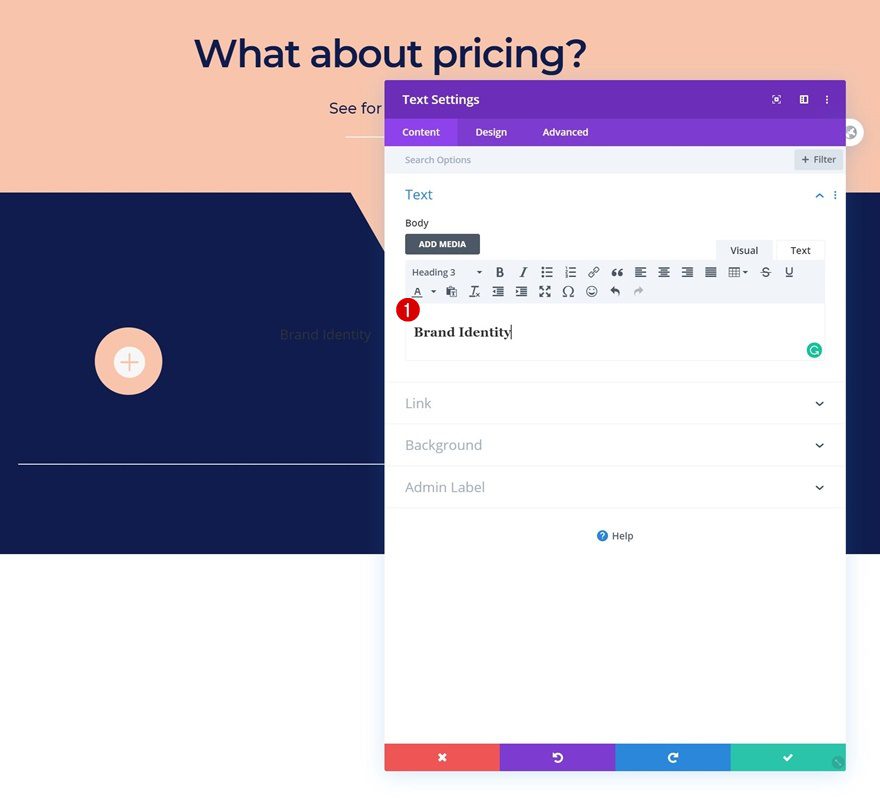
H3 Text Settings
Move on to the design tab and change the H3 text settings accordingly:
- Heading 3 Font: Montserrat
- Heading 3 Font Weight: Semi Bold
- Heading 3 Text Color: #f8c5ac
- Heading 3 Text Size: 40px (Desktop), 25px (Tablet), 18px (Phone)
- Heading 3 Letter Spacing: -1px
- Heading 3 Line Height: 1.1em

Add Text Module #2 to Column 2
Add Content
Add another Text Module to column 2 with some content of your choice.
Text Settings
Move on to the design tab and change the text settings.
- Text Font: Montserrat
- Text Font Weight: Ultra Light
- Text Color: #f8c5ac
- Text Size: 23px (Desktop), 18px (Tablet), 14px (Phone)
- Text Letter Spacing: -1px
- Text Line Height: 1.1em

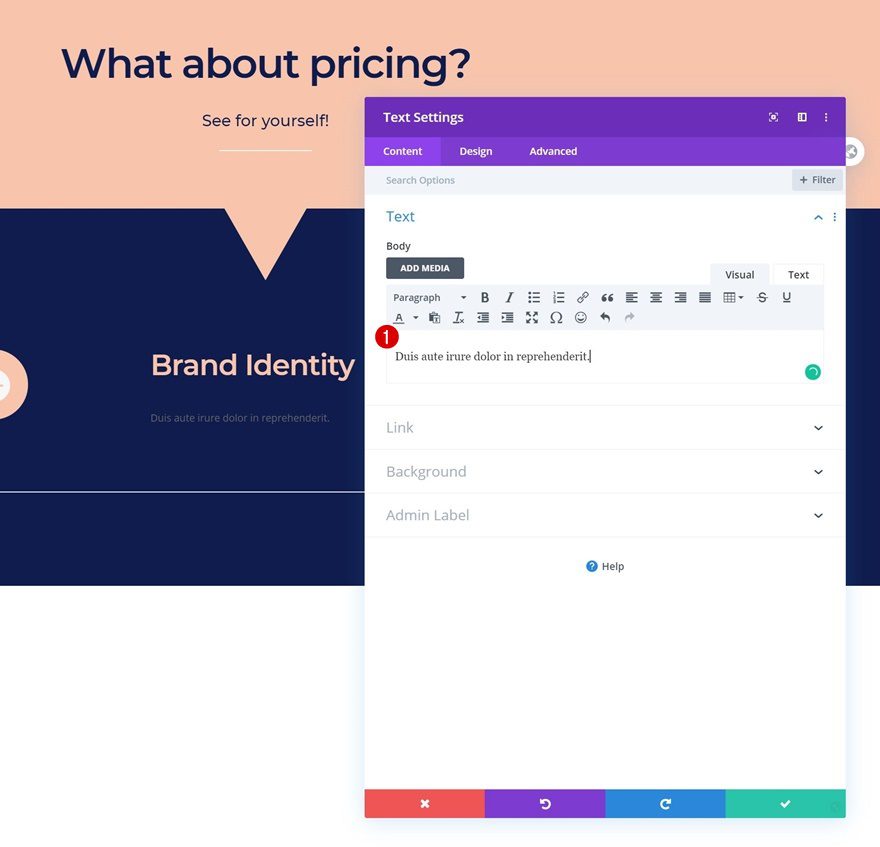
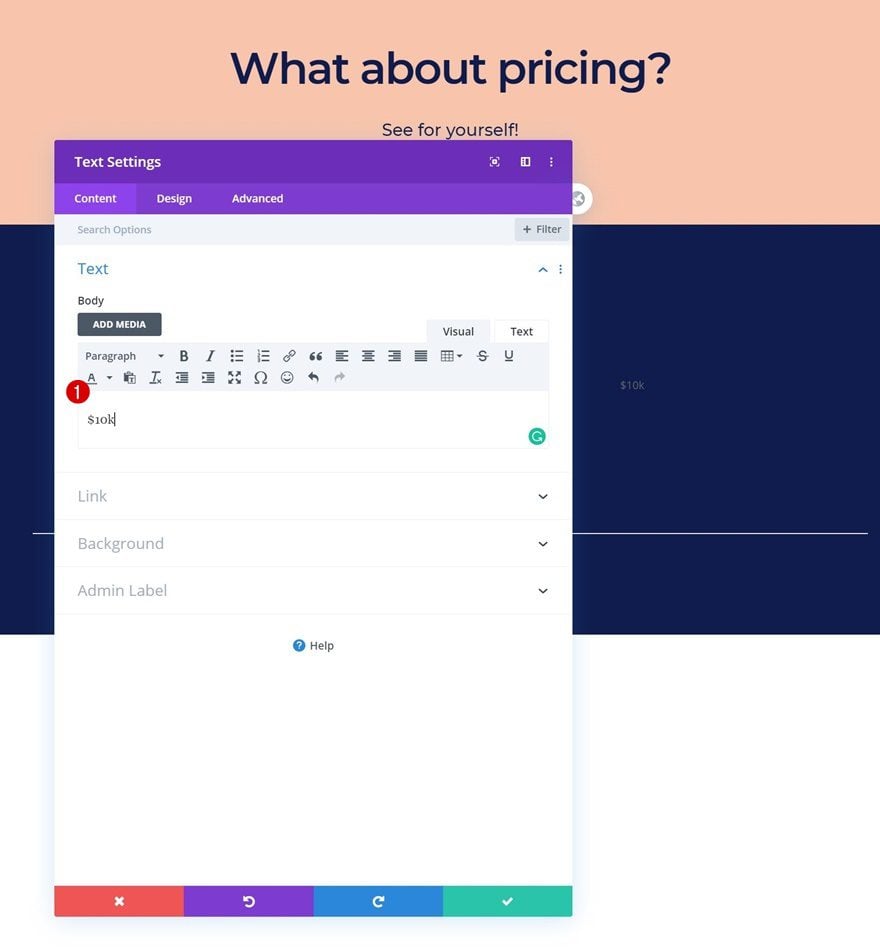
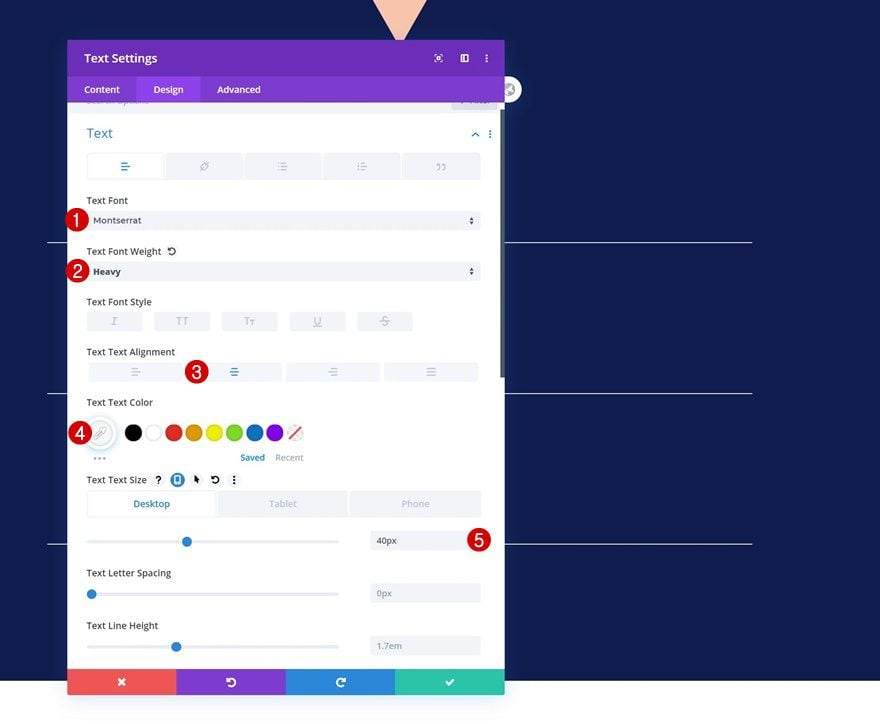
Add Text Module to Column 3
Add Price to Content Box
On to the third column! Add a Text Module and place the price in the content box.
Text Settings
Move on to the design tab and change the text settings accordingly:
- Text Font: Montserrat
- Text Font Weight: Heavy
- Text Alignment: Center
- Text Color: #ffffff
- Text Size: 40px (Desktop), 25px (Tablet), 18px (Phone)

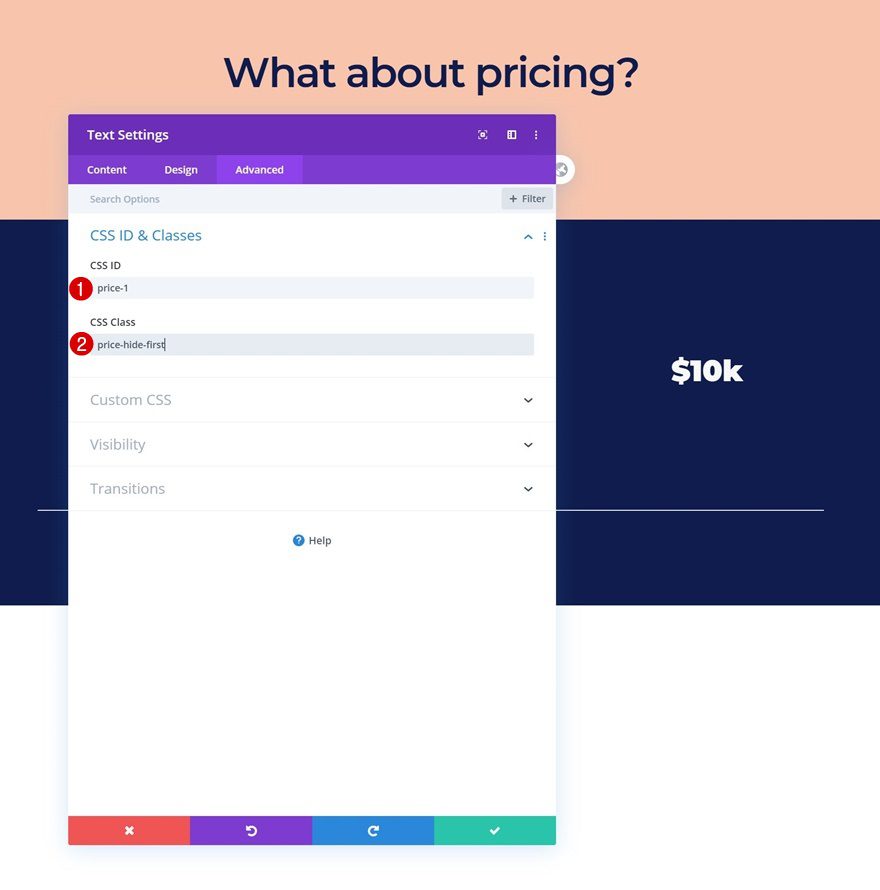
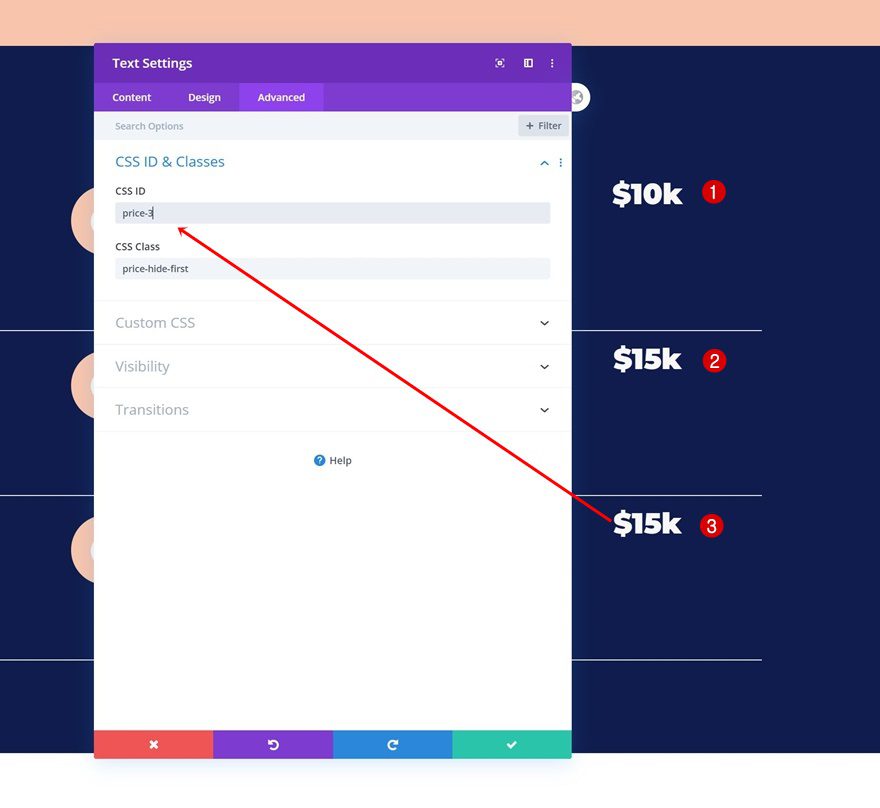
CSS ID & Class
Move on to the advanced tab and add a CSS ID and CSS class.
- CSS ID: price-1
- CSS Class: price-hide-first
Clone Row as Many Times as Needed
Once you’ve completed the row and all the modules in it, you can clone the row up to as many times as you want.
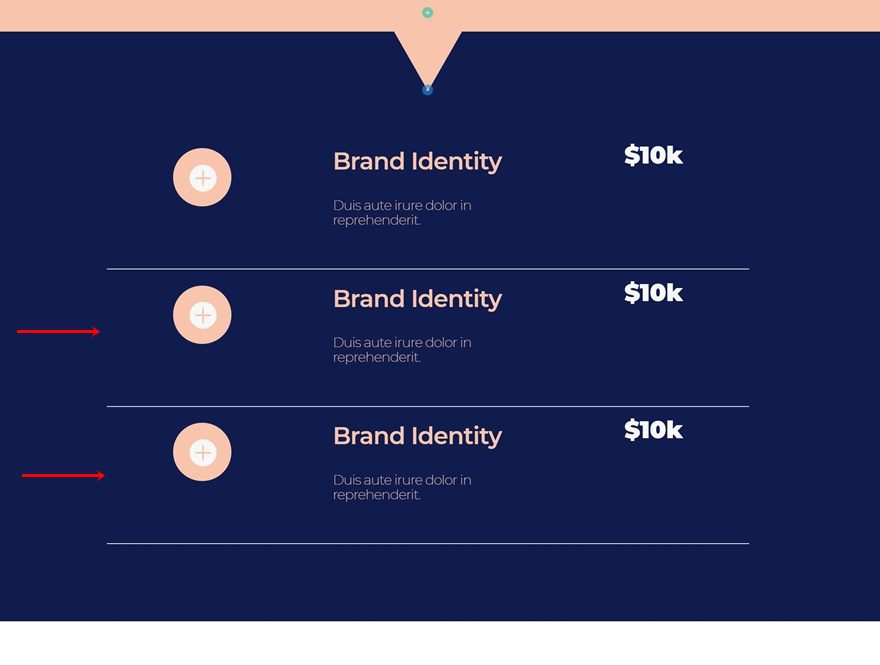
Change Duplicate Blurb Module CSS IDs
Change the CSS ID of each new Blurb Module accordingly:
- Blurb Module 1: price-item-click-1
- Blurb Module 2: price-item-click-2
- Blurb Module 3: price-item-click-3
- …
Change Duplicate Text Module Price & CSS IDs
Do the same for the price Text Module in the third column of each row.
- Price 1: price-1
- Price 2: price-2
- Price 3: price-3
- …
Add New Row
Column Structure
Add another row to your section using the following column structure:
Sizing
Without adding any modules yet, open the row settings and change the width across smaller screen sizes.
- Width: 80% (Desktop), 90% (Tablet & Phone)
Display
To make sure all column appear next to each other on smaller screen sizes, we’ll add one single line of CSS code to the main element of the row as well.
display: flex;
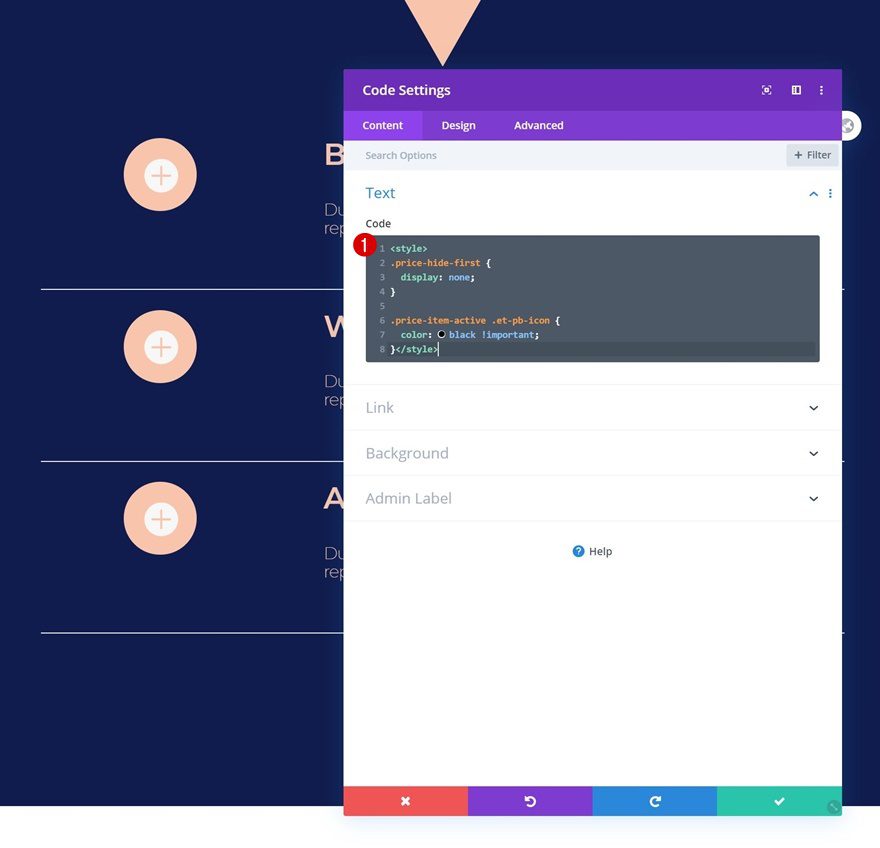
Add Code Module to Column 1
Insert CSS Code
Continue by adding a Code Module to the first column of the row and insert the following lines of CSS code:
<style>
.price-hide-first {
display: none;
}

.price-item-active .et-pb-icon {
color: black !important;
}
</style>
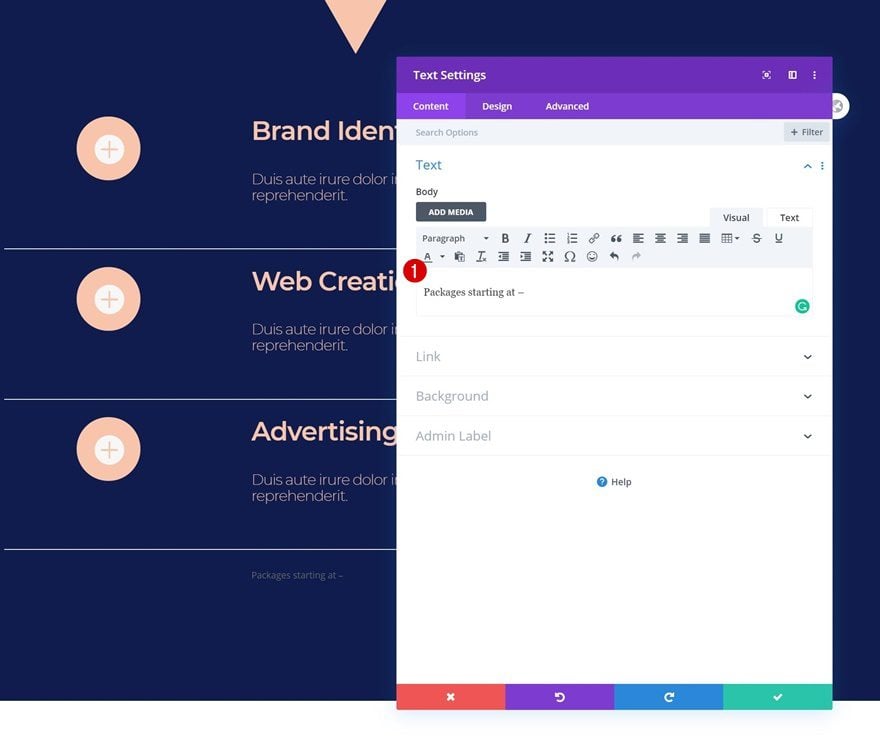
Add Text Module to Column 2
Add Content
Move on to the second column and add a new Text Module with some content of your choice.
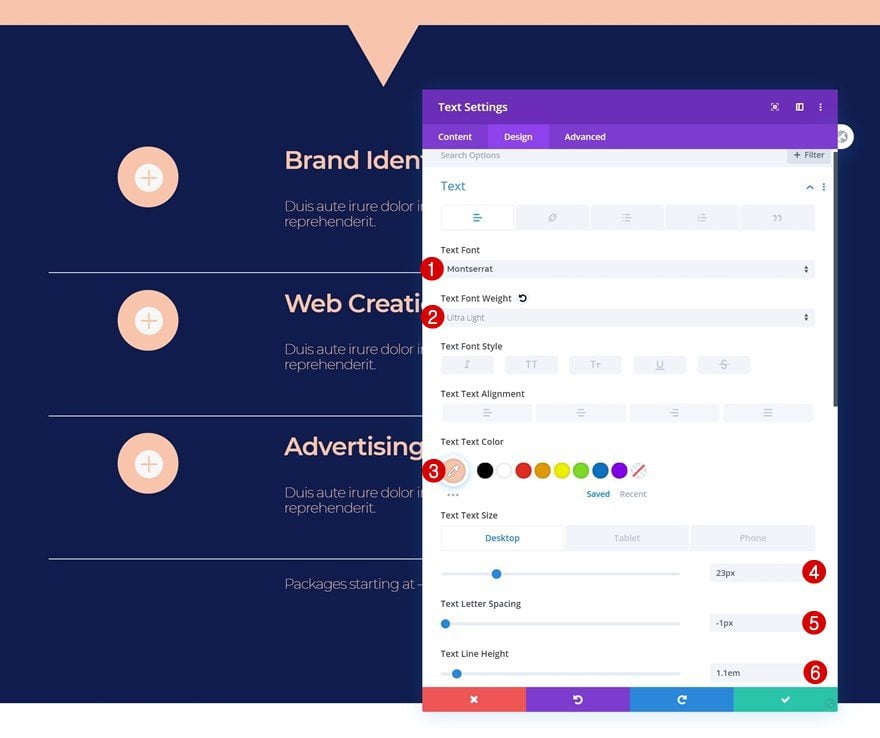
Text Settings
Change the text settings accordingly:
- Text Font: Montserrat
- Text Font Weight: Ultra Light
- Text Color: #f8c5ac
- Text Size: 23px (Desktop), 18px (Tablet), 14px (Phone)
- Text Letter Spacing: -1px
- Text Line Height: 1.1em
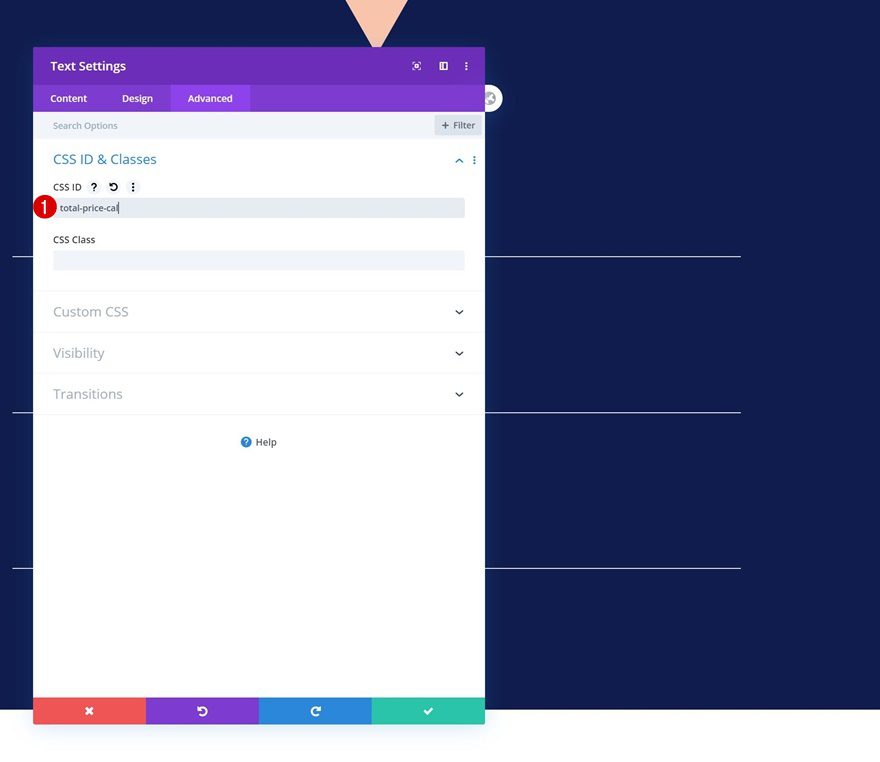
Add Empty Text Module to Column 3
Leave Content Box Empty
On to the next and last column. Add a Text Module and make sure the content box remains empty.
Text Settings
Move on to the design tab and change the text settings as follows:
- Text Font: Montserrat
- Text Font Weight: Heavy
- Text Alignment: Center
- Text Color: #ffffff
- Text Size: 40px (Desktop), 25px (Tablet), 18px (Phone)
CSS ID
Complete the module’s settings by adding a CSS ID.
- CSS ID: total-price-cal
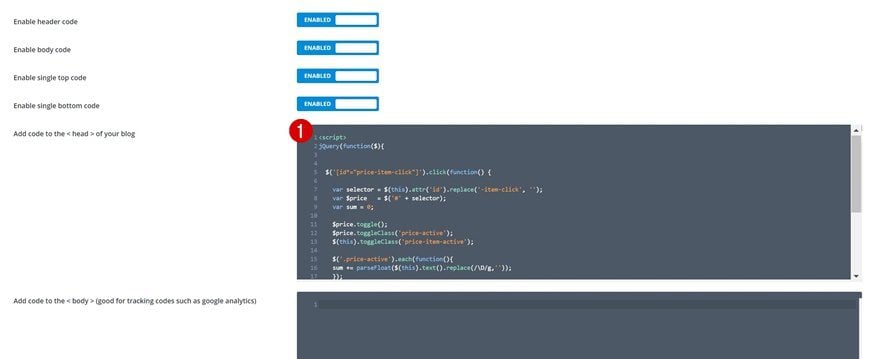
Add JQuery to Divi Theme Options
Go to Integration Tab
Now that we’ve completed the design, it’s time to make the functionality work using some JQuery code. If you want to add the price calculations to one page only, you can place the code in a Code Module. If you’re, however, using it on multiple pages, go to your Divi Theme Options and select the integration tab.
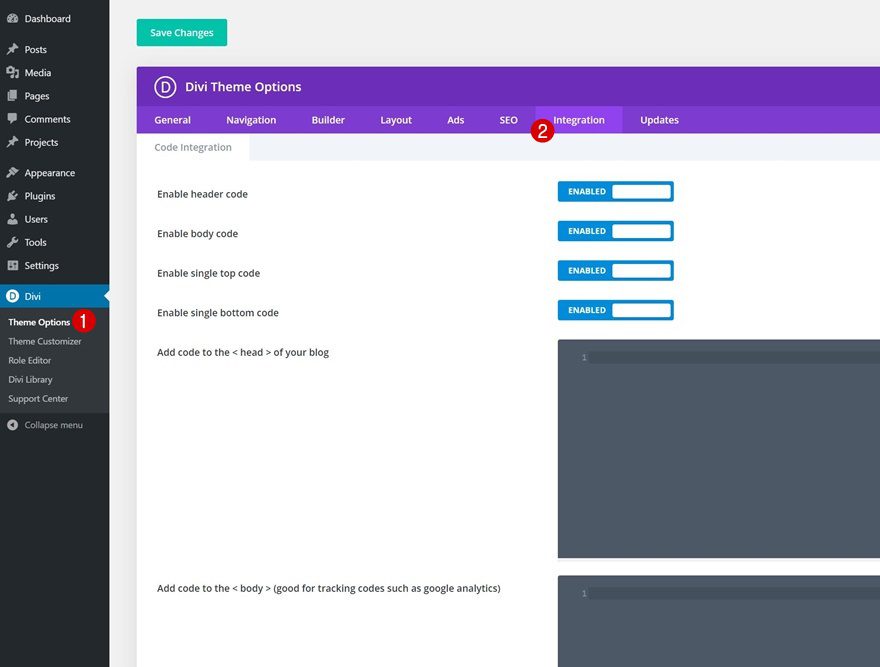
Add JQuery Code to Head Tags
Insert the following lines of JQuery code in between script tags and you’re done:
jQuery(function($){
  $('[id*="price-item-click"]').click(function() {
    var selector = $(this).attr('id').replace('-item-click', '');
    var $price   = $('#' + selector);
    var sum = 0;
    $price.toggle();
    $price.toggleClass('price-active');
    $(this).toggleClass('price-item-active');
    $('.price-active').each(function(){
    sum += parseFloat($(this).text().replace(/\D/g,''));
    });
    if (sum > 0){
    $("#total-price-cal").show();
        $("#total-price-cal").text("$" + sum + "k");
    }
    else {
    $("#total-price-cal").hide();
    }
  });
});
Preview
Now that we’ve gone through all the steps, let’s take a final look at the outcome across different screen sizes.
Desktop
Mobile
Final Thoughts
In this post, we’ve shown you how to create a stunning price calculation design with Divi. This is a great way to show your visitors at what price your services start and it helps you attract the right audience. You can use this approach on any price calculation design you create for your next Divi project! If you have any questions or suggestions, make sure you leave a comment in the comment section below.
If you’re eager to learn more about Divi and get more Divi freebies, make sure you subscribe to our email newsletter and YouTube channel so you’ll always be one of the first people to know and get benefits from this free content.


Nice post.
I just ask how to send the package price to customer after select. Can it combine with Ninja form or Woocommerce.
Thank you
Now i try to change my website theme to divi because i really love it. Thanks
Now I’ve run into a problem. I need to have a “base”-price which doesn’t have to be clickable – revealed from the start on. How can I change the code to have this baseprice added to all the options? This baseprice is not supposed to be deselectable…
Hi, thank you for this nice layout. I have small issues with it. The Blurb Module will not work on the click, the price is not showing and when I added the JQuery Code to Head Tags I got a red flag for (sum > 0) special the sign “>”. I checked step by step your instructions, the codes are in place but is not working. Thank you for taking the time to create this layout.
Don’t forget the Script tags top and bottom 😉
I really find the Pricing features offered in the Divi theme useful. Thanks for adding!
How do I change the icon colour to green once it has been clicked?
Search on this page for “Hover Icon Settings”, there you can see what to change
I ad it in a code module on the page I want to use it on between script brackets and it just shows the code on the page. If I add it into the header in the Divi Theme Options it shows the code on every single page. What am I missing?
Great post! We are looking for something like this but with sliders, so slide up and the value increases. Do you have that?
Awesome post! What would be nice is a switch that says “including/excluding VAT”. I think we can achieve this also with jQuery?
Hi can you explain your jquery code please with comments thanks ?
Hi. Can you explain your jquery code please with comments thanks ?
hey Vuniqi thank for the wonderful content. I was also able to create one by following those steps.
Good to hear! 🙂
Thank you very much. Thumbs up!
You’re welcome! 🙂
Wow !! This post is amazing !! but I will not download it, it is better to do it step by step, it is worth doing! I prefer to learn to do it manually! Thanks Donjete !!
You’re welcome, Agustin. Happy you like it! 🙂
A really worthwhile post – I’ll hang on to this one. I don’t have a need right now but I’m sure it will come in useful in the future
Happy to hear that, Brian! 🙂
Is it also possible to to add JQuery Code to code module in this calculation page instead of theme setting intergration setting ?
Code module would be after other elements.
Yes, that’s possible. But if you’re using it on multiple pages, add it to your Divi theme options instead.