
Grid layouts are great for content that needs to be kept together. Testimonials are an excellent example. Divi’s testimonials are created with a new module for each testimonial, but fortunately, displaying them in a grid is simple. In this article, we’ll see how to create a testimonial grid layout with Divi’s testimonial module. We’ll see two different layouts, so you can choose which is best for your needs.
Let’s get started!
Preview
Here’s a look at what we’ll make in this tutorial. I’m creating a testimonial section using the design styles from the free Print Shop Layout Pack that’s available within Divi.
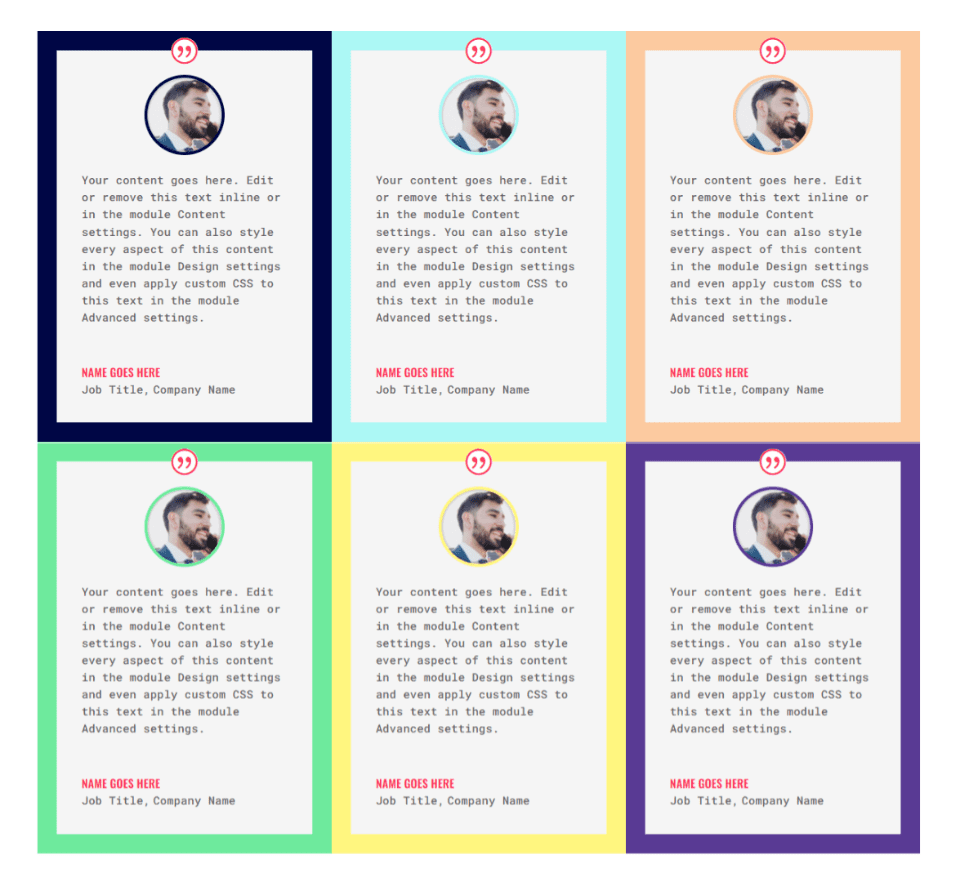
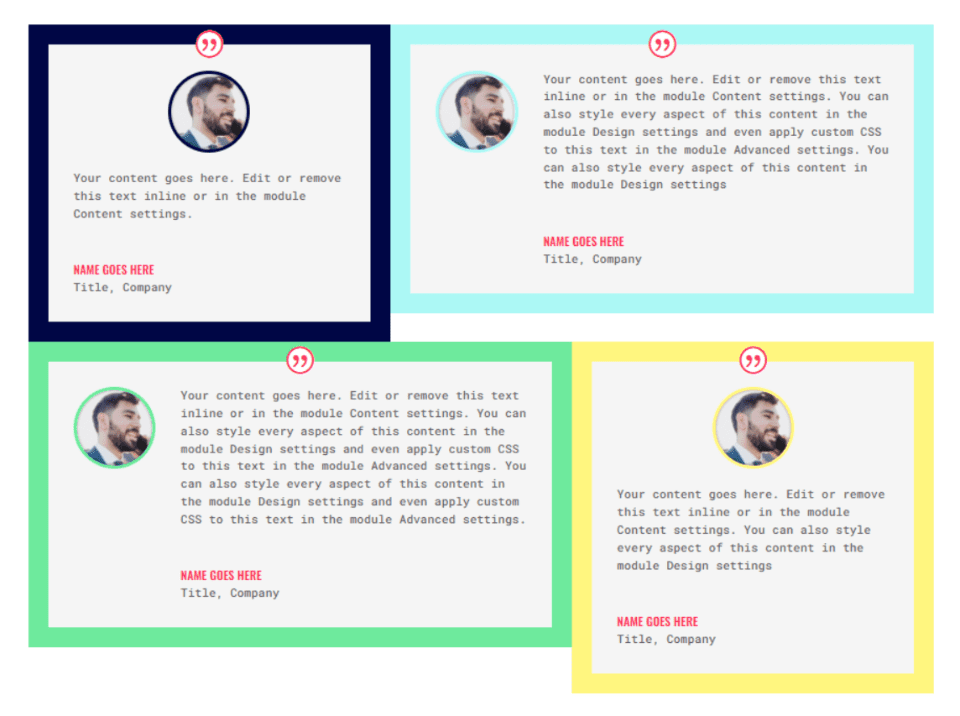
Testimonial Grid Layout Results
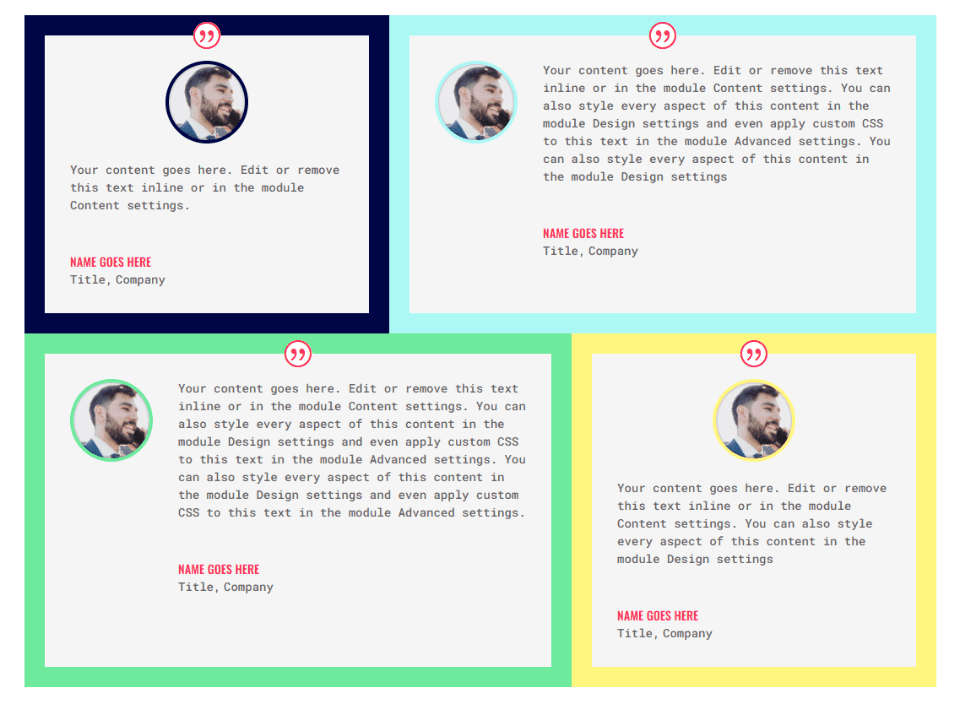
Alternate Testimonial Layout Results
Creating the First Grid Layout
We’ll show the details of both layouts, but the second layout will use the modules from this first layout.
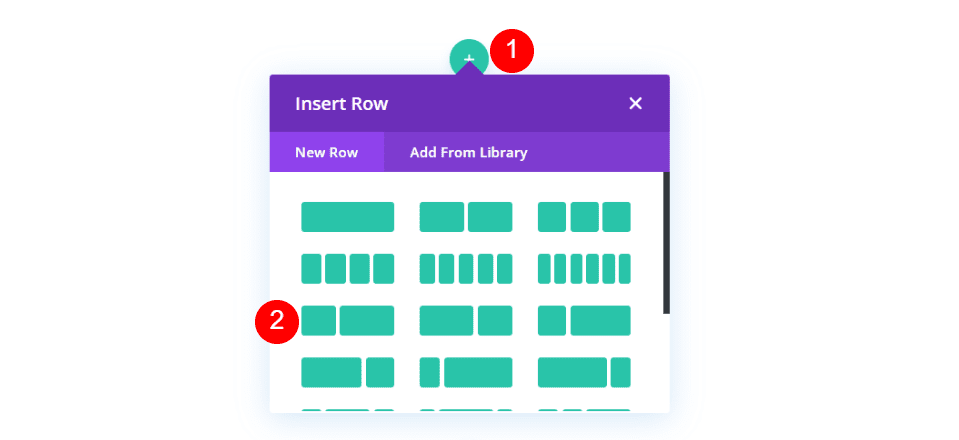
Create a Row
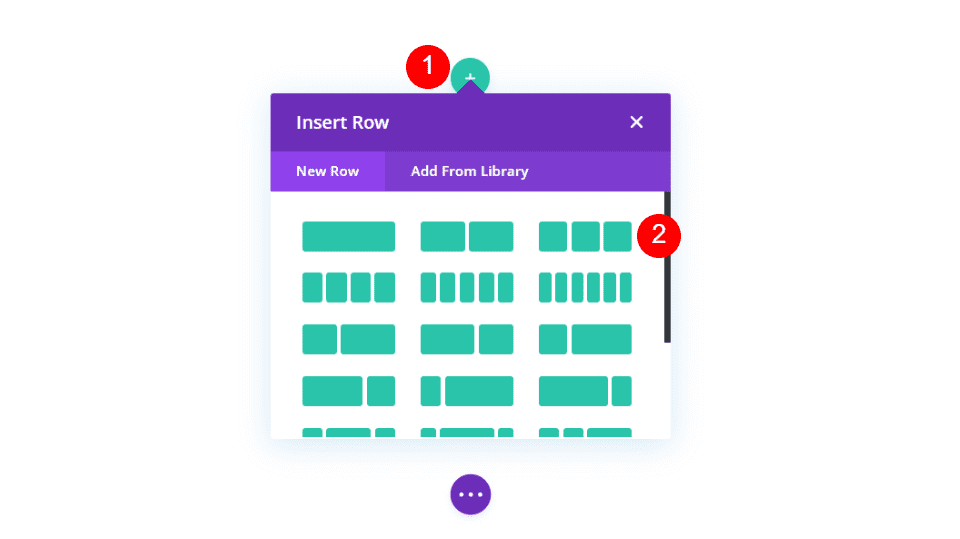
First, create a new row and select a 3-column layout.
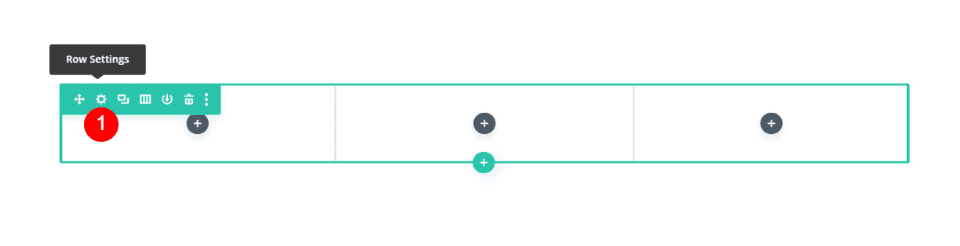
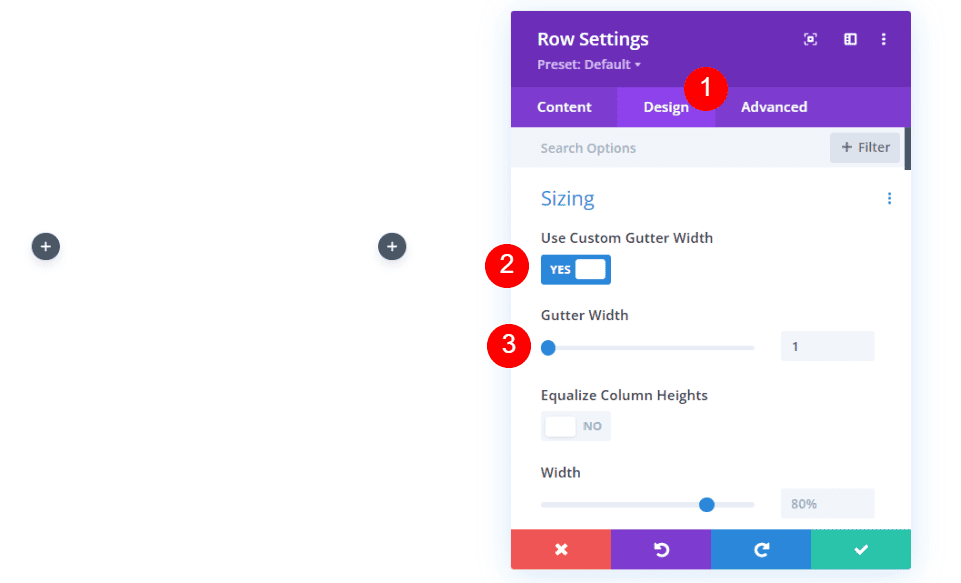
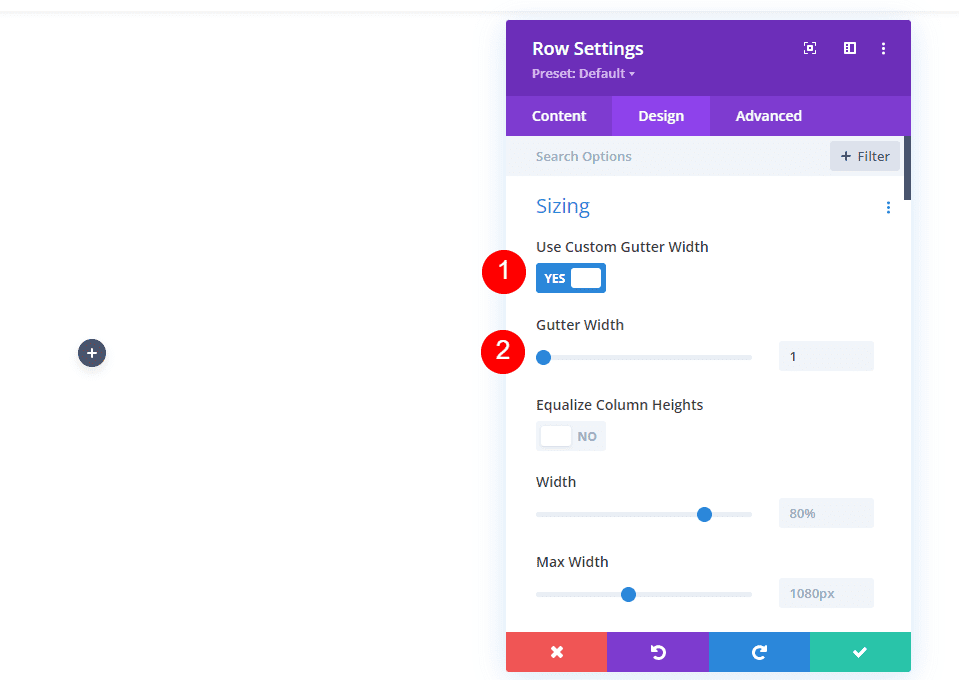
Next, open the row’s settings by clicking its gear icon.
Select the design tab and enable Use Custom Gutter Width and set the Gutter Width to 1.
- Use Custom Width: Yes
- Gutter Width: 1
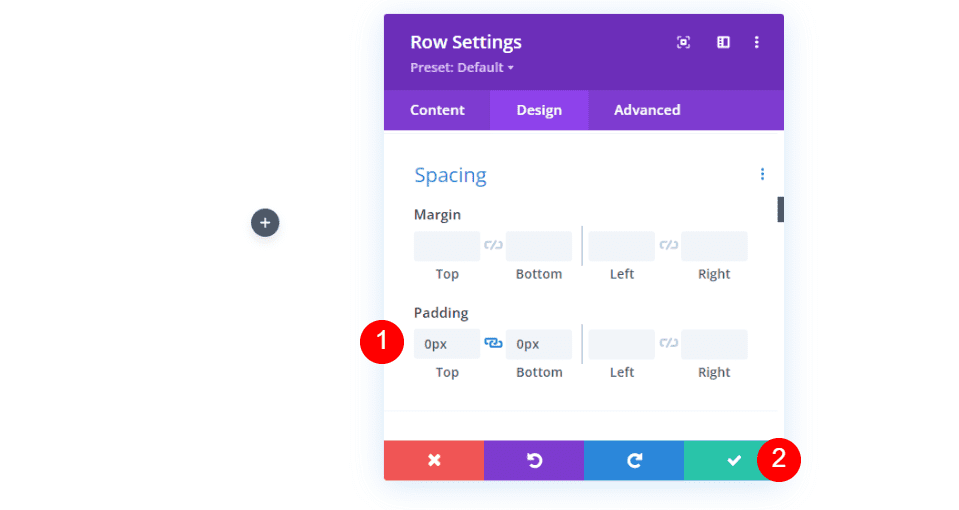
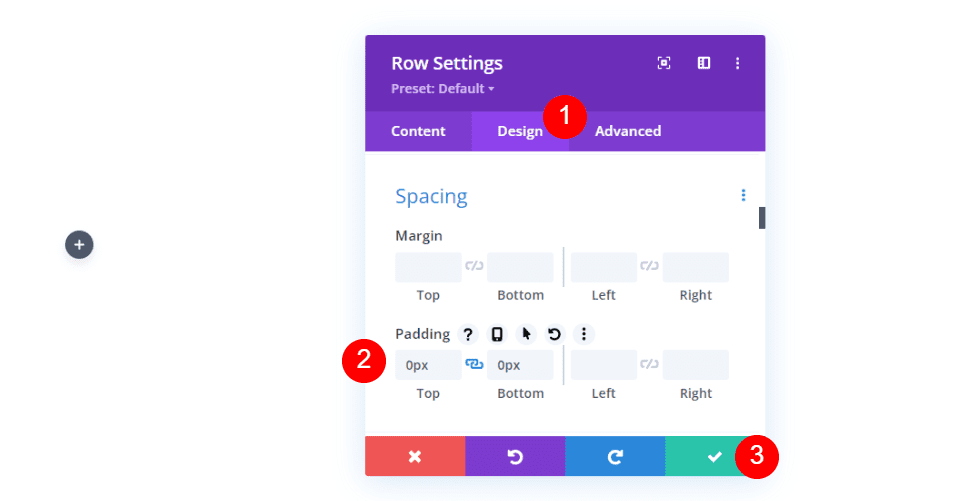
Next, scroll down to Spacing and change the Top and Bottom Padding to 0px. Close the row. We’ll create a second row, but we’ll finish this one first and then clone it.
- Padding: 0px Top and Bottom
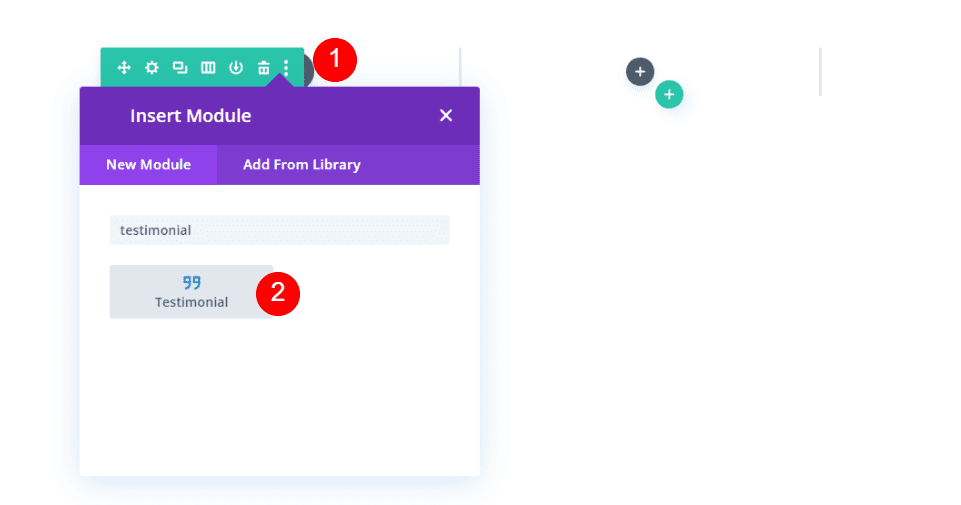
Add a Testimonial Module
Next, add a testimonial module to the left column.
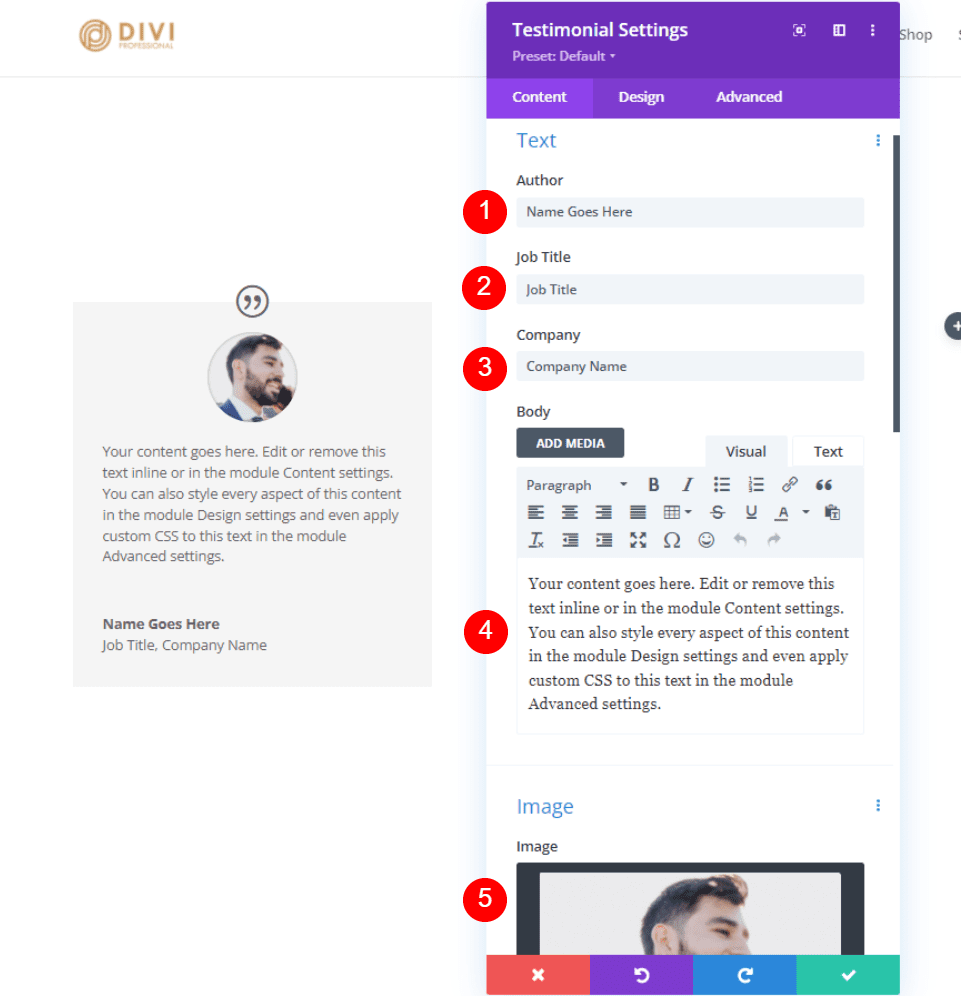
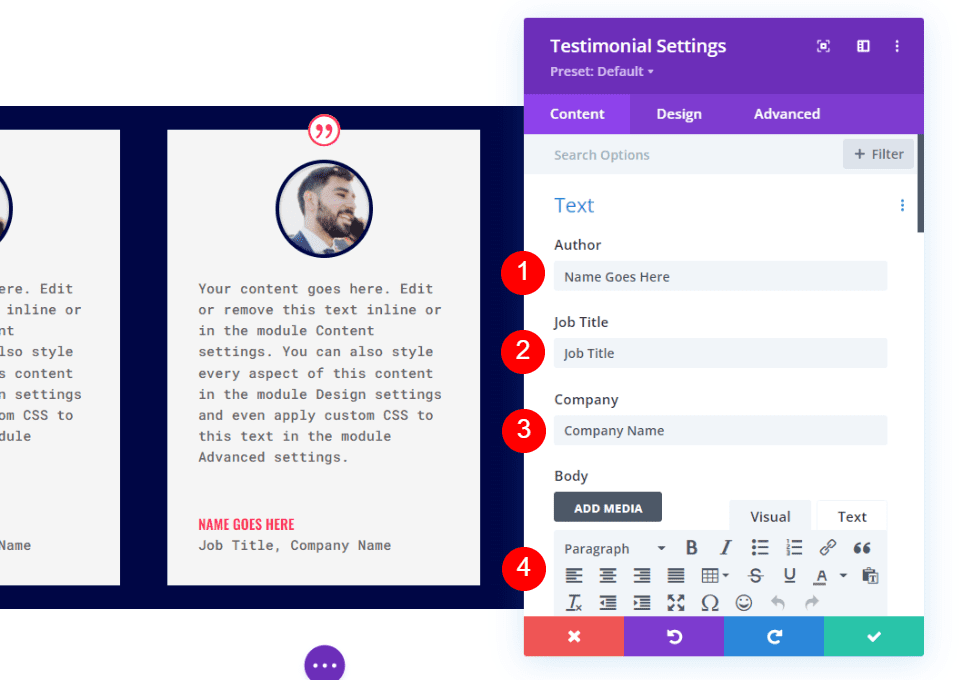
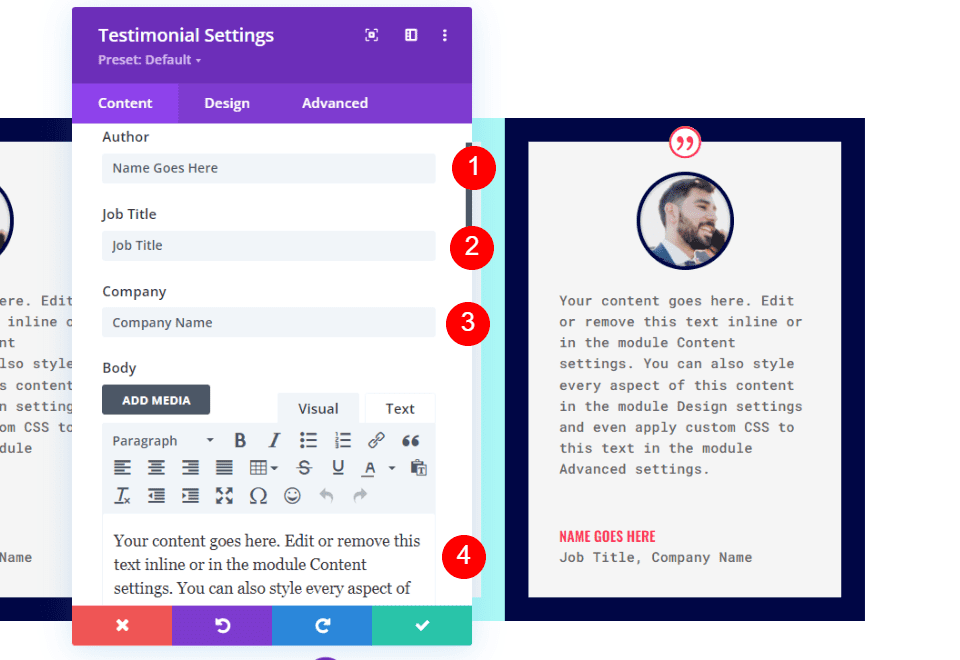
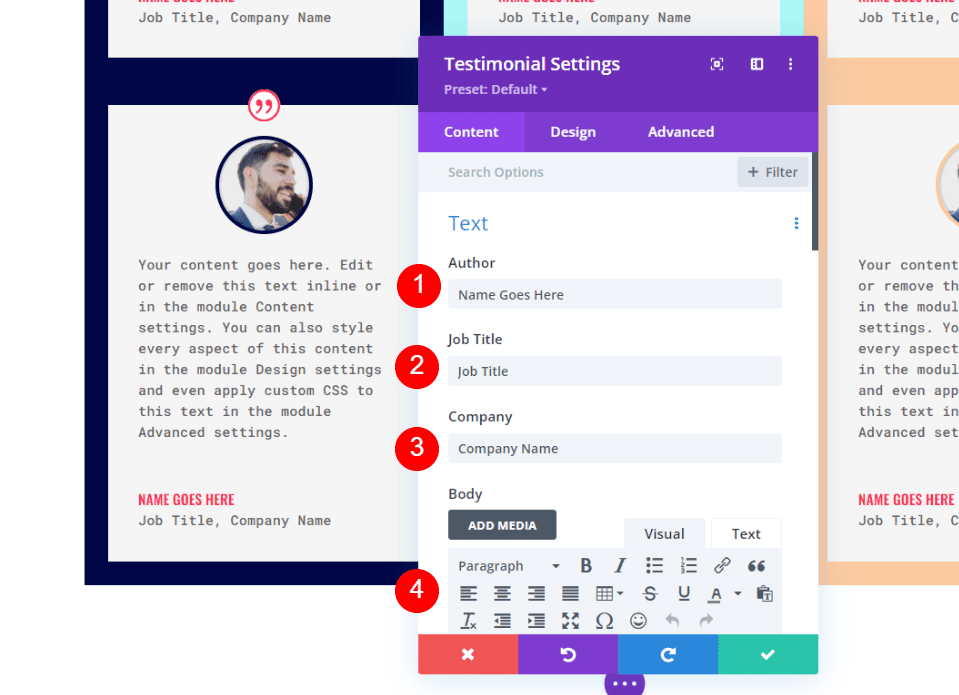
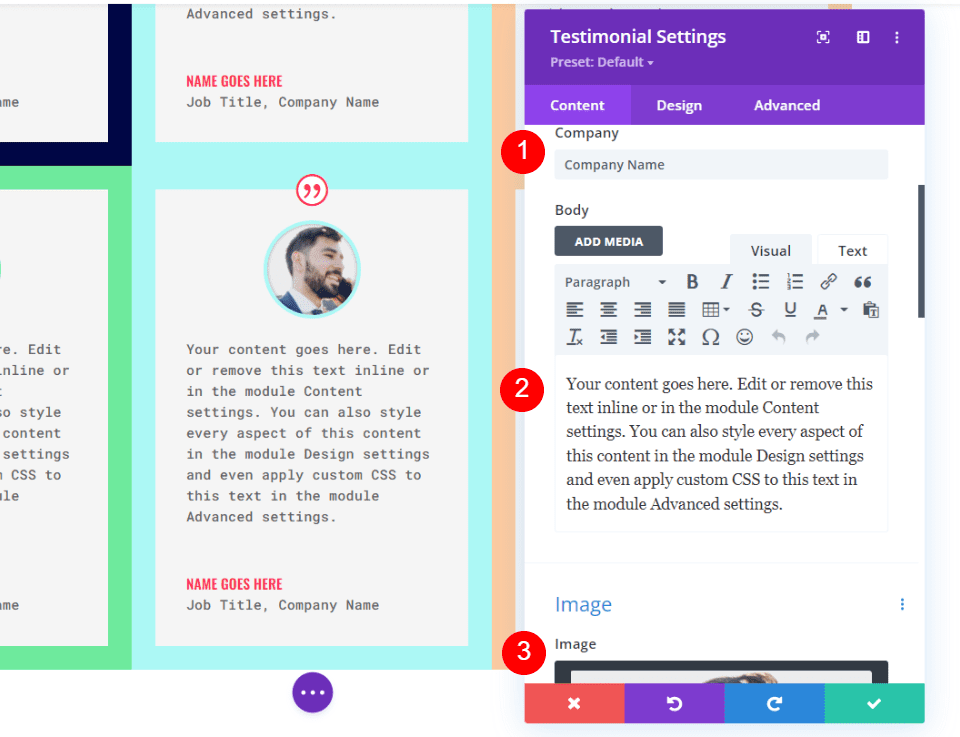
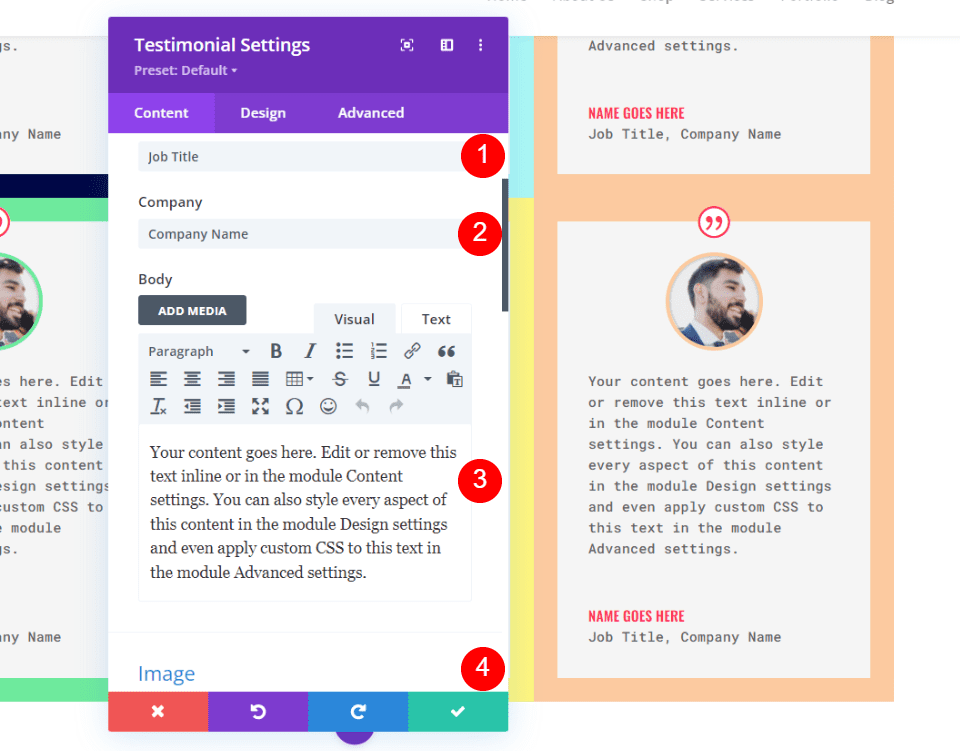
Testimonial Module Content Settings
Next, add the testimonial content. This includes the Author’s name, Job Title, Company name, Body content, and the person’s image. I’m using the field names and default body content for my examples.
- Author: author’s name
- Job Title: person’s title
- Company: company name
- Body Content: the testimonial
- Image: the featured image
Testimonial Module Design Settings
Next, select the design tab.
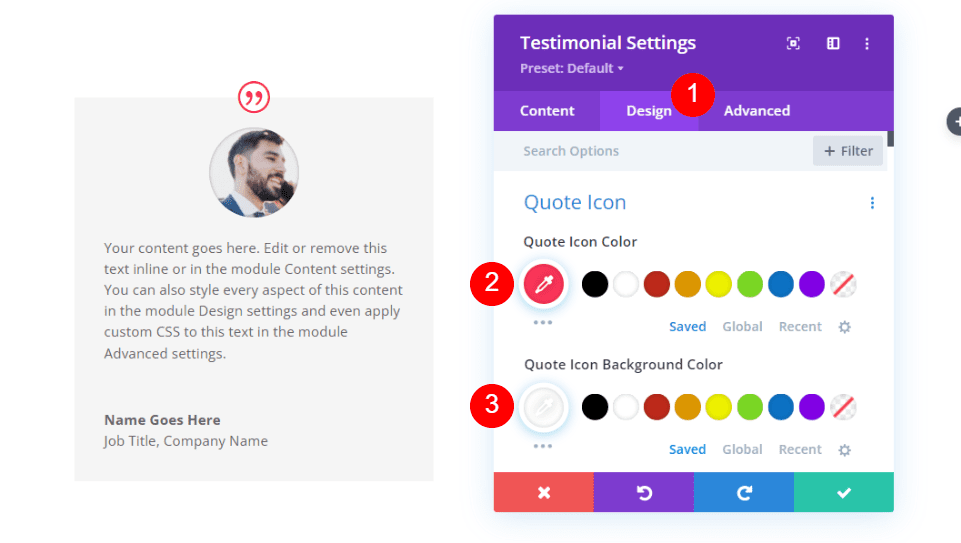
Quote Icon
Change the Quote Icon Color to #fd335a and set the Background Color to white. The icon color will also be used for the person’s name. This will be the same for all the modules.
- Color: #fd335a
- Background Color: #ffffff
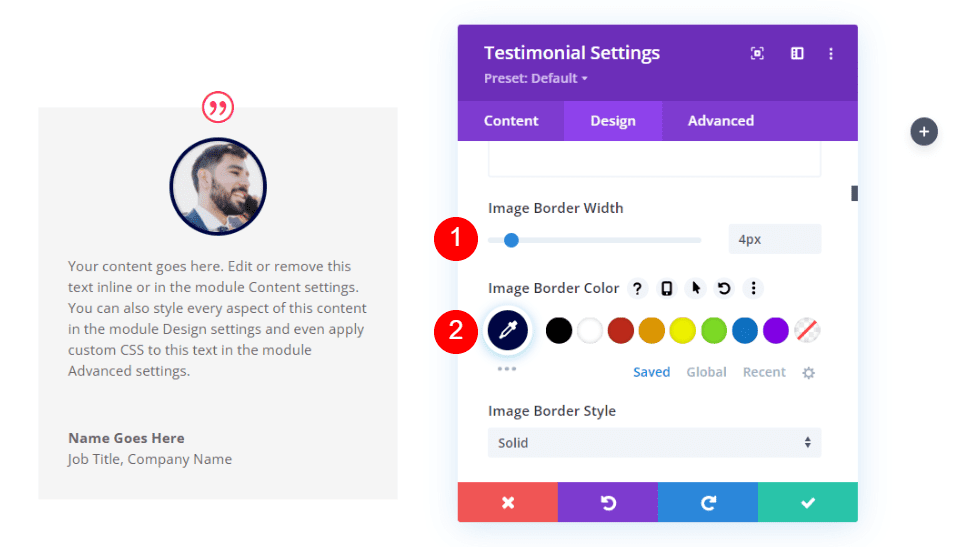
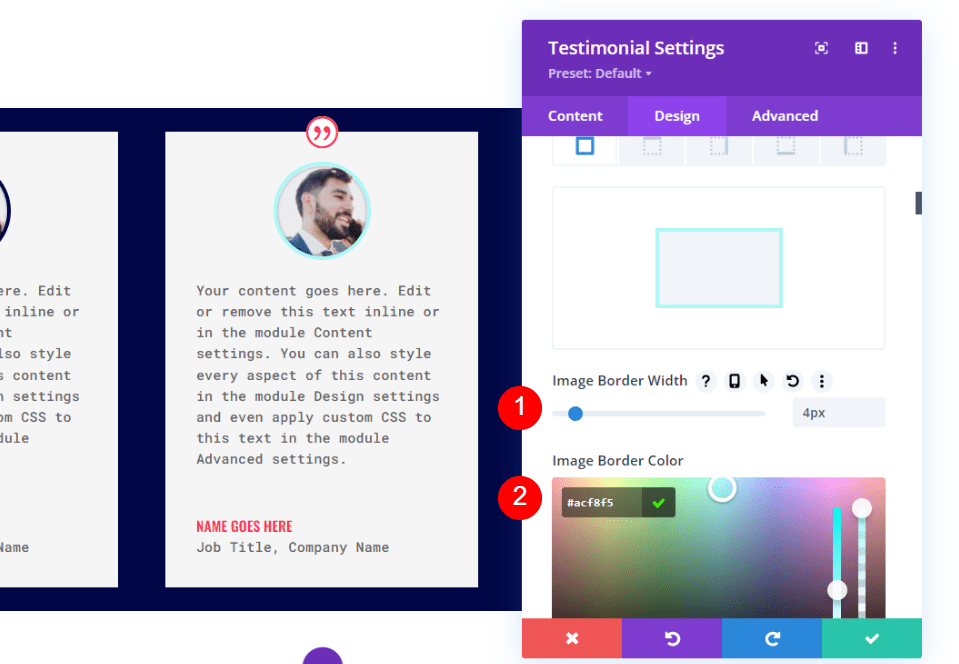
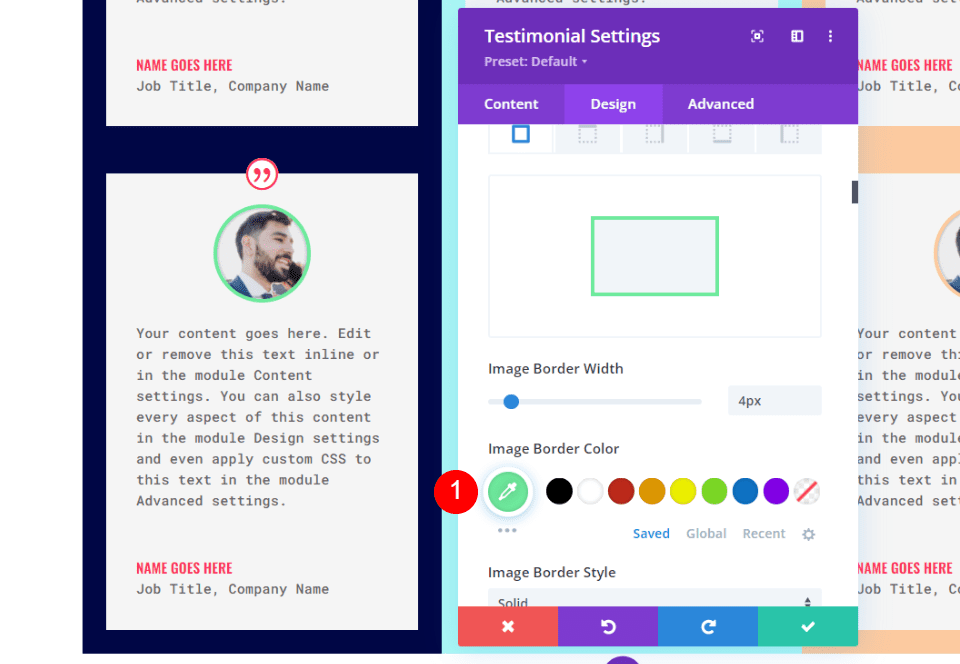
Image
Next, scroll down to Image. Set the Image Border Width to 4px and change the Border Color to #000645. The border will match the module’s border for each module. We’ll change them individually.
- Image Border Width: 4px
- Image Border Color: #000645
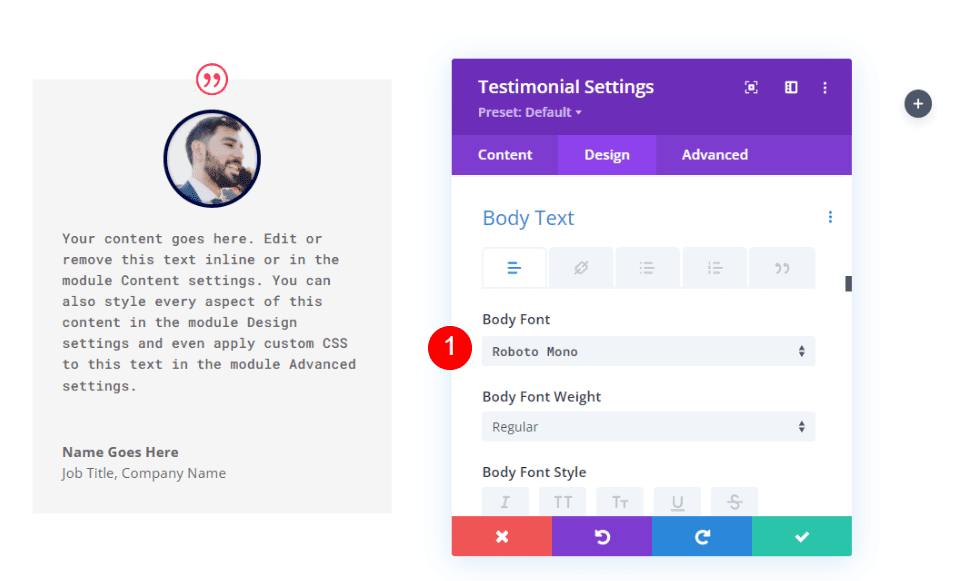
Body Text
Next, scroll down to Body Text and choose Roboto Mono. Leave the rest of the settings at their defaults.
- Body Font: Roboto Mono
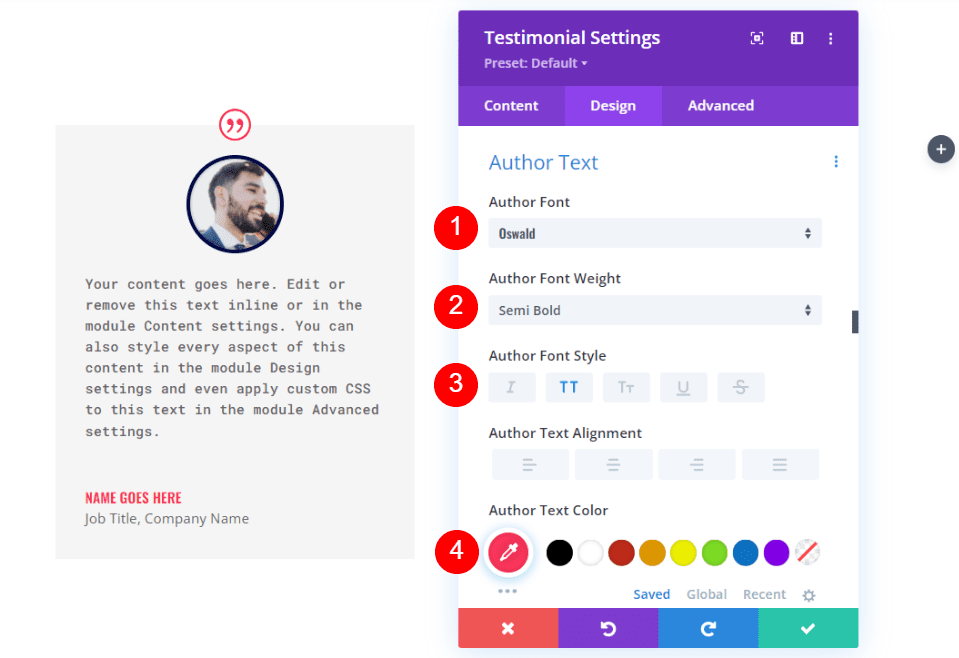
Author Text
Next, scroll down to Author Text. Change the Font to Oswald, select Semi Bold for the Weight, TT for the Style, and change the Color to #fd335a.
- Font: Oswald
- Style: semi bold
- Style: TT
- Text Color: #fd335a
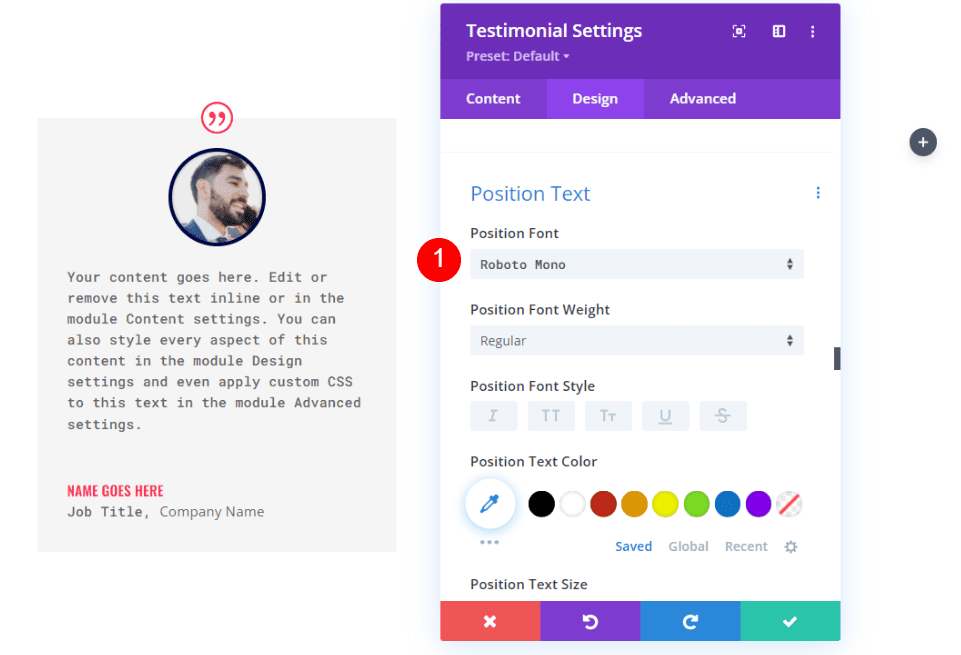
Position Text
Next, scroll to Position Text (the job title) and change the Font to Roboto Mono. Leave the rest of the settings at their defaults.
- Position Font: Roboto Mono
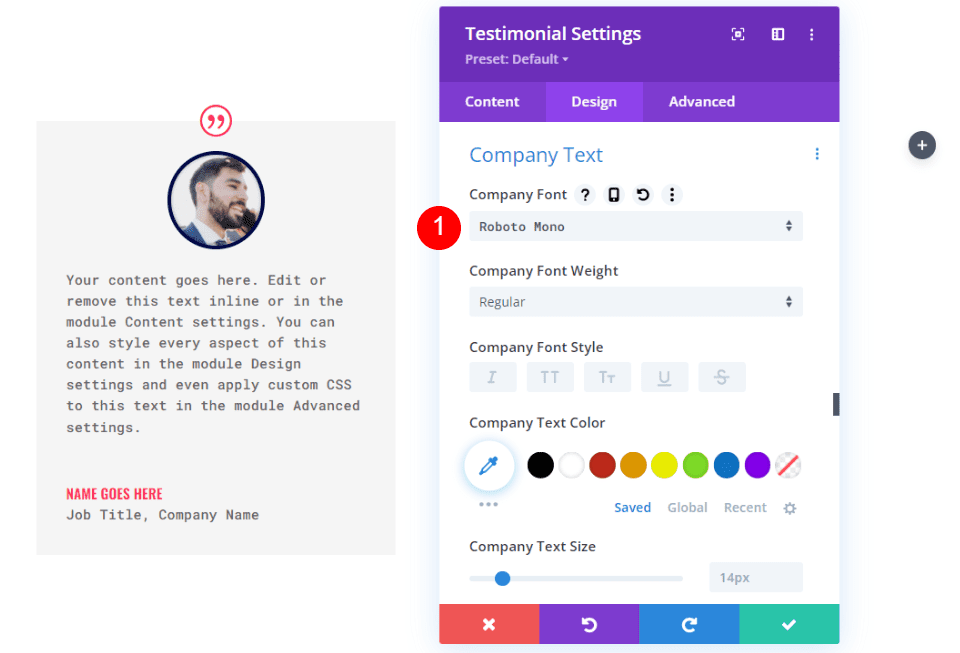
Company Text
Next, scroll down to Company Text and choose Roboto Mono for the Font. Leave the settings at their defaults.
- Company Font: Roboto Mono
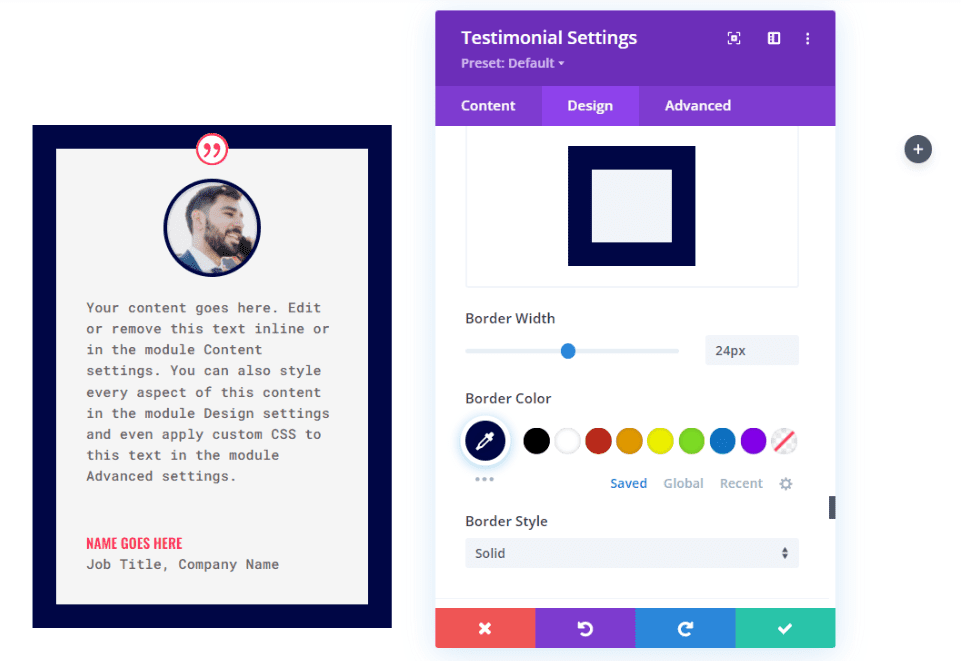
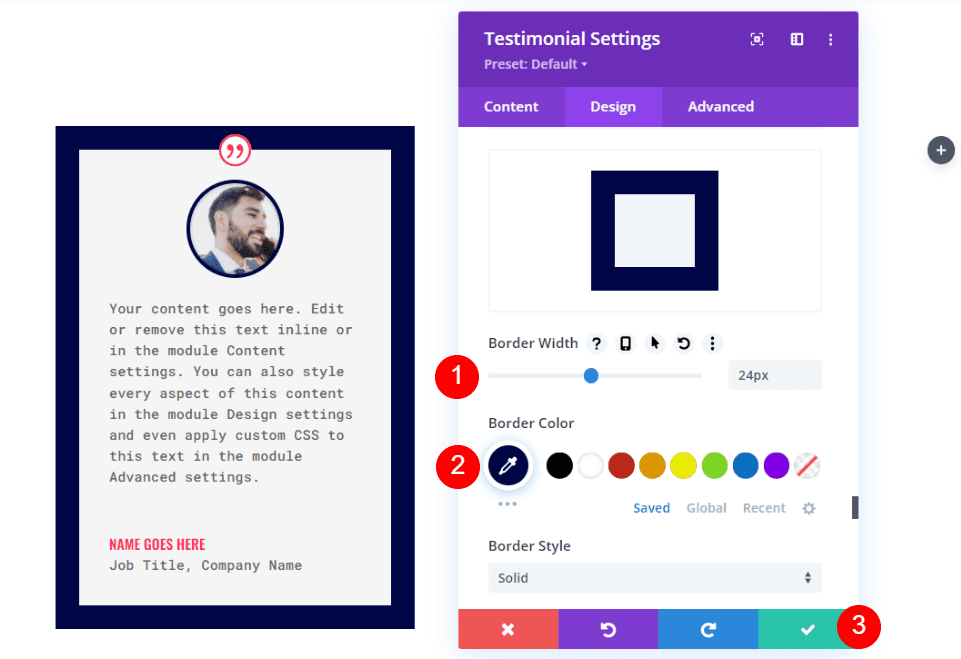
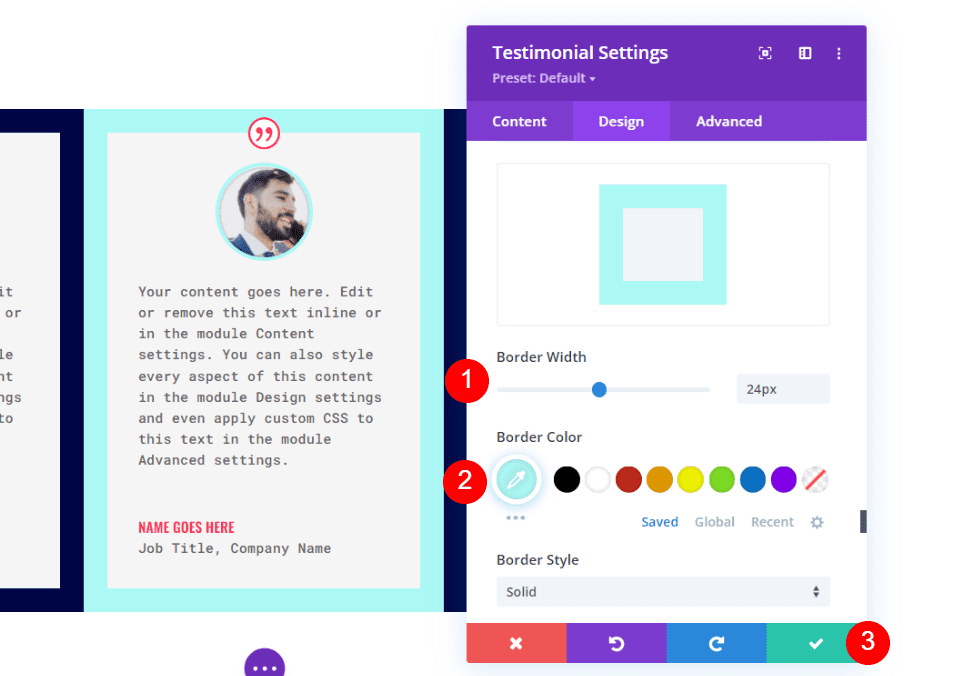
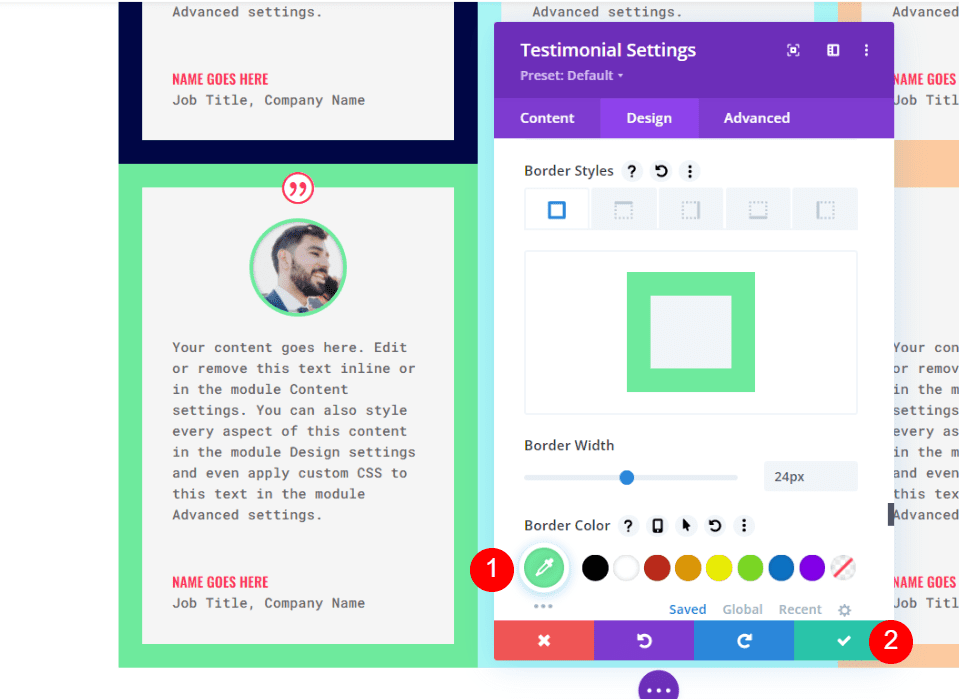
Border
Finally, scroll down to Border. Change the Width to 24px and the Border Color to #000645 to match the Image Border. Close the module’s settings. The border color will also change for each module.
- Width: 24px
- Color: #000645
Duplicate the Testimonial Module
Next, duplicate the module twice and drag the two cloned modules to the other columns in the row.
Style the Second Testimonial Module
Open the settings for the second testimonial module and change the content.
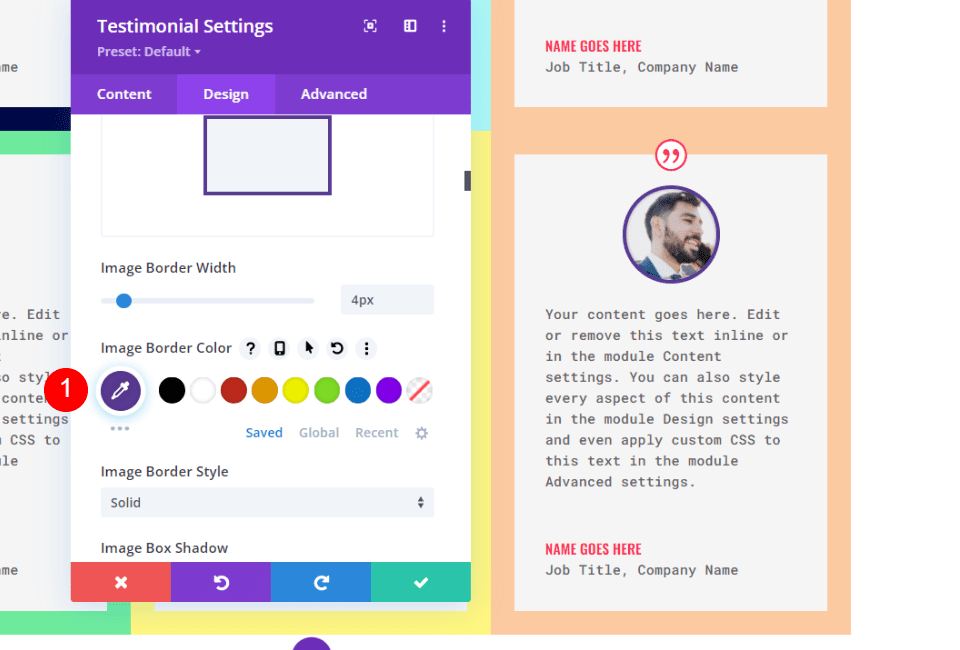
Image
Next, select the design tab and scroll down to Image. Change the Border Color to #acf8f5.
- Image Border Color: #acf8f5
Border
Finally, scroll down to Border. Change the Border Color to #acf8f5 to match the Image Border. Close the module’s settings. Close the module’s settings.
- Color: #acf8f5
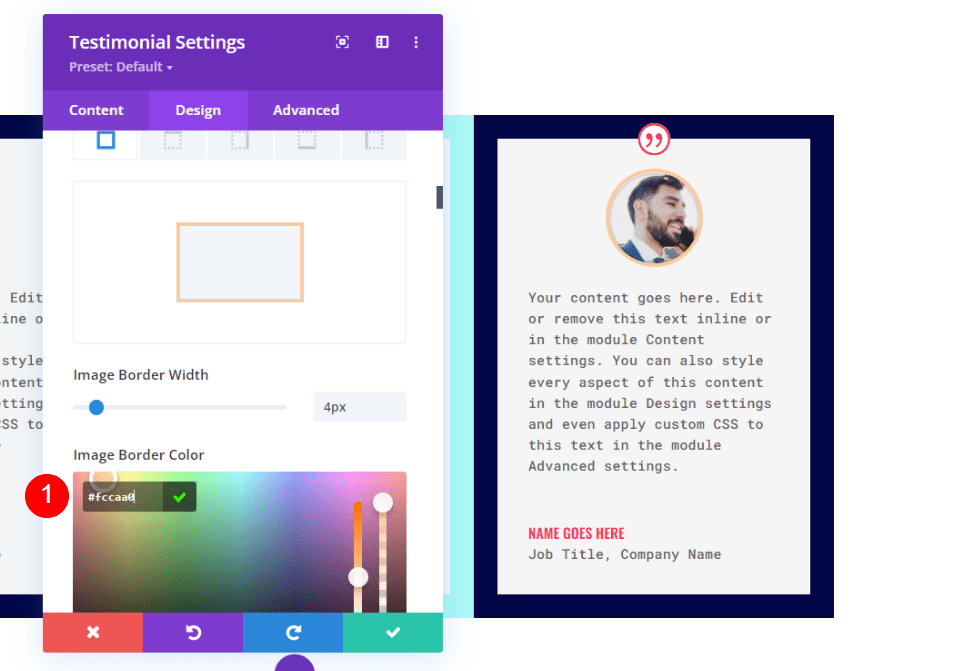
Style the Third Testimonial Module
Open the settings for the third testimonial module and change the content.
Image
Next, go to the design tab, scroll down to Image and change the Border Color to #fccaa0.
- Image Border Color: #fccaa0
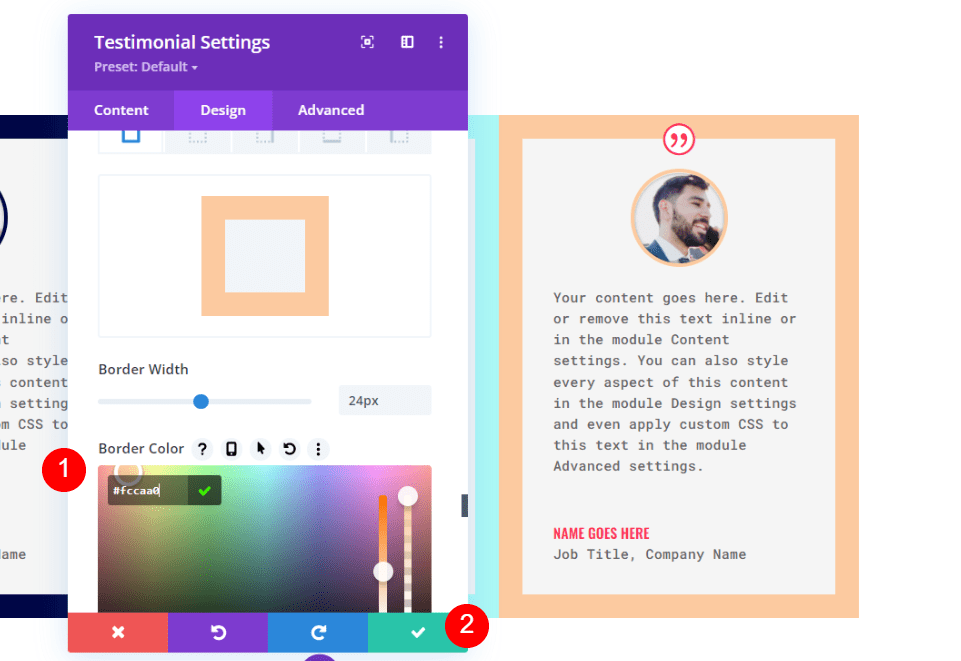
Border
Finally, scroll down to Border and the Border Color to #fccaa0 to match the Image Border. Close the module’s settings.
- Color: #fccaa0
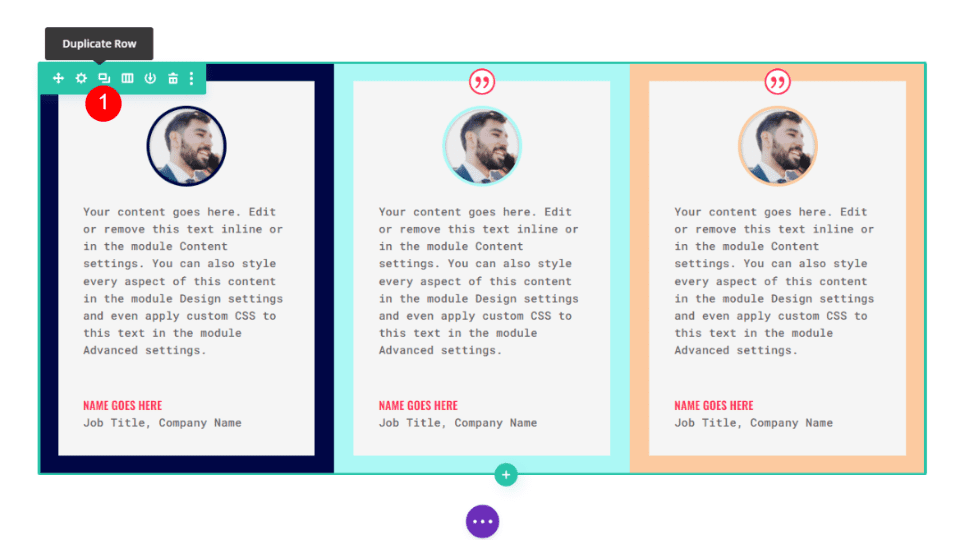
Duplicate the Row
Next, duplicate the row by clicking the duplicate option that appears when you hover over the row. Since we’ve added 0px to the Top and Bottom Padding, this new row automatically touches the row above it. We’ll open each module in the second section to change its content and colors.
Style the Fourth Testimonial Module
Open the settings for the second testimonial module and change the content.
Image
Next, scroll down to Image and change the Border Color to #6eea9d.
- Image Border Color: #6eea9d
Border
Finally, scroll down to Border and change the Border Color to #6eea9d to match the Image Border. Close the module’s settings.
- Color: #6eea9d
Style the Fifth Testimonial Module
Open the settings for the fifth testimonial module and add its content.
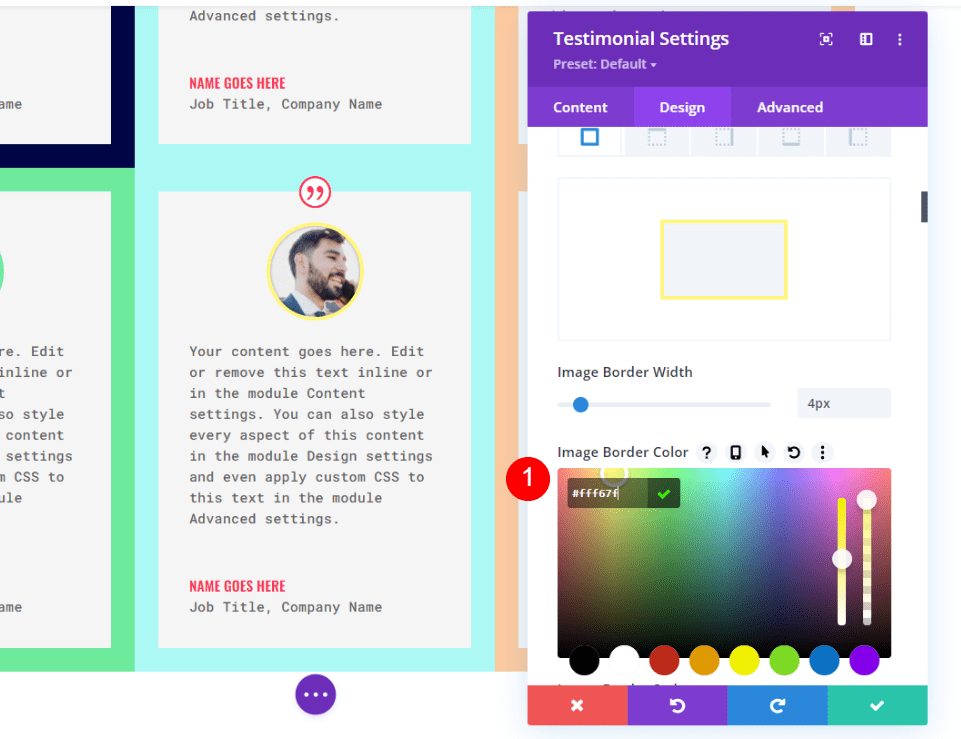
Image
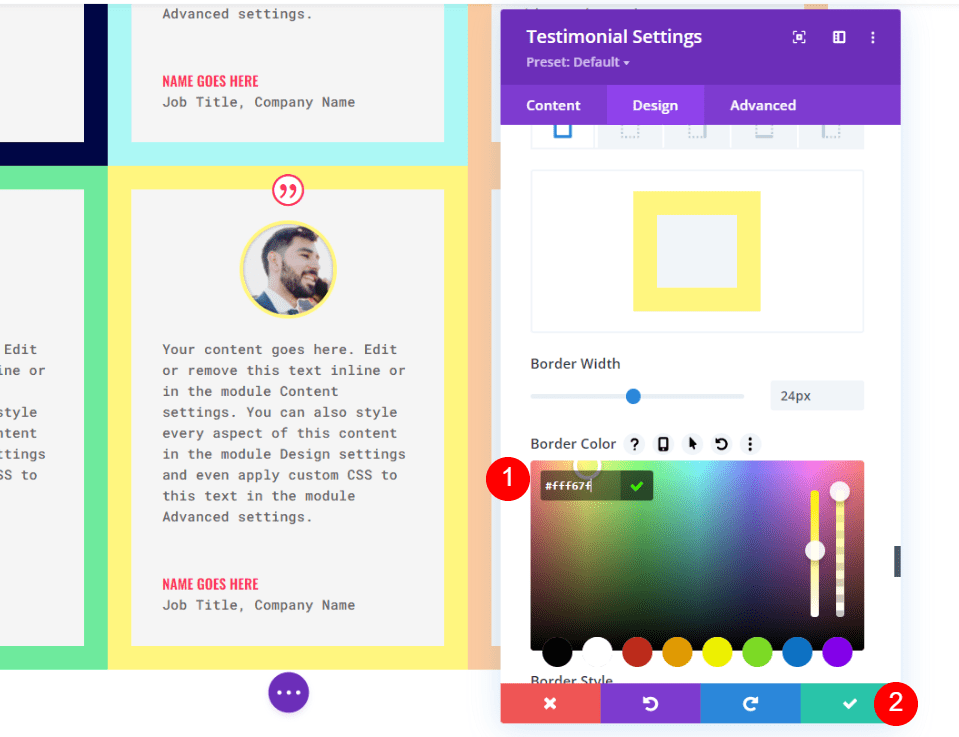
Next, scroll down to Image and change the Border Color to #fff67f.
- Image Border Color: #fff67f
Border
Finally, scroll down to Border and the Border Color to #fccaa0 to match the Image Border. Close the module’s settings.
- Color: #fff67f
Style the Sixth Testimonial Module
Finally, open the settings for the sixth testimonial module and replace the testimonial content.
Image
Next, scroll down to Image and change the Border Color to #593a94.
- Image Border Color: #593a94
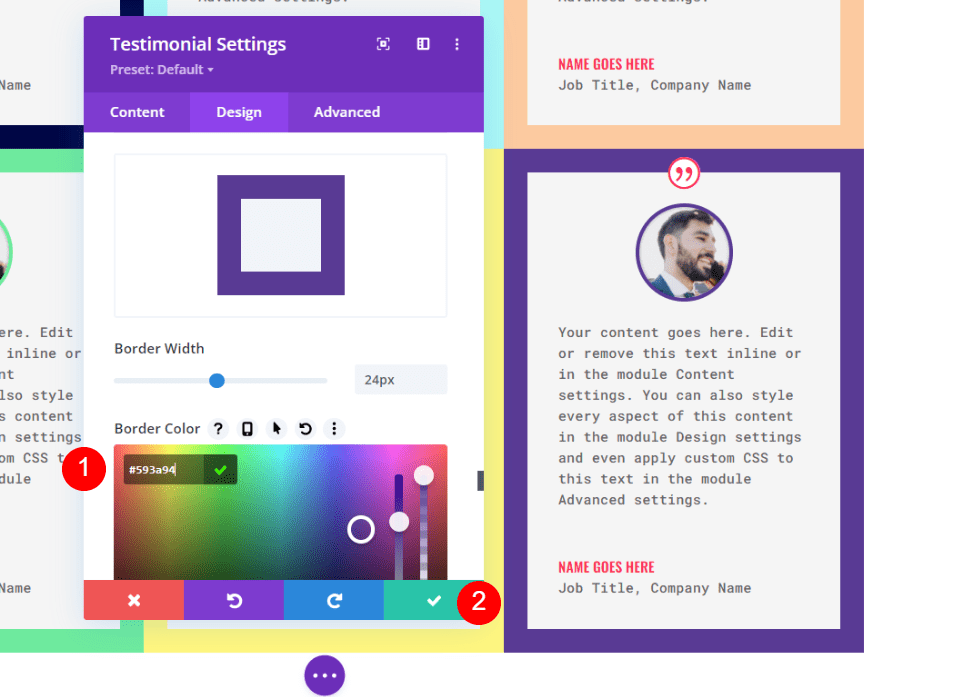
Border
Finally, scroll down to Border and the Border Color to #593a94 to match the Image Border. Close the module’s settings.
- Color: #593a94
Alternate Testimonial Layout
The testimonial grid we’ve made works great if the testimonials are about the same size. What if you have a few small and a few large testimonials? For this, a grid with different sizes for the columns is ideal. We can place the testimonials with the most information in the larger columns.
For this example. we’ll create new columns with the same spacing settings, and use the same testimonials as before, but with varying amounts of text.
Create the Alternate Rows
First, add a 2-column row that has a 1/3 column on the left and a 2/3 column on the right.
Next, open the row’s settings, go to the design tab, scroll down to Sizing, and select Use Custom Gutter Width. Change the Gutter Width to 1.
- Use Custom Gutter Width: Yes
- Gutter Width: 1
Next, scroll to Spacing. Enter 0px for the Top and Bottom Padding. Close the row’s settings.
- Padding: 0px Top, Bottom
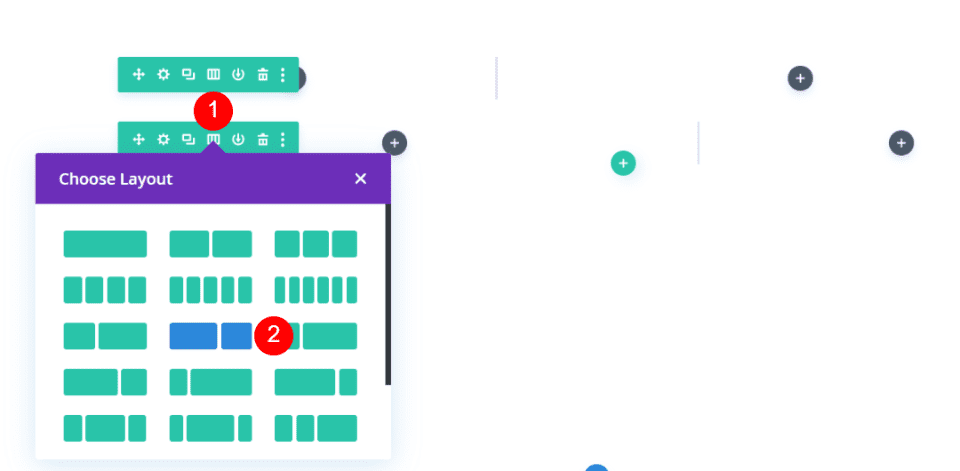
Next, duplicate the row.

Select the second row’s layout options and choose the layout with 2/3 on the left and 1/3 on the right.
Add Four Testimonial Modules
Finally, create or drag your testimonial modules to the rows. I’m using the same modules as in the previous example, but I’ve changed the body content to create different sizes.
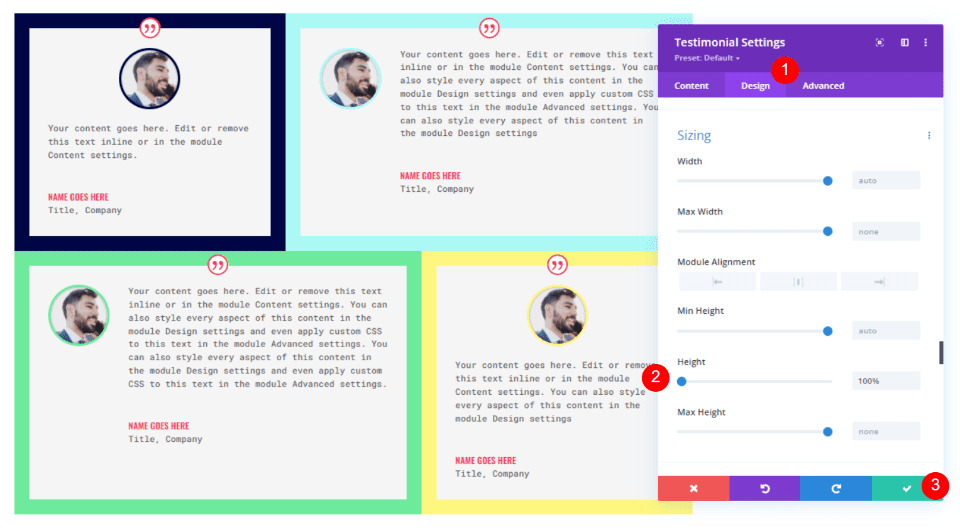
The modules fit the width of their columns as they did in the previous example, but each is different heights because of their body content. This creates awkward spacing within the grid. Fortunately, this is easy to fix. This also works for the regular grid if your testimonial content is of different sizes.
Open the settings for the first module and go to the design tab. Scroll down to Sizing and enter 100% for Height. Repeat this for each module.
- Height: 100%
Results
Testimonial Grid Layout Results
Here’s a look at our grid layout. This works great if the testimonials are the same size.
Alternate Testimonial Layout Results
Here’s the alternate layout. It’s ideal for content in multiple sizes.
Ending Thoughts
That’s our look at how to create a testimonial grid layout with Divi’s testimonial module. Divi’s row and module settings work great together to create a grid of multiple rows and column counts. The examples we’ve shown here can easily be expanded upon to create even larger grids. The concepts also work with other types of Divi modules.
We want to hear from you. Have you created a testimonial grid using the method we’ve discussed here? Let us know about your experience in the comments.


Leave A Reply