
When creating any kind of website, chances are high you’ll want to occasionally blog on that website too. Besides needing a blog page that features all your blog posts in a list form, you’ll want to have a blog post template that you can automatically assign to the new blog posts you create. Designing a blog post template with Divi’s Theme Builder is incredibly easy. And now, with Divi and its new sticky options, you’re able to turn your sidebar sticky right off the bat as well! In today’s tutorial, we’ll show you exactly how to do that and you’ll be able to download the blog post template’s JSON file for free as well!
Let’s get to it.
- 1 Preview
- 2 Download The Sticky Sidebar Blog Post Templates for FREE
- 3 Download For Free
- 4 1. Go to Divi Theme Builder & Add New Template
-
5
2. Start Building the Blog Post Body (Right Sidebar)
- 5.1 Section #1 Settings
- 5.2 Add New Row
- 5.3 Add Text Module to Column 1
- 5.4 Clone Text Module Twice & Place Duplicates in Remaining Columns
- 5.5 Add Section #2
- 5.6 Add New Row
- 5.7 Column 1 Settings
- 5.8 Column 2 Settings
- 5.9 Add Text Module #1 to Column 1
- 5.10 Add Text Module #2 to Column 1
- 5.11 Add Post Content Module to Column 1
- 5.12 Add Code Module to Column 1
- 5.13 Add Sidebar Module to Column 2
- 5.14 Add Email Optin Module to Column 2
- 5.15 Add Section #3
- 5.16 Add New Row
- 5.17 Add Comments Module to Column
- 6 3. Apply Sticky Effect to Sidebar Column
- 7 4. Place Sidebar on the Left Side
- 8 Preview
- 9 Final Thoughts
Preview
Before we dive into the tutorial, let’s take a quick look at the outcome across different screen sizes.
Desktop
Mobile

To lay your hands on the free sticky sidebar blog post templates, you will first need to download them using the button below. To gain access to the download you will need to subscribe to our newsletter by using the form below. As a new subscriber, you will receive even more Divi goodness and a free Divi Layout pack every Monday! If you’re already on the list, simply enter your email address below and click download. You will not be “resubscribed” or receive extra emails.

https://youtu.be/8hTA3ogf3ZQ
Subscribe To Our Youtube Channel
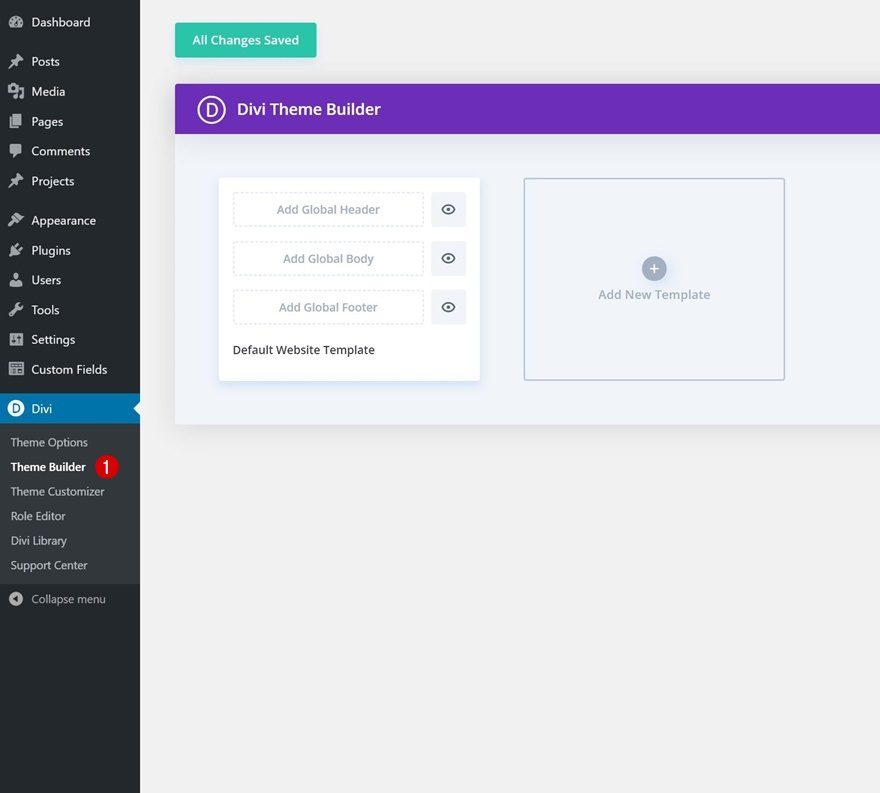
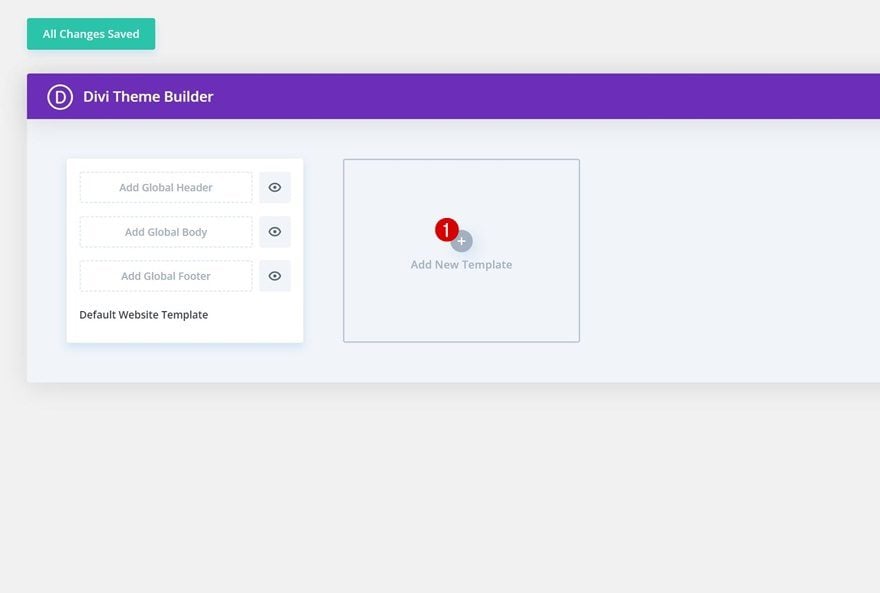
1. Go to Divi Theme Builder & Add New Template
Go to Divi Theme Builder & Add New Template
Start by going to the Divi Theme Builder and adding a new template.
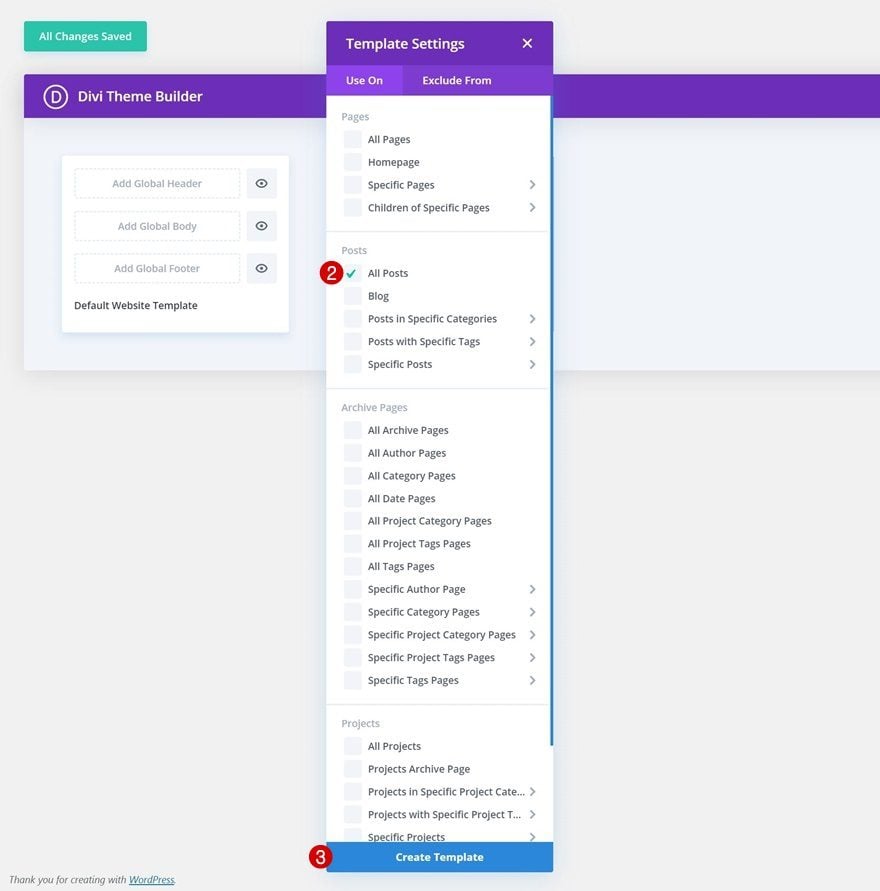
Use Template on All Posts
Use this new template on all posts.
- Use On: All Posts
Start Building Template Body
Then, start building the custom body of your post template.

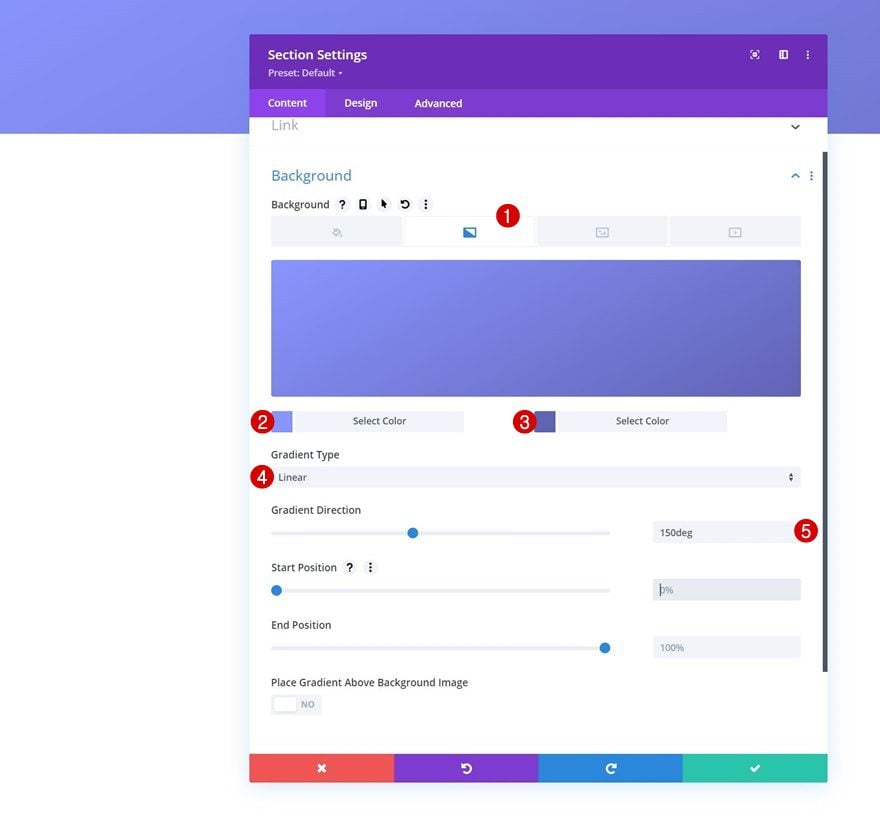
Section #1 Settings
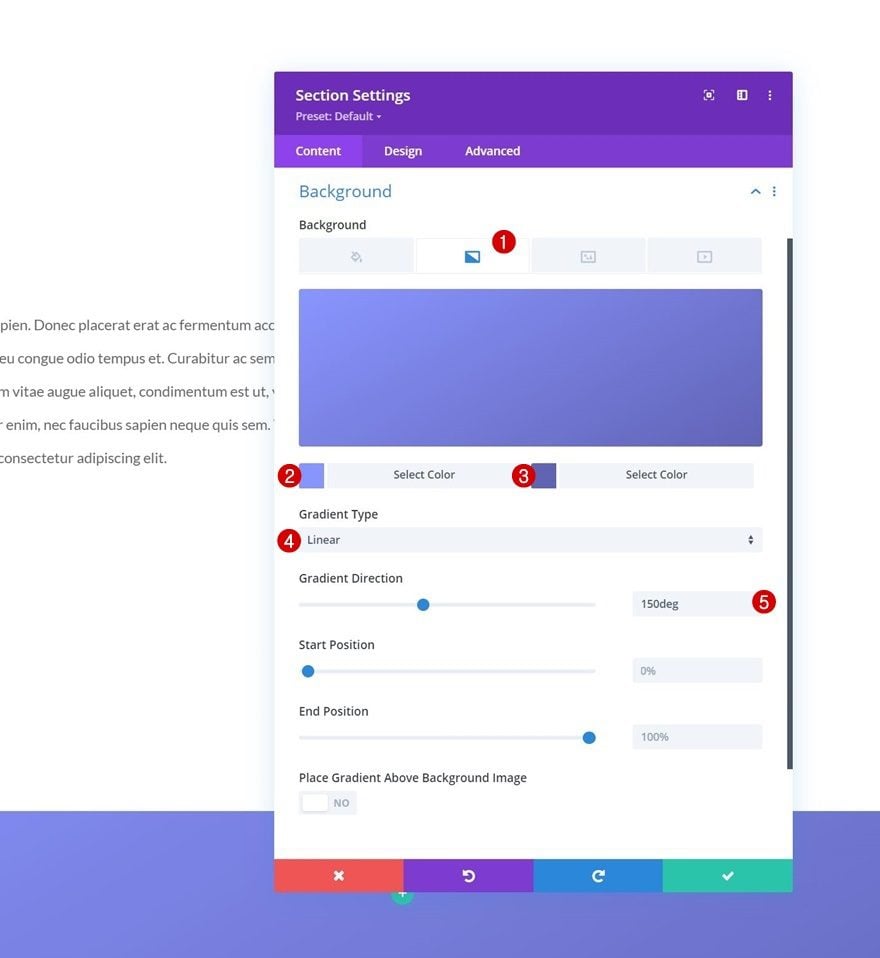
Gradient Background
Once inside the template editor, you can start building the design. Open the section you can notice at the top of the template and apply a gradient background.
- Color 1: #8995ff
- Color 2: #6163b5
- Gradient Direction: 150deg
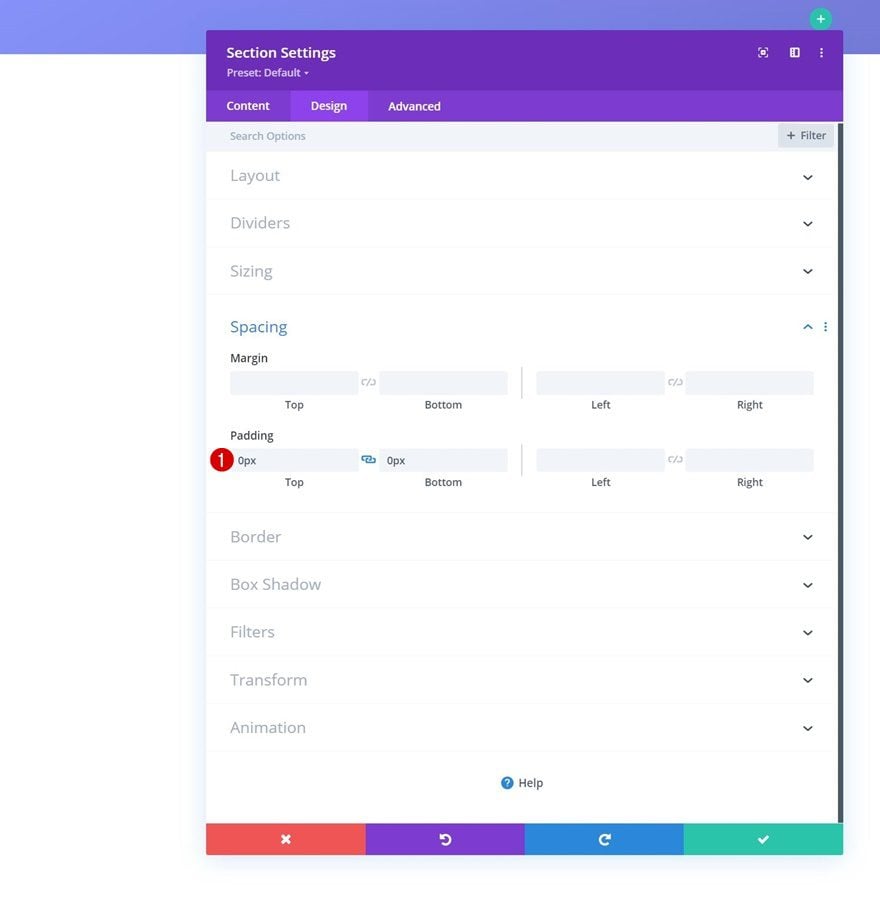
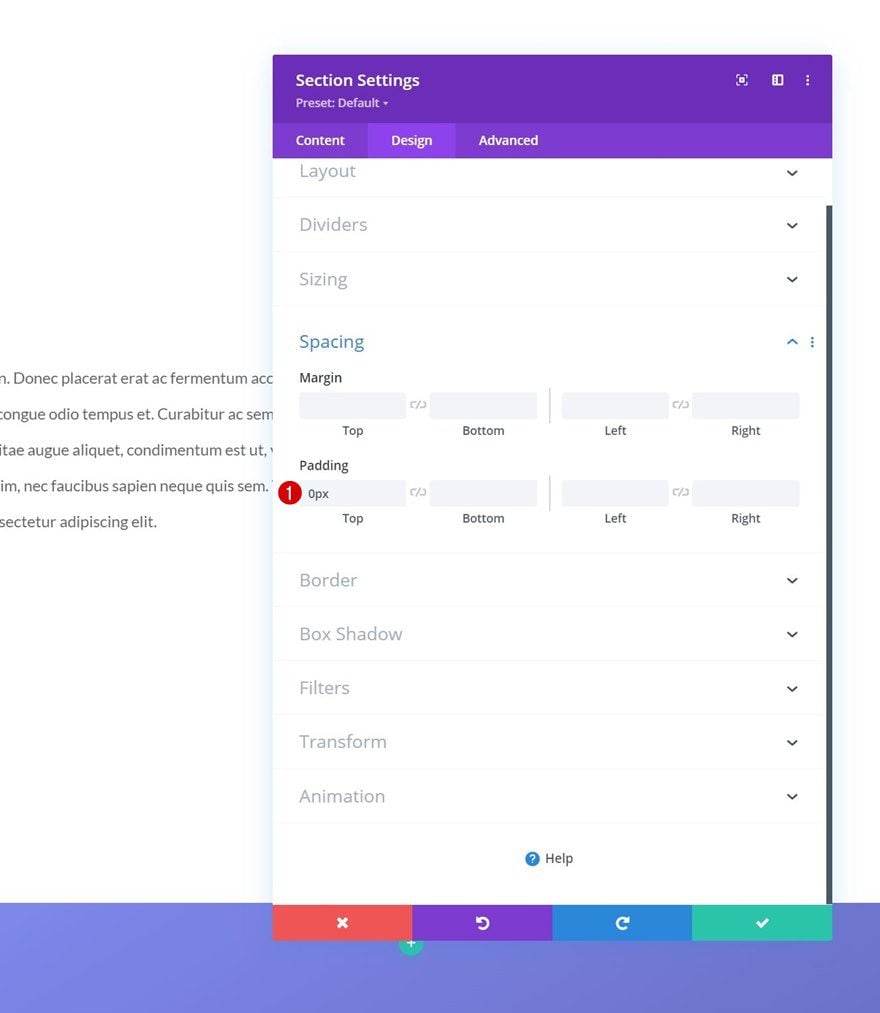
Spacing
Move on to the section’s design tab and remove all default top and bottom padding.
- Top Padding: 0px
- Bottom Padding: 0px
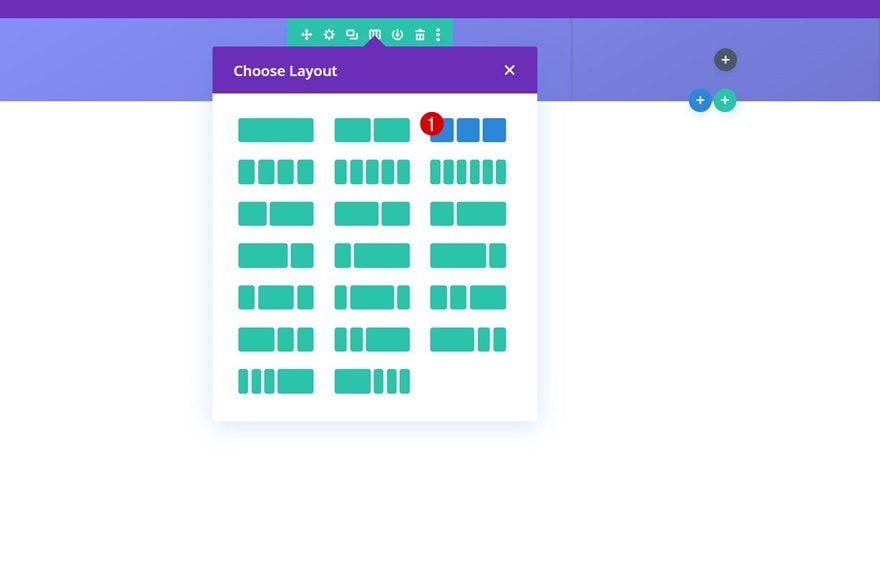
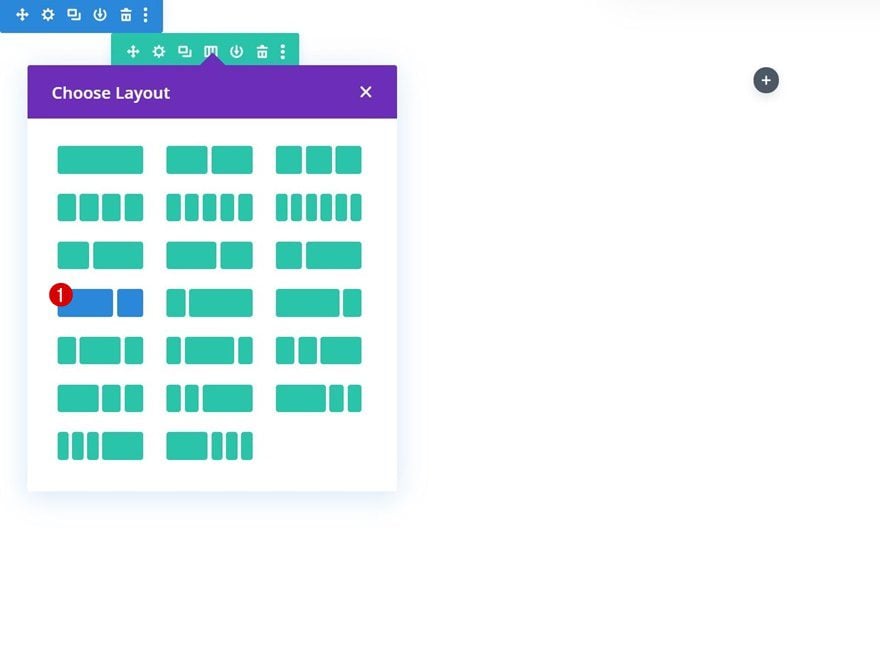
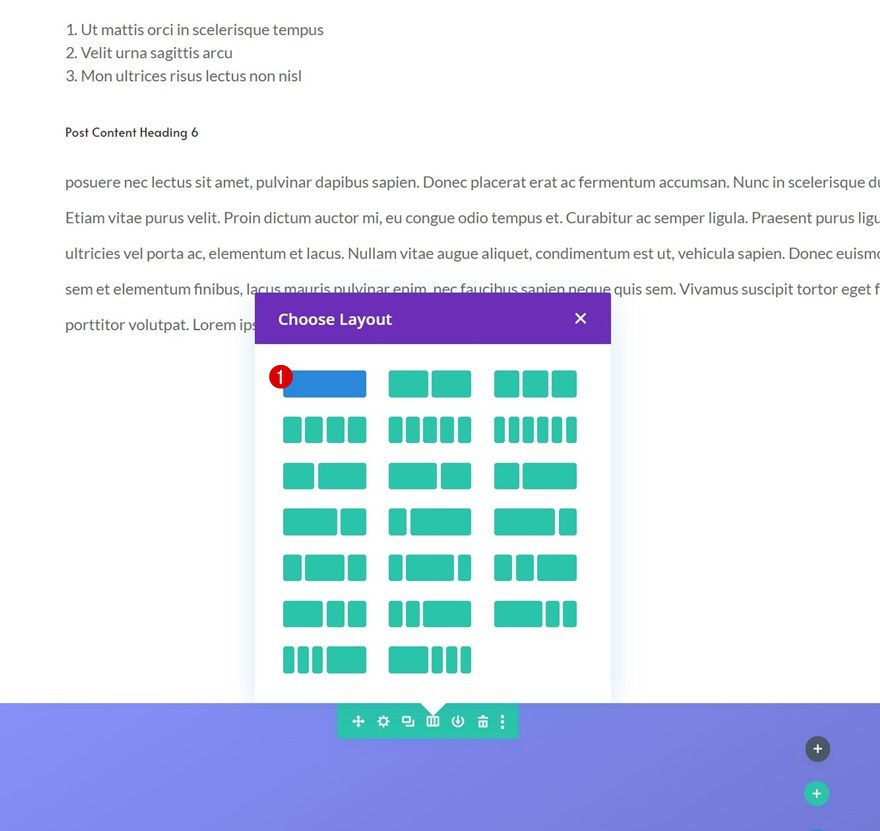
Add New Row
Column Structure
Continue by adding a new row using the following column structure:
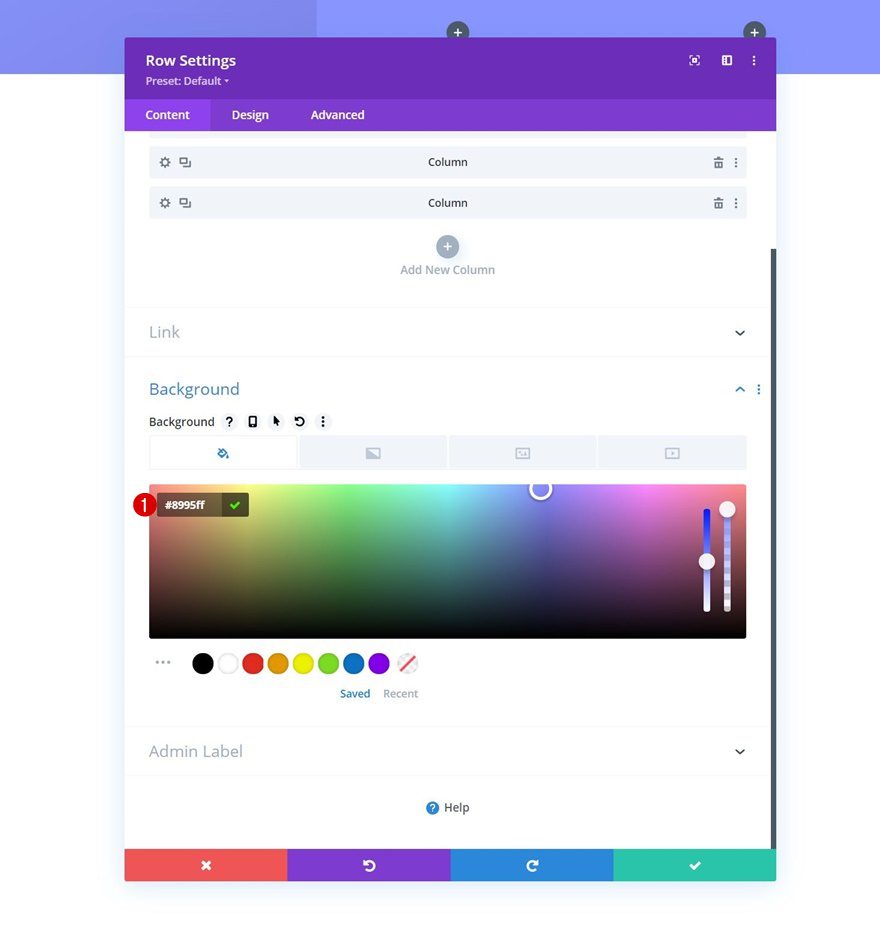
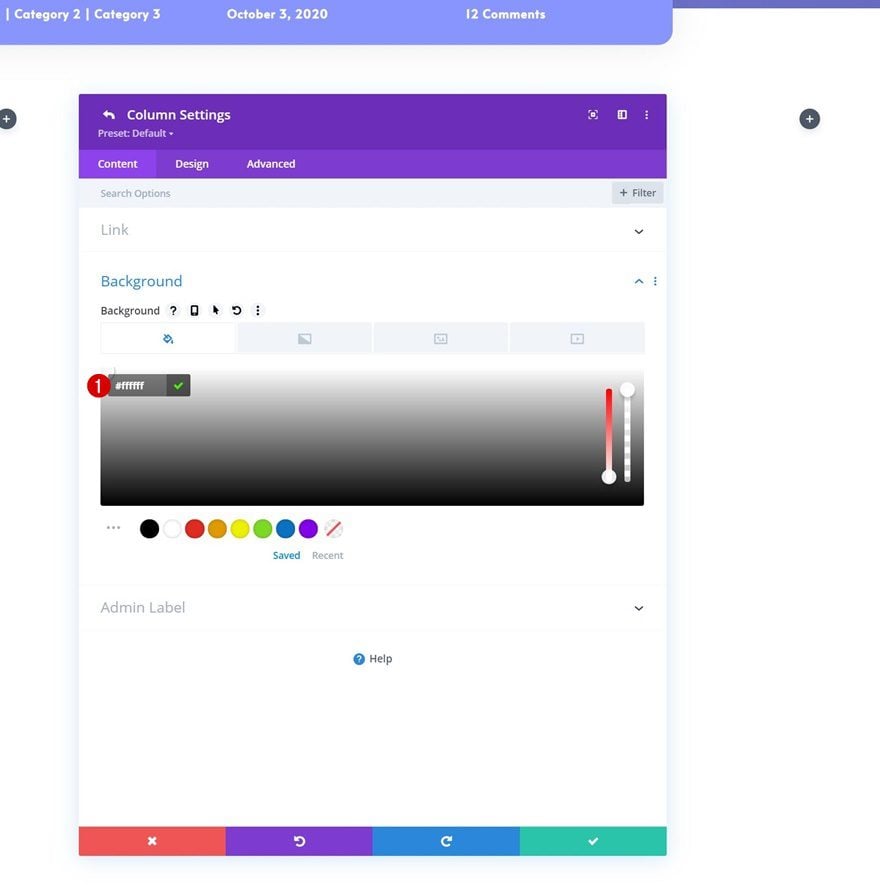
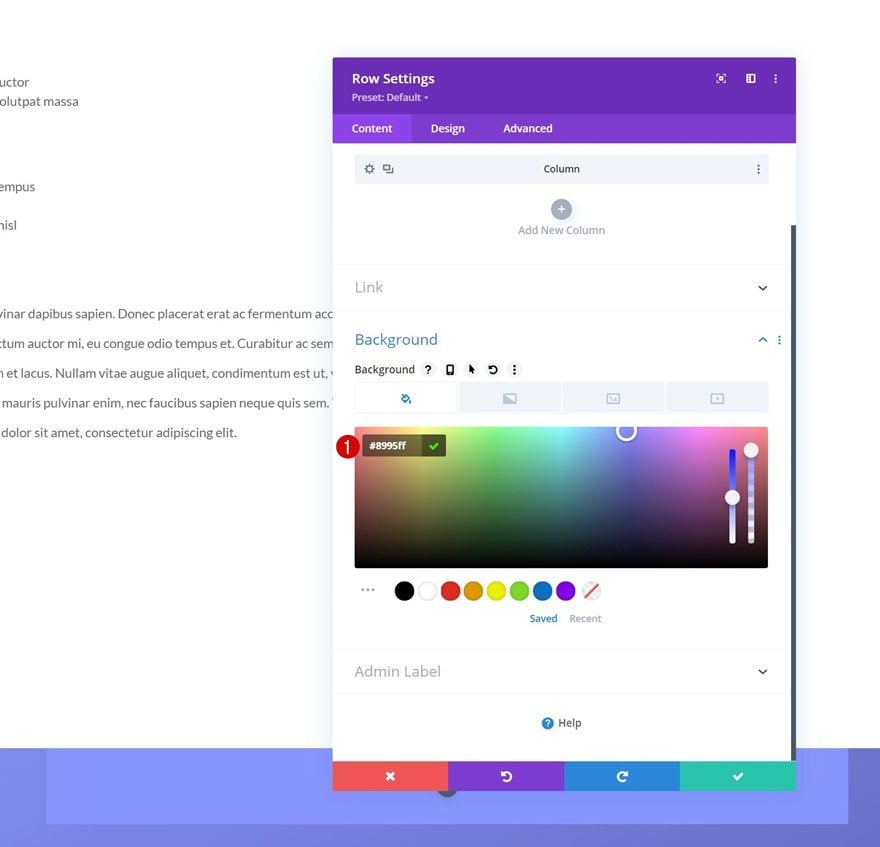
Background Color
Without adding any modules yet, open the row settings and apply a background color.
- Background Color: #8995ff
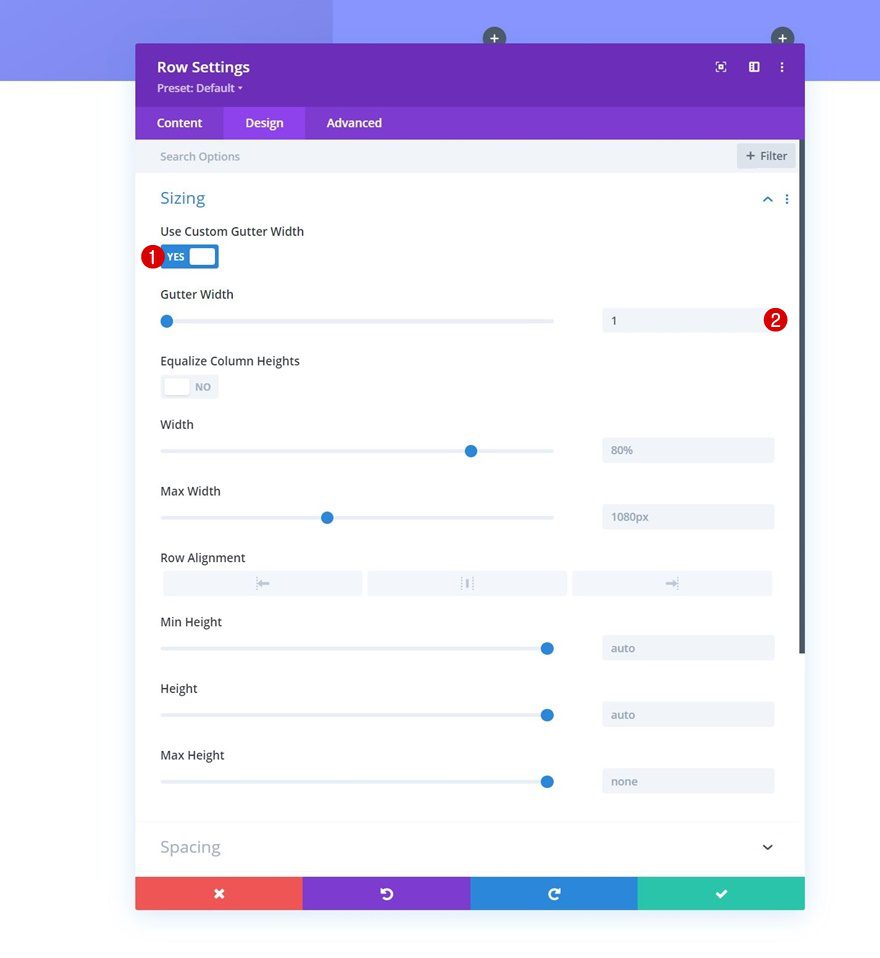
Sizing
Move on to the row’s design tab and modify the sizing settings accordingly:
- Use Custom Gutter Width: Yes
- Gutter Width: 1
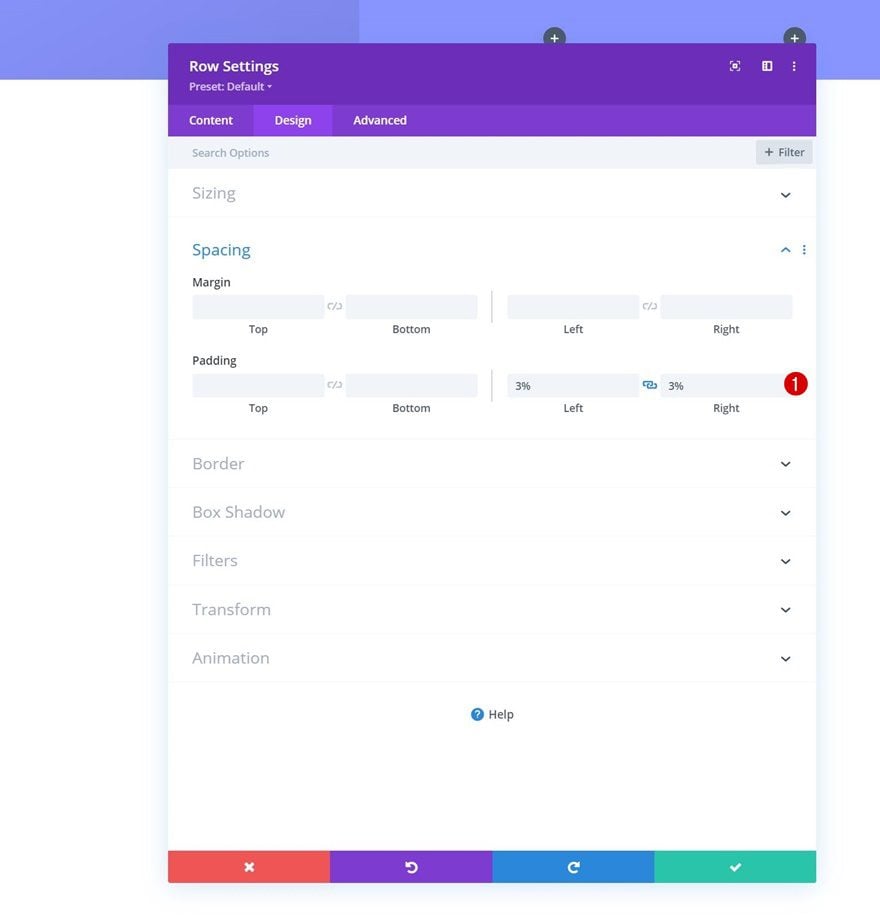
Spacing
Add some left and right padding next.
- Left Padding: 3%
- Right Padding: 3%
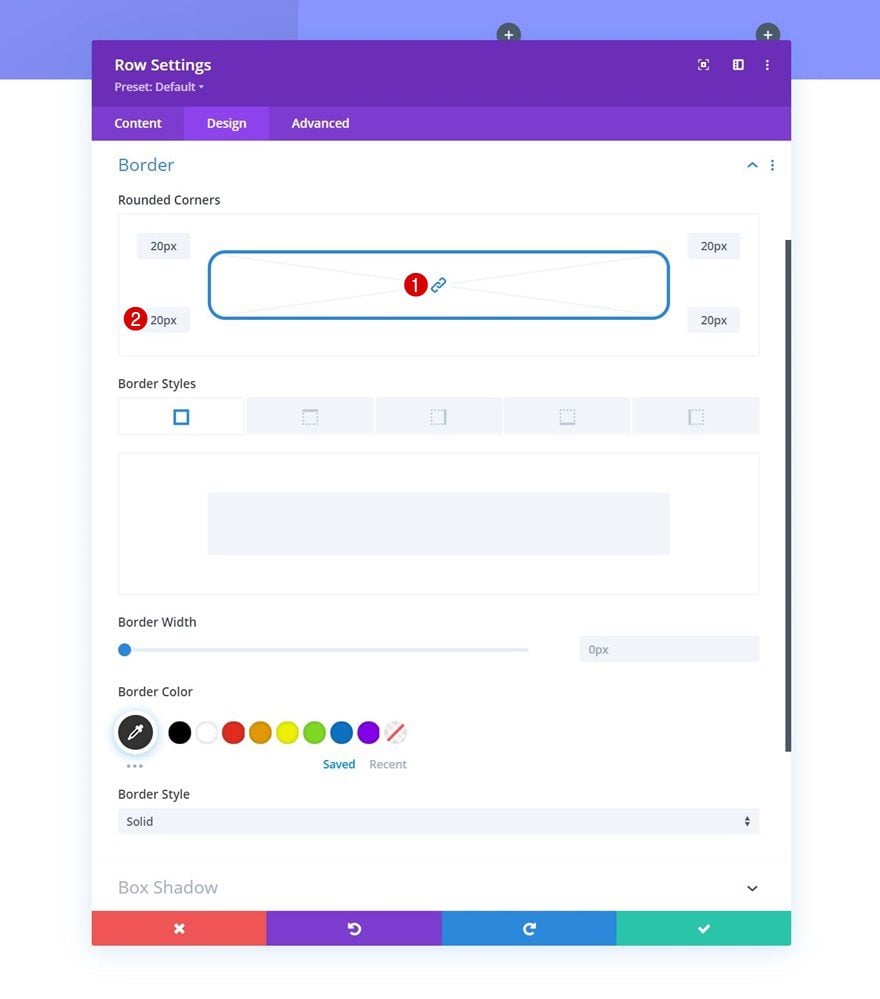
Border
Then, include some rounded corners in the border settings.
- All Corners: 20px
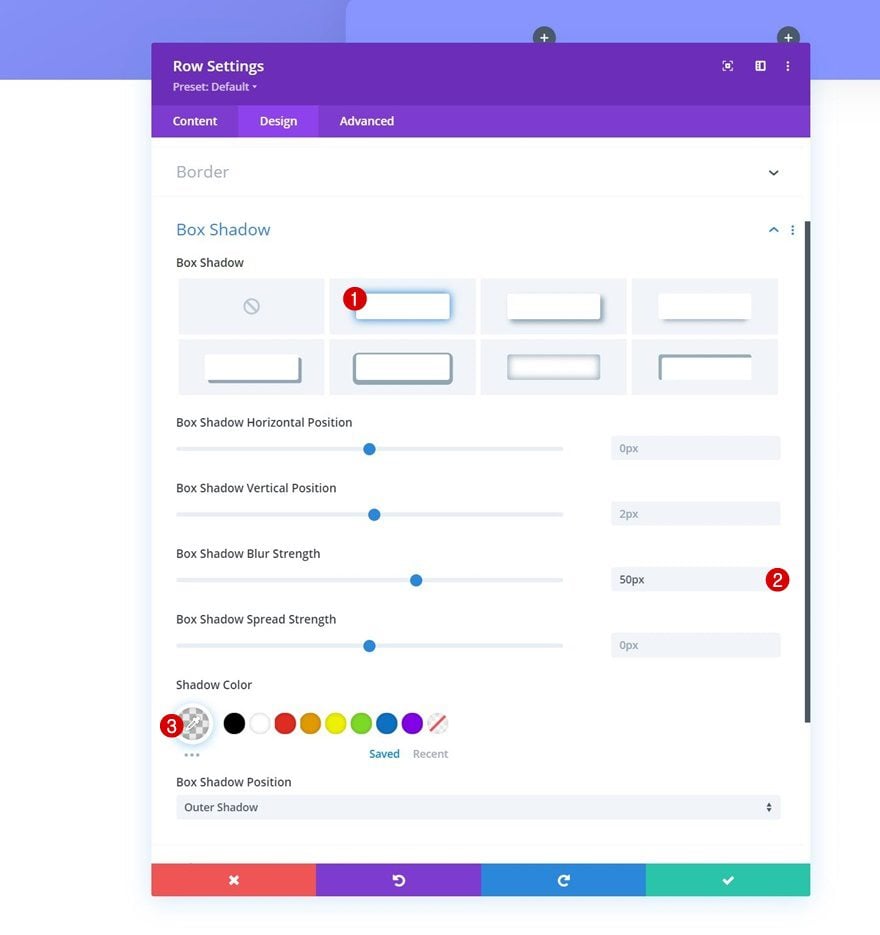
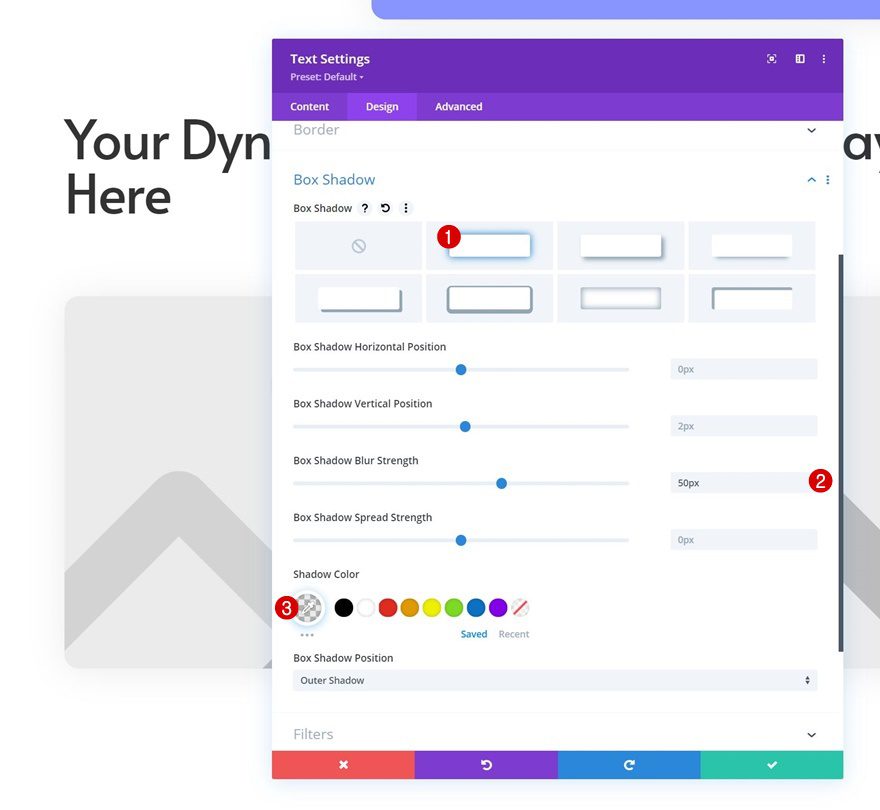
Box Shadow
Apply a box shadow too.
- Box Shadow Blur Strength: 50px
- Shadow Color: rgba(0,0,0,0.08)
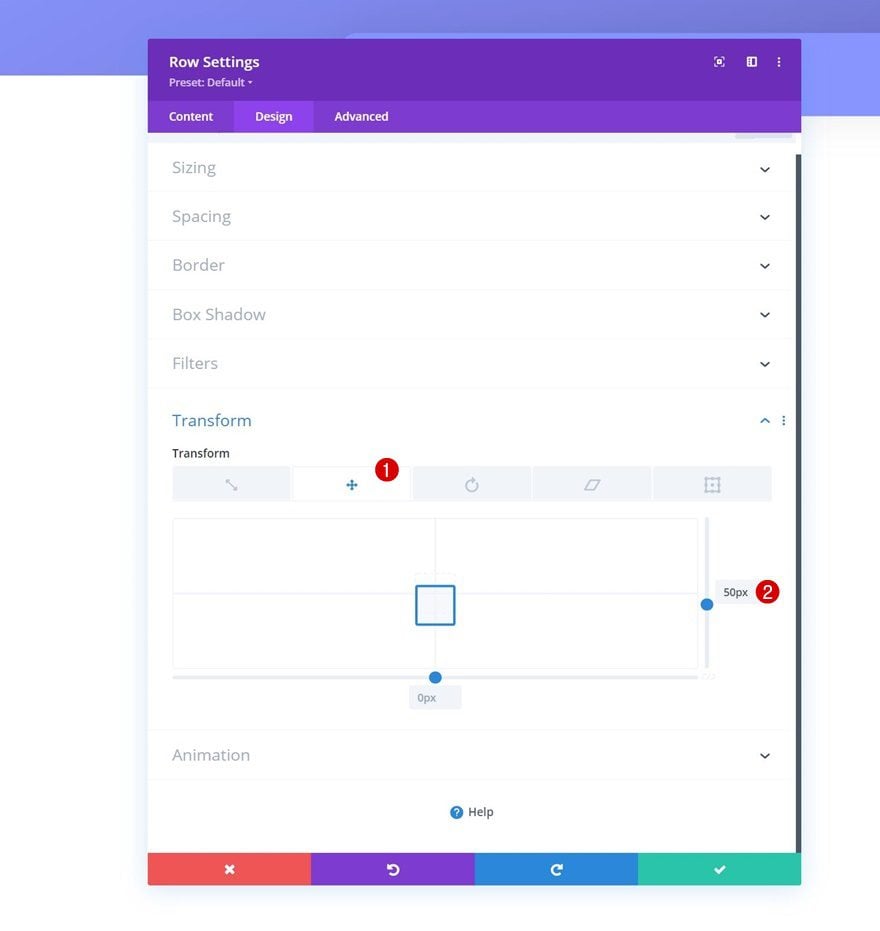
Transform Translate
And complete the row settings by modifying the transform translate settings accordingly:
- Right: 50px
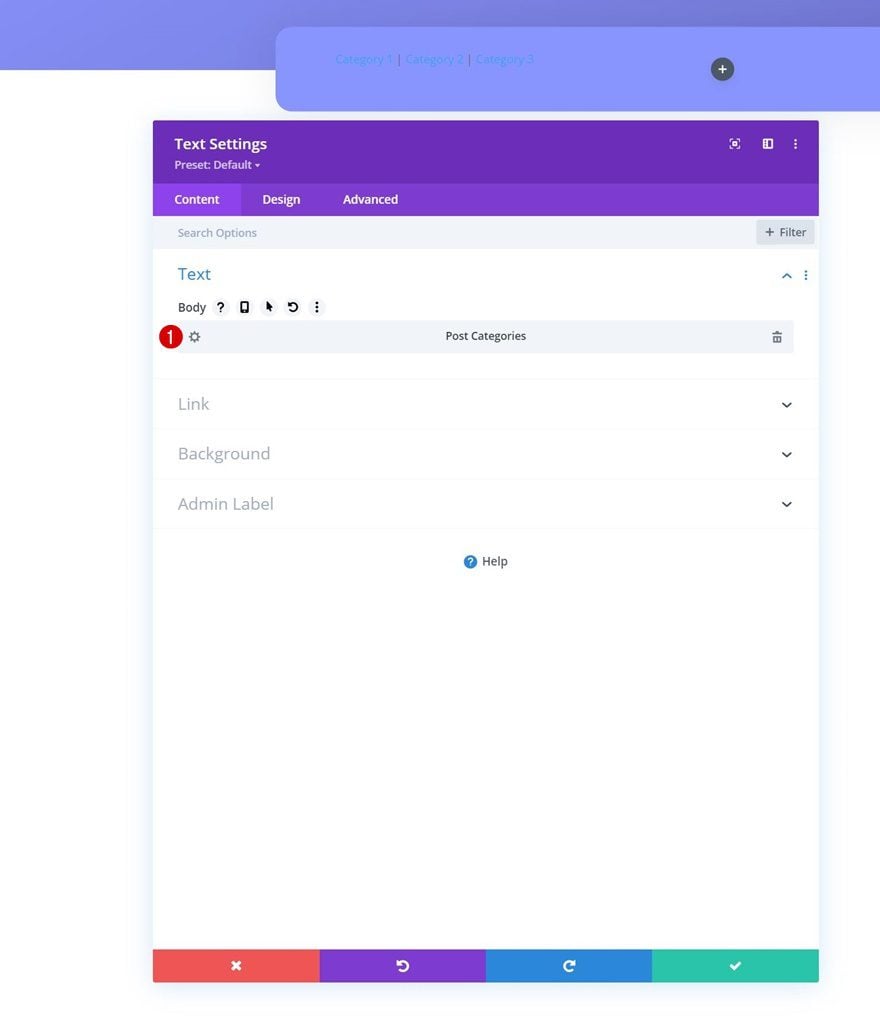
Add Text Module to Column 1
Dynamic Content
Add a first Text Module to column 1 and select the following dynamic content:
- Dynamic Content: Post Categories
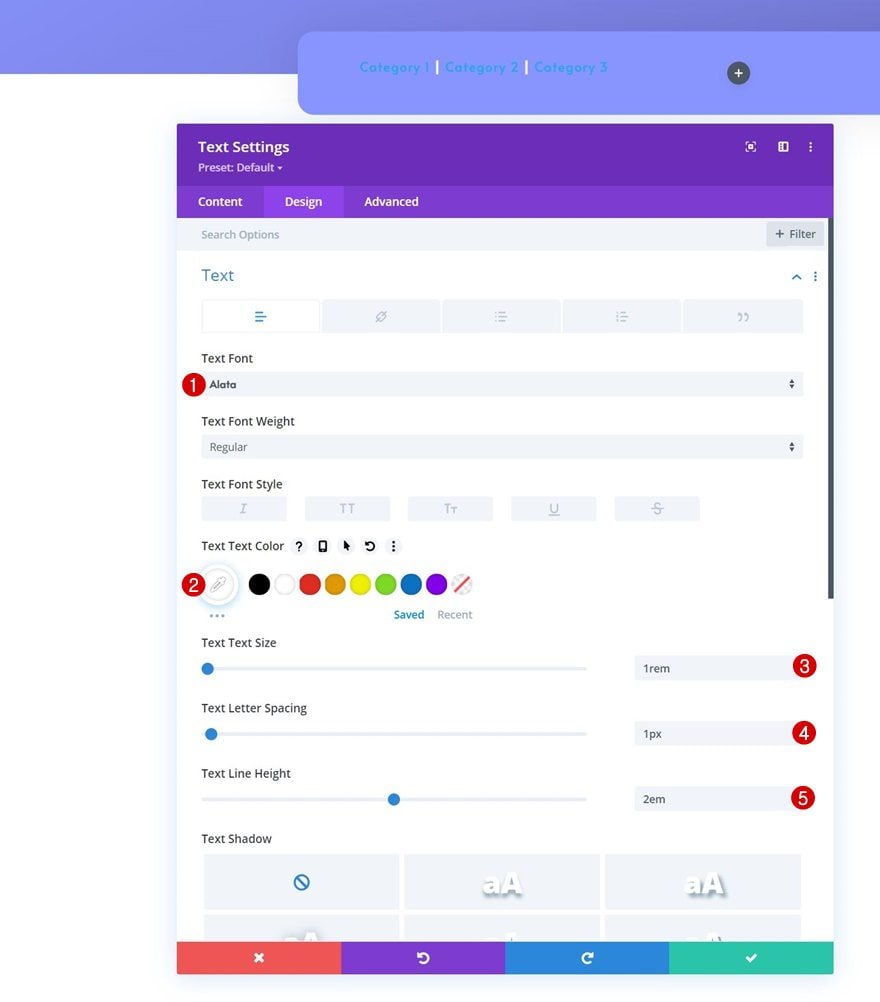
Text Settings
Move on to the module’s design tab and style the text accordingly:
- Text Font: Alata
- Text Color: #ffffff
- Text Size: 1rem
- Text Letter Spacing: 1px
- Text Line Height: 2em
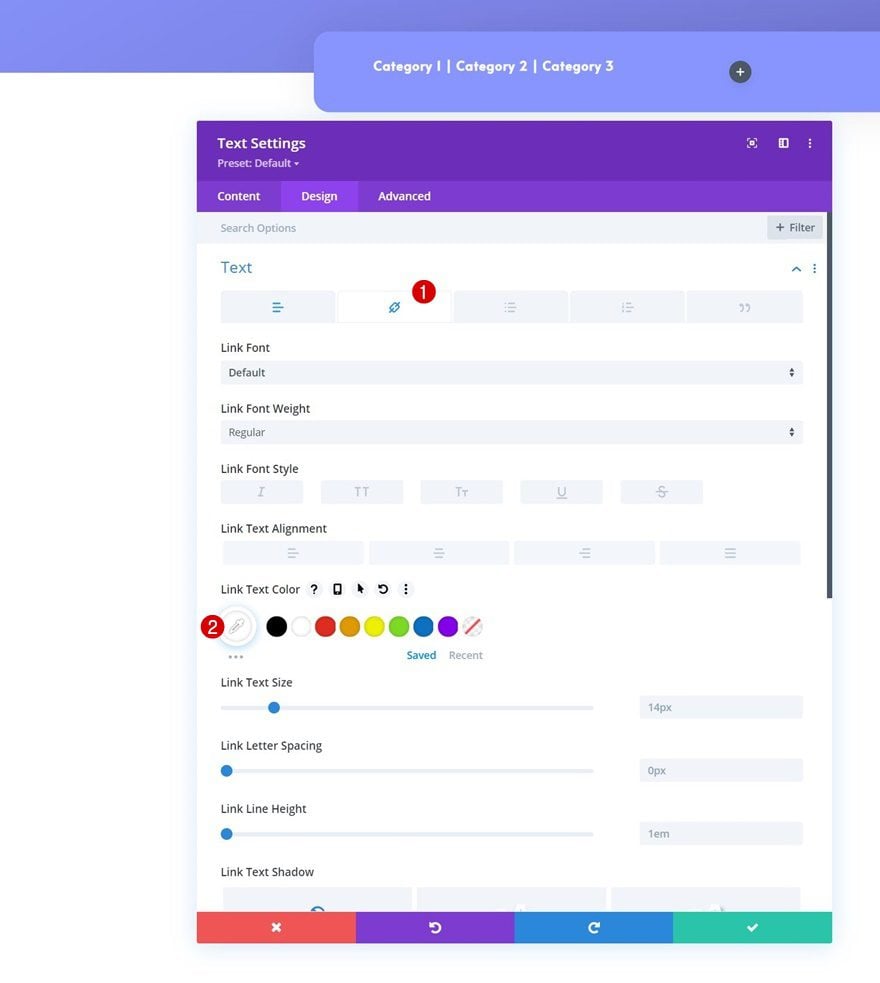
Link Text Settings
Change the link text color too.
- Link Text Color: #ffffff
Clone Text Module Twice & Place Duplicates in Remaining Columns
Once you’ve completed the first Text Module, you can clone the entire module twice and place the duplicates in the two remaining columns of the row.

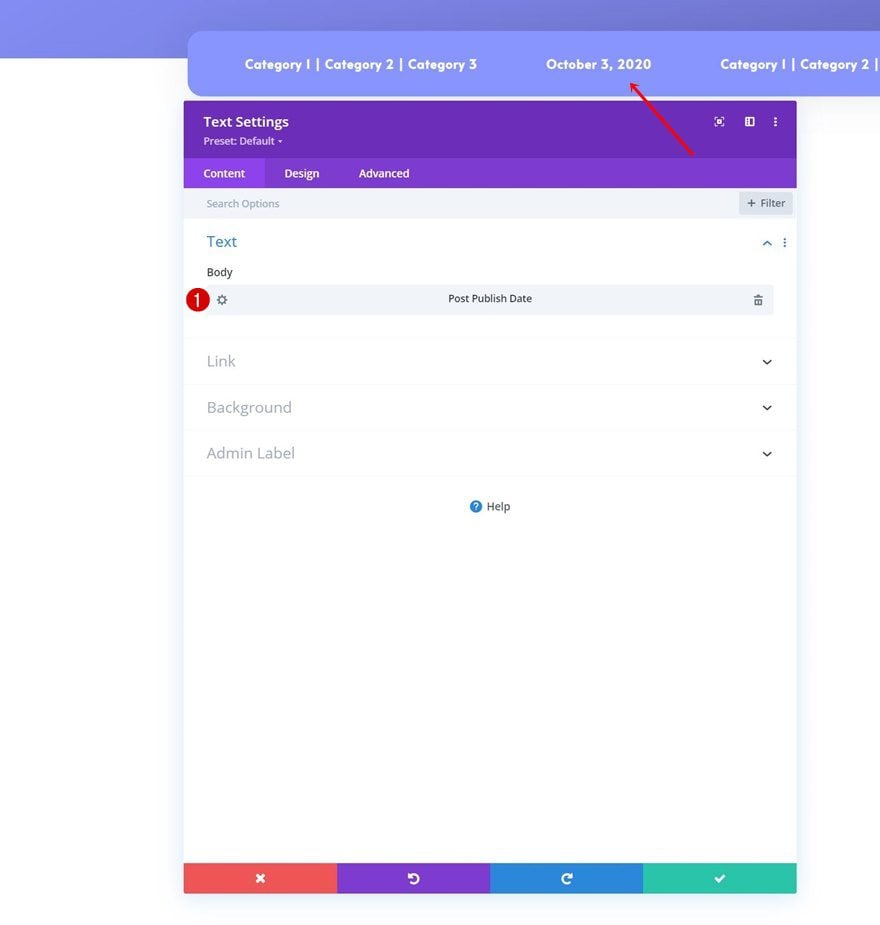
Change Dynamic Content
Change the dynamic content for each one of the duplicates.
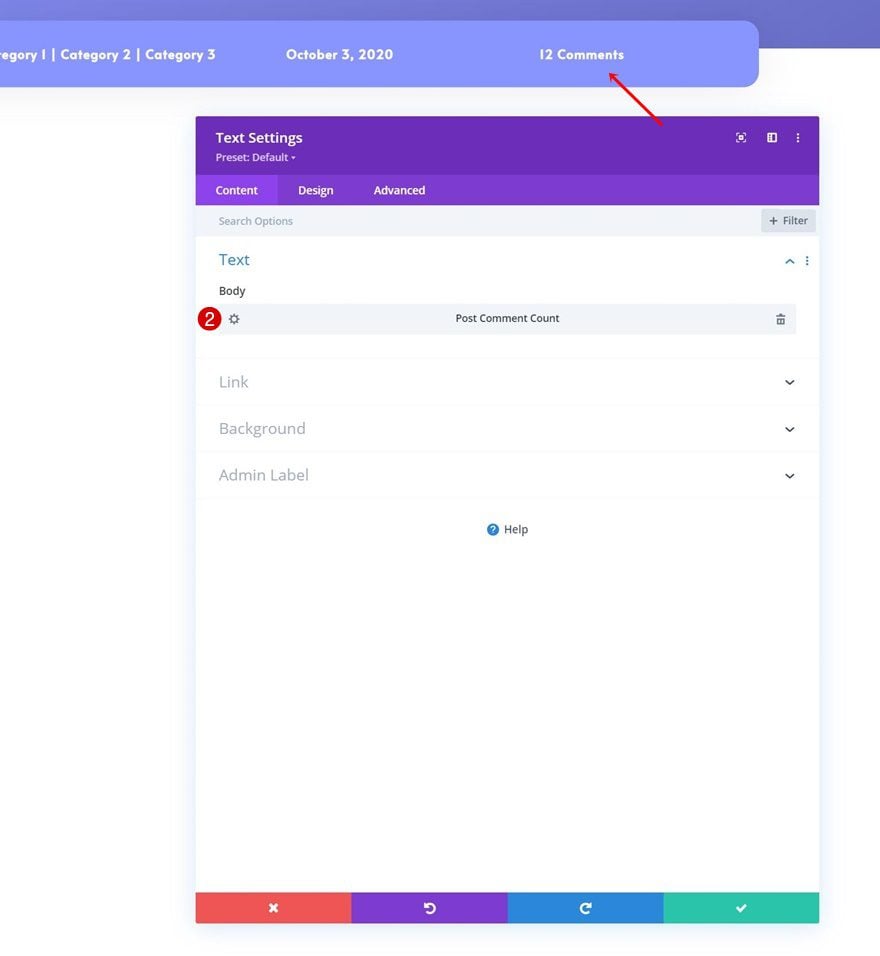
- First Duplicate: Post Publish Date
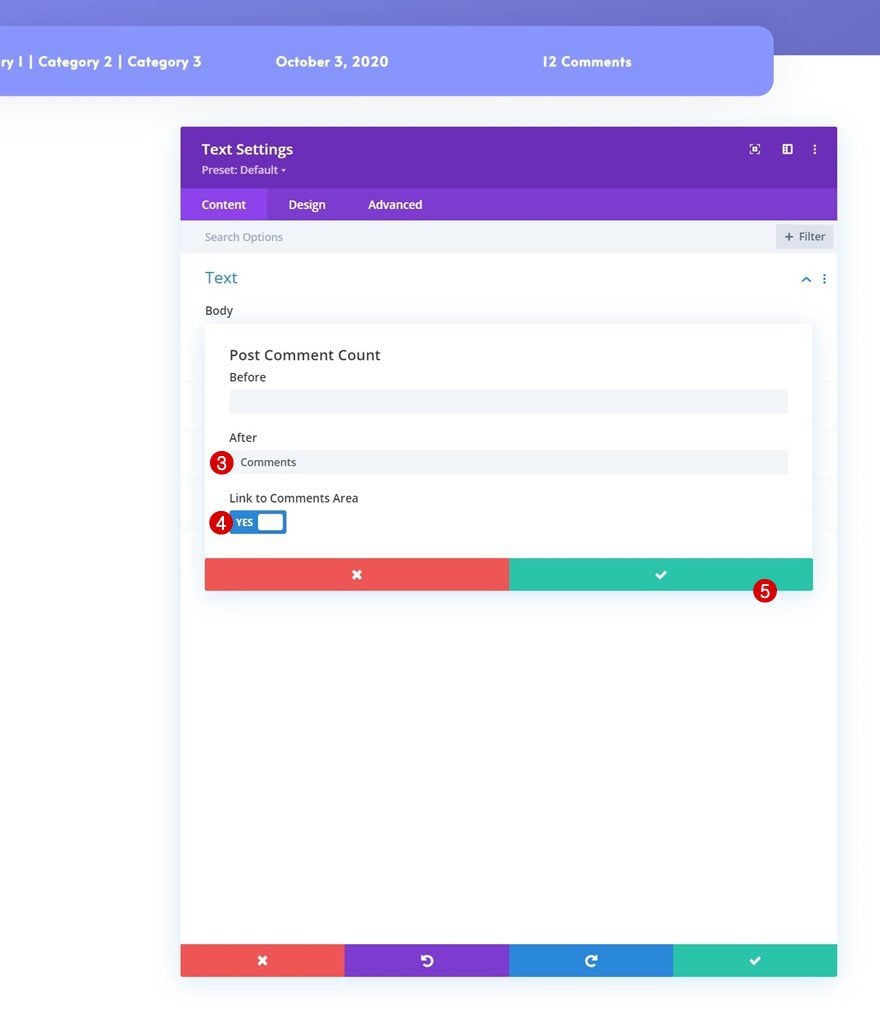
- Second Duplicate: Post Comment Count
- After: Comments
- Link to Comments Area: Yes
Add Section #2
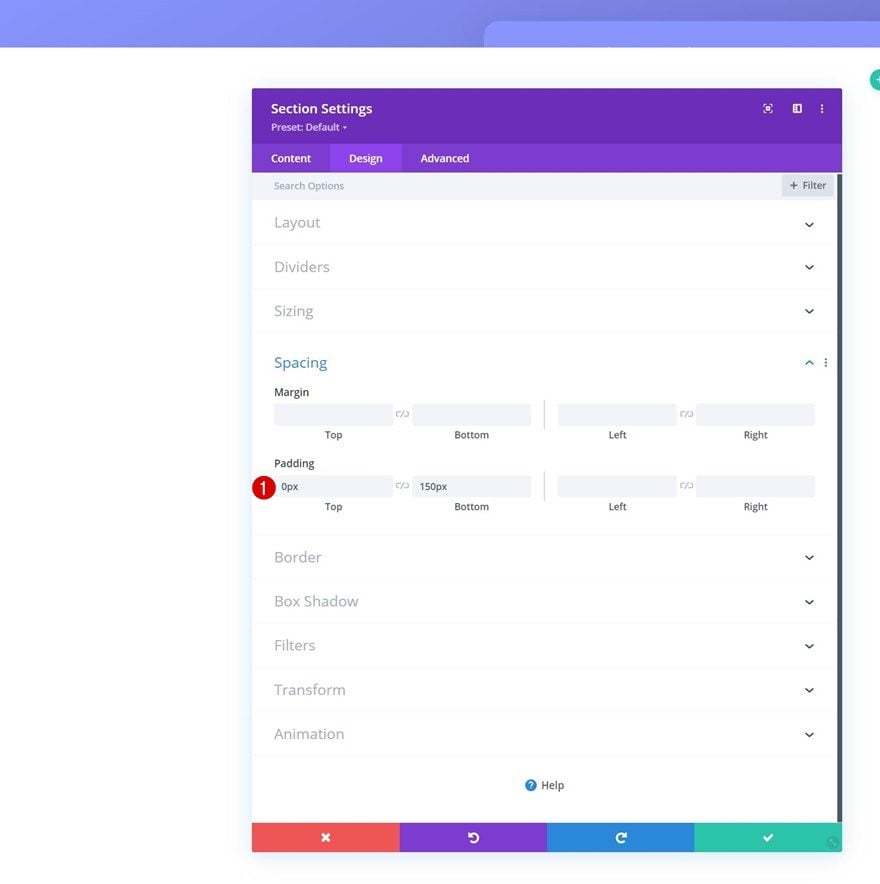
Spacing
Add another section right below the previous one. Open the section settings and apply the following top and bottom padding values:
- Top Padding: 0px
- Bottom Padding: 150px
Add New Row
Column Structure
Continue by adding a new row using the following column structure:
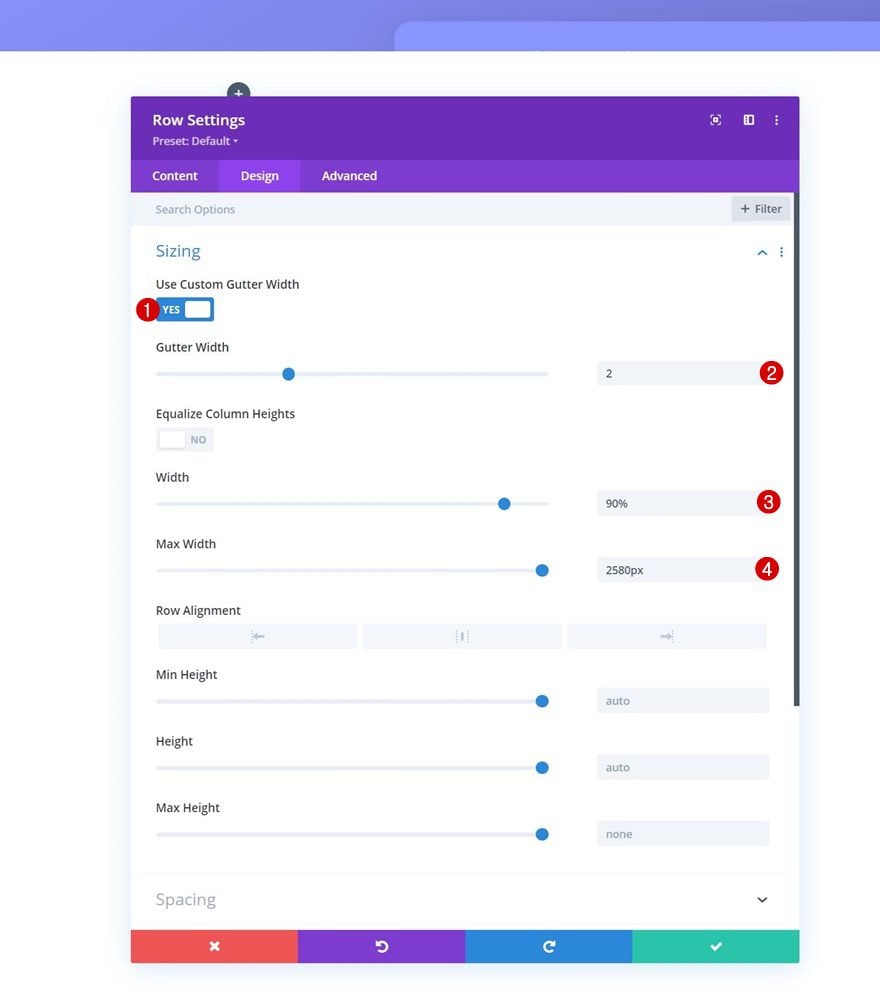
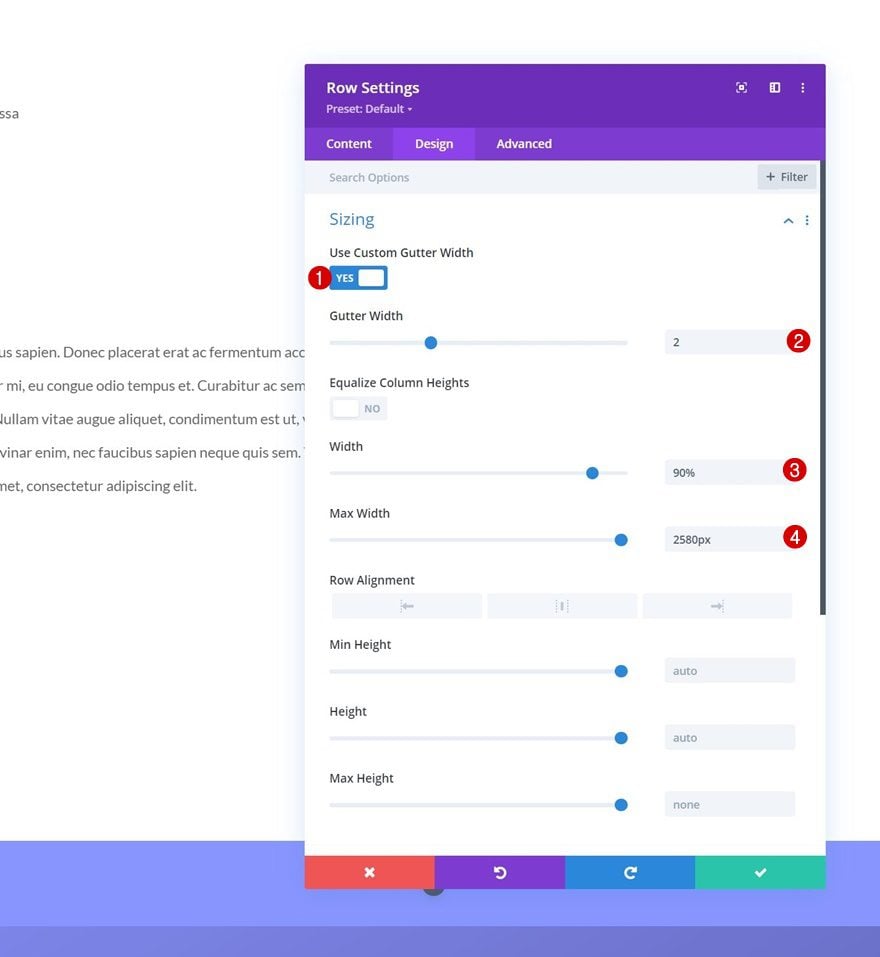
Sizing
Without adding any modules yet, open the row settings and modify the sizing settings accordingly:
- Use Custom Gutter Width: Yes
- Gutter Width: 2
- Width: 90%
- Max Width: 2580px
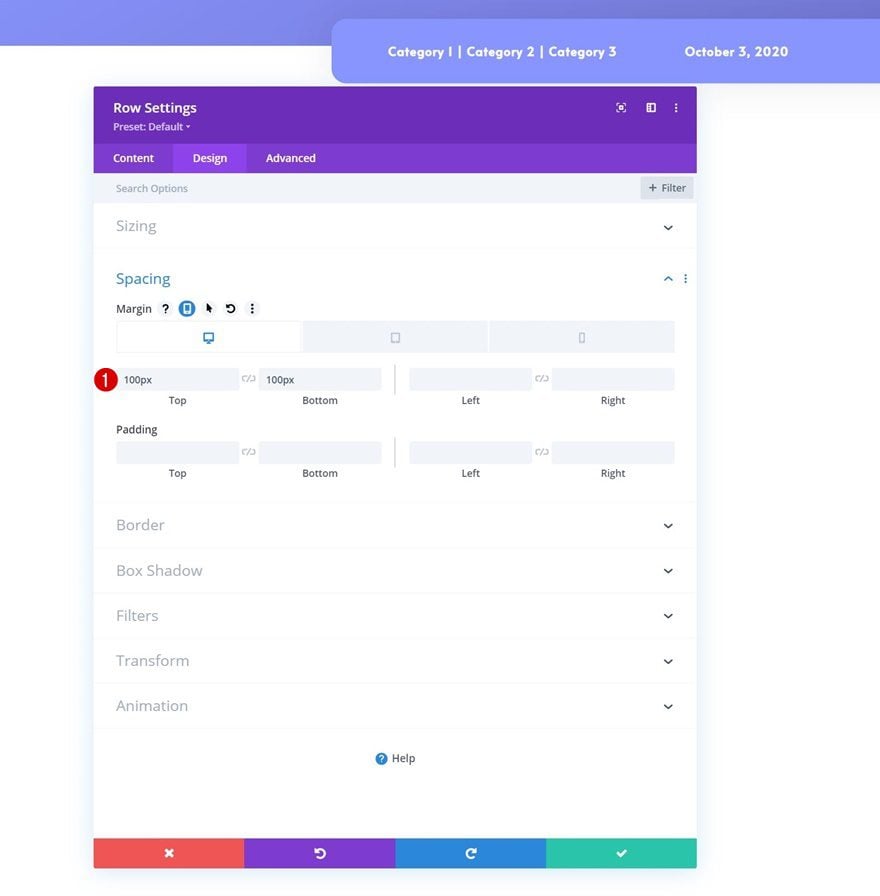
Spacing
Add some custom margin values next.
- Top Margin: 100px
- Bottom Margin:
- Desktop: 100px
- Tablet & Phone: 50px
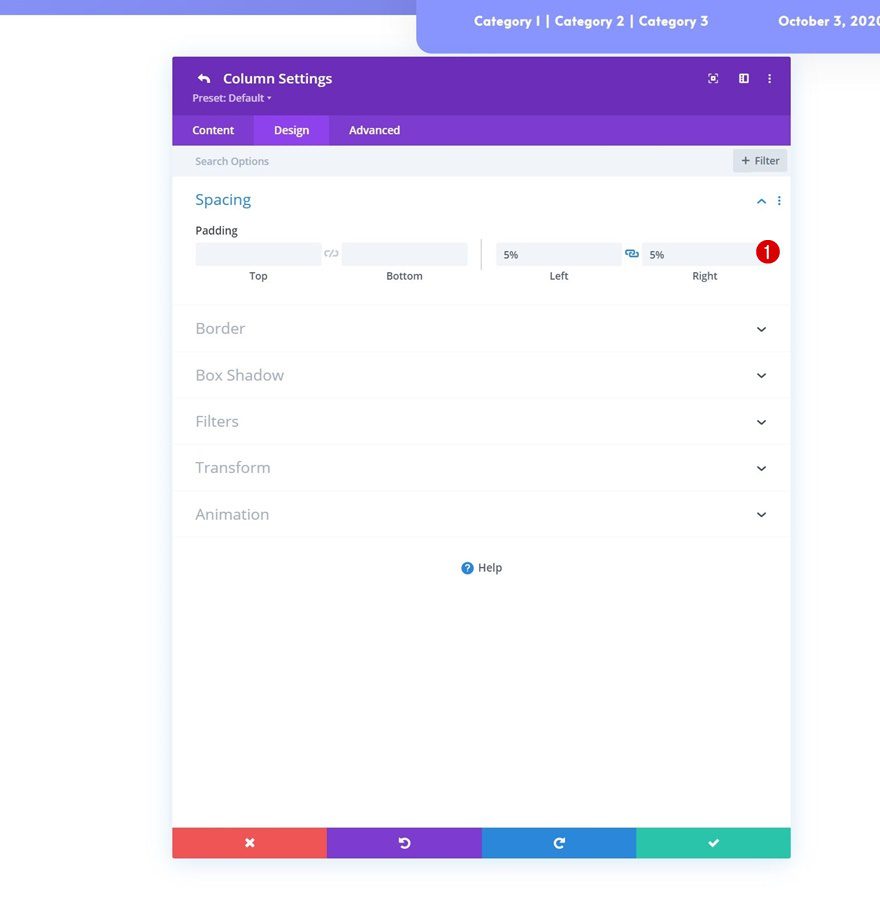
Column 1 Settings
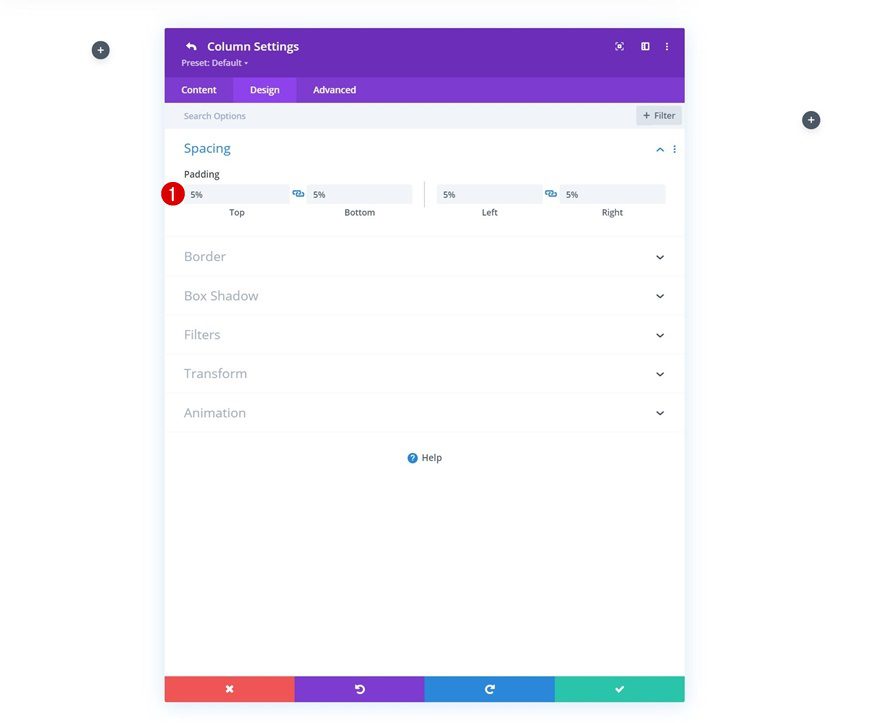
Spacing
Then, open the column 1 settings and apply some left and right padding.
- Left Padding: 5%
- Right Padding: 5%
Column 2 Settings
Background Color
Move on to the column 2 settings and apply a white background color.
- Background Color: #ffffff
Spacing
Include some custom padding values too.
- Top Padding: 5%
- Bottom Padding: 5%
- Left Padding: 5%
- Right Padding: 5%
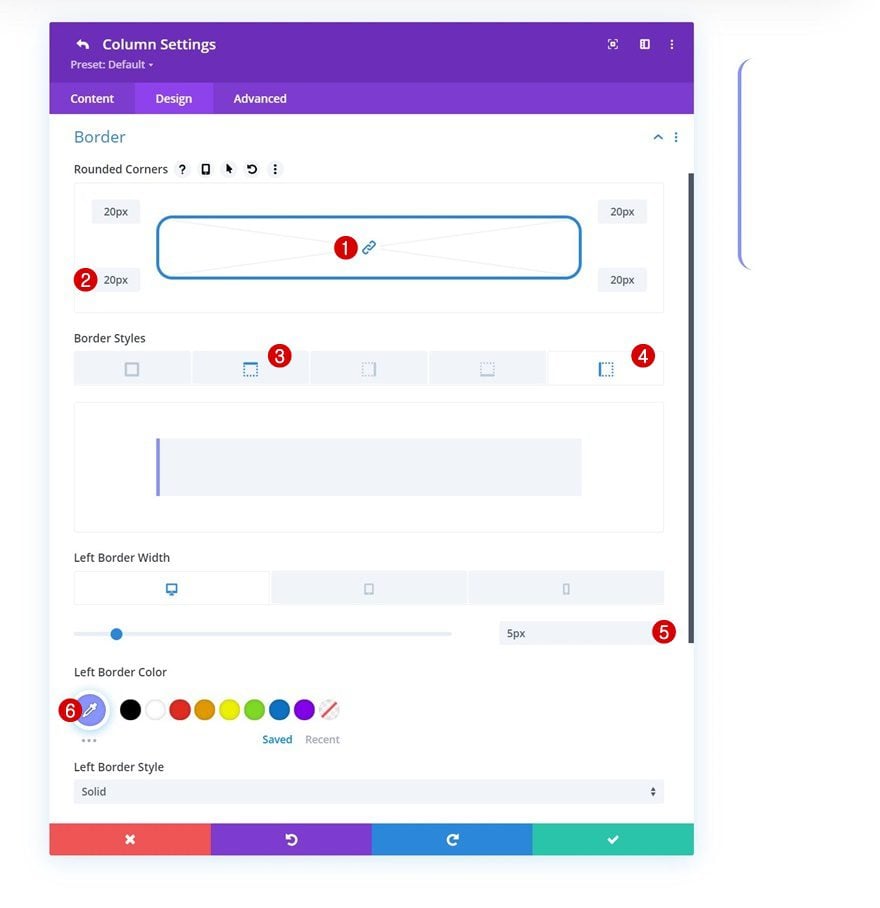
Border
Next, go to the border settings and apply the following settings:
- All Corners: 20px
- Top Border:
- Top Border Width:
- Desktop: 0px
- Tablet & Phone: 5px
- Top Border Color: #8995ff
- Top Border Width:
- Left Border:
- Left Border Width:
- Desktop: 5px
- Tablet & Phone: 0px
- Left Border Color: #8995ff
- Left Border Width:
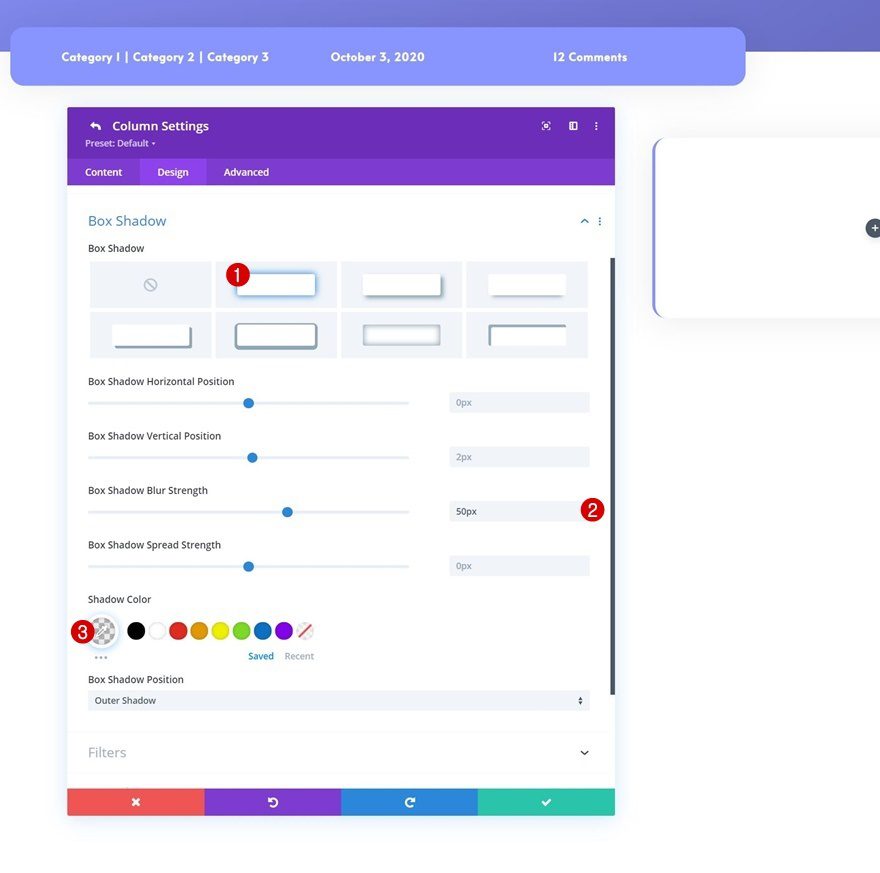
Box Shadow
Complete the column settings by applying the following box shadow:
- Box Shadow Blur Strength: 50px
- Shadow Color: rgba(0,0,0,0.08)
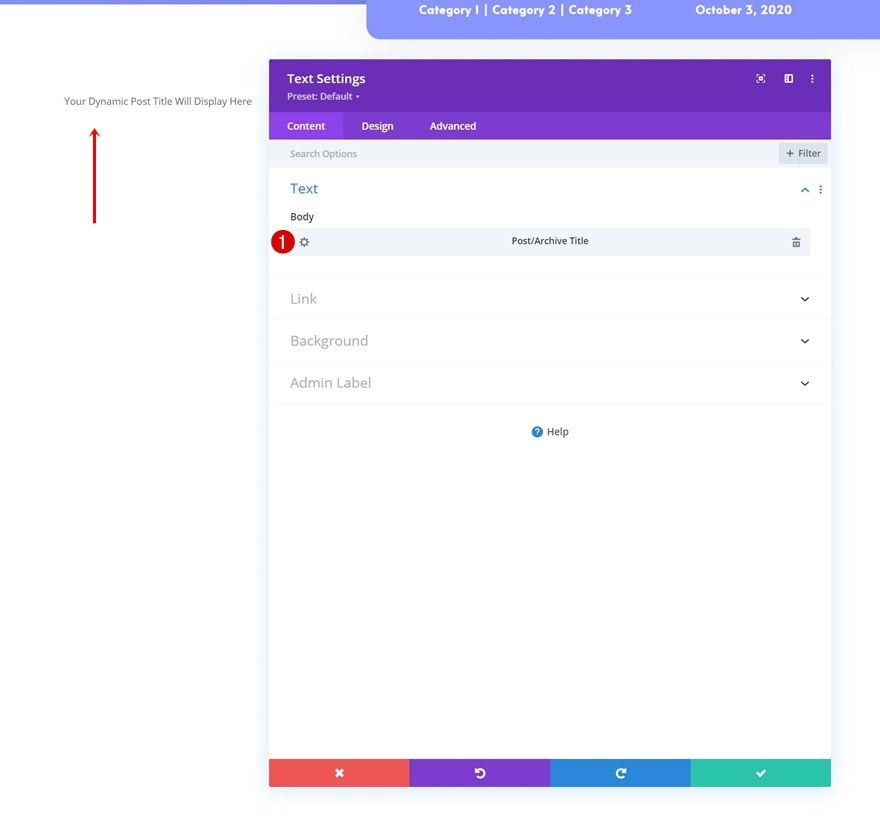
Add Text Module #1 to Column 1
H1 Dynamic Content
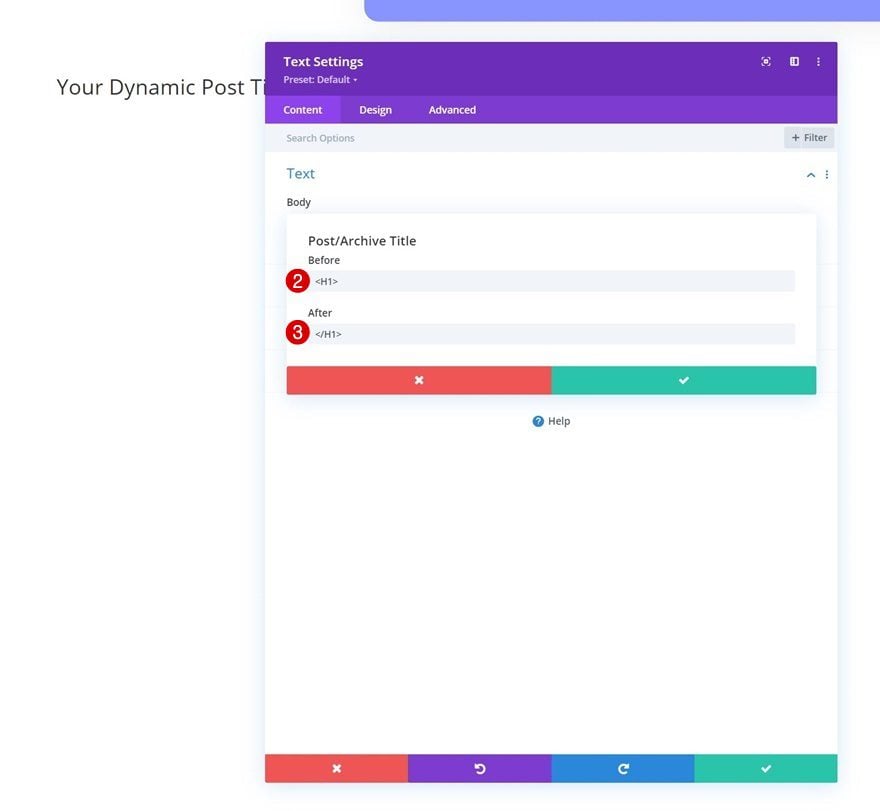
Time to add modules, starting with a Text Module in column 1. Select the following dynamic content:
- Dynamic Content: Post/Archive Title
- Before: <H1>
- After: </H1>
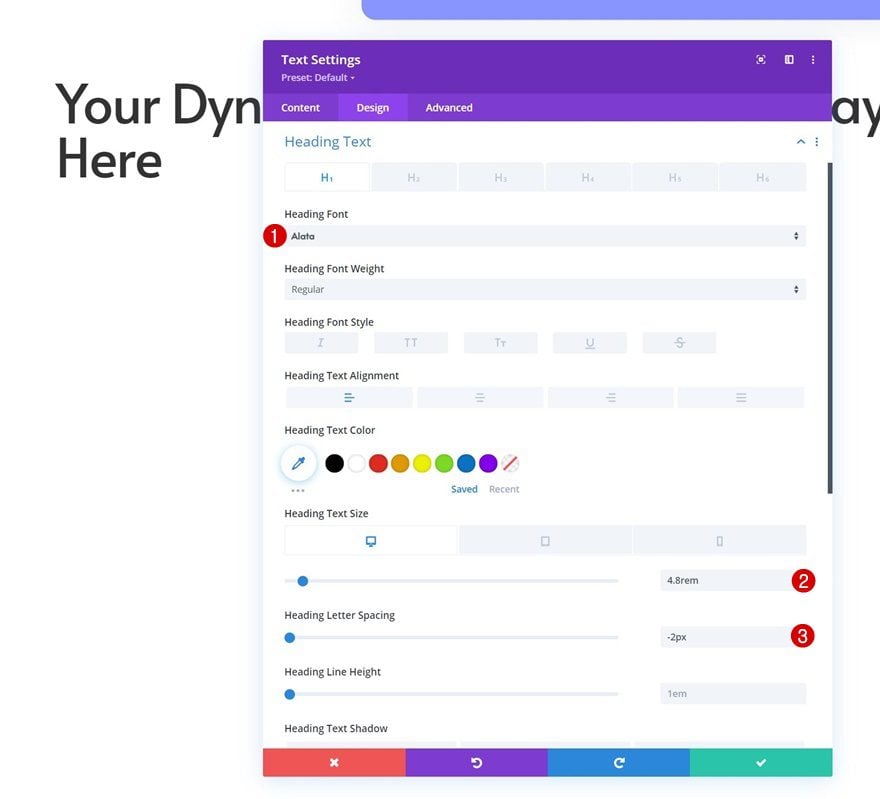
H1 Text Settings
Move on to the module’s design tab and change the H1 text settings accordingly:
- Heading Font: Alata
- Heading Text Size:
- Desktop: 4.8rem
- Tablet: 3.2rem
- Phone: 2.3rem
- Heading Letter Spacing: -2px
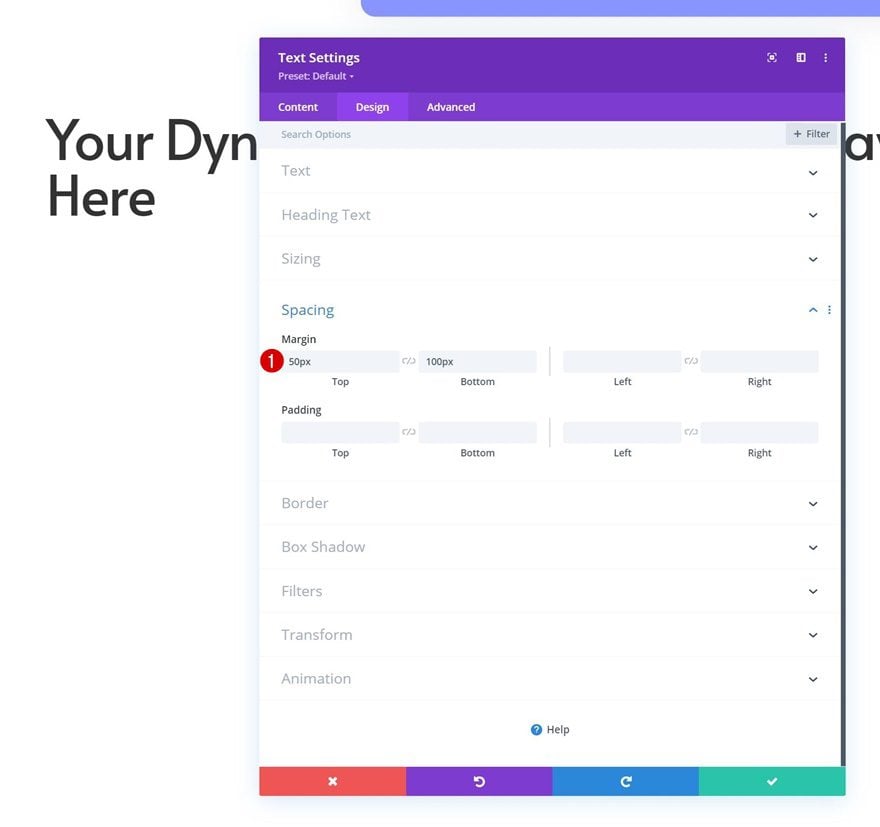
Spacing
Add some custom top and bottom margin too.
- Top Margin: 50px
- Bottom Margin: 100px
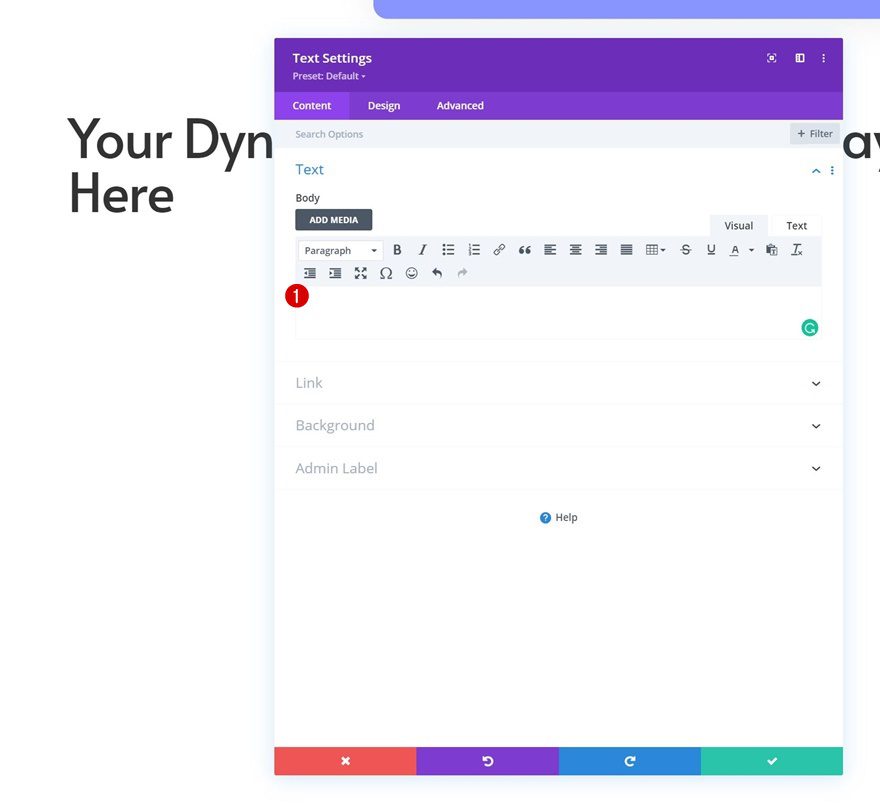
Add Text Module #2 to Column 1
Leave Content Box Empty
Add another Text Module to column 1 and leave the content box empty.
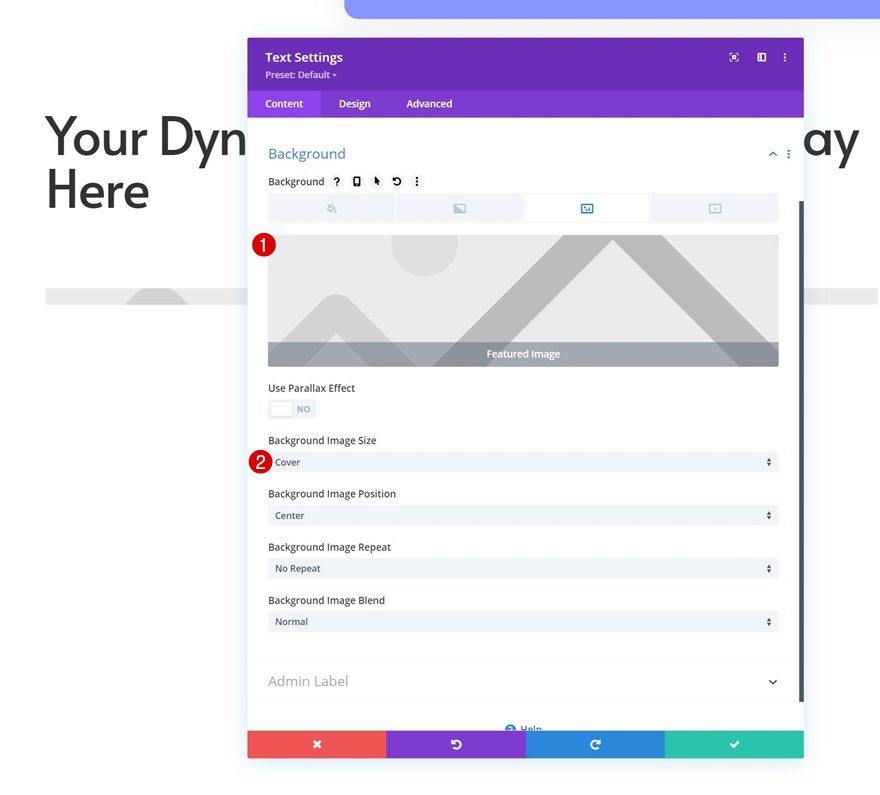
Dynamic Background Image
Instead, we’re using the Text Module to showcase the post’s dynamic featured image as a background image.
- Dynamic Background Image: Featured Image
- Background Image Size: Cover
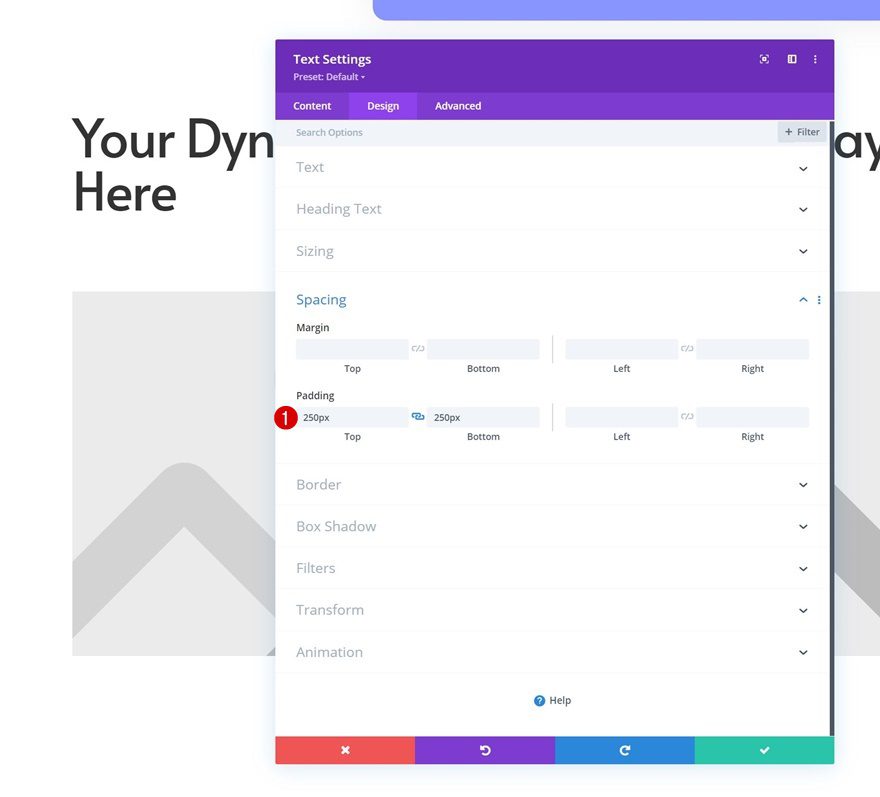
Spacing
Move on to the module’s design tab and apply the following padding values:
- Top Padding: 250px
- Bottom Padding: 250px
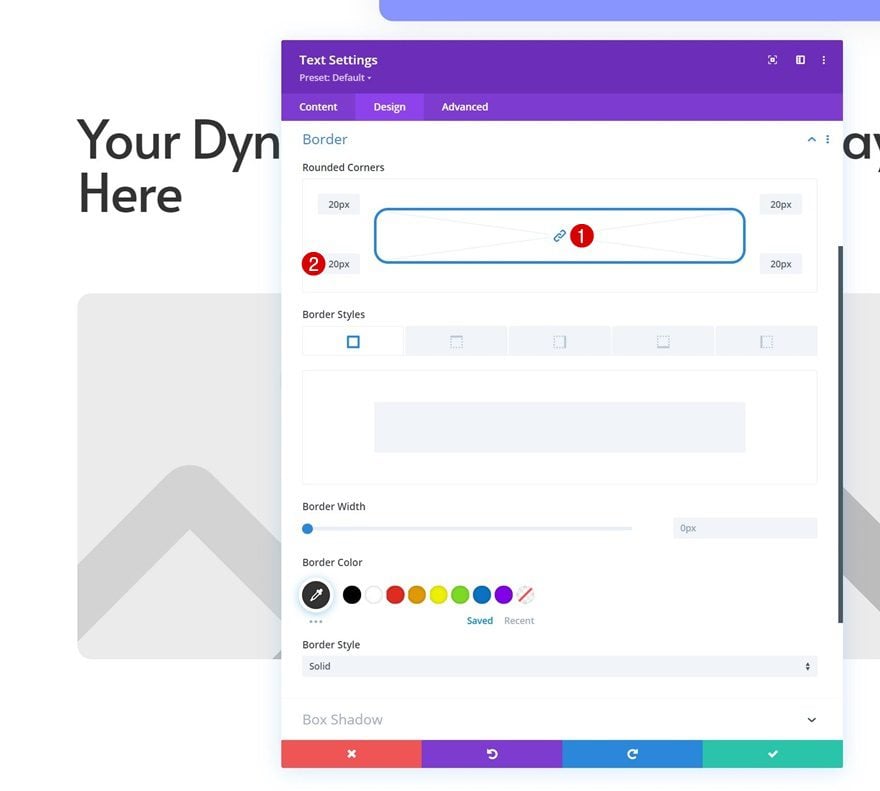
Border
Then, go to the border settings and add some rounded corners.
- All Corners: 20px
Box Shadow
Complete the module settings by applying the following box shadow settings:
- Box Shadow Blur Strength: 50px
- Shadow Color: rgba(0,0,0,0.08)
Add Post Content Module to Column 1
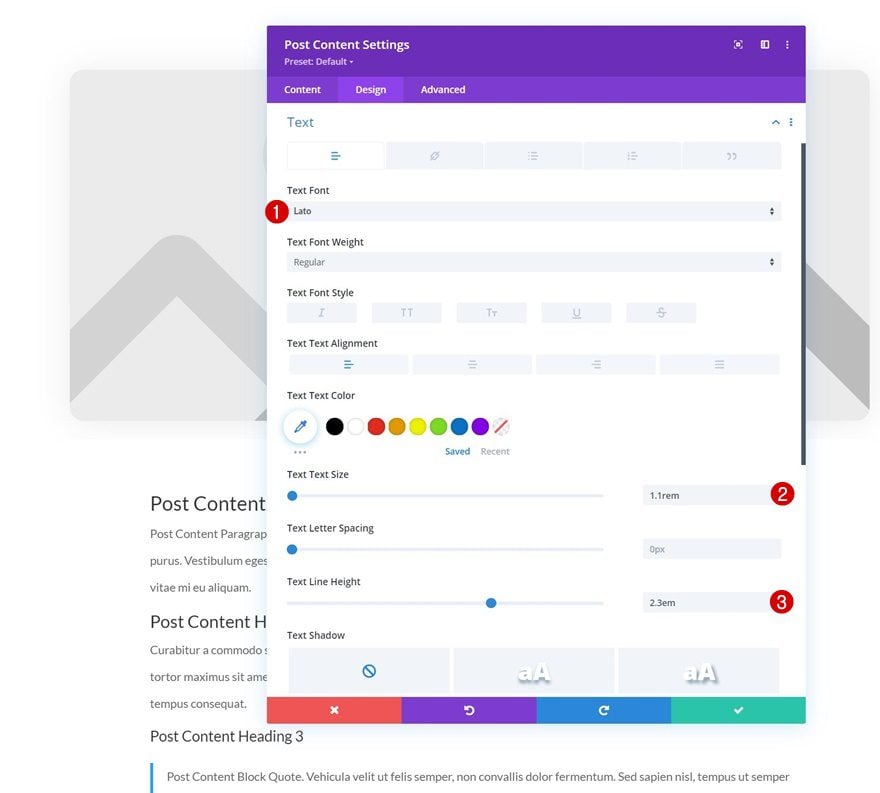
Body Text Settings
The next module we need in our post template is the Post Content Module. This module represents your dynamic blog post content. Move on to the module’s design tab and change the text settings as follows:
- Text Font: Lato
- Text Size: 1.1rem
- Text Line Height: 2.3em
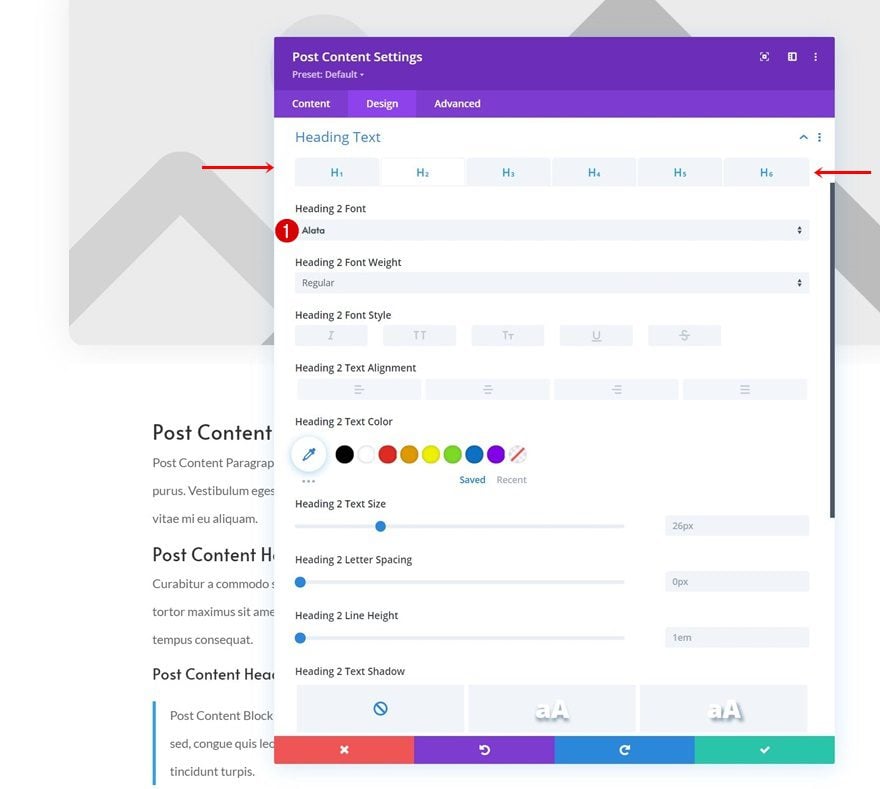
Heading Text Settings
Change the heading font too.
- Heading Font: Alata
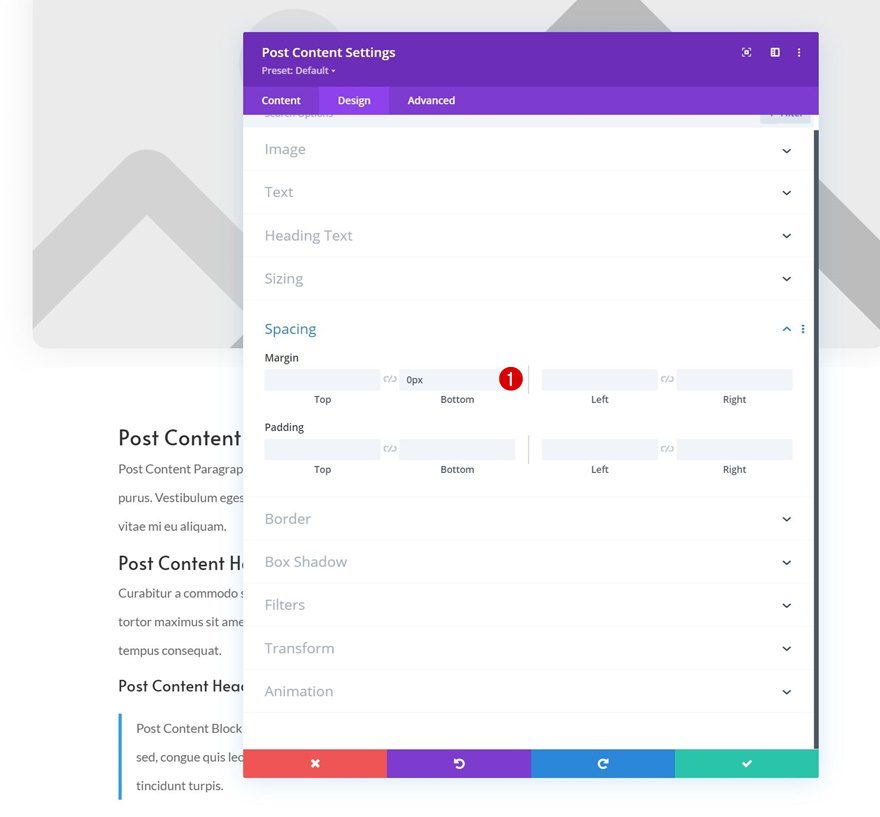
Spacing
And remove the default bottom margin.
- Bottom Margin: 0px
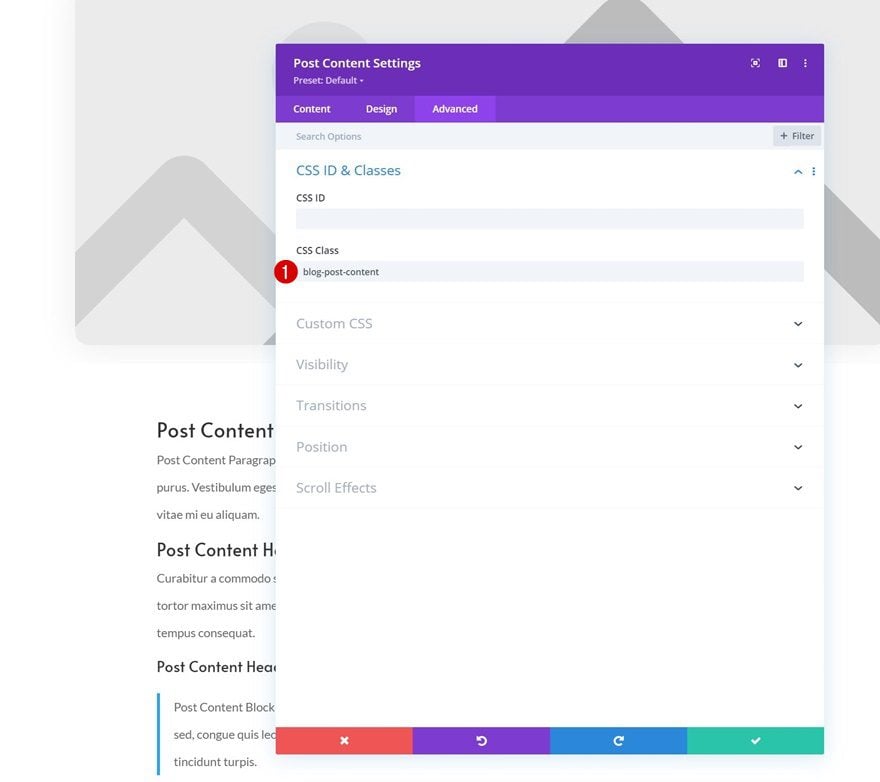
CSS Class
Last but not least, go to the advanced tab and apply the following CSS class:
- CSS Class: blog-post-content
Add Code Module to Column 1
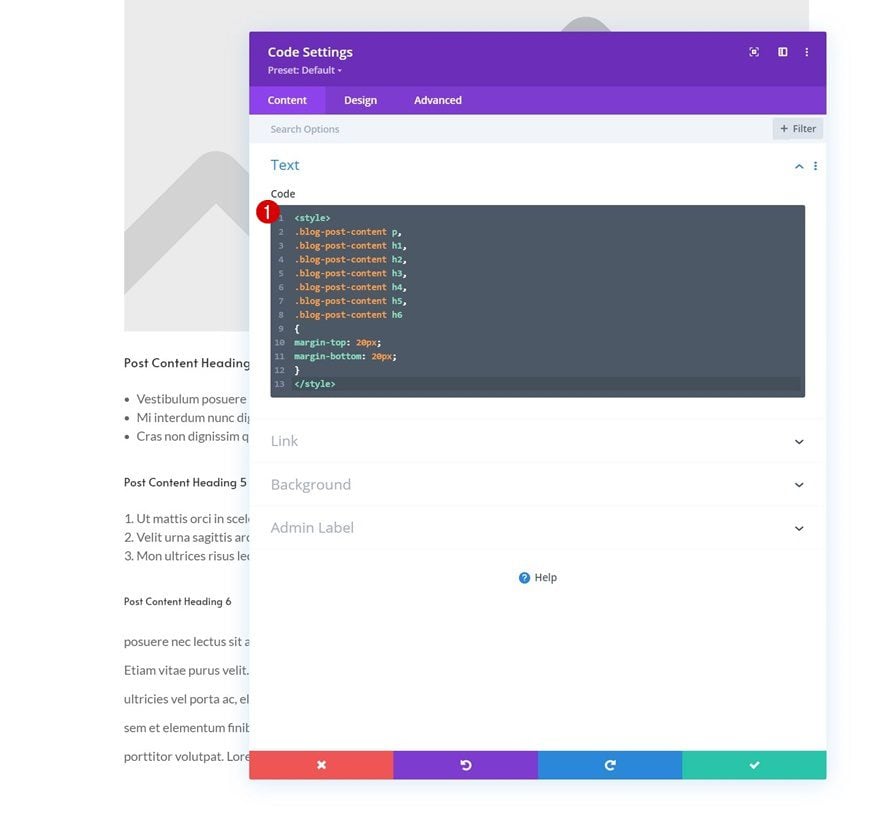
Add CSS Code for Space Between Headings and Paragraph Content
We’re using the CSS class we’ve assigned to the Post Content Module to add some space in between headings and paragraphs. Add a Code Module right below the Post Content Module and place the following CSS code inside the module:
<style>
.blog-post-content p,
.blog-post-content h1,
.blog-post-content h2,
.blog-post-content h3,
.blog-post-content h4,
.blog-post-content h5,
.blog-post-content h6
{
margin-top: 20px;
margin-bottom: 20px;
}
</style>
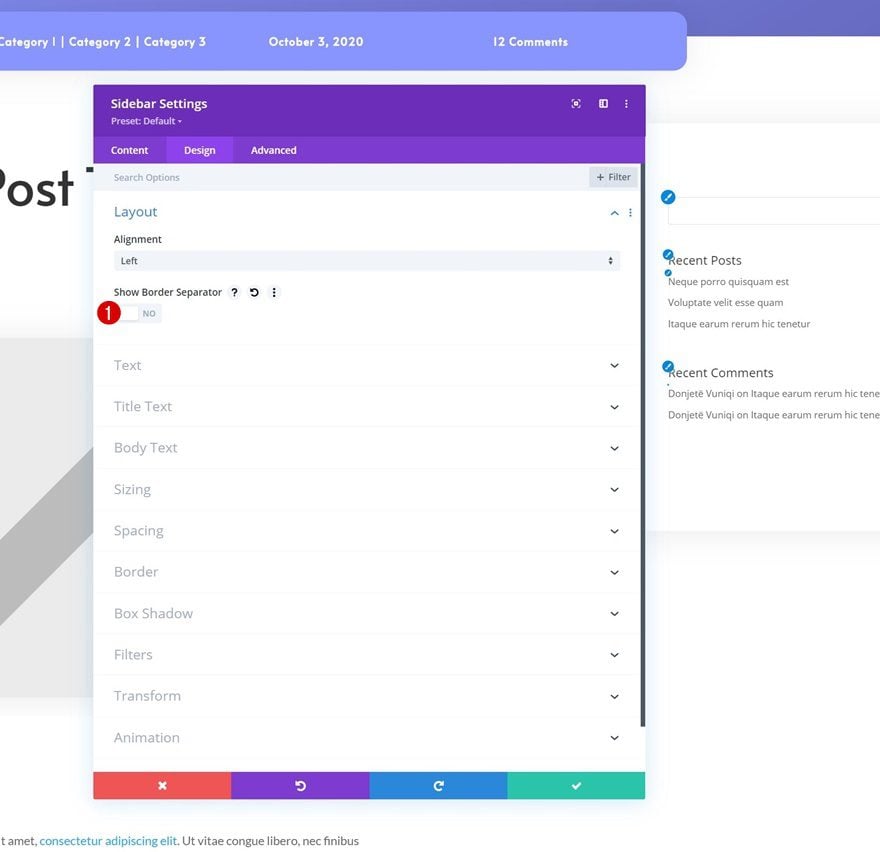
Layout
On to the next column. There, we’ll add a Sidebar Module. Move on to the module’s design tab and hide the border separator.
- Show Border Separator: No
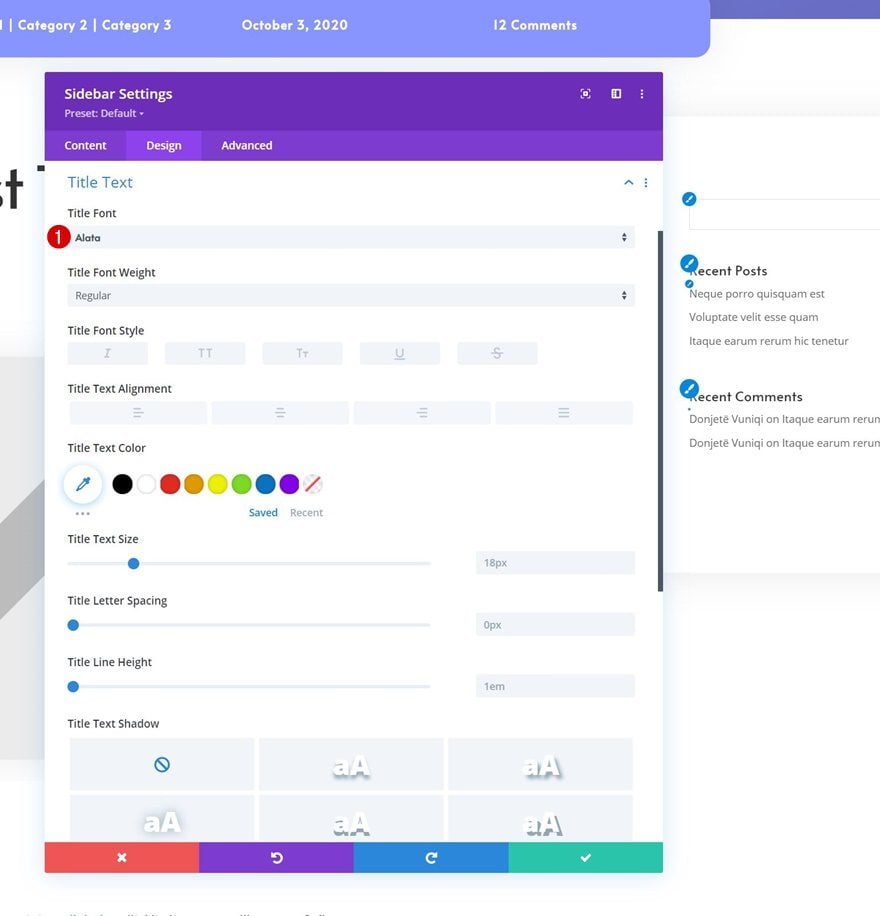
Title Text Settings
Change the title font next.
- Title Font: Alata
Body Text Settings
Along with the body font.
- Body Font: Lato

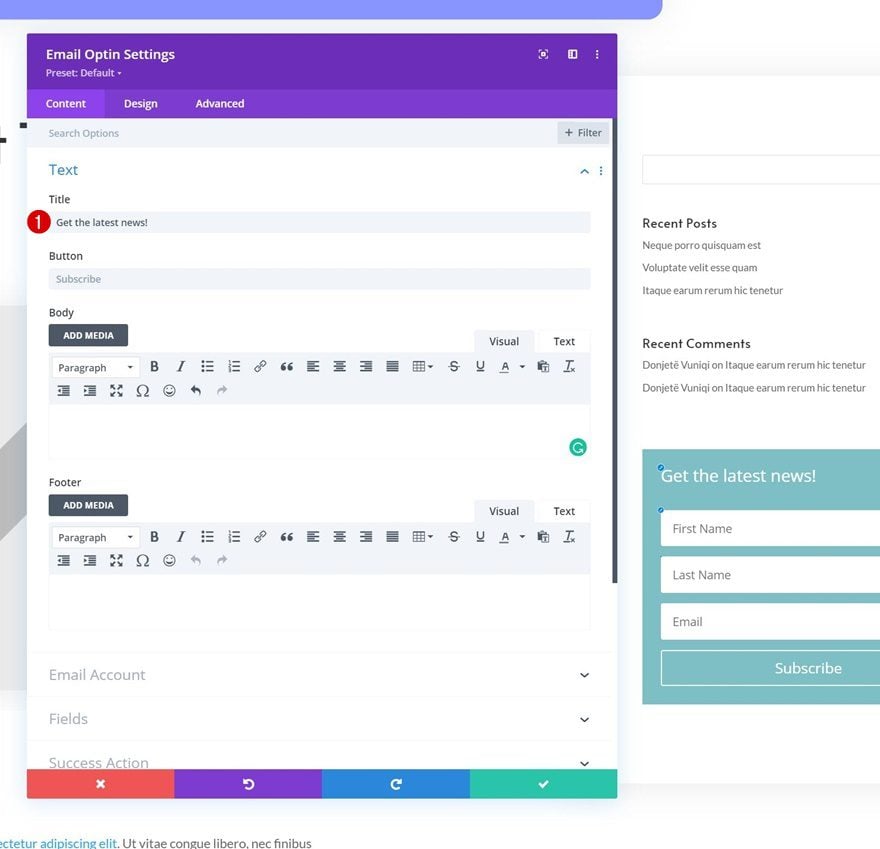
Add Email Optin Module to Column 2
Add Content
Right below the Sidebar Module, we’ll add an Email Optin Module. Add some copy of your choice.
Add Account
Link your email account next.

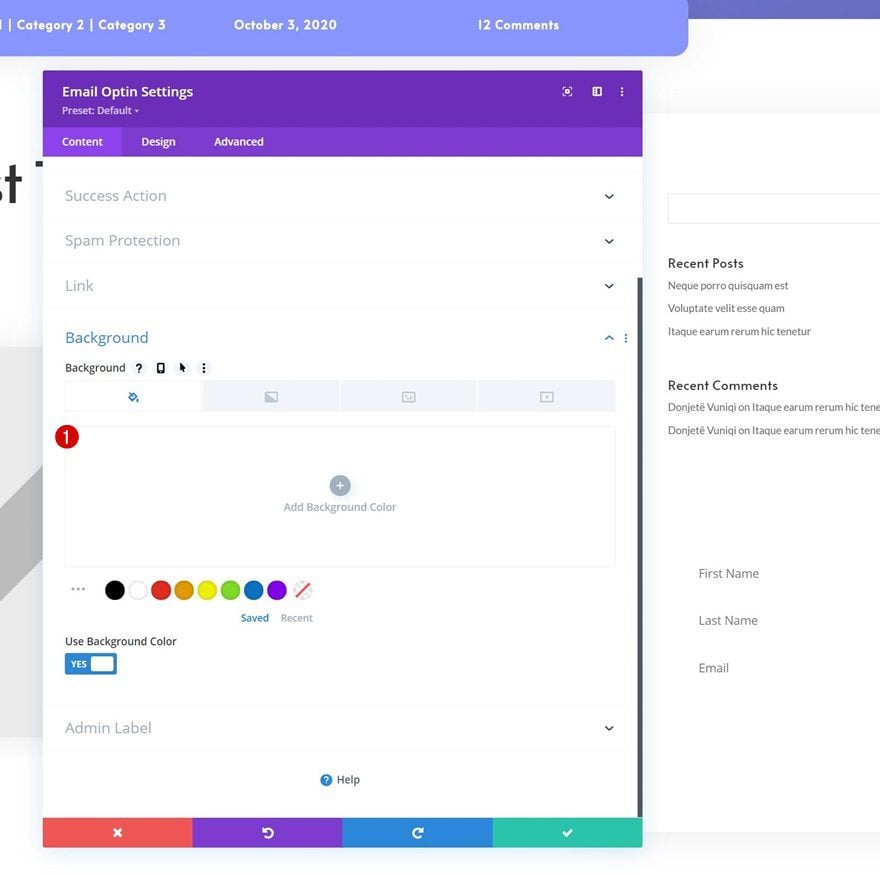
Remove Background Color
Then, remove the background color.
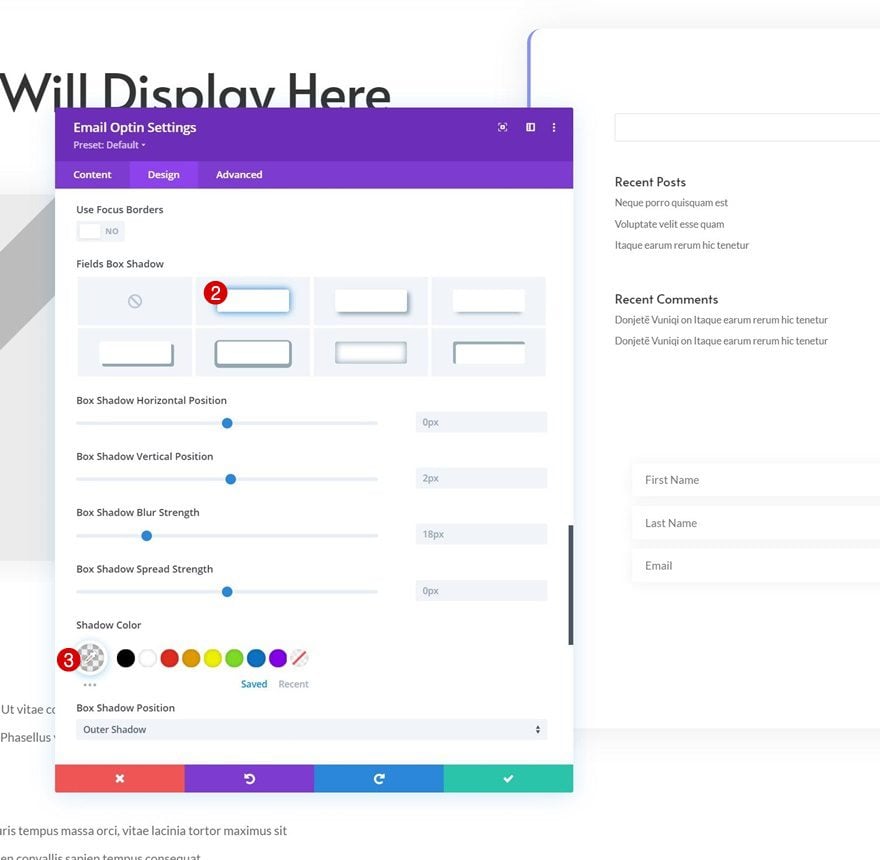
Fields Settings
Move on to the module’s design tab and change the fields settings accordingly:
- Fields Font: Lato

- Box Shadow: First Option
- Shadow Color: rgba(0,0,0,0.06)
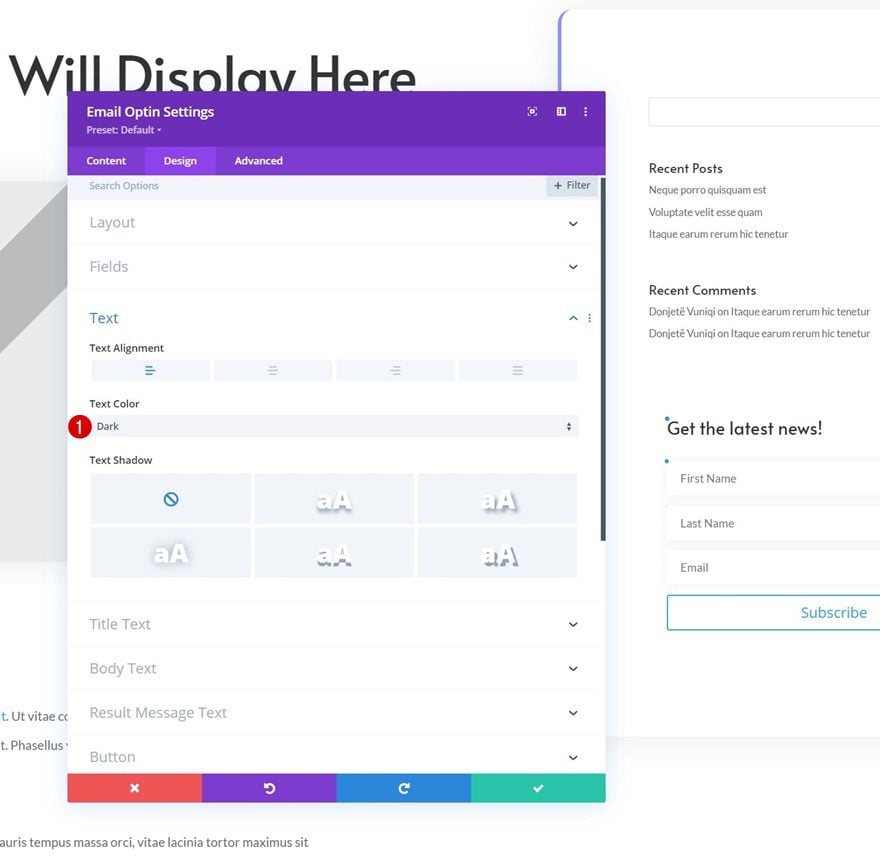
Text Settings
We’re changing the text color in the text settings too.
- Text Color: Dark
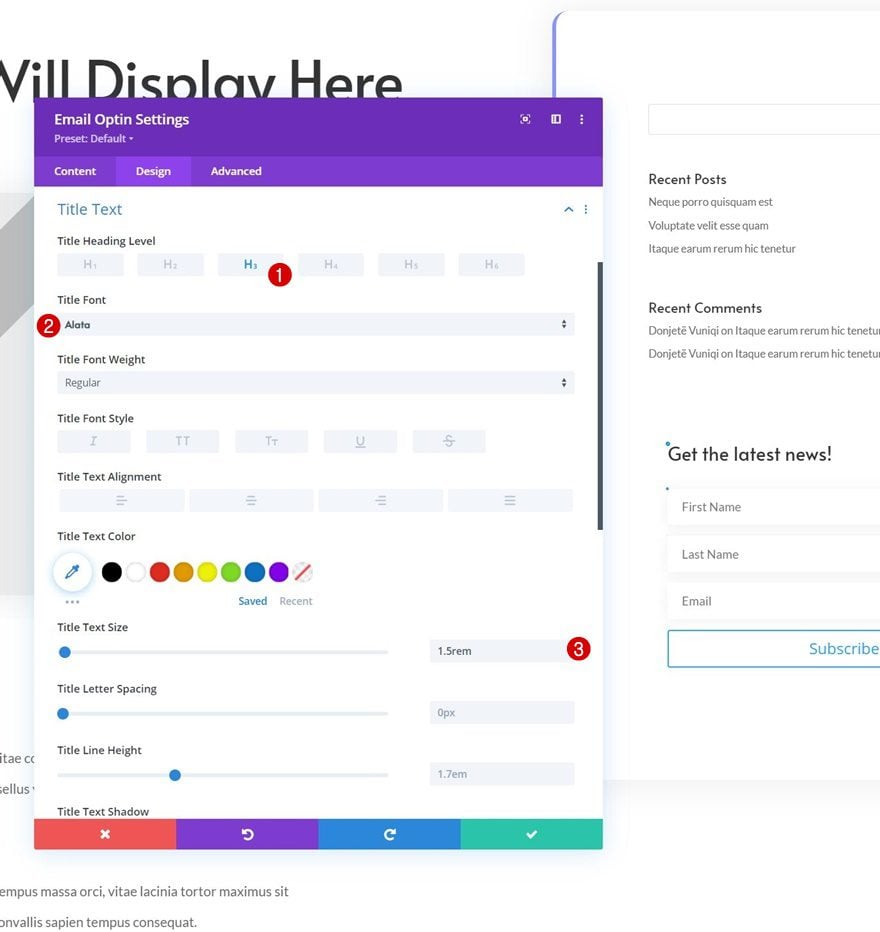
Title Text Settings
Then, we’ll change the title text settings.
- Title Heading Level: H3
- Title Font: Alata
- Title Text Size: 1.5rem
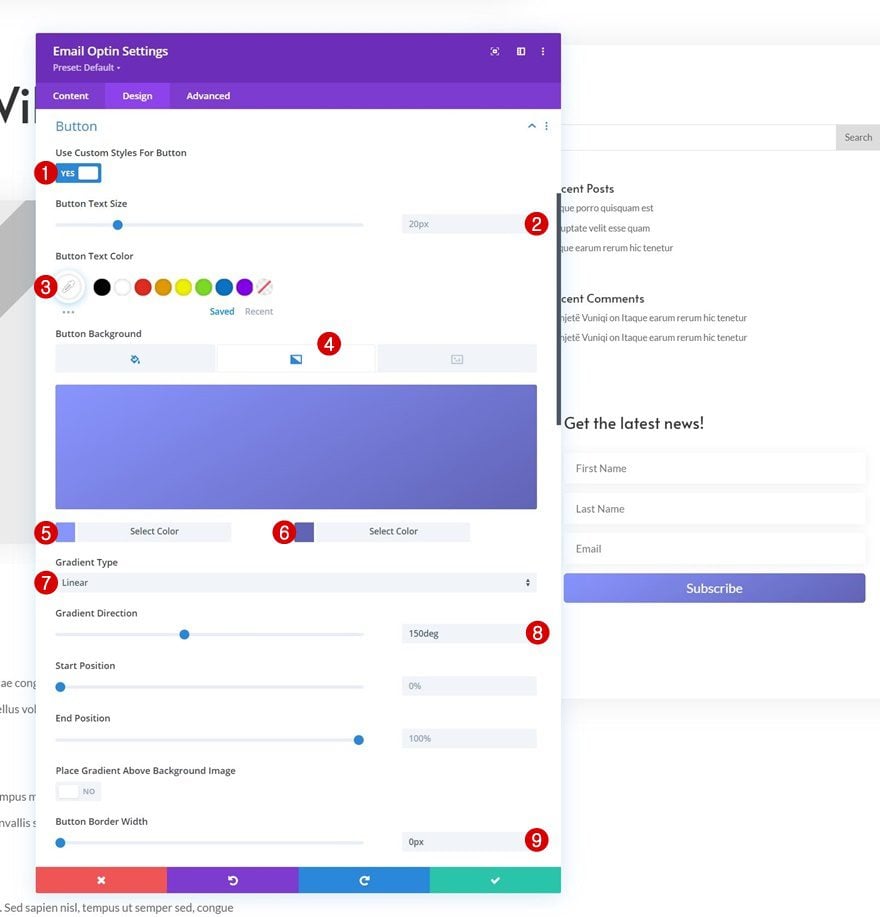
Button Settings
Next, we’ll style the button.
- Use Custom Styles For Button: Yes
- Button Text Size: 20px
- Button Text Color: #ffffff
- Gradient Color 1: #8995ff
- Gradient Color 2: #6163b5
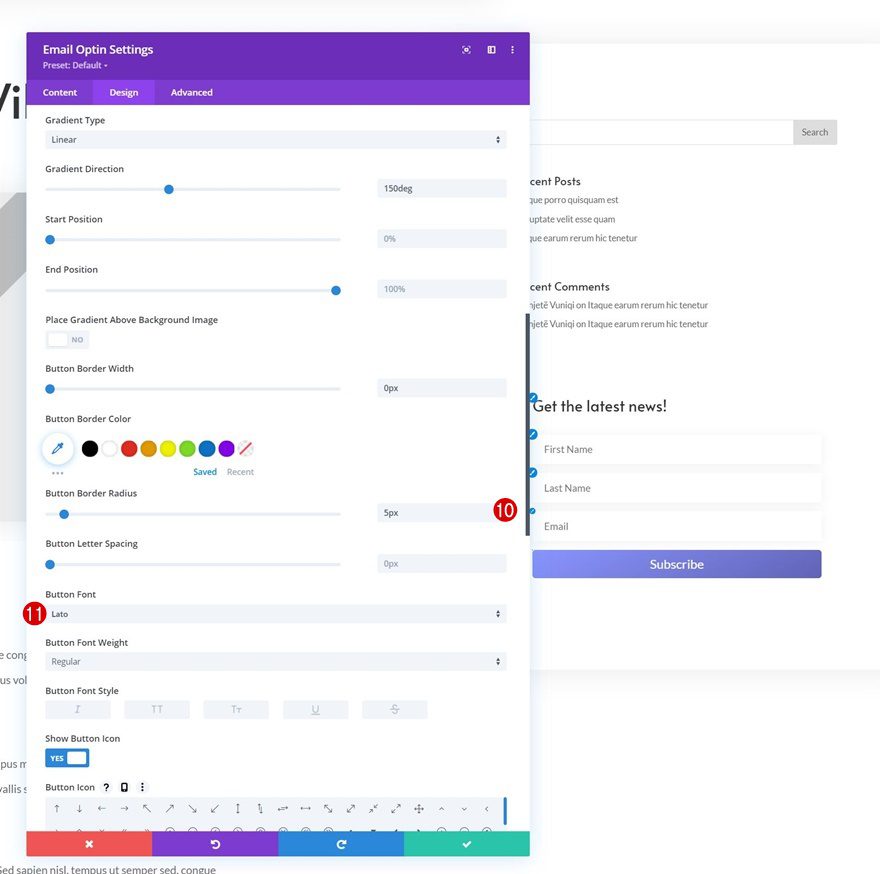
- Gradient Type: Linear
- Gradient Direction: 150deg
- Button Border Width: 0px
- Button Border Radius: 5px
- Button Font: Lato
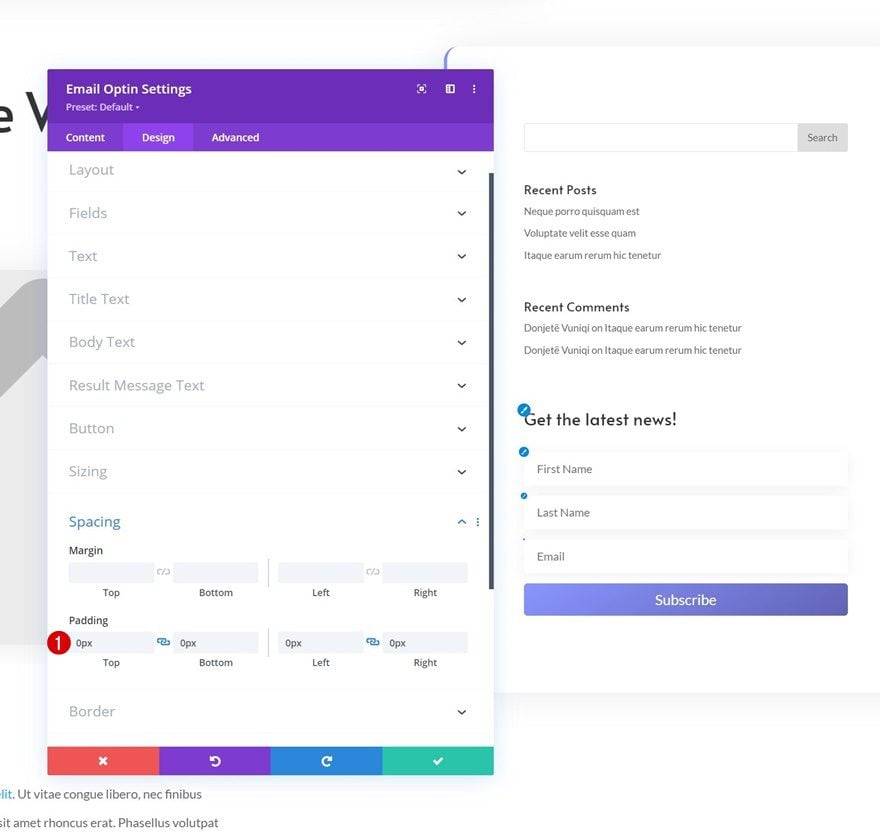
Spacing
And we’ll complete the module settings by removing the default padding values in the spacing settings.
- Top Padding: 0px
- Bottom Padding: 0px
- Left Padding: 0px
- Right Padding: 0px
Add Section #3
Gradient Background
On to the next and last section. Add the following gradient background:
- Color 1: #8995ff
- Color 2: #6163b5
- Gradient Type: Linear
- Gradient Direction: 150deg
Spacing
Move on to the section’s design tab and remove the default top padding.
- Top Padding: 0px
Add New Row
Column Structure
Continue by adding a new row using the following column structure:
Background Color
Without adding any modules yet, open the row settings and apply a background color.
- Background Color: #8995ff
Sizing
Move on to the row’s design tab and change the sizing settings as follows:
- Use Custom Gutter Width: Yes
- Gutter Width: 2
- Width: 90%
- Max Width: 2580px
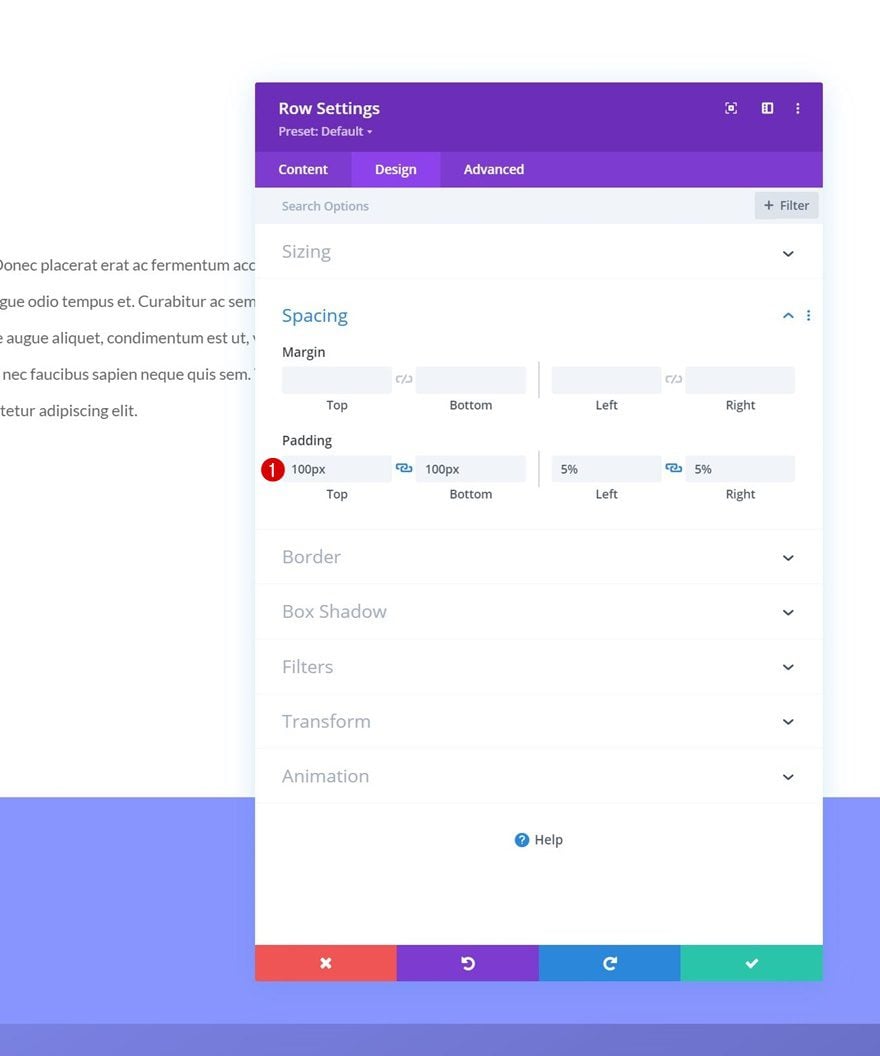
Spacing
Modify the padding values accordingly:
- Top Padding: 100px
- Bottom Padding: 100px
- Left Padding: 5%
- Right Padding: 5%
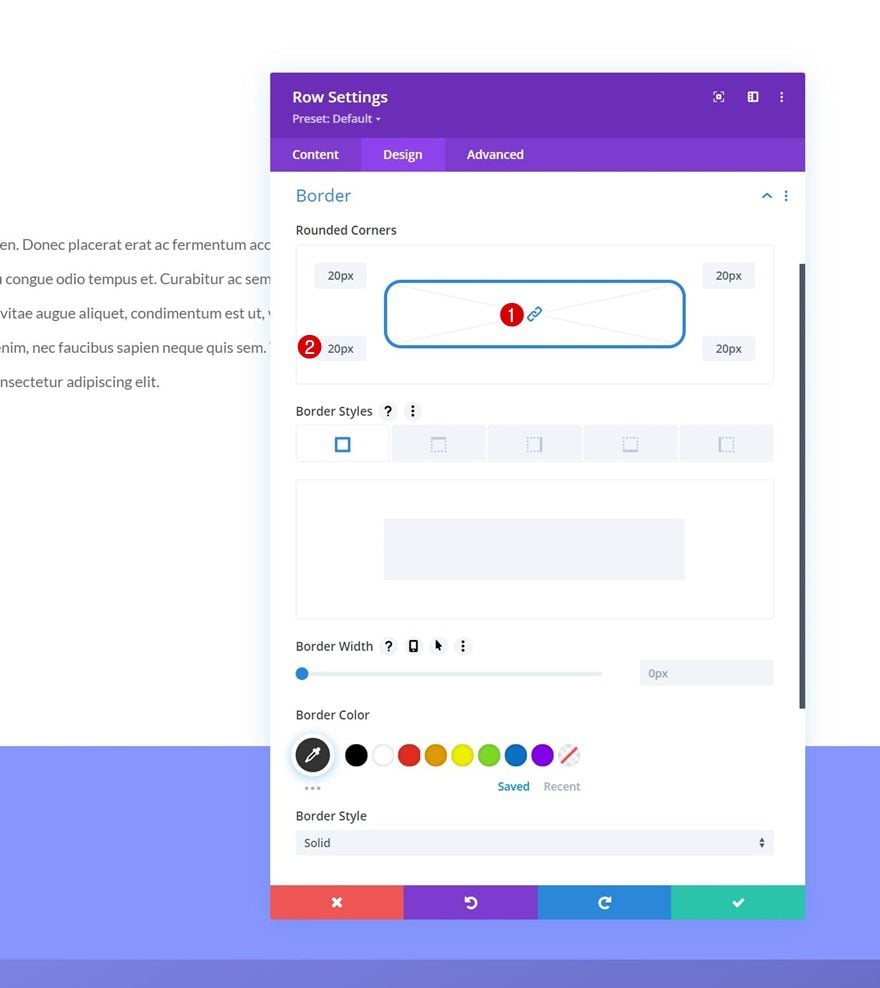
Border
Then, add some rounded corners.
- All Corners: 20px
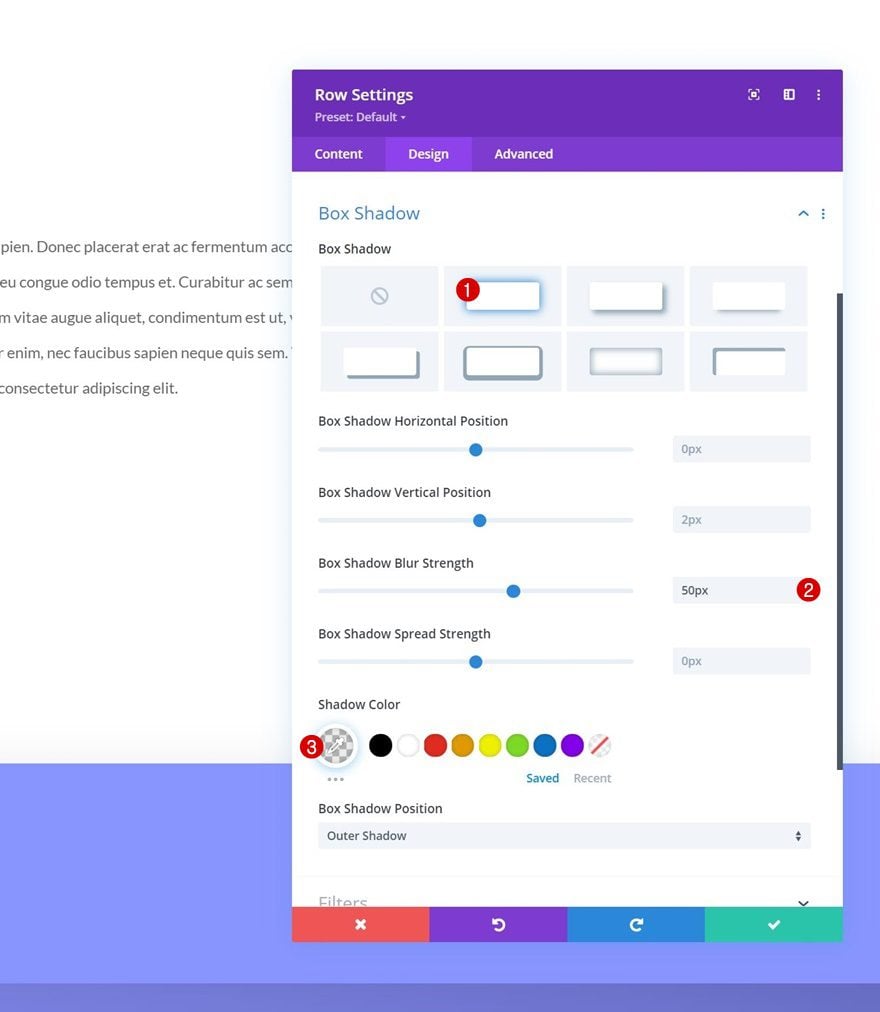
Box Shadow
We’ll add a box shadow too.
- Box Shadow Blur Strength: 50px
- Shadow Color: rgba(0,0,0,0.08)
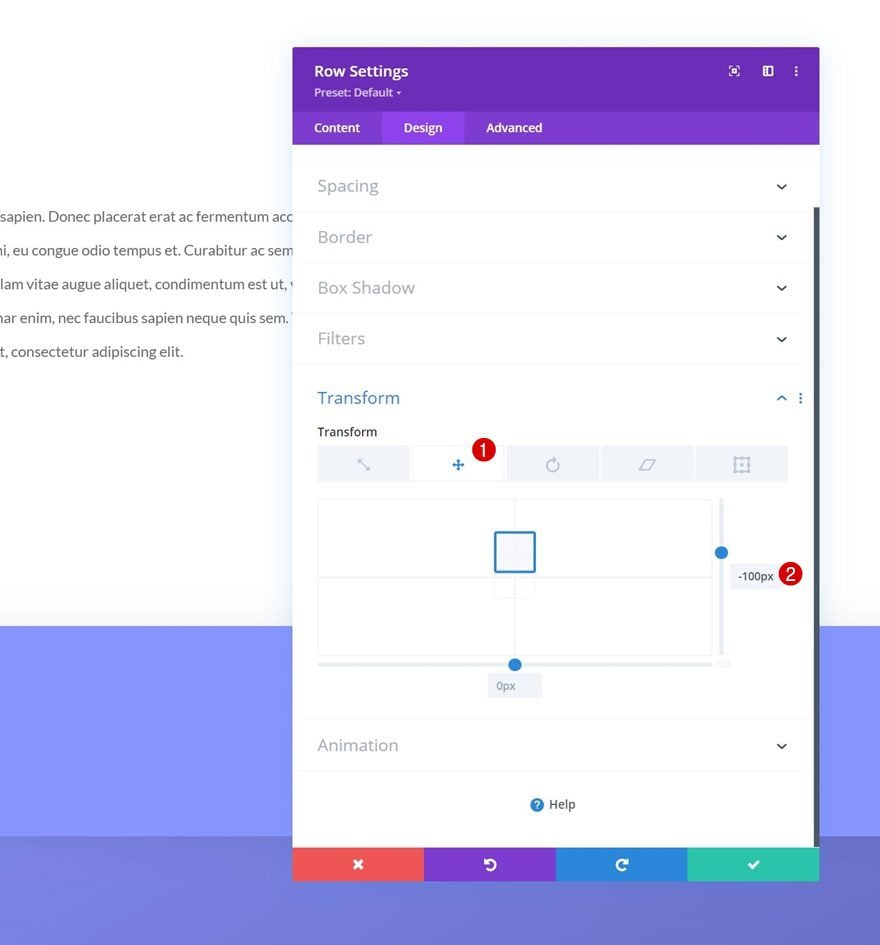
Transform Translate
And we’ll complete the row settings by applying the following transform translate values:
- Right: -100px
Add Comments Module to Column
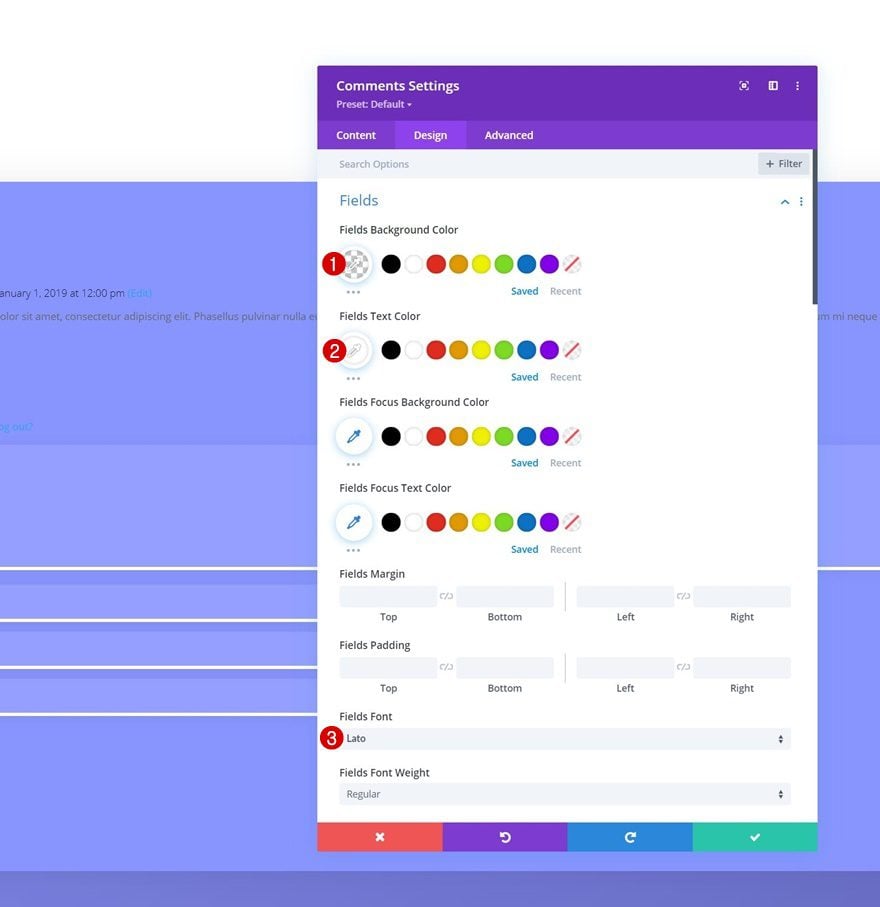
Fields Settings
The only module we need in the row is a Comments Module. Move on to the module’s design tab and style the fields:
- Fields Background Color: rgba(255,255,255,0.09)
- Fields Text Color: #ffffff
- Fields Font: Lato
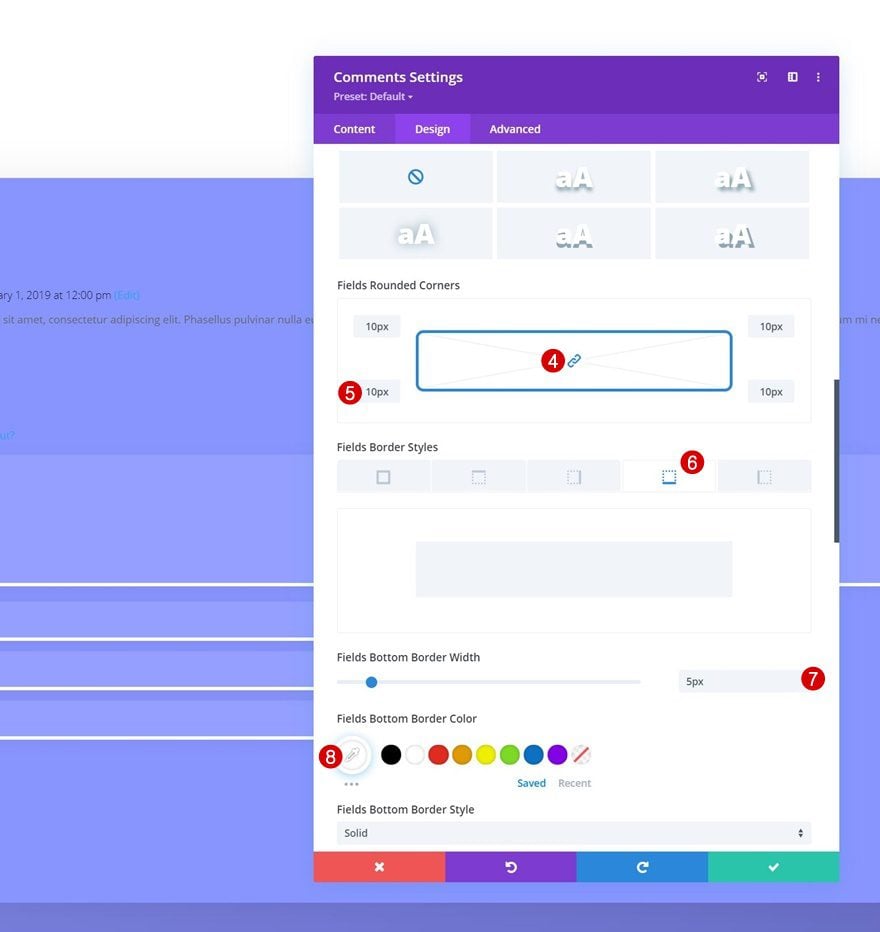
- Fields Rounded Corners: 10px (All Corners)
- Fields Bottom Border Width: 5px
- Fields Bottom Border Color: #ffffff
- Fields Box Shadow: First Option
- Shadow Color: rgba(0,0,0,0.06)
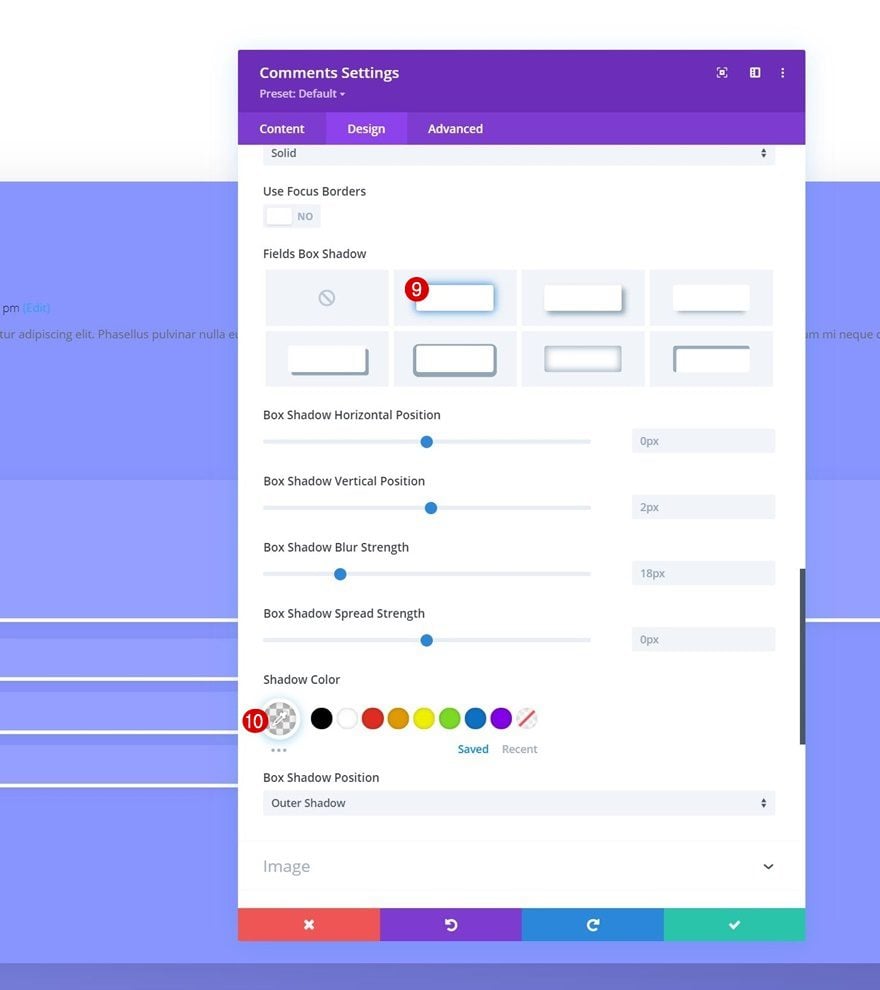
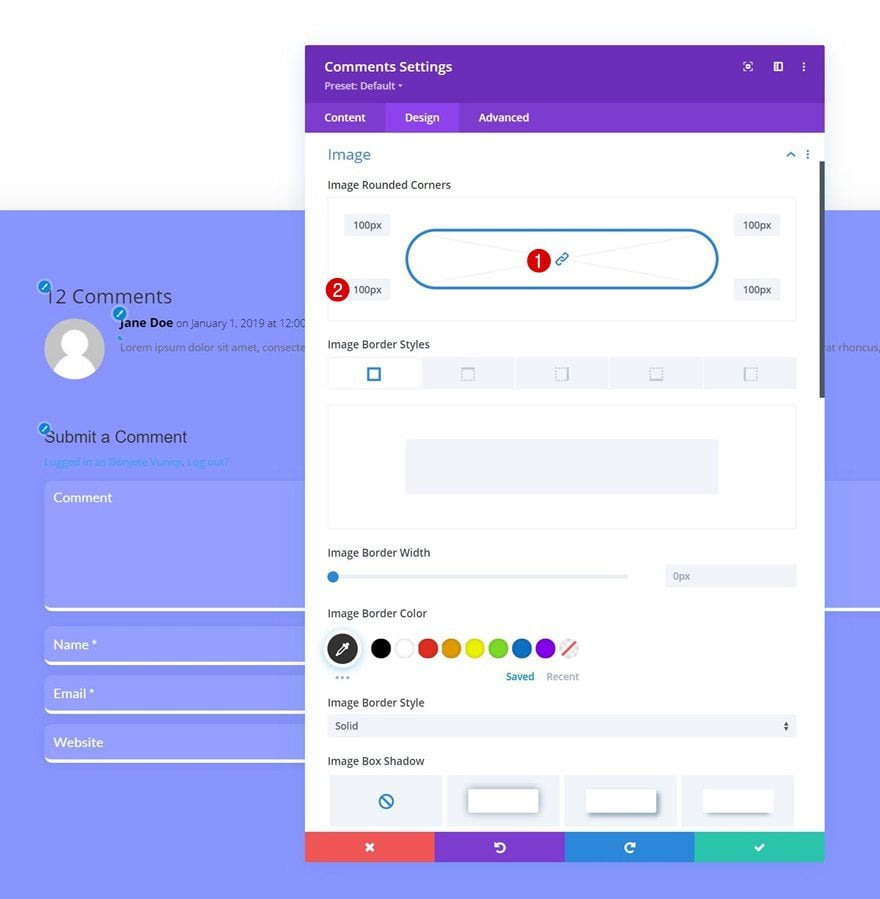
Image Settings
Change the image settings too.
- Image Rounded Corners: 100px (All Corners)
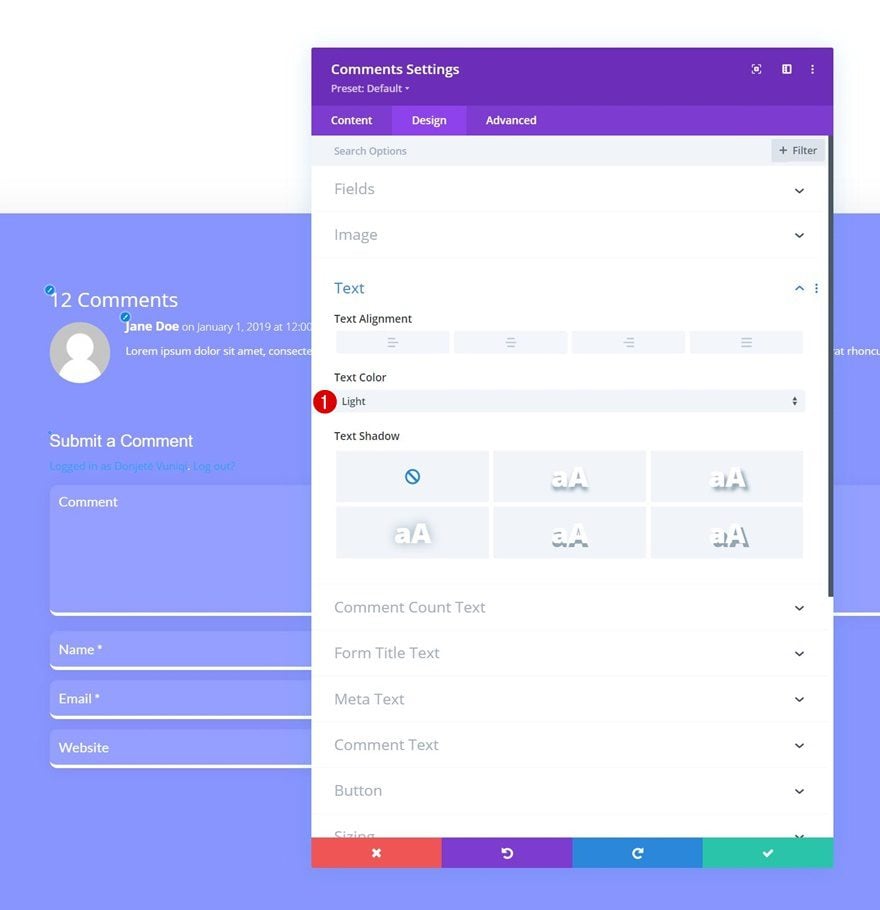
Text Settings
Then, modify the text color in the text settings.
- Text Color: Light
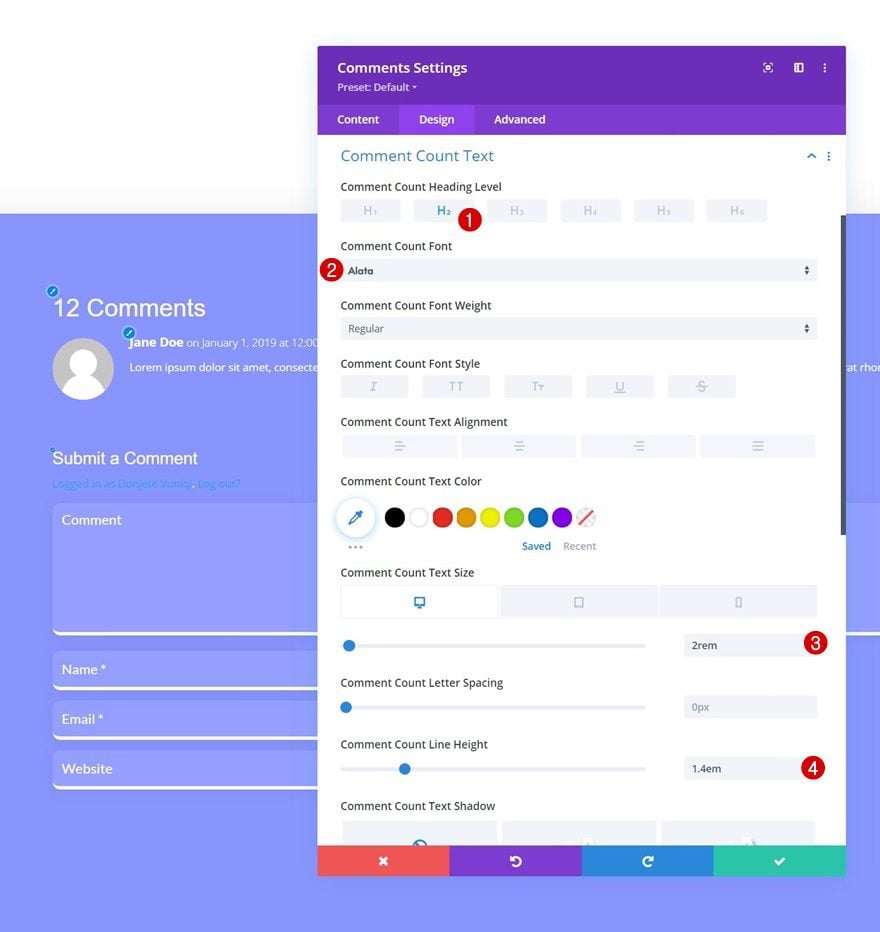
Comment Count Text Settings
We’re modifying the comment count text settings too.
- Comment Count Heading Level: H2
- Comment Count Font: Alata
- Comment Count Text Size: 2rem
- Comment Count Line Height: 1.4em
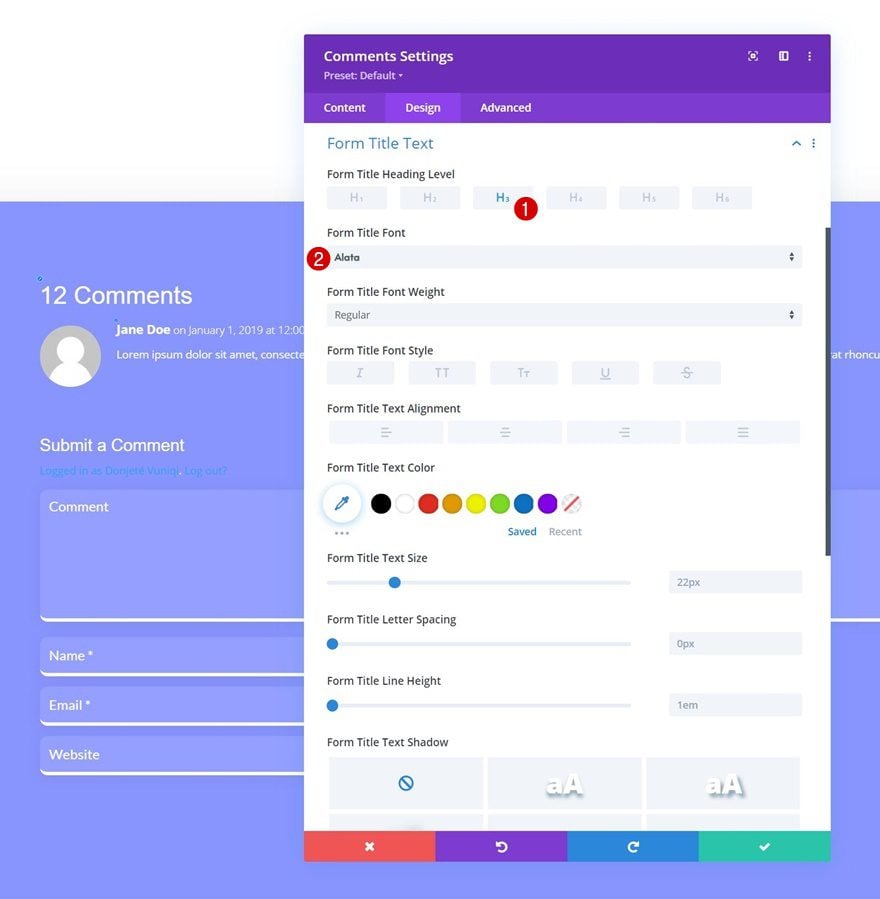
Form Title Text Settings
Along with the form title text settings.
- Form Title Heading Level: H3
- Form Title Font: Alata
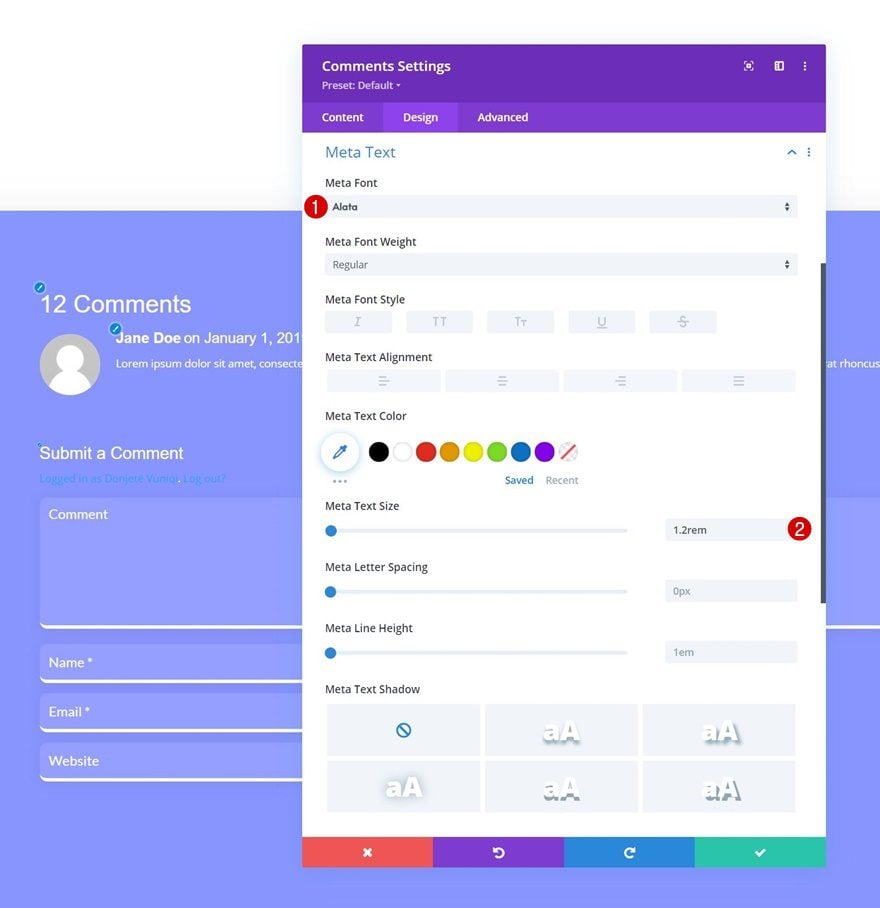
Meta Text Settings
Then, the meta text settings.
- Meta Font: Alata
- Meta Text Size: 1.2rem
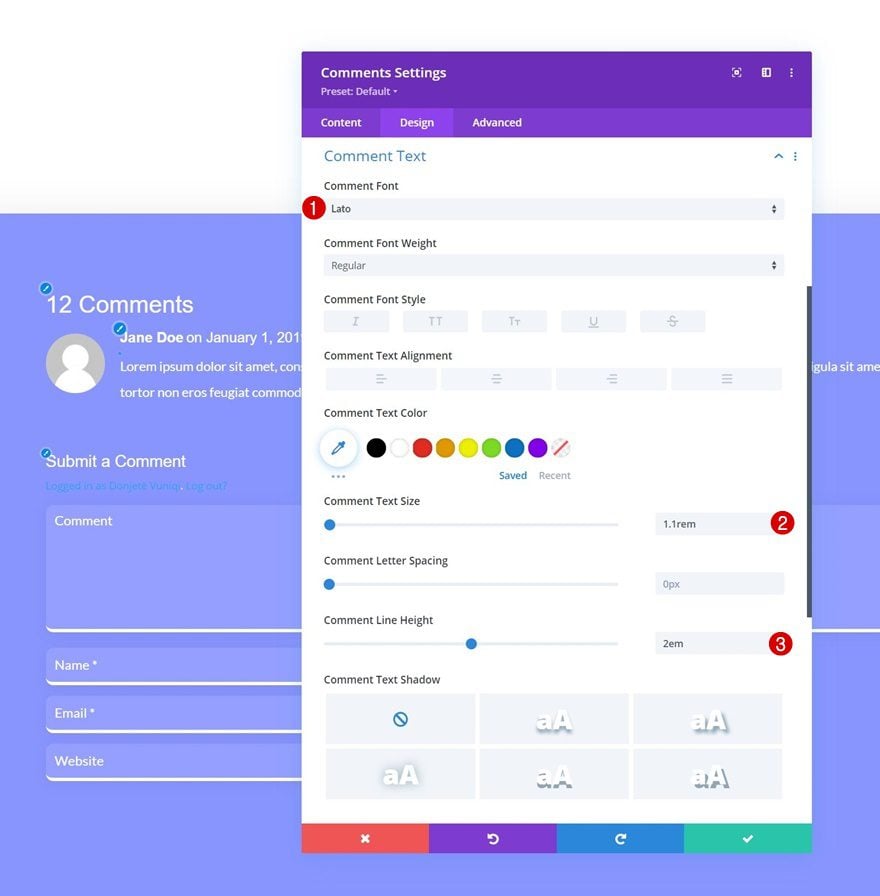
Comment Text Settings
We’ll modify the comment text settings as well.
- Comment Font: Lato
- Comment Text Size: 1.1rem
- Comment Line Height: 2em
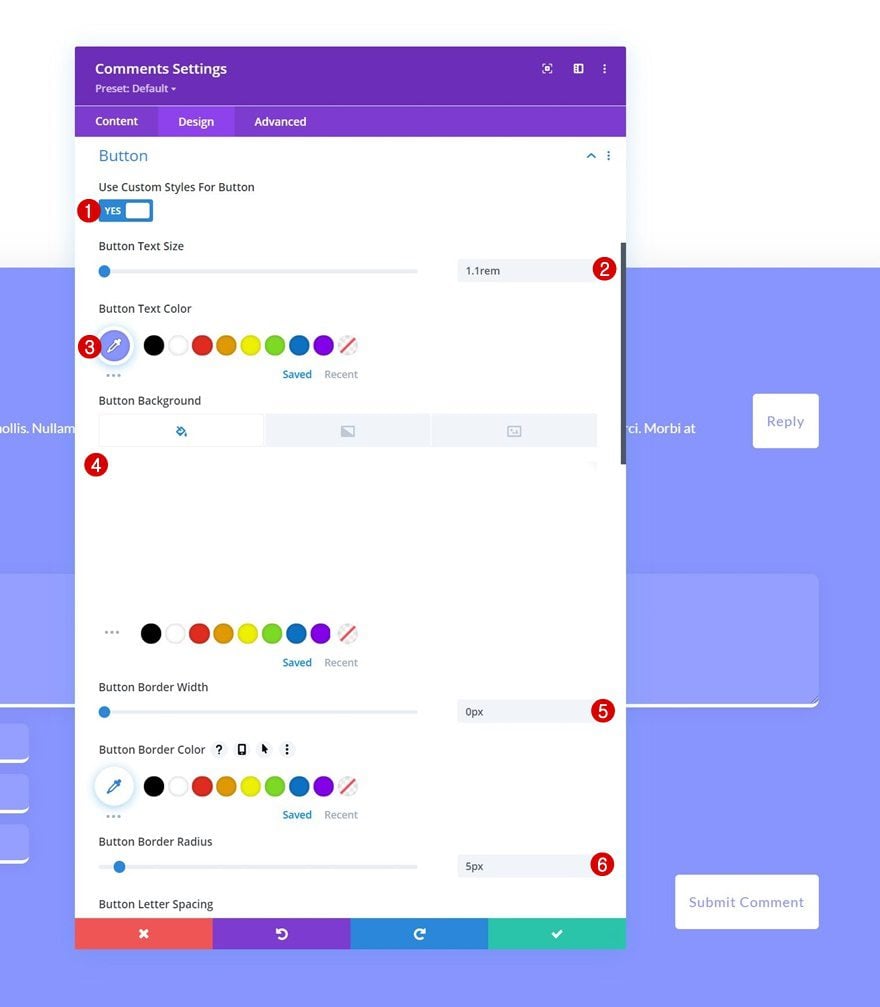
Button Settings
And we’ll style the button accordingly:
- Use Custom Styles For Button: Yes
- Button Text Size: 1.1rem
- Button Text Color: #8995ff
- Button Background Color: #ffffff
- Button Border Width: 0px
- Button Border Radius: 5px
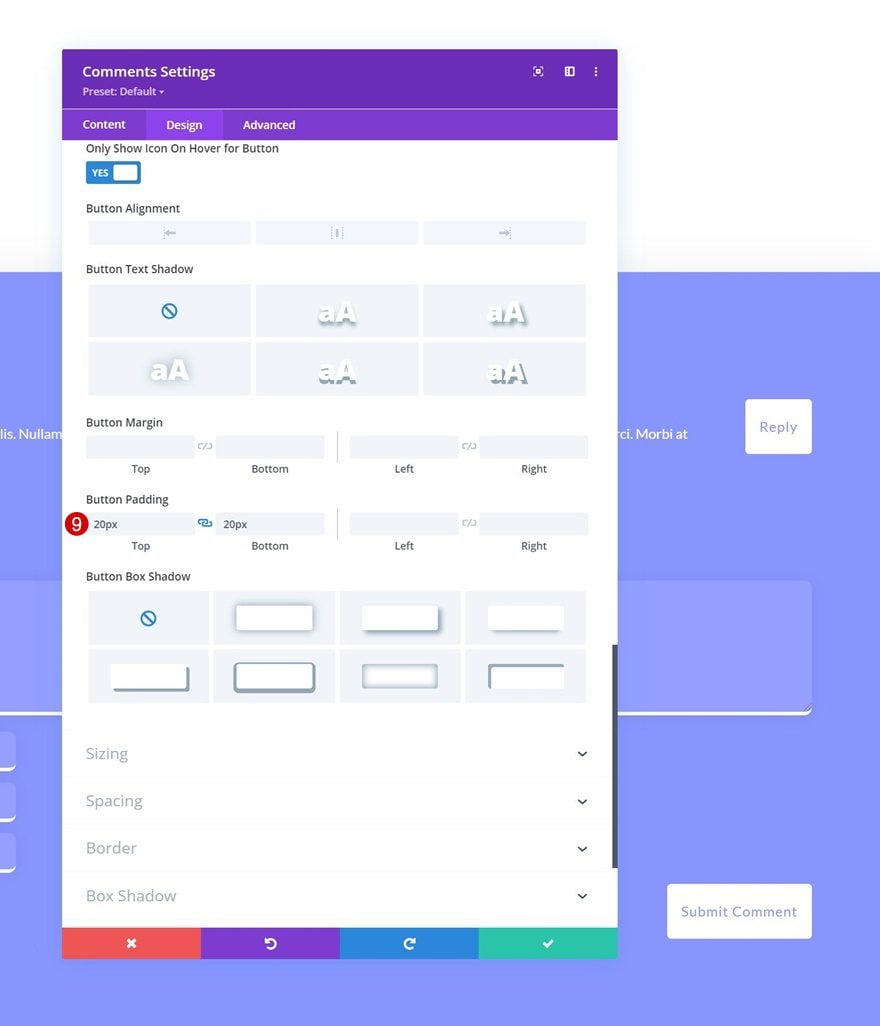
- Button Letter Spacing: 1px
- Button Font: Lato

- Button Top Padding: 20px
- Button Bottom Padding: 20px
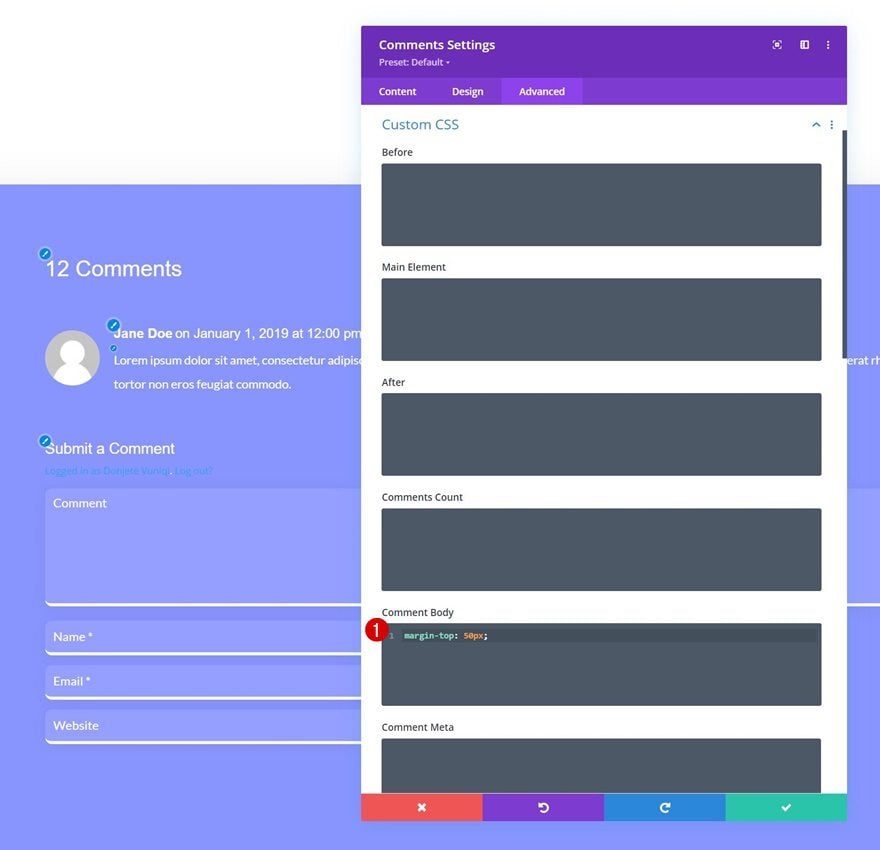
Comment Body CSS
Last but not least, we’ll complete the module settings by applying the following line of CSS code to the comment body in the advanced tab:
margin-top: 50px;
Now that the design of our blog post template has been completed, we’re going to turn the sidebar column sticky using Divi’s sticky options. Open the column 2 settings.
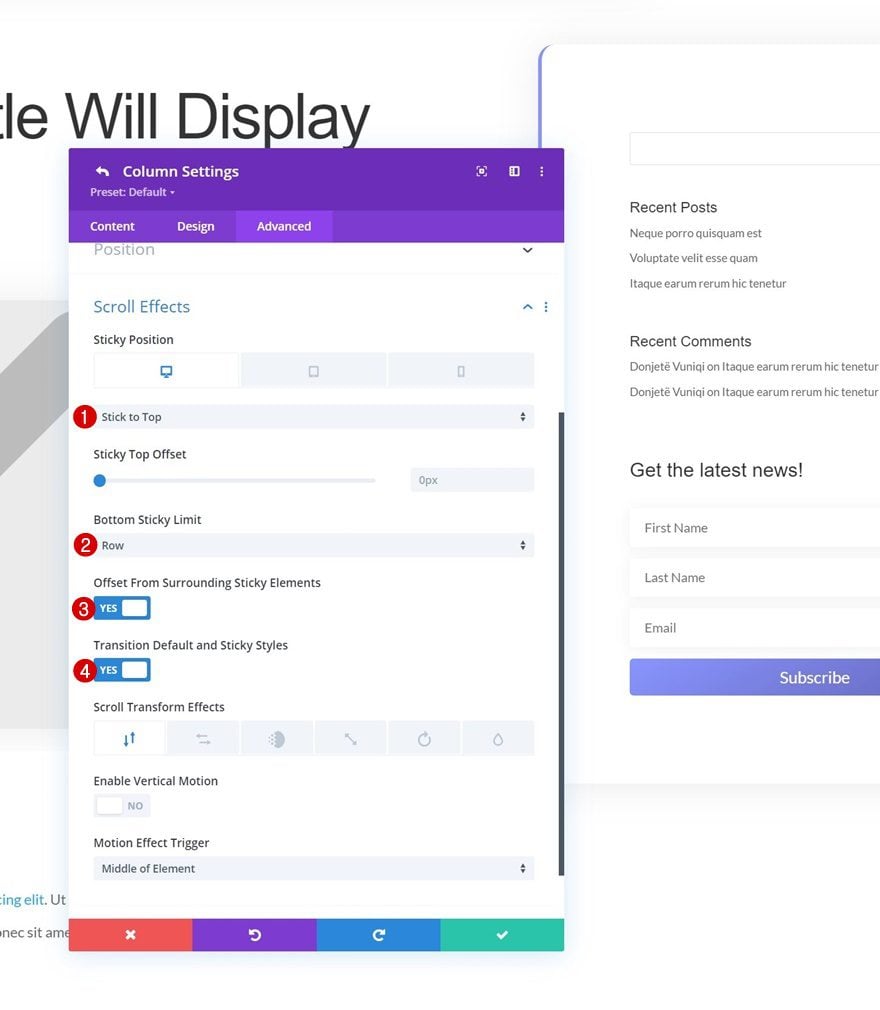
Apply Sticky Effect
Move on to the column’s advanced tab and apply the following sticky settings:
- Sticky Position:
- Desktop: Stick to Top
- Tablet & Phone: Do Not Sticky
- Bottom Sticky Limit: Row
- Offset From Surrounding Sticky Elements: Yes
- Transition Default and Sticky Styles: Yes
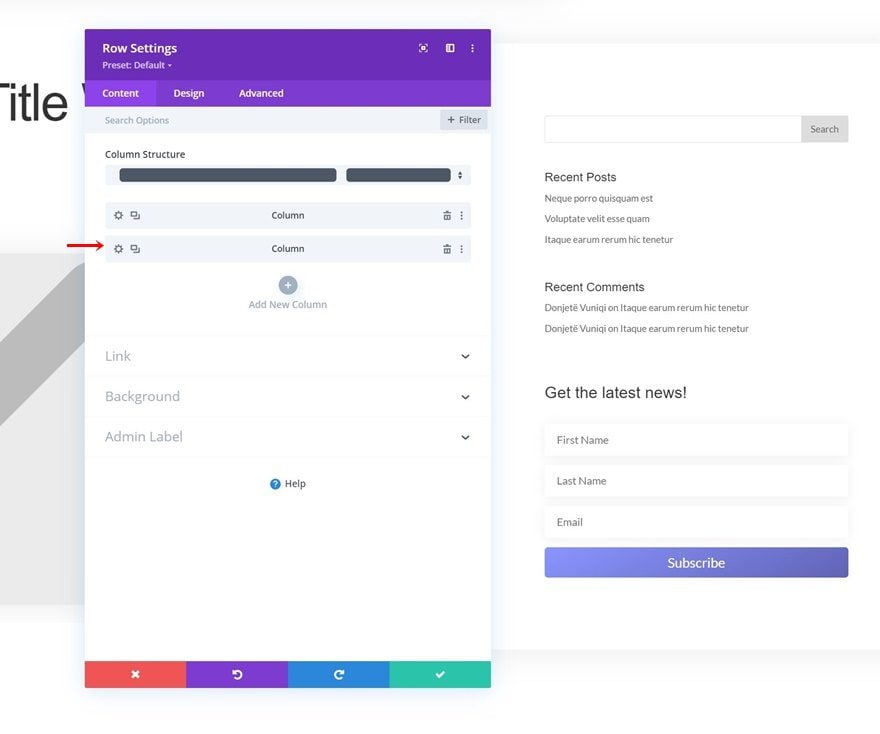
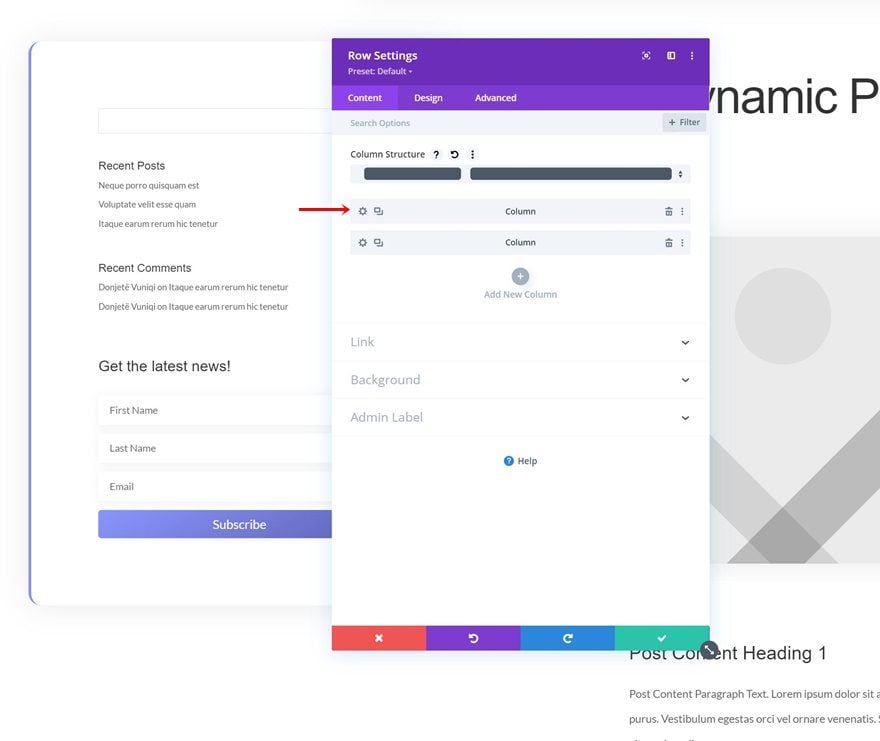
If you want to place the sidebar on the left side of your template instead, open the row settings and drag the second column to the top.
Open the column containing the sidebar and modify the border settings accordingly:
- Right Border Width:
- Desktop: 5px
- Tablet & Phone: 0px
- Right Border Color: #8995ff
- Left Border Width: None

Apply Column Reverse if Wanted
If you decide to go for a sticky sidebar on the left side of your blog post template, you might want to place the sidebar below the post content on smaller screen sizes. To achieve that, you can use the second approach inside this Divi tutorial on how to reverse Divi’s column stacking order.
Preview
Now that we’ve gone through all the steps, let’s take a final look at the outcome across different screen sizes.
Desktop
Mobile
Final Thoughts
In this post, we’ve shown you how to get the best out of your blog post template design you build using Divi’s Theme Builder. More specifically, we’ve shown you step by step how to include a sticky sidebar which is made possible by Divi’s sticky options. The sticky sidebar will follow your visitors while they’re reading through the post content, which allows them to see related posts, your email option or anything else you decide to place in your sticky sidebar. You were able to download the template JSON file for free as well! If you have any questions or suggestions, feel free to leave a comment in the comment section below.
If you’re eager to learn more about Divi and get more Divi freebies, make sure you subscribe to our email newsletter and YouTube channel so you’ll always be one of the first people to know and get benefits from this free content.


Hi
I wonder if its possible to build a slider side bar. A left or right bar or both, that slides in and out from left to right and right to left open and closing? So I can add elements on the bar for specific pages and posts.
Yes, it’s totally possible to create a slide-in sidebar (from left, right, or both) in Divi using custom CSS and a bit of jQuery. Here’s a detailed tutorial on building a sliding push sidebar: How to Create a Sliding Push Sidebar in Divi. It lets you add custom elements for specific pages/posts too. Let us know if you need more tips!
Wow! Thanks! That’s a great explanation. Very detail.
Can i place ads inside that sticky sidebar?
how to increase my domain authority with free big authority backlink