
Looking for a way to streamline the way you create portfolio items on your website? If so, you’ll love this post. In this tutorial, we’ll show you how to create a dynamic portfolio project template with Divi’s Theme Builder and the ACF plugin. Building a portfolio project template will allow you to design the template body once and have it apply to all the portfolio items you add in the future as well. The template design we’ve created matches all kinds of creative professions, but it’s only the tip of the iceberg. You can add as many fields as you want and use those inside your template. You’ll be able to download the JSON file of the design we’ll recreate for free as well!
Let’s get to it.
- 1 Preview
- 2 Download The Dynamic Portfolio Project Template for FREE
- 3 Download For Free
- 4 1. Install ACF & Setup Project Fields
- 5 2. Create New Project
- 6 3. Create New Template
-
7
4. Start Building Template Body
- 7.1 Section #1
- 7.2 Add Row #1
- 7.3 Add Text Module #1 to Column
- 7.4 Add Text Module #2 to Column
- 7.5 Add Text Module #3 to Column
- 7.6 Add Post Content Module
- 7.7 Add Row #2
- 7.8 Add Image Module to Column 1
- 7.9 Add Text Module to Column 2
- 7.10 Add Section #2
- 7.11 Add Row
- 7.12 Add Image Module to Column
- 7.13 Add Section #3
- 7.14 Add Row #1
- 7.15 Add Text Module to Column 1
- 7.16 Add Text Module to Column 2
- 7.17 Clone Row
- 7.18 Change Copy of Text Module in Column 1
- 7.19 Change Dynamic Content of Text Module in Column 2
- 7.20 Add Button Module to Column 2 of Duplicate Row
- 7.21 Add Section #4
- 7.22 Add Row
- 7.23 Add Testimonial Module to Column
- 8 4. Save Theme Builder Changes & View Result
- 9 Preview
- 10 Final Thoughts
Preview
Before we dive into the tutorial, let’s take a quick look at the outcome across different screen sizes.
Desktop

Mobile

Download The Dynamic Portfolio Project Template for FREE
Important: you’ll have to manually add dynamic content to each module after you set up the ACF fields and upload the template JSON file to the Theme Builder.
To lay your hands on the free dynamic portfolio project template, you will first need to download it using the button below. To gain access to the download you will need to subscribe to our newsletter by using the form below. As a new subscriber, you will receive even more Divi goodness and a free Divi Layout pack every Monday! If you’re already on the list, simply enter your email address below and click download. You will not be “resubscribed” or receive extra emails.

1. Install ACF & Setup Project Fields
Install & Activate ACF
Start by installing the free Advanced Custom Fields plugin on your WordPress website. After installing it, make sure you activate it as well.

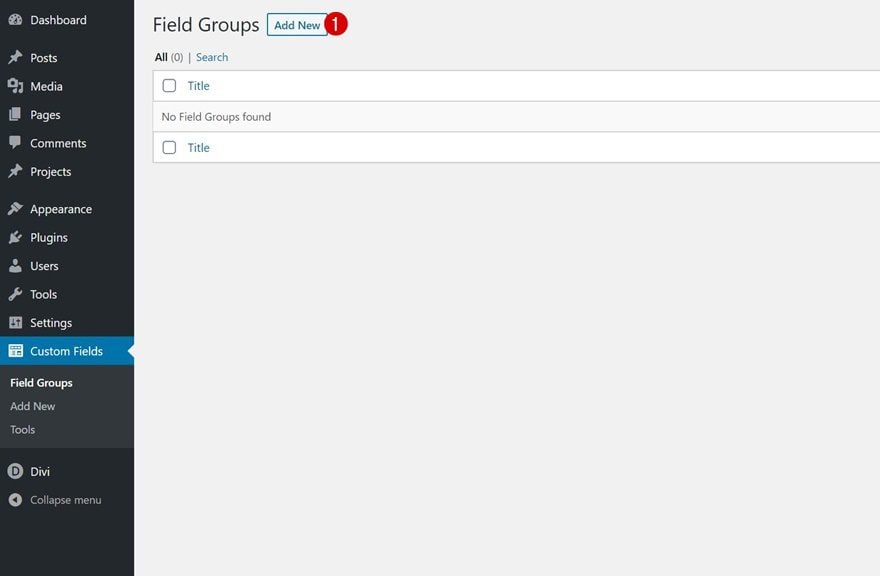
Set up Fields Group
Once you’ve installed and activated the plugin, it’s time to start creating the custom fields. Go to your plugin settings and add a new field group.
Modify the location of your field group. We want it to show up on our projects only.
- Post Type – is equal to – Project
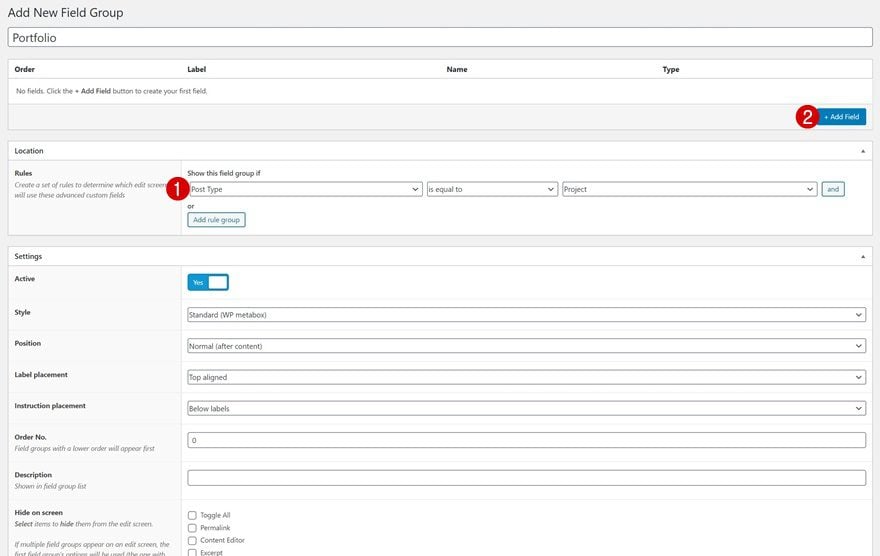
Add Fields
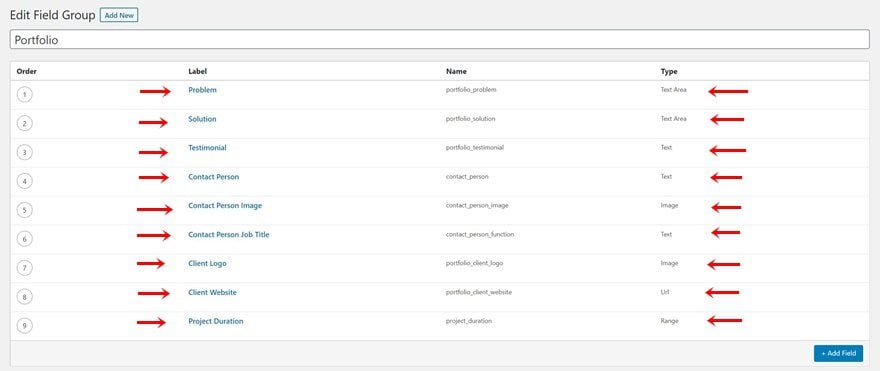
Continue by adding a new field for each one of the items mentioned below:
- Problem
- Field Label: Problem
- Field Type: Text Area
- Solution
- Field Label: Solution
- Field Type: Text Area
- Testimonial
- Field Label: Testimonial
- Field Type: Text
- Contact Person
- Field Label: Contact Person
- Field Type: Text
- Contact Person Image
- Field Label: Contact Person Image
- Field Type: Image
- Contact Person Job Title
- Field Label: Contact Person Job Title
- Field Type: Text
- Client Logo
- Field Label: Client Logo
- Field Type: Image
- Client Website
- Field Label: Client Website
- Field Type: Url
- Project Duration
- Field Label: Project Duration
- Field Type: Range
- Append: weeks
Know that you’re free to add as many fields as you want, depending on the project template you want to create. To recreate the exact design that was shown in the preview of this post, you’ll need all the fields mentioned above.
2. Create New Project
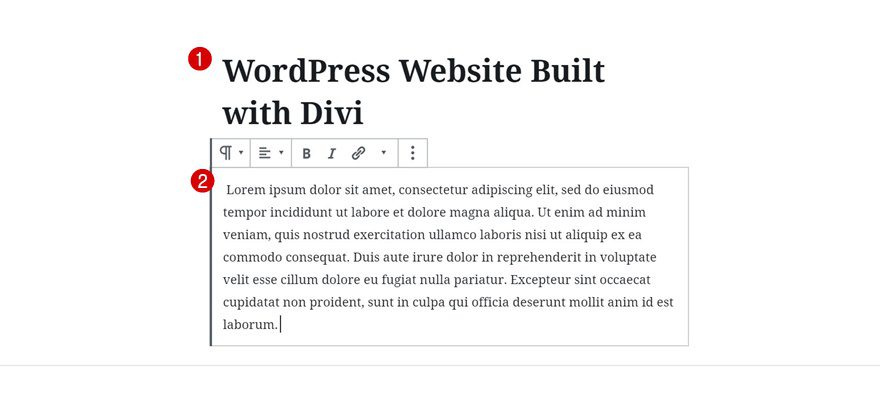
Add Portfolio Project Title & Description
Once you’ve set up the field group and all of its fields, it’s time to create a sample project. Go to your WordPress dashboard, add a new project and enter a title and description.
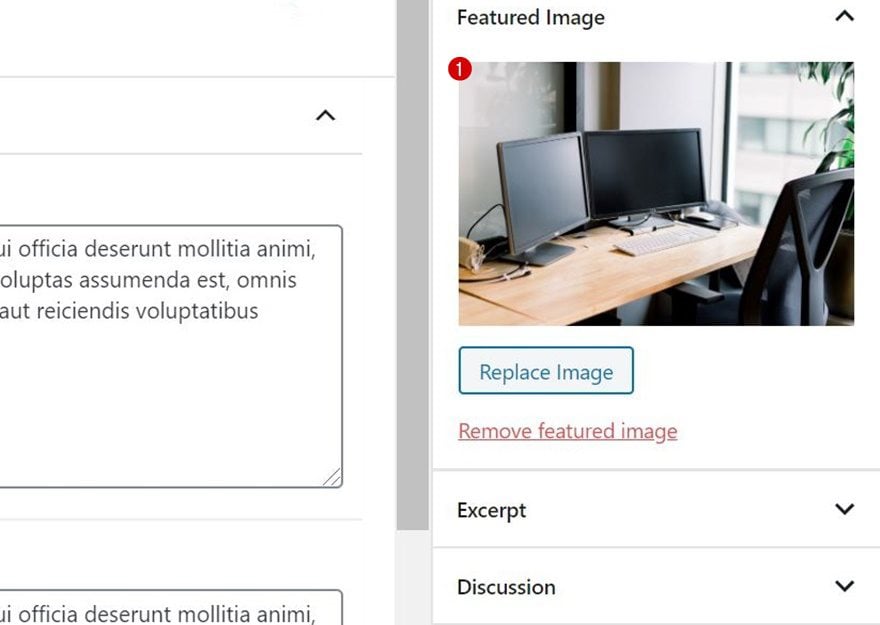
Upload Featured Image
Then, upload a featured image of your choice.
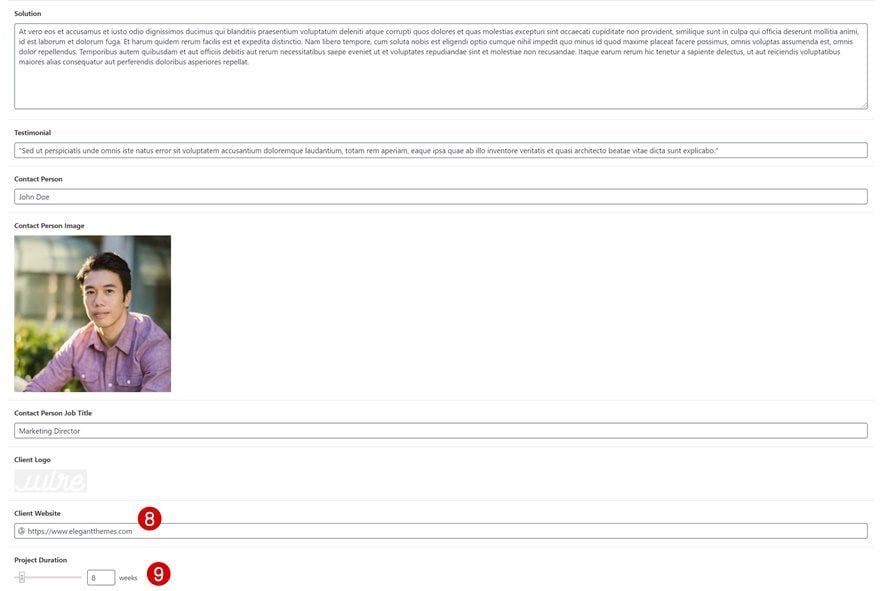
Fill in All Custom Fields
Continue by filling in all the different custom fields you’ve added in the first part of the tutorial.

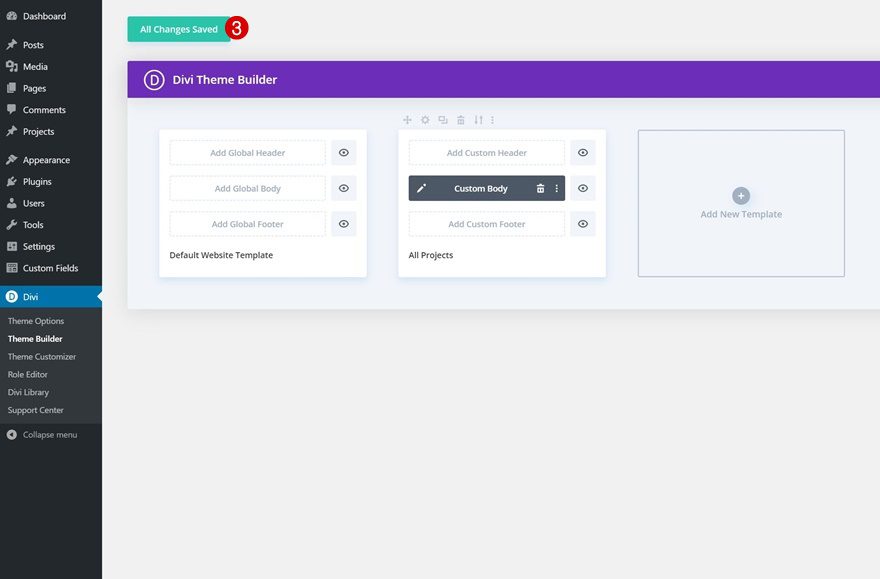
3. Create New Template
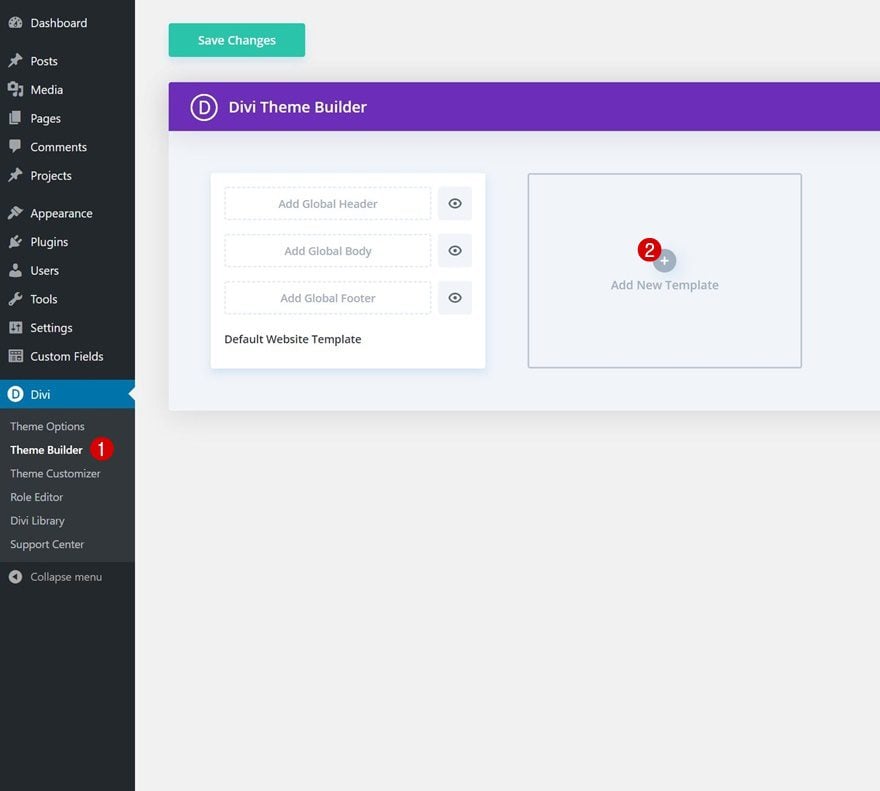
Go to Divi Theme Builder & Create New Template
Time to start building the template! Go to the Divi Theme Builder and add a new template.
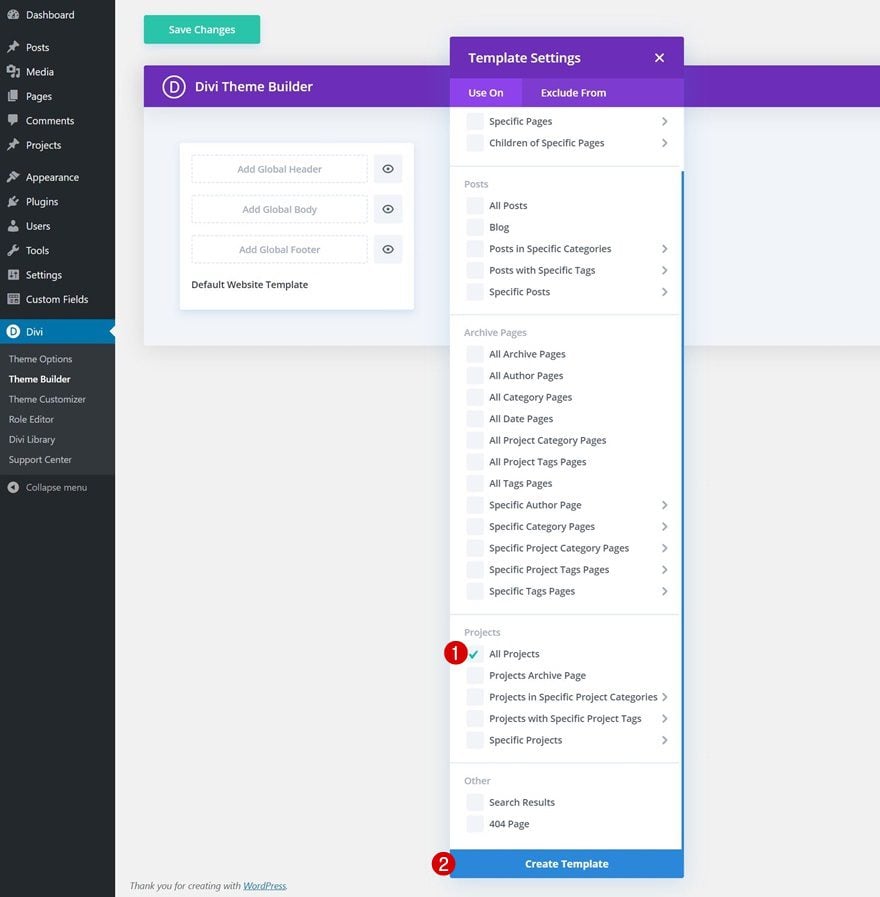
Use On
Apply the template to all your projects.
- Use On: All Projects
4. Start Building Template Body
Continue by starting to build the custom body of the template.

Section #1
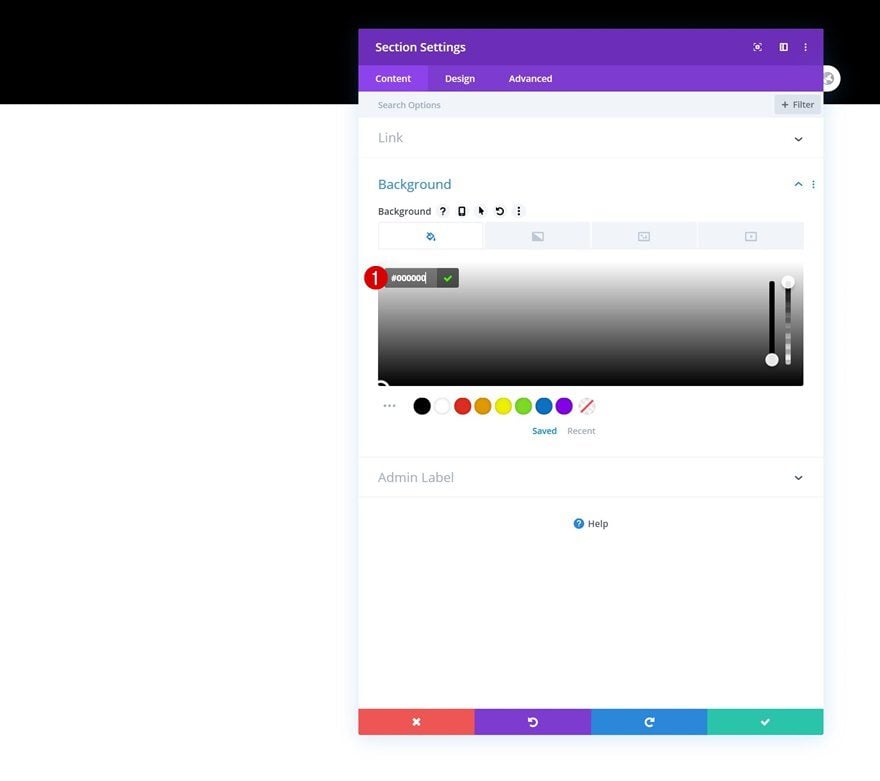
Background Color
Inside the template editor, you’ll notice a section. Open that section and add a black background color.
- Background Color: #000000
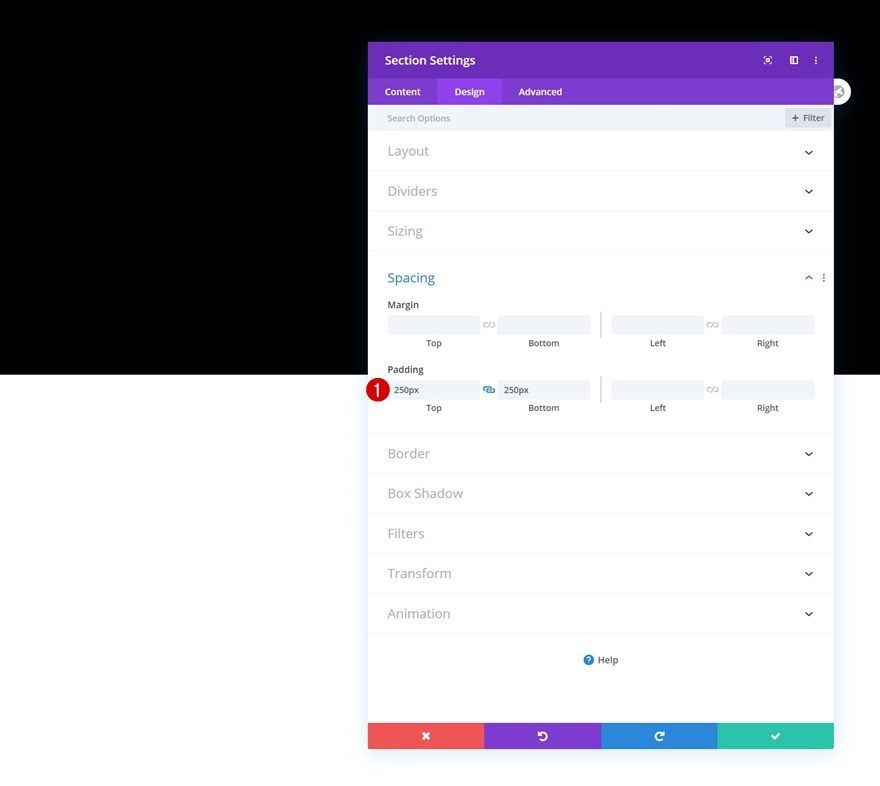
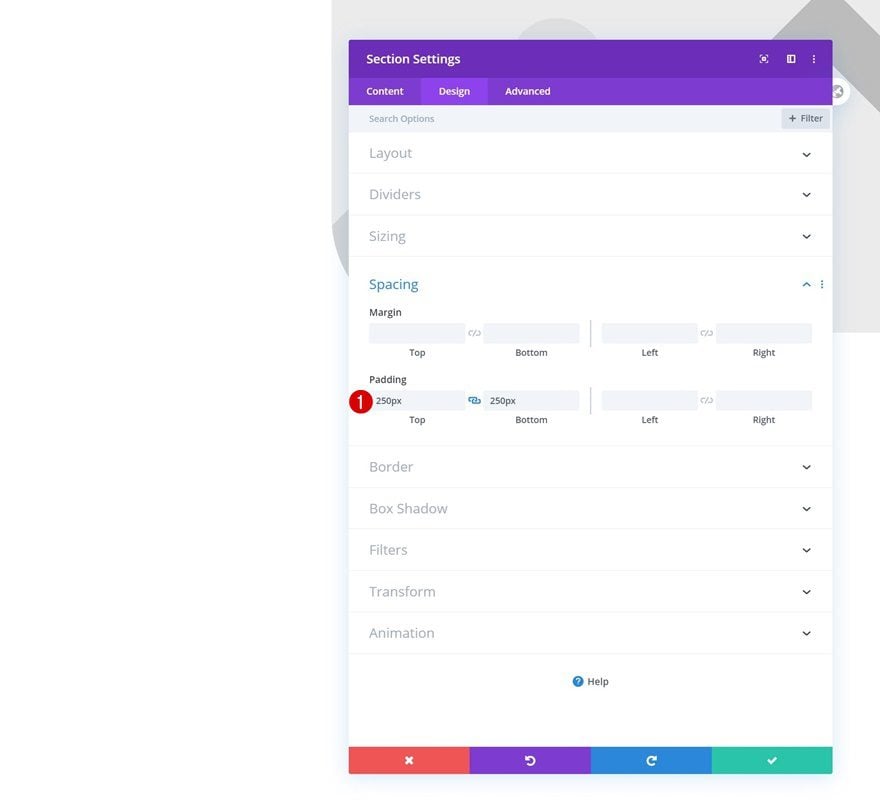
Spacing
Add some custom top and bottom padding next.
- Top Padding: 250px
- Bottom Padding: 250px
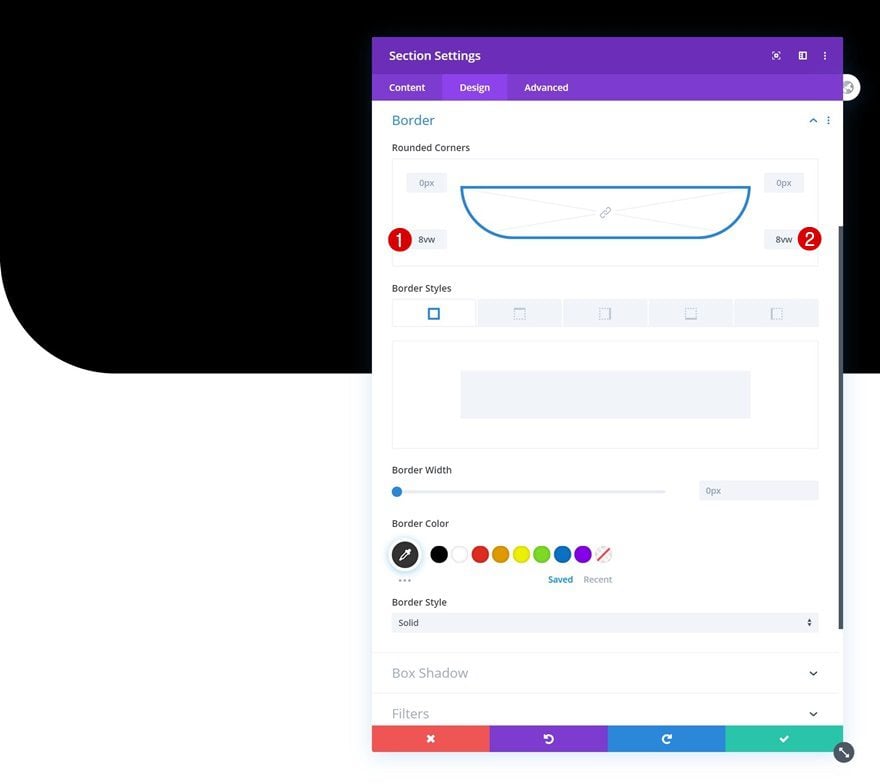
Border
Add some bottom left and right border radius too.
- Bottom Left: 8vw
- Bottom Right: 8vw
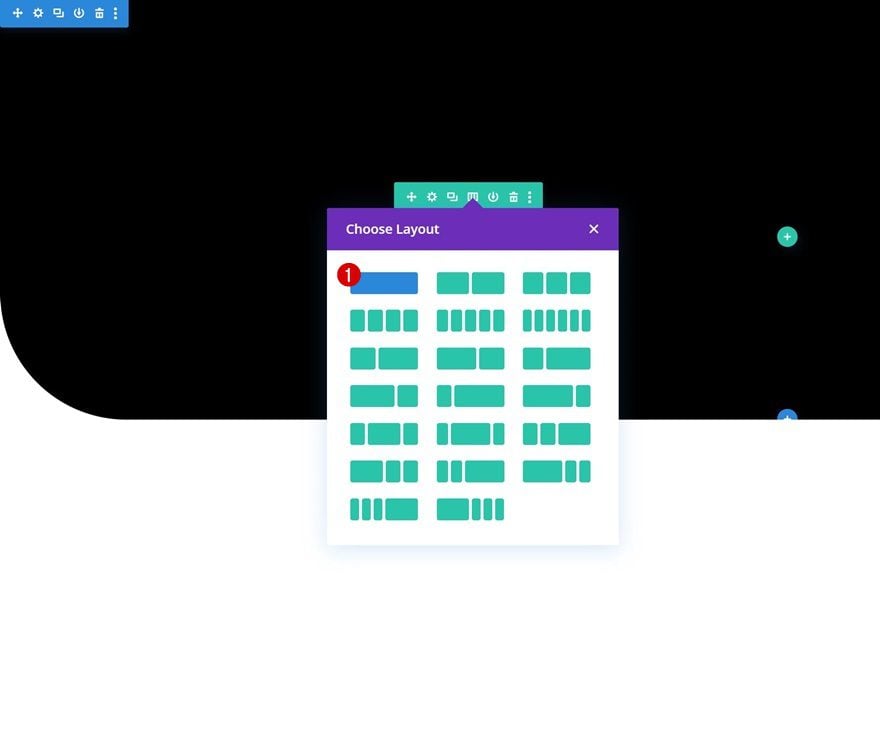
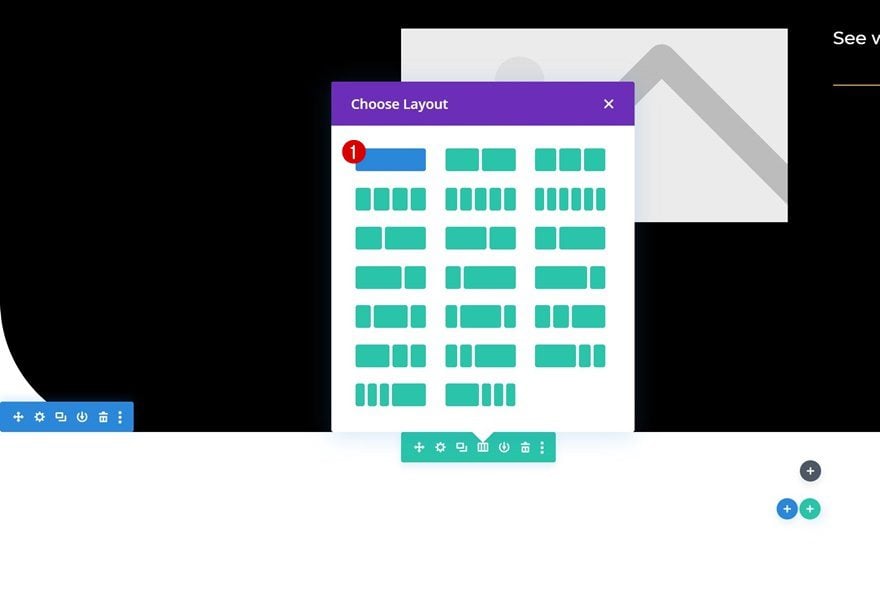
Add Row #1
Column Structure
Continue by adding a first row to the section using the following column structure:
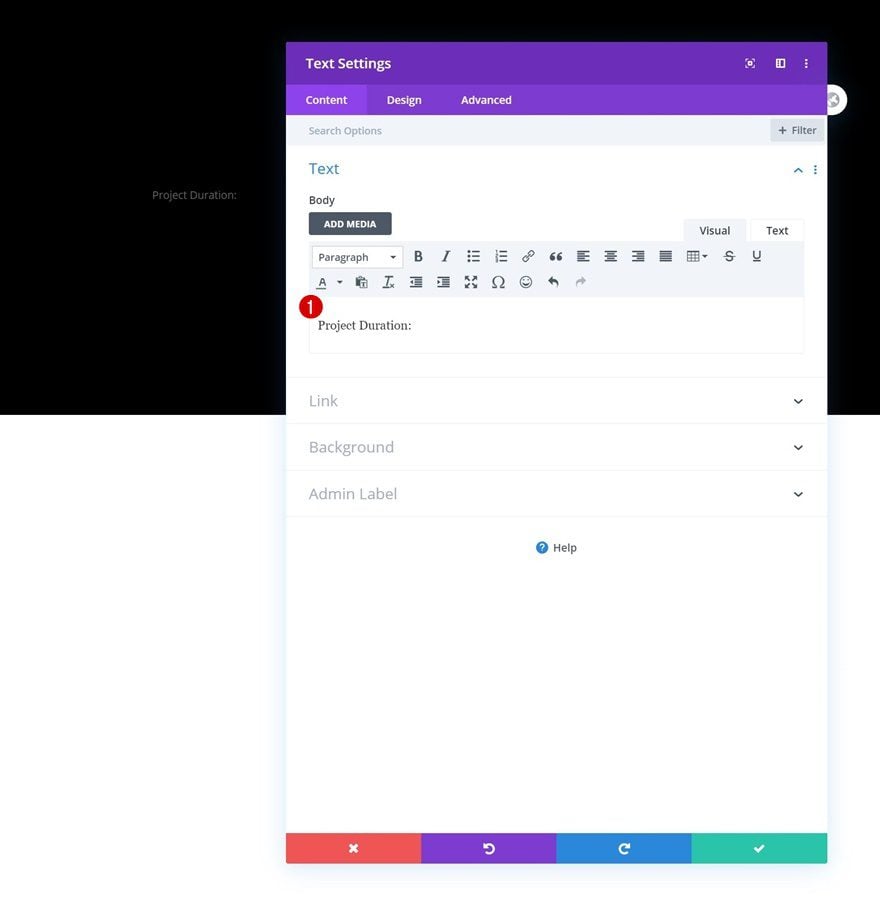
Add Text Module #1 to Column
Add Content
Then, add a Text Module and place some content in the content box.
- Body: Project Duration:
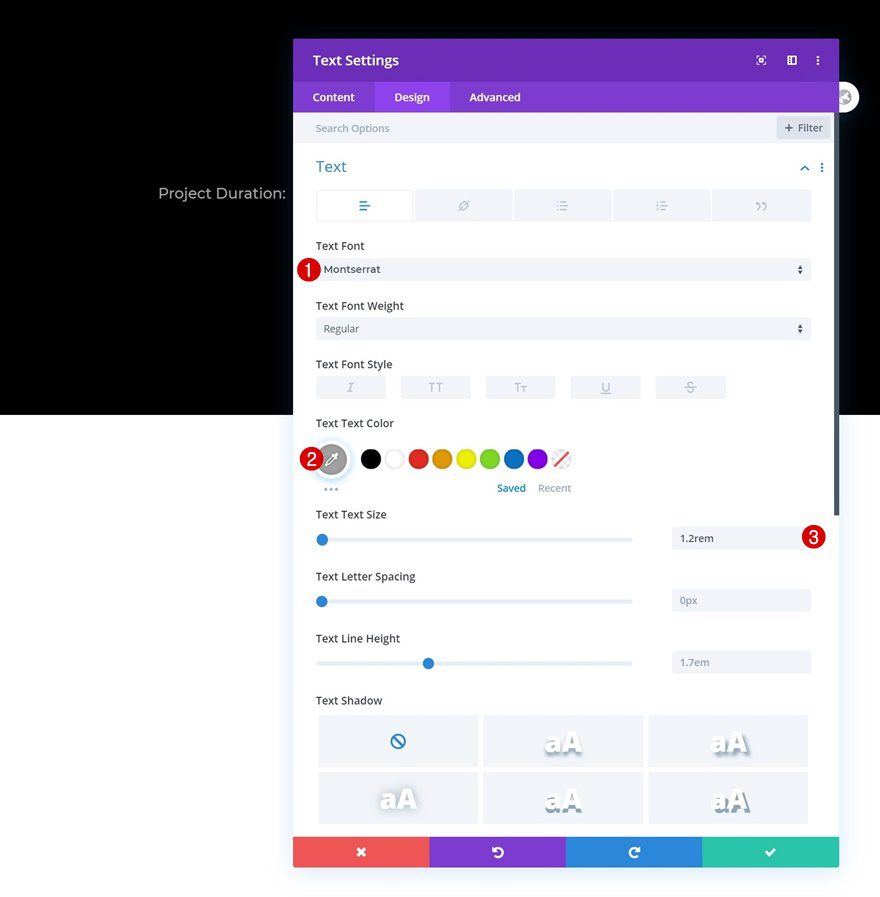
Text Settings
Move on to the module’s design tab and change the text settings as follows:
- Text Font: Montserrat
- Text Color: #a0a0a0
- Text Size: 1.2rem
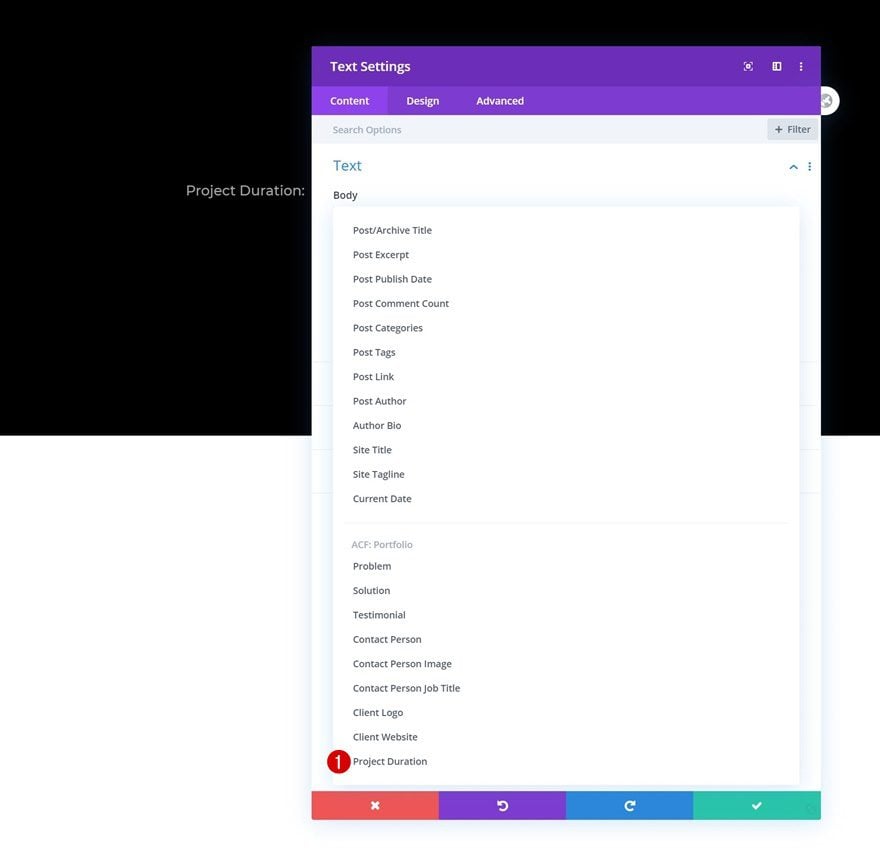
Add Text Module #2 to Column
Dynamic Content
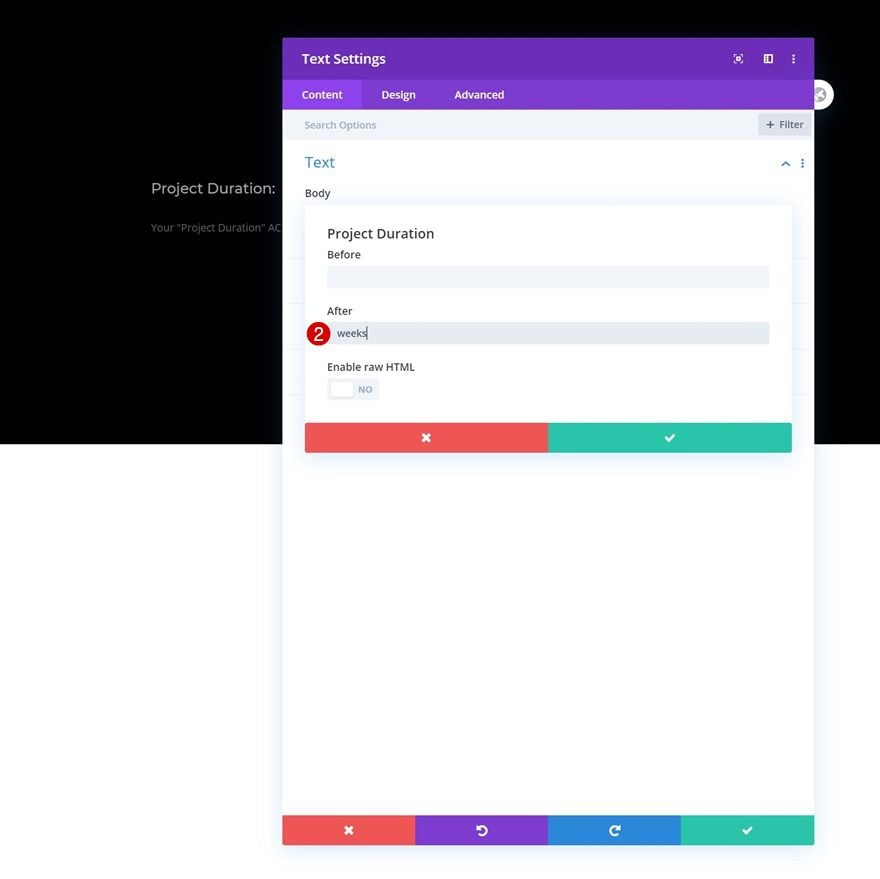
Add another Text Module to the column and select the project duration dynamic content.
- Dynamic Content: Project Duration
- After: weeks
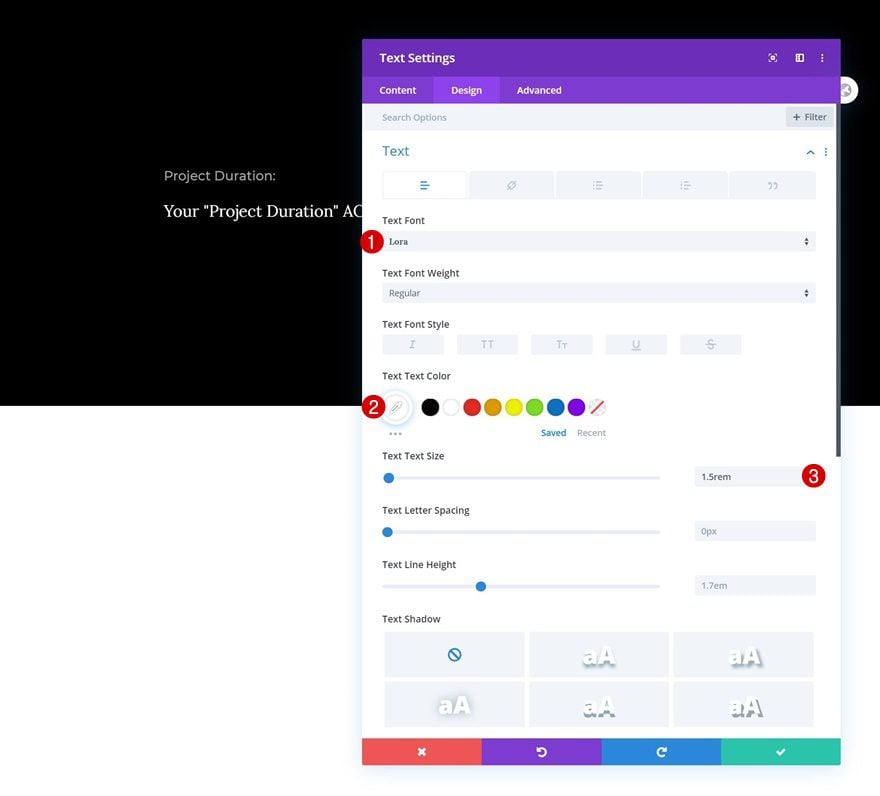
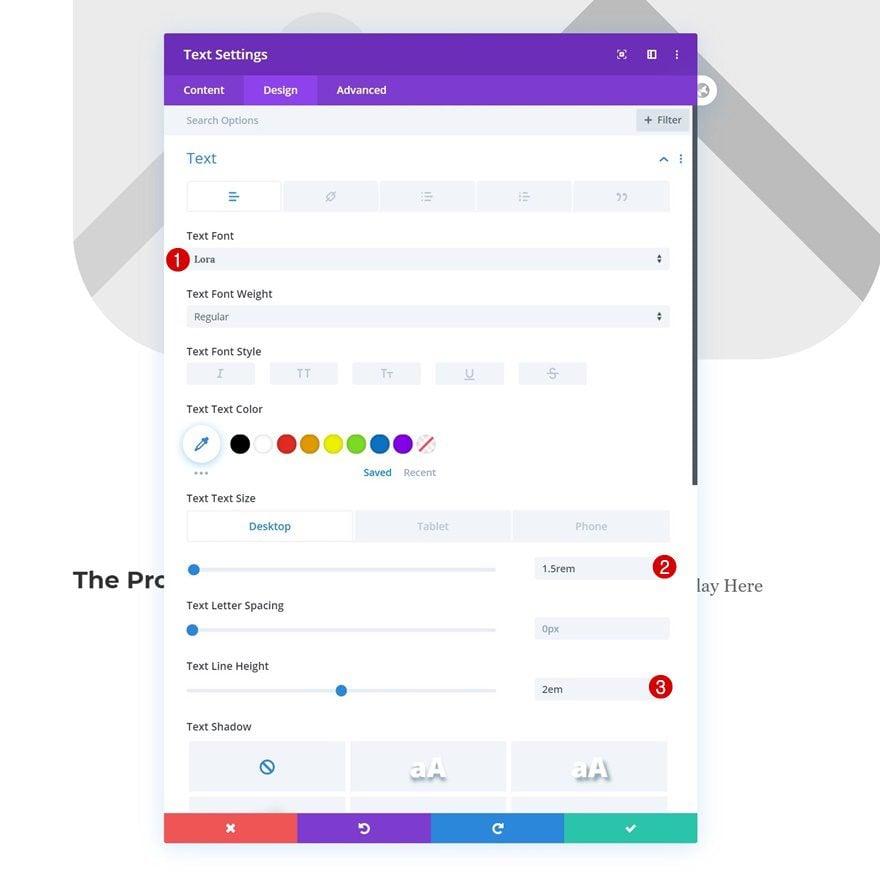
Text Settings
Change the module’s text settings next.
- Text Font: Lora
- Text Color: #ffffff
- Text Size: 1.5rem
Add Text Module #3 to Column
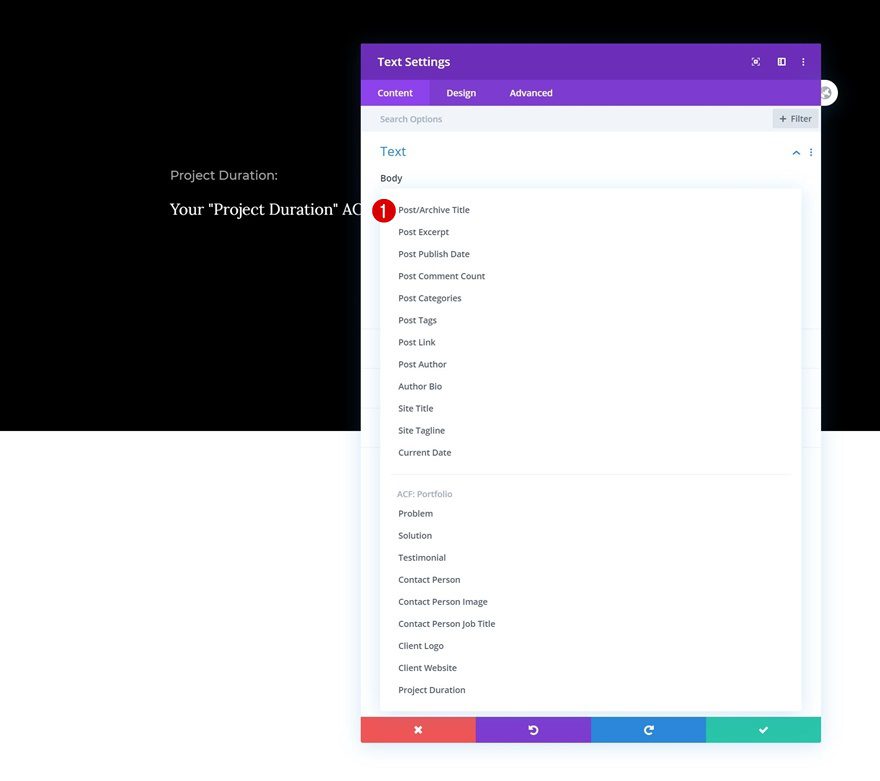
Dynamic Content
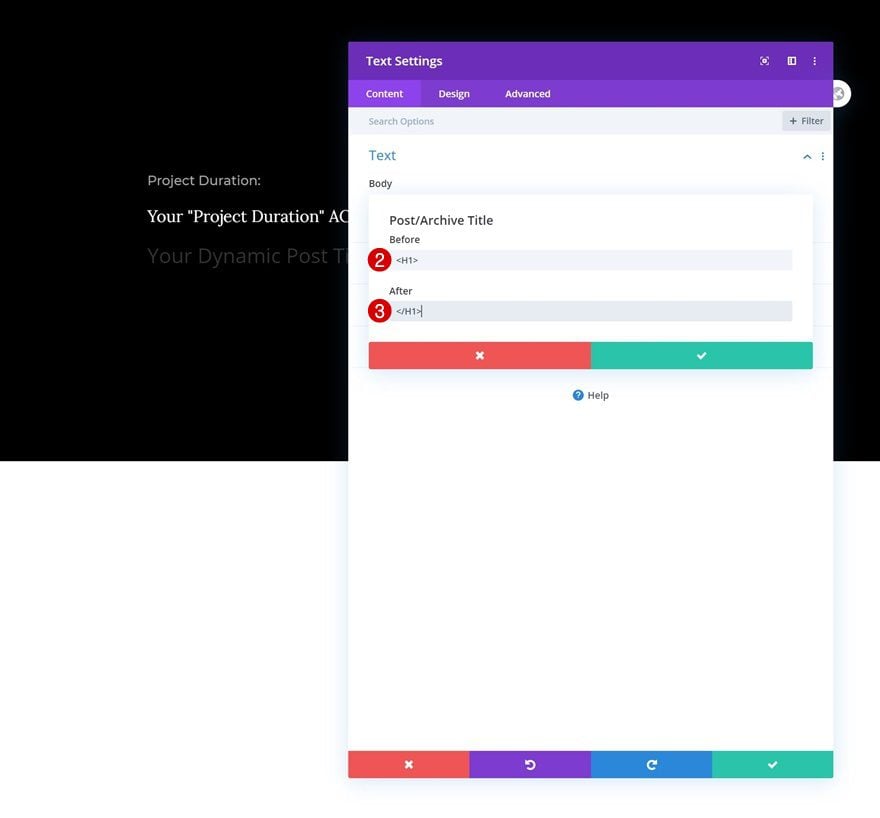
Add another Text Module and select the post/archive title dynamic content.
- Dynamic Content: Post/Archive Title
- Before: <H1>
- After: </H1>
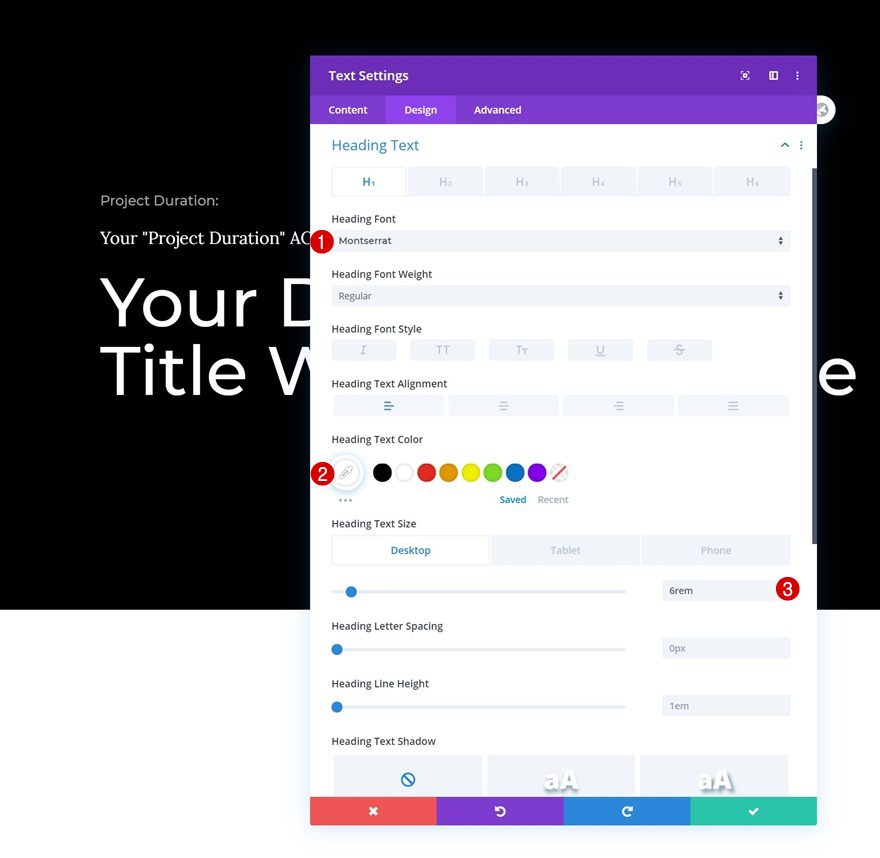
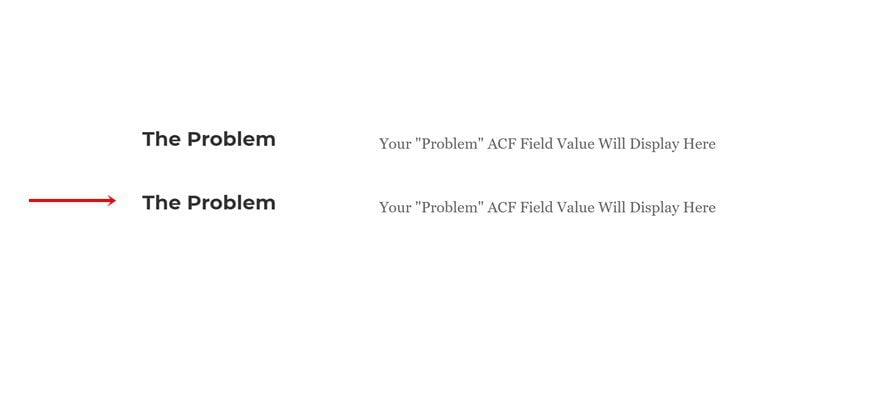
H1 Text Settings
Style the H1 text settings of the module.
- Heading Font: Montserrat
- Heading Text Color: #ffffff
- Heading Text Size: 6rem (Desktop), 3rem (Tablet & Phone)
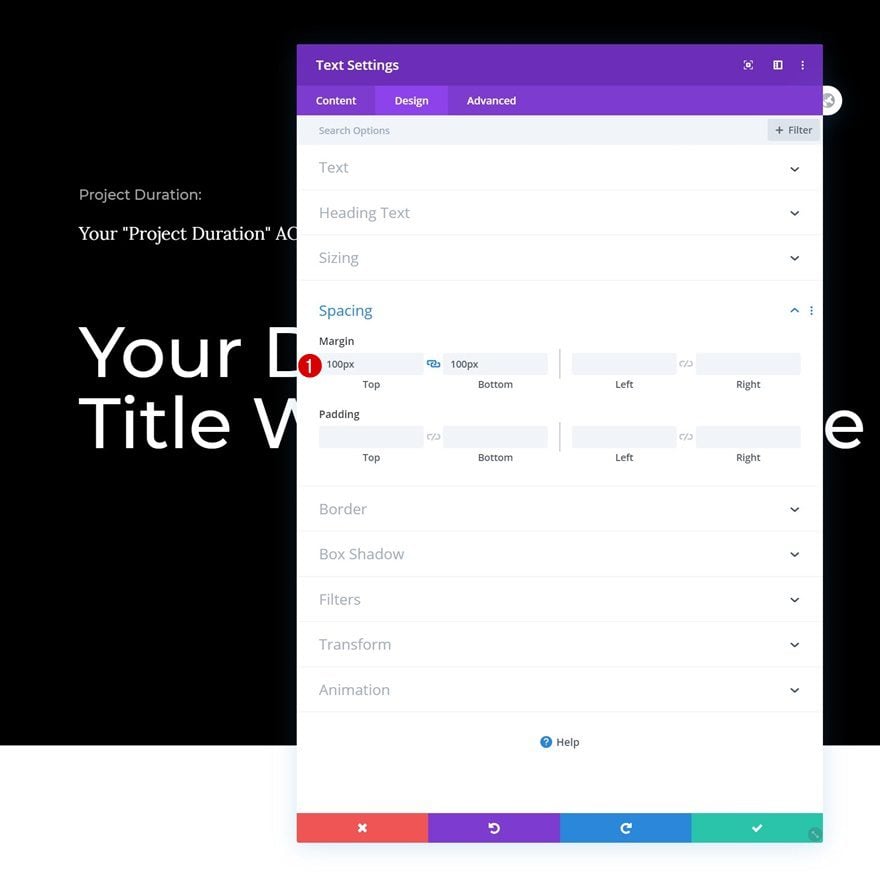
Spacing
Complete the module’s settings by adding some top and bottom margin.
- Top Margin: 100px
- Bottom Margin: 100px
Add Post Content Module
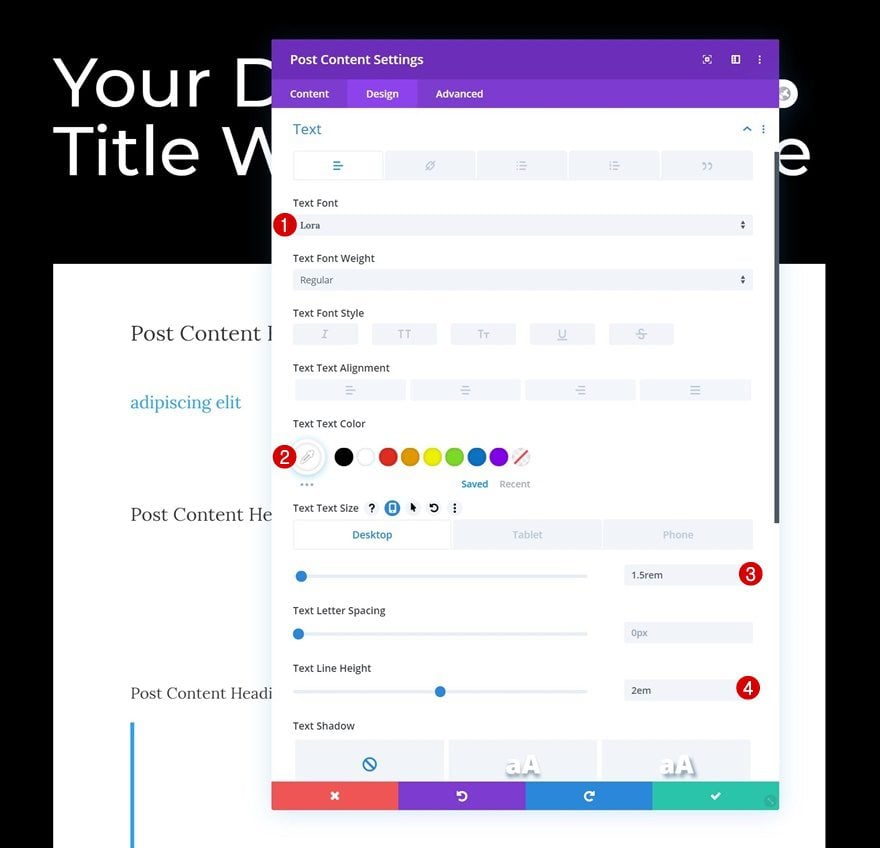
Text Settings
The next and last module we need in the column is a Post Content Module. This will show the description of your project. Change the module’s text settings as follows:
- Text Font: Lora
- Text Color: #ffffff
- Text Size: 1.5rem (Desktop), 0.9rem
- Text Line Height: 2em
Add Row #2
Column Structure
Add another row to the section using the following column structure:

Add Image Module to Column 1
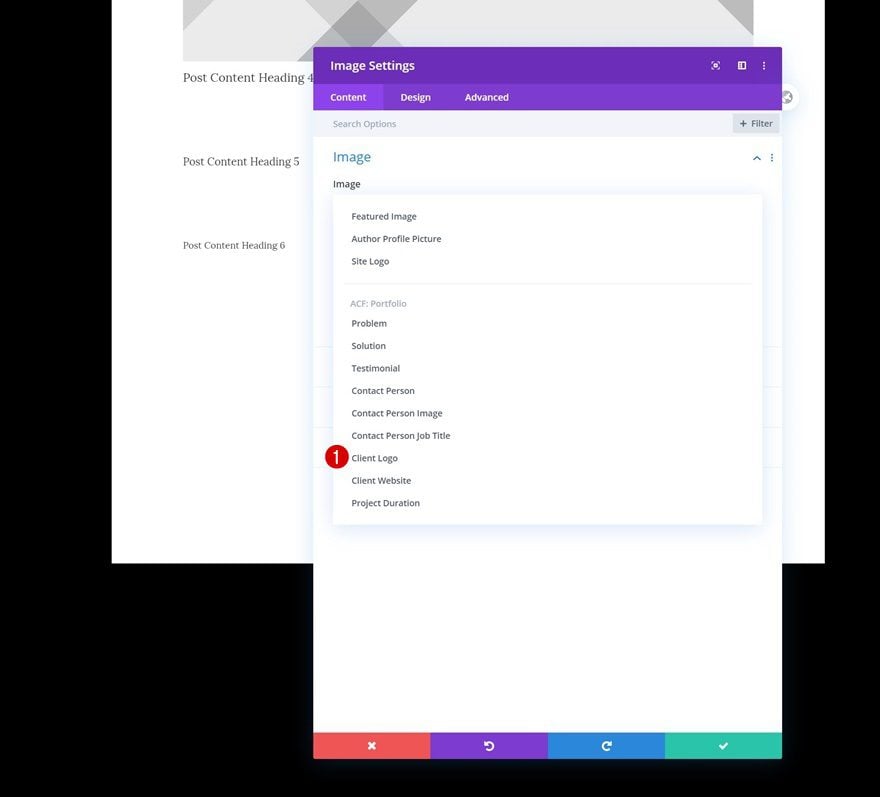
Dynamic Content
Add an Image Module to column 1 and select the client logo dynamic content.
- Dynamic Content: Client Logo
Add Text Module to Column 2
Add Content
Then, add a Text Module to column 2 and enter some copy of your choice.
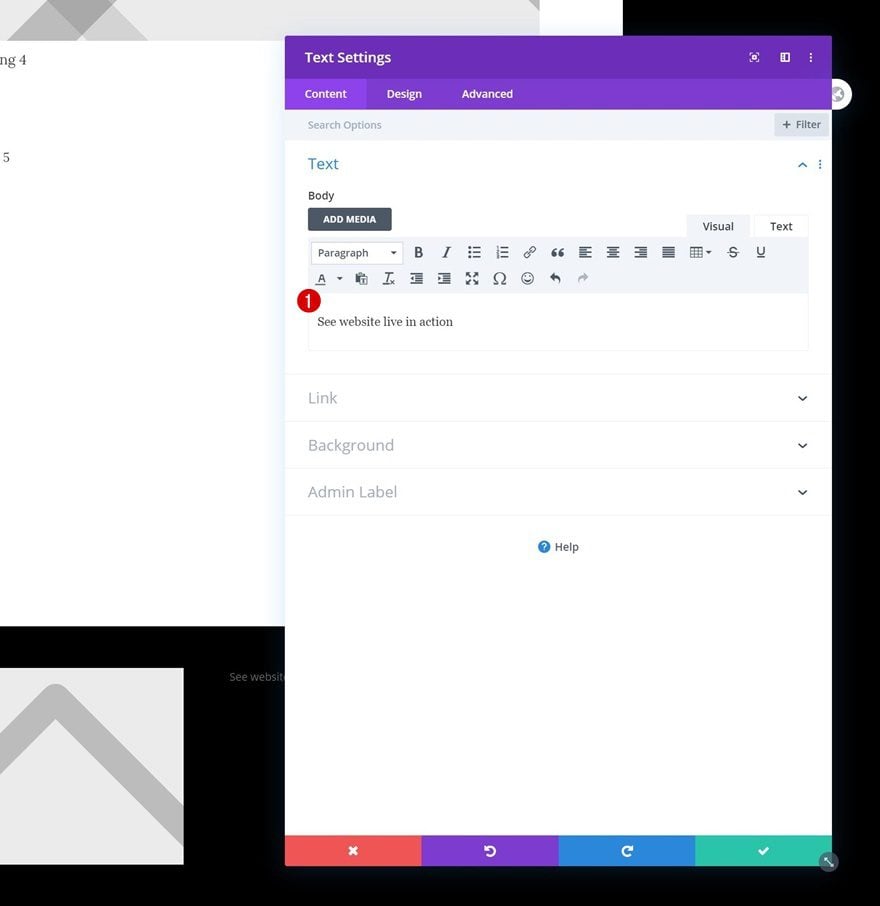
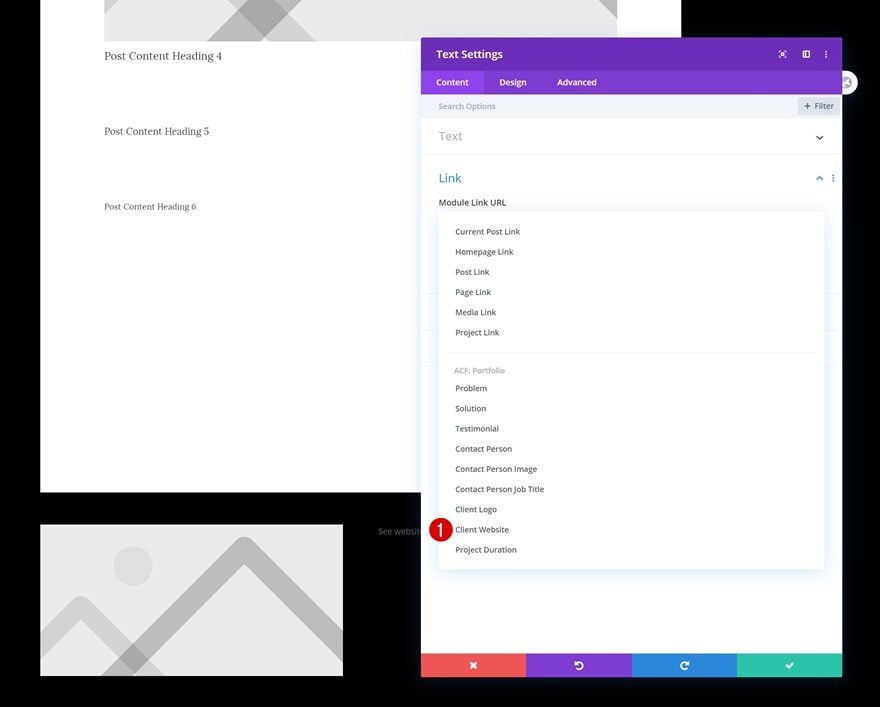
Link Dynamic Content
Link the module to the client website by selecting the client website dynamic content in the link settings.
- Dynamic Content: Client Website
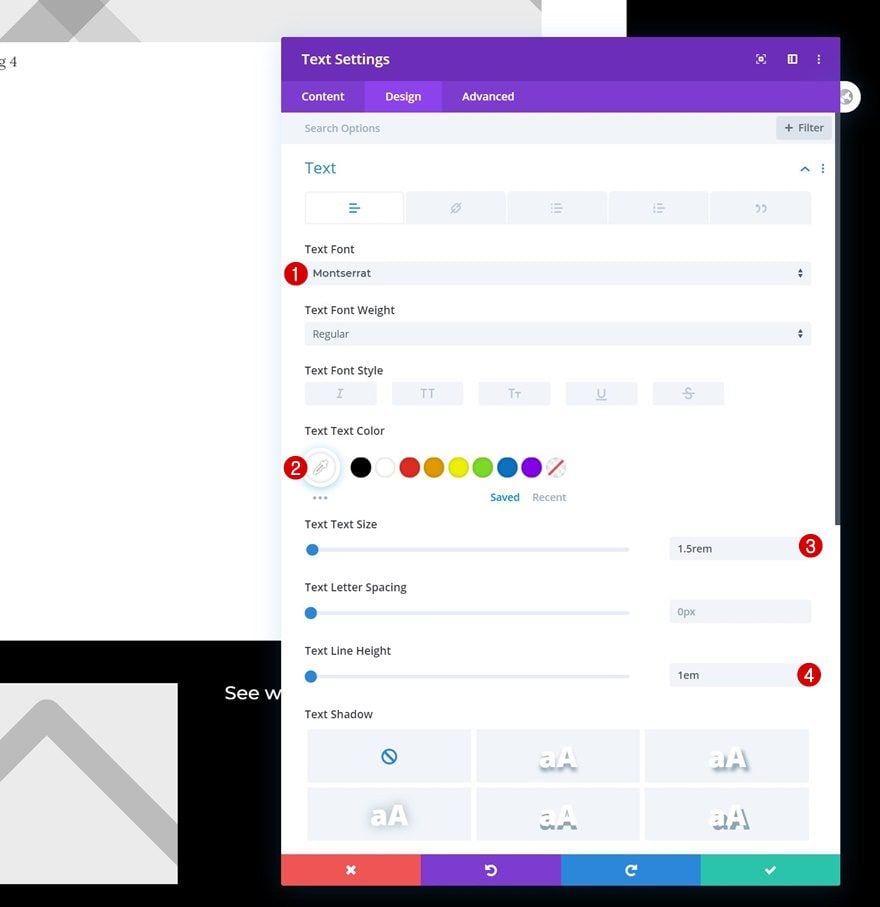
Text Settings
Change the module’s text settings next.
- Text Font: Montserrat
- Text Color: #ffffff
- Text Size: 1.5rem
- Text Line Height: 1em
Spacing
Add some custom bottom padding too.
- Bottom Padding: 50px

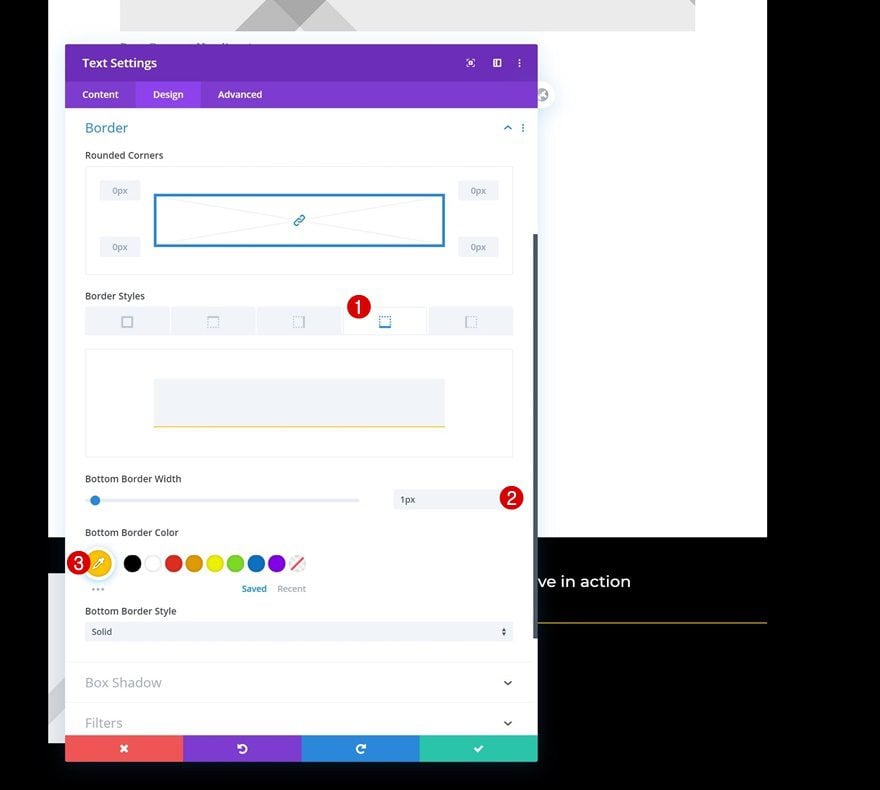
Border
And complete the module’s settings by adding a bottom border.
- Bottom Border Width: 1px
- Bottom Border Color: #ffc300
Add Section #2
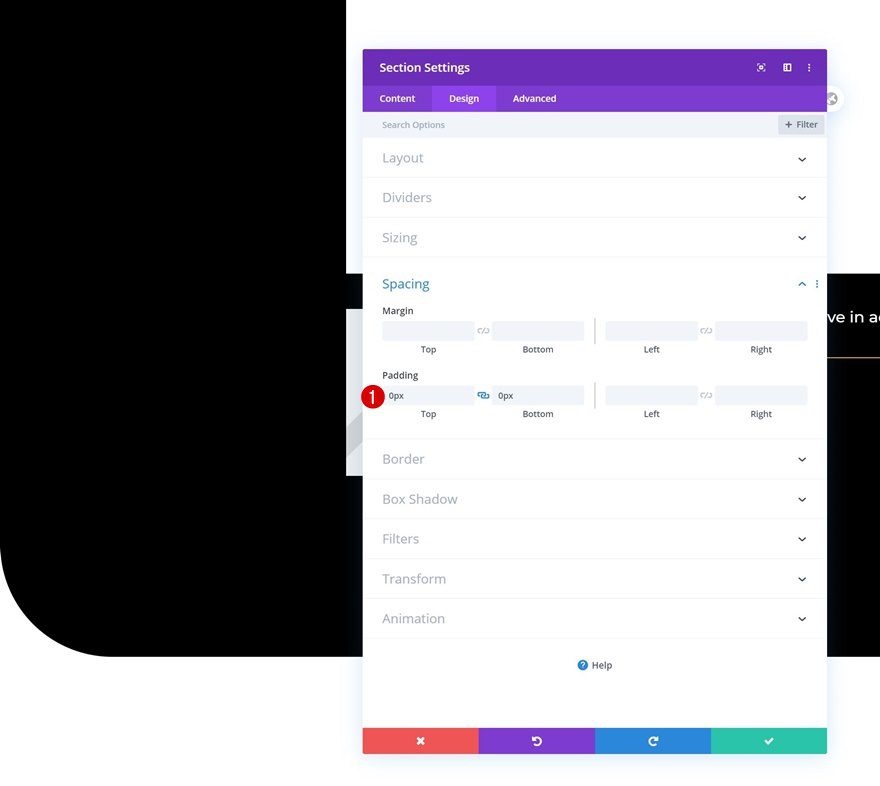
Spacing
On to the next section! Remove all default top and bottom padding.
- Top Padding: 0px
- Bottom Padding: 0px
Add Row
Column Structure
Continue by adding a new row using the following column structure:
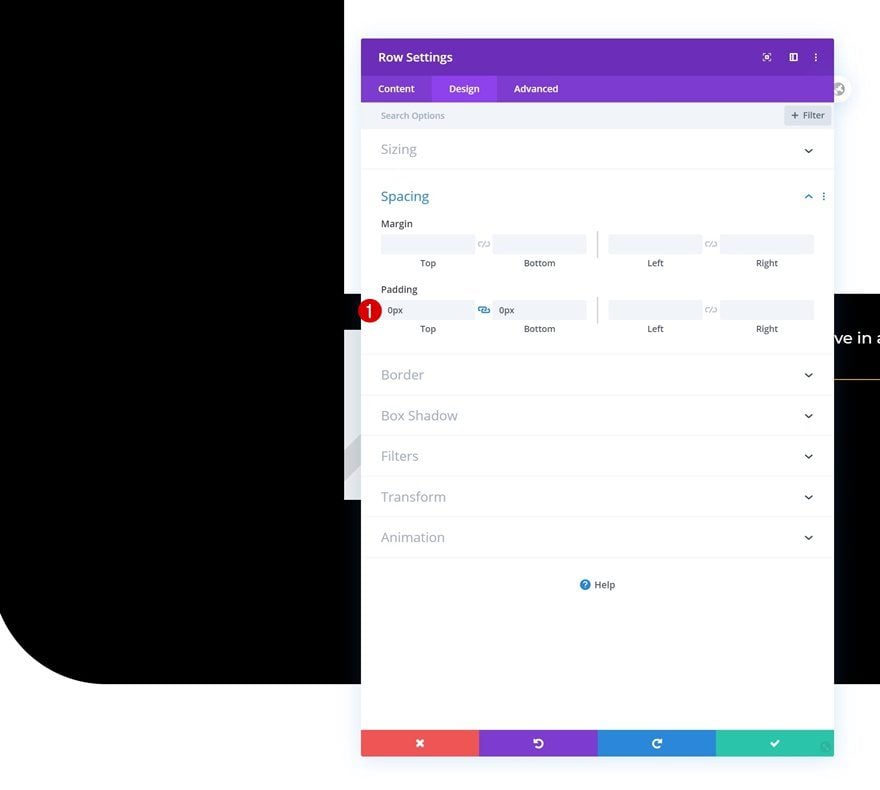
Spacing
Open the row settings and remove all default top bottom padding.
- Top Padding: 0px
- Bottom Padding: 0px
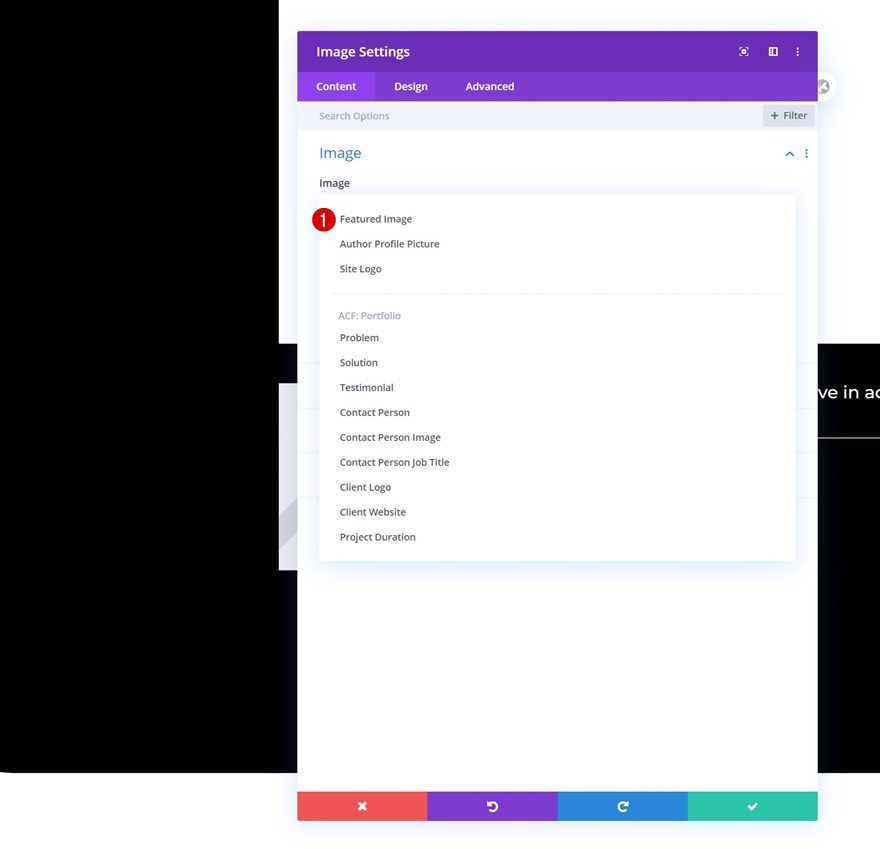
Add Image Module to Column
Dynamic Content
The only module we need in this row is an Image Module. Connect the image to the featured image of the project.
- Dynamic Content: Featured Image
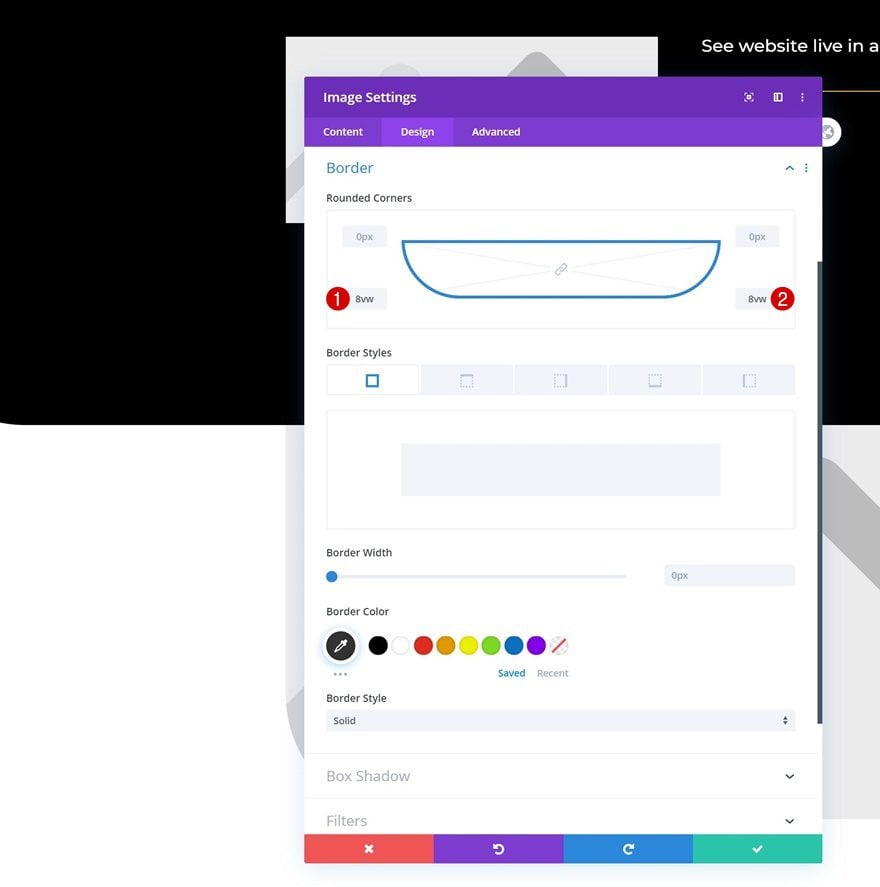
Border
Add some bottom left and right border radius too.
- Bottom Left: 8vw
- Bottom Right: 8vw
Add Section #3
Spacing
Add another regular section with some custom top and bottom padding.
- Top Padding: 250px
- Bottom Padding: 250px
Add Row #1
Column Structure
Add a new row to the section using the following column structure:

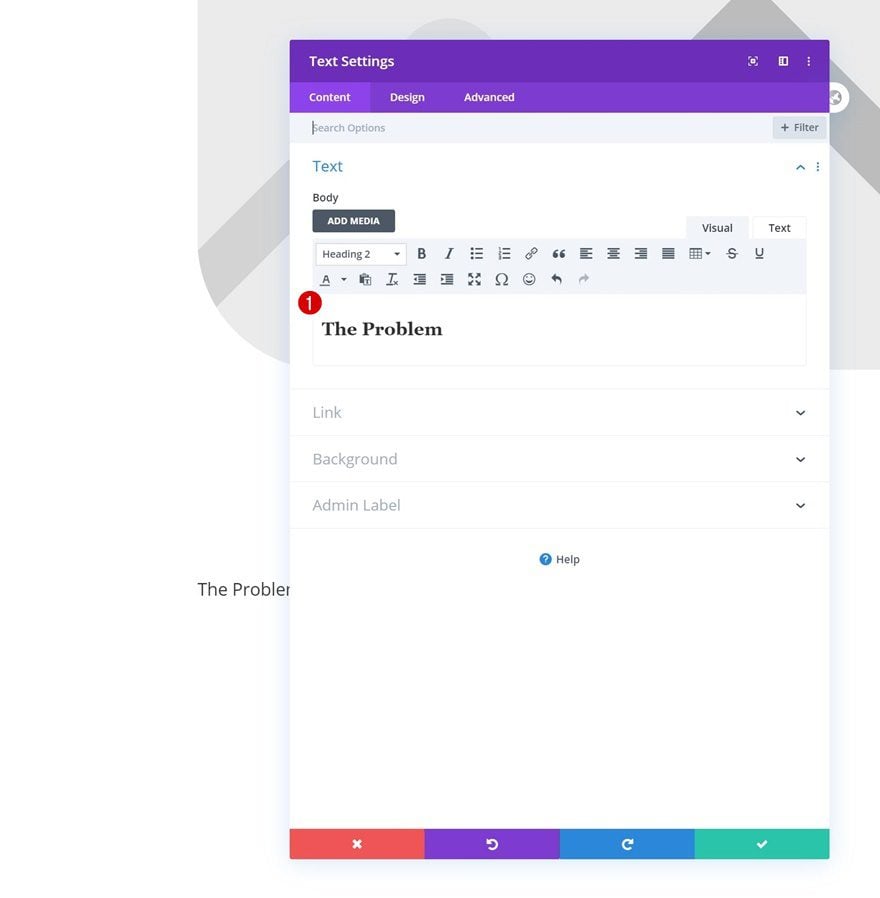
Add Text Module to Column 1
Add H2 Content
Add a Text Module to column 1 and insert some H2 content of your choice.
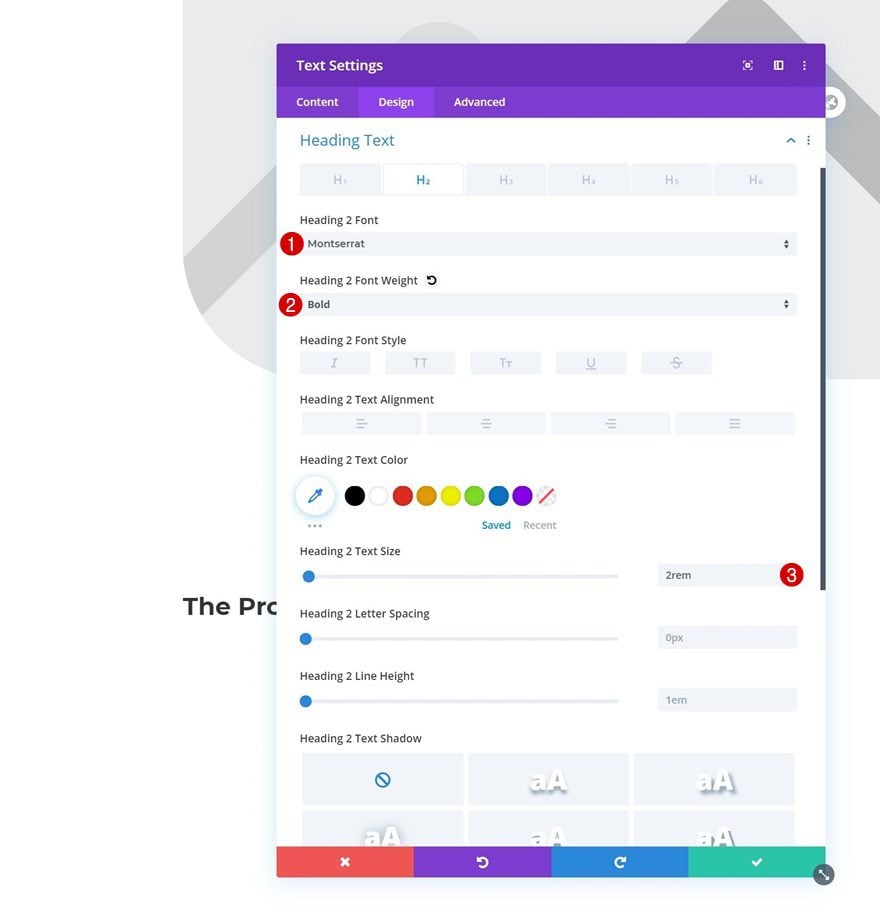
H2 Text Settings
Change the H2 text settings as follows:
- Heading 2 Font: Montserrat
- Heading 2 Font Weight: Bold
- Heading 2 Text Size: 2rem
Add Text Module to Column 2
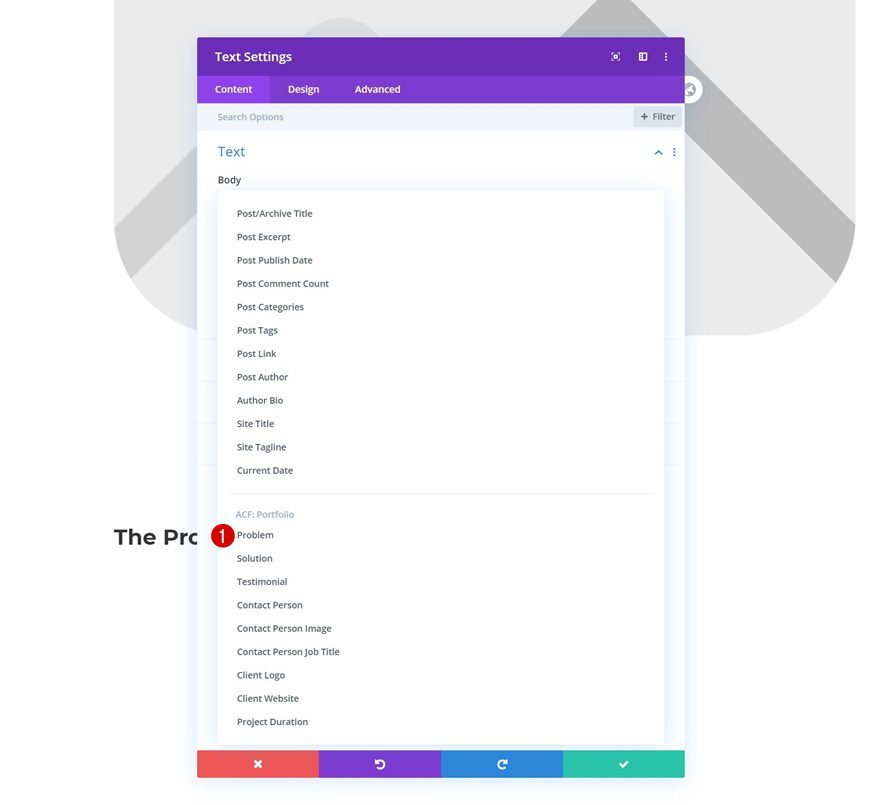
Dynamic Content
Move on to the second column, add a Text Module and use the problem dynamic content.
- Dynamic Content: Problem
Text Settings
Then, change the module’s text settings:
- Text Font: Lora
- Text Size: 1.5rem (Desktop), 0.9vw (Tablet & Phone)
- Text Line Height: 2em
Clone Row
Once you’ve completed the row, go ahead and clone it entirely.
Change Copy of Text Module in Column 1
Change the copy of the column 1 Text Module of the duplicate row.

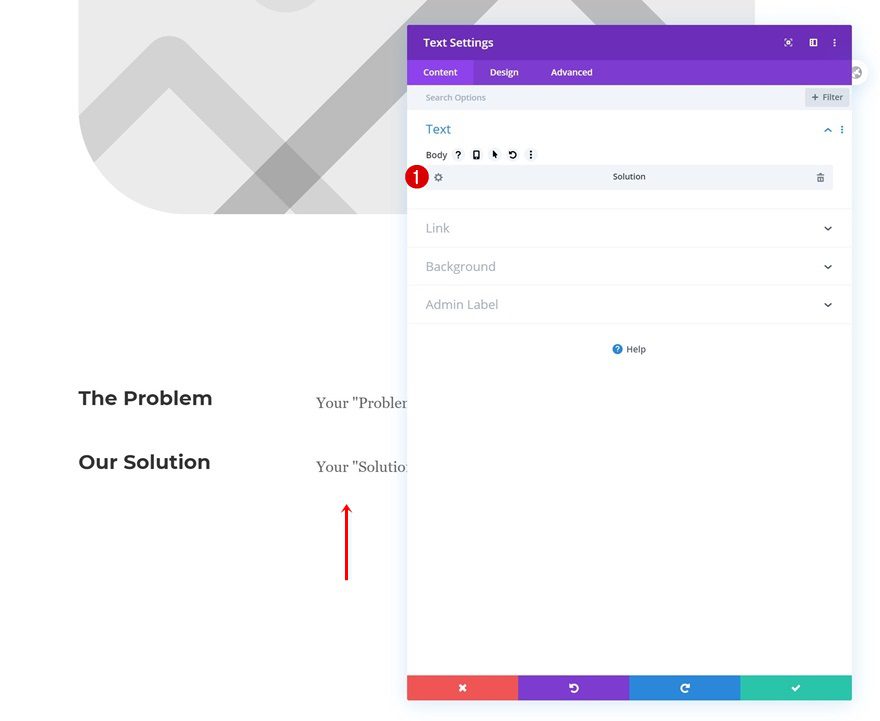
Change Dynamic Content of Text Module in Column 2
Modify the dynamic content of the Text Module in column 2 of the duplicate row as well.
- Dynamic Content: Solution
Add Copy
Continue by adding a Button Module to column 2 of the duplicate row. Add some copy of your choice.
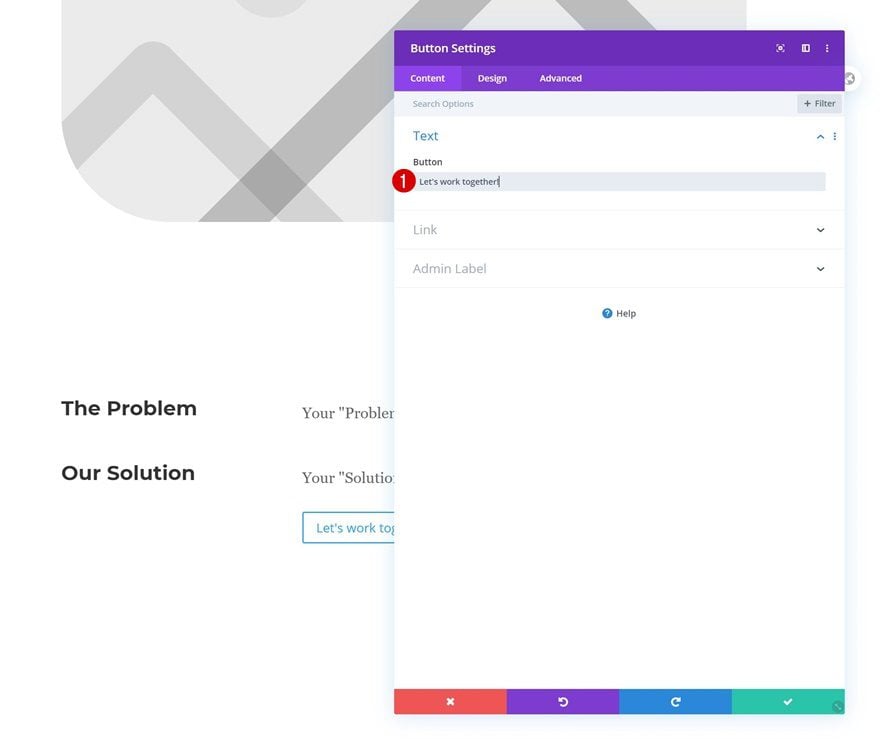
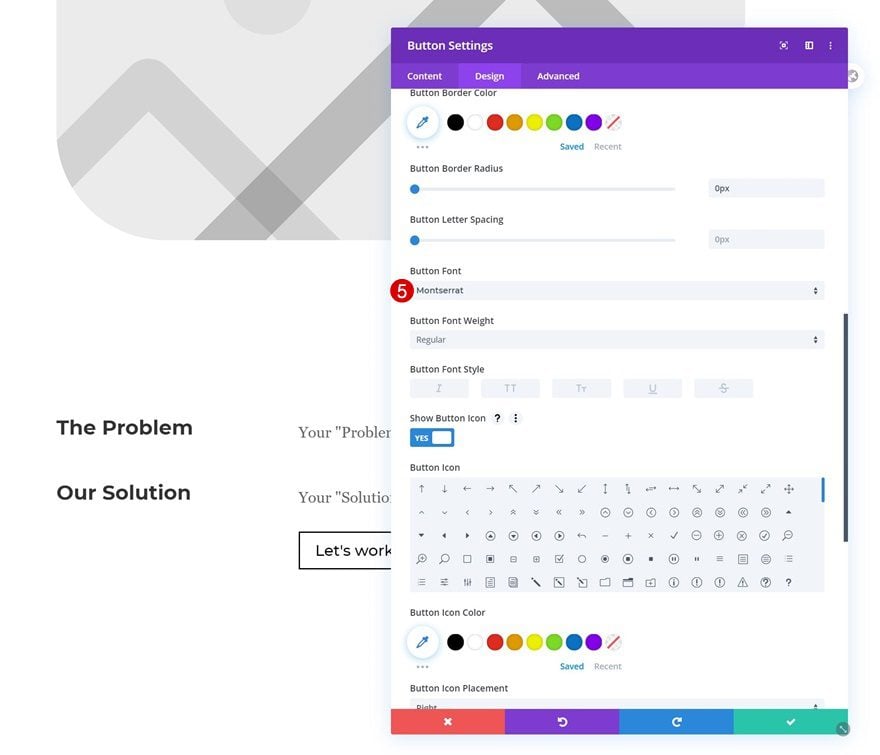
Button Settings
Move on to the module’s design tab and change the button settings as follows:
- Use Custom Styles For Button: Yes
- Button Text Size: 1.5rem
- Button Text Color: #000000
- Button Border Radius: 0px

- Button Font: Montserrat
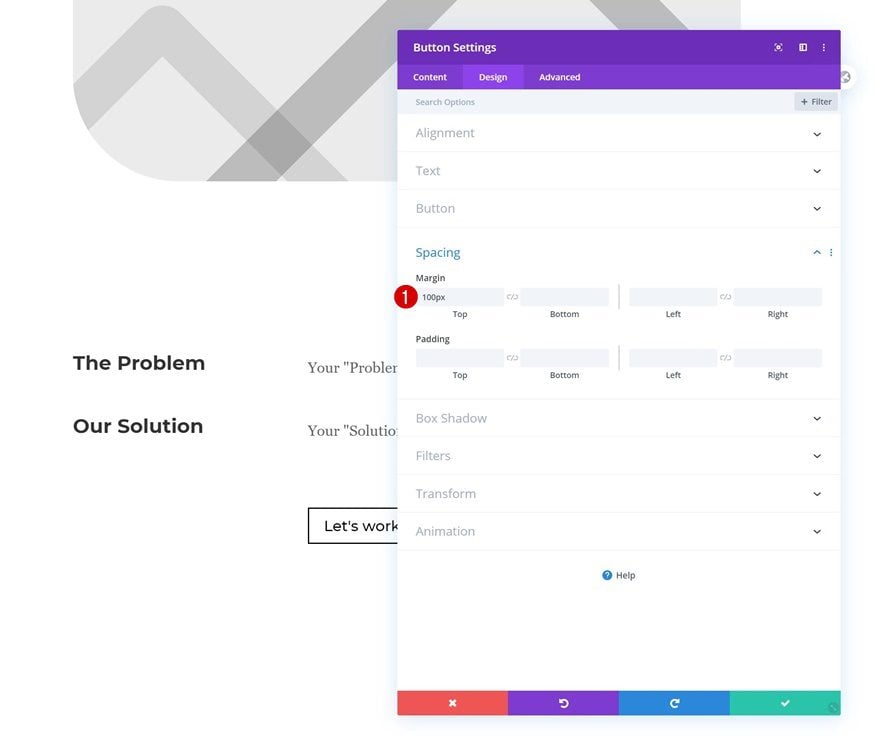
Spacing
Complete the module’s settings by adding some top margin.
- Top Margin: 100px
Add Section #4
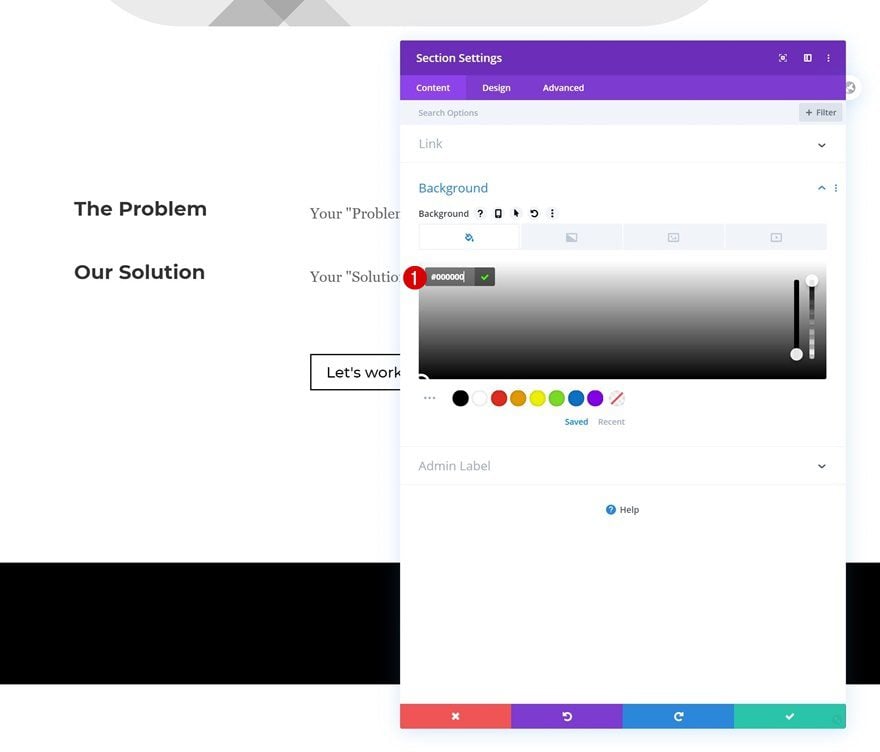
Background Color
On to the next and last section! Add a black background color.
- Background Color: #000000
Border
Add some top left and right border radius to the section too.
- Top Left: 8vw
- Top Right: 8vw

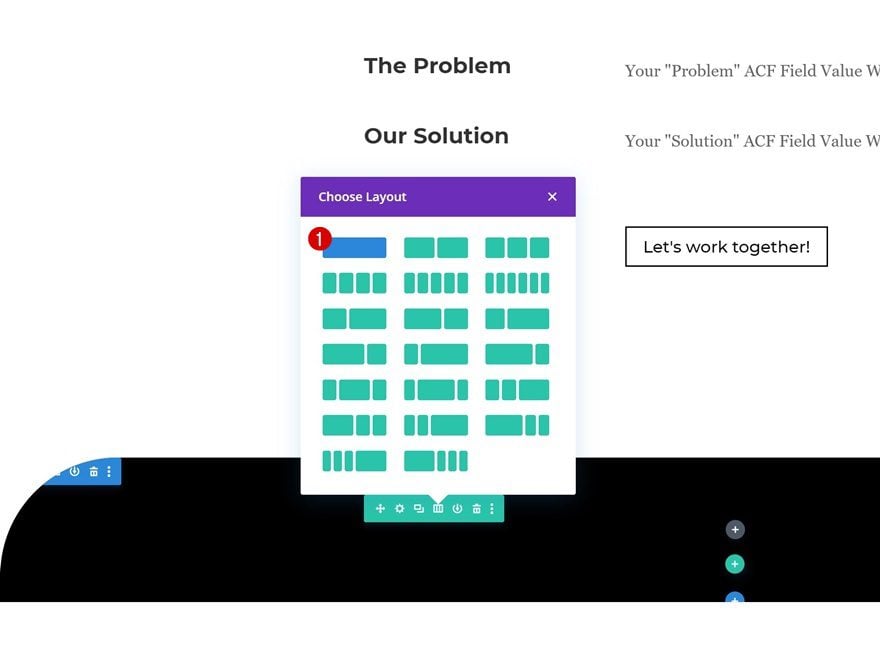
Add Row
Column Structure
Continue by adding a new row to the section using the following column structure:
Add Testimonial Module to Column
Dynamic Content
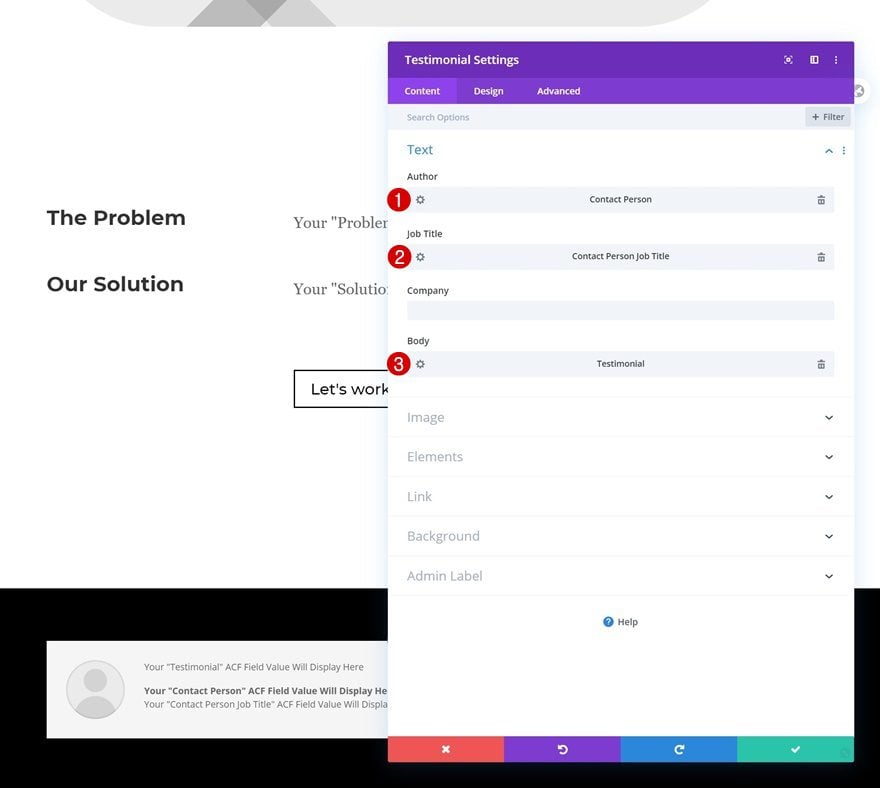
Add a Testimonial Module to the row and select some dynamic content for the different elements inside the module.
- Author: Contact Person
- Job Title: Contact Person Job Title
- Body: Testimonial
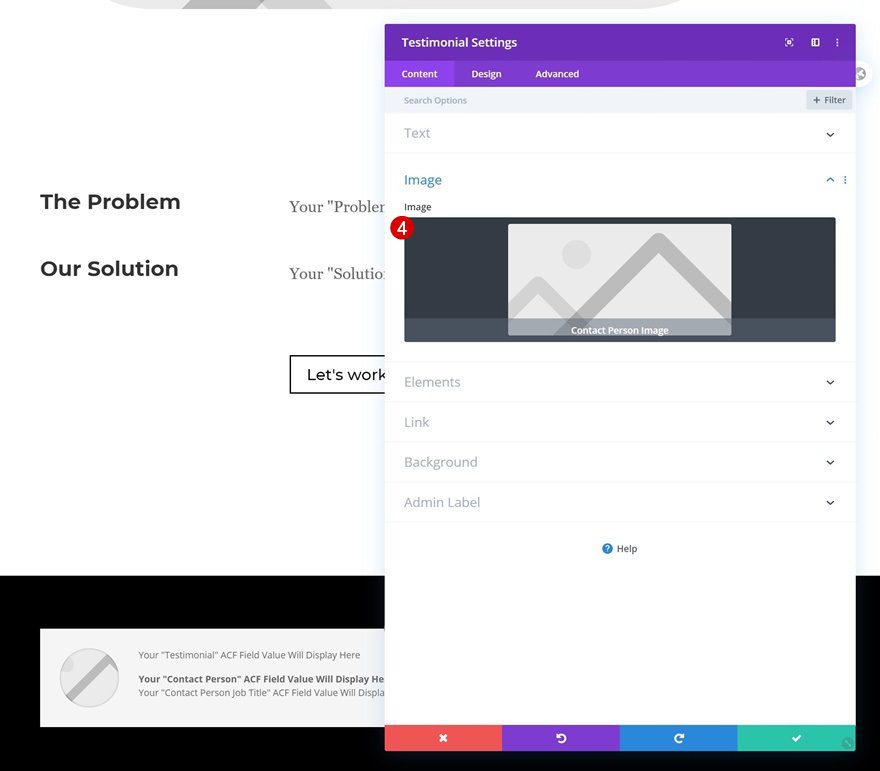
- Image: Contact Person Image
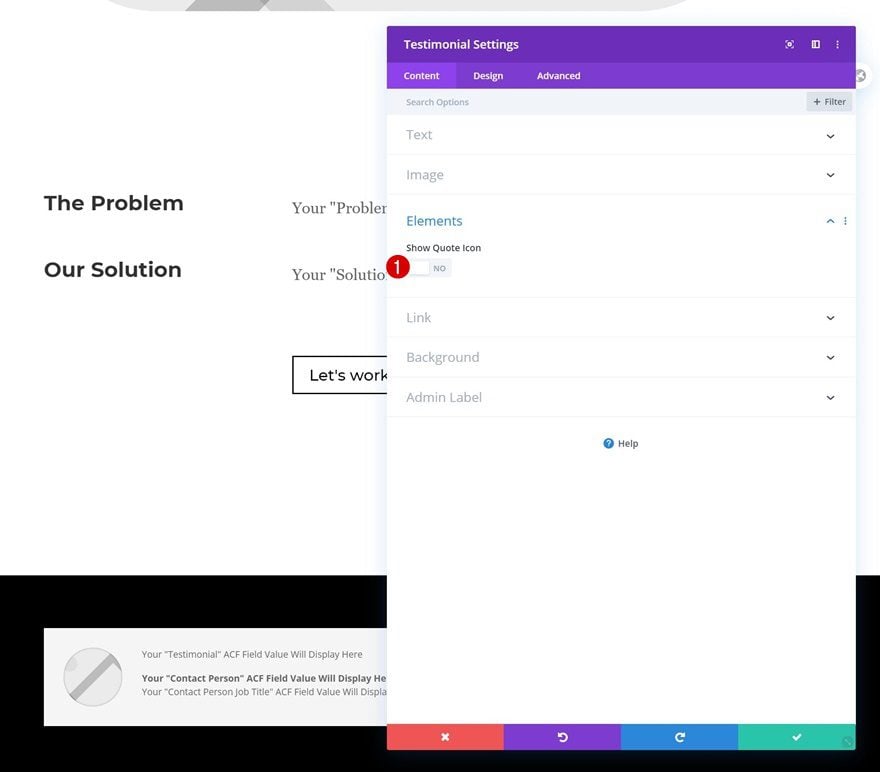
Elements
Disable the quote icon next.
- Show Quote Icon: No
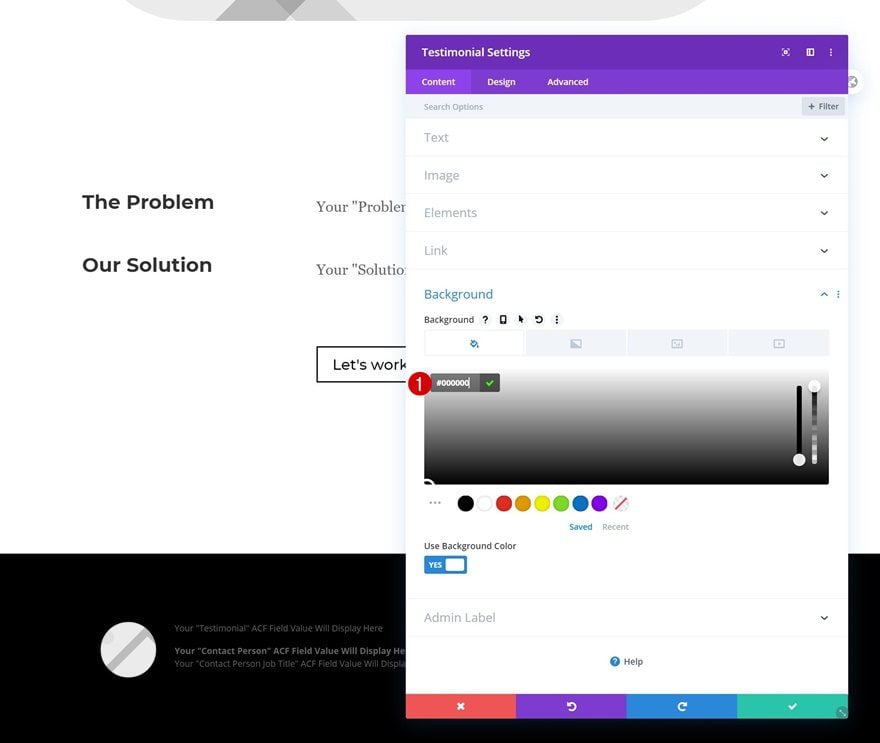
Background Color
Then, change the module’s background color into black.
- Background Color: #000000
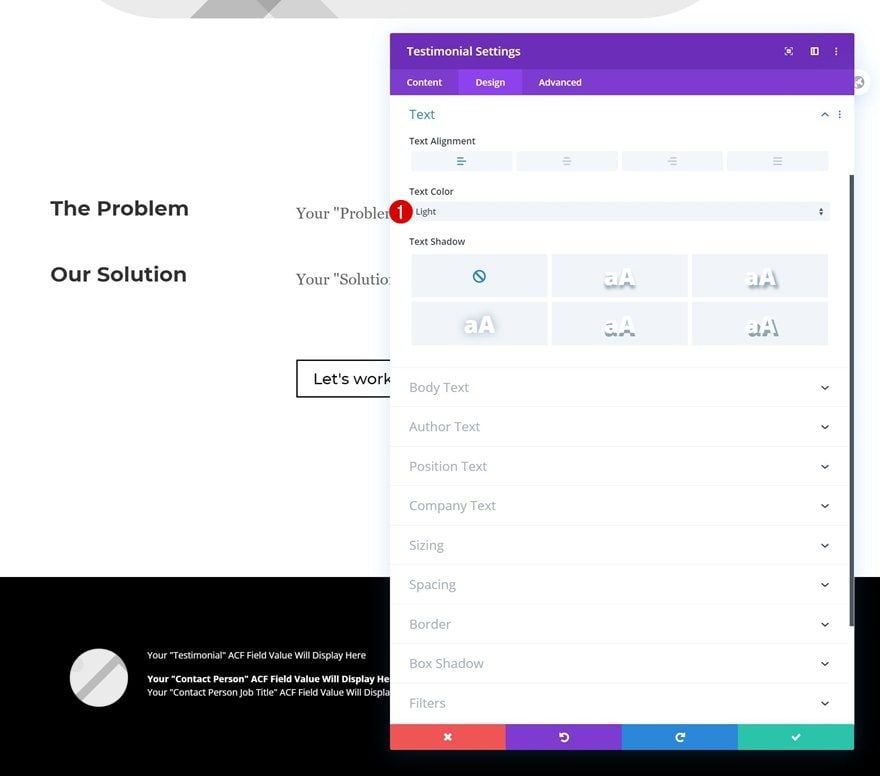
Text Settings
Move on the module’s design tab and change the text color.
- Text Color: Light
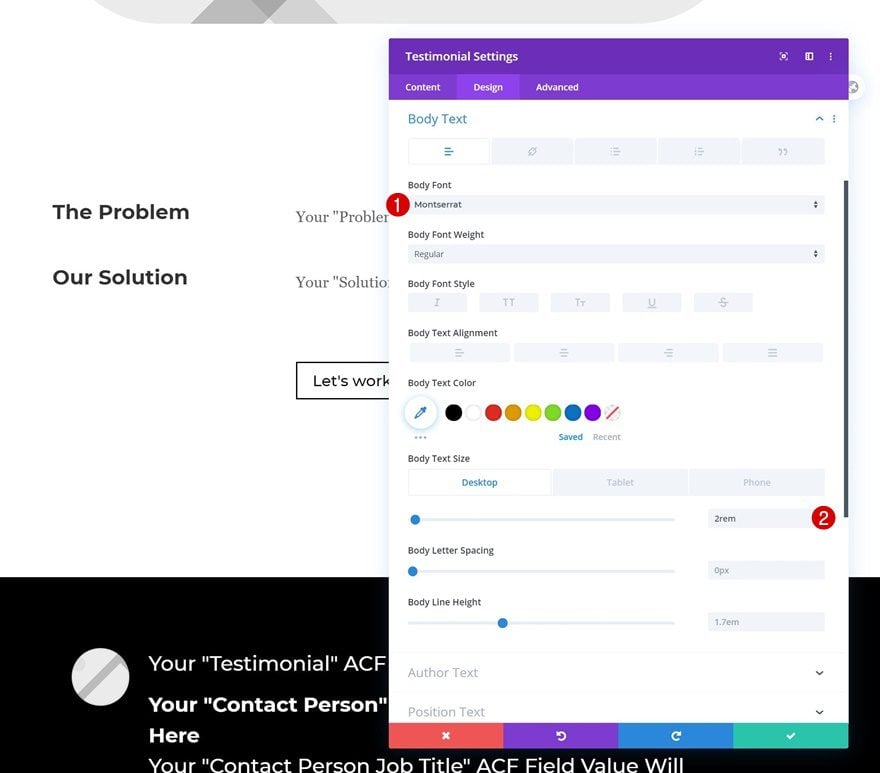
Body Text Settings
Modify the body text settings next.
- Body Font: Montserrat
- Body Text Size: 2rem (Desktop), 1.5rem (Tablet & Phone)
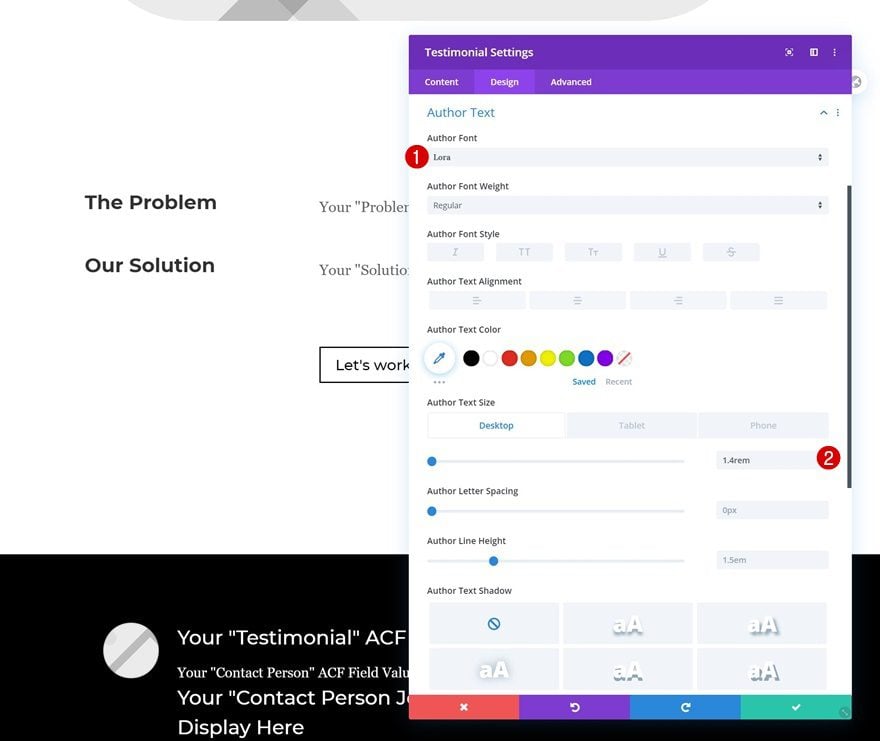
Author Text Settings
Change the author text settings too.
- Author Font: Lora
- Author Text Size: 1.4rem (Desktop), 0.9rem (Tablet & Phone)
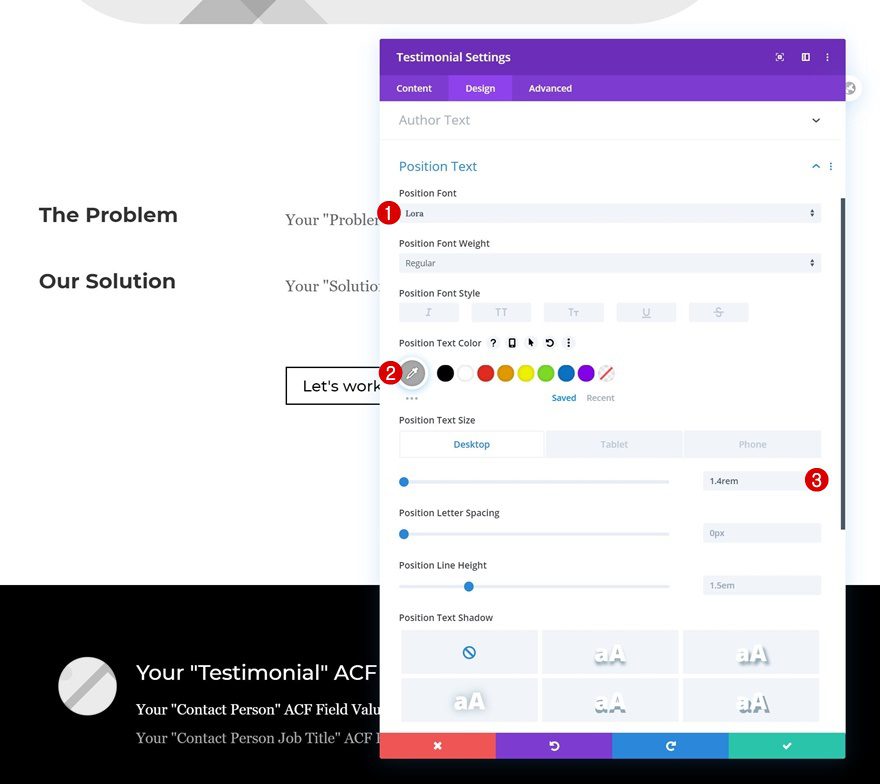
Position Text Settings
And complete the module’s settings by changing the position text settings accordingly:
- Position Font: Lora
- Position Text Color: #a8a8a8
- Position Text Size: 1.4rem (Desktop), 0.9rem (Tablet & Phone)
4. Save Theme Builder Changes & View Result
Once you’ve completed the template, save all Divi Theme Builder changes and view the result on your project!
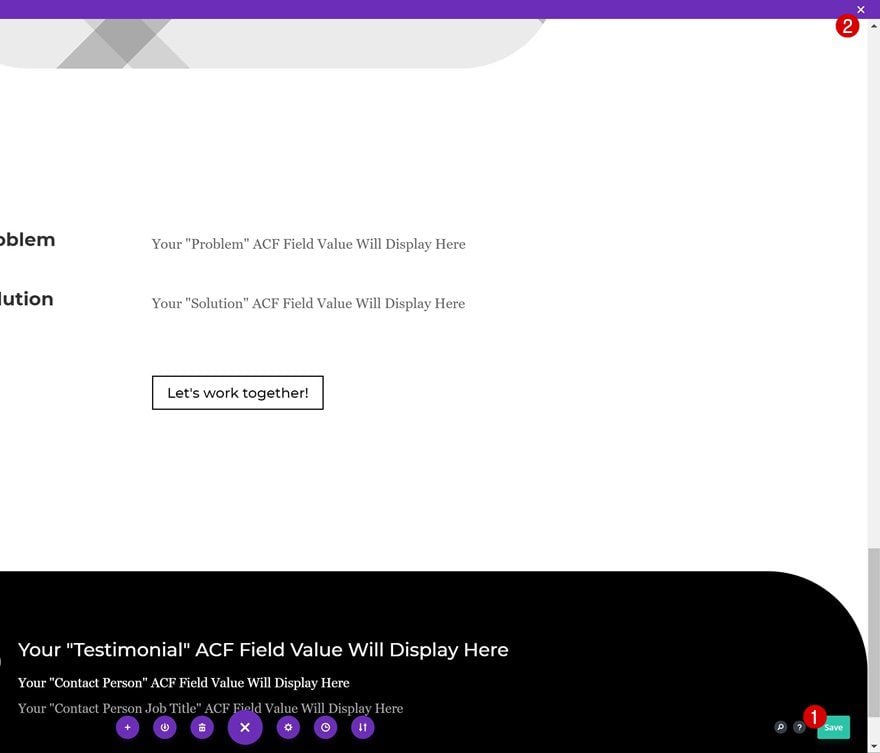
Preview
Now that we’ve gone through all the steps, let’s take a final look at the outcome across different screen sizes.
Desktop
Mobile
Final Thoughts
In this post, we’ve shown you how to create a beautiful portfolio project template using the Divi Theme Builder and the ACF plugin. This is a great way to streamline the way you display projects on your website. Once you assign the template to all your projects, it’ll automatically apply to future portfolio items you add. You were able to download the template JSON file of this design for free as well! If you have any questions or suggestions, feel free to leave a comment in the comment section below.
If you’re eager to learn more about Divi and get more Divi freebies, make sure you subscribe to our email newsletter and YouTube channel so you’ll always be one of the first people to know and get benefits from this free content.


How to add a dynamic image slider? is this possible?
Awesome, this is perfect. I need to be using ACF more. Thank you!
Hopefully WordPress doesn’t manipulate the editor anymore
The display of dynamic data needs to somehow include conditional logic to be able to not show it if a field does not contain data.
very helpful for my website.
thank you 🙂
Fantastic and detailed instructions. Got the idea how to play around with the settings and content. Thank you
Really good but I’d like to know how to get the ACF fields into the blog module as ‘elements’. Is it possible to do or is there a way to duplicate the output from a blog module using other modules? Cheers!
Real nice blog post, Donjete. Thx.
Divi and ACF are really interesting.
nice looking for sure.