
If you’re looking for a way to make your website stand out, you might want to learn how to create double-layered backgrounds. Creating double-layered backgrounds will help bring your background image to life through movement. In today’s tutorial, we’ll show you how to create a double-layered background design with Divi. This tutorial contains three parts:
- Preparing two image files in Adobe Photoshop
- Creating the design inside Divi
- Applying the scroll effects to animate the background
You’ll be able to download the JSON and image files for free as well!
Let’s get to it.
- 1 Preview
- 2 Download The Layout for FREE
- 3 Download For Free
-
4
1. Create Image Files in Photoshop
- 4.1 Pick Product Image with Clean Background & Open in Photoshop
- 4.2 Duplicate Layer
- 4.3 Hide Original Layer
- 4.4 Create PNG From Object Selection in Image
- 4.5 Save PNG Selection as Separate Image File
- 4.6 Remove Object in Original Image
- 4.7 Fill Up Empty Space Using Clone Tool
- 4.8 Save Image without Object
- 5 2. Build Double-Layered Background Effect in Divi
- 6 3. Add Scroll Effects
- 7 Preview
- 8 Final Thoughts
Preview
Before we dive into the tutorial, let’s take a quick look at the outcome across different screen sizes.
Desktop
Mobile
Download The Layout for FREE
To lay your hands on the free layout, you will first need to download it using the button below. To gain access to the download you will need to subscribe to our newsletter by using the form below. As a new subscriber, you will receive even more Divi goodness and a free Divi Layout pack every Monday! If you’re already on the list, simply enter your email address below and click download. You will not be “resubscribed” or receive extra emails.

1. Create Image Files in Photoshop
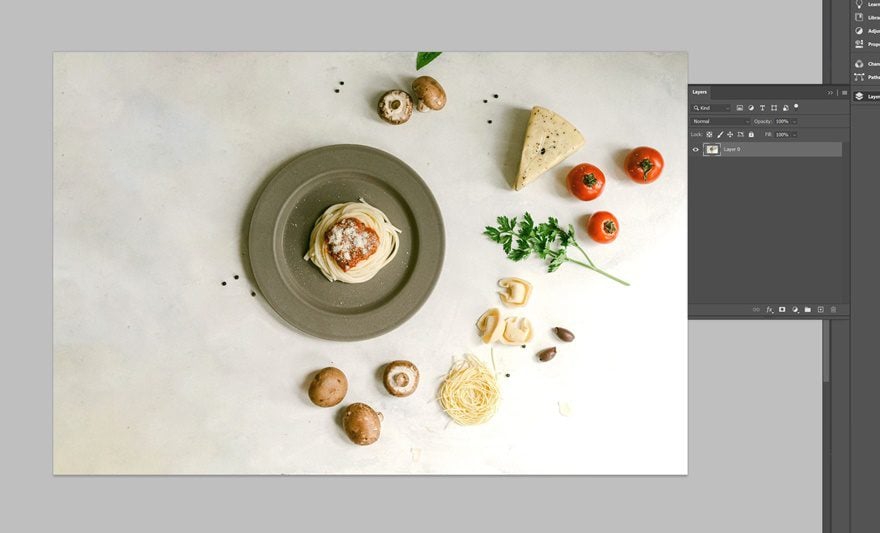
Pick Product Image with Clean Background & Open in Photoshop
In the first part of this tutorial, we’re going to create the image files we’ll use throughout the Divi tutorial. To create these, we’ll use Adobe Photoshop, but feel free to use any other image editing software of your choice. The double-layered background image effect will work best if the image you’re working with has:
- A clear focus on an object inside the image
- A clean background
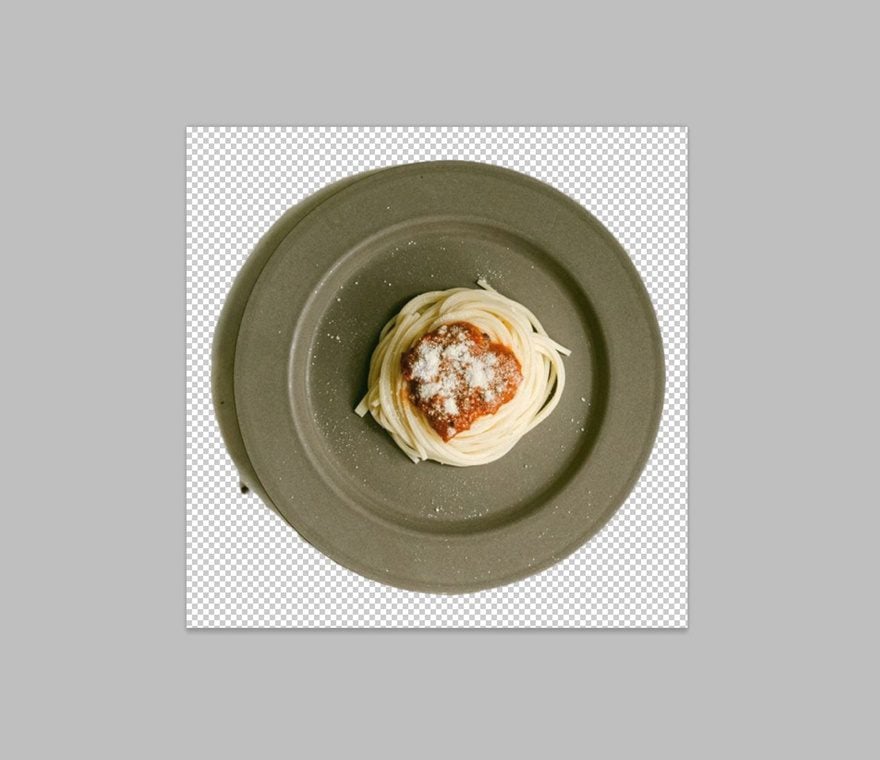
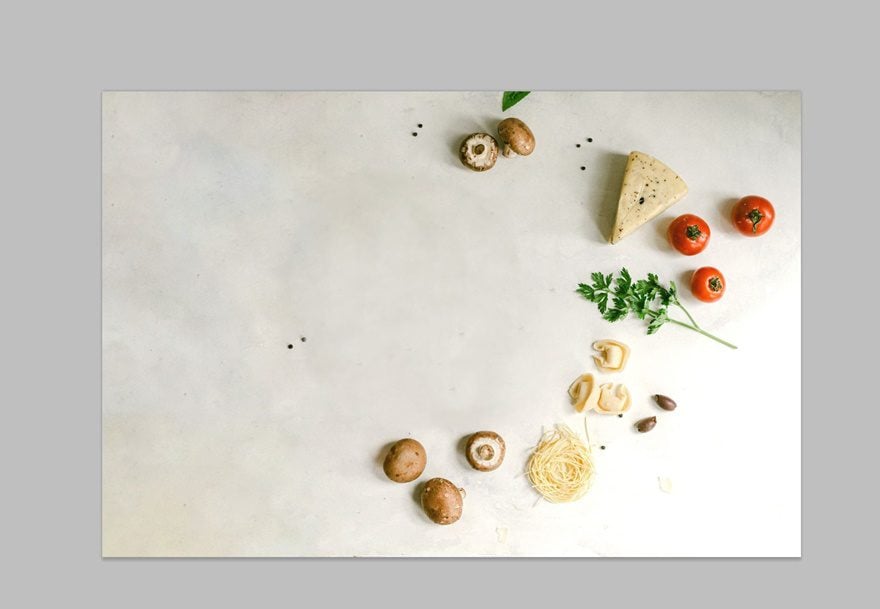
The image below is a perfect example. You can find this image file in the zipped folder shared in the download area of this post.
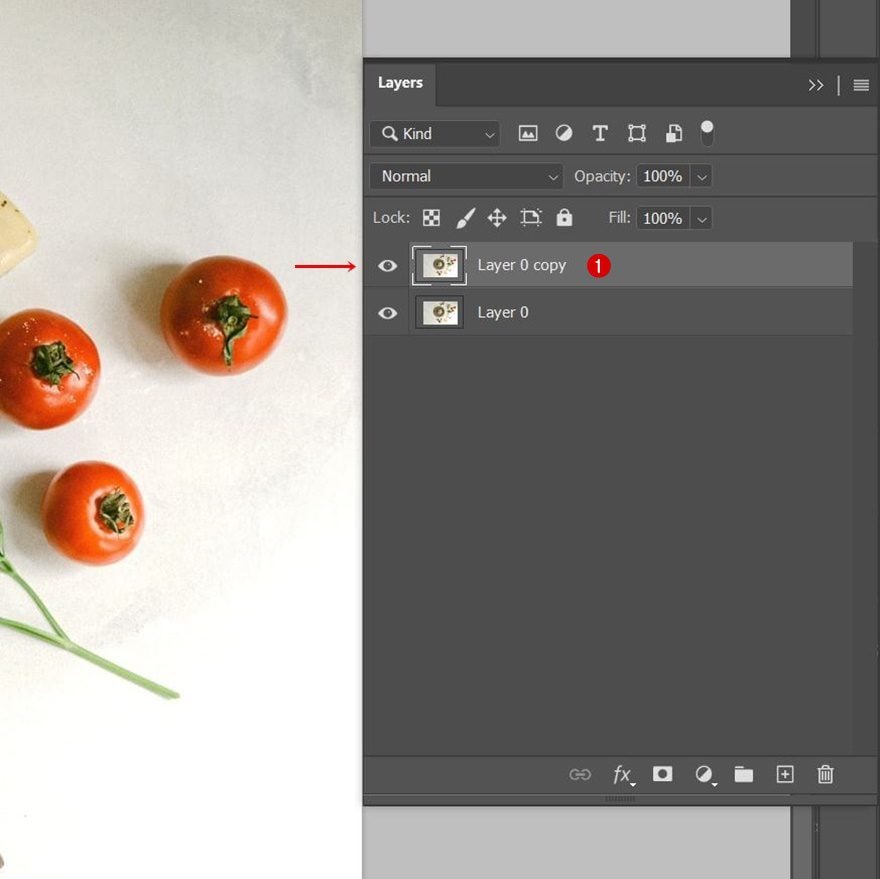
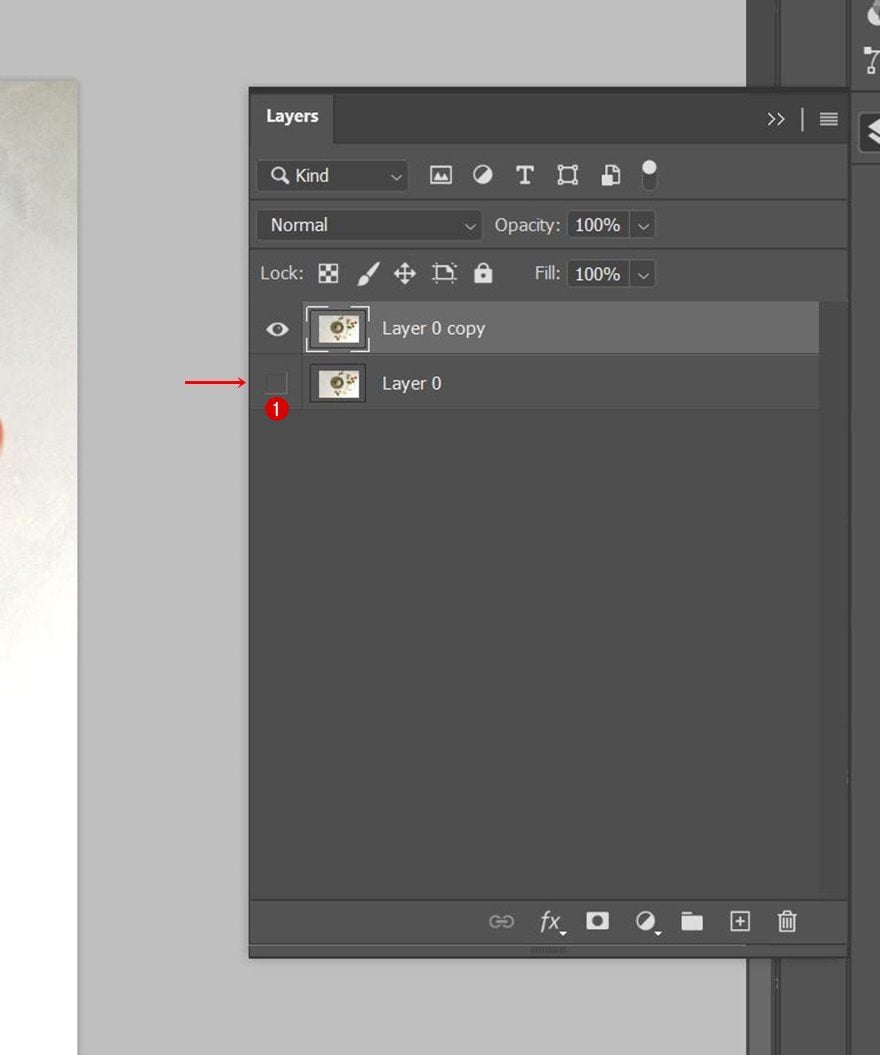
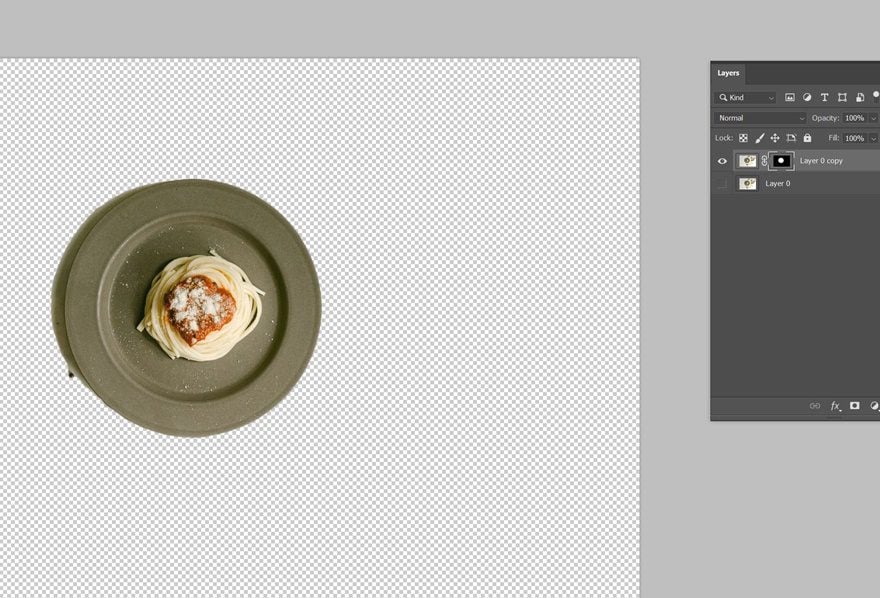
Duplicate Layer
Once you’ve opened the image inside Photoshop, clone the original layer once. We’ll be working on the duplicate layer.
Hide Original Layer
To make sure we see the result as we’re moving down the tutorial, hide the original layer.
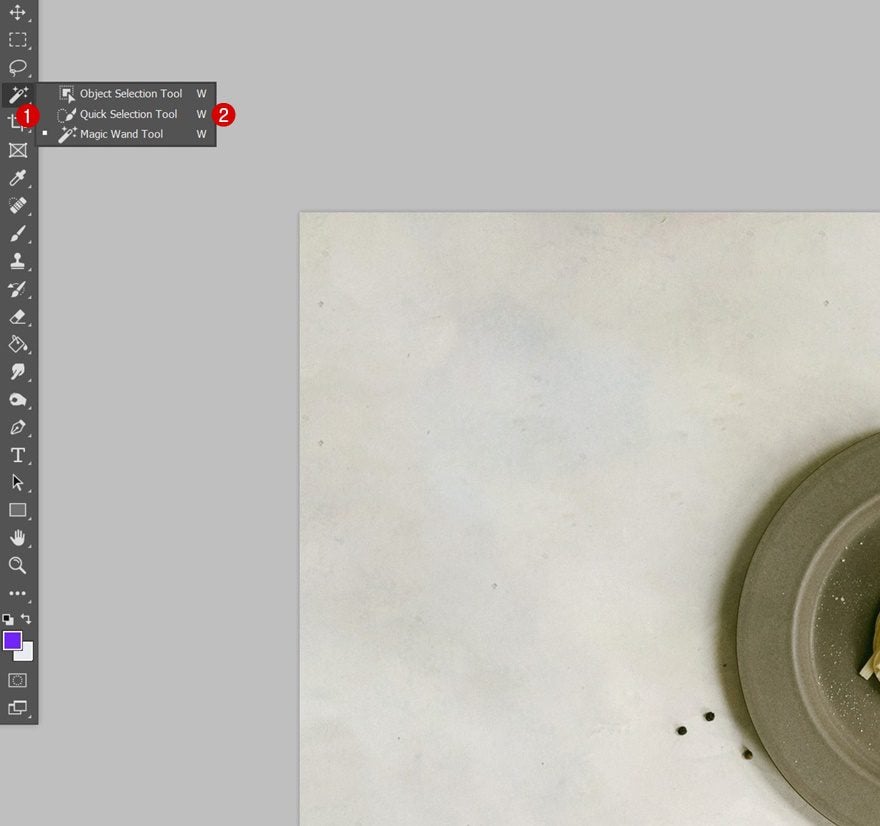
Create PNG From Object Selection in Image
Use Quick Selection Tool on Plate
In total, we’ll need two image files for the tutorial:
- a PNG of the object, in this case, the plate
- a JPEG of the background without the object
We’re separating the object from its background, so we can manipulate them individually once inside the Divi environment.
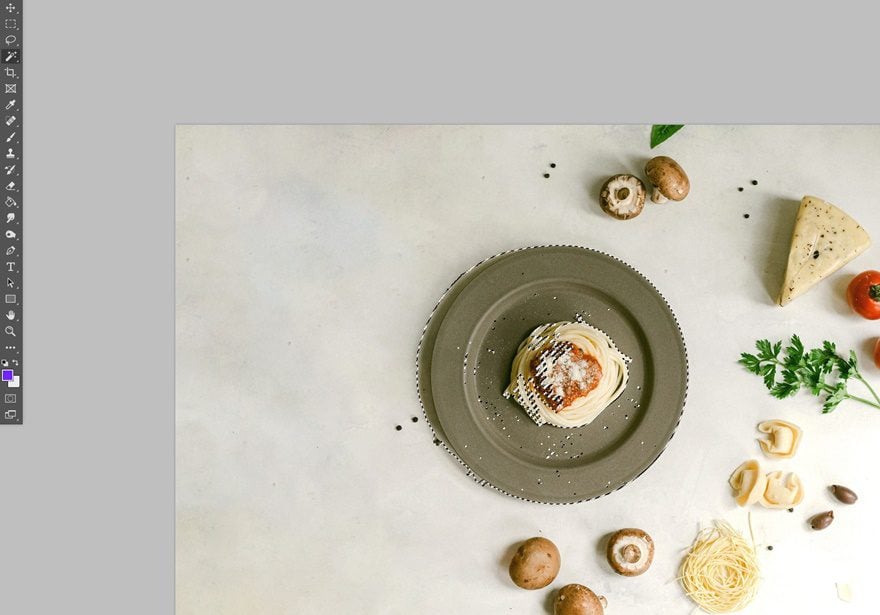
To start selecting the object, pick the “Quick Selection Tool” in the toolbar and try to cover as much of the object as possible.
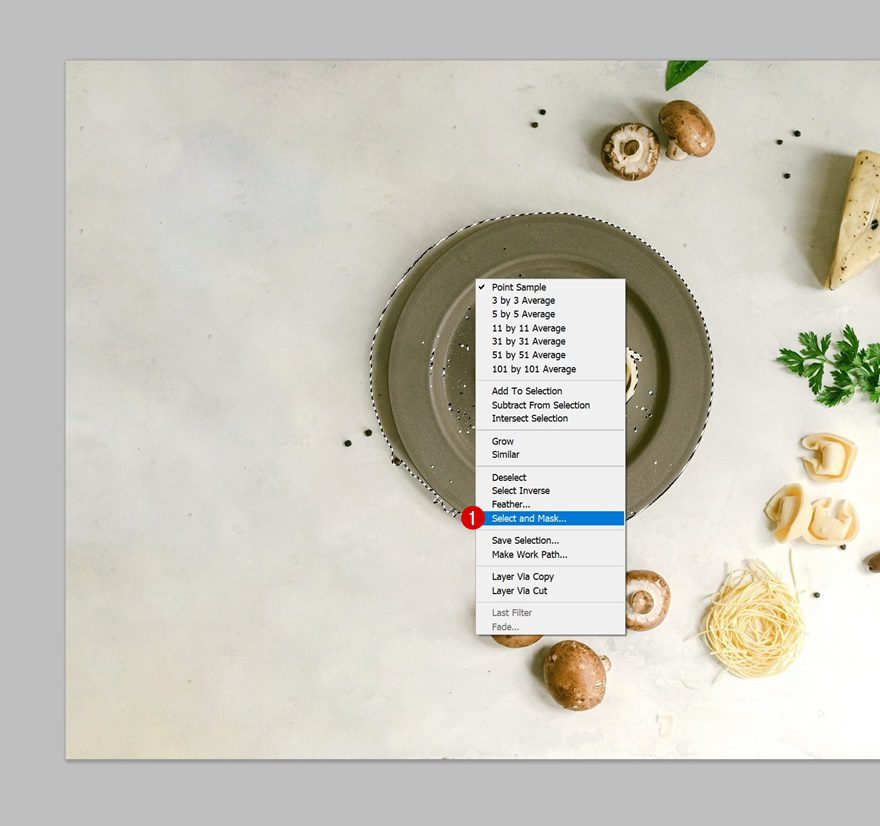
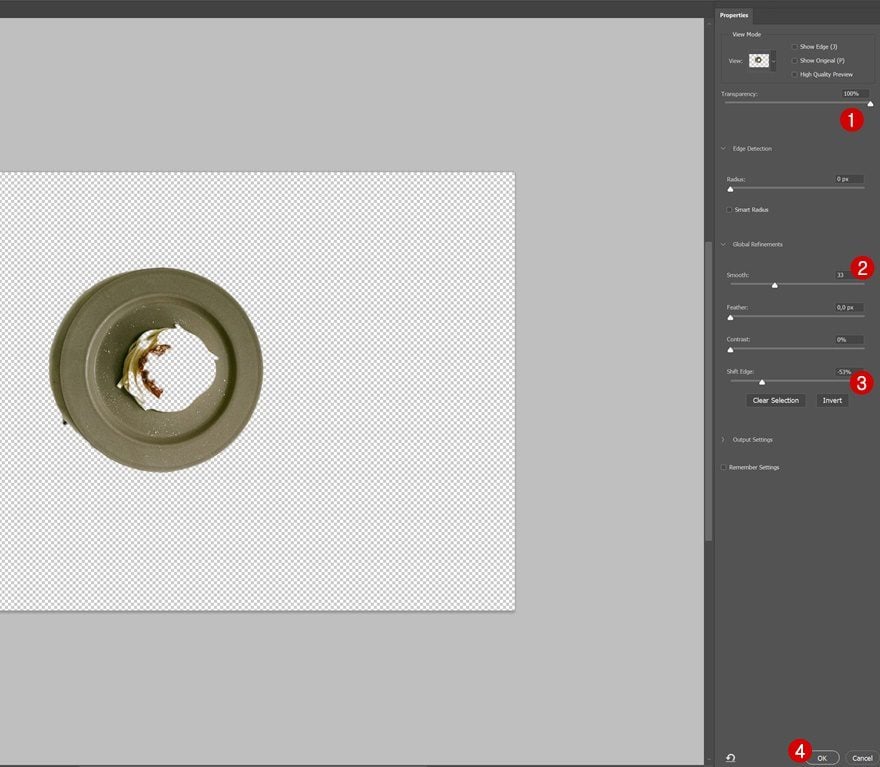
Select + Mask Selection
You’ll notice that the object selection still isn’t good enough. You can finetune how your selection looks by using the “Select and Mask” option when you right-click the selection. Once there, you can play around with the opacity, smoothness, etc.
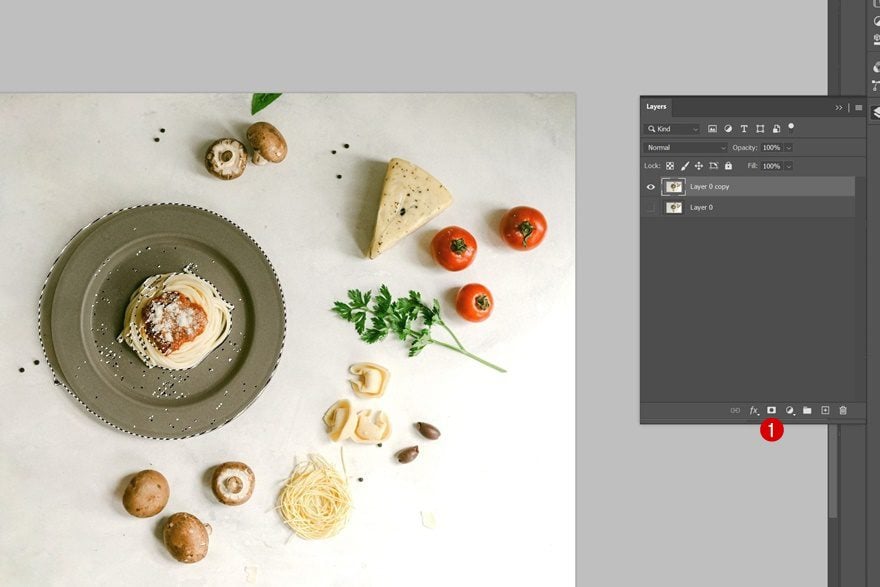
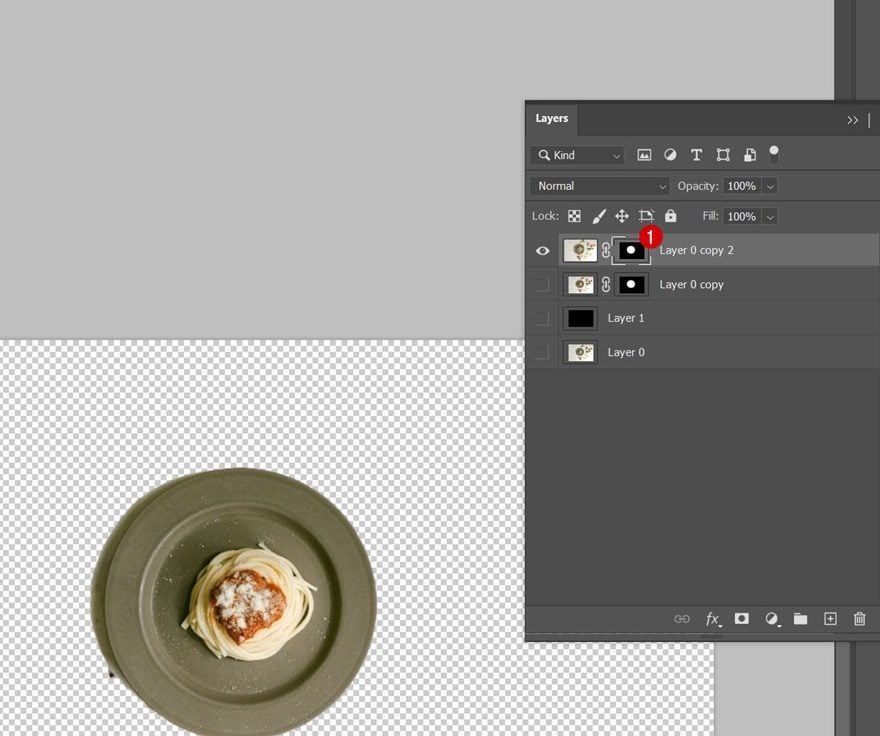
Create a Layer Mask from Selection
Although we’ve created a smooth selection, there are still parts inside the object that aren’t selected yet. We’ll manually add these parts to our selection by clicking on the layer mask button you can see in the print screen below:
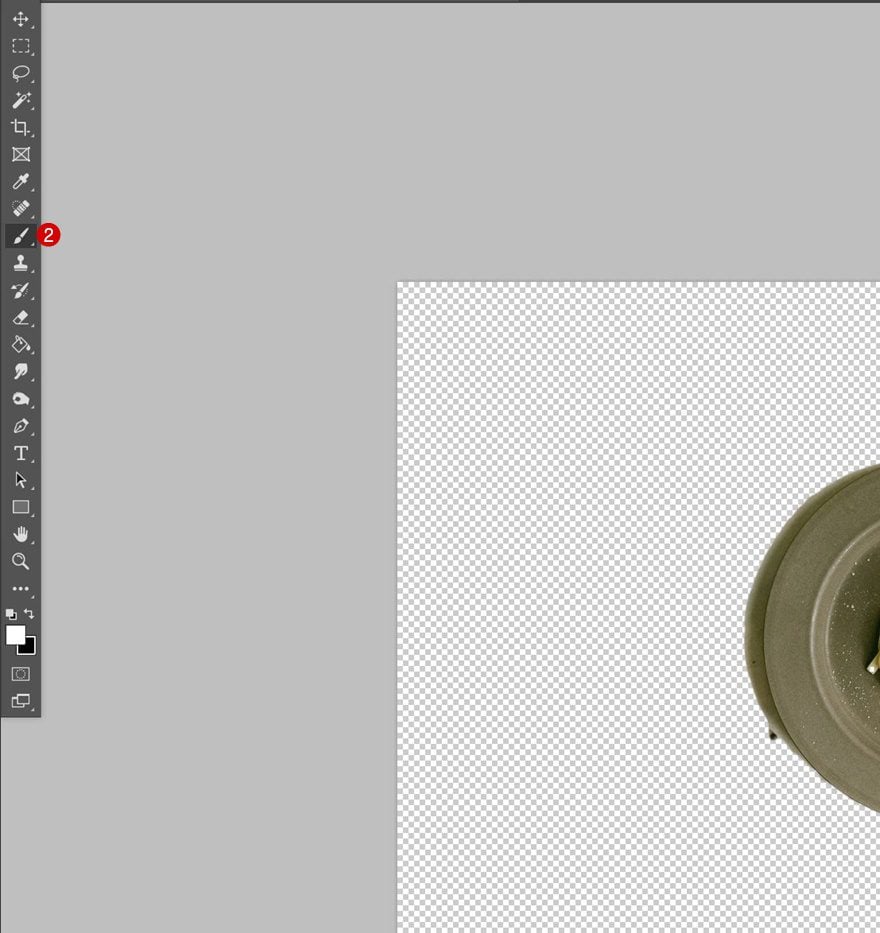
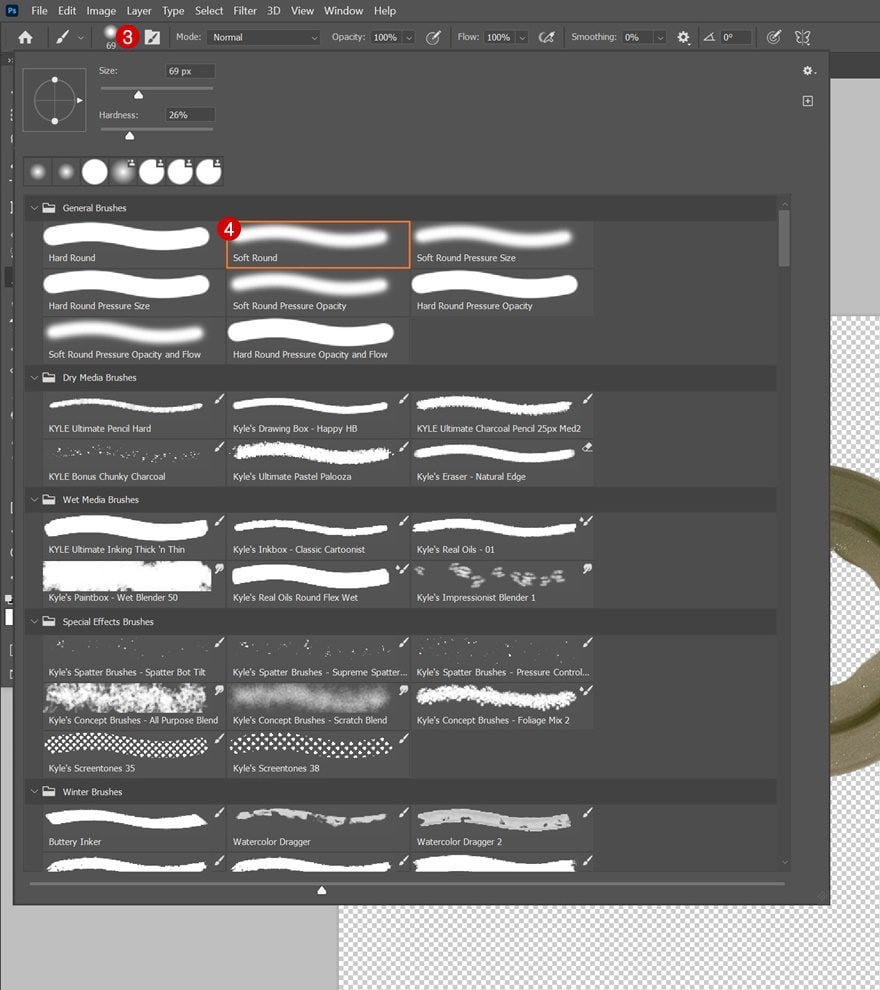
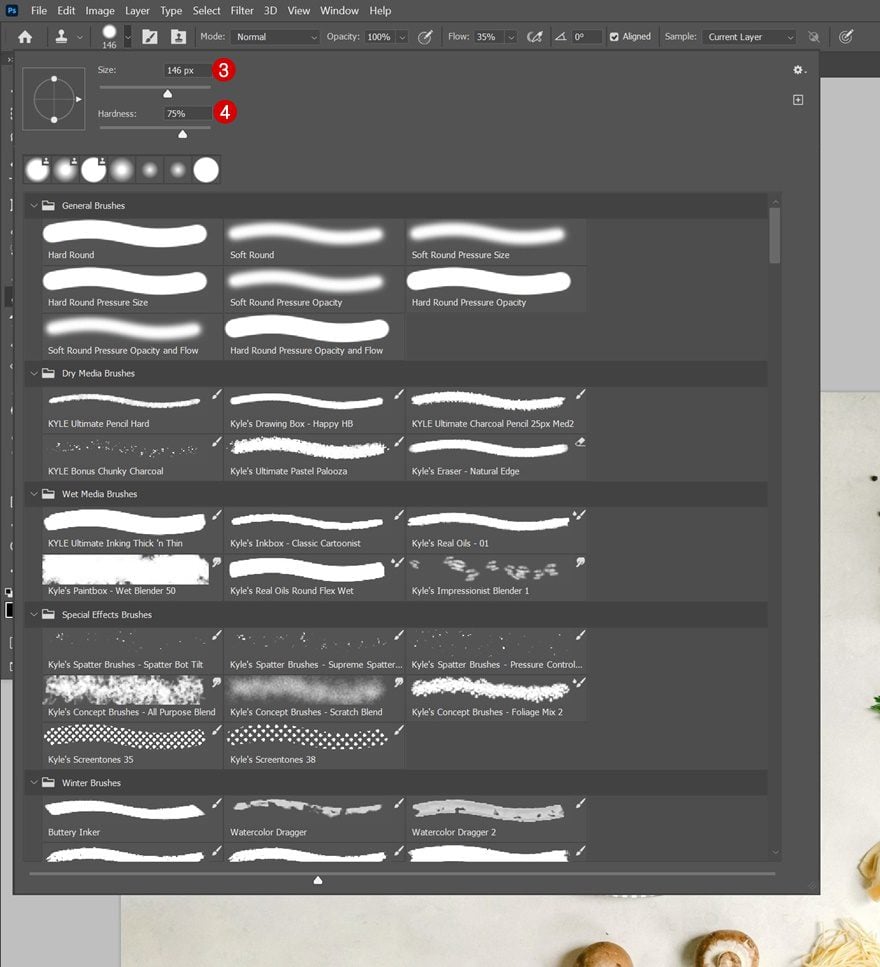
Finetune Selection Inside Mask with Brushes
Once your layer mask has been created, you can start using a brush to modify the layer mask. Make sure your layer mask is selected.
- Using a black brush (#000) will remove parts of your layer mask
- Using a white brush (#fff) will add back parts of your layer mask
Use a brush that doesn’t have too much hardness to it, so you don’t have to be super-precise.
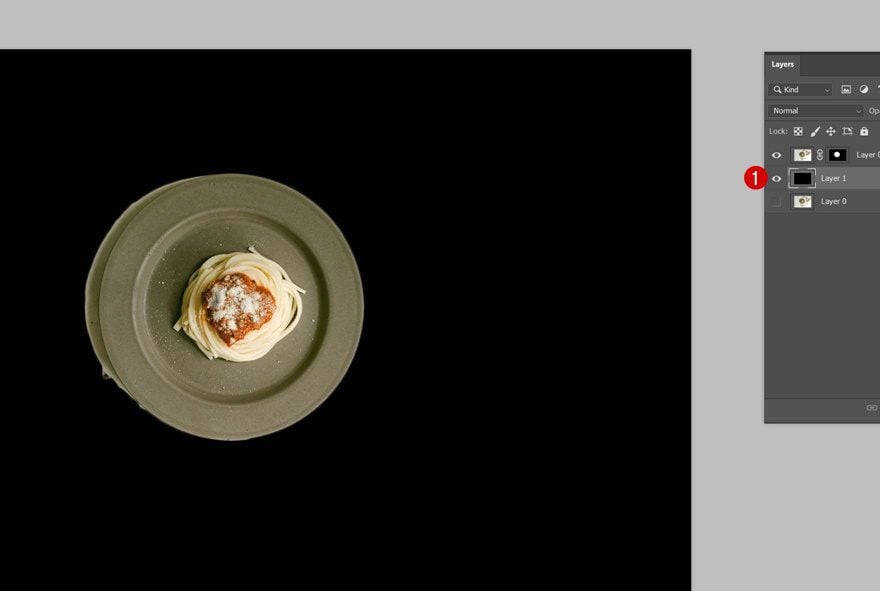
Double-Check Mask with Colored Layer
You can always double-check your layer mask by placing a colored layer below it. Colored layers will more easily give it away if you’ve missed a spot.
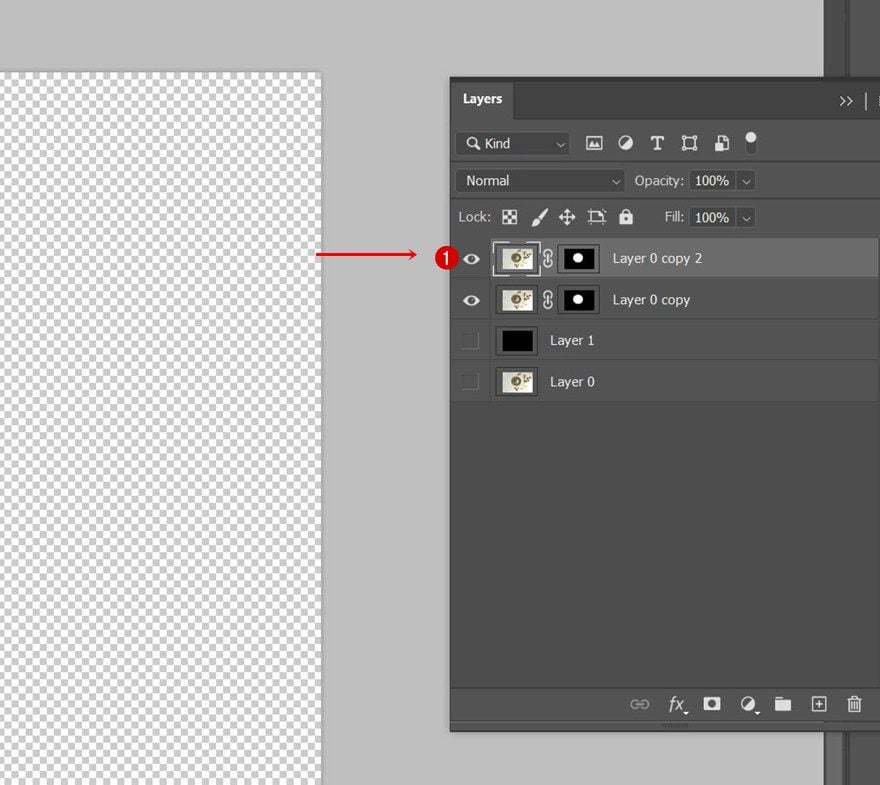
Save PNG Selection as Separate Image File
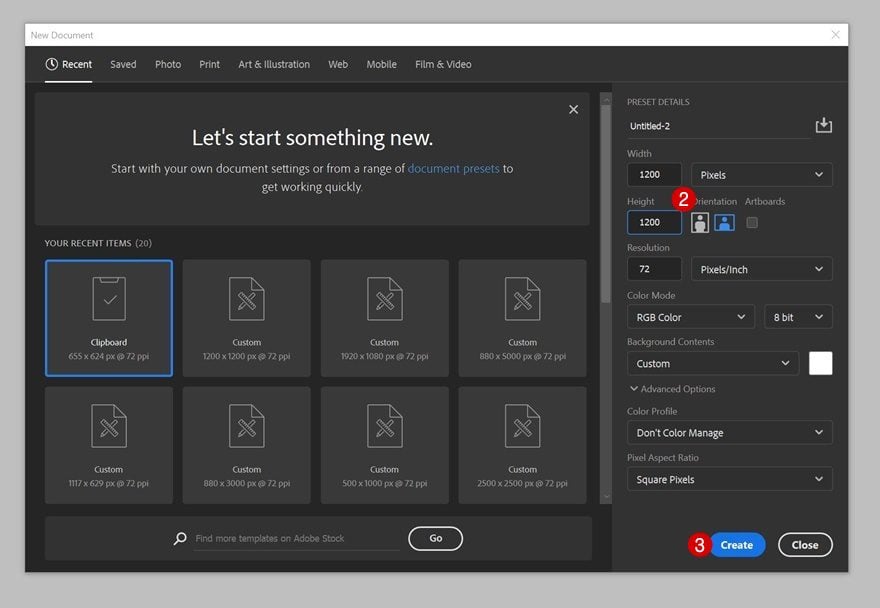
Create New File
Now that you have the PNG selection of your object, you can clone the entire layer, so you can always go back to it. In the next part, we’ll use the duplicate layer to create the background image without the object.
The size of our object is way smaller than the initial file size, so we’re going to create a new file for our object and bring it over.
Fit Selection in New File
Copy-paste the layer with its layer mask inside the new file you’ve created.
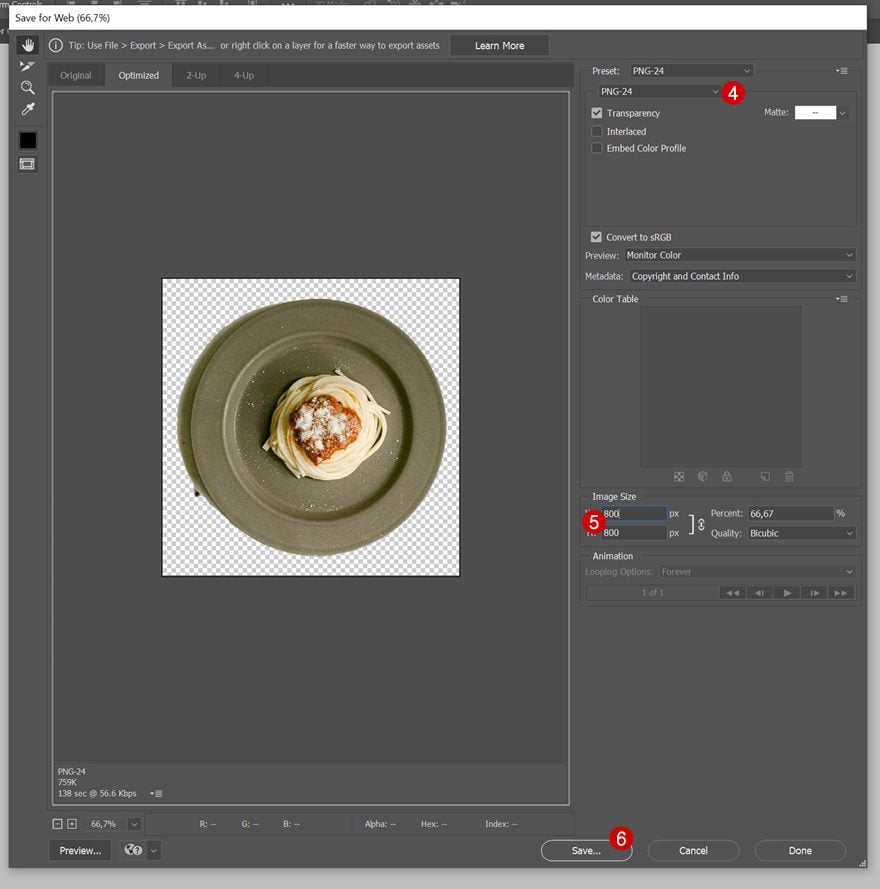
Export for Web
And export it for web as a PNG.
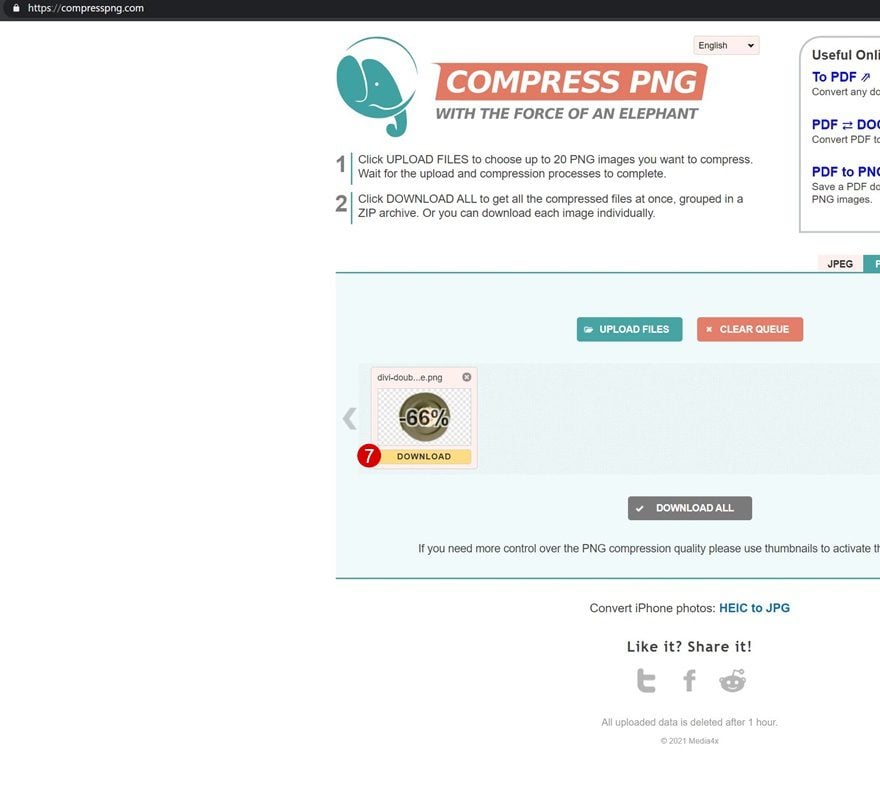
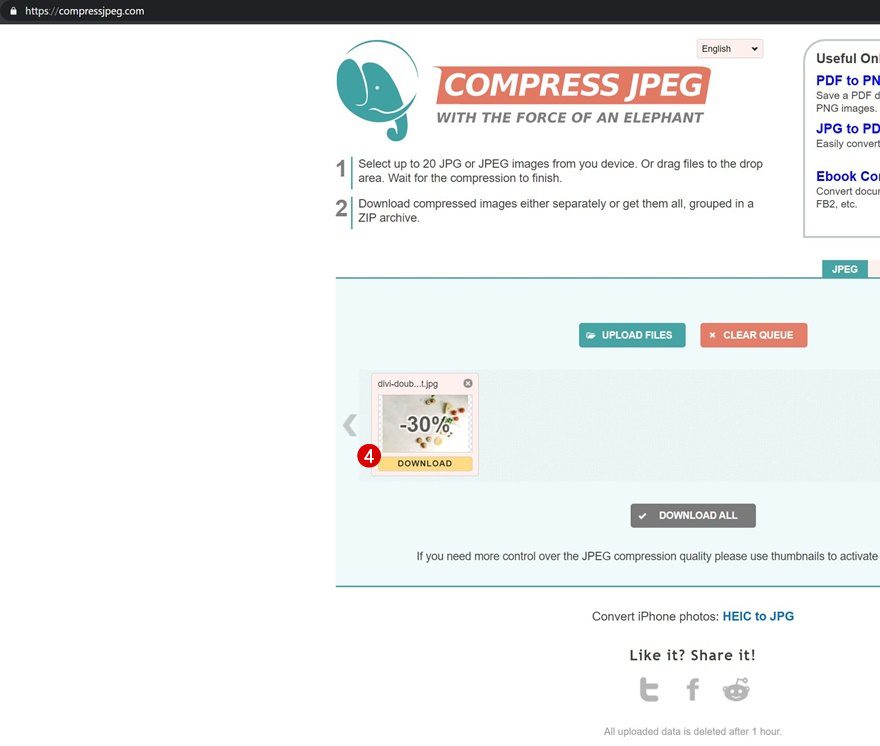
Compress Image File
PNGs with transparent backgrounds tend to have a bigger file size, so it’s recommended you compress the file using a tool of your choice.
Remove Object in Original Image
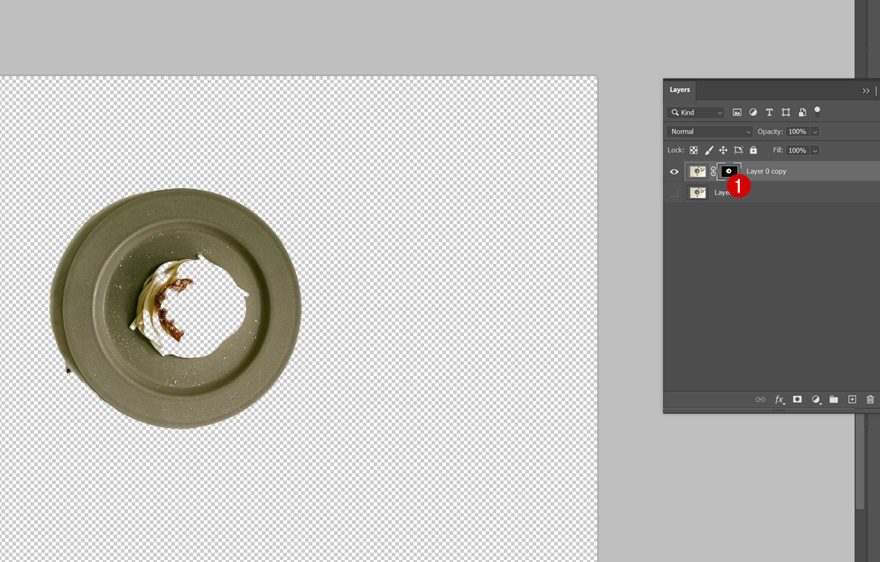
Select Layer Mask
Back to the initial Photoshop file! There, we’re going to create the background image without the object. We’re using the top layer inside our file to do that. First, make sure your layer mask is selected.
Invert Mask
Then, go to the properties of this layer and click “Invert”.

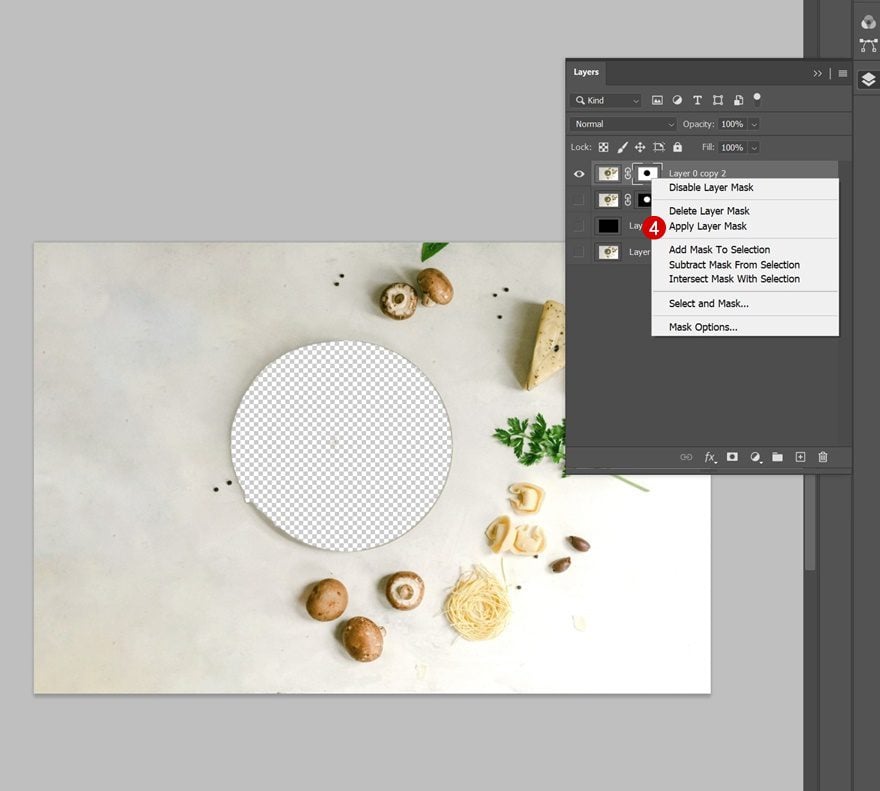
Apply Layer Mask
You’ll now notice that the object is transparent inside the initial layer. We’re going to apply the layer mask to our layer by right-clicking and selecting “Apply Layer Mask”.
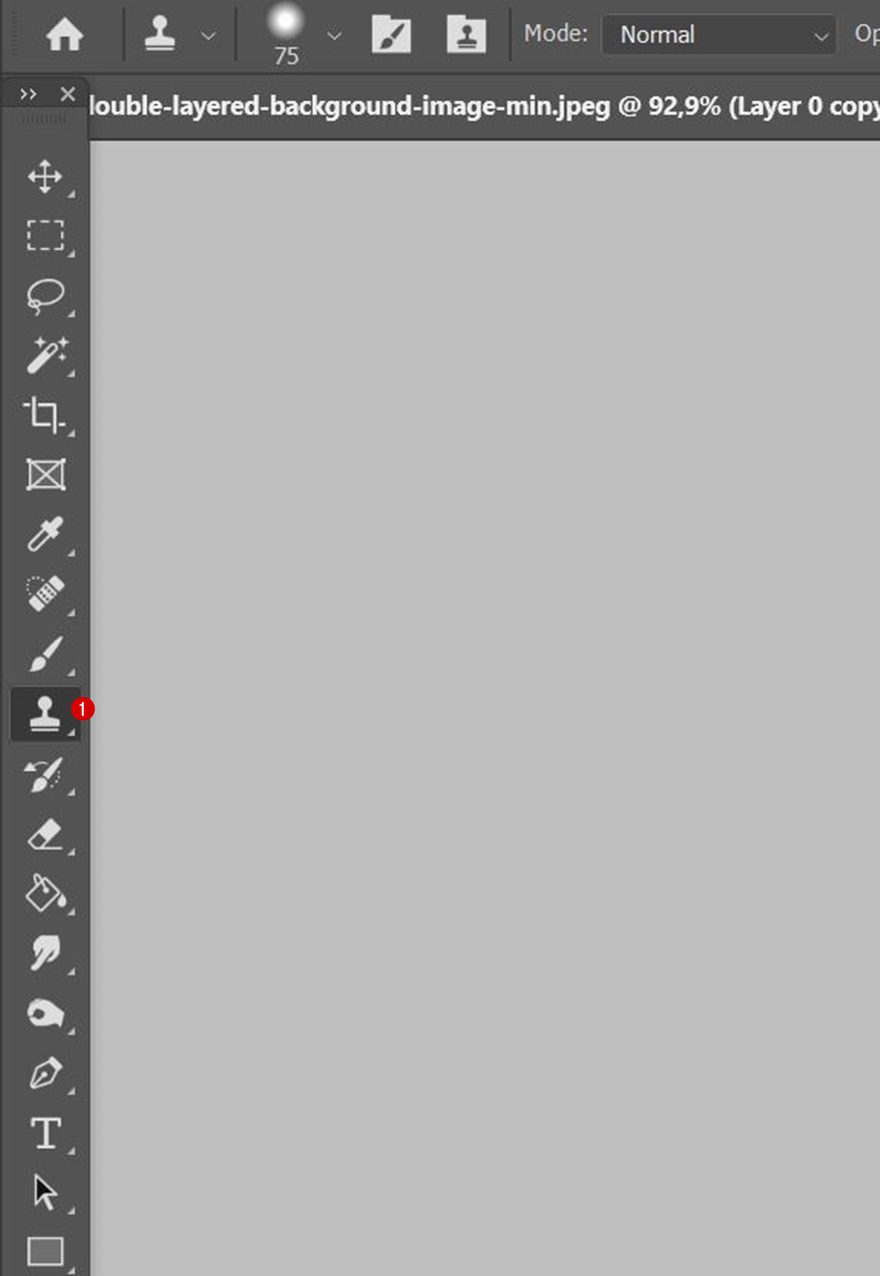
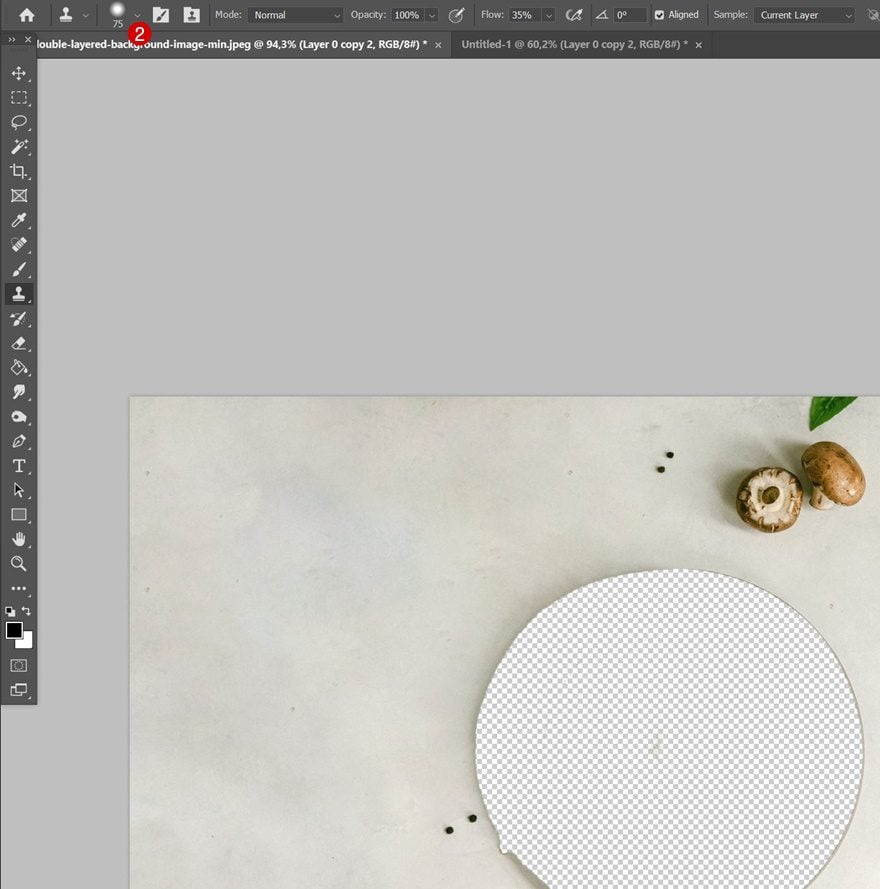
Fill Up Empty Space Using Clone Tool
We still have a hole in the middle, which we need to fill up. That’s where the cloning tool comes in handy. Select a brush size of your choice and fill up the image. You don’t need to be super exact with this, inside the Divi tutorial, we’re going to place the object on top of it.
Save Image without Object
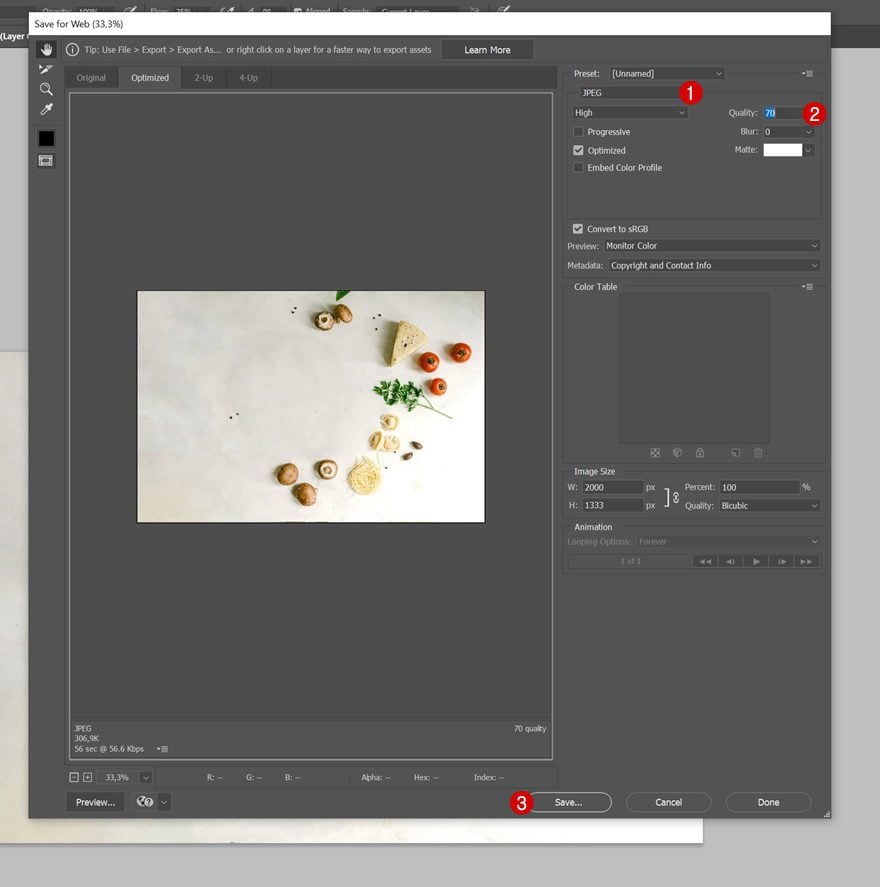
Export for Web
Once you’ve completed the background image without the object, you can save it as a JPEG file at 70% quality.
Compress Image File
Make sure to compress this image too.
2. Build Double-Layered Background Effect in Divi
Add New Section
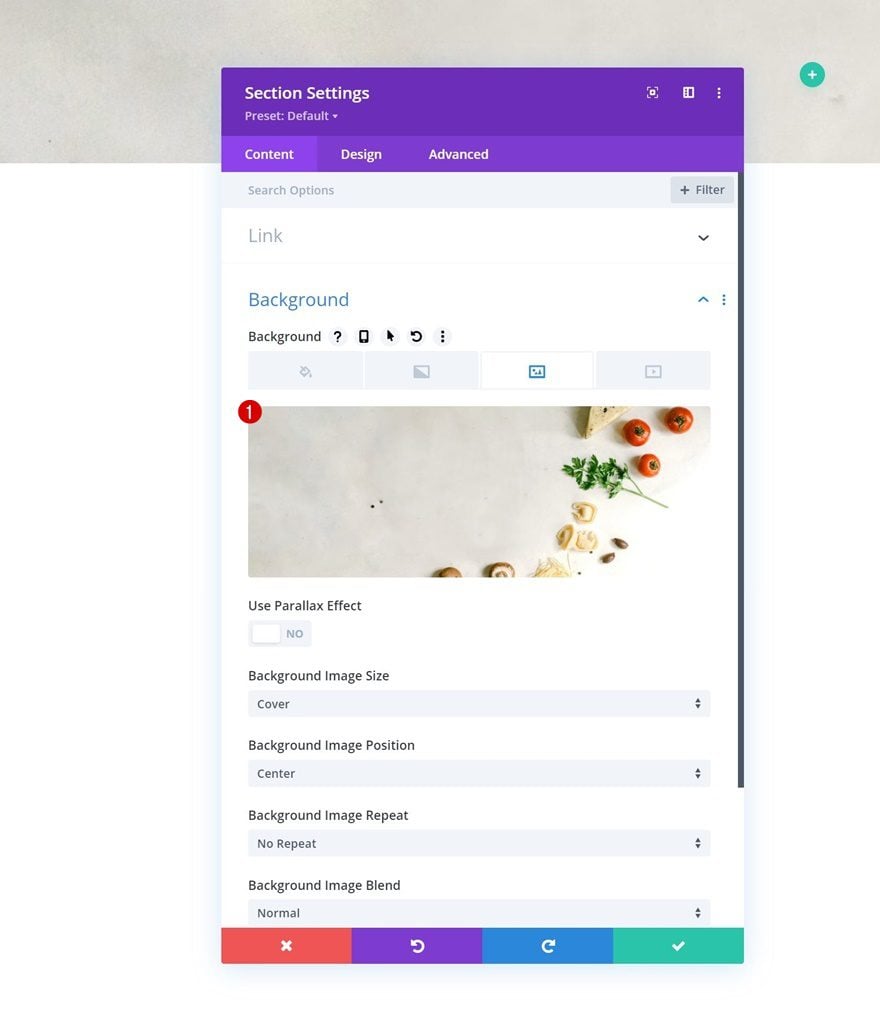
Upload Background Image
Once you have both image files within reach, it’s time to switch over to Divi! Open a new page and add a new section. Upload the background image you’ve created in the first part of the tutorial.
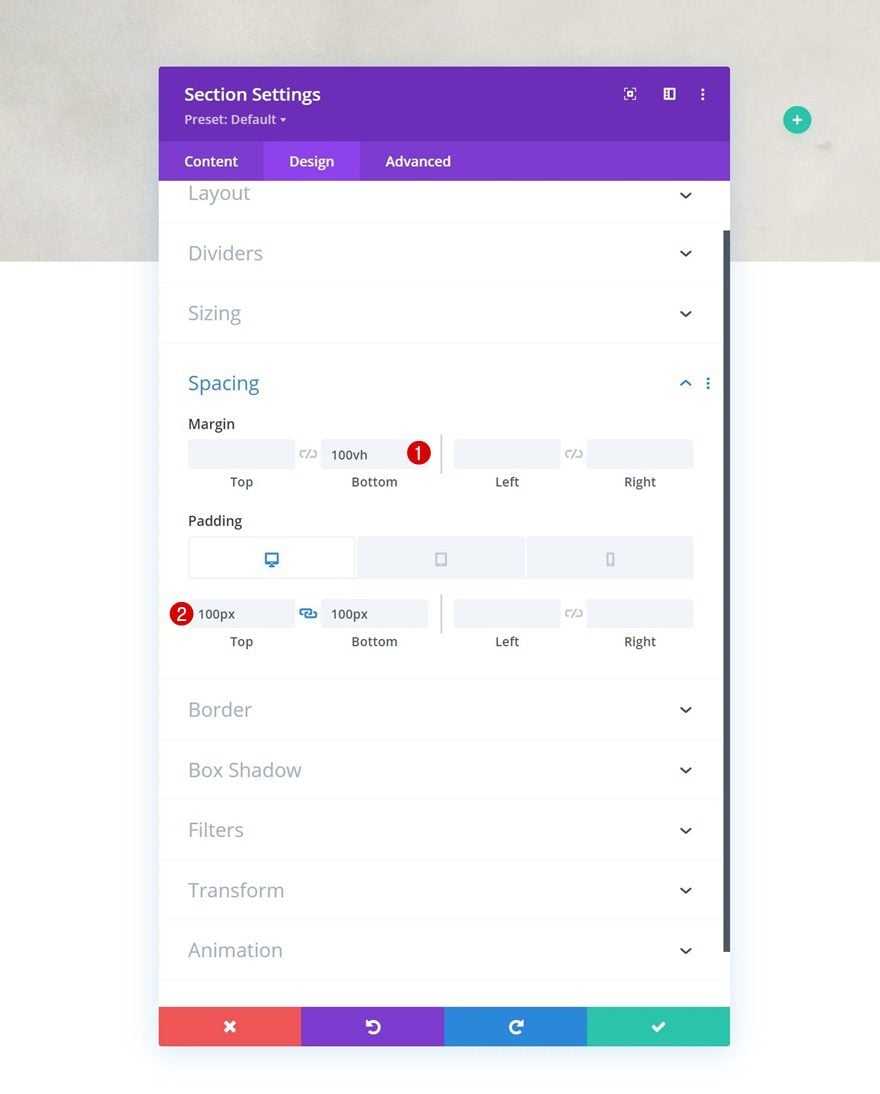
Spacing
Move on to the section’s design tab and apply some custom spacing values. The bottom margin we’re adding will help us see the effect fall into place. Normally, this margin will be replaced by the next sections in your design.
- Bottom Margin: 100vh
- Top Padding:
- Desktop: 100px
- Tablet & Phone: 50px
- Bottom Padding:
- Desktop: 100px
- Tablet: 600px
- Phone: 500px
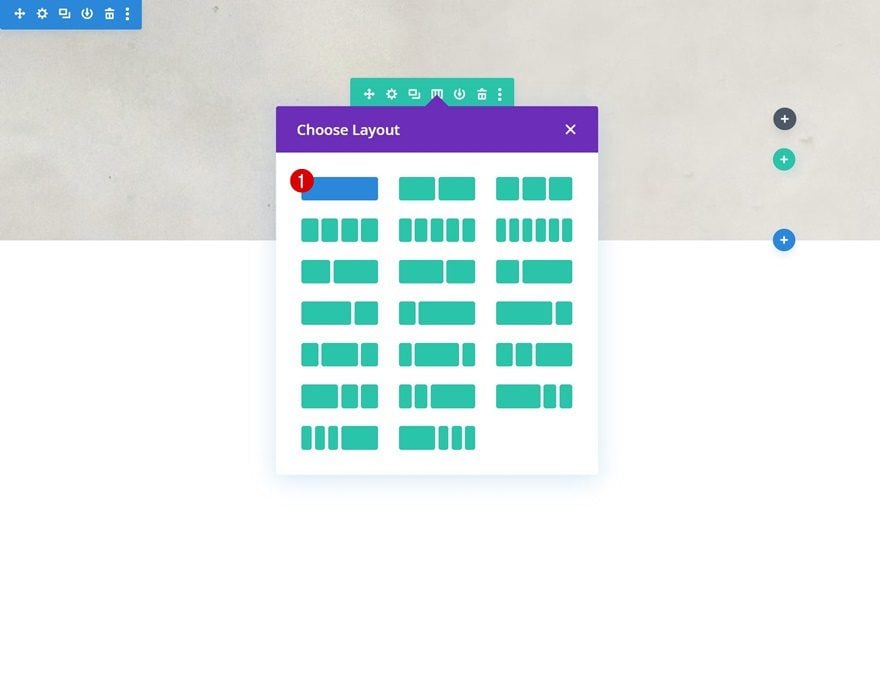
Add Row #1
Column Structure
Continue by adding a new row using the following column structure:
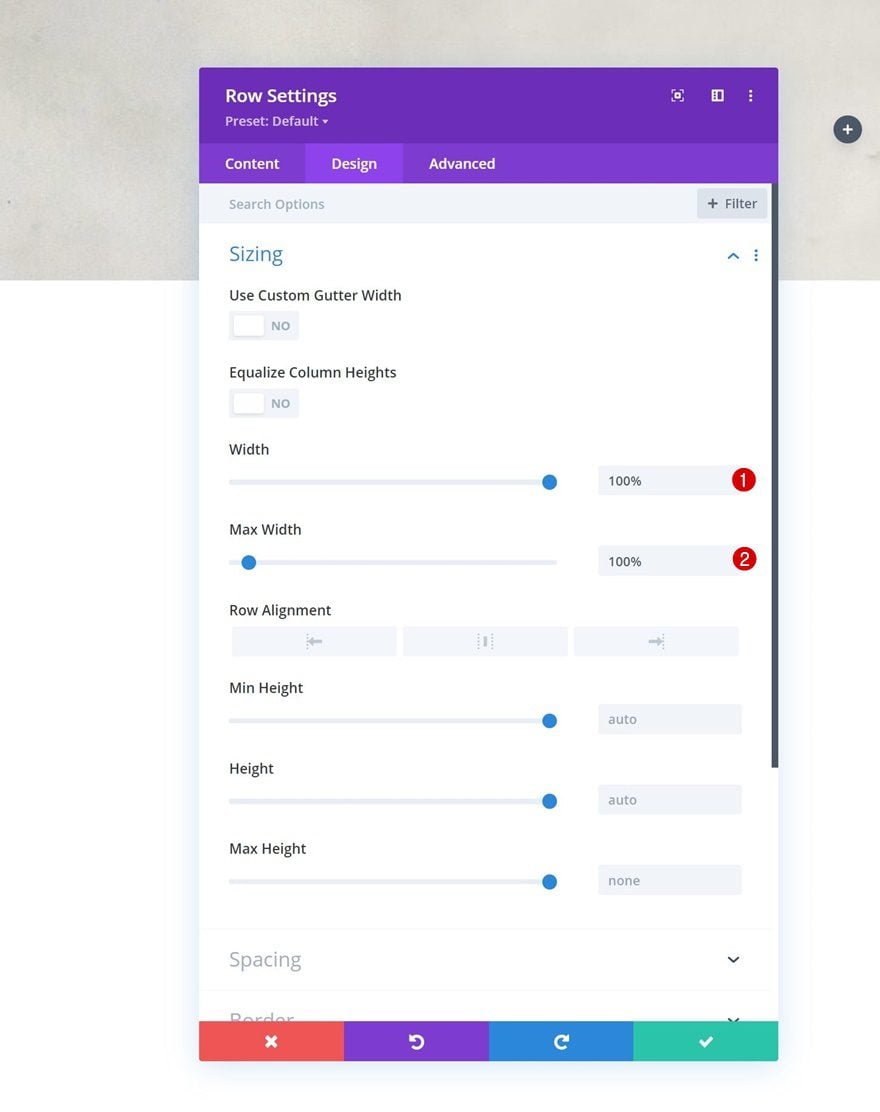
Sizing
Without adding modules yet, open the row settings and change the width and max width. These settings will allow the row to touch the left and right sides of the section container at all times. This way, we can make sure the PNG and background images have the same balance across all screen sizes.
- Width: 100%
- Max Width: 100%
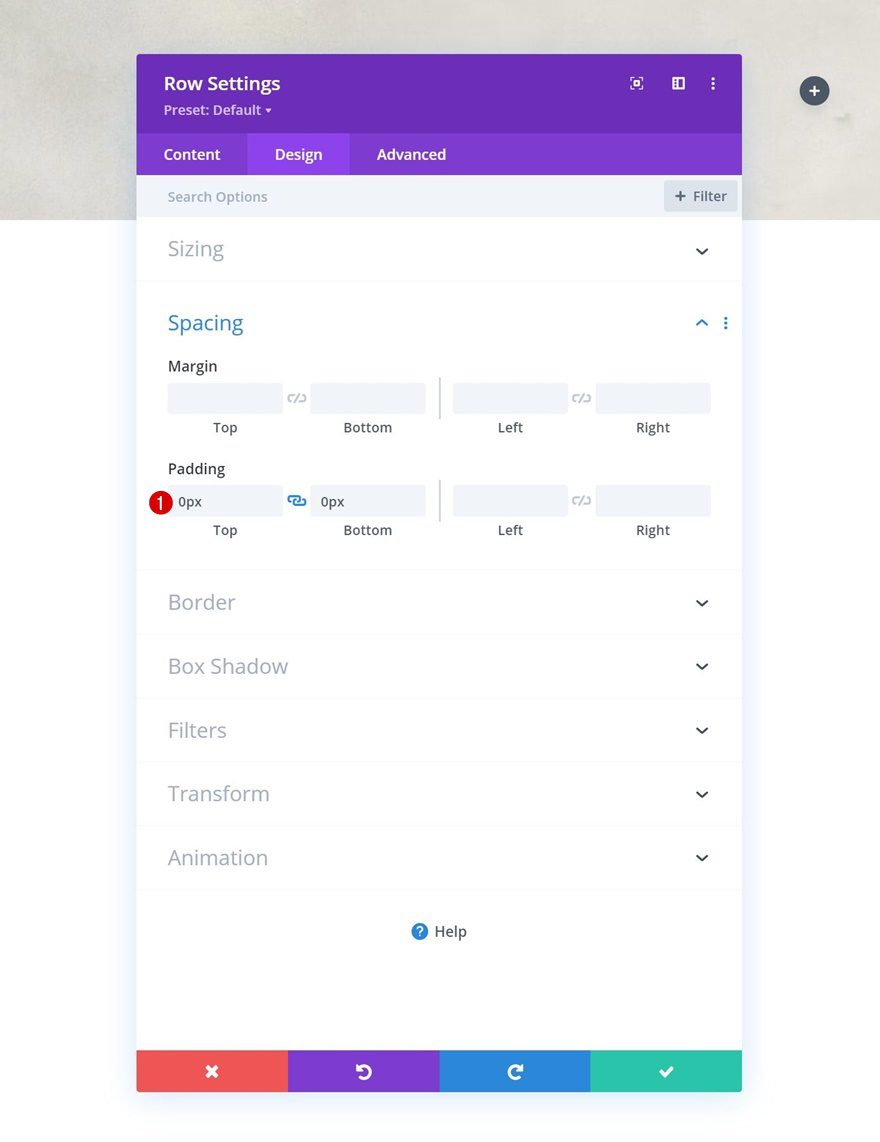
Spacing
Go to the row’s spacing settings next and remove all default top and bottom padding.
- Top Padding: 0px
- Bottom Padding: 0px
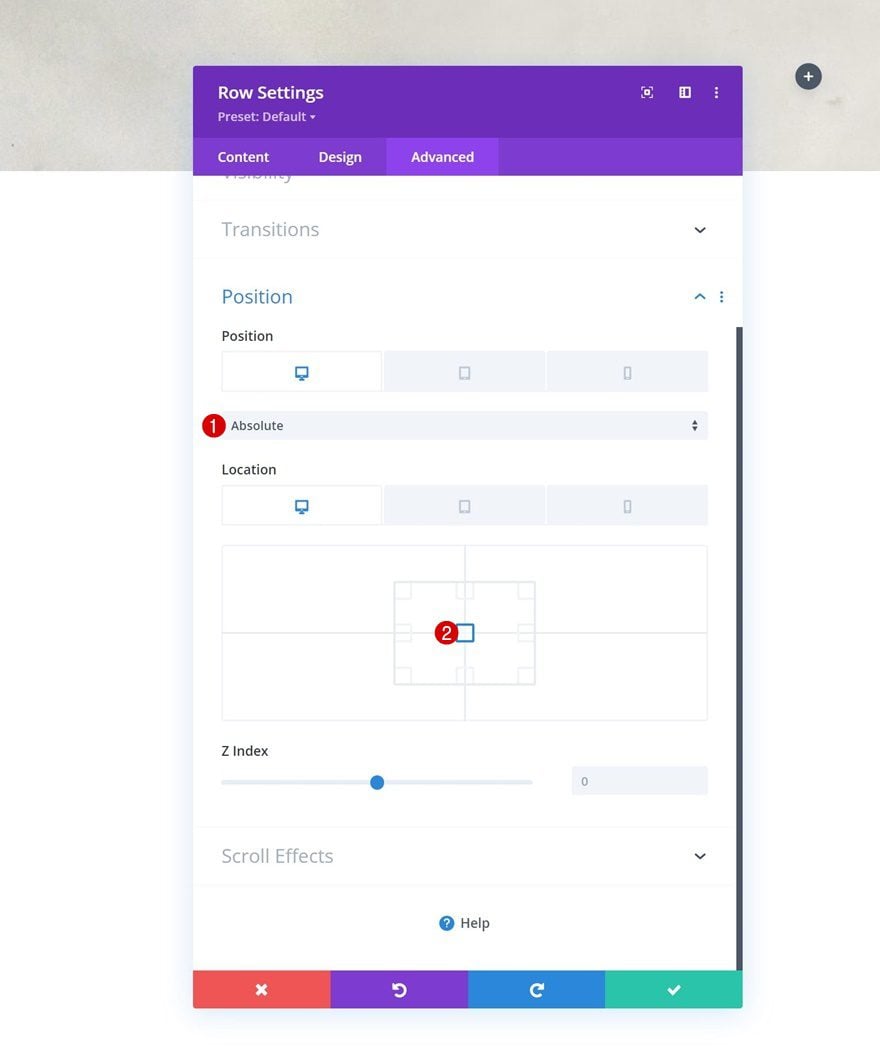
Position
Then, reposition the entire row.
- Position: Absolute
- Location:
- Desktop: Center
- Tablet & Phone: Center Bottom
- Vertical Offset:
- Desktop: /
- Tablet & Phone: 30vh
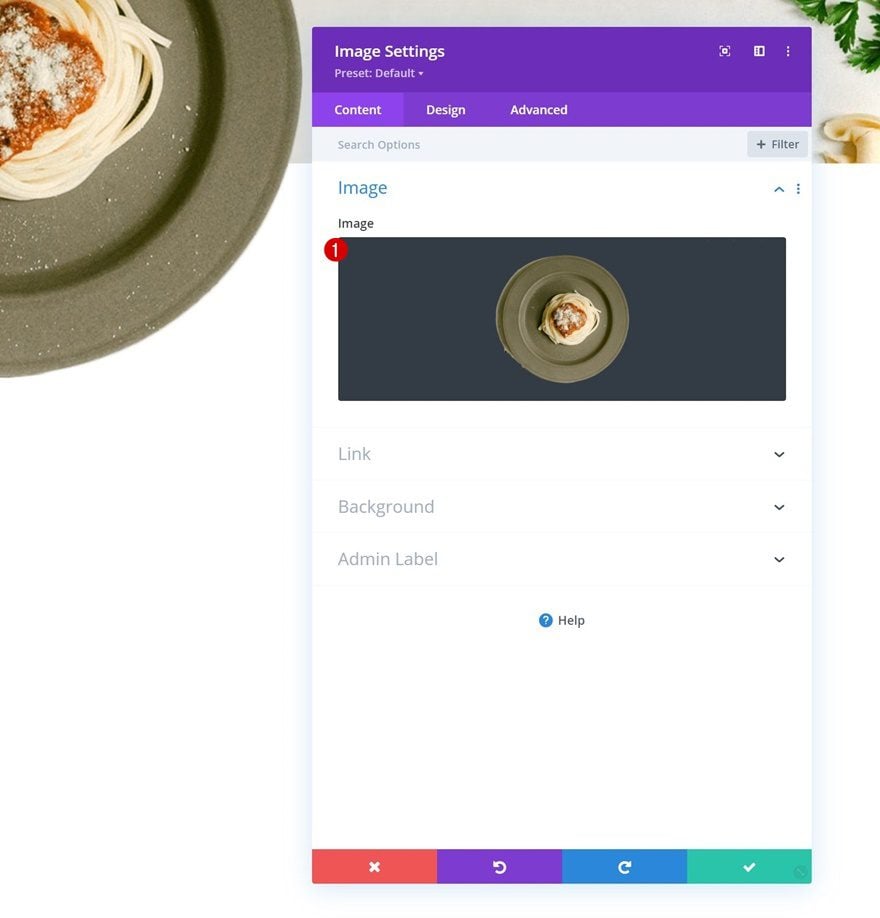
Add Image Module to Row
Upload PNG Image
Once you’ve completed the row settings, add an Image Module to the row and upload the PNG file you’ve created in the first part of the tutorial.
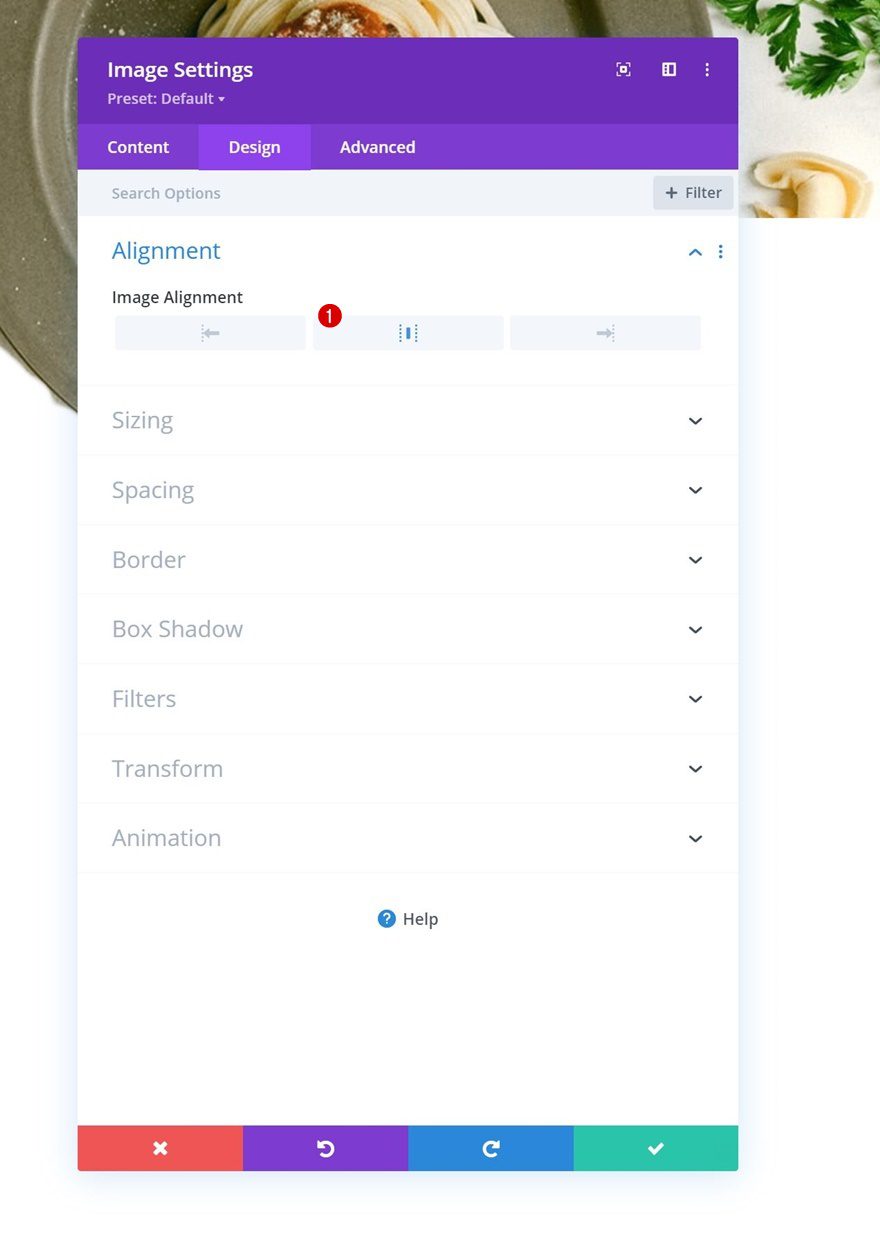
Alignment
Move on to the design tab and change the image alignment.
- Image Alignment: Center
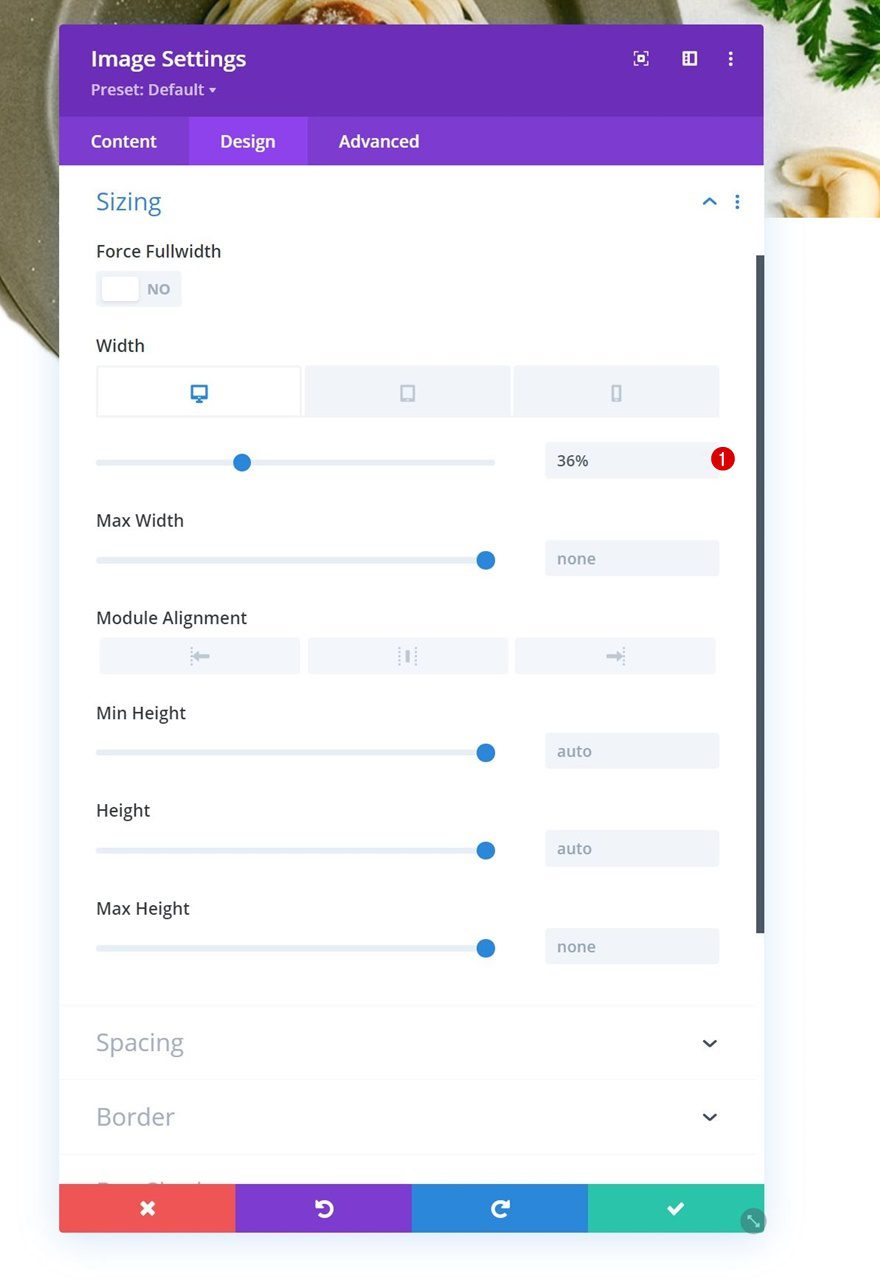
Sizing
Change the sizing settings next.
- Width:
- Desktop: 36%
- Tablet & Phone: 60%
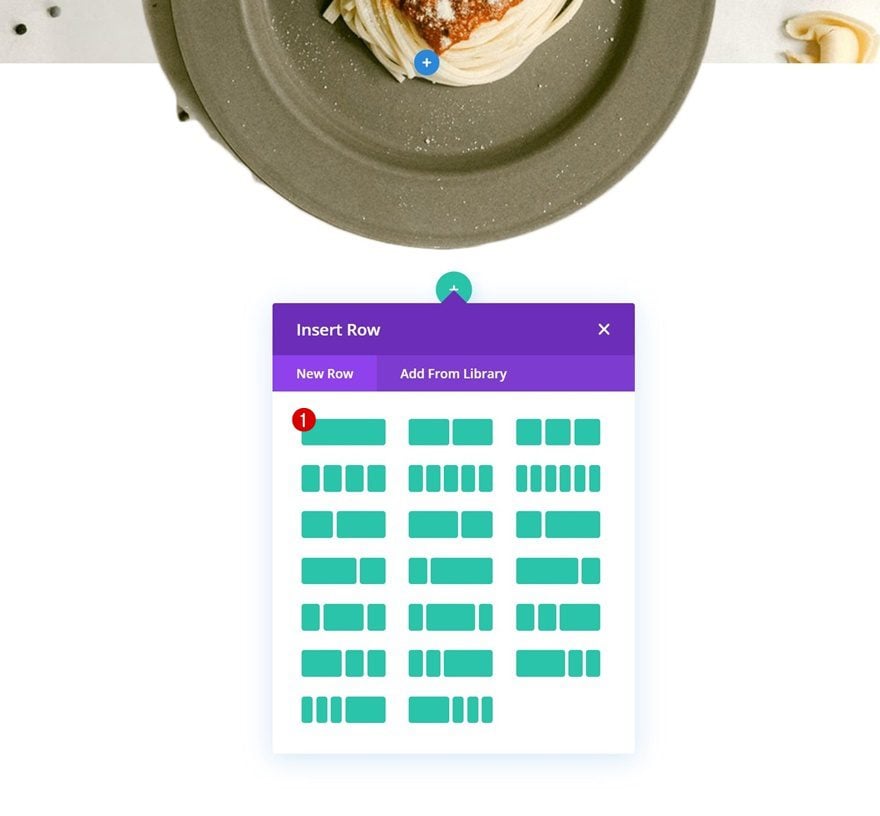
Add Row #2
Column Structure
Then, add another row to the section using the following column structure:
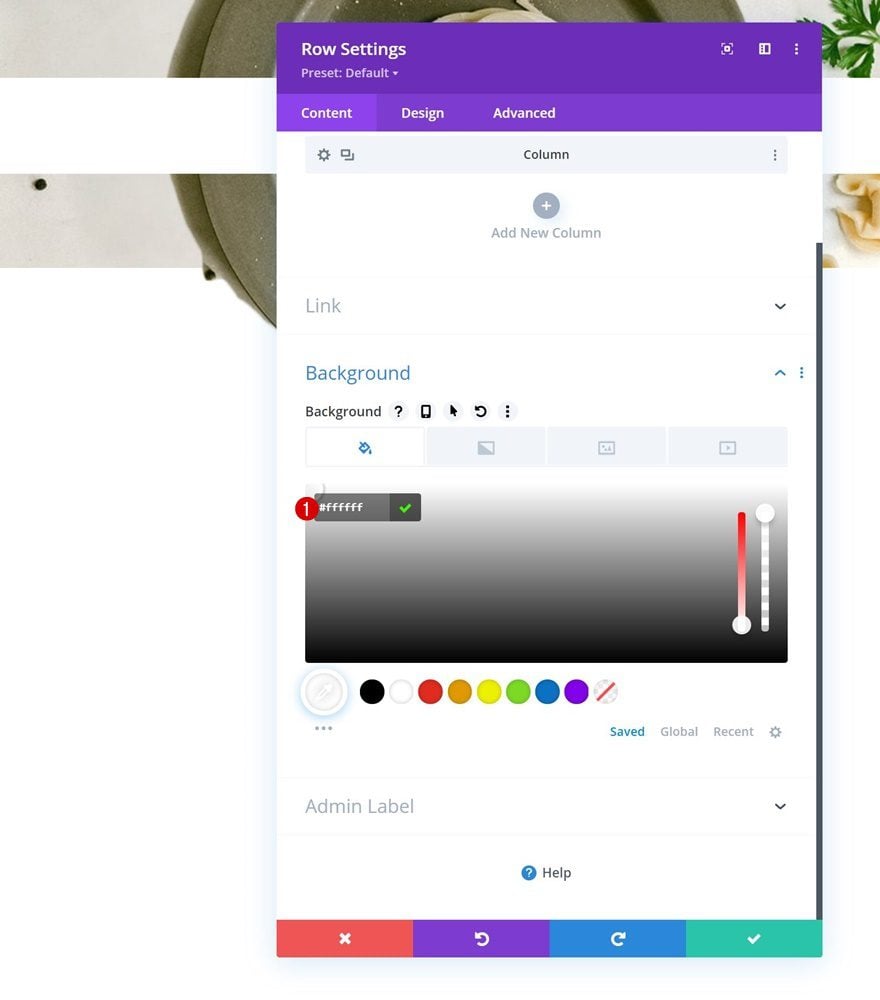
Background Color
Open the row settings and change the background color.
- Background Color: #ffffff
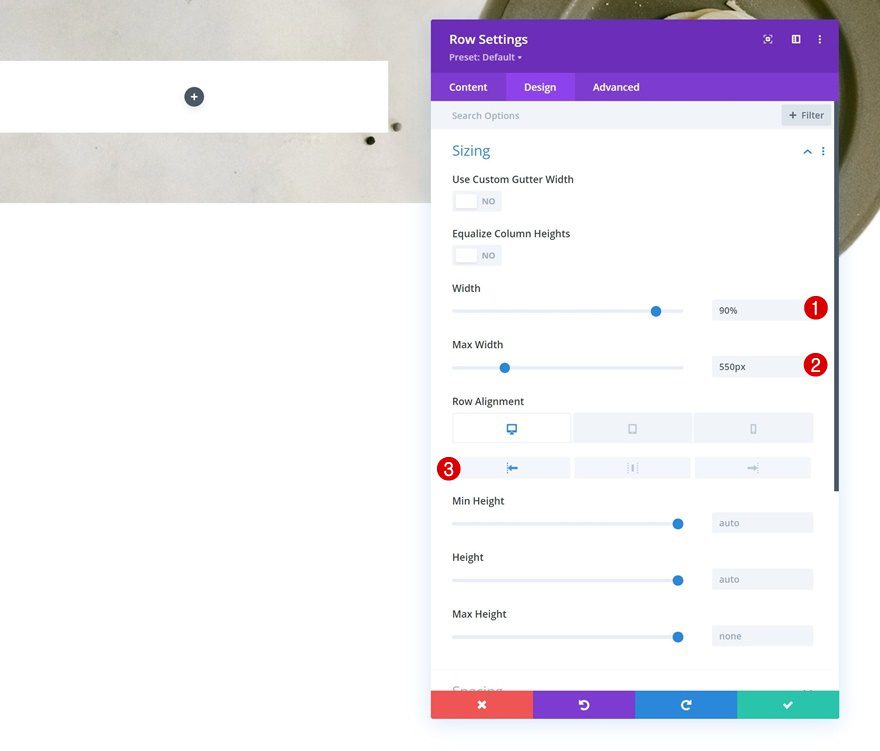
Sizing
Modify the sizing settings next.
- Width: 90%
- Max Width: 550px
- Row Alignment:
- Desktop: Left
- Tablet & Phone: Center
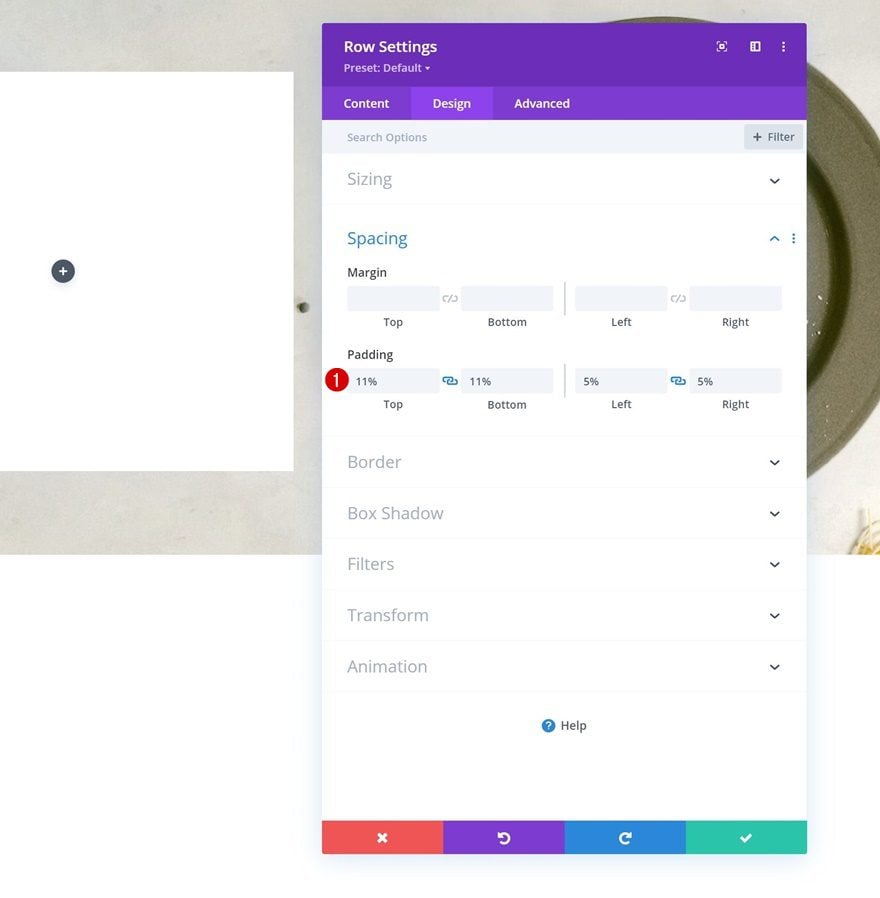
Spacing
Then, apply some custom padding values.
- Top Padding: 11%
- Bottom Padding: 11%
- Left Padding: 5%
- Right Padding: 5%
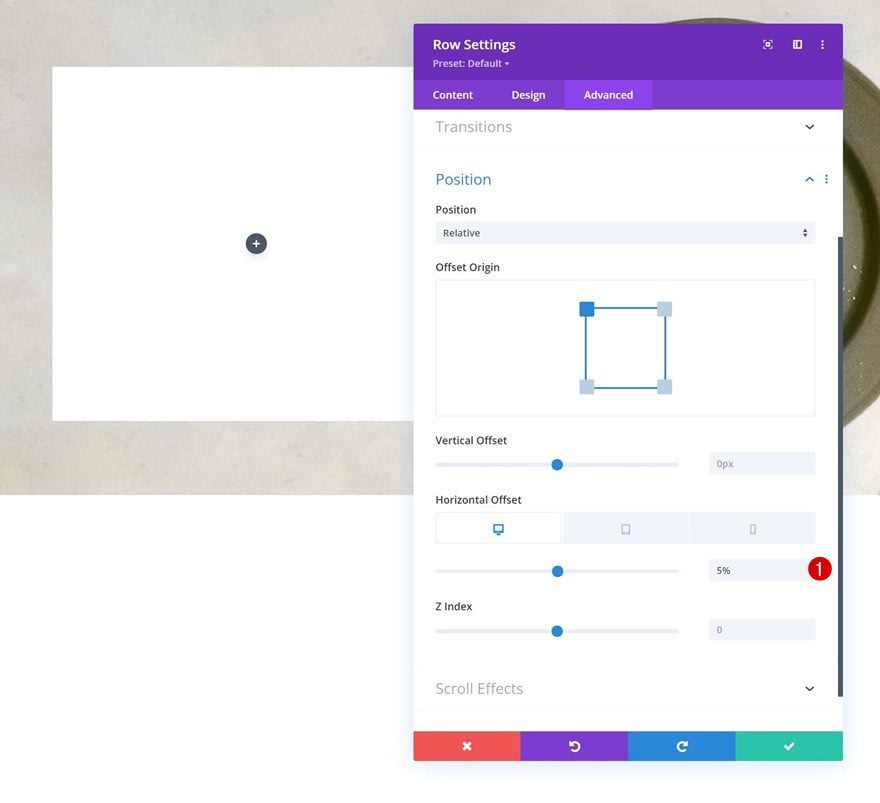
Horizontal Offset
We’re adding some horizontal offset to the position settings too.
- Horizontal Offset:
- Desktop: 5%
- Tablet & Phone: 0%
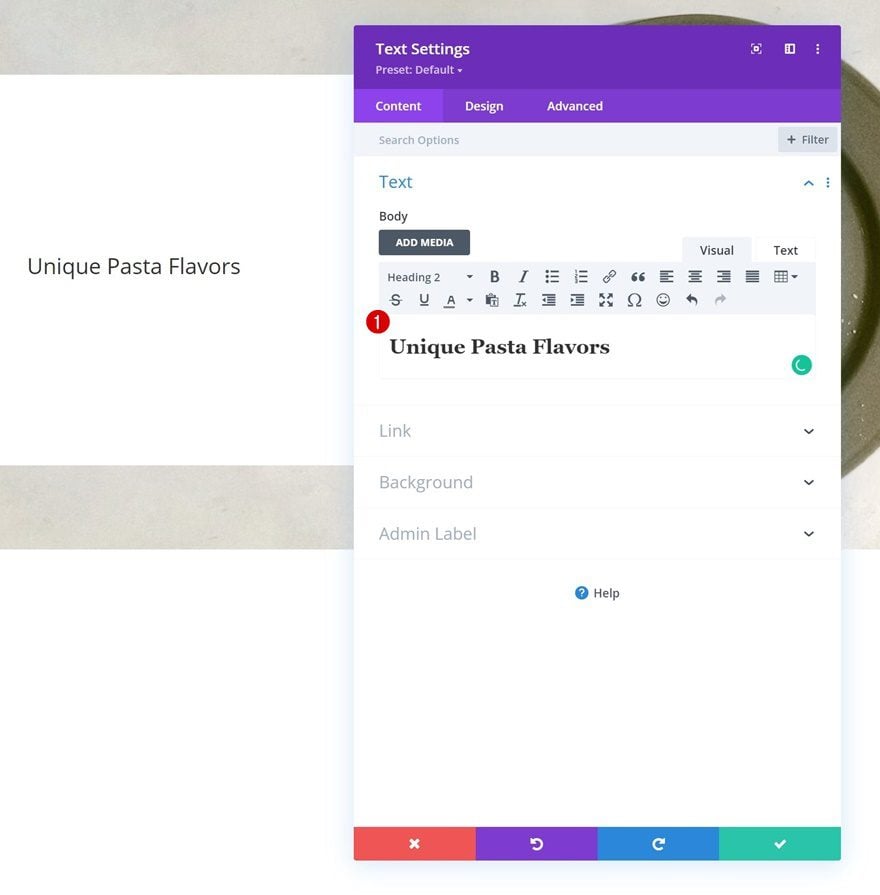
Add Text Module #1 to Column 1
Add H2 Content
Time to add modules, starting with a first Text Module containing some H2 content.
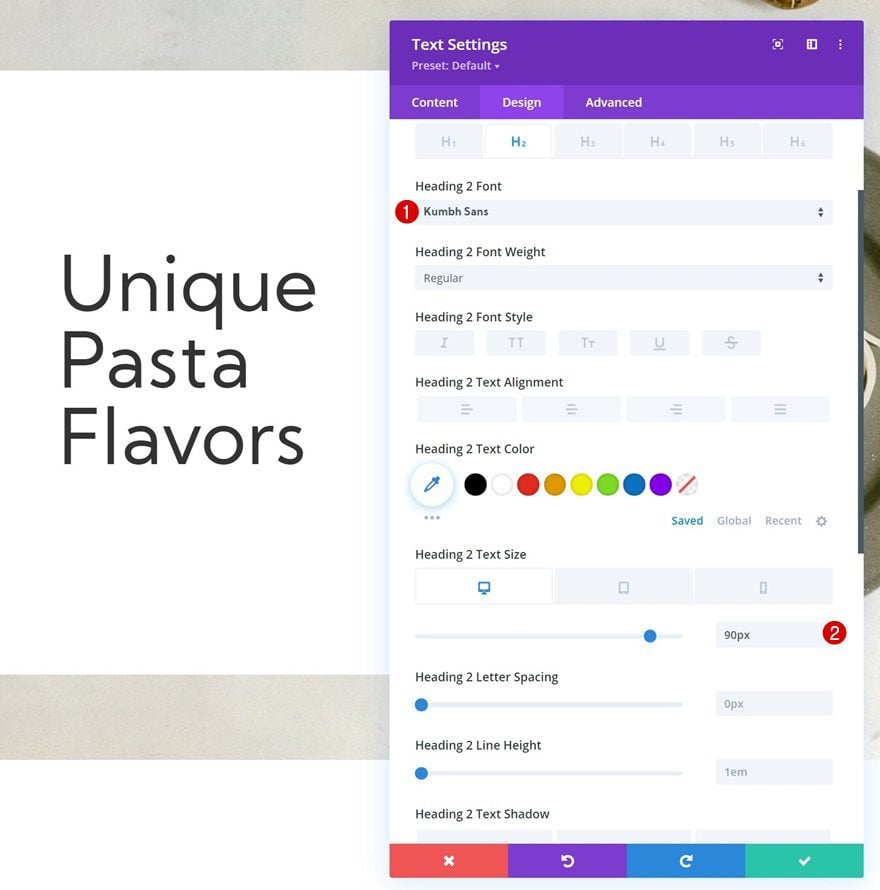
H2 Text Settings
Style the H2 text as follows:
- Heading 2 Font: Kumbh Sans
- Heading 2 Text Size:
- Desktop: 90px
- Tablet: 60px
- Phone: 45px
Add Text Module #2 to Column 1
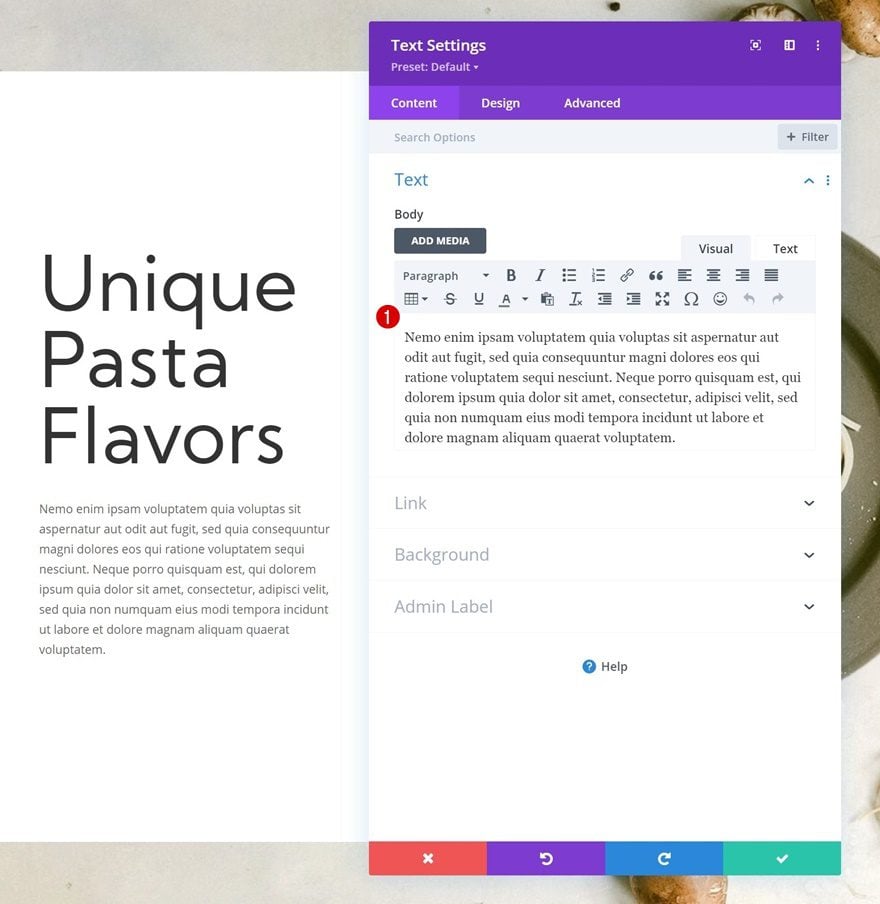
Add Description Content
Add another Text Module right below the previous one and insert some description content of your choice.
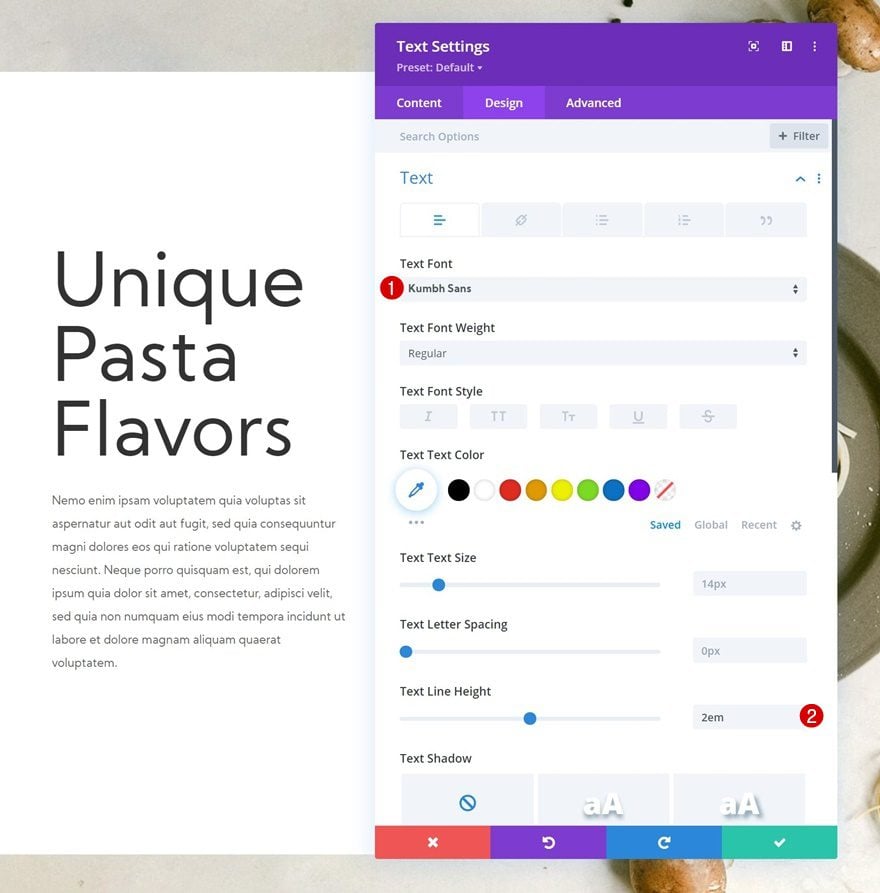
Text Settings
Change the module’s text settings accordingly:
- Text Font: Kumbh Sans
- Text Line Height: 2em
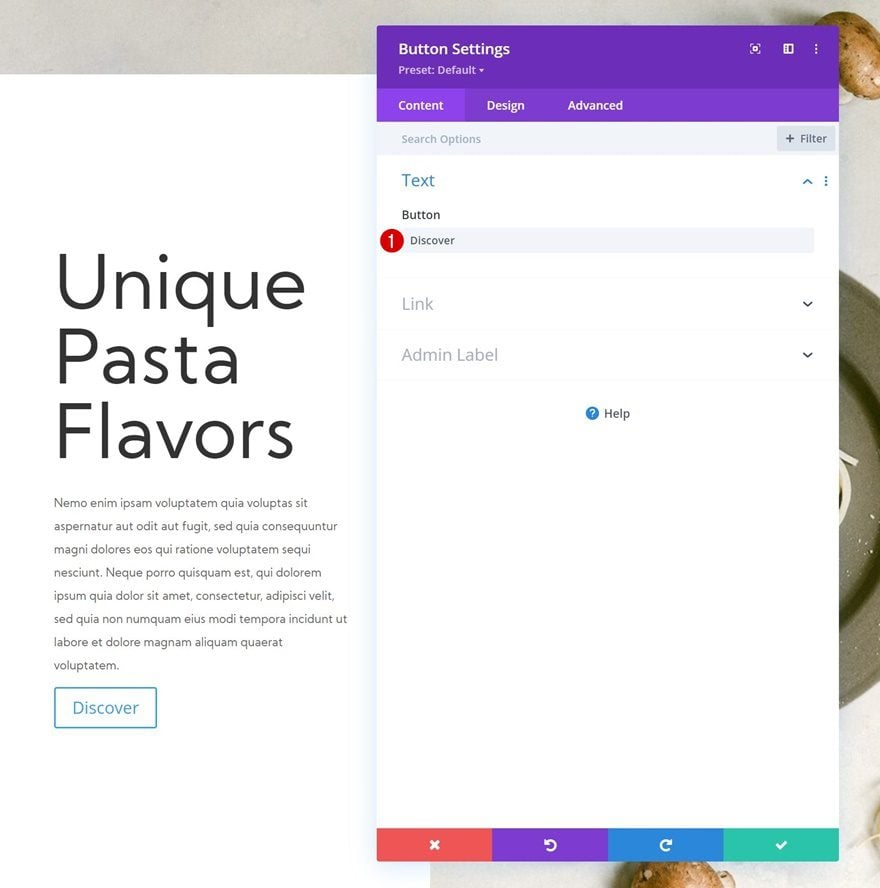
Add Copy
The last module we need in this column is a Button Module. Add some copy of your choice.
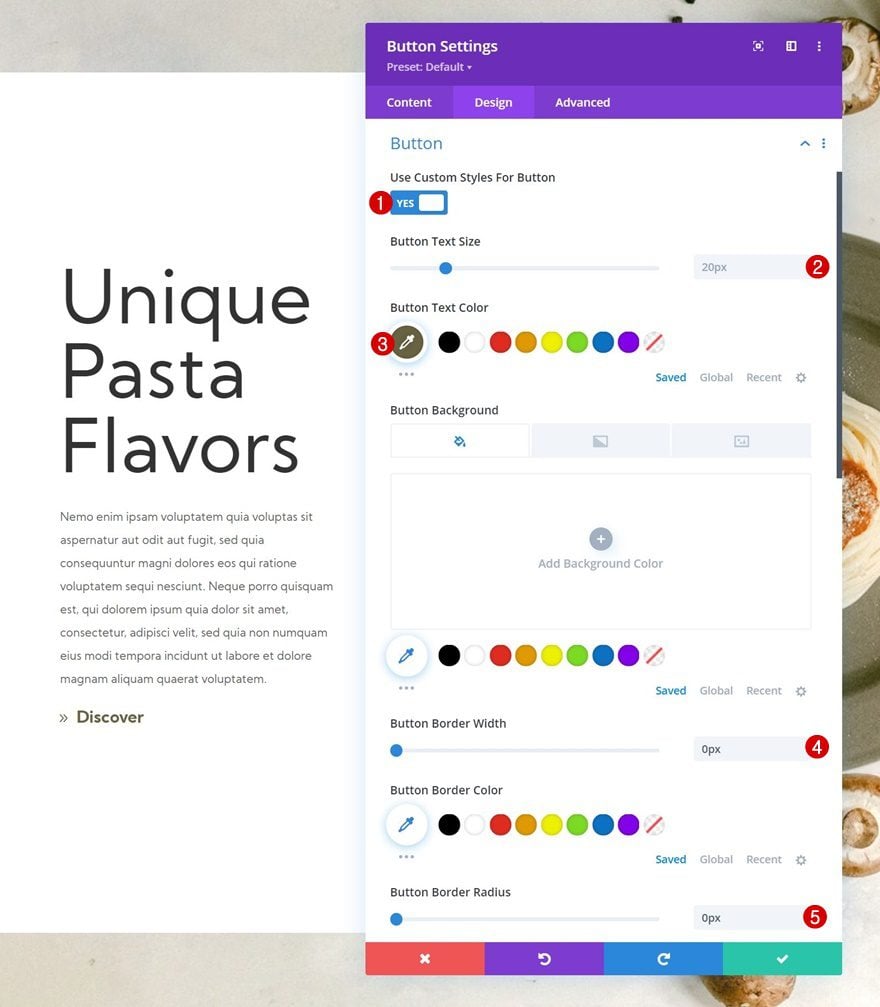
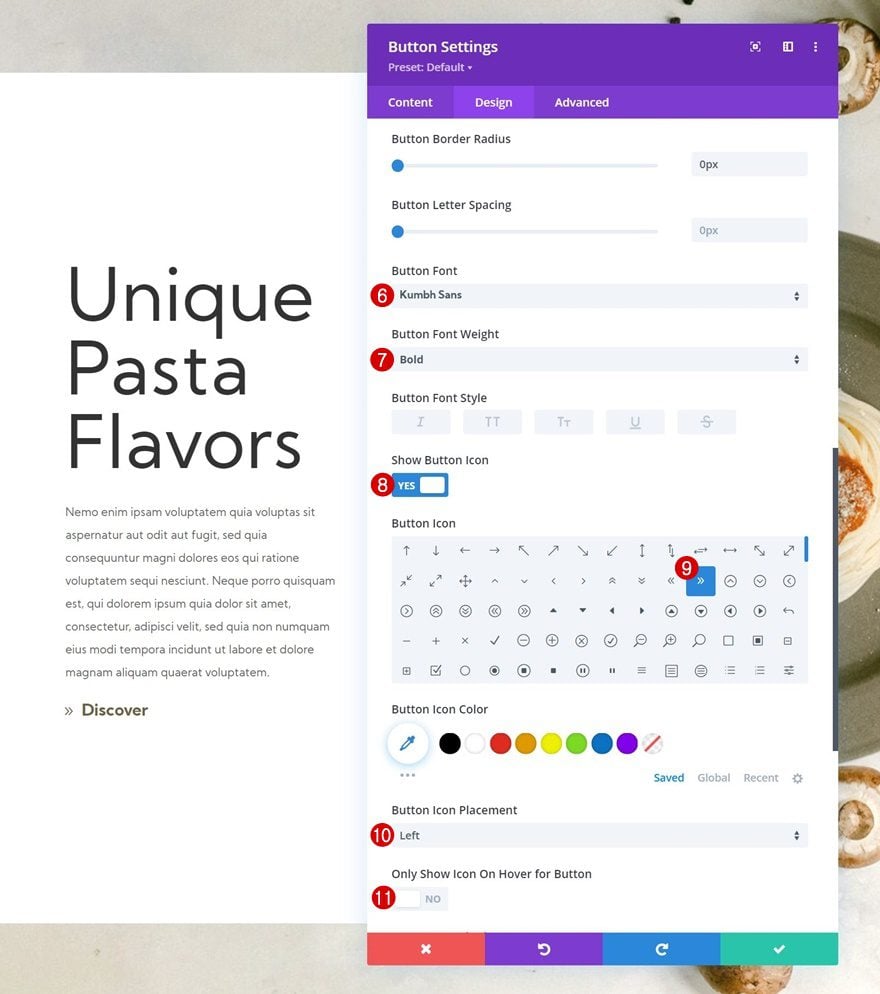
Button Settings
Style the button accordingly:
- Use Custom Styles For Button: Yes
- Button Text Size: 20px
- Button Text Color: #6b6443
- Button Border Width: 0px
- Button Border Radius: 0px
- Button Font: Kumbh Sans
- Button Font Weight: Bold
- Show Button Icon: Yes
- Button Icon Placement: Left
- Only Show Icon On Hover for Button: No
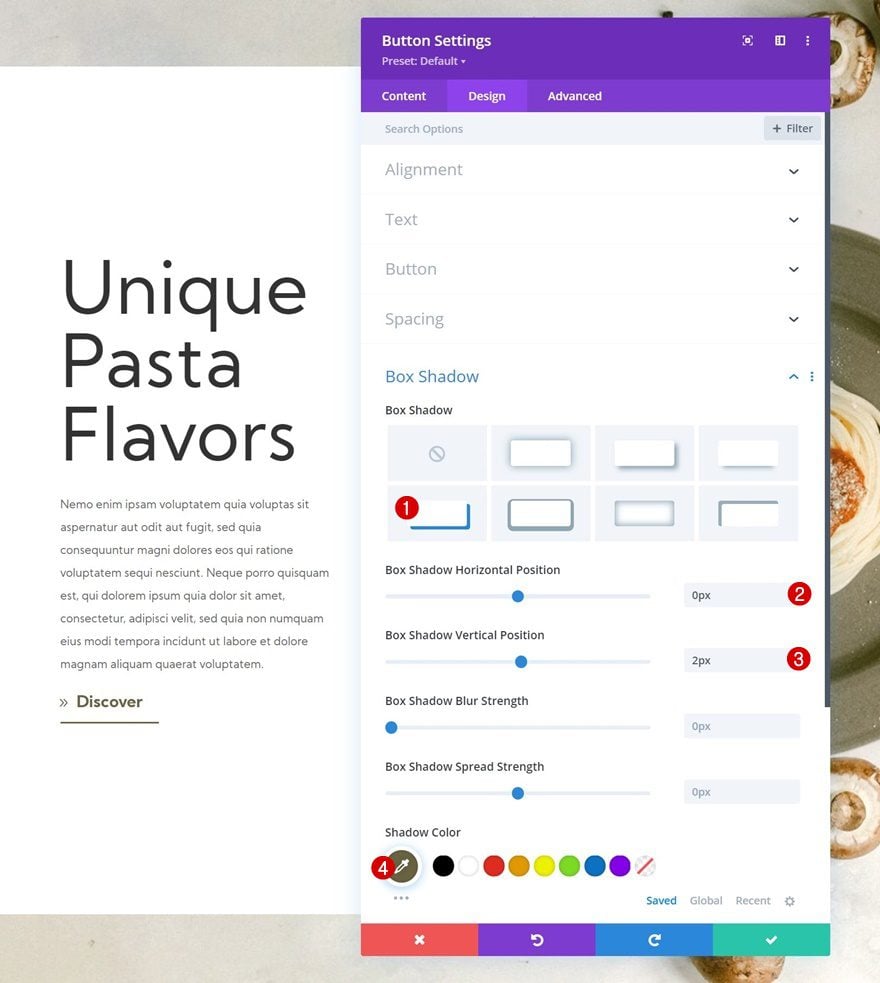
Box Shadow
Include a box shadow as well.
- Box Shadow Horizontal Position: 0px
- Box Shadow Vertical Position: 2px
- Shadow Color: #6b6443
3. Add Scroll Effects
Image Vertical Motion
In the last part of this tutorial, we’ll focus on adding the scroll effects to the Image Module containing the PNG image file. Open the module’s settings, navigate to the advanced tab and apply the following vertical motion settings:
- Enable Vertical Motion: Yes
- Starting Offset:
- Desktop: 0
- Tablet & Phone: 4 (at 0%)
- Mid Offset:
- Desktop: 0
- Tablet & Phone: 0 (at 97%)
- Ending Offset:
- Desktop: 0
- Tablet & Phone: -2 (at 100%)
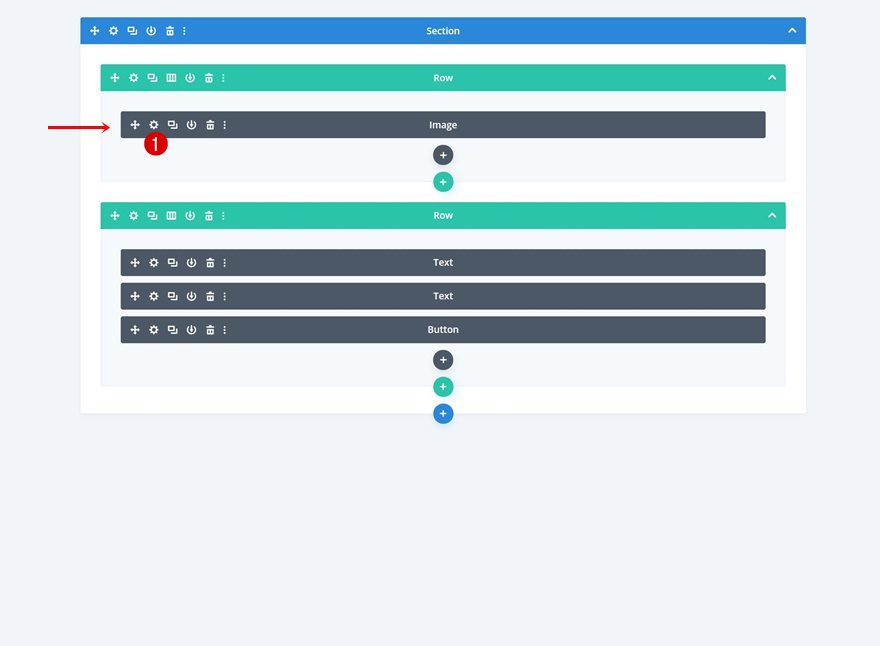
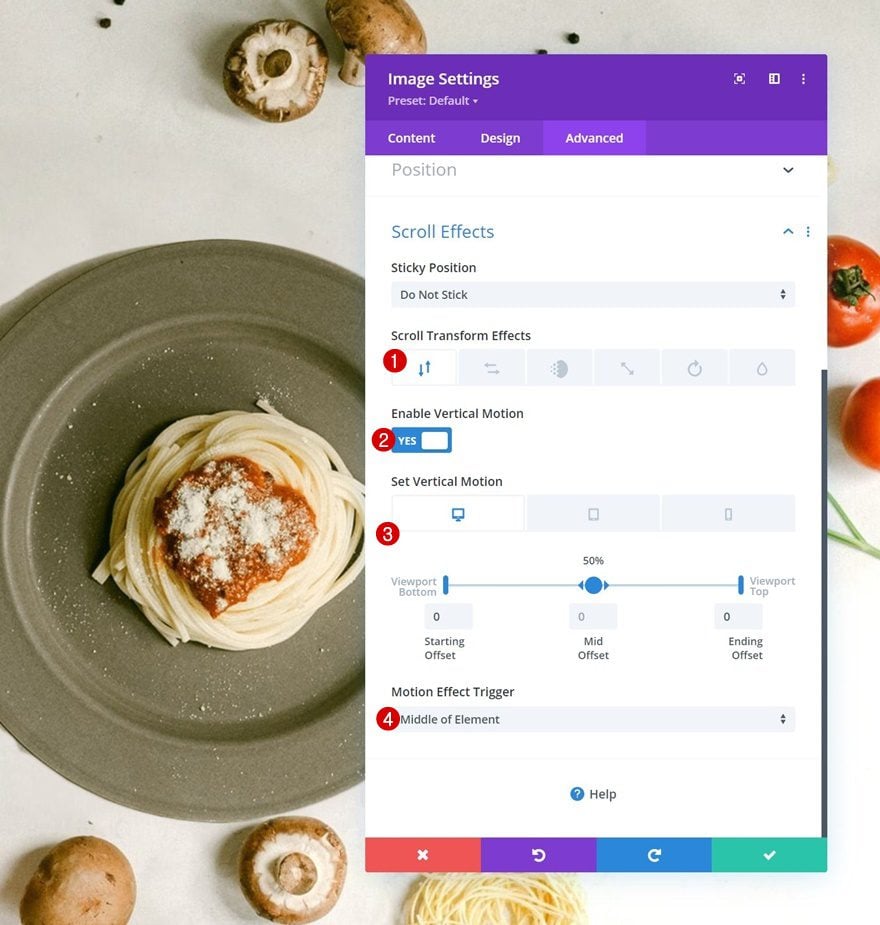
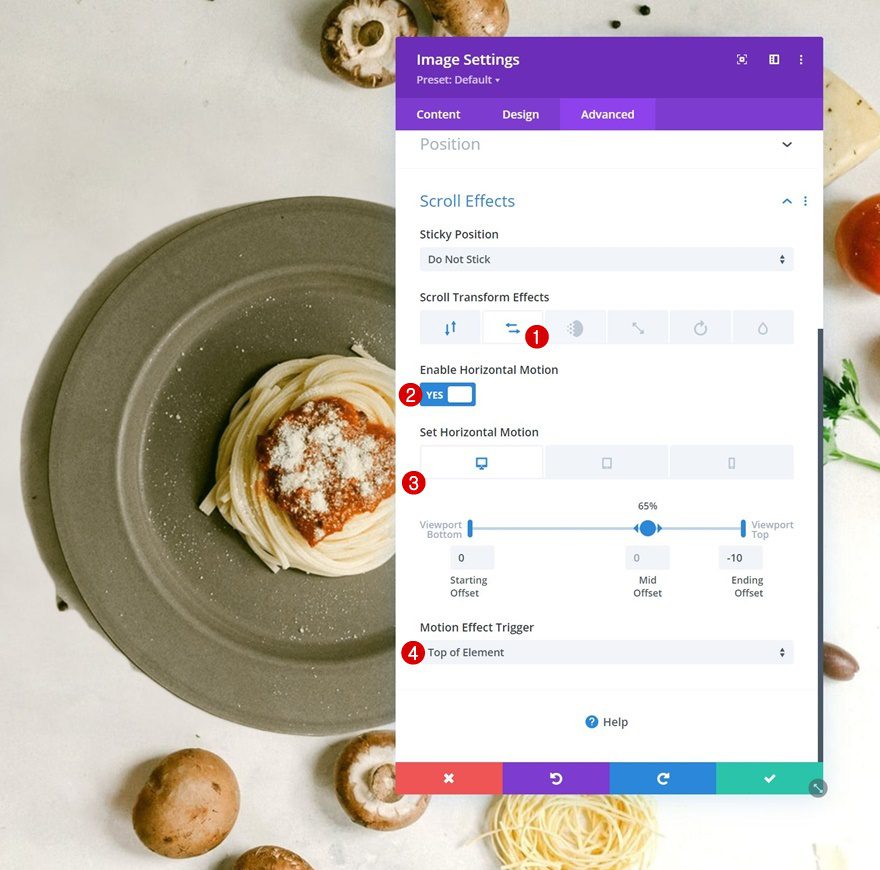
Image Horizontal Motion
We’re completing our design using the following horizontal motion settings:
- Enable Horizontal Motion: Yes
- Starting Offset:
- Desktop: 0 (at 0%)
- Tablet & Phone: 0
- Mid Offset:
- Desktop: 0 (at 65%)
- Tablet & Phone: 0 (at 97%)
- Ending Offset:
- Desktop: -10 (at 100%)
- Tablet & Phone: 0
Preview
Now that we’ve gone through all the steps, let’s take a final look at the outcome across different screen sizes.
Desktop
Mobile
Final Thoughts
In this post, we’ve shown you how to create a double-layered background, and animate it with Divi’s built-in scroll effects. In the first part of the tutorial, we’ve prepared the image files inside Adobe Photoshop. In part two of the tutorial, we focused on using the image files inside Divi to create a responsive design. You were able to download the JSON file for free as well! If you have any questions or suggestions, feel free to leave a comment in the comment section below.
If you’re eager to learn more about Divi and get more Divi freebies, make sure you subscribe to our email newsletter and YouTube channel so you’ll always be one of the first people to know and get benefits from this free content.


Amazing tutorial, an effect that will give our website a professional look. Although the tutorial can be followed step by step, it is advisable to have knowledge of photoshop. Thanks from Spain.
I love this, and I’ve also in the past used an (African bush look) solid nature section background with animals as the row background, parallax with a burn, darken or blend filter. It can get tricky, but with the right images, you’ll have a website like nowhere else in the world.
Very useful article. My only pet peeve is the Photoshop tutorial in front of the Divi instructions. Most people who use Photoshop know how to do this already (I hope!), and the novices who don’t own Photoshop can’t use this at all. I’d respectfully suggest moving it to the end as a “if you need help” tip rather than making the rest of us scroll through all this. It’s a lot of scrolling!