
Traditionally, sticky menus are visible at the top (or bottom) of a page the moment the page loads. However, building a sticky CTA menu as the user scrolls down the page can be a creative and effective way to keep those important CTAs clickable at all times. In some ways, it is the best of both worlds. It allows the CTA to keep its prime placement in the original design. And, it keeps a minified version of the CTA (the button) visible in a sticky menu structure users are familiar with.
In this tutorial, we are going to show you how to build a sticky CTA menu as you scroll down the page in Divi. This will work great for desktop and mobile users by adding an intuitive, yet unique, way to entice visitors to take action.
Let’s get started!
Sneak Peek
Here is a quick look at the design we’ll build in this tutorial.
Download the Layout for FREE
To lay your hands on the designs from this tutorial, you will first need to download it using the button below. To gain access to the download you will need to subscribe to our newsletter by using the form below. As a new subscriber, you will receive even more Divi goodness and a free Divi Layout pack every Monday! If you’re already on the list, simply enter your email address below and click download. You will not be “resubscribed” or receive extra emails.

Subscribe To Our Youtube Channel
To import the section layout to your Divi Library, navigate to the Divi Library.
Click the Import button.
In the portability popup, select the import tab and choose the download file from your computer.
Then click the import button.

Once done, the section layout will be available in the Divi Builder.
Let’s get to the tutorial, shall we?
What You Need to Get Started

To get started, you will need to do the following:
- If you haven’t yet, install and activate the Divi Theme.
- Create a new page in WordPress and use the Divi Builder to edit the page on the front end (visual builder).
- Choose the option “Build From Scratch”.
After that, you will have a blank canvas to start designing in Divi.
Building CTA #1
To get started building our first CTA, we are going to use a blurb module with a custom CTA button that will stick at the top and bottom of the page as the user scrolls.
To get started, create a new one-column row within the regular section.
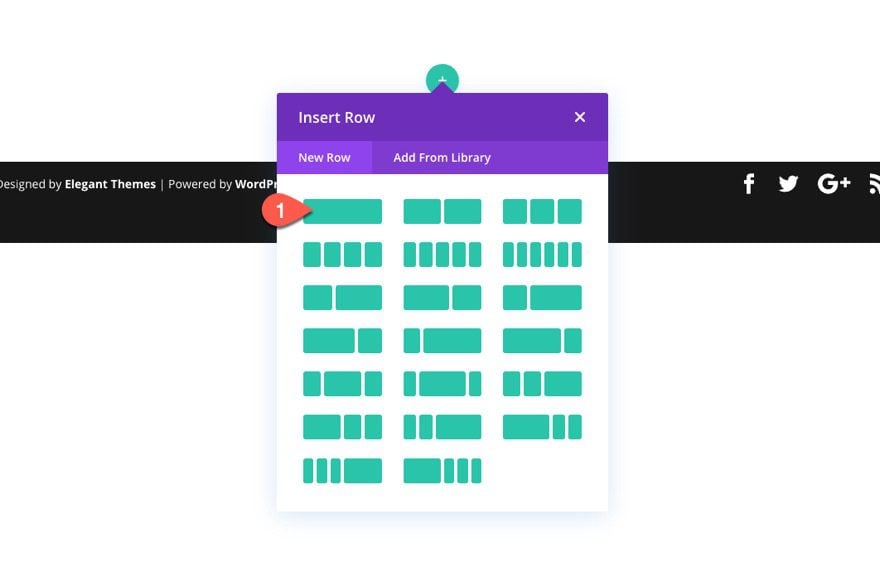
Add Blurb
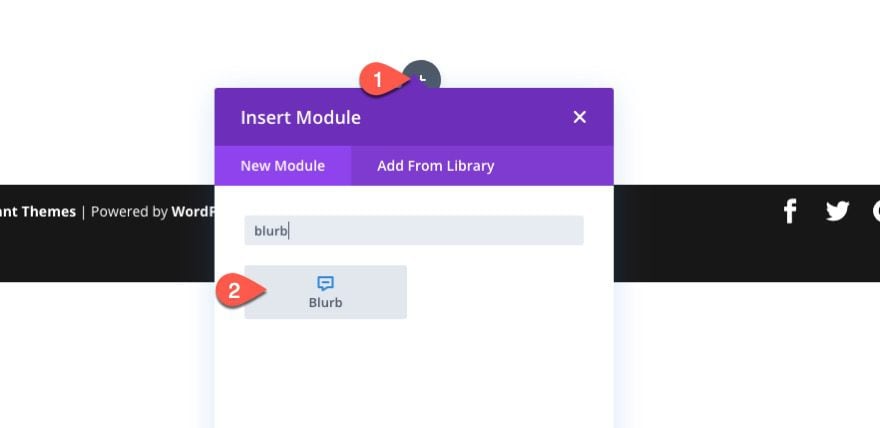
Inside the column of the row, add a blurb module.
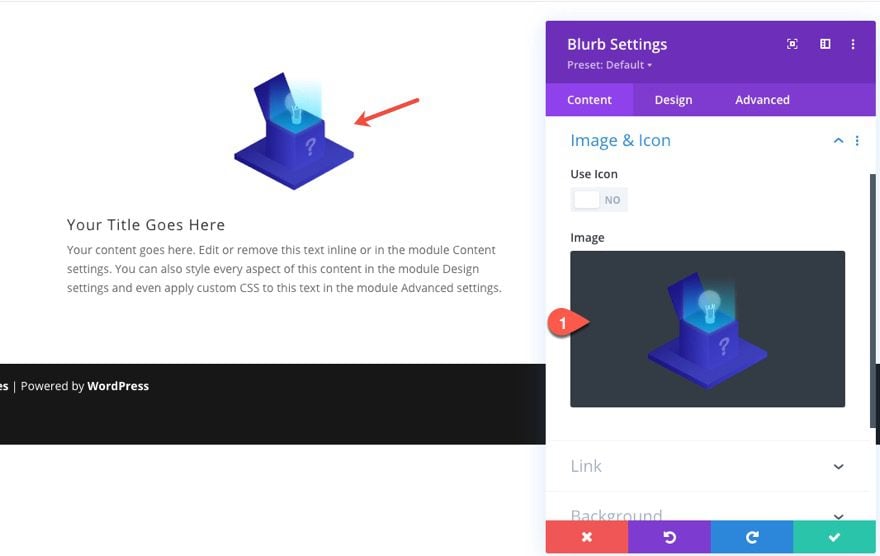
Open the blurb settings and add an image of your choice instead of the default icon. I’m using an image from the Cryptocurrency Layout Pack.
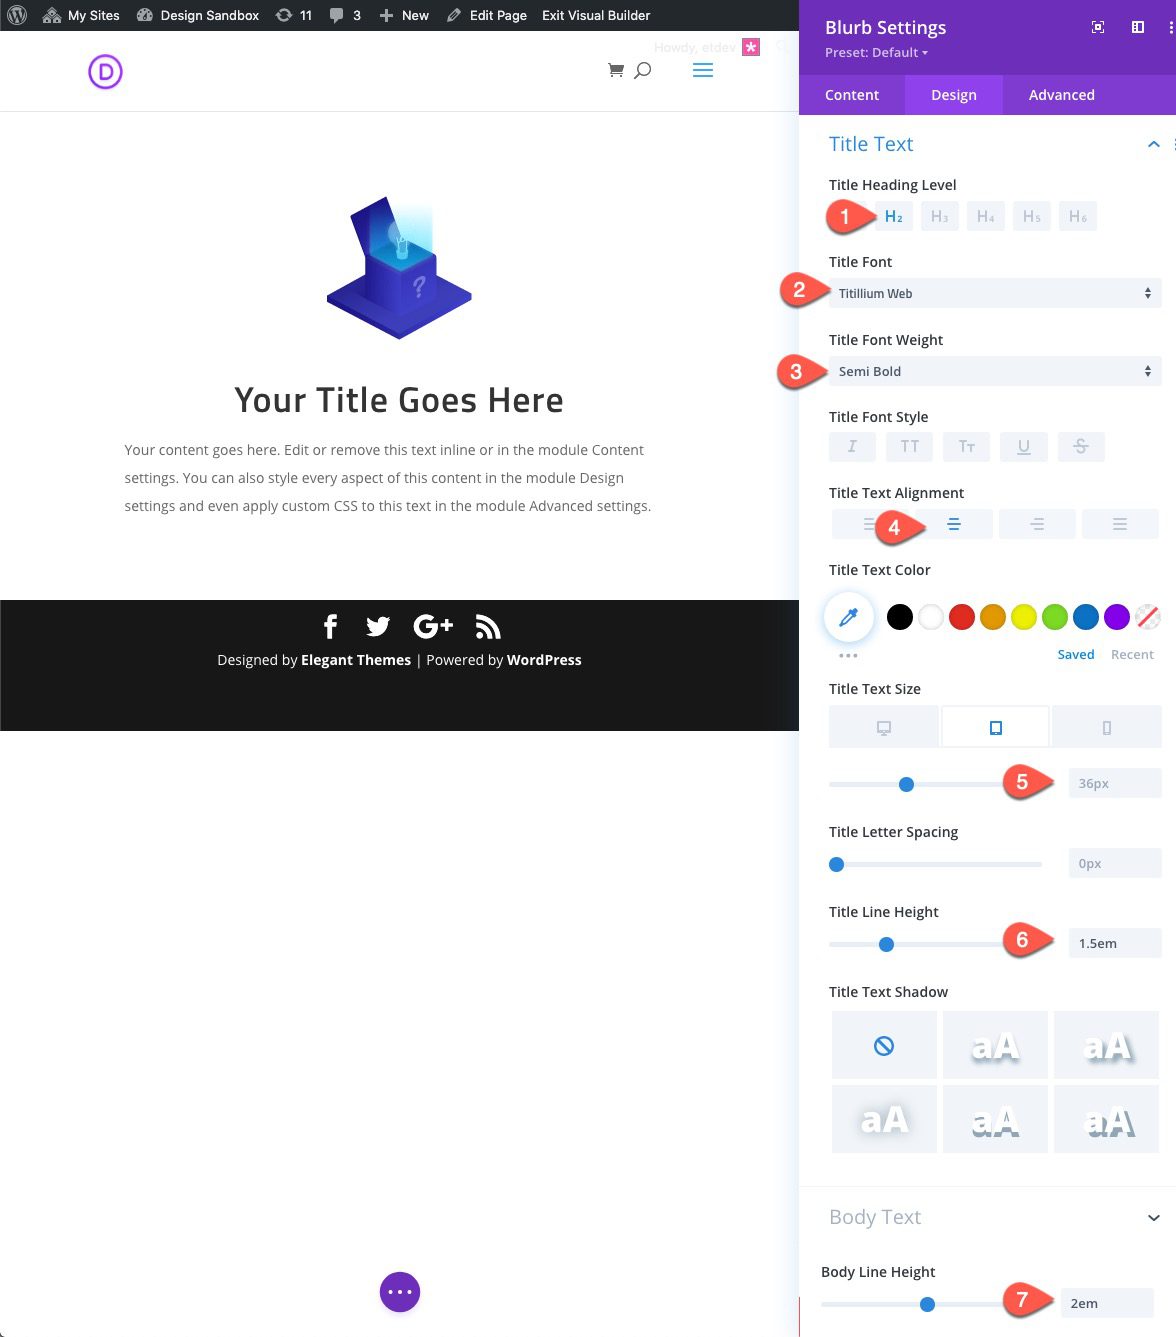
Under the design tab, update the text styles as follows:
- Title Heading Level: H2
- Title Font: Titillium Web
- Title Font Weight: Semi Bold
- Title Text Alignment: Center
- Title Text Size: 36px (desktop), 28px (phone)
- Title Line Height: 1.5em
- Body Line Height: 2em
Add Row for CTA Button
Under the row containing the blurb we just created, add a new one-column row.
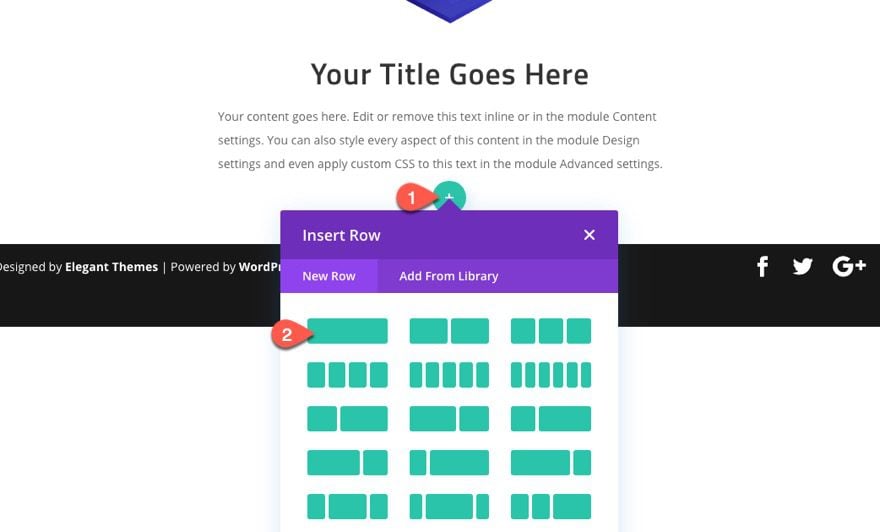
It’s important to get the row settings correct for the functionality of the sticky buttons to line up correctly.
Open the row settings and update the following:
- Gutter Width: 1
- Width: 100%
- Max Width: 1400px (desktop), 100% (tablet)

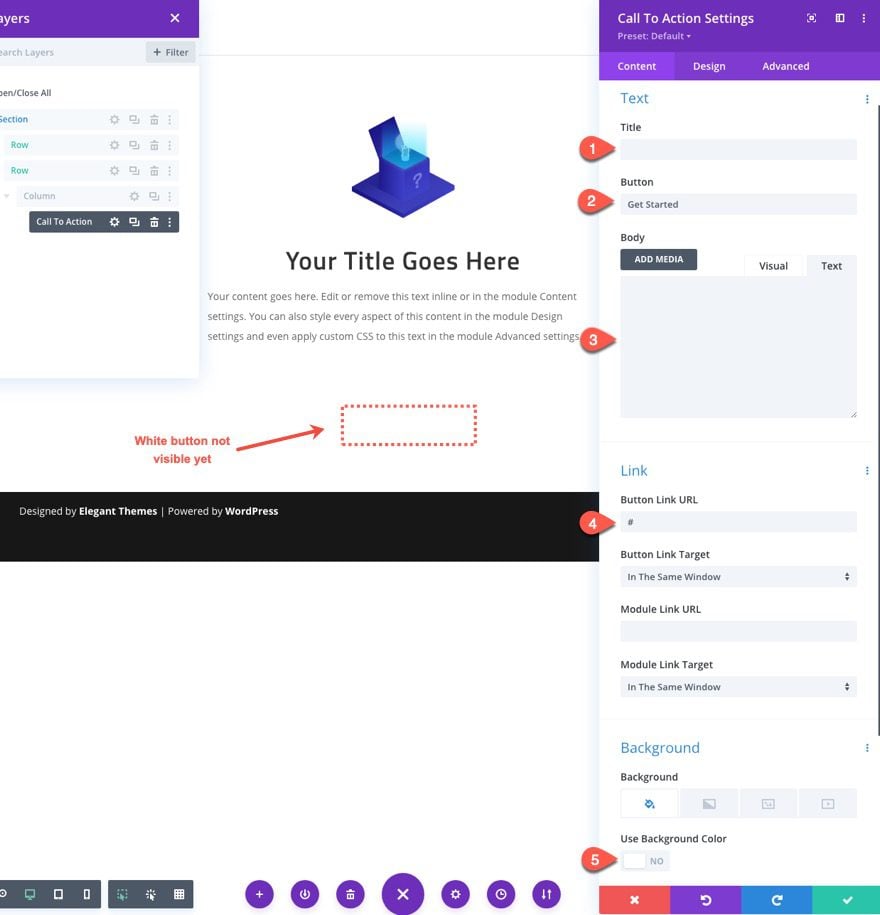
Add Call To Action Button
Inside the new row, add a call to action module. The update the following:
- We are only going to need the button element within this module so we can get rid of the Title and body text.
- Make sure to add a button Link URL (‘#’ will do for now) so that the button will be visible when designing the layout. You can always update this later.
- Disable the option “Use Background Color”.
(NOTE: You won’t be able to see the white button on a white background yet but that will change in the next step)
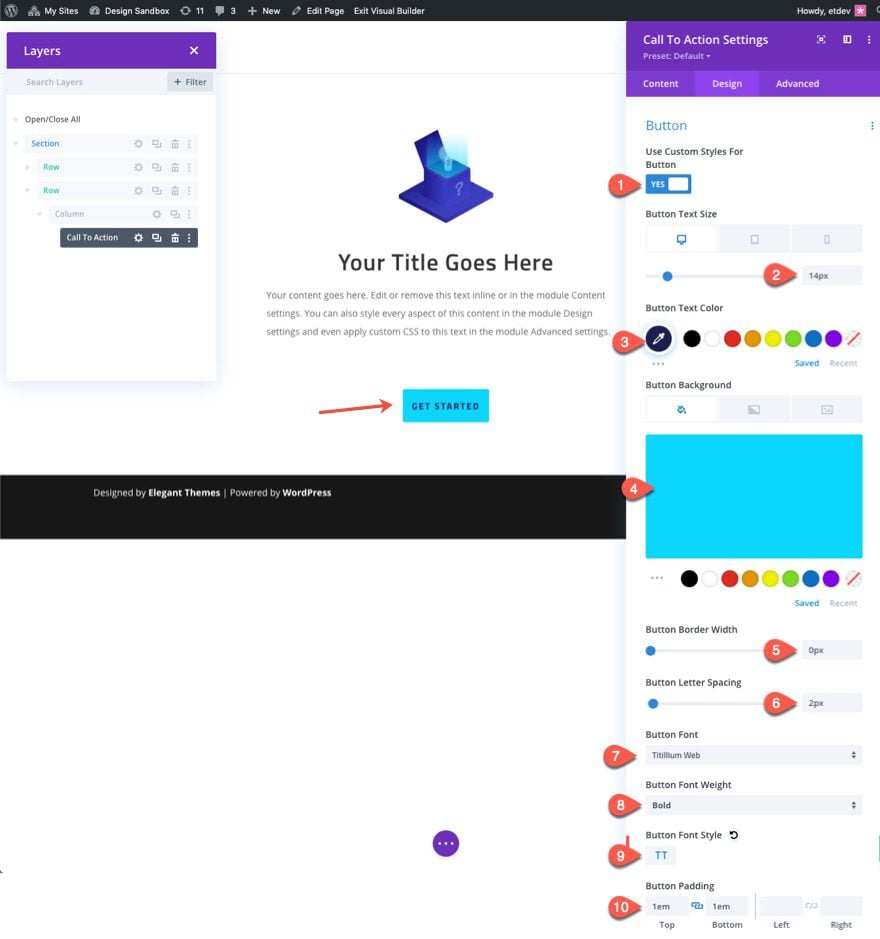
Under the design tab, update the following button styles:
- Button Text Size: 14px (desktop), 11px (phone)
- Button Text Color: #1b1f50
- Button Background Color: #09d5fe
- Button Border Width: 0px
- Button Letter Spacing: 2px
- Button Font: Titillium Web
- Button Font Weight: Bold
- Button Font Style: TT
- Button Padding: 1em top, 1em bottom
Continue updating the design as follows:
- Width: 33.33%
- Module Alignment: center
- Padding: 0px top, 0px bottom
The 33.33% width of the button will allow the button to take up exactly 1/3 of the browser window when in the sticky position. Combining this with two other buttons (each with the same 33.33% width) will give a full CTA menu bar of buttons.

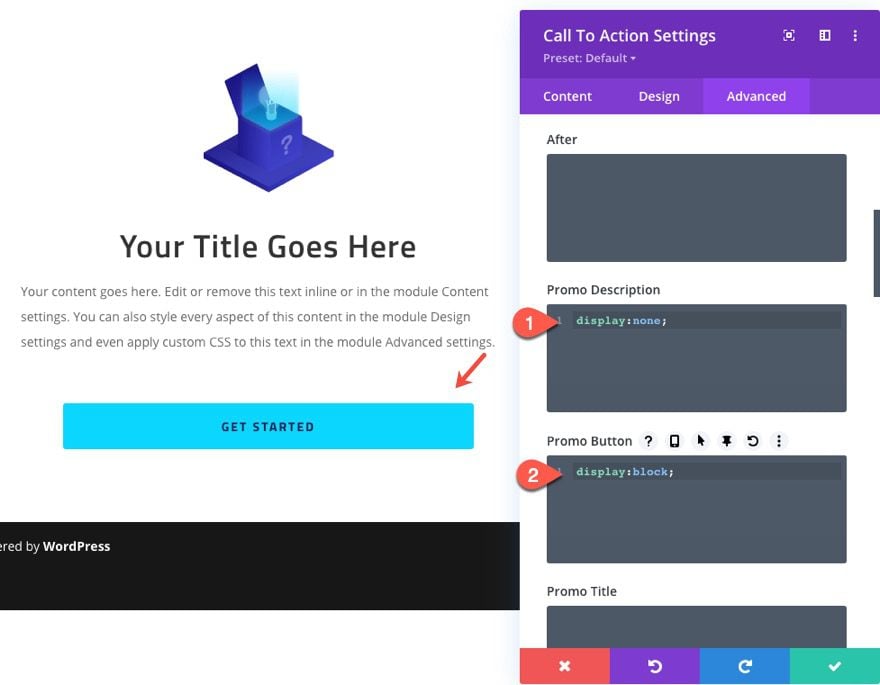
Under the Advanced Tab, add the following custom CSS snippet to the Promo Description (it has unnecessary spacing we don’t need):
display:none;
Then add another snippet the Promo Button:
display:block;
Making the Button Sticky
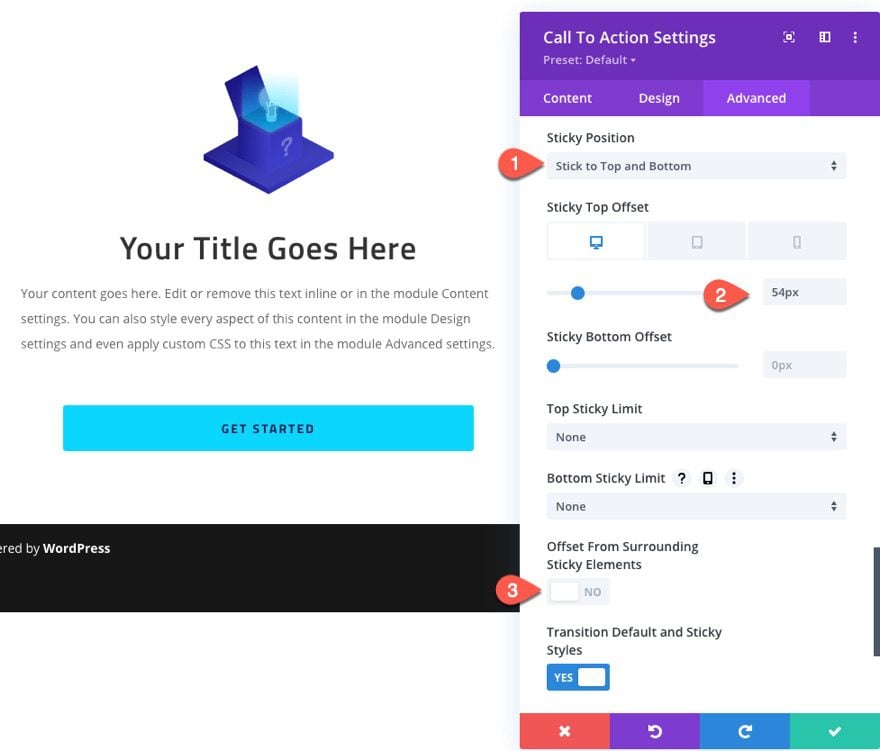
To make the button sticky, we are going to use the sticky position option to stick the button and the top and bottom of the browser window. We are also going to add an offset for the default Divi fixed header.
Update the following:
- Sticky Position: Stick to Top and Bottom
- Sticky Top Offset: 54px (desktop), 0px (tablet)
- Offset From Surrounding Sticky Elements: NO
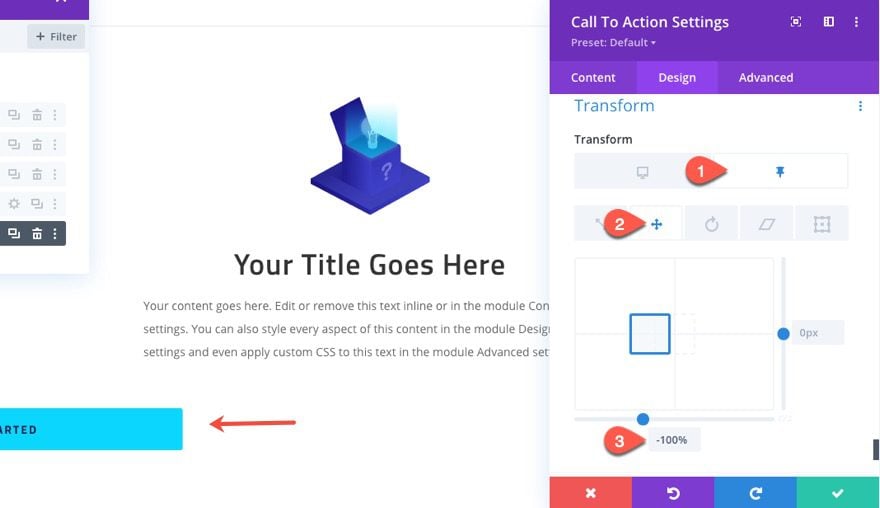
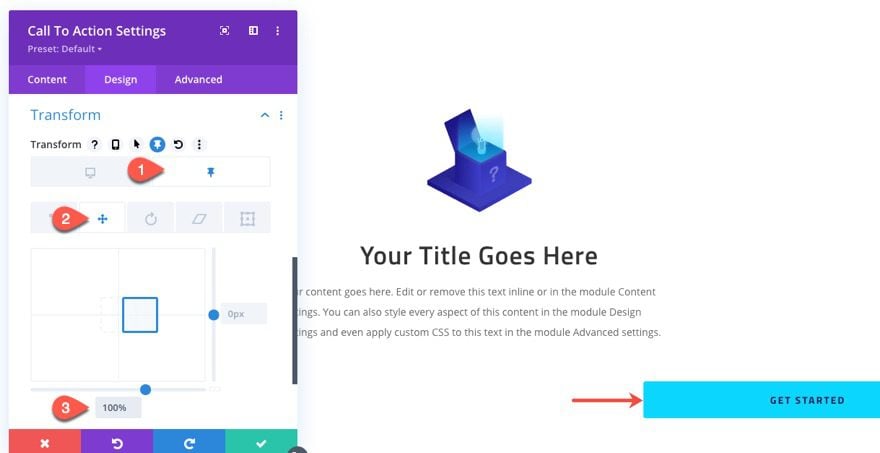
With our sticky position in place, we can now target the style of the button in the sticky state. In this case we want to move the button over to the left to make room for additional sticky buttons later on.
Update the following transform style in the sticky state:
- Transform Translate X axis (sticky): -100%
This will move the button over a distance equal to the exact width of the button (which is 33.33%) once it sticks to the top or bottom of the page.
Building CTA #2
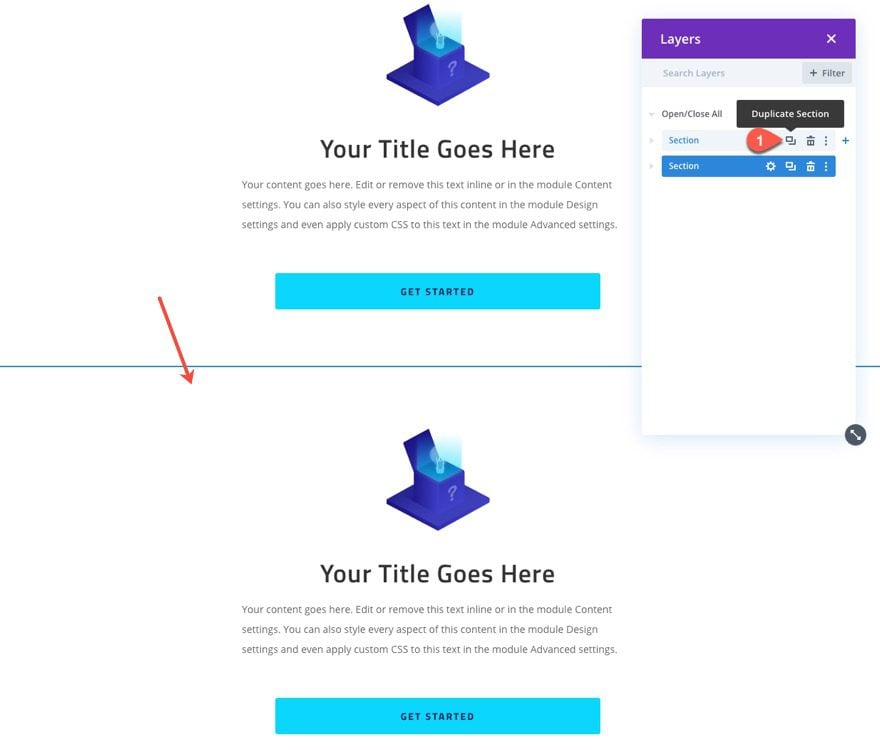
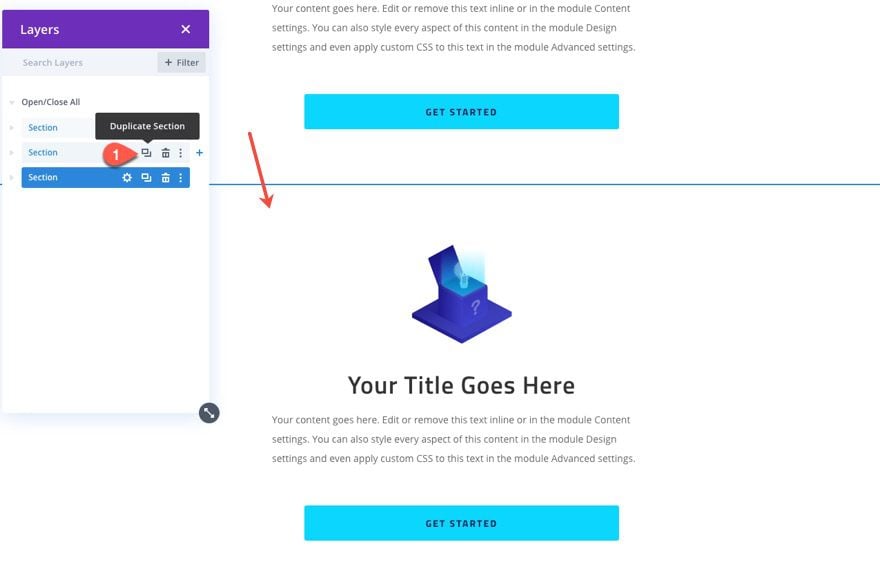
Now that we have one section complete with a working sticky CTA button, we can duplicate the previous section and make minor adjustments to the button.
First, duplicate the section.
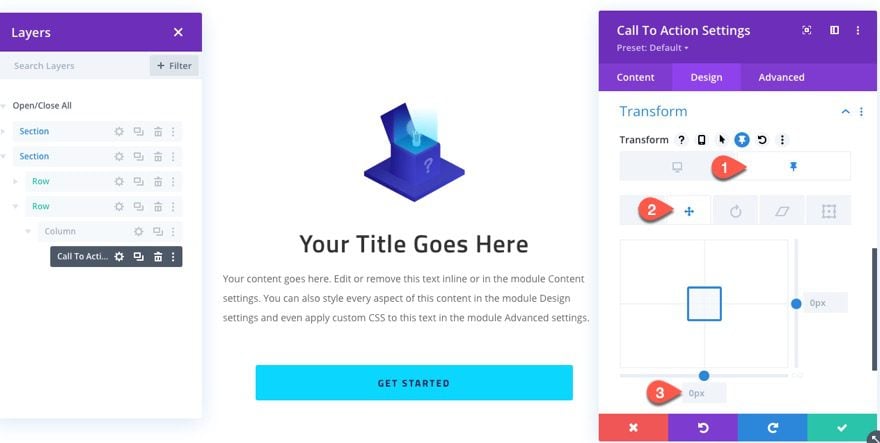
Open the settings for the Call to Action module in the new section and update the transform options as follows:
- Transform Translate X axis (Sticky): 0px
This is actually just restoring it back to the default state because we don’t want to move this button as it needs to remain in the center.
Building CTA #3
To build the third CTA section, duplicate the previous section.
Then open the settings for the Call to Action module in the new section and update the transform options as follows:
- Transform Translate X axis (Sticky): 100%
This will move the button over to the right a distance equal to the exact width of the button (which is 33.33%) once it sticks to the top or bottom of the page.
Update Button Text and Colors
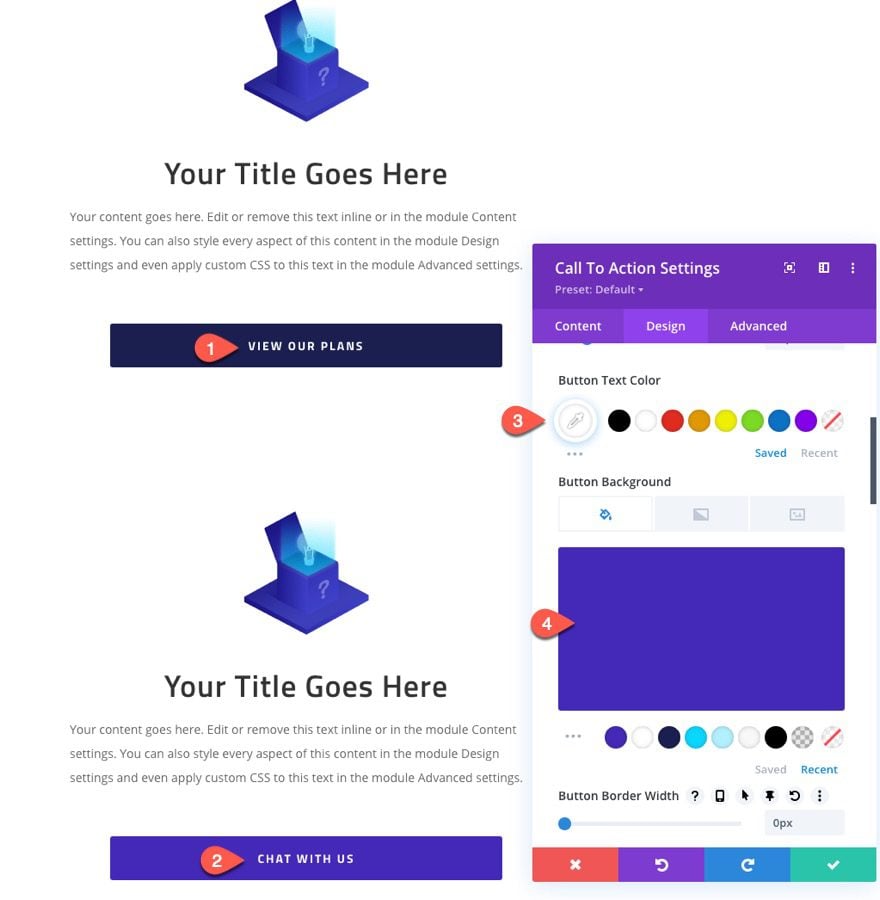
To polish off the design, update the CTA button text and colors to match your site design. Here are the settings for this example:
For CTA #2…
- Button Text: View Our Plans
- Button Text Color: #ffffff
- Button Background Color: #1b1f50
For CTA #3…
- Button Text: Chat With Us
- Button Text Color: #ffffff
- Button Background Color: #4328b7
Add Temporary Margin to Top and Bottom Section for Testing Functionality
On a normal website, these CTAs would reside in the middle of the page somewhere so there is extra space to scroll up and down the page. For now, we can add some temporary margin to the top and bottom sections on the page.
On the top section add a 90vh top margin.
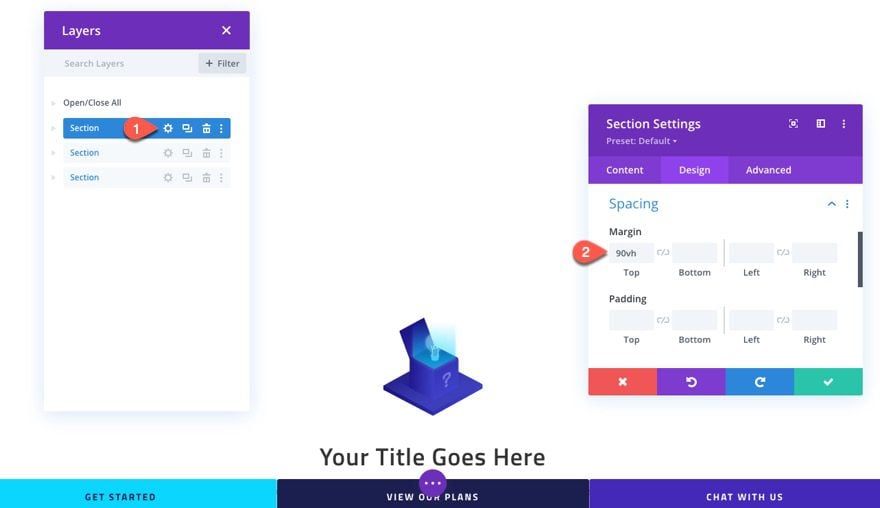
On the bottom section, add a 90vh bottom margin.

Final Result
Now let’s check out the final result.
Final Thoughts
This tutorial shows you a creative way to keep those important CTAs at the forefront so users can click them any time they want. It also adds a subtle micro-interaction that draws even more attention to them without distracting from the main content of the page. Hopefully, this will help get those creative juices flowing so that you can experiment with more designs to make it even better.
I look forward to hearing from you in the comments.
Cheers!


This is so beautiful and innovative … WOW!
Hello,
Really great !
Thank you
Nice One! Ive added it to my catalogue of tricks.
I am trying out the sticky menu, however, I do not find the Sticky Position option in Advance tab. The layout file, Sticky CTA menu, has imported to DIVI. What have I missed out? Please advise.
Please ignore my last comment as I managed to find the Sticky option through Search Options in Advance tab. Thanks.
Thanking for sharing information this article very helpful to me
Awesome!
Great, thank you very much!
You’re welcome!
Great tutorial, Jason! It’s a really nice feature. It’s good to be part of the Divi community.
Great to hear, Caleb. Much appreciated.