
The new background pattern masks and patterns available in Divi allow you to add interest to your backgrounds, without using images. With a variety of options to choose from, there are tons of opportunities available to your to style your backgrounds within Divi. Today, we’ll be looking at combining both background pattern masks and patterns to upgrade your blog post header design in three unique ways.
Let’s get to it!
Subscribe To Our Youtube Channel
The Important of Blog Post Header Design
Before a reader goes through your post, they will first be met by the content above the fold. The fold is the first part of the screen that is seen before scrolling begins. It’s really important for us to ensure that the section above the fold in our design is eye-catching and encourages people to keep on scrolling to read the rest of the page. In our case, we want people to keep on reading our blog posts after interacting with our blog post header. With the new Divi background features, we don’t have to spend hours in Canva and Photoshop to create awesome designs. We have all the tools that we need right within the Divi builder!
Divi Blog Post Header Design with Background Masks and Patterns
You can make some really cool designs out of the box with either background masks or background patterns. However, we want to take it a step further and combine the two of these new features together! Let’s see what we’ll be working towards in this tutorial.
Background Mask and Pattern Example One
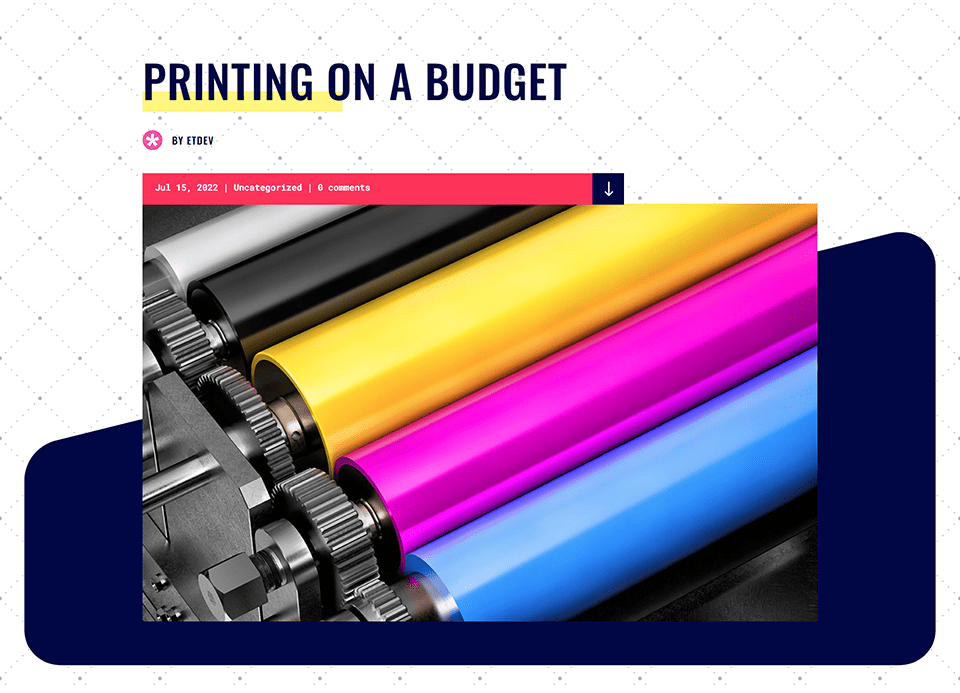
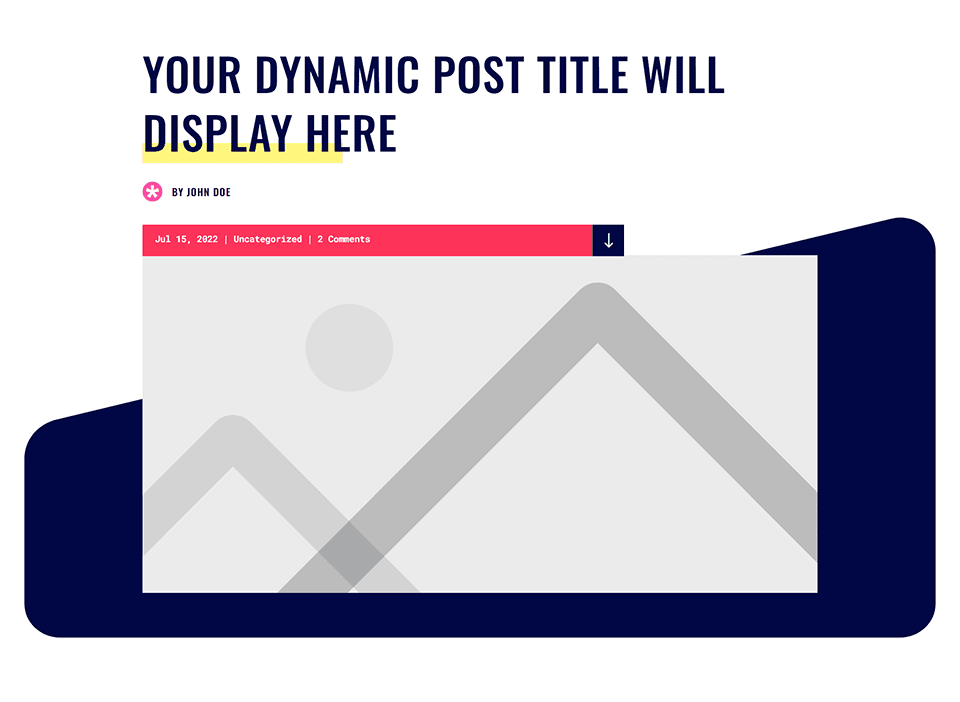
The header section of our Divi Print Shop Blog Page Template re-imagined Background Masks and Patterns.
Background Mask and Pattern Example Two
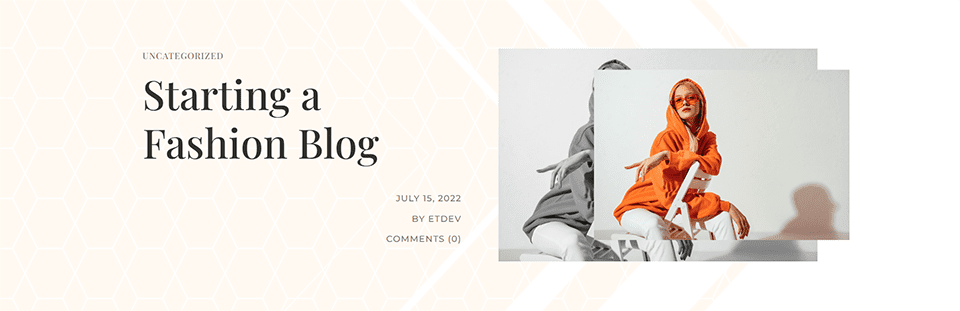
The header section of our Divi Fashion Designer Blog Page Template updated using Background Masks and Patterns.
Background Mask and Pattern Example Three
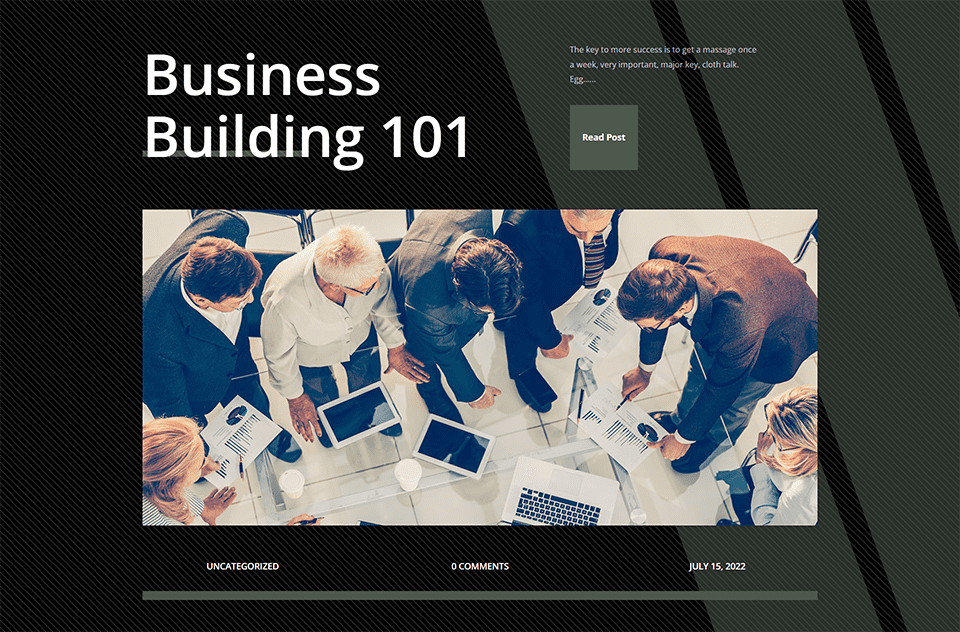
The header section of our Divi Corporate Blog Page Template redesigned with Background Masks and Patterns.
For this tutorial, we’ll be working with three different FREE Divi Blog Post Templates that can we found on our blog. Now, let’s get into the tutorial!
Example One: Divi Print Shop
For this example, we’ll be attempting to keep the background close to the original. We want to imitate the look of the template, but we’ll be using the Divi Background Masks and Patterns feature to re-invent the header section a little bit. To begin this tutorial, download the Blog Page Template from the Divi Print Shop Layout Pack. This is what we’re starting with:
Install the Divi Print Shop Blog Post Template
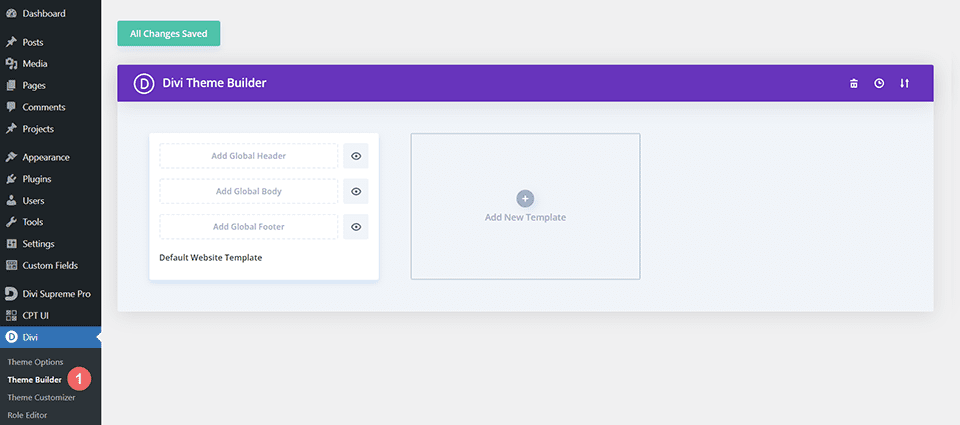
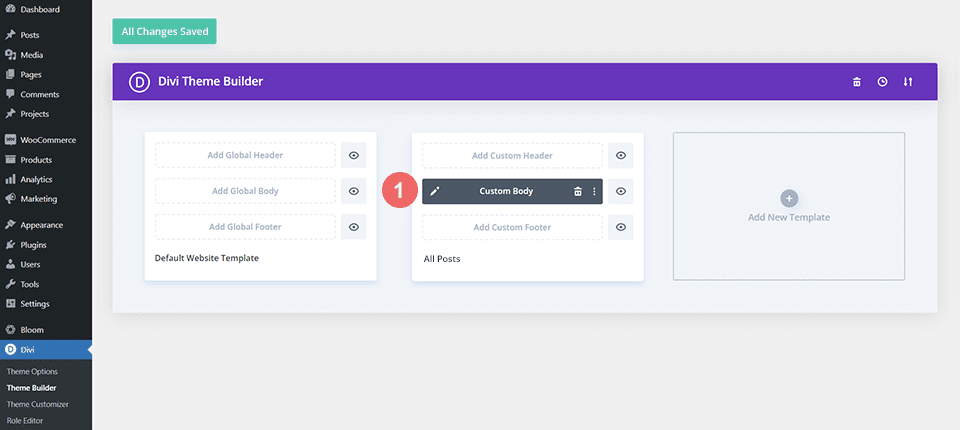
To upload the template, navigate to the Divi Theme Builder in the backend of your WordPress website.
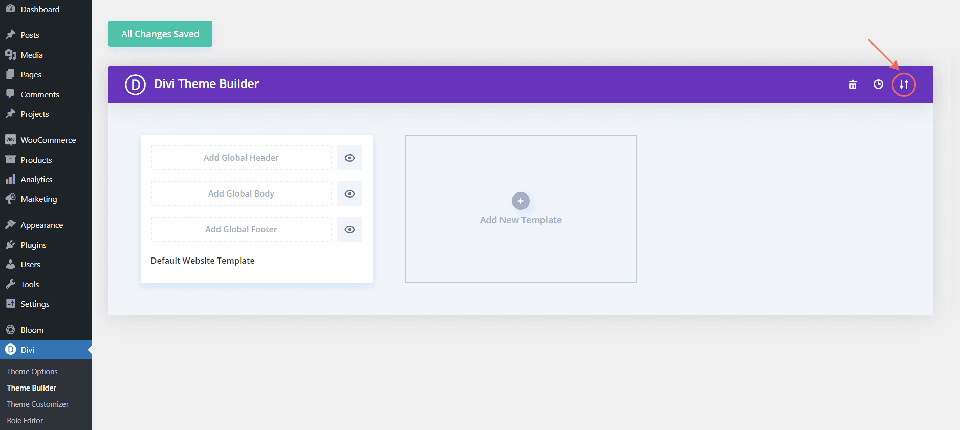
Upload Website Template
Then, in the top right corner, you’ll see an icon with two arrows. Click on the icon.
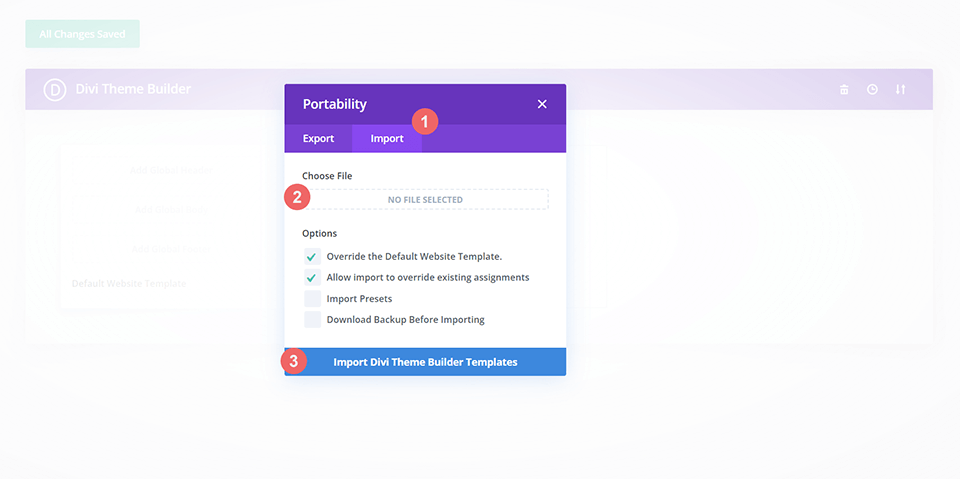
Navigate to the import tab, upload the JSON file that you could download in this post, and click on ‘Import Divi Theme Builder Templates’.
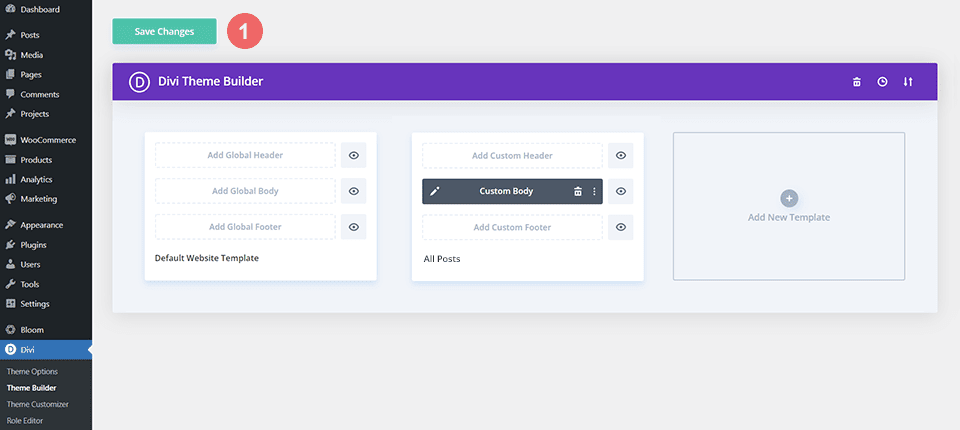
Save Divi Theme Builder Changes
Once you’ve uploaded the file, you’ll notice a new template with a new body area that has been assigned to All Posts. Save the Divi Theme Builder changes as soon as you want the template to be activated.
How to Modify The Header Design in the Template
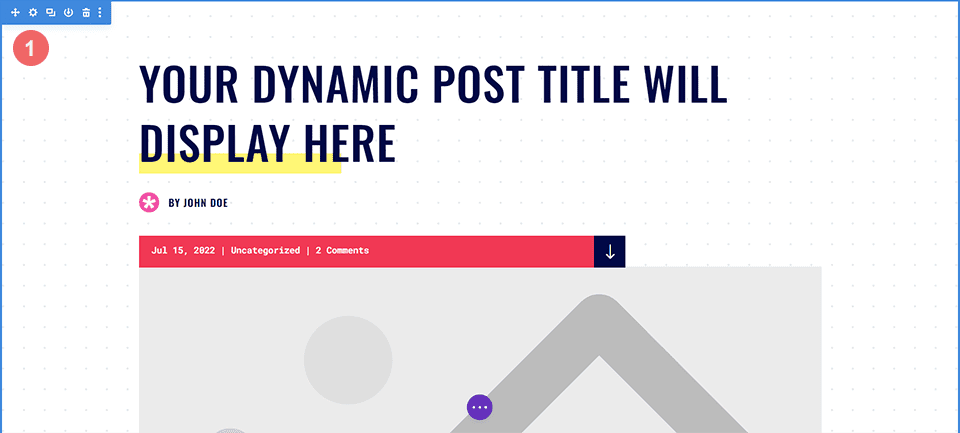
Open the Divi Print Shop Template
To modify the template’s header section, start by opening the template.
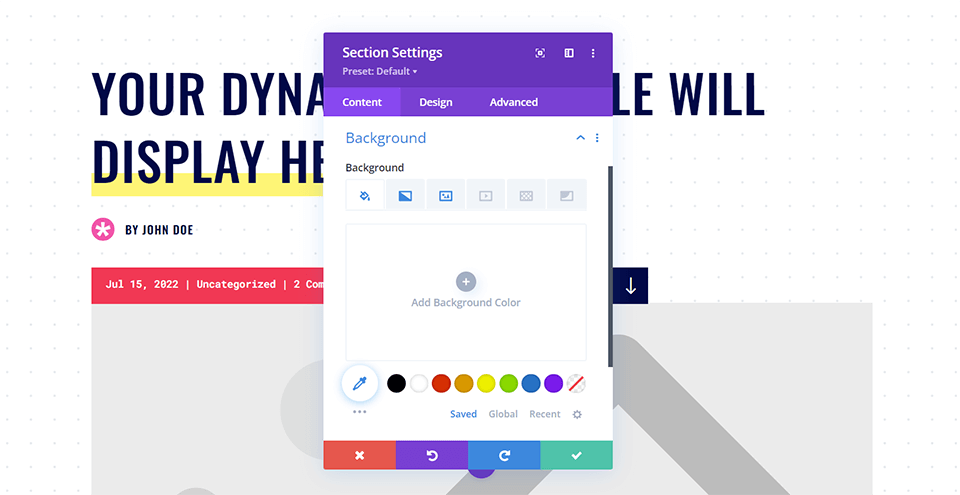
Enter the Section Settings
We’re going to use a combination of Background Masks and Patterns to match the Image and Gradient settings that are currently being used to create the original background for the header section. First, we’ll need to open the settings modal box to start our work. To access the settings for the section, you will click on the gear icon, which is the second icon that appears when you hover over the blue section border.
We will now scroll within the Section settings modal box till we reach the Background tab. From here, we’ll be modifying the current settings and implementing our new style using Background Masks and Patterns.
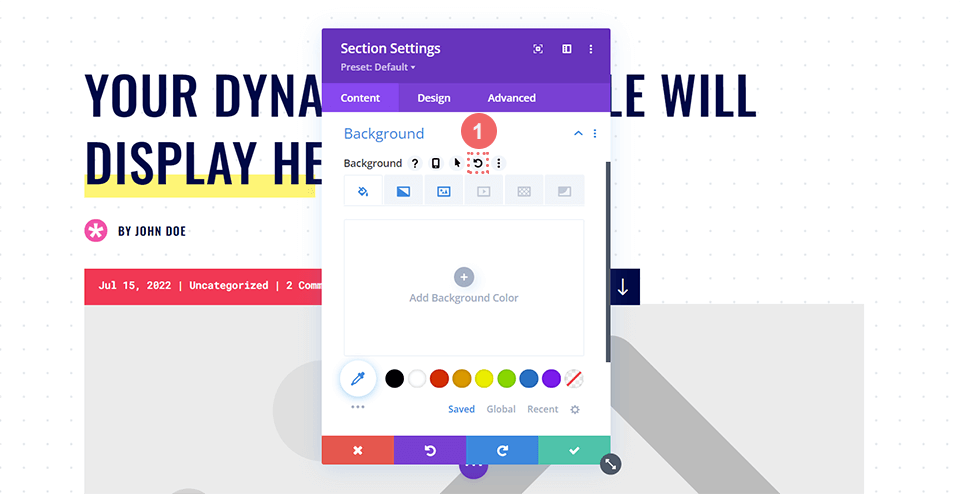
Remove the Background Gradient and Image
To get started, we’ll need to remove the current background settings to make way for the new changes we’ll be making to the blog post header design. You’ll want to first hover over the Background subtitle. An icon menu will pop out. Within this new menu, click on the Reset icon to give your section’s background a new lease on life.
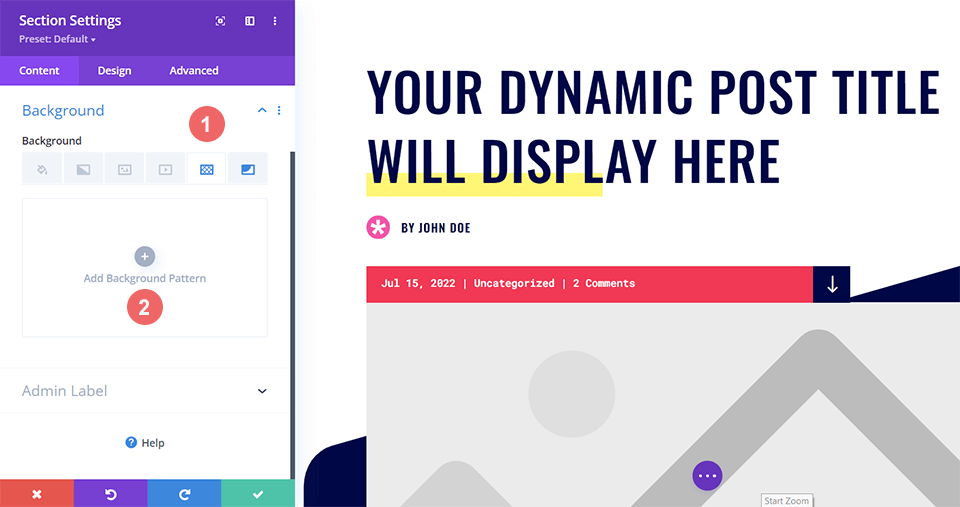
Add the Background Mask
Now that we’re where we want to be, we’ll go in and add the Background Mask to the section. First, we’ll click on the Background Mask icon, then we’ll click Add Background Mask.
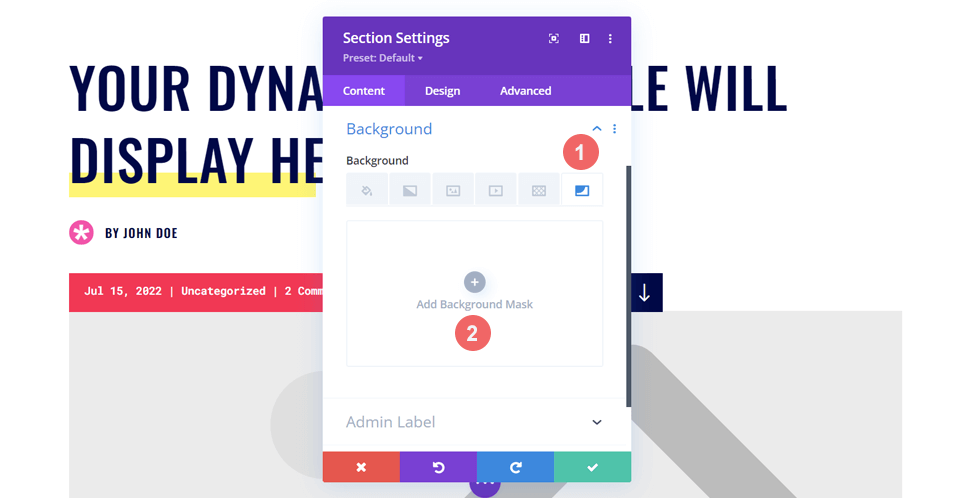
We’ve made the first step in editing our blog post header design.
Style Your Background Mask
After resetting the background styles, you’ll notice that your mask is white. Don’t be alarmed! We’re now going to start adding some color and styling into the blog post header design.
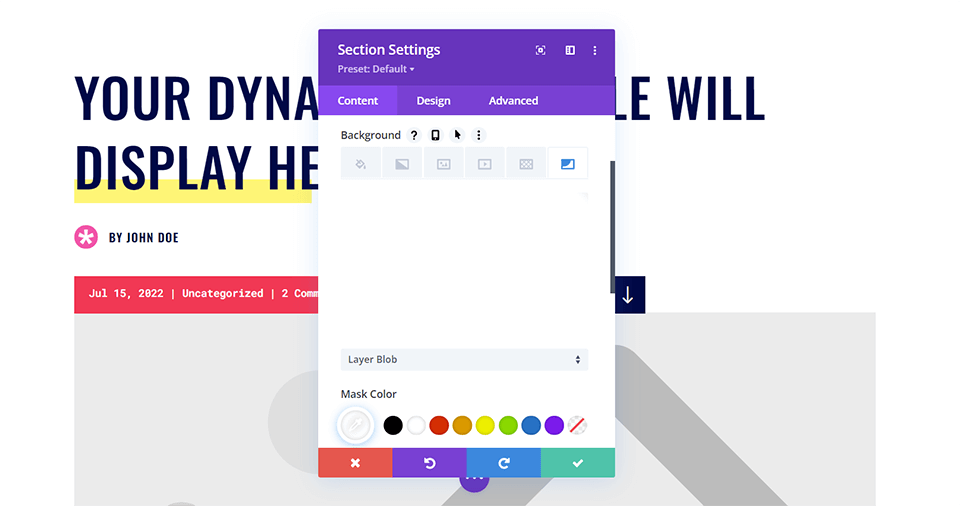
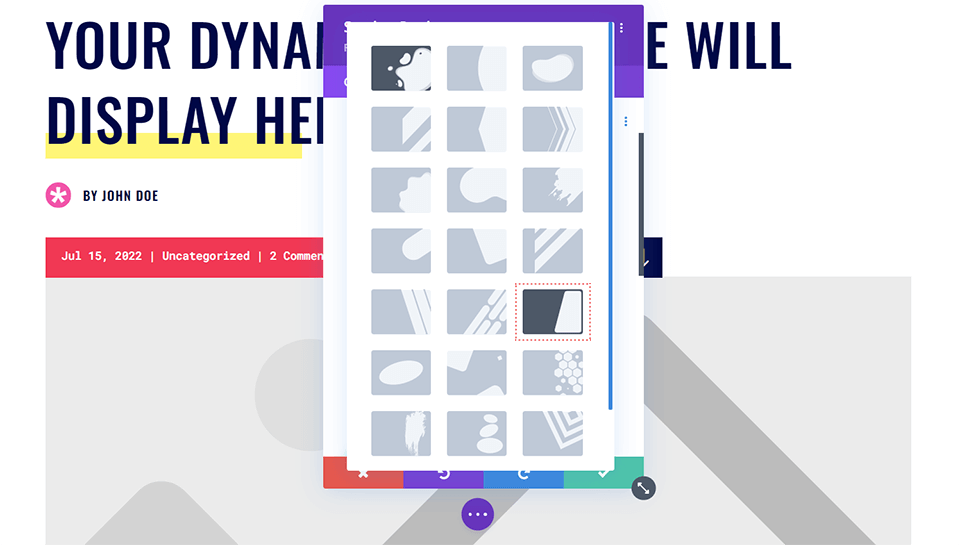
Select Your Mask Style
Let’s get started on styling our Background Mask! First, we’ll click on the first dropdown. This will show us all the Background Masks available to us. We’ll be working with the Diagonal Mask.
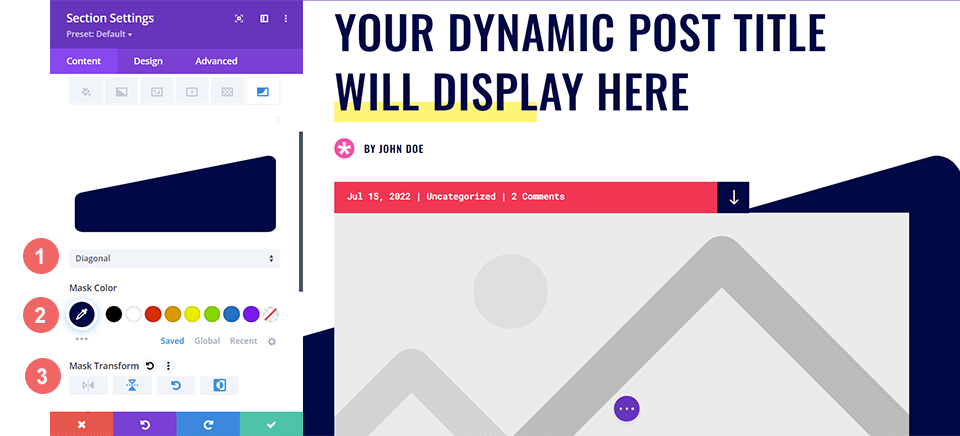
Assign Your Mask Color and Transformation Settings
Next, we’ll assign it a Mask Color. Our Mask Color will match the dark blue that was a part of the original blog post design. Finally, we’re going to flip the mask horizontally, rotate it, then invert it. We’ll leave the aspect ratio as it is. Here are the settings that you’ll need to use for this:
- Mask: Diagonal
- Mask Color: #000645
- Mask Transform: Horizontal, Rotate, Invert
- Aspect Ratio: Wide
Add Your Background Pattern
With the newly added Background Mask, this is what our Blog Post Template is looking like:
But we want to jazz it up even further and will add a Background Pattern to this. With the Background Mask, we are able to mimic the navy bar that was originally a part of the Divi Print Shop Layout Pack. By using the Background Mask, we’ve added some texture and interest to the header section. We’ll now be using the Background Pattern feature to hail to the dotted background image that we had within the original design.
Choosing Your Background Pattern
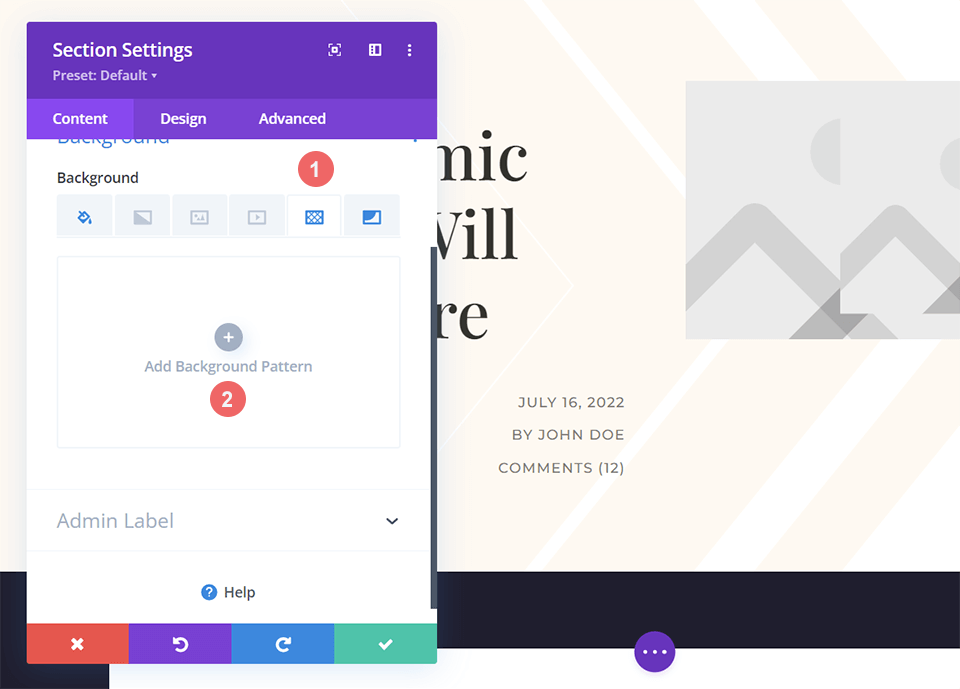
While inside the Background tab of the section modal box, we’re going to now click on the Background Pattern icon. Once we’ve clicked that, we will now click Add Background Pattern to see our options.
Styling the Background Pattern
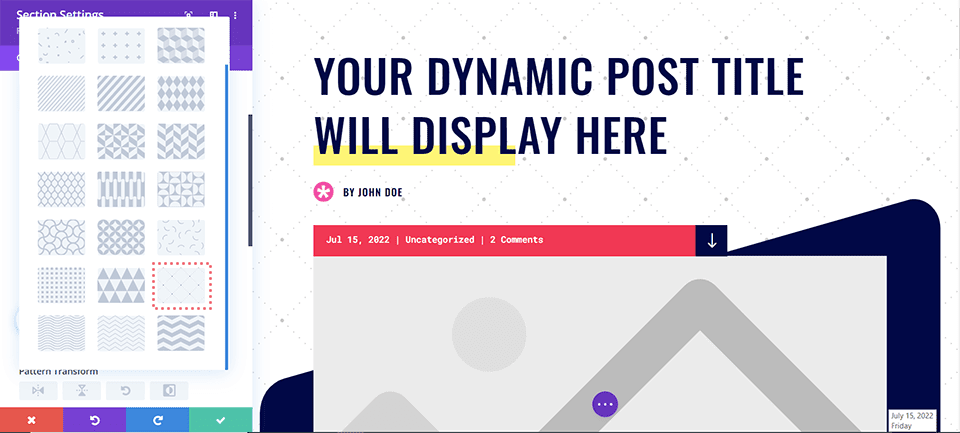
For this example, we want the Background Pattern to look similar to the image that was used within the original design. We’ll be using the Tufted Background Pattern for this example. As with the Background Mask, click the dropdown to see the available Background Patterns and select Tufted.
With our Background Pattern selected, let’s now go in and make some stylistic adjustments. We won’t be making any transformations to the Background Pattern, however we will be using the Pattern Color setting to tie the newly added pattern into the rest of our design. To do this, click on the Eyedropper Tool under Pattern Color and we’ll be using the same navy blue from the Background Mask, but with a slight transparency to it.
- Pattern Color: rgba(0,6,69,0.3)
Once you’ve added the Pattern Color, save your section settings by clicking the green checkmark at the bottom of the settings modal box. Finally, save your updated Blog Post Template.
Example Two: Divi Fashion Designer
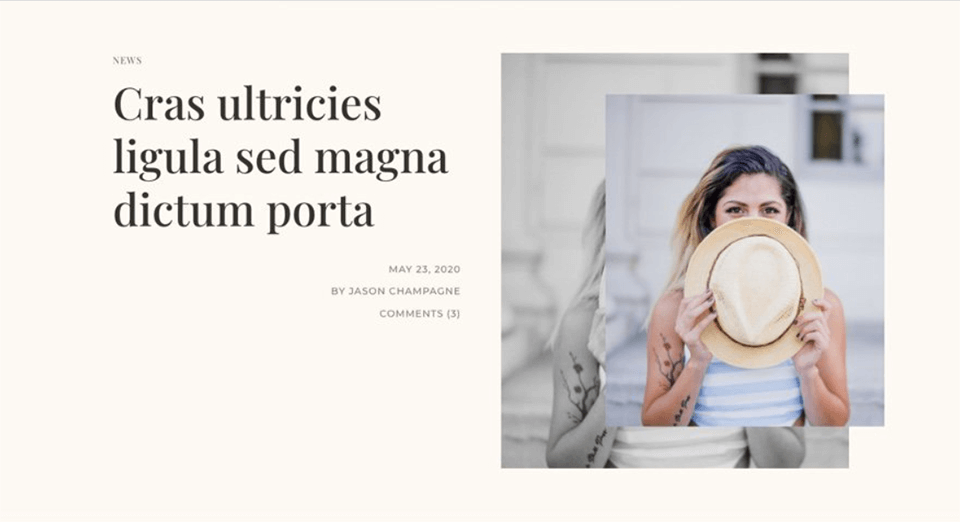
For this example, we’ll be creating a minimalistic blog header design that references the clean lines and sharp edges used through the layout. You’ll need to download the Divi Fashion Designer Blog Post Template for the Divi Fashion Designer Layout Pack to follow along with this example.
The process for installing and downloading the template is the same as with the Divi Print Shop example from above. You can follow those steps by going back to the start of this tutorial. Before we start on our background transformation journey, let’s take a look at what the blog header design looks like straight out of the box.
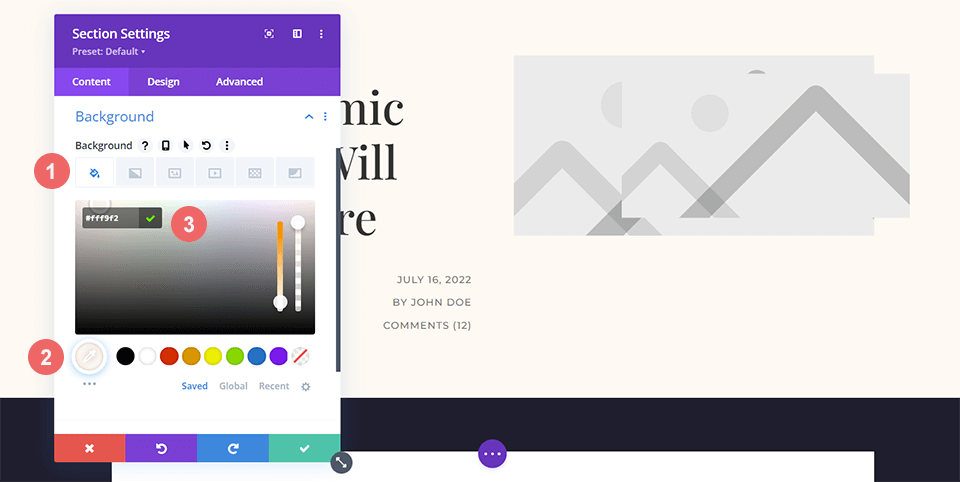
Add a Background Color
Unlike our previous example, this blog header design will be utilizing a Background Color. Open the Section Settings, and scroll down to the Background tab. Then, enter in the color details below.
- Background Color: #fff9f2
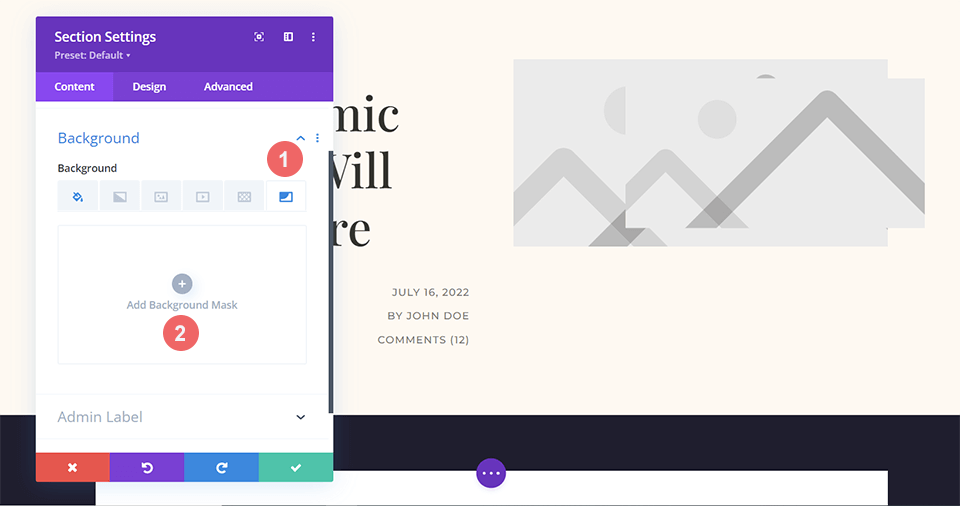
Adding the Background Mask
With the Background Color we have a good base for our Background Mask. Giving a nod to the angular forms within this layout pack, we’ll be using the Chevron Background Mask for this blog header design. To select Chevron, navigate to the Background Mask icon, and then click Add Background Mask.
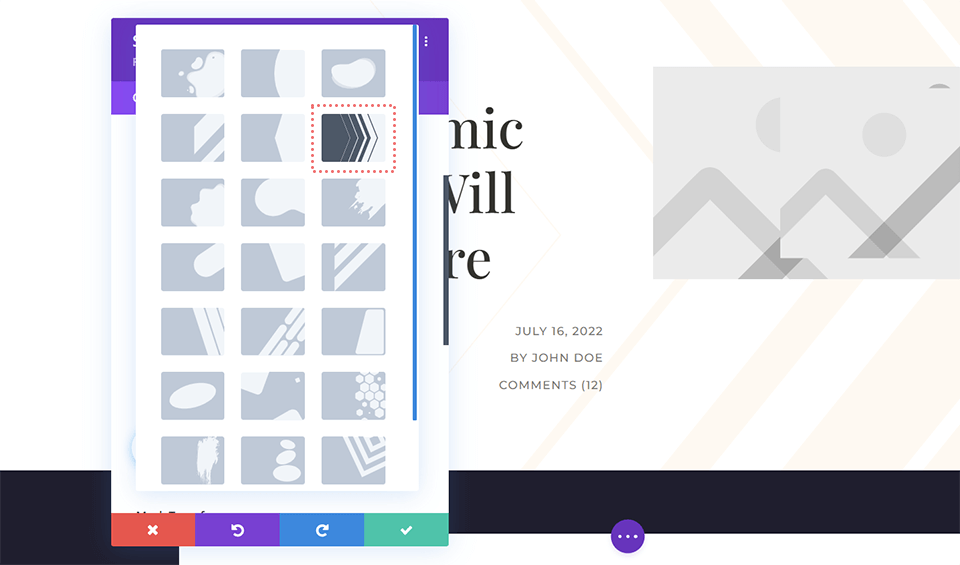
Once that’s done, click on the dropdown menu that appears and navigate to the Chevron Background Mask.
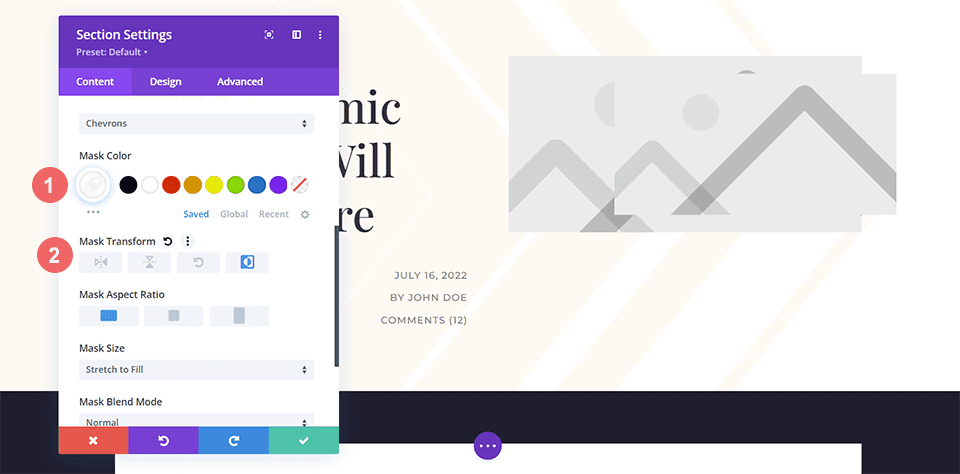
Styling the Background Mask
As our Background Mask has been put in place, we’ll now begin to style it. We’ll keep it the default color of white, but we’ll invert it using the Mask Transform settings.
- Mask Color: #ffffff
- Mask Transform: Invert
Inserting the Background Pattern
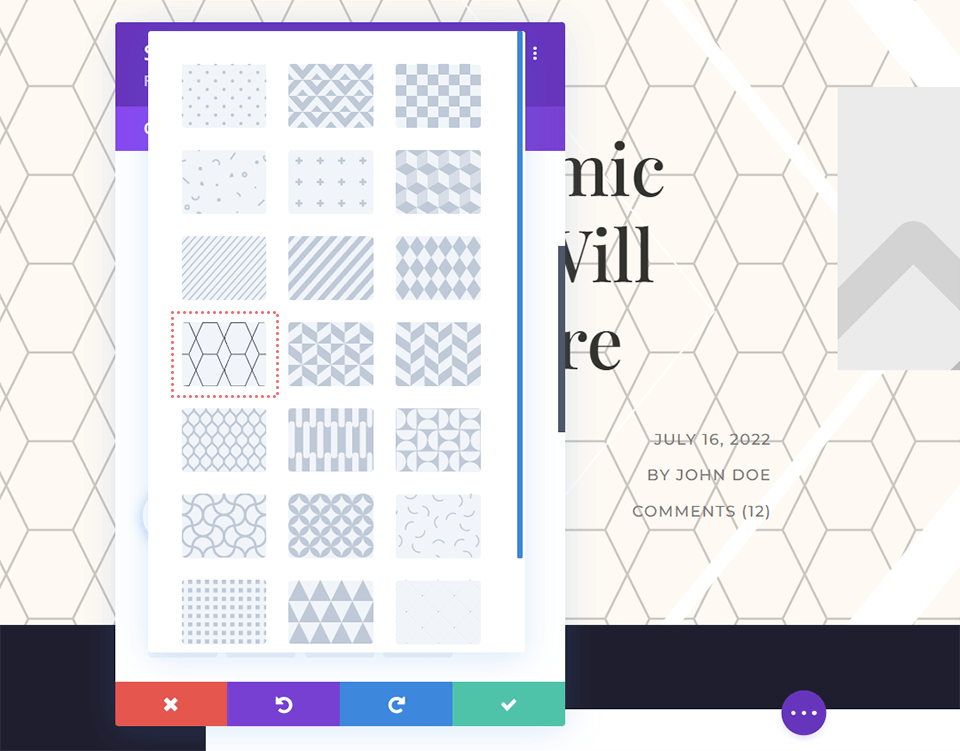
With our soft and minimal blog header design so far, we’ll be adding a Background Pattern to the Background Mask itself. Before we’re able to do this, we’ll click on the Background Pattern icon, and then Add Background Pattern to make our choice of patterns to overlay onto the Background Mask.
Click on the dropdown that appears after clicking Add Background Pattern. We’ll be using the Honeycomb Background Pattern to overlay onto our Chevron Background Mask.
Add Color to Background Pattern
To keep in line with the design of the Divi Blog Post Layout, we’ll be changing the color of the Background Pattern to white.
- Pattern Color: #ffffff

Remember to save your hard work by clicking the green checkmark to lock in your section settings. Also, save your blog post template by clicking on the green Save button.
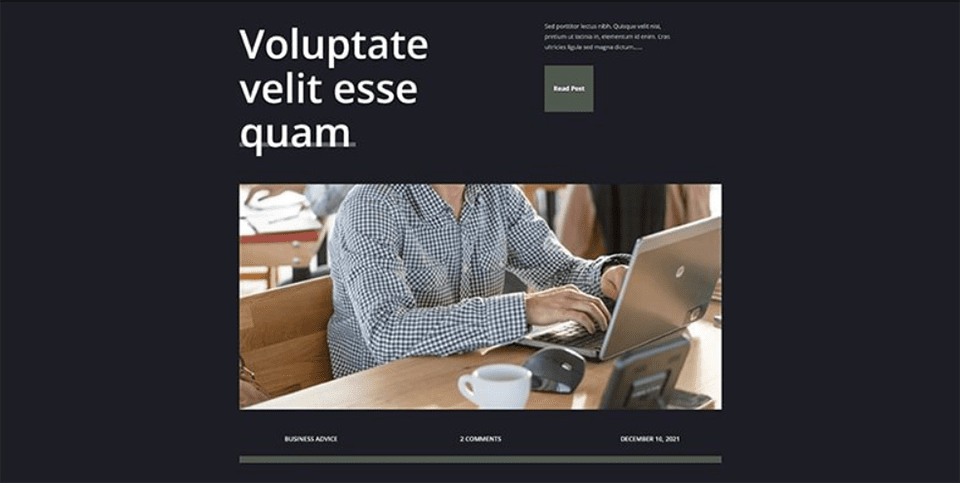
Example Three: Divi Corporate
In the Divi Corporate blog header design, we’ll be using Background Masks and Patterns to add texture. We’ll be also using transparency to create depth within the various elements of this header design. This is what we’re starting out with after you have imported the Divi Corporate Blog Post Template which is part of the Divi Corporate Layout Pack.
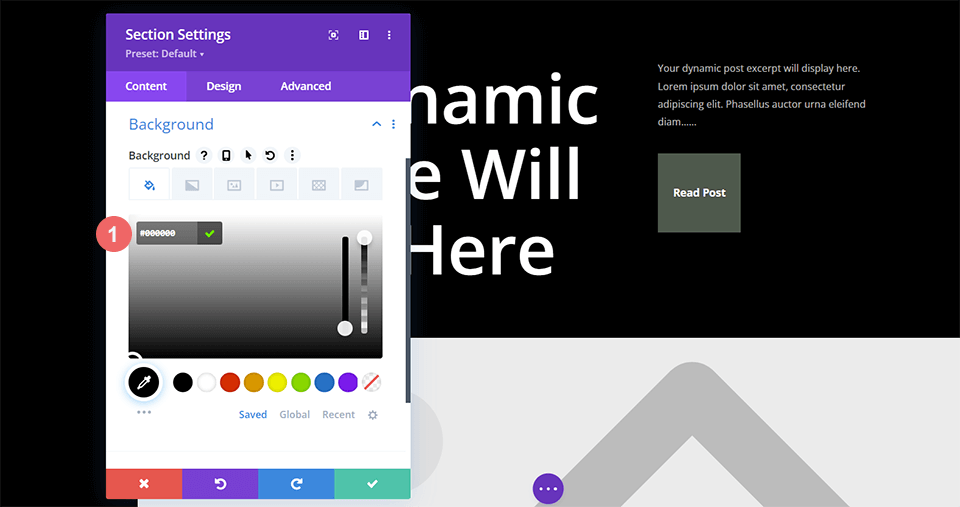
Change Background Color
For this blog header design, we want to change the default background color of the section to make the Background Pattern and Background Mask more subtle. To do this, we’ll enter into the Section Settings and scroll down to the Background tab. Once there, we’ll click on the Background Color icon, and enter in the hex code for black to replace the default dark gray share of the layout pack.
- Background Color: #000000
Insert Background Pattern
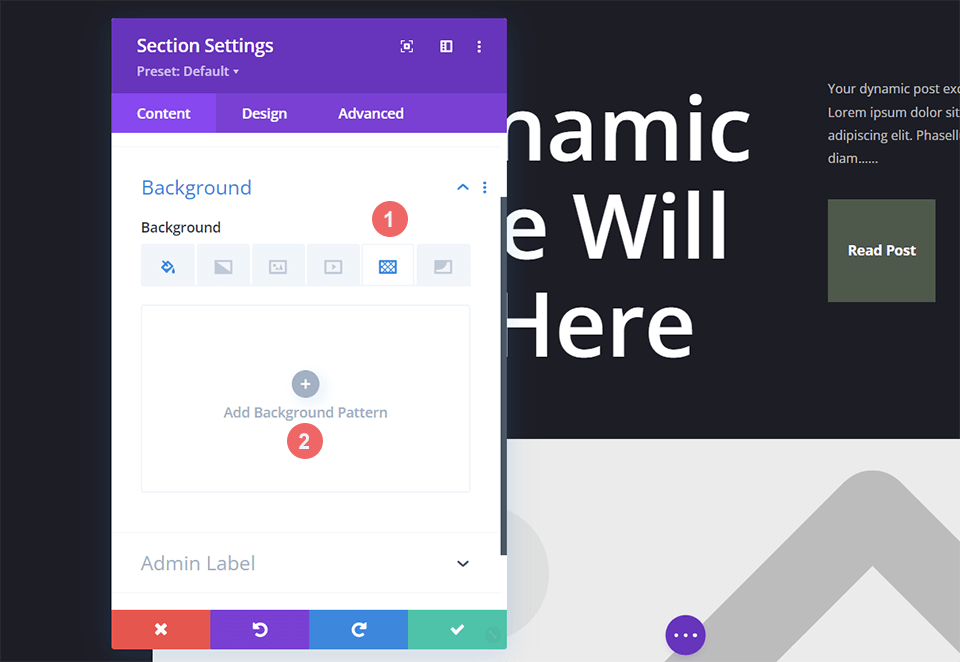
With our new background color, we’ll be adding a Background Pattern to add some excitement to the plain, dark background of the default blog header design. To do this, we’ll enter into the Section Settings and scroll down to the Background tab. Next, we’ll click the Background Pattern icon and then click Add Background Pattern to pull up our list of choices.
Style Background Pattern
We’ll be using a Background Pattern that’s similar to scanlines for this blog header design. To do this, we’ll select the Diagonal Stripes 2 from the Background Pattern dropdown menu. Then, we’ll assign a transparent white color to the pattern. Lastly, we’ll transform this pattern on the horizontal axis.
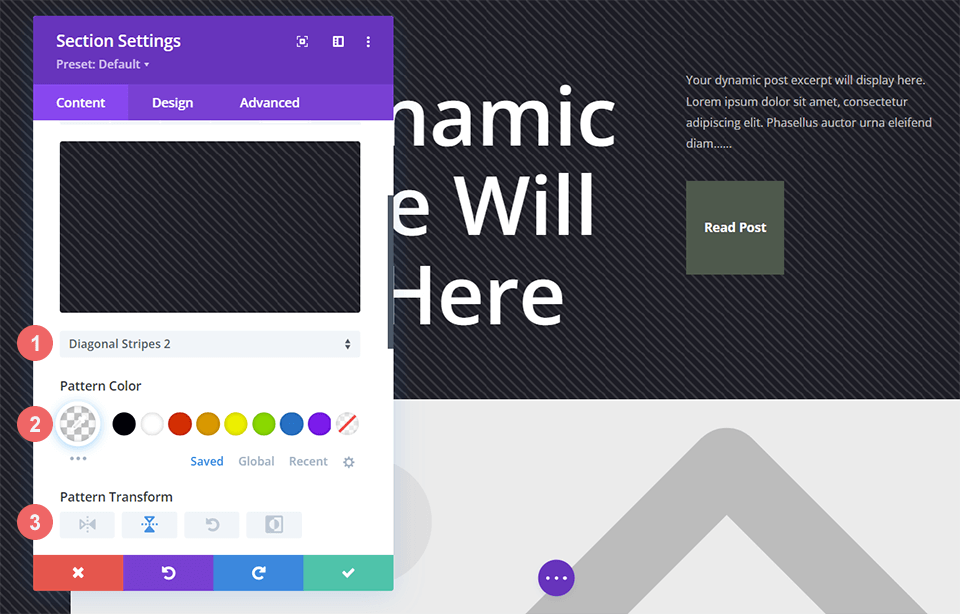
Here are the settings that you’ll need to use for the Background Pattern:
- Pattern Style: Horizontal Stripes 2
- Pattern Color: rgba(255,255,255,0.12)
- Pattern Transform: Horizontal
Add the Background Mask
As with our other blog header design examples, we’ll be adding a Background Mask to the Background Pattern. To do this, we’ll select the Background Mask icon and click Add Background Mask. This will reveal the Background Mask dropdown where we can choose our Background Mask style.
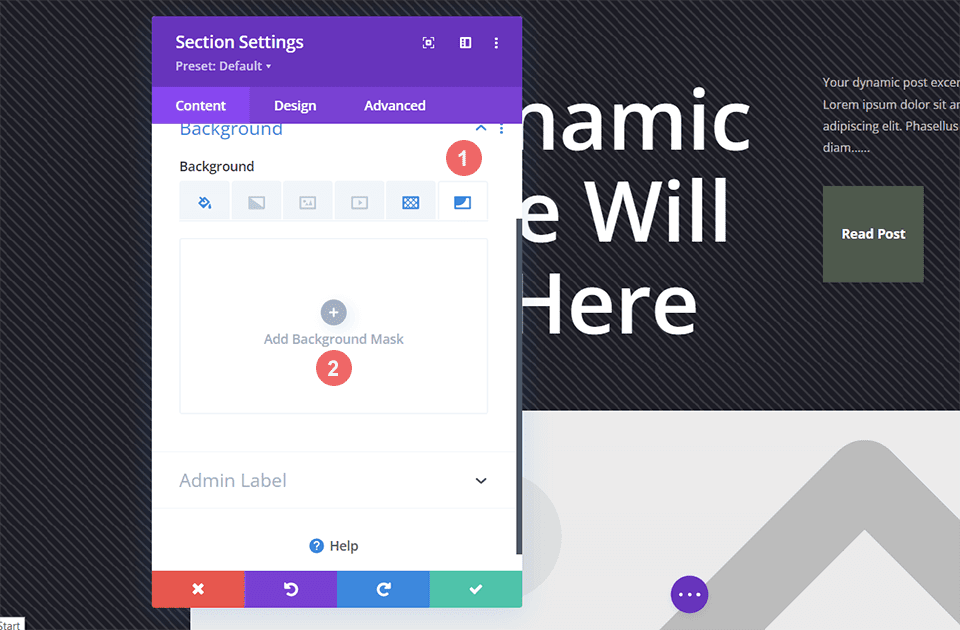
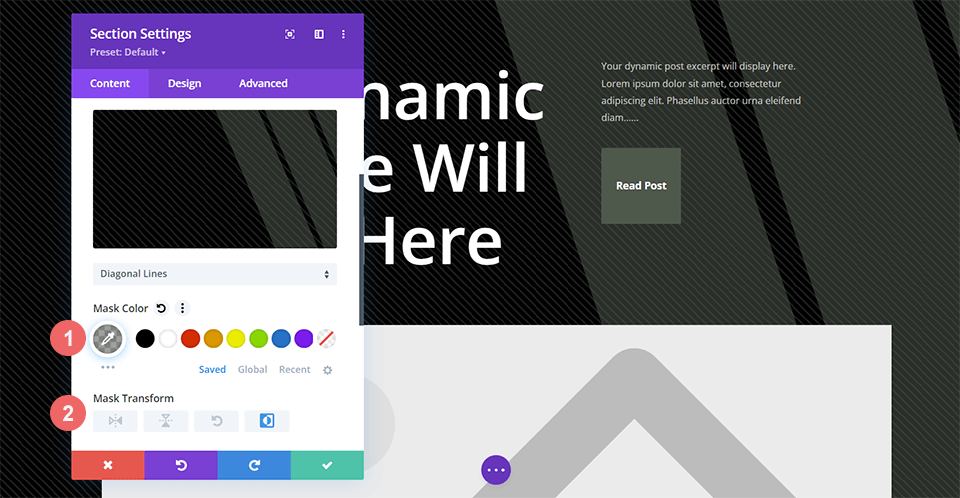
For this blog header design, we’ll be using the Diagonal Lines Background Mask.
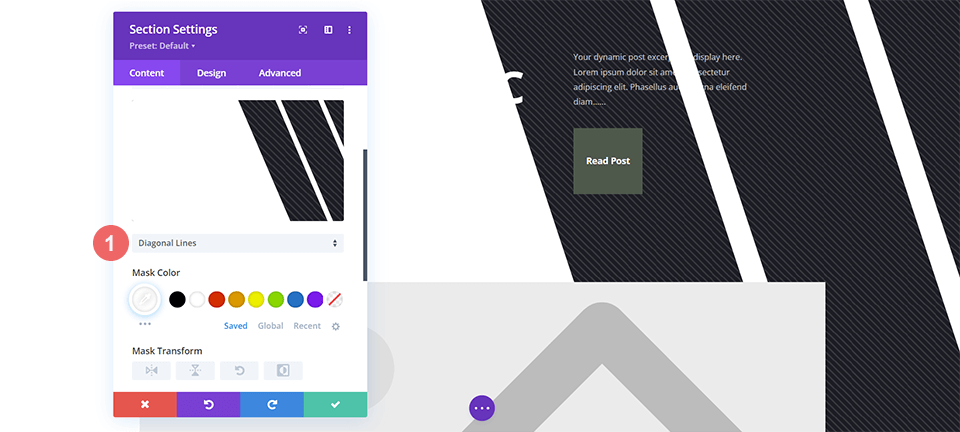
Stylize the Background Mask
We don’t want to leave the Background Mask as it is, so we’re now going to style it. We’ll be using a transparent version of the green that is used within the layout pack. We will also be inverting the Background Mask. To apply these styles, first, click on the Eyedropper Icon under the Mask Color title and enter in the setting below. Next, select the Invert icon under the Mask Transform setting.
- Mask Color: rgba(76,89,76,0.54)
- Mask Transform: Invert
In Conclusion
We have many options when it comes to styling backgrounds for our blog posts. Playing with key design concepts like color, transparency and texture allow us to make use of the native background design tools that come with Divi. You can spend a little less time in image editing software by playing around and using our new Background Patterns and Masks on your site today!


Leave A Reply