
Blending multiple images can be helpful for creating professional background designs for your website. The idea is to take two or three separate images and layer them on top of each other. Then use a blend mode to mix the layers together to create a unified harmonious design.
Every Divi builder element has built-in blend mode and filter options to make blending elements easy to do right there in the Divi builder. Of course, you could blend images in photoshop (or some other photo editor), but for those who want a convenient Divi solution, this post should help. Divi actually makes this pretty easy. Once you get the images in the right place, you can blend all of them together in a few clicks. And of course, you have an arsenal of Divi options to make those final touches and take the design to new creative heights.
Let’s get started.
Sneak Peek
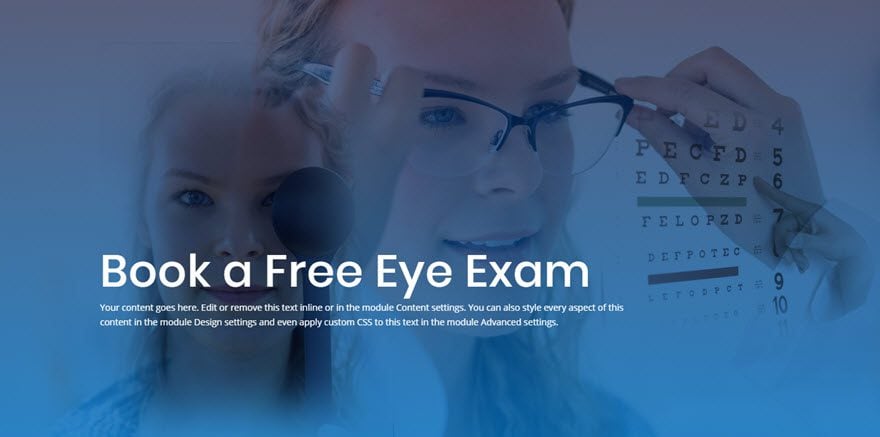
Here is a quick look at the design we are going to build together.
Download the Layout for FREE
To lay your hands on the designs from this tutorial, you will first need to download it using the button below. To gain access to the download you will need to subscribe to our newsletter by using the form below. As a new subscriber, you will receive even more Divi goodness and a free Divi Layout pack every Monday! If you’re already on the list, simply enter your email address below and click download. You will not be “resubscribed” or receive extra emails.

Subscribe To Our Youtube Channel
To import the layout to your page, simply extract the zip file and drag the json file into the Divi Builder.
Let’s get to the tutorial shall we?
What You Need to Get Started
To get started, you will need to do the following:
- If you haven’t yet, install and activate the Divi Theme installed (or the Divi Builder Plugin if not using the Divi Theme).
- Create a new page in WordPress and use the Divi Builder to edit the page on the front end (visual builder).
- Upload a few mock images to the media library to be used for the tutorial. I’m using images from the Eye Doctor Layout Pack.
After that, you will have a blank canvas to start designing in Divi.
How to Blend Multiple Images to Create a Custom Background Design in Divi
Create the Section and Row
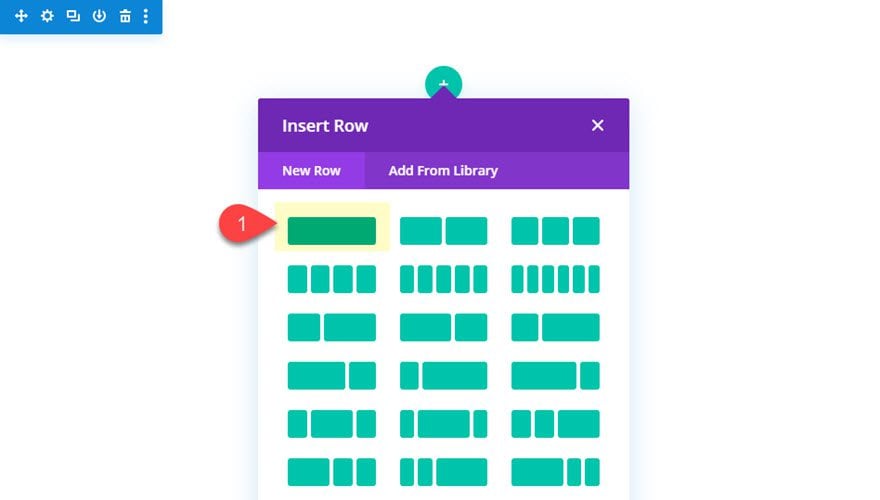
To get things rolling, add a one-column row to the regular section.
Adding the Images with the Image Module
Image #1
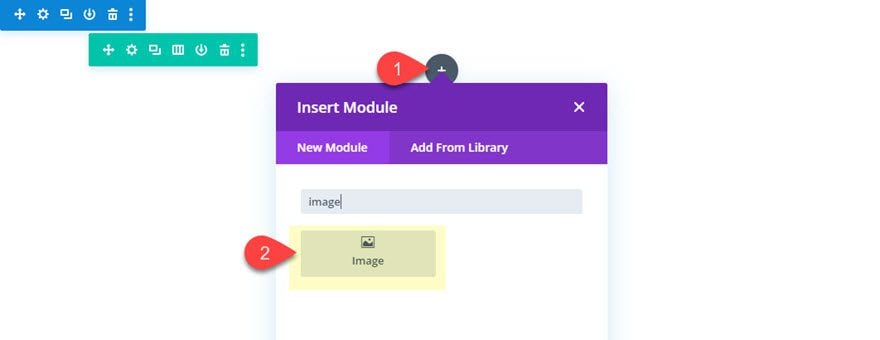
After the row and column are set, add an image module to the row.
Upload an image with the dimensions around 500px by 700px. I’m using one from the Eye Doctor Layout Pack.
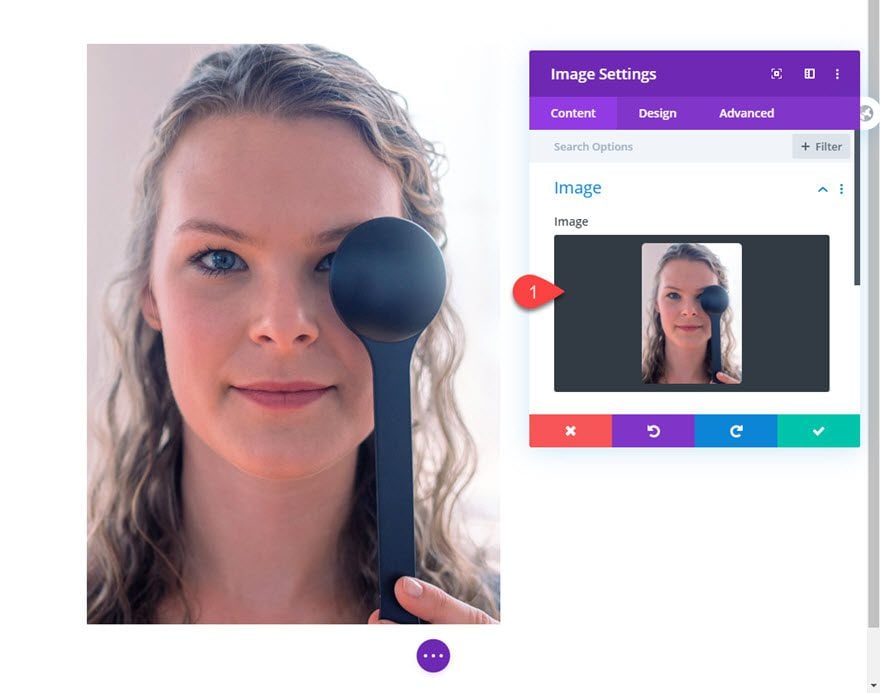
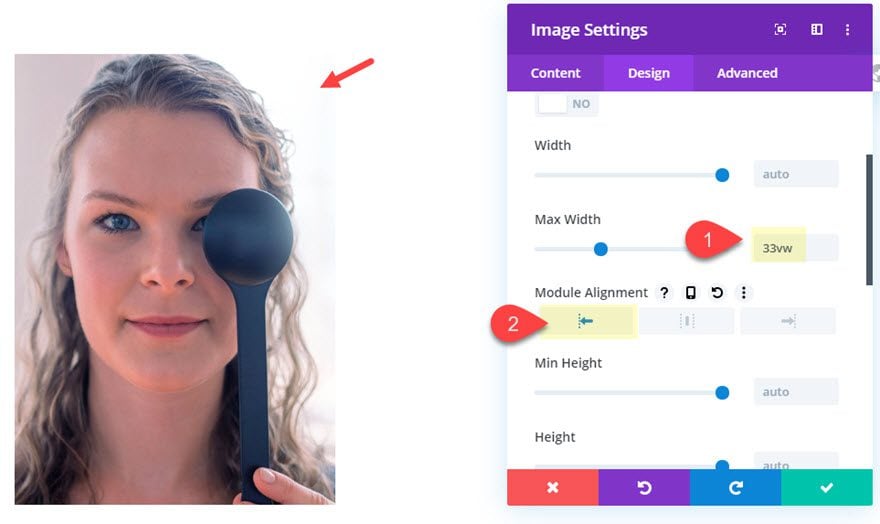
Once the image is uploaded, give the image a max width using the vw length unit so that it scales nicely with the other images we will be blending together, and align it to the left as follows:
- Max Width: 33vw
- Module Alignment: Left
We want the next image we add to align to the right of this image so we need to float this image to the left. To do this, add the following CSS to the Main Element:
float: left;
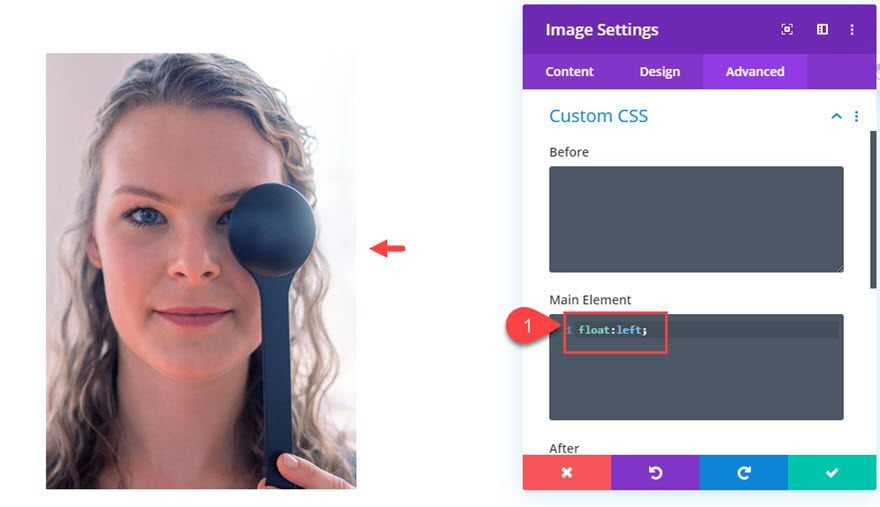
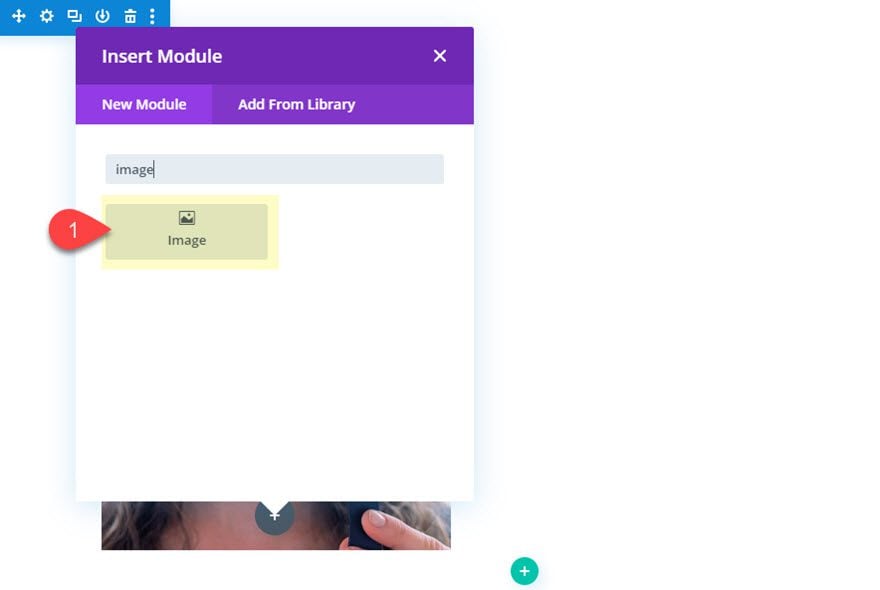
Image #2
Next, add a new image module under the current image.
After that, upload a new image with the dimensions around 1000px by 667px.
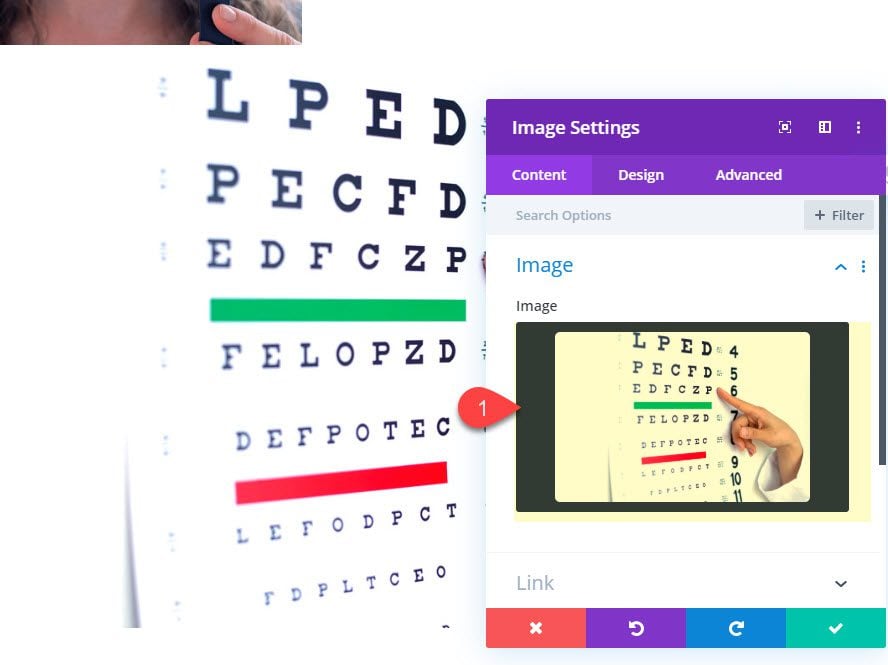
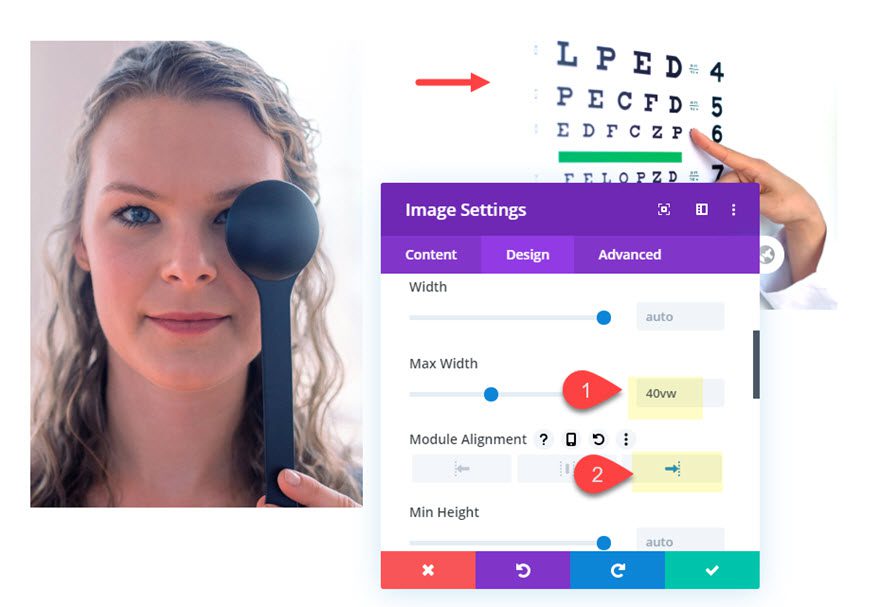
Then give the image a new max width and alignment.
- Max Width: 40vw
- Module Alignment: right
Since the first image is floated to the left, the second image should now be adjacent to the right.
We will come back to make some final touches to these images, but for now let’s jump over to the section settings.
Section Settings
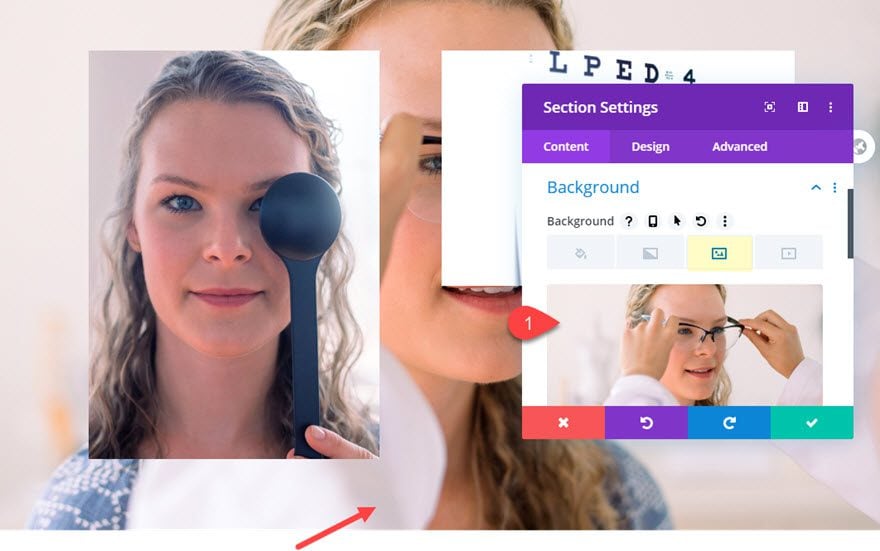
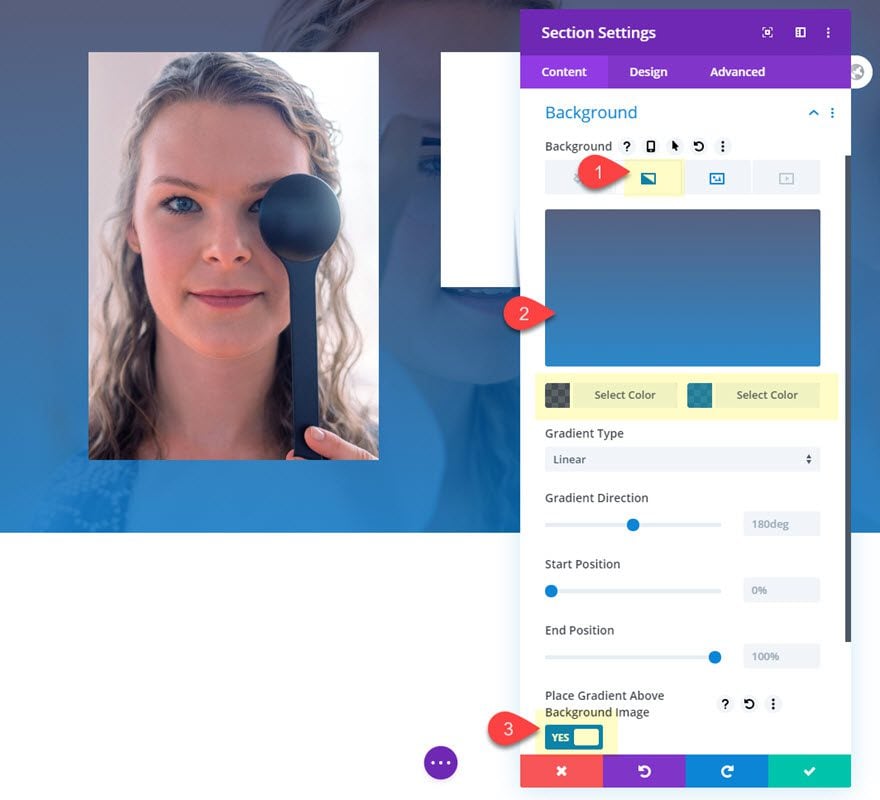
Open the section settings and add a background image and gradient as follows:
- Background Image: [upload image around 1920px by 1280px]
- Background Gradient left Color: rgba(1,16,63,0.64)
- Background Gradient Right Color: rgba(12,113,195,0.82)
- Place Gradient Above Background Image: YES
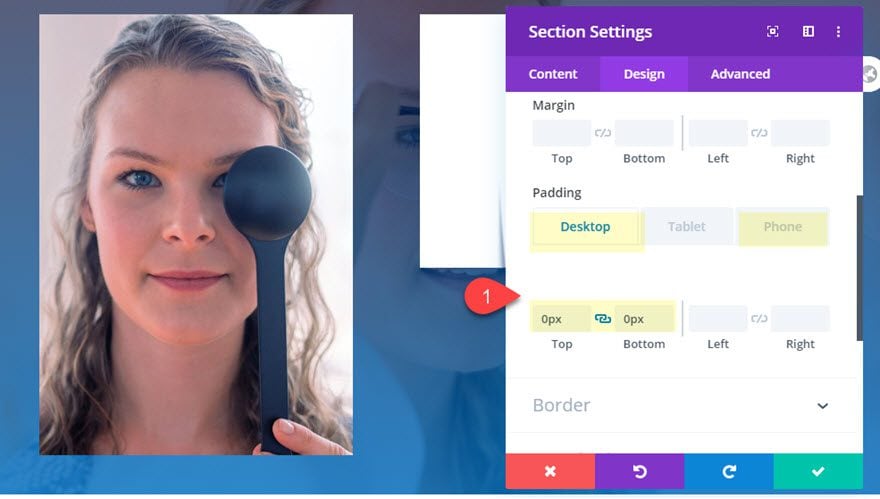
Then adjust the padding a bit.
- Padding (desktop): 0px top, 0px bottom
- Padding (phone): 0px top, 10vw bottom
Row Settings
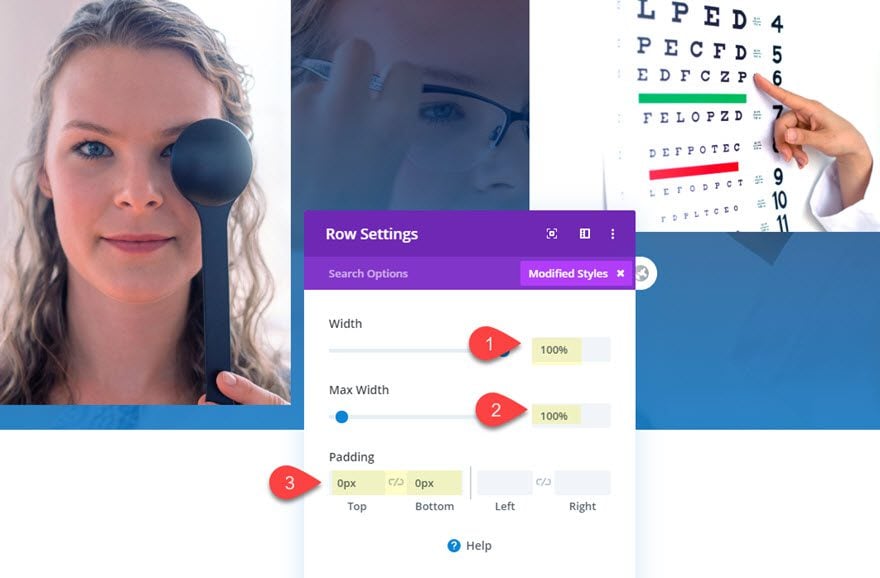
After the section is complete, open the row settings and update the following:
- Width: 100%;
- Max Width: 100%;
- Padding: 0px top, 0px bottom
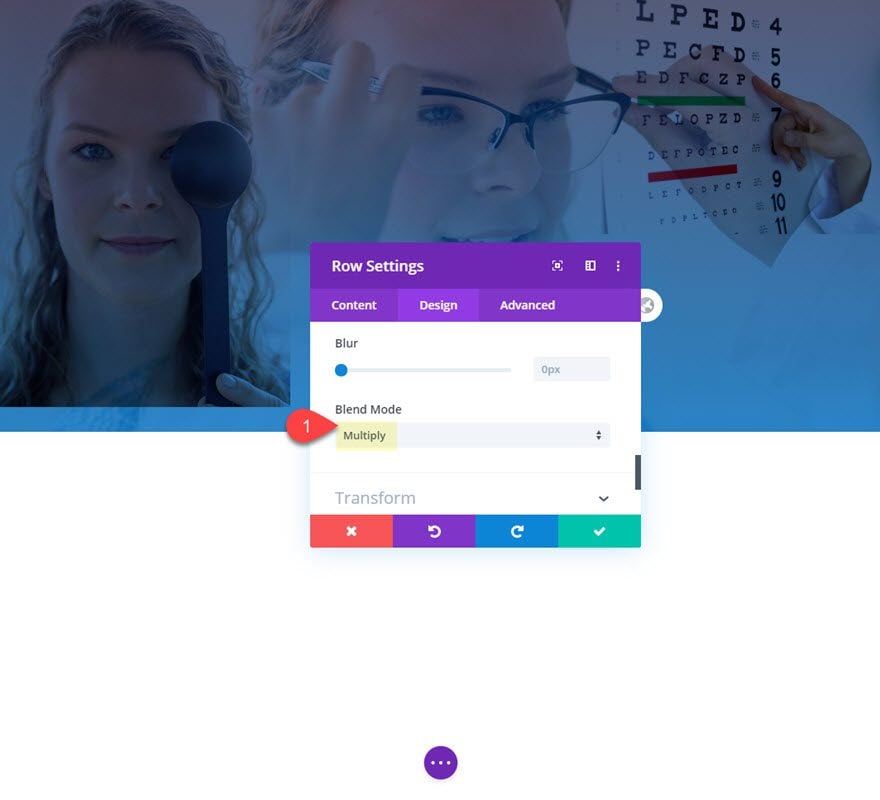
Add Blend Mode to the Row
Now the row should be covering the entire section background. This will allow us to add a blend mode to the row in order to blend the two images with the section background. To do this, add the following blend mode.
- Blend Mode: Multiply
Why Multiply?
The multiply blend mode basically multiplies the current layer/row (include the images it contains) with the layer beneath (the background of the section). An easy way to think about the effect is to imagine two slides in a slide projector stacked one behind the other. If you project the two images on a screen, you would get a blend of the two that is slightly darker.
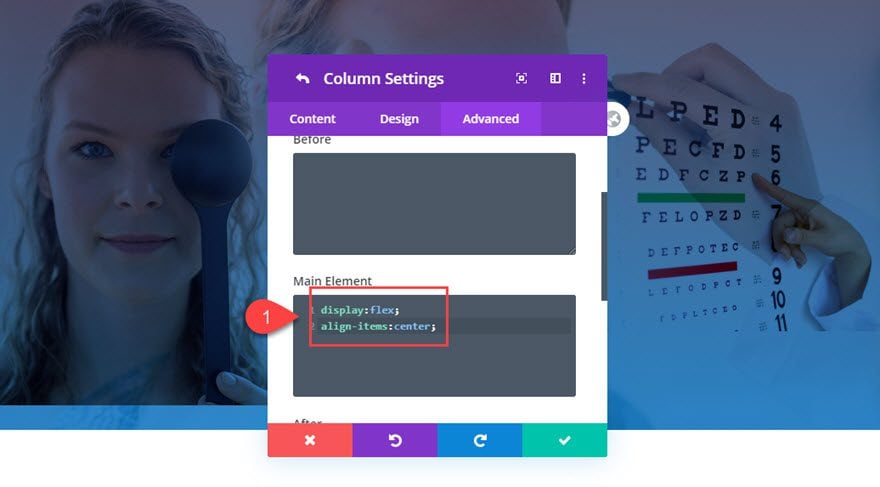
Vertically Center the Images
It isn’t necessary, but if you want to make sure the two images in the row stays vertically centered, you can add a snippet of CSS to the column. To do this, open the row settings and then click the column settings. Then add the following CSS to the Main Element.
display: flex;
align-items: center;
Make Final Touches to the Two Top Images
Right now our two top images are blending nicely, but they can use a few design tweaks to make it a bit more professional looking. We can use a white box shadow to soften the edges of the images, and use transform translate to position them exactly where we want them to stay.
Image #1 Final Touches
Open the settings of the image module on the left and update the following:
- Box Shadow: see screenshot
- Box Shadow Blur Strength: 6vw
- Box Shadow Spread Strength: 6vw
- Shadow color: #ffffff
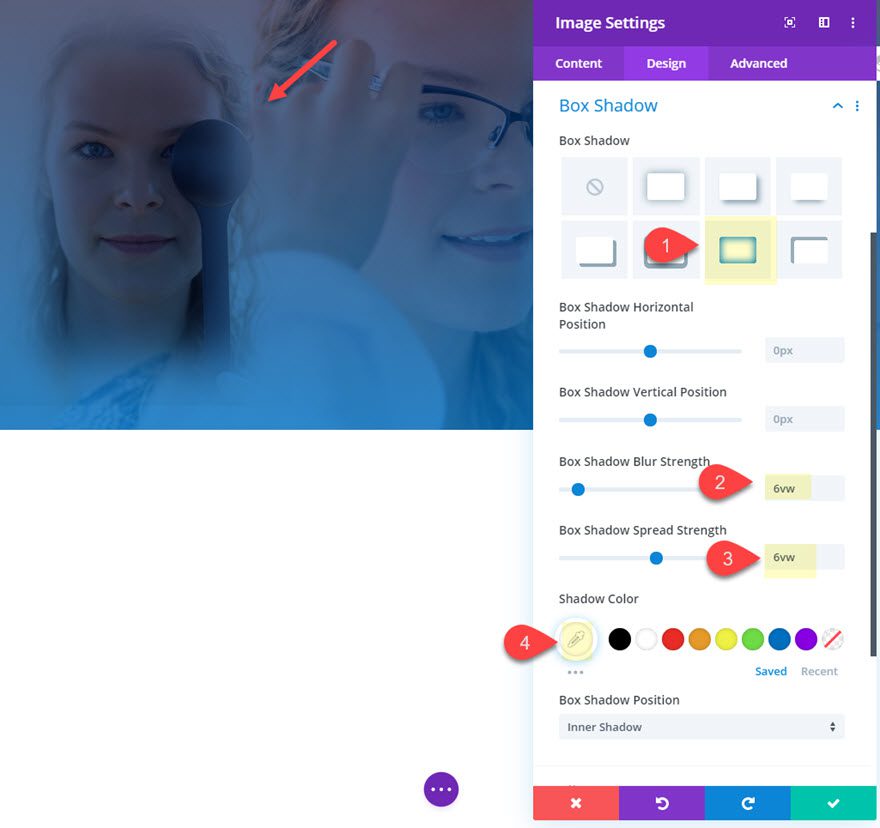
- Transform Translate: 5vw (X Axis), 11vw (Y Axis)
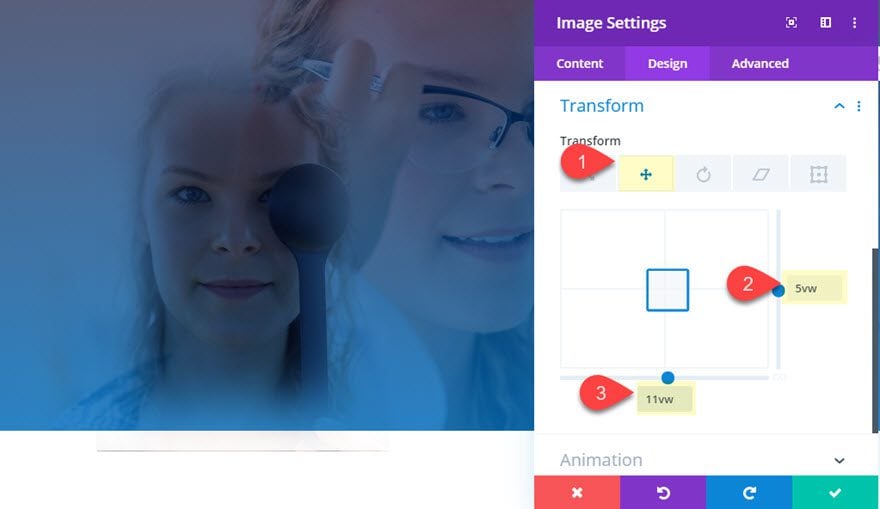
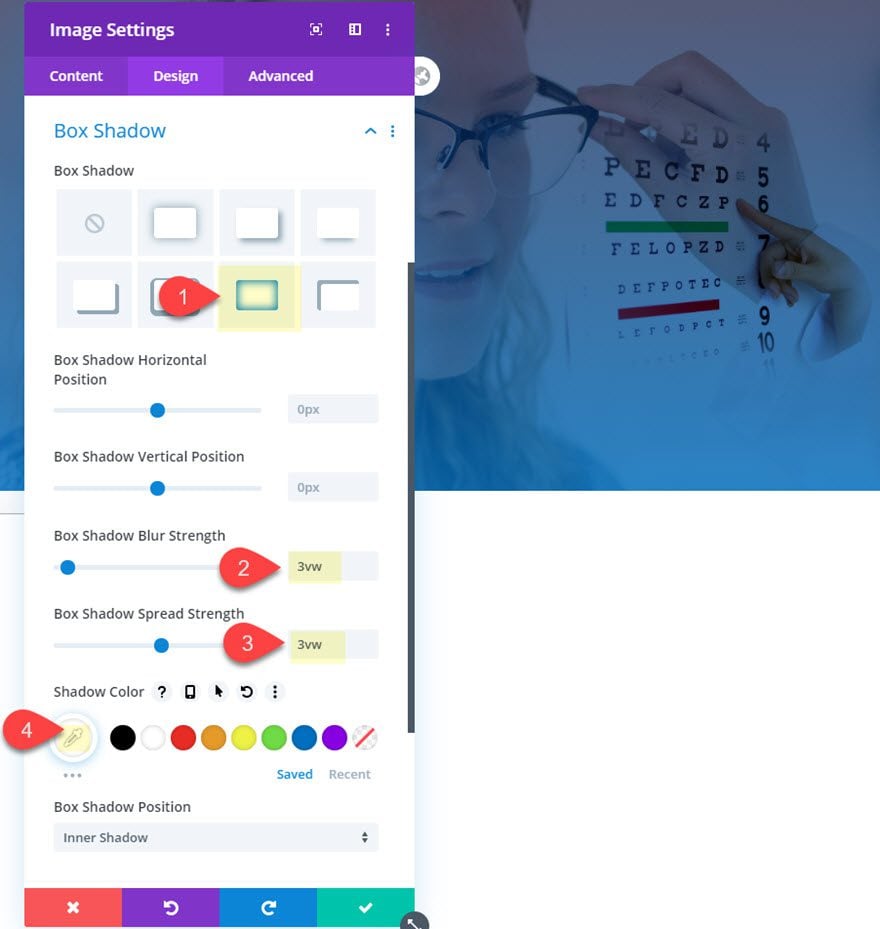
Image #2 Final Touches
Once you are finished touching up image #1 on the left, open the settings for image #2 on the right and make the following changes:
- Box Shadow: see screenshot
- Box Shadow Blur Strength: 3vw
- Box Shadow Spread Strength: 3vw
- Shadow color: #ffffff
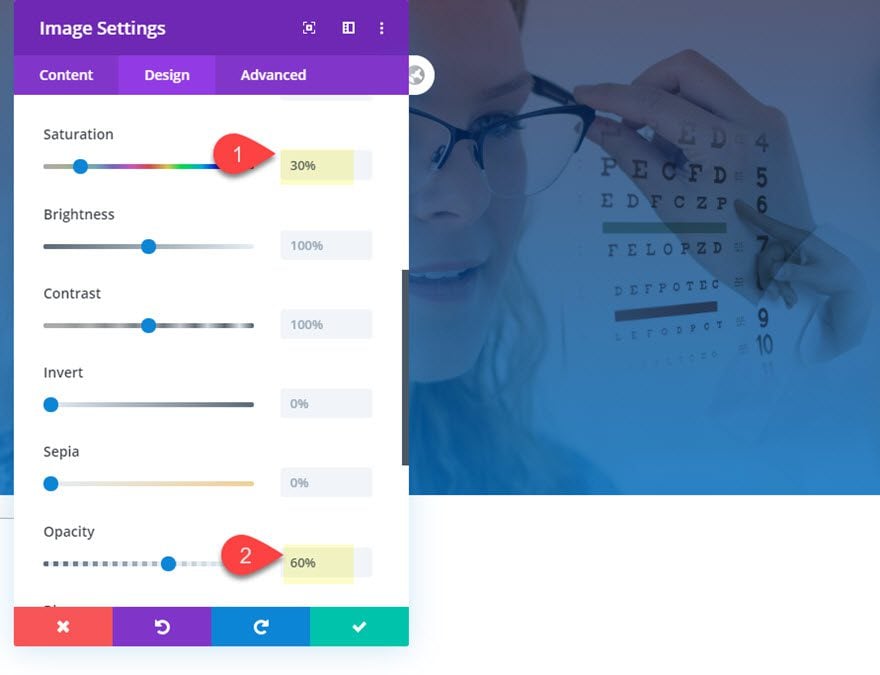
We can even add a few filter effects to make the image blend even better.
- Saturation: 30%
- Opacity: 60%
Adding the Text Content
Now that our section is complete with three images beautifully blended together, we can add our content on top of the section. To do this, add a new section under the current one.
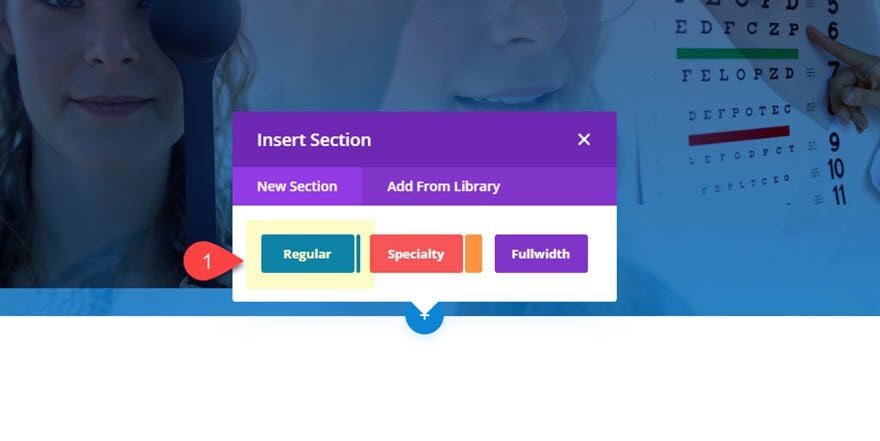
Then add a one column row to the regular section.

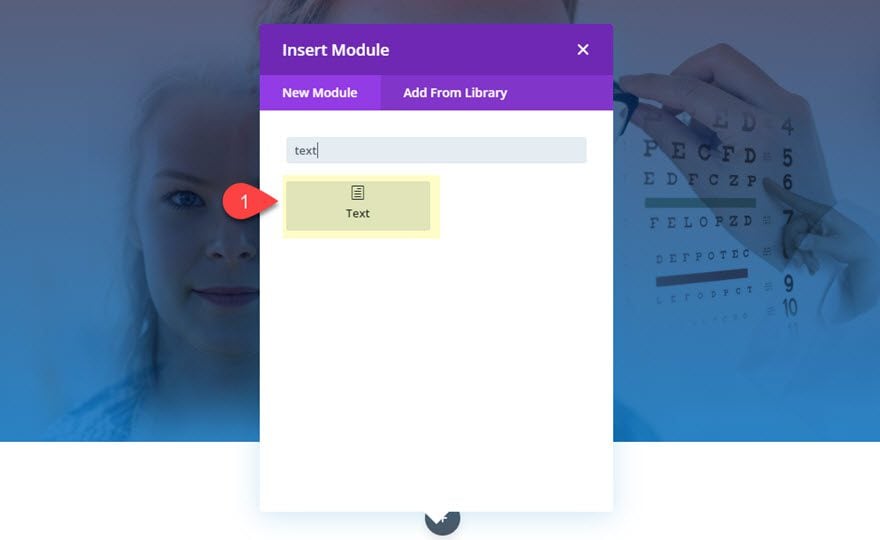
Then add a text module to the row.
Body Content
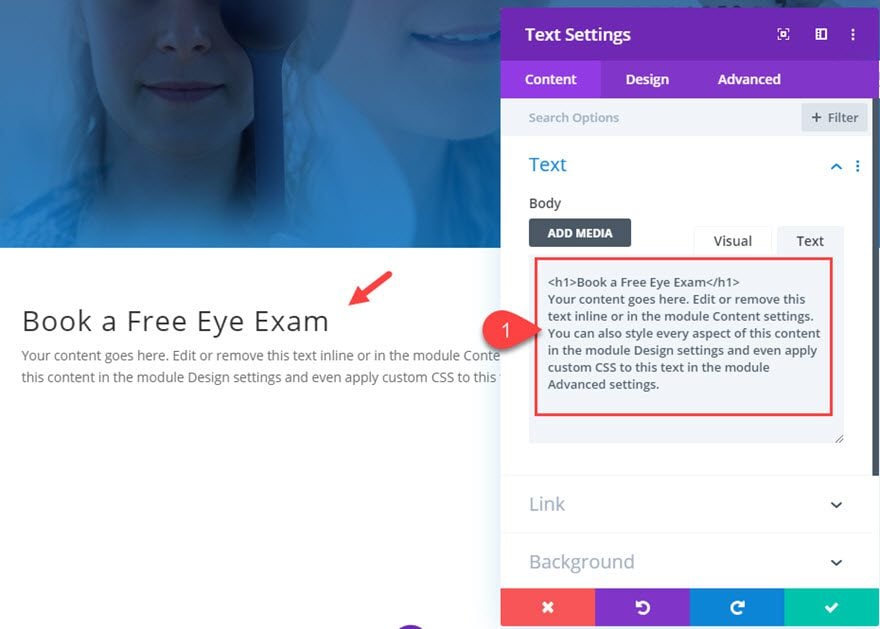
Update the text module content with the following body content:
<h1>Book a Free Eye Exam</h1>
<p>Your content goes here. Edit or remove this text inline or in the module Content settings. You can also style every aspect of this content in the module Design settings and even apply custom CSS to this text in the module Advanced settings.</p>
Text Design
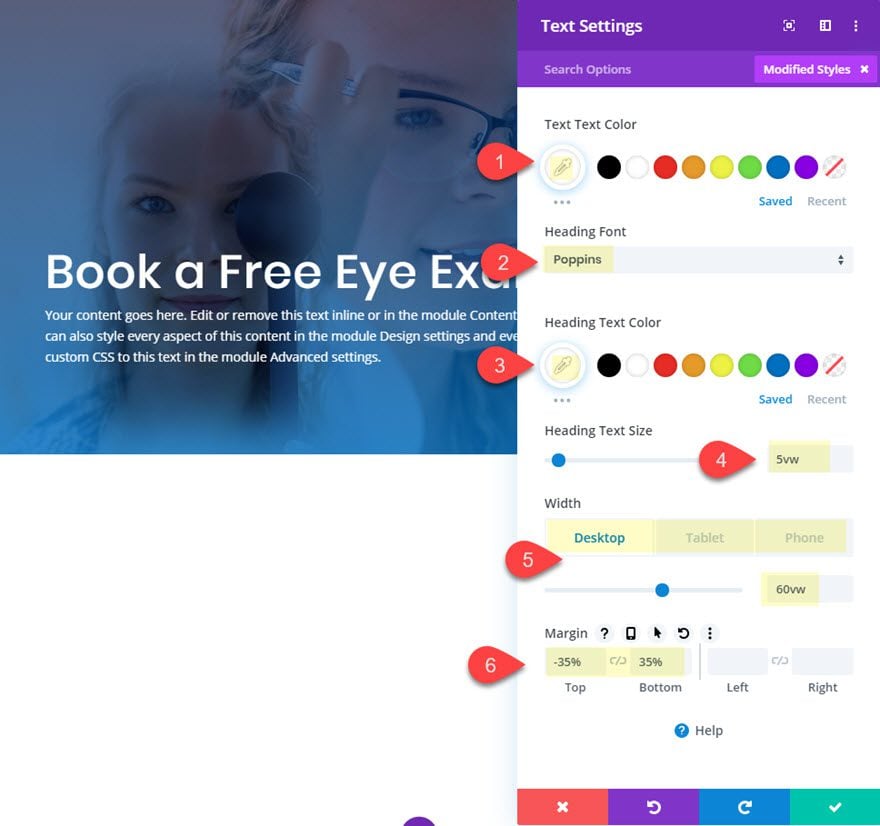
Once the body content is in place, update the design settings as follows:
- Text Text Color: #ffffff
- Heading Font: Poppins
- Heading Text Color: #ffffff
- Heading Text Size: 5vw
- Width: 60vw (desktop), 100% (phone)
- Margin (desktop): -35% top, 35% bottom
- Margin (phone): -70% top, 70% bottom
Final Design
Here is the final design.
Here is how it scales for different browser widths.
Exploring More Design Options
Once you have finished the design, it is easy to experiment with more blend modes, filters, colors, and many more design options. For example, if you want to match the design with a new color scheme, all you need to do is change the two background gradient colors used by the section.
Or you can add a filter to one of the image to make it black and white with saturation or take down the opacity a bit.
Final Thoughts
Divi’s blend mode and filter options have everything you need to blend images for professional background designs. The trick is to position the images using vw length units so that the entire background design is responsive on mobile as well. But once the images are in position, we can experiment with all kinds of blend modes and countless other design options to make awesomely blended designs.
I hope this post has provided you with a little inspiration and I look forward to hearing from you in the comments.
Cheers!


wow this is really cool you guys. now I guess I don’t need photoshop 😉
Really awesome effect. I would like to yry Divi builder for one of my website soon
I think it’s a good idea to have the functionality all in one place rather than having to make use of external programs like Photoshop to create your images. Thanks for the tutorial.
thanks, i’ve always wanted to know how to do this!
Awesome, riaan. Glad it helped.
Why complicate the site code so much when you can make a background image in Photoshop?
For those that are more comfortable with Photoshop, you may find that to be a much easier (and cleaner) solution for sure. This is mean’t for those that want more control over the design process in Divi and are not comfortable with Photoshop.
Thanks Jason ! I like it very much.
Great to hear!
Thanks again guys, each time you post these awesome tutorials, I spend the rest of the day learning! Instead of cutting the lawn! Love it! :0)
We are glad to know the tutorials are helpful, Kevin. And yes, the lawn can wait another week 😉
Thanks for the comment.
BRILLIANT !!! Also timely .. this is about to save me some hours in PhotoShop. This really shows off just how useful the Divi tools are and can be, once we get an understanding of how and why they give us these effects. I can see the potential for this spinning in my mind Thanks heaps Jason I “Get” the processes more now… TY
Awesome! I agree totally. Glad it was helpful.
I love this effect… really great work
Thanks, Nick!