

The one thing visitors always go looking for on a website is testimonials. They represent credibility and influence the decision-making process leads or potential clients have when visiting your website. Besides making sure you have strong testimonials to share, making them visually appealing plays an important role as well. In this post, we’re going to show you 5 fantastic ways you can style the Divi Testimonial Module while using the built-in options only.
Let’s get to it!
Preview
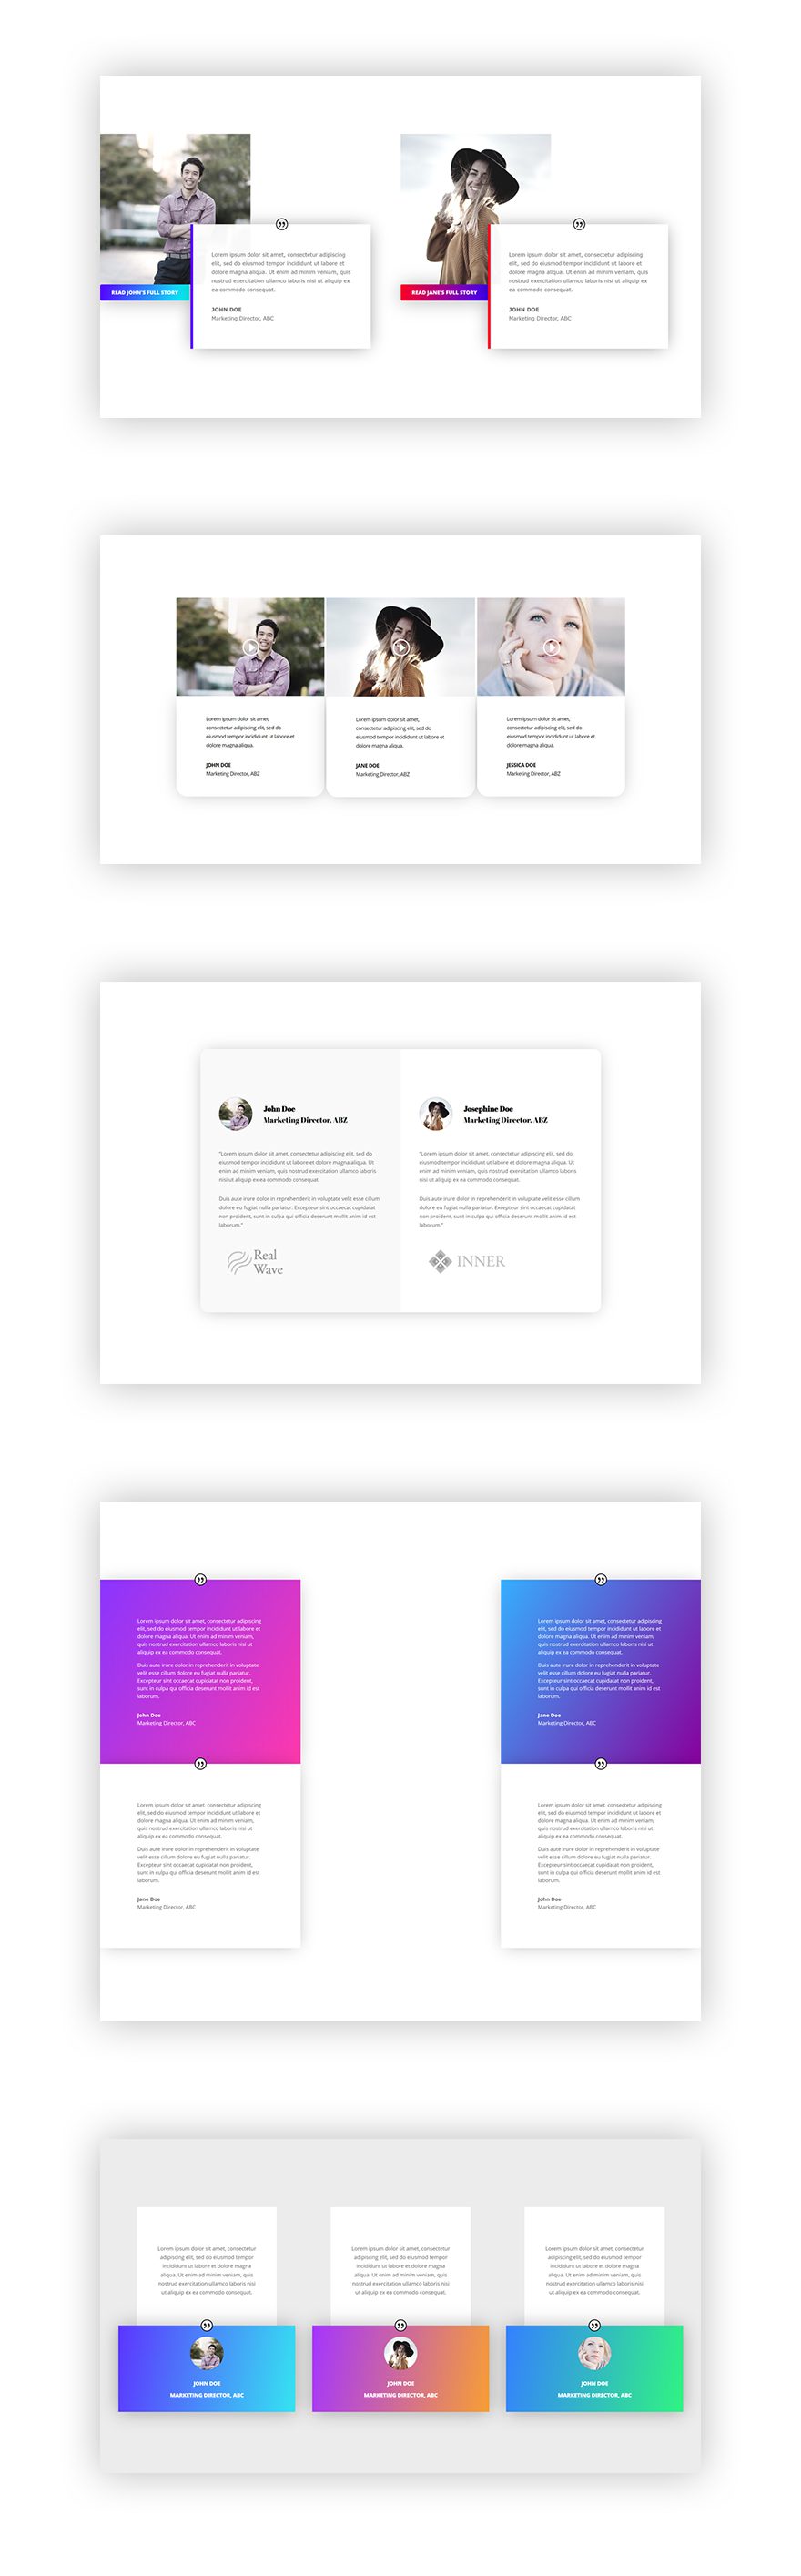
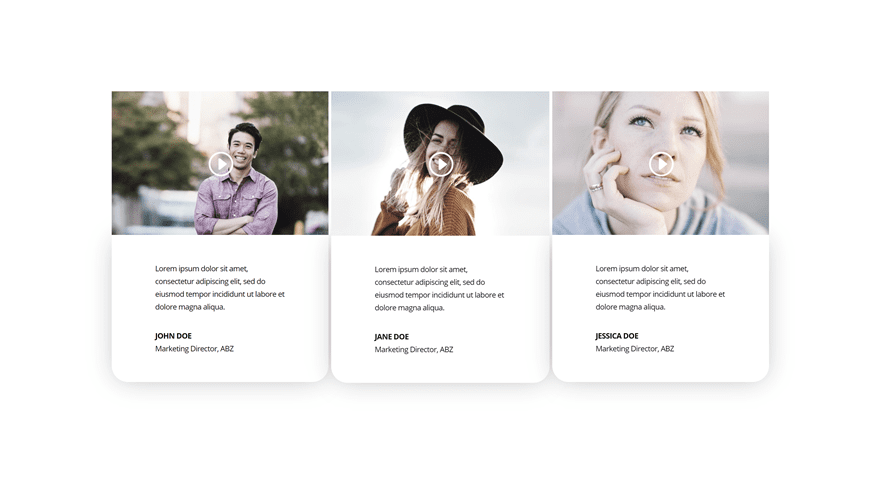
Before we dive into the tutorial, let’s take a look at the end result on different screen sizes.
Desktop
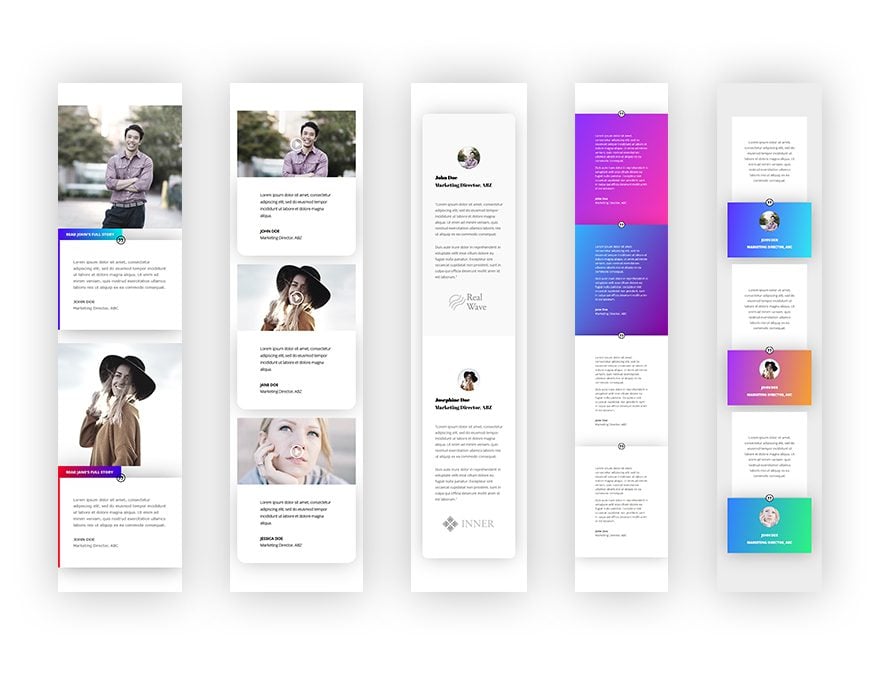
Mobile
Recreate Example #1
Subscribe To Our Youtube Channel

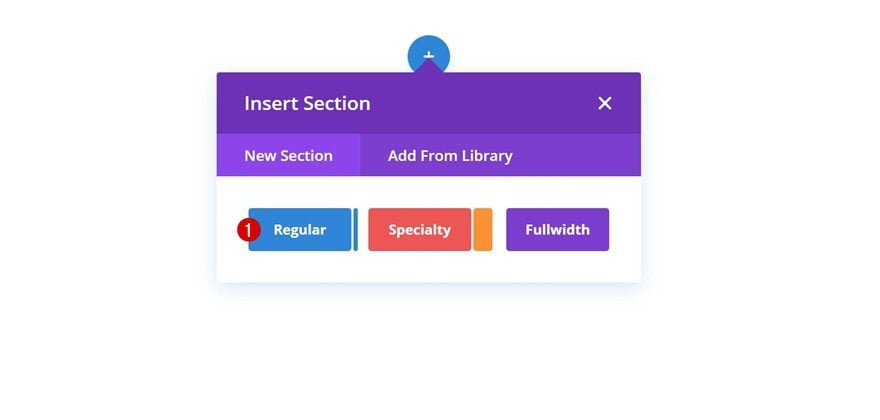
Add New Section
Let’s start with the first example! Create a new page and add a regular section.

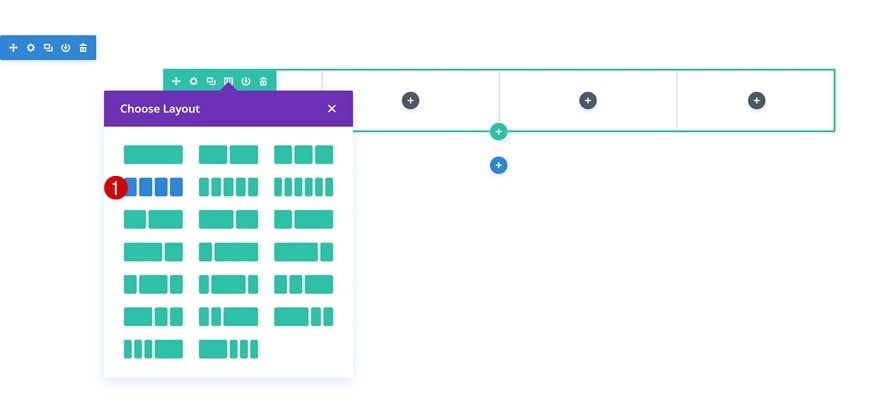
Add New Row
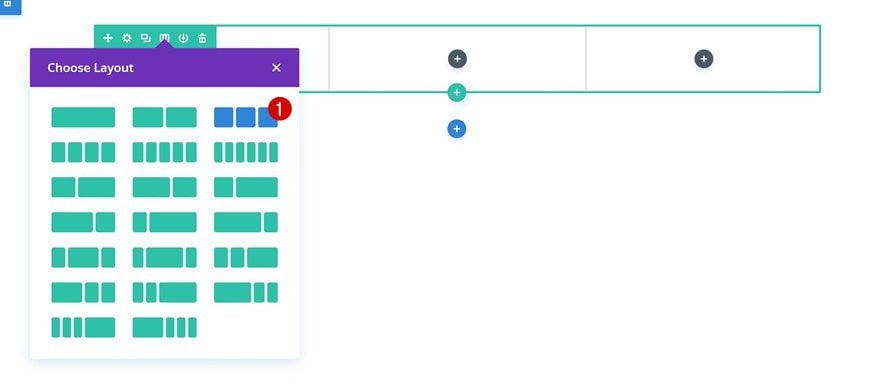
Column Structure
Continue by adding a new row using the following column structure:
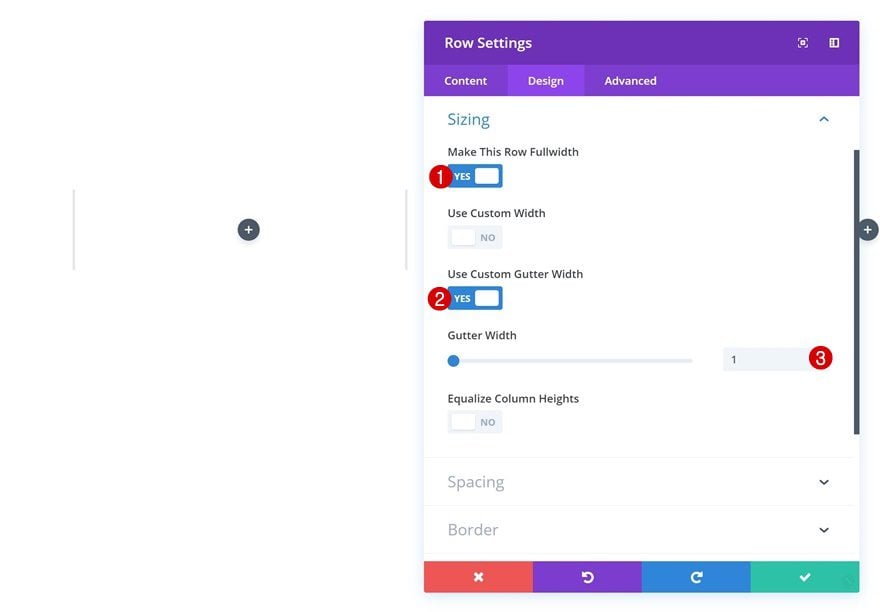
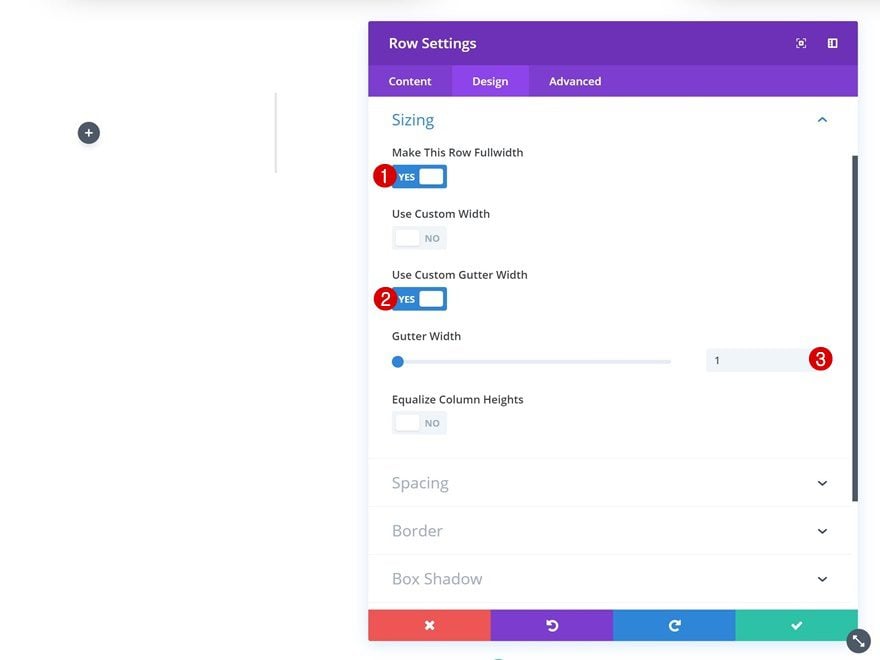
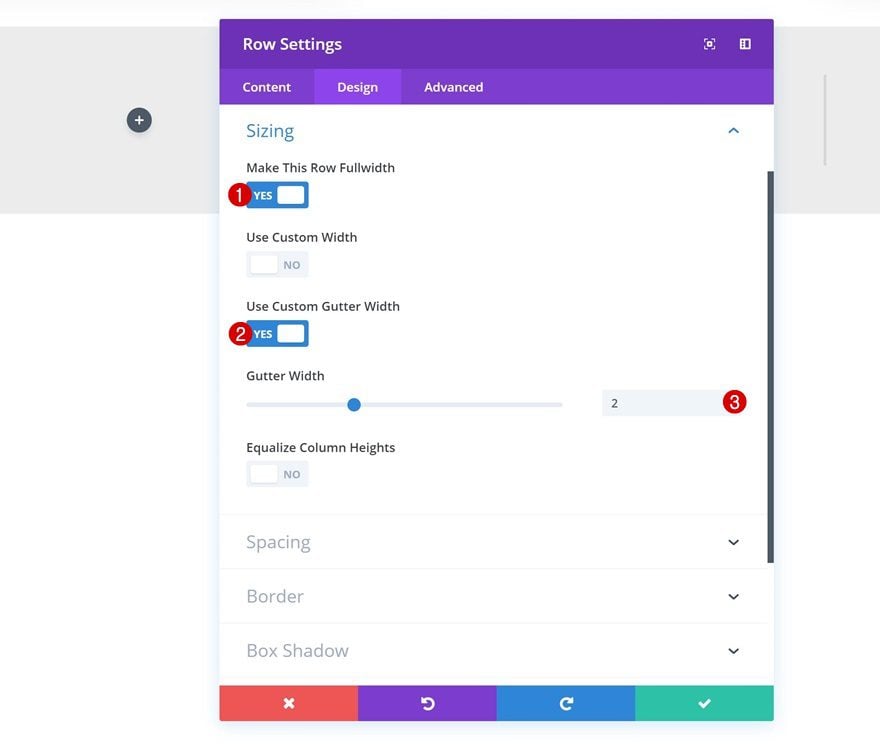
Sizing
Without adding any modules yet, open the row settings and make some changes to the Sizing settings.
- Make This Row Fullwidth: Yes
- Use Custom Gutter Width: Yes
- Gutter Width: 1
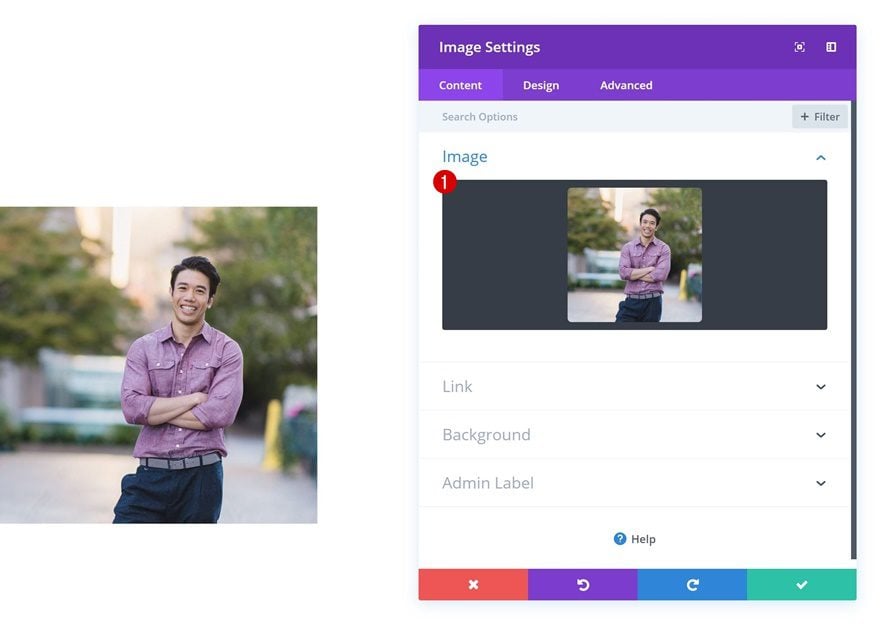
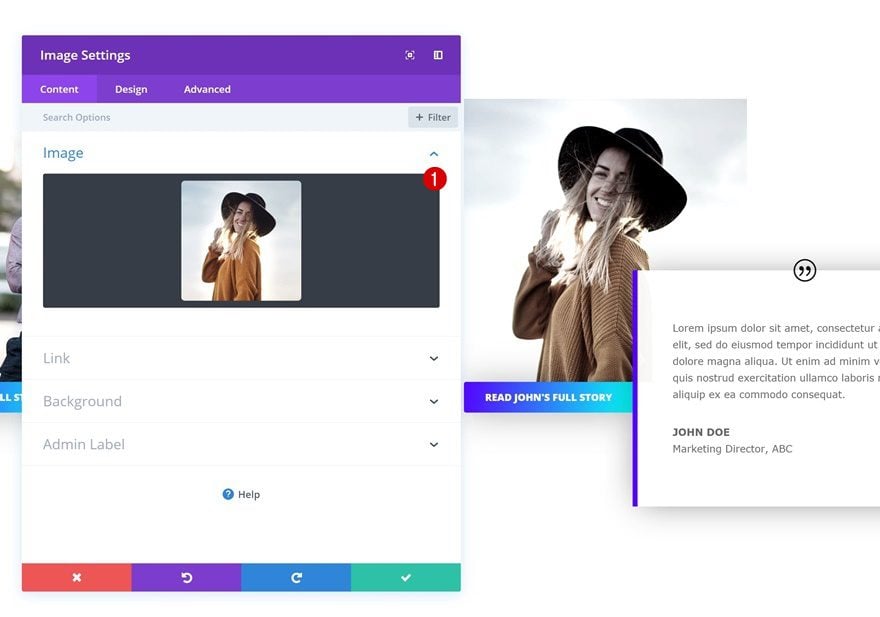
Add Image Module to Column 1
Upload Image
Time to start adding modules! The first module we’ll need is an Image Module in column 1. Go ahead and upload a squared image of choice.
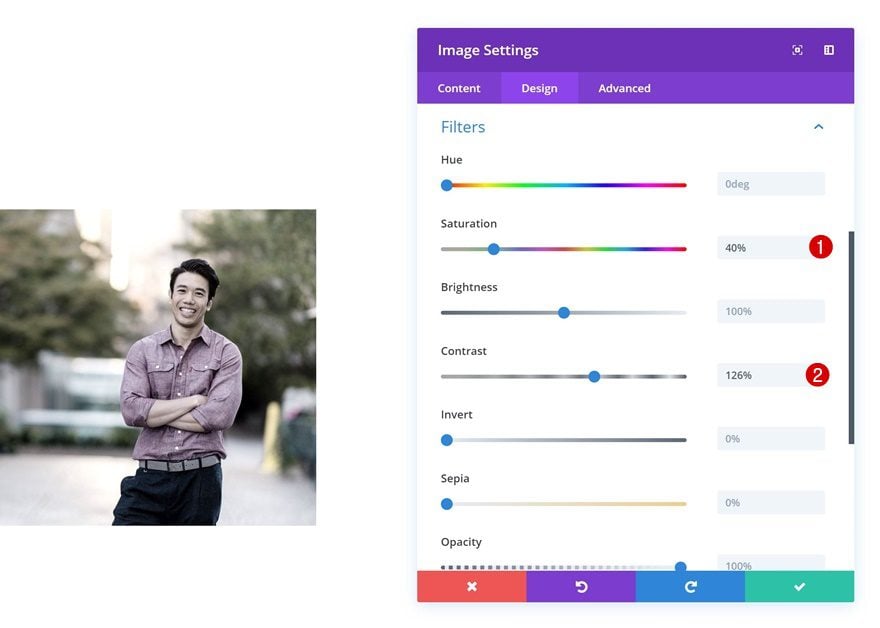
Filters
Then, go to the filters settings and play around with the different effects.
- Saturation: 40%
- Contrast: 126%
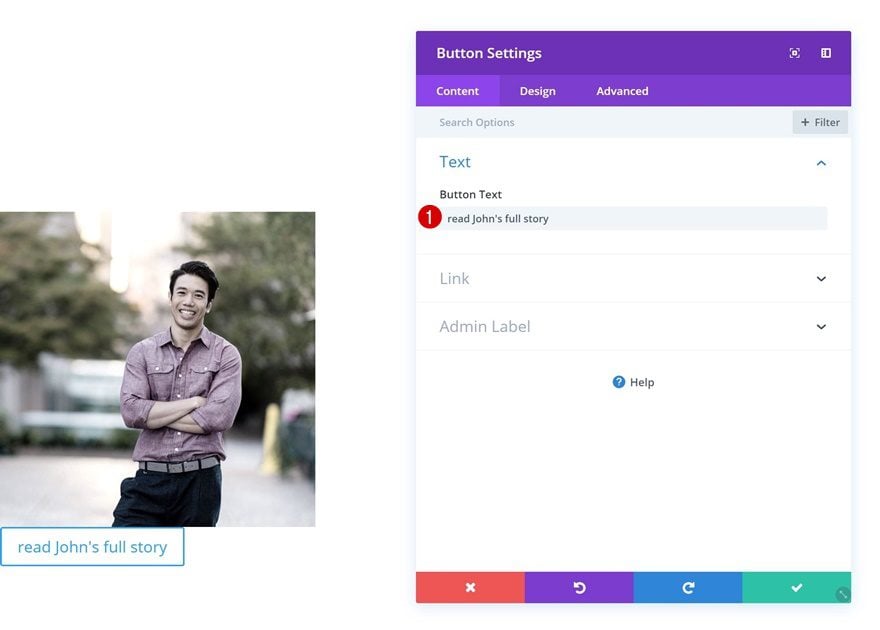
Add Copy
The second and last module we’ll need in column 1 is a Button Module. Add some copy of choice.
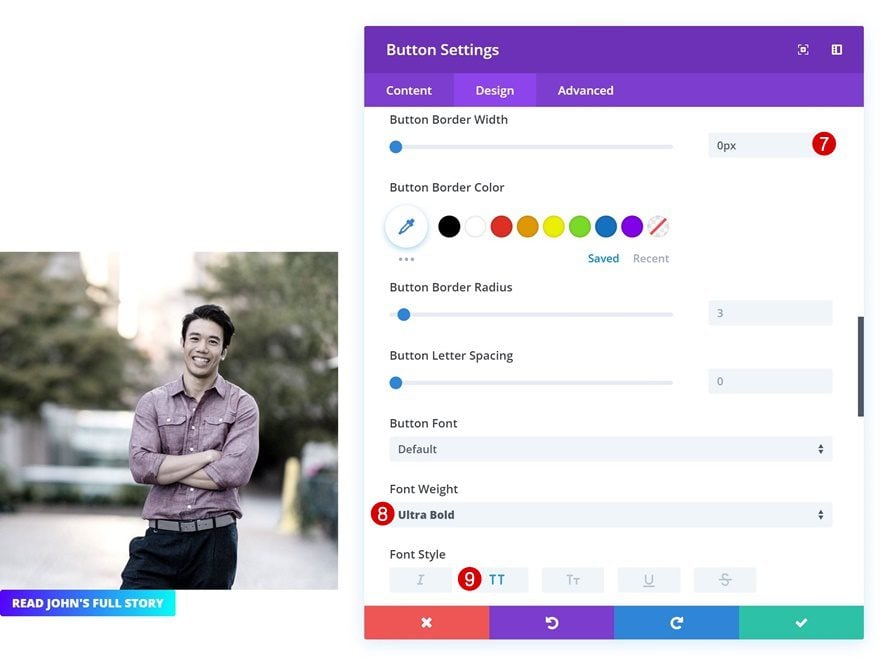
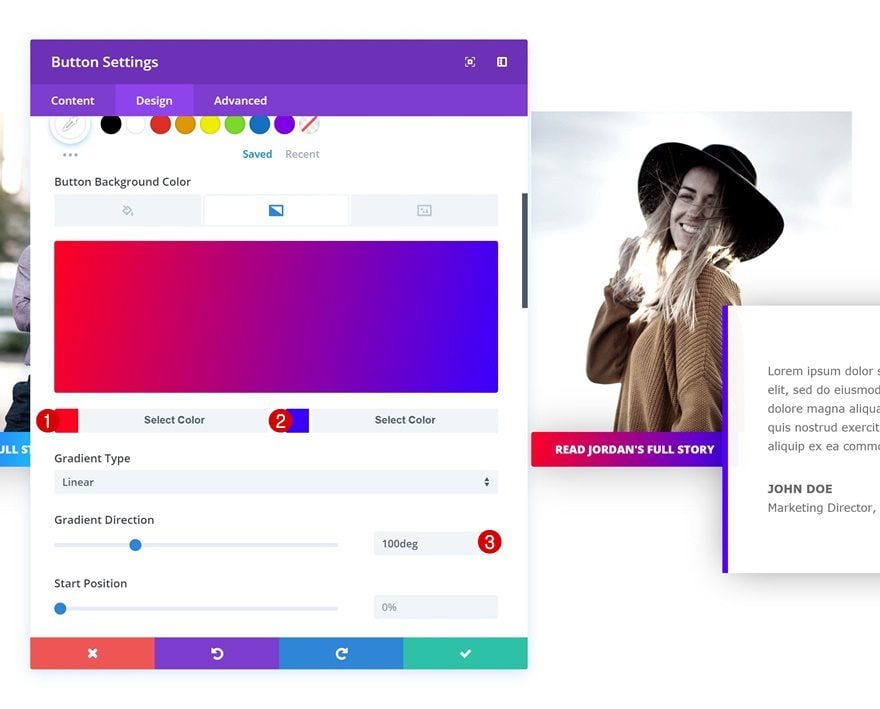
Button Settings
Then, go to the button settings and make some changes to the appearance of your button.
- Use Custom Styles for Button: Yes
- Button Text Size: 14px
- Color 1: #5400ff
- Color 2: #00fff6
- Gradient Direction: 100deg
- Button Border Width: 0px
- Font Weight: Ultra Bold
- Font Style: Uppercase

Spacing
Add some custom spacing values as well.
- Top Padding: 10px
- Bottom Padding: 10px
- Left Padding: 30px
- Right Padding: 30px

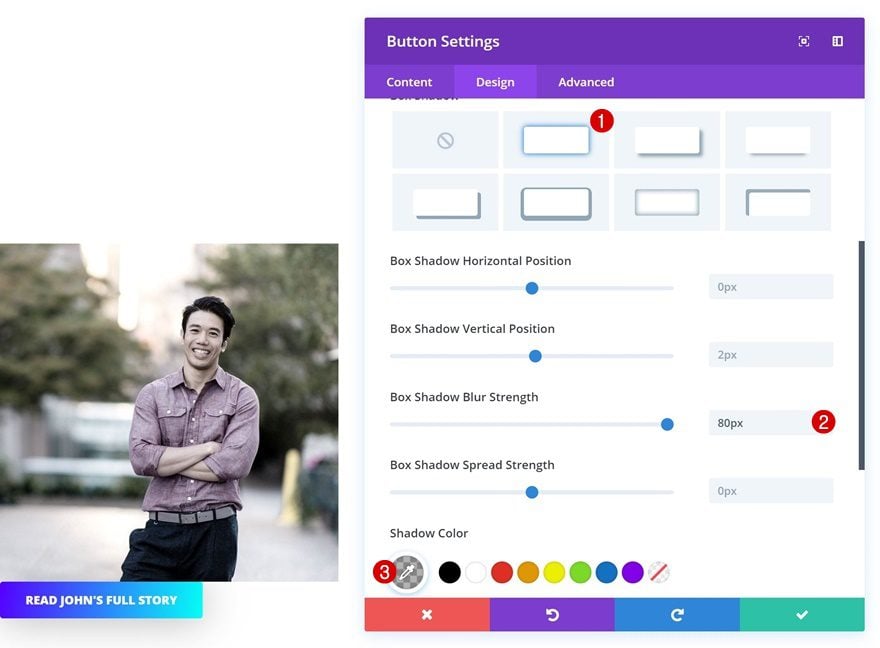
Box Shadow
And finish off with a subtle box shadow.
- Box Shadow Blur Strength: 80px
- Shadow Color: rgba(0,0,0,0.3)
Add Testimonial Module to Column 2
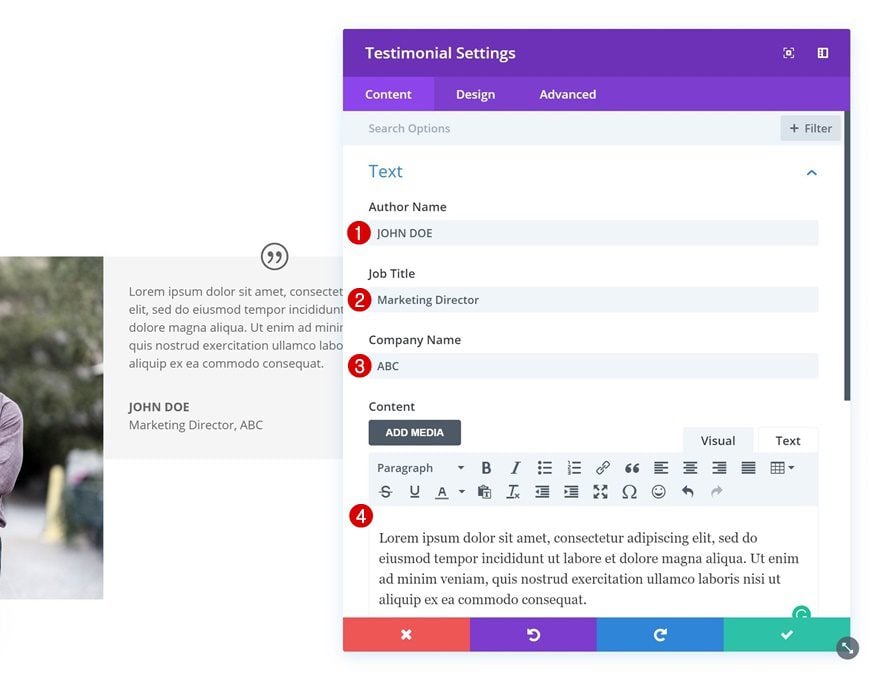
Add Content
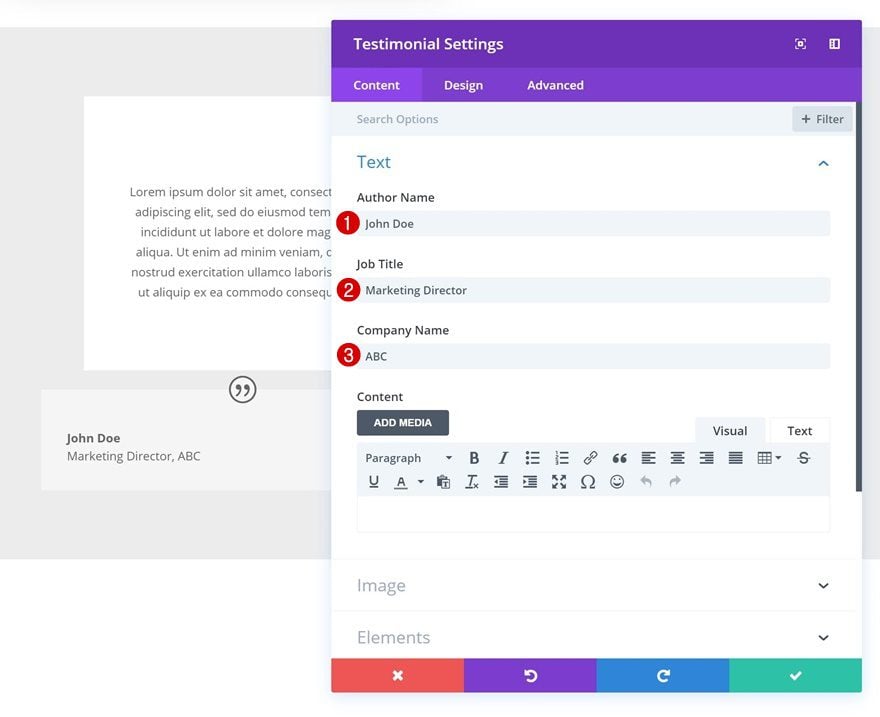
In the second column, the only module we’ll need is a Testimonial Module. Add some content to the different fields and the content box.
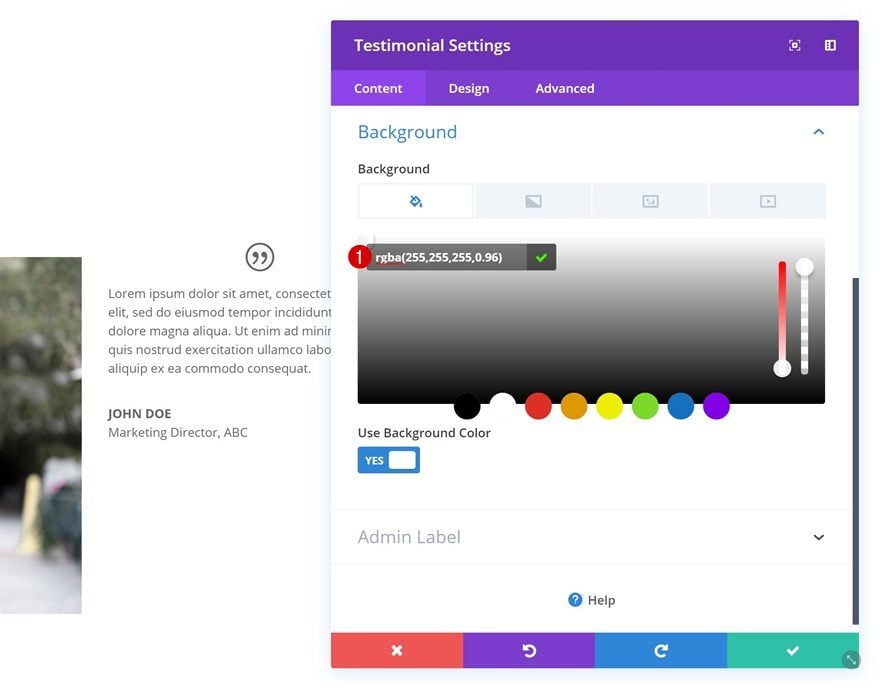
Background Color
Next, add a slightly transparent background color.
- Background Color: rgba(255,255,255,0.96)
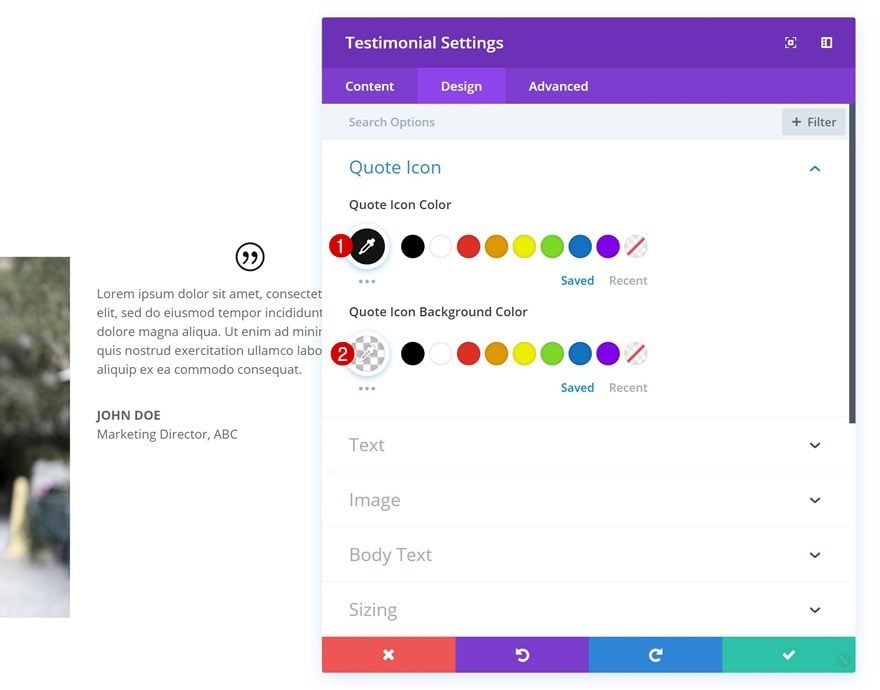
Quote Icon Settings
Change the quote icon settings as well.
- Quote Icon Color: #0c0c0c
- Quote Icon Background Color: rgba(245,245,245,0)
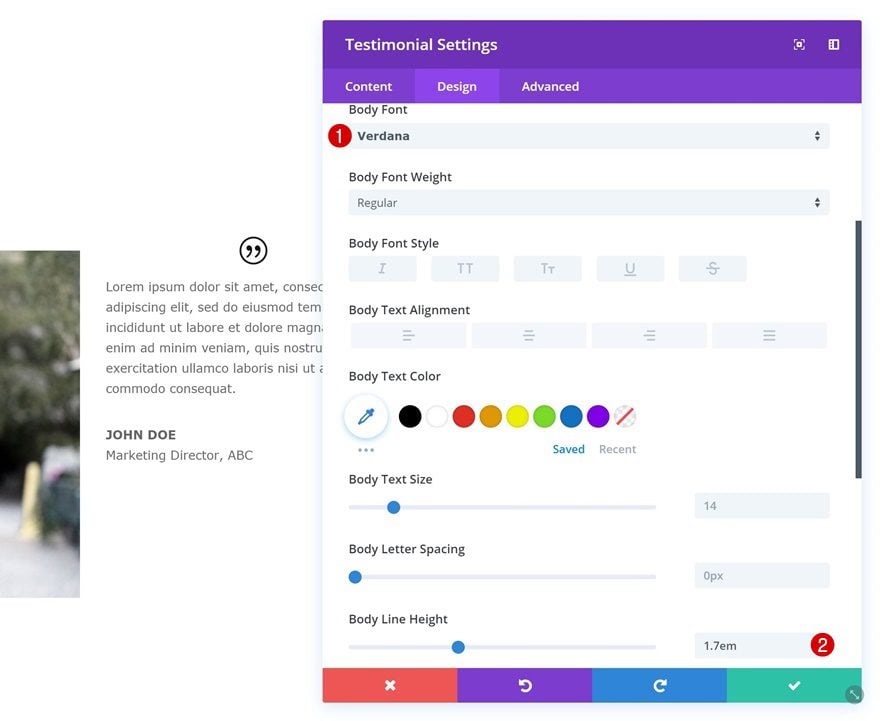
Body Text Settings
Then, modify the body text settings.
- Body Font: Verdana
- Body Line Height: 1.7em
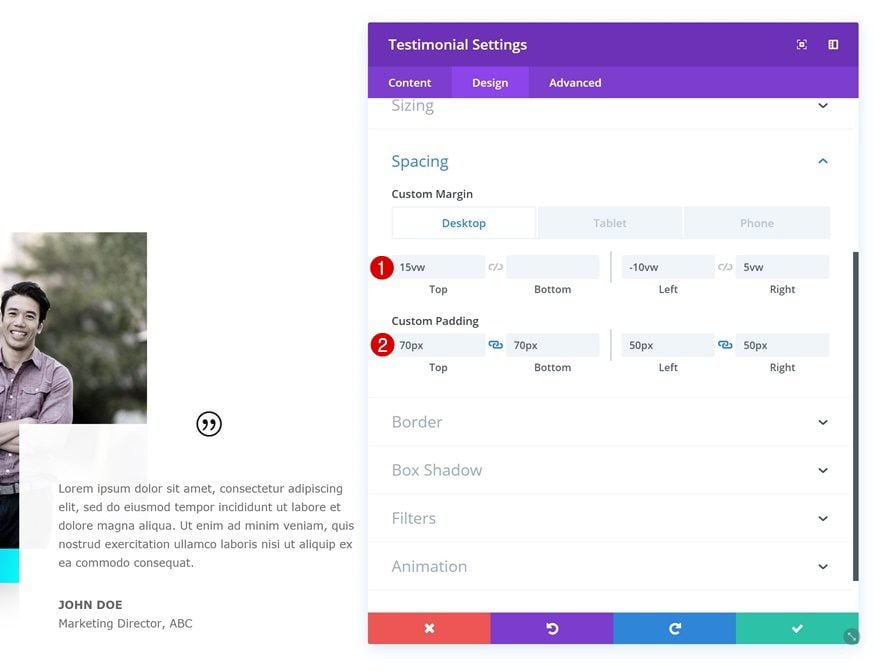
Spacing
Continue by adding different custom margin and padding values in the spacing settings.
- Top Margin: 15vw (Desktop & Tablet), 0vw (Phone)
- Bottom Margin: 50px (Tablet & Phone)
- Left Margin: -10vw (Desktop & Tablet), 0vw (Phone)
- Right Margin: 5vw
- Top Padding: 70px
- Bottom Padding: 70px
- Left Padding: 50px
- Right Padding: 50px
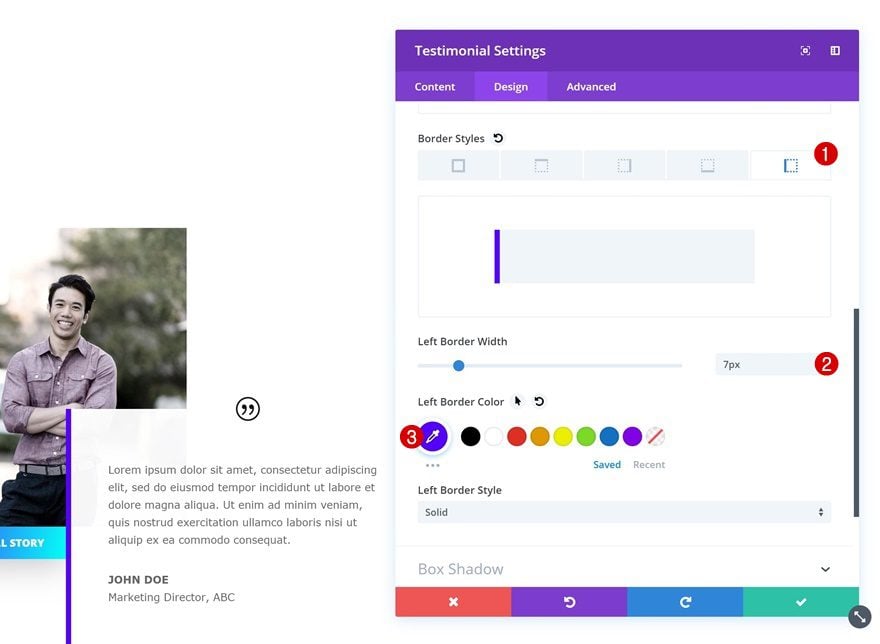
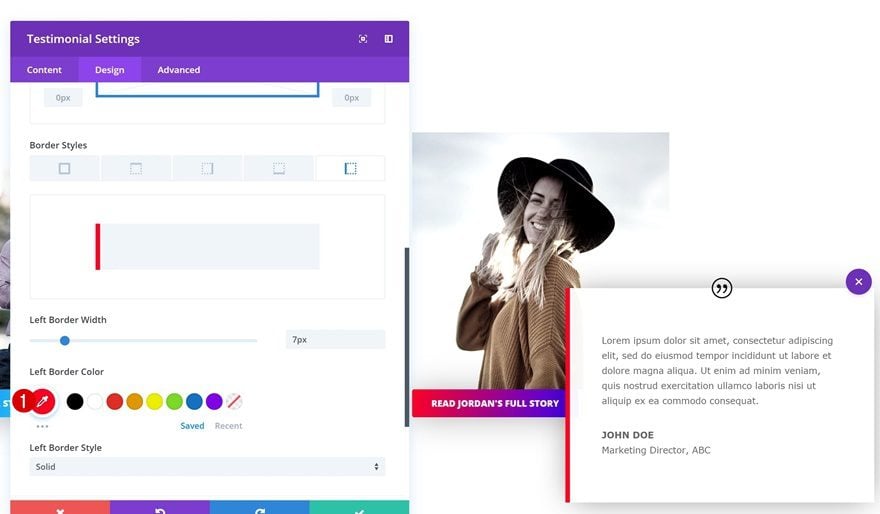
Border
Add a left border as well.
- Left Border Width: 7px
- Left Border Color: #5400ff
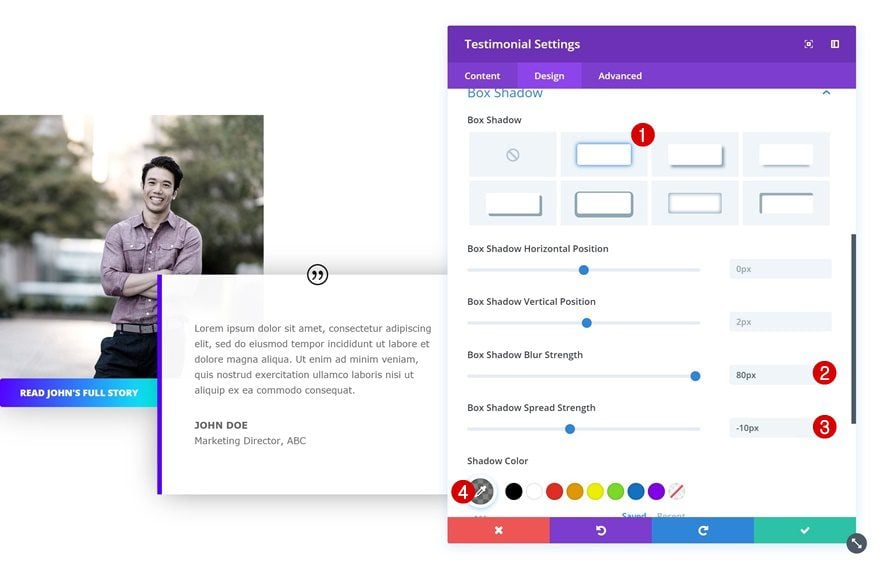
Box Shadow
Lastly, add a subtle box shadow to shape the Testimonial Module.
- Box Shadow Blur Strength: 80px
- Box Shadow Spread Strength: -10px
- Shadow Color: rgba(0,0,0,0.49)
Clone Both Modules & Place Duplicates in Column 3 & 4
Once you’re done modifying the modules in column 1 and 2, you can clone the modules and place the duplicates in the two remaining columns.
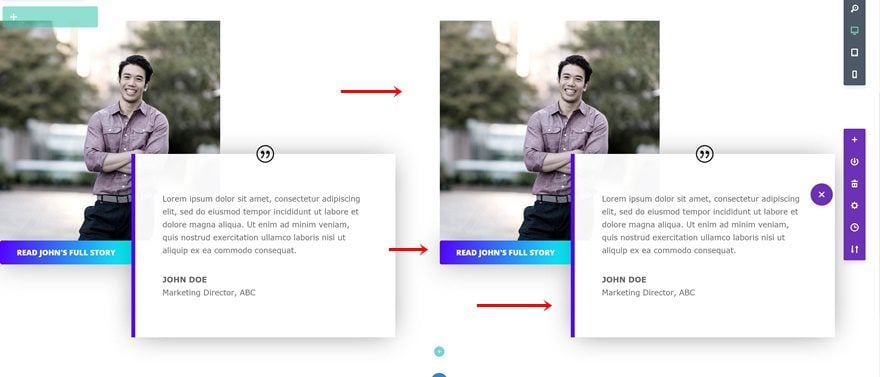
Change Image
Don’t forget to change the image of your second testimonial.
Change Button Gradient Background
Change the button gradient background as well.
- Color 1: #ff001d
- Color 2: #3700ff
- Gradient Direction: 100deg
Change Testimonial Border Color
And match the border color to the new button gradient background.
- Left Border Color: #ff001d
Recreate Example #2
Add New Section
On to the second example! Add a new regular section to your page.
Add New Row
Column Structure
Without making any changes to the section, add a new row using the following column structure:

Sizing
Continue by opening the row settings and making some changes to the sizing settings.
- Make This Row Fullwidth: Yes
- Use Custom Gutter Width: Yes
- Gutter Width: 1
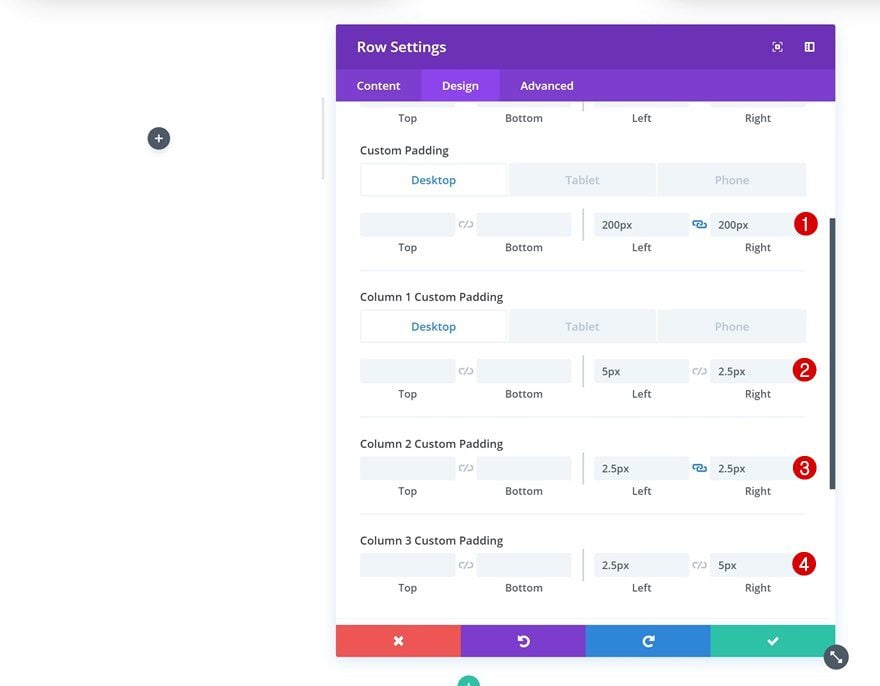
Spacing
Next, add some custom padding values to the row and columns.
- Left Padding: 200px (Desktop), 30px (Tablet), 25px (Phone)
- Right Padding: 200px (Desktop), 30px (Tablet), 25px (Phone)
- Column 1 Left Padding: 5px (Desktop), 0px (Tablet & Phone)
- Column 1 Right Padding: 2.5px (Desktop), 0px (Tablet & Phone)
- Column 2 Left Padding: 2.5px (Desktop), 0px (Tablet & Phone)
- Column 2 Right Padding: 2.5px (Desktop), 0px (Tablet & Phone)
- Column 3 Left Padding: 2.5px (Desktop), 0px (Tablet & Phone)
- Column 3 Right Padding: 5px (Desktop), 0px (Tablet & Phone)
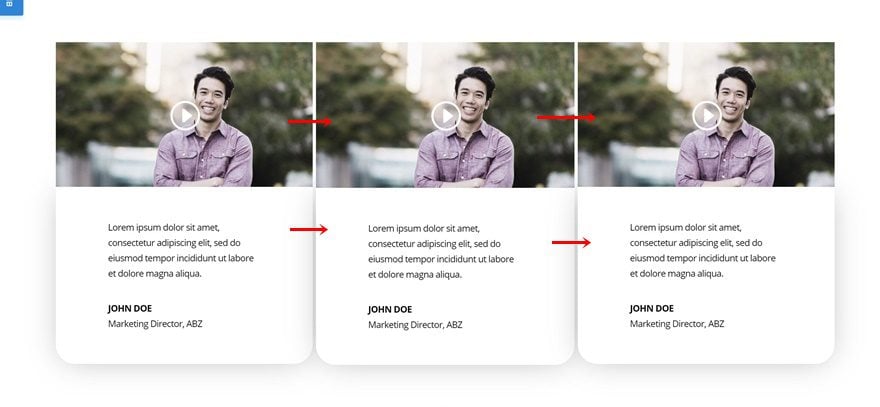
Add Video Module to Column 1
Video Link
The first module we’ll need in column 1 is a Video Module. Link this video to your testimonial video.
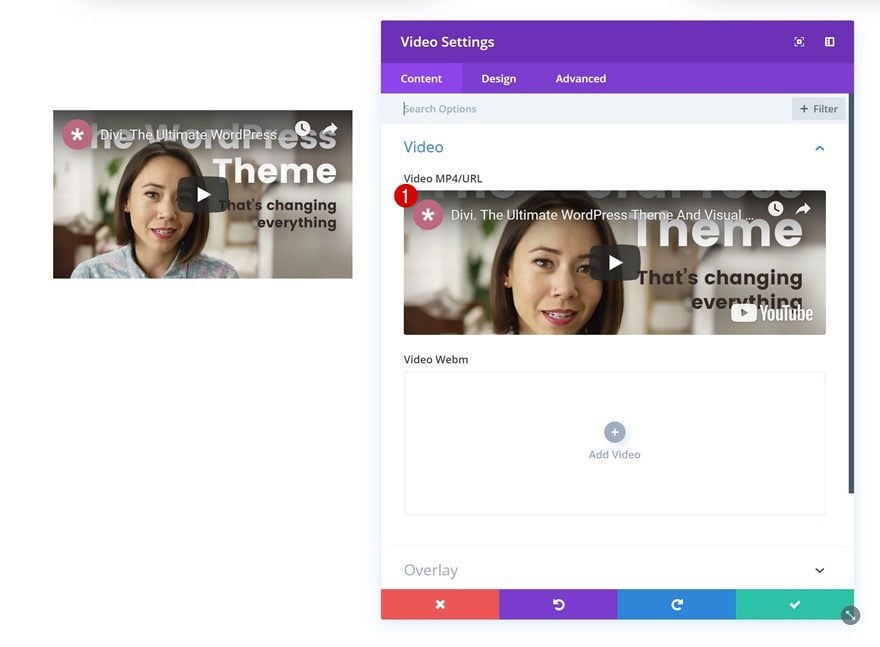
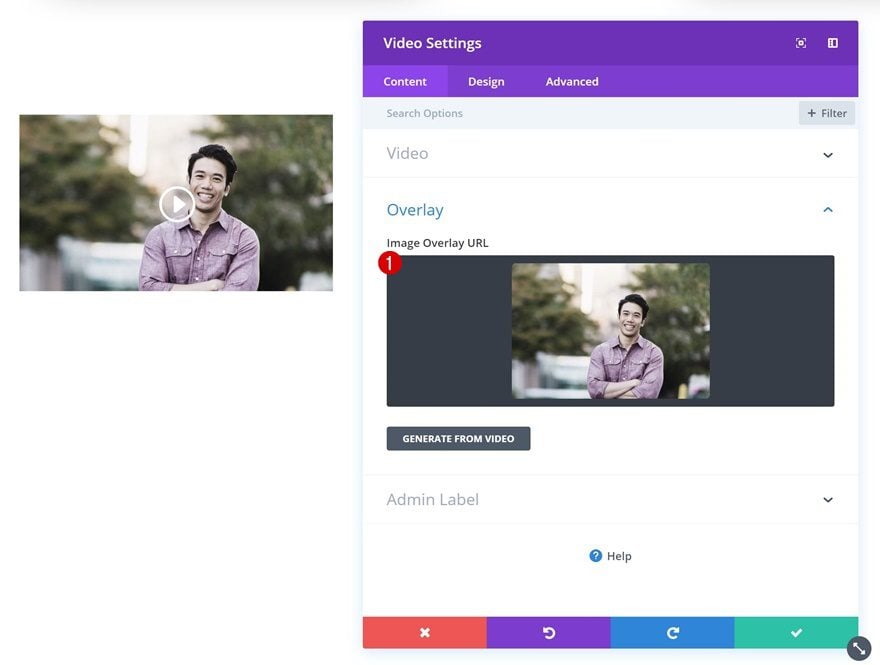
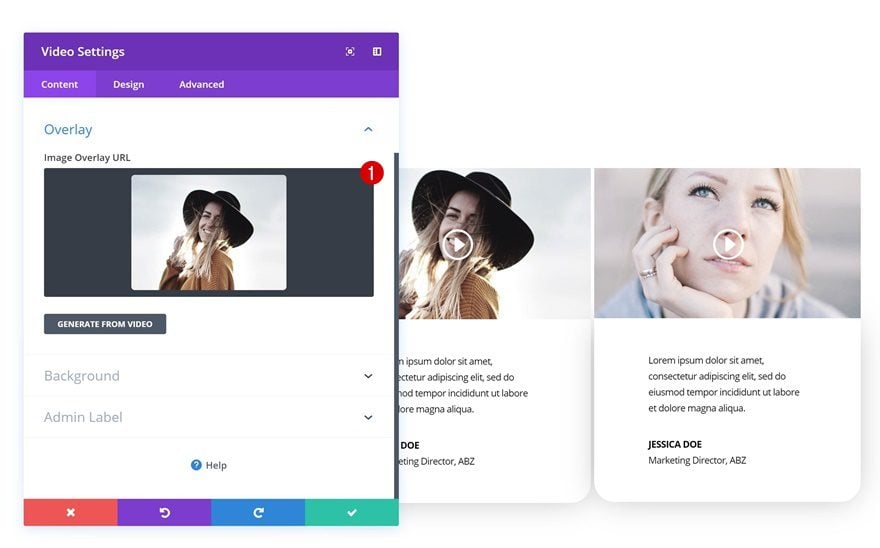
Image Overlay
Add an Image Overlay as well.
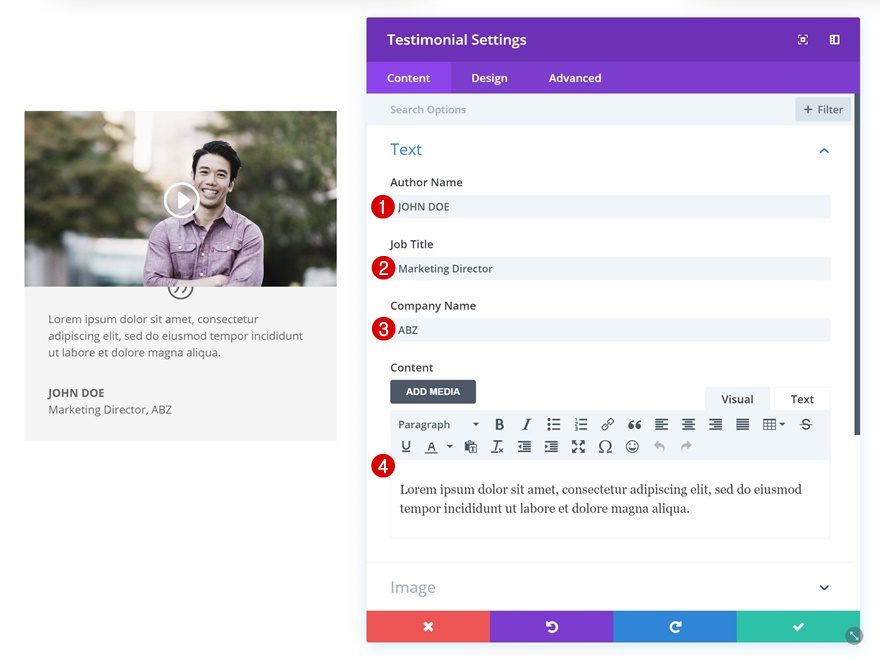
Add Testimonial Module to Column 1
Add Content
The second and last module needed in column 1 is a Testimonial Module. Start by adding the testimonial details.
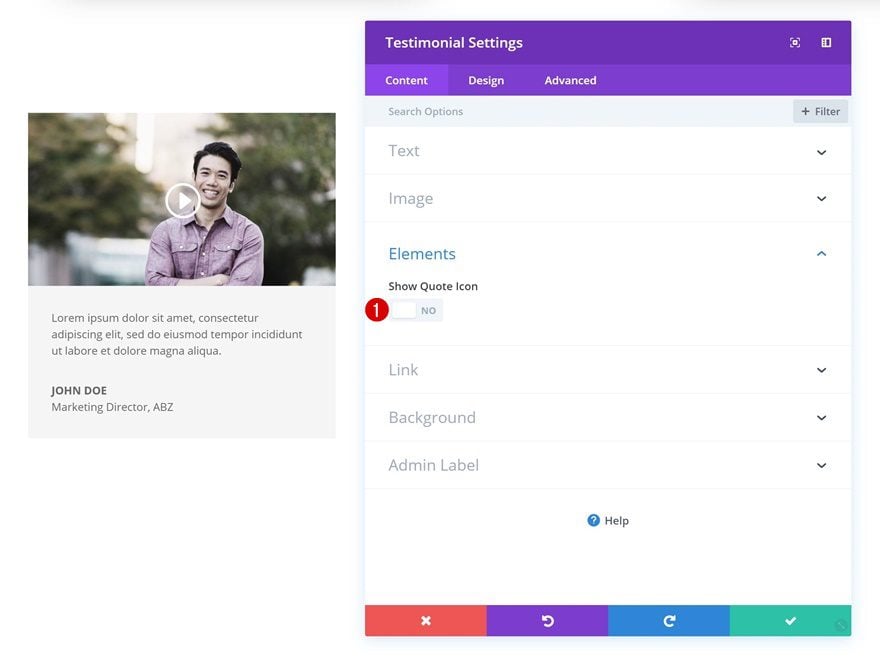
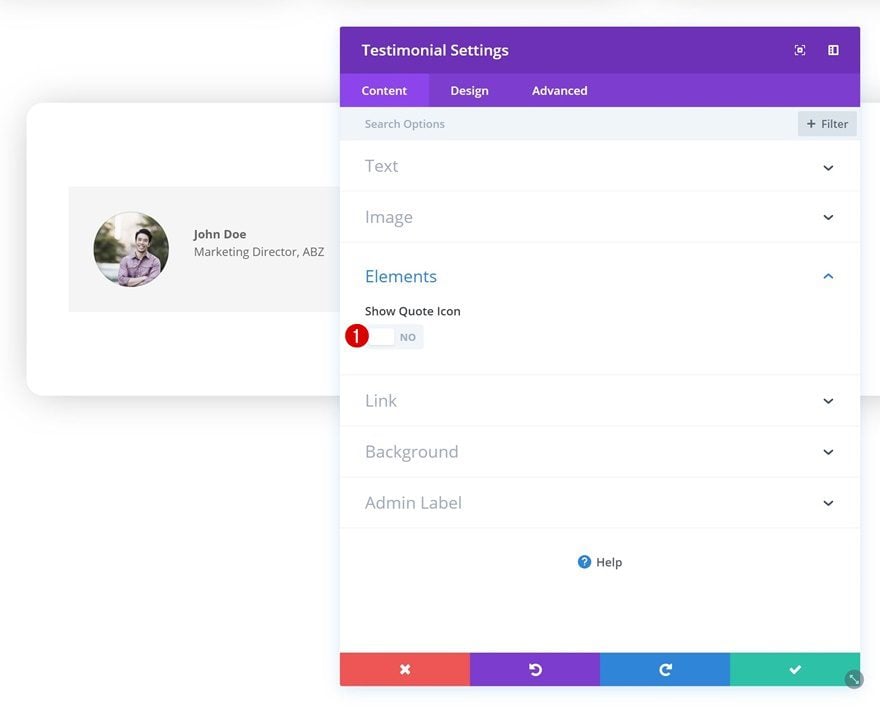
Disable Quote Icon
Then, disable the quote icon in the elements settings.
- Show Quote Icon: No
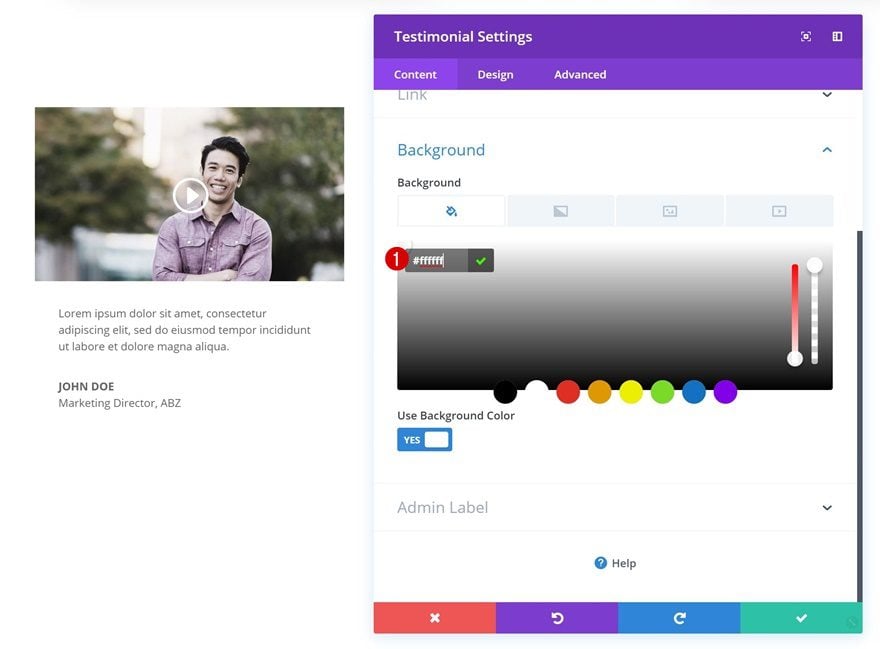
Background Color
Add a white background next.
- Background Color: #ffffff
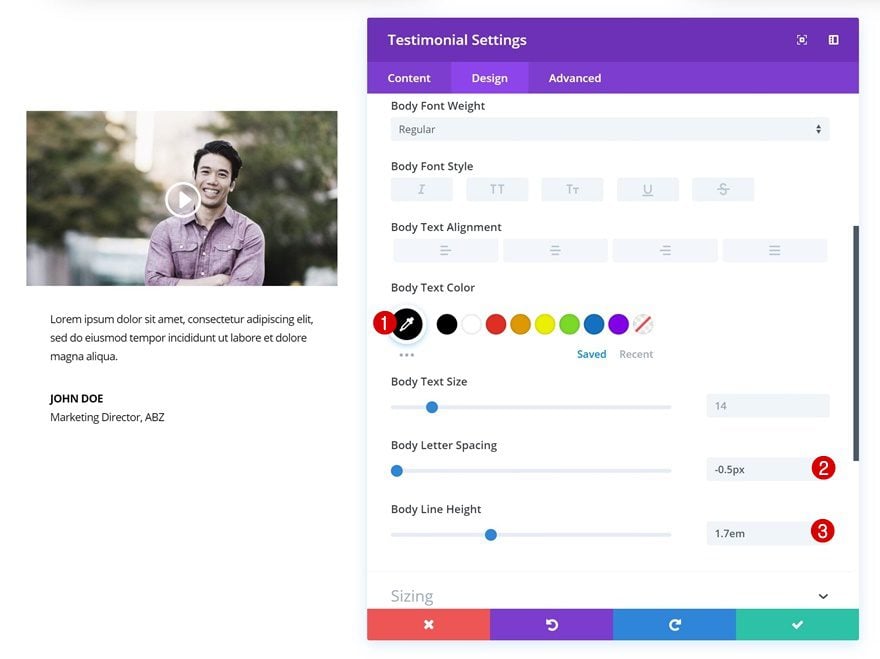
Body Text Settings
Modify the body text settings as well.
- Body Text Color: #000000
- Body Letter Spacing: -0.5px
- Body Line Height: 1.7em
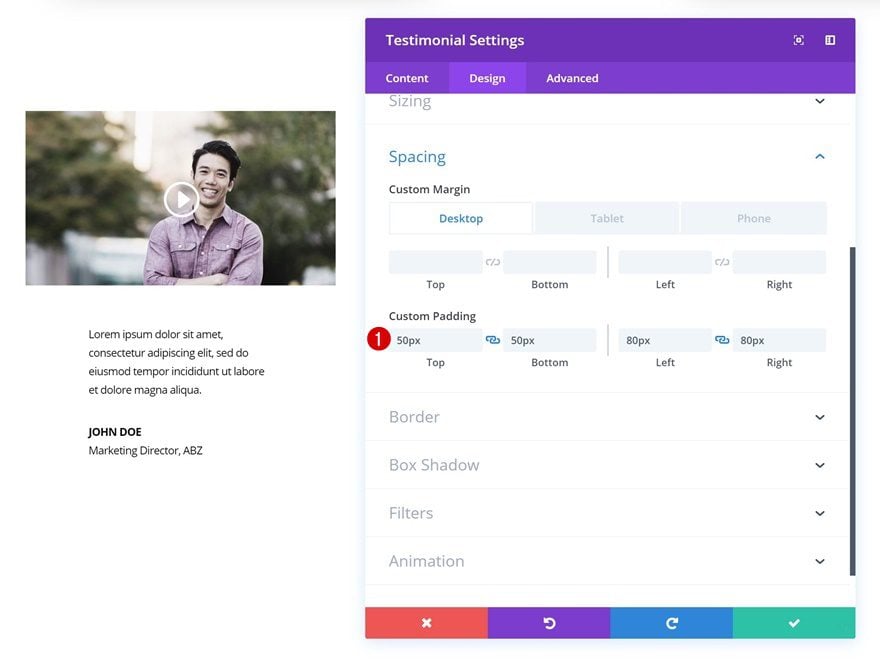
Spacing
And add some custom margin and padding values in the spacing settings.
- Bottom Margin: 30px (Tablet & Phone)
- Top Padding: 50px
- Bottom Padding: 50px
- Left Padding: 80px
- Right Padding: 80px
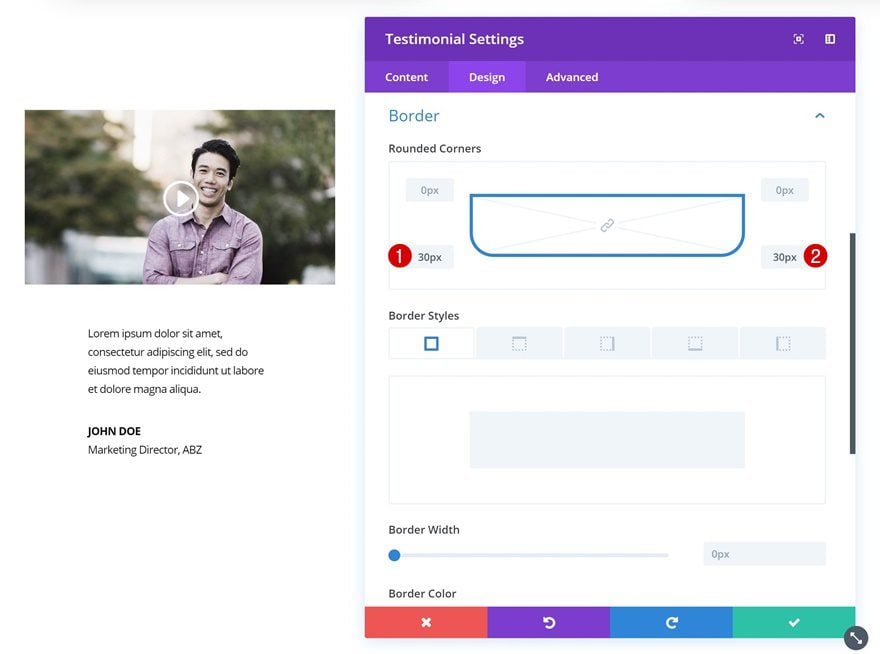
Border
We’re also giving the module bottom left and right rounded corners ’30px’.
Box Shadow
And lastly, to create some depth, we’re giving the Testimonial Module a subtle box shadow.
- Box Shadow Blur Strength: 80px
- Box Shadow Spread Strength: -10px
- Shadow Color: rgba(0,0,0,0.3)

Clone Modules Three Times & Place Duplicates in Remaining Columns
Once you’re done modifying both modules in column 1, clone them twice and place the duplicates in the two remaining columns.
Change Video Links, Content & Image Overlays
Don’t forget to change the video link, content and image overlays of your new testimonials.
Recreate Example #3
Add New Section
On to the third example! Add a new regular section to your page.

Add New Row
Column Structure
Continue by adding a new row using the following column structure:
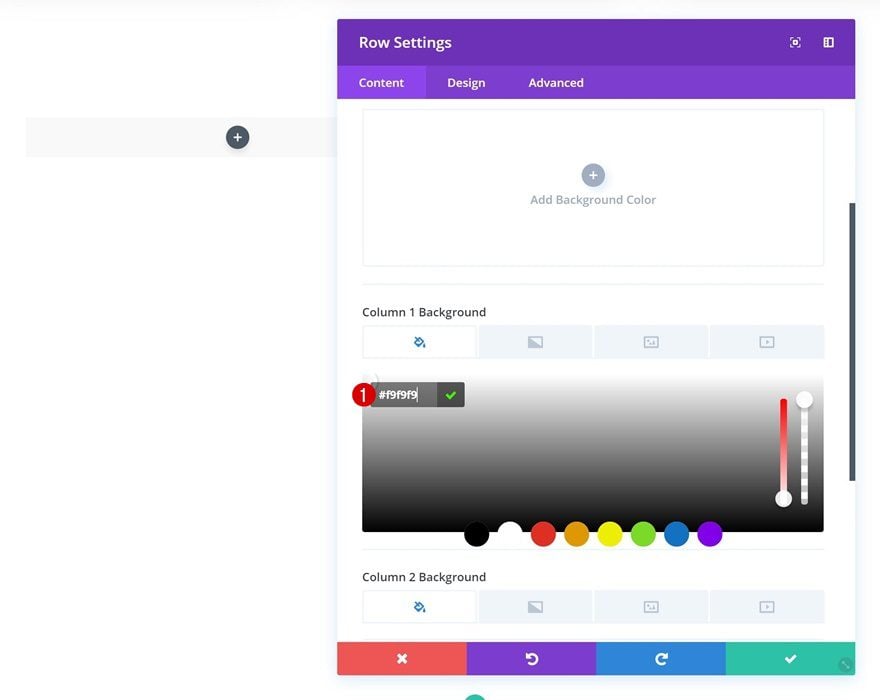
Column 1 Background Color
Then, go to the background settings and add a background color to the first column.
- Column 1 Background Color: #f9f9f9
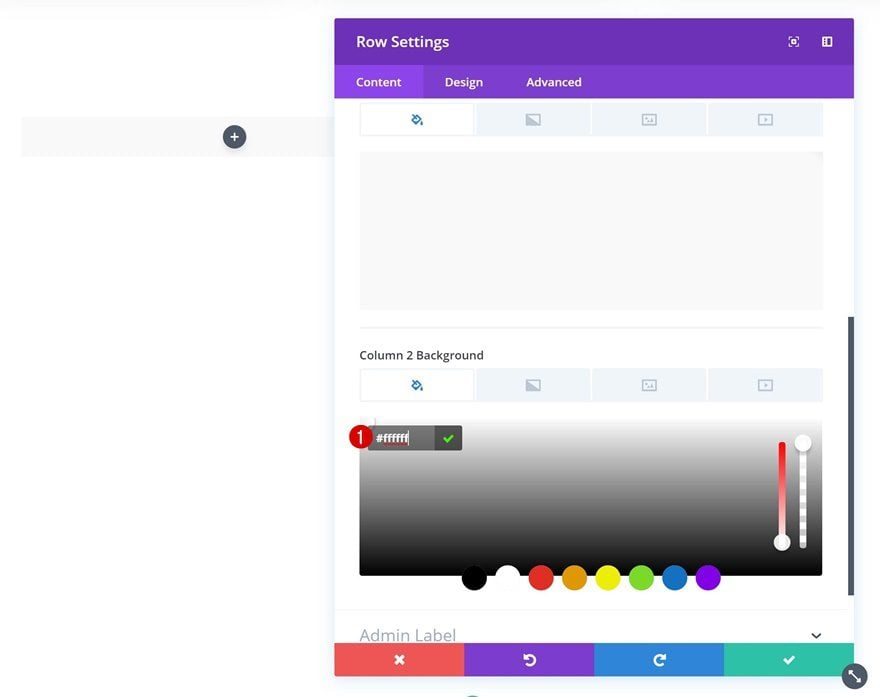
Column 2 Background Color
The second column will need a white background color.
- Column 2 Background Color: #ffffff
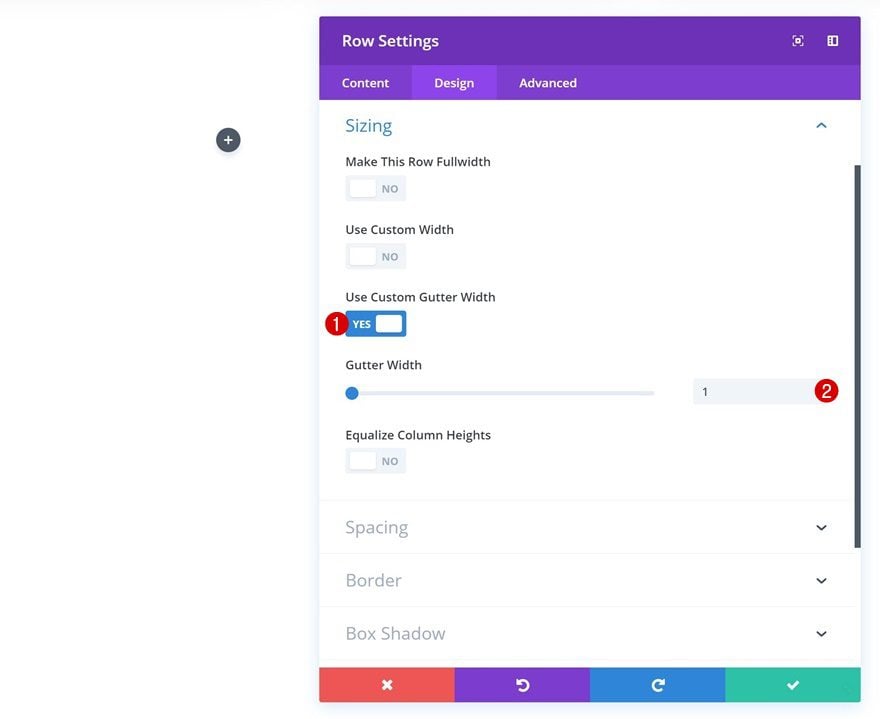
Sizing
Then, go to the sizing settings and remove the gutter width.
- Use Custom Gutter Width: Yes
- Gutter Width: 1
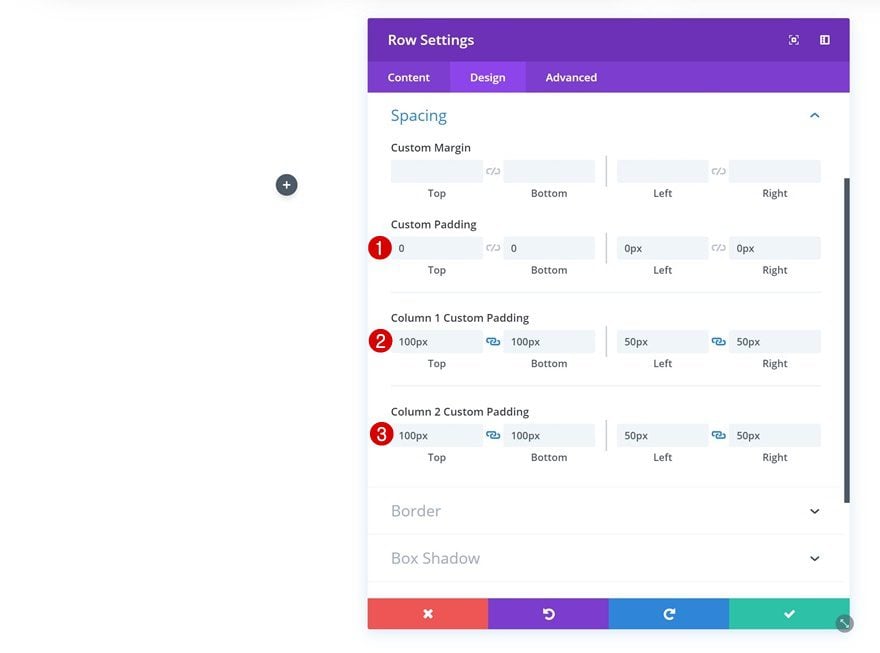
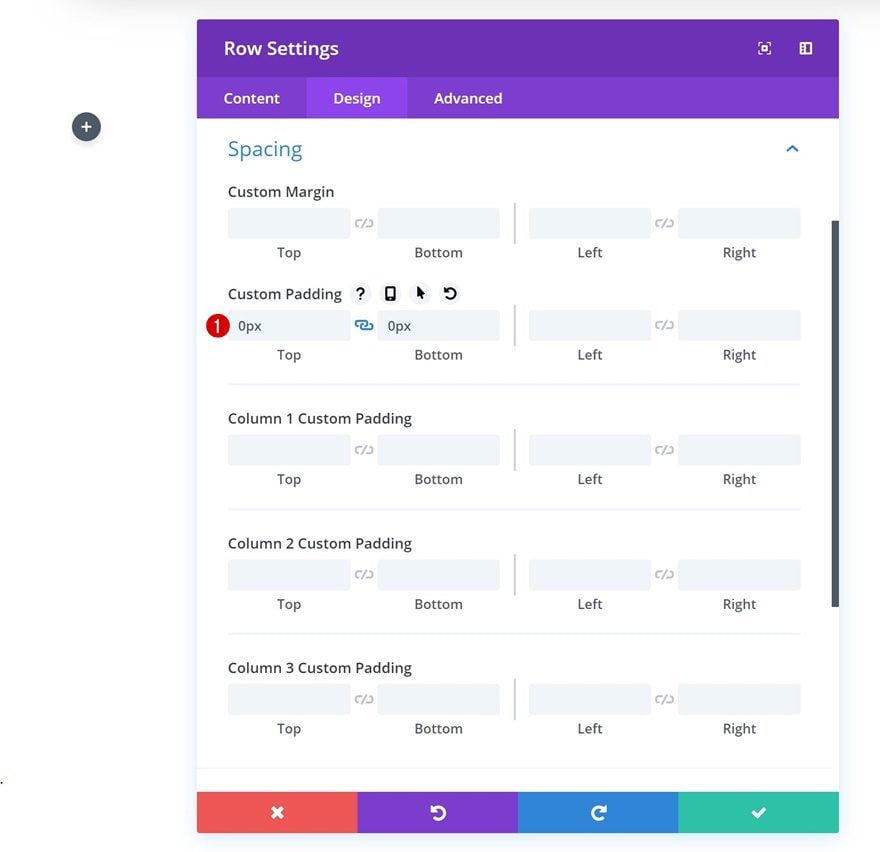
Spacing
Add some custom spacing values next.
- Top Padding: 0px
- Bottom Padding: 0px
- Left Padding: 0px
- Right Padding: 0px
- Column 1 Top Padding: 100px
- Column 1 Bottom Padding: 100px
- Column 1 Left Padding: 50px
- Column 1 Right Padding: 50px
- Column 2 Top Padding: 100px
- Column 2 Bottom Padding: 100px
- Column 2 Left Padding: 50px
- Column 2 Right Padding: 50px
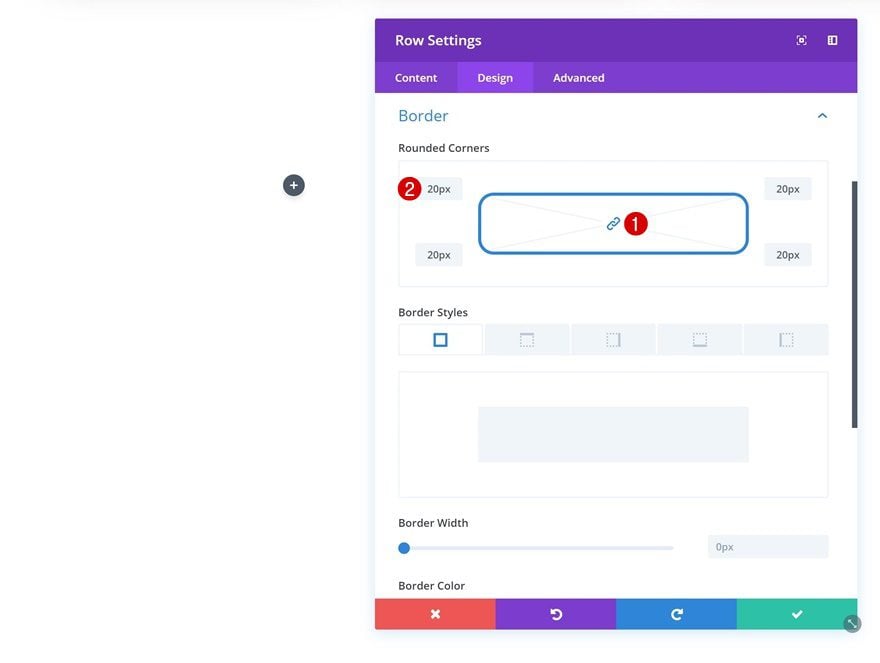
Border
And give each one of the borders ’20px’.
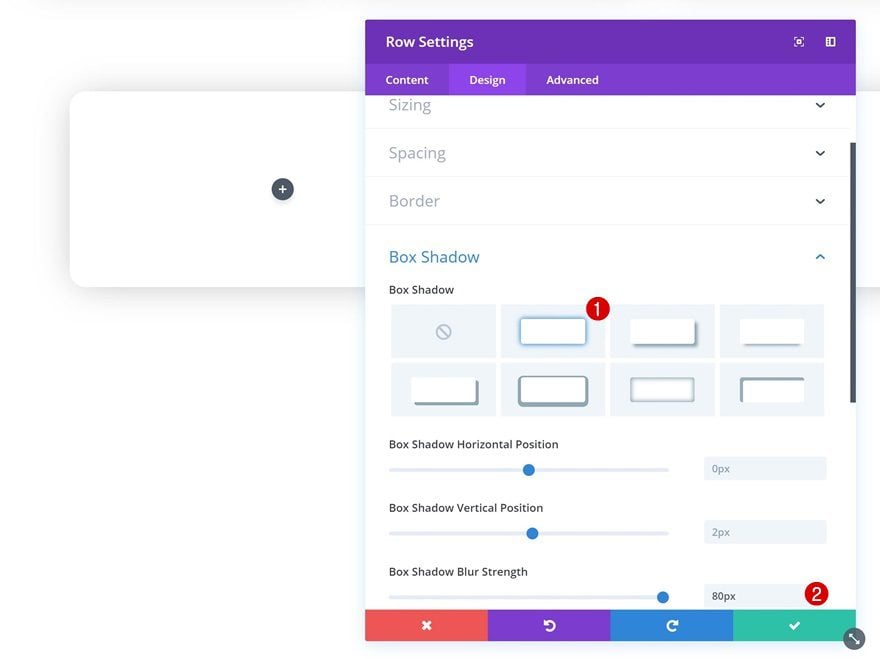
Box Shadow
Last but not least, give your row a box shadow.
- Box Shadow Blur Strength: 80px
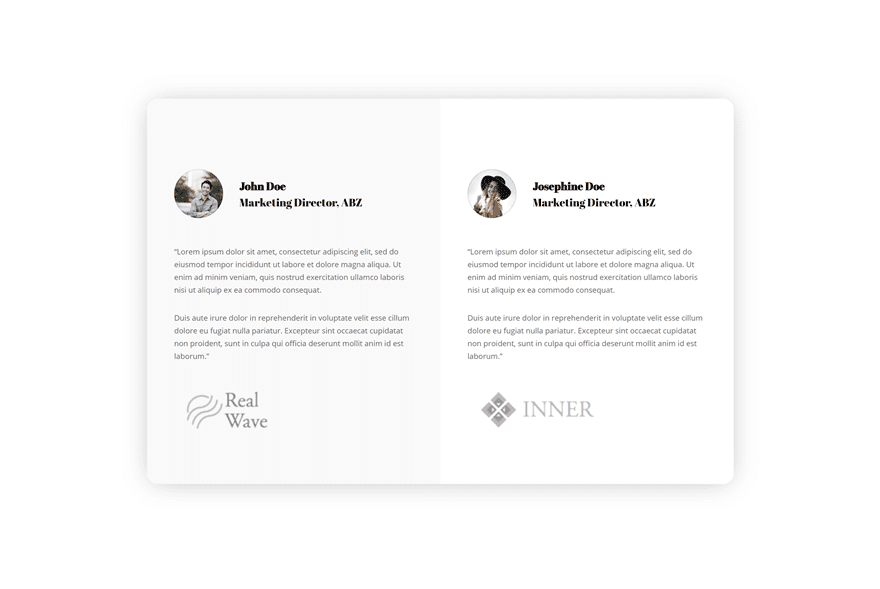
Add Testimonial Module to Column 1
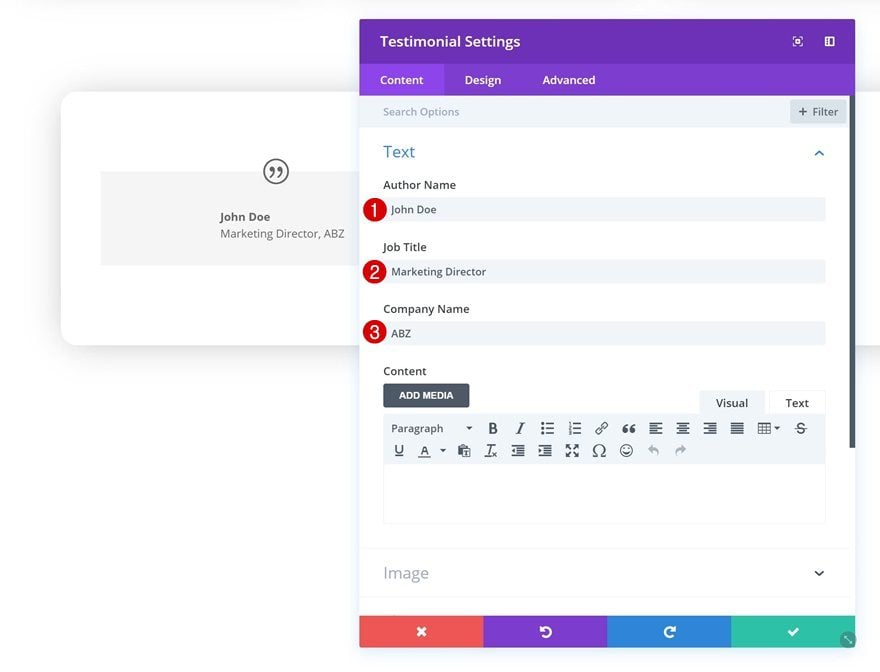
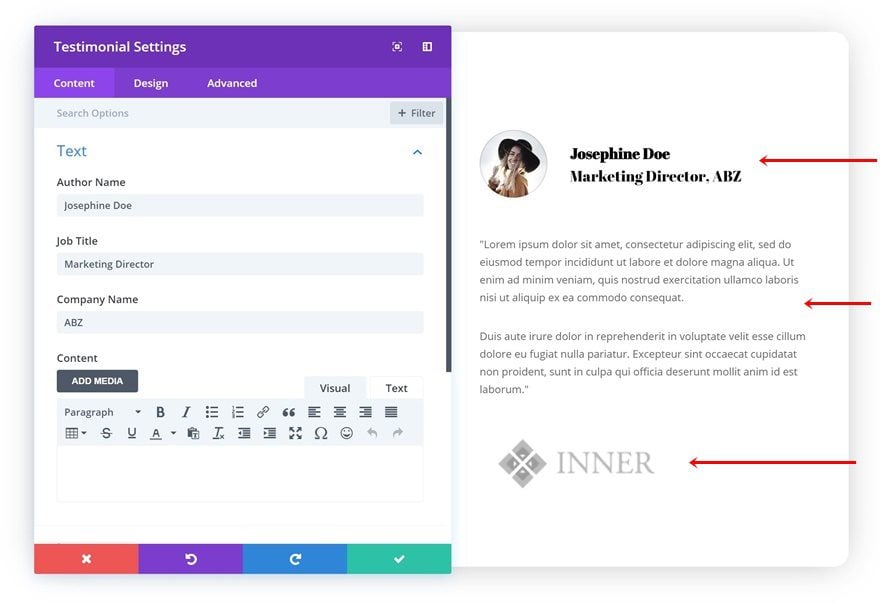
Add Content
Time to start adding modules! The first module we’ll need in column 1 is a Testimonial Module. Add the content.
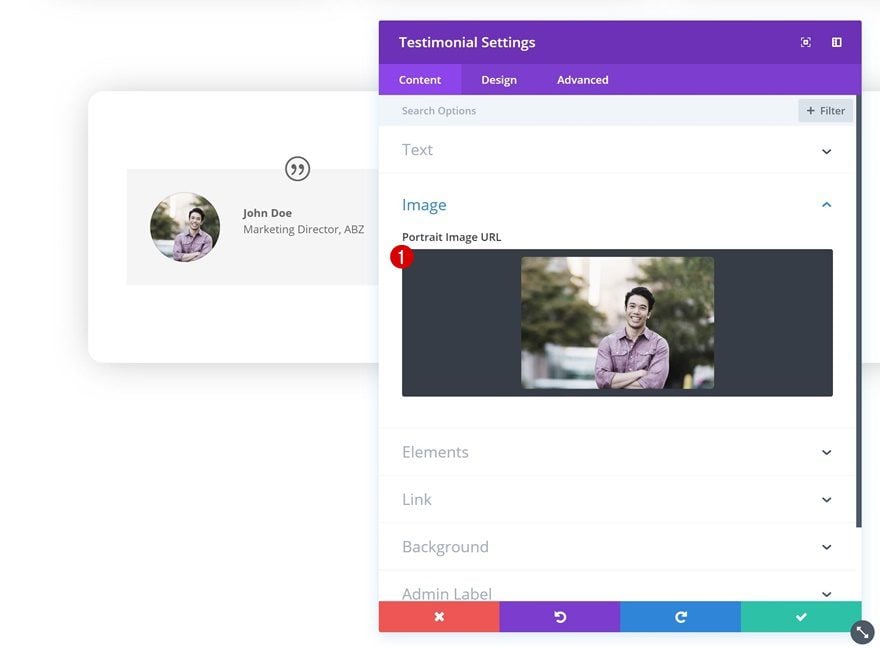
Upload Image
Continue by uploading an image in the image settings.
Disable Quote Icon
Next, disable the quote icon.
- Show Quote Icon: No
Disable Background Color
Disable the background color as well.
- Use Background Color: No

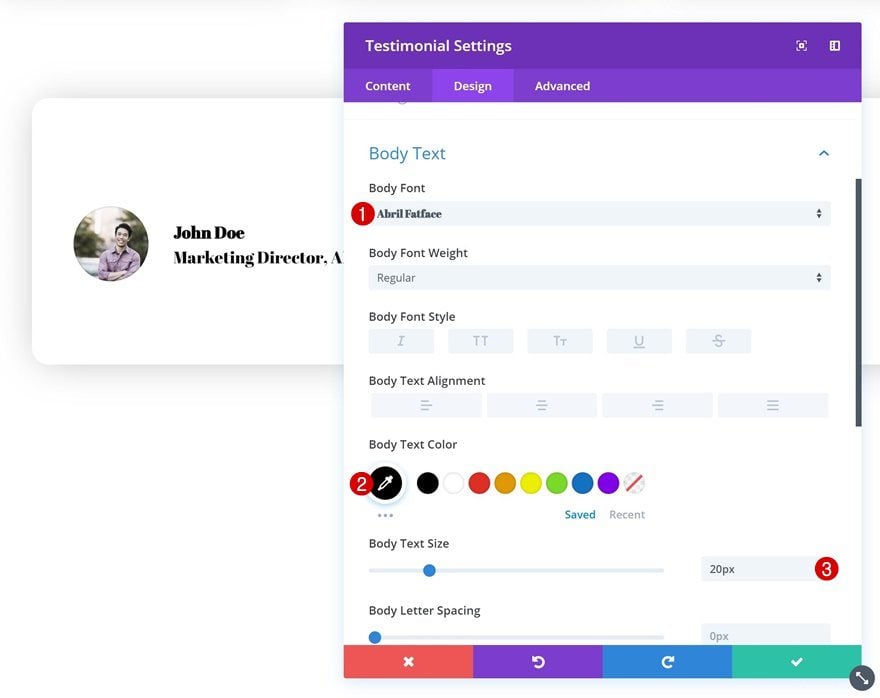
Body Text Settings
Continue by going to the design tab and make some changes to the body text settings.
- Body Font: Abril Fatface
- Body Text Color: #000000
- Body Text Size: 20px
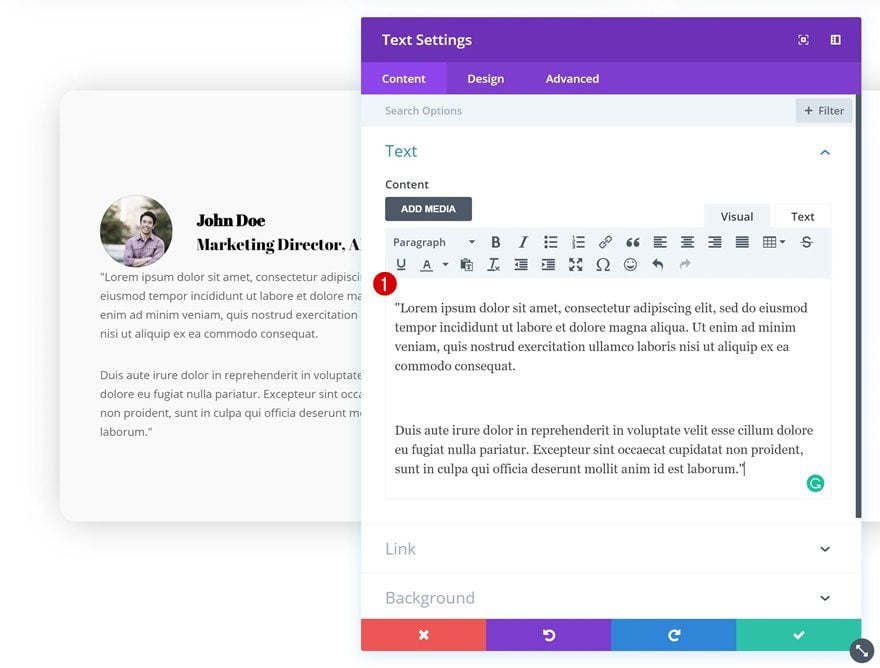
Add Text Module to Column 1
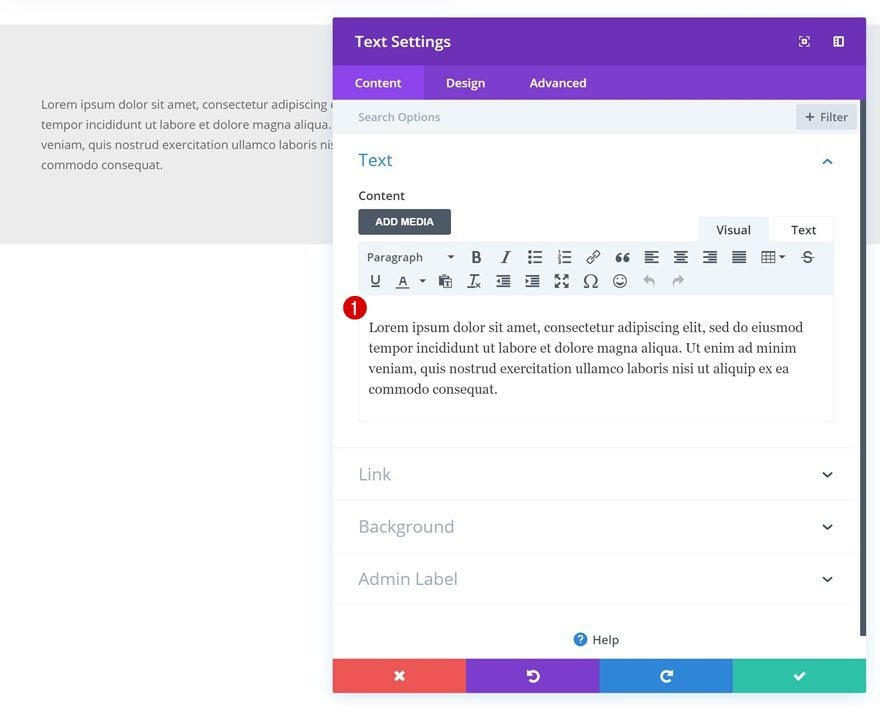
Add Content
The second module we’ll need in column 1 is a Text Module. Add the testimonial copy to the content box.
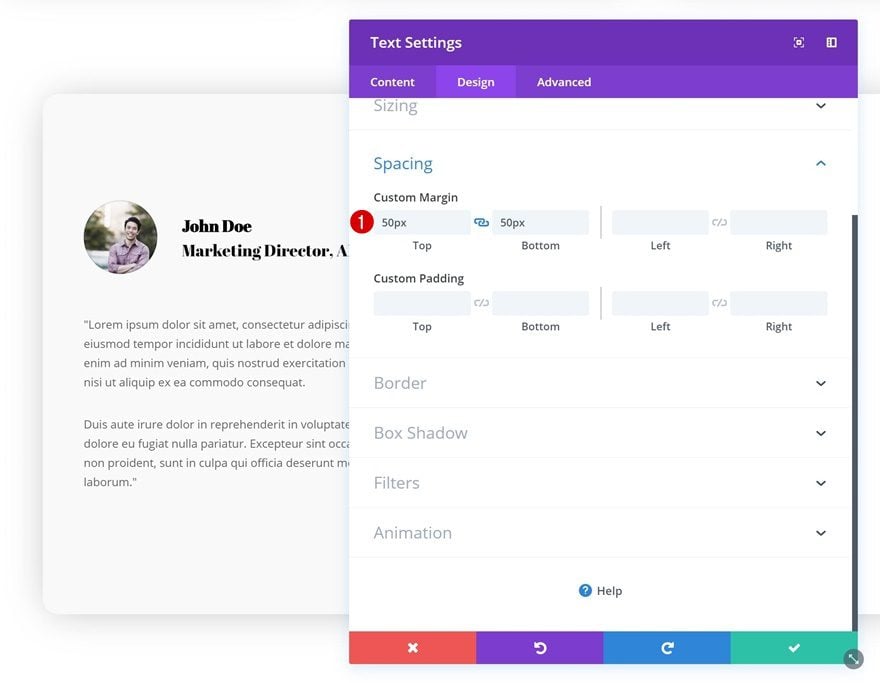
Spacing
Then, go to the design tab and add some custom top and bottom margin.
- Top Margin: 50px
- Bottom Margin: 50px
Add Image Module to Column 1
Upload Company Logo
The third and last module we’ll need in column one is an Image Module. You can use this module to add the company logo related to the testimonial.
Clone All Modules & Place Duplicates in Column 2
Once you’re done modifying all modules in column 1, you can go ahead and clone them. Once you do, place the duplicates in the second column.
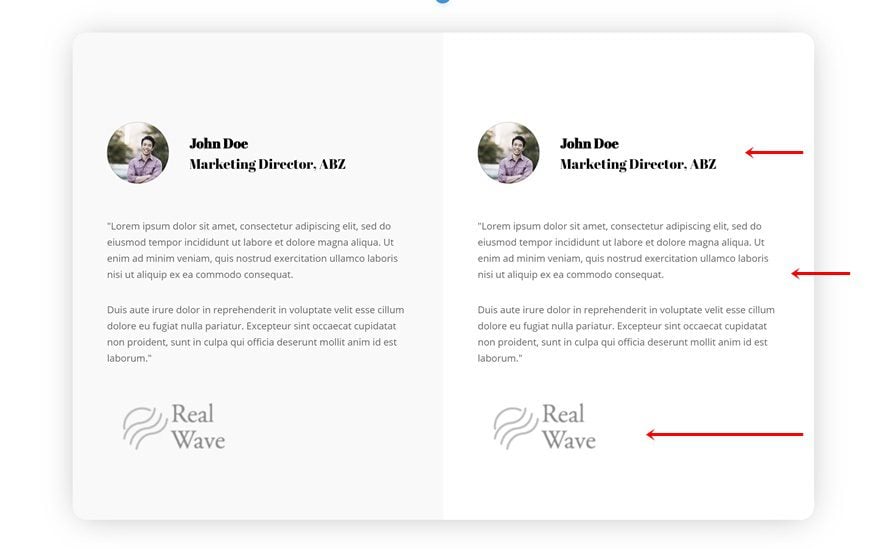
Change Testimonial Image & Copy
Make sure you change the content of the testimonial along with the images.
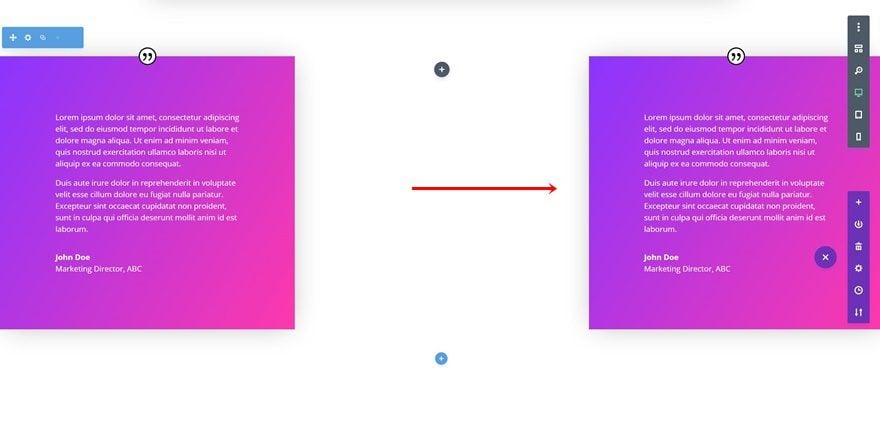
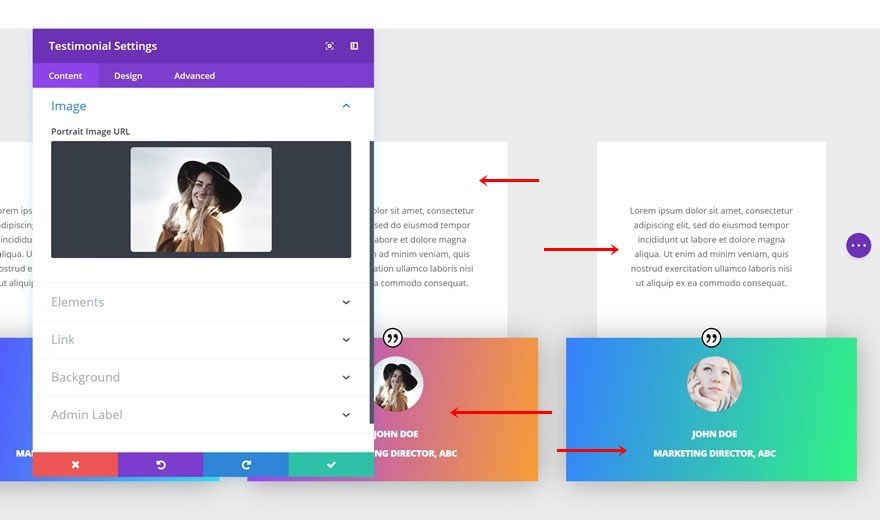
Recreate Example #4
Add New Section
On to the fourth example! Add a new section to your page.

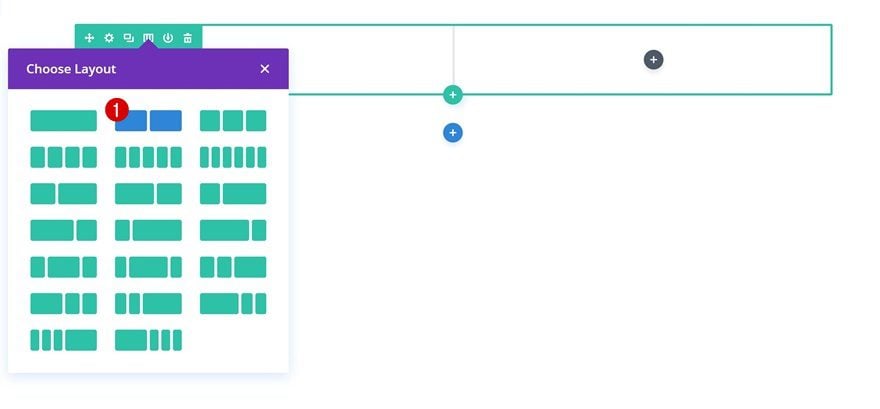
Add New Row
Column Structure
Continue by adding a new row to your section using the following column structure:
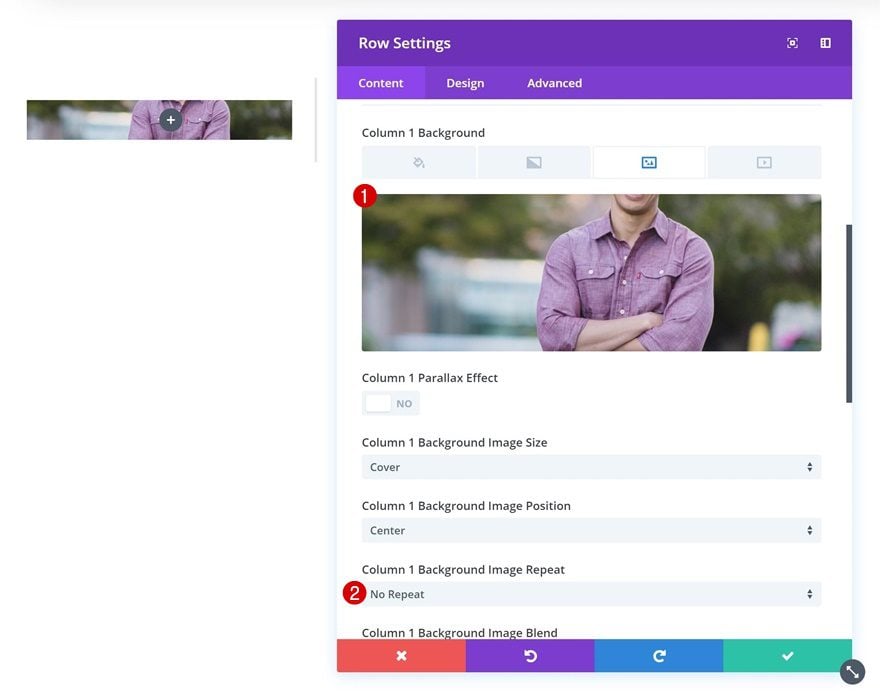
Column 1 Background Image
Open the row settings and add a background image to the first column.
- Column 1 Background Image Repeat: No Repeat
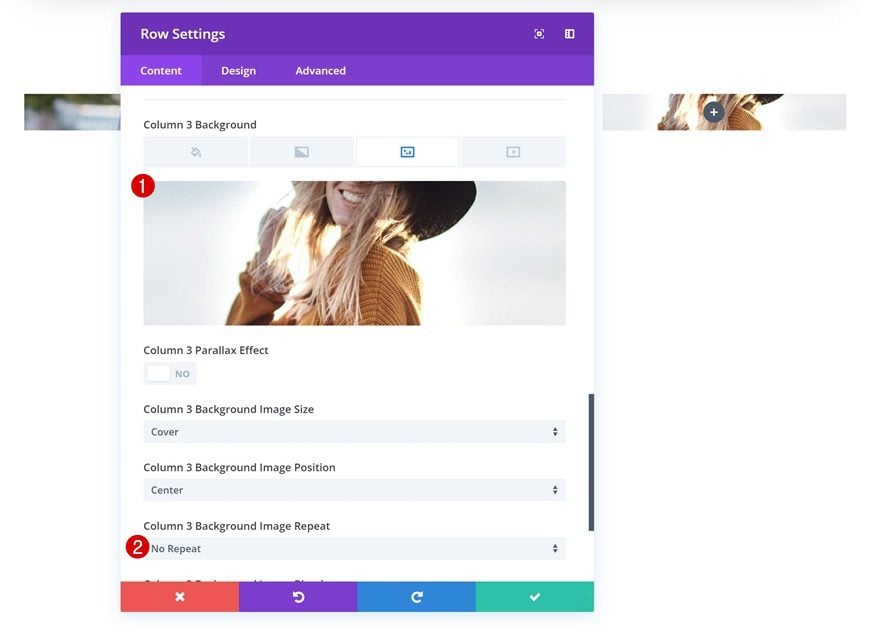
Column 3 Background Image
Do the same for the third column.
- Column 3 Background Image Repeat: No Repeat
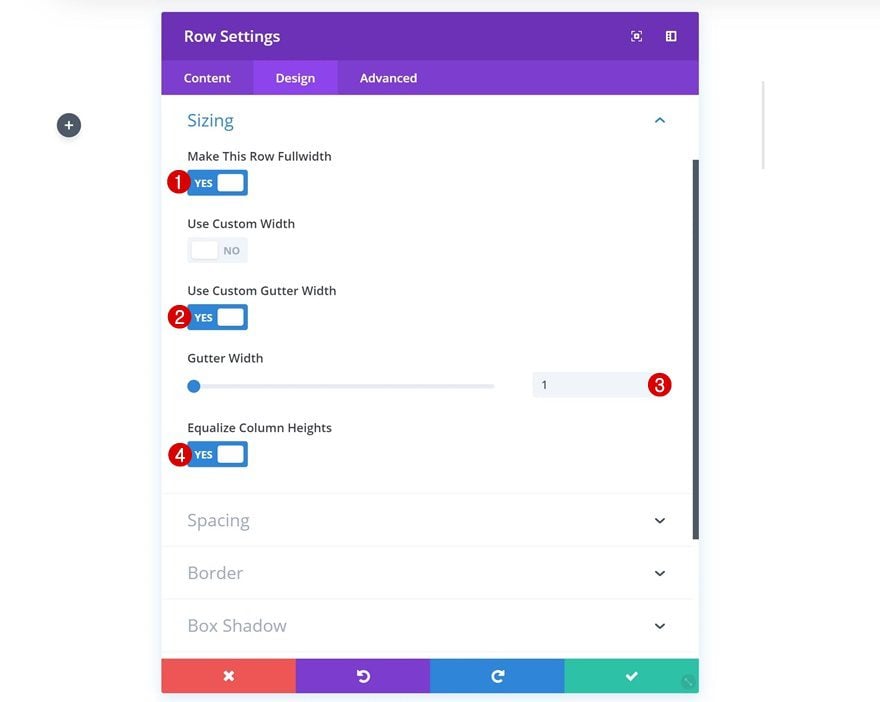
Sizing
Then, go to the sizing settings and make some changes.
- Make This Row Fullwidth: Yes
- Use Custom Gutter Width: Yes
- Gutter Width: 1
- Equalize Column Heights: Yes
Spacing
Remove the default top and bottom padding next.
- Top Padding: 0px
- Bottom Padding: 0px
Add Testimonial Module to Column 1
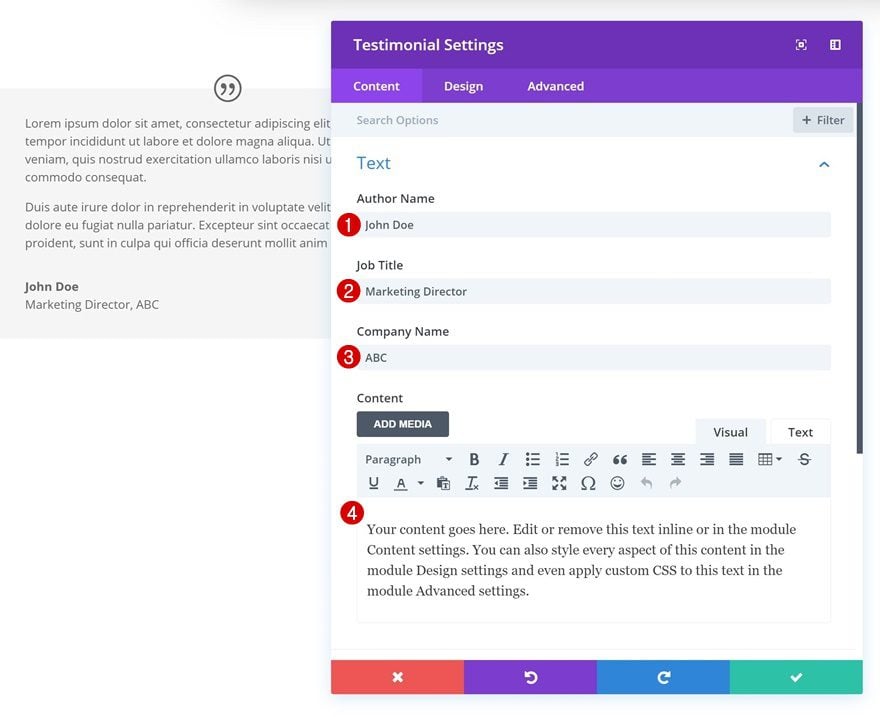
Add Content
Continue by adding a Testimonial Module to the first column. Once you do, add the testimonial details.
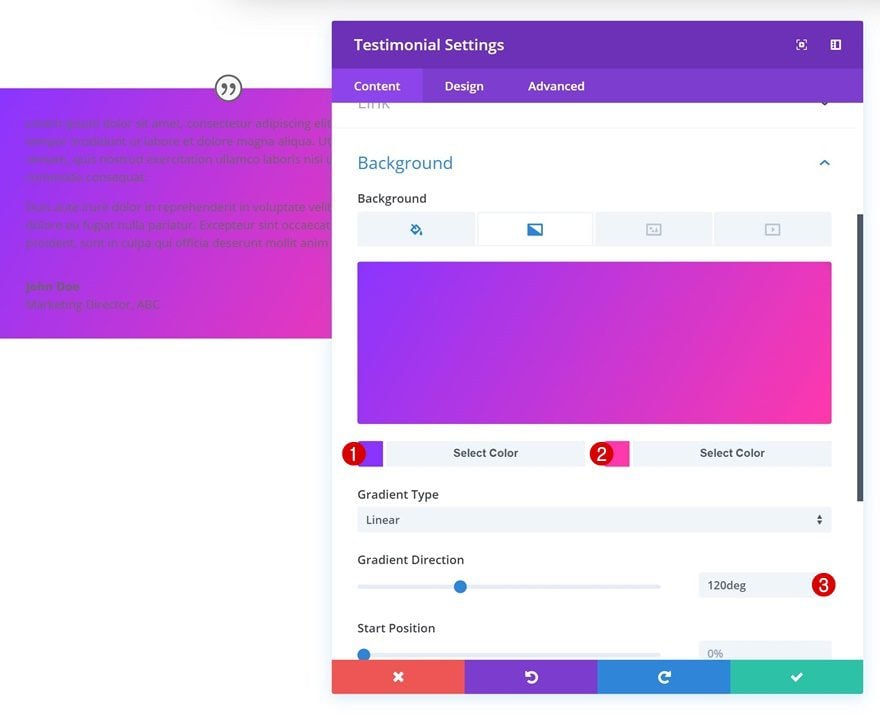
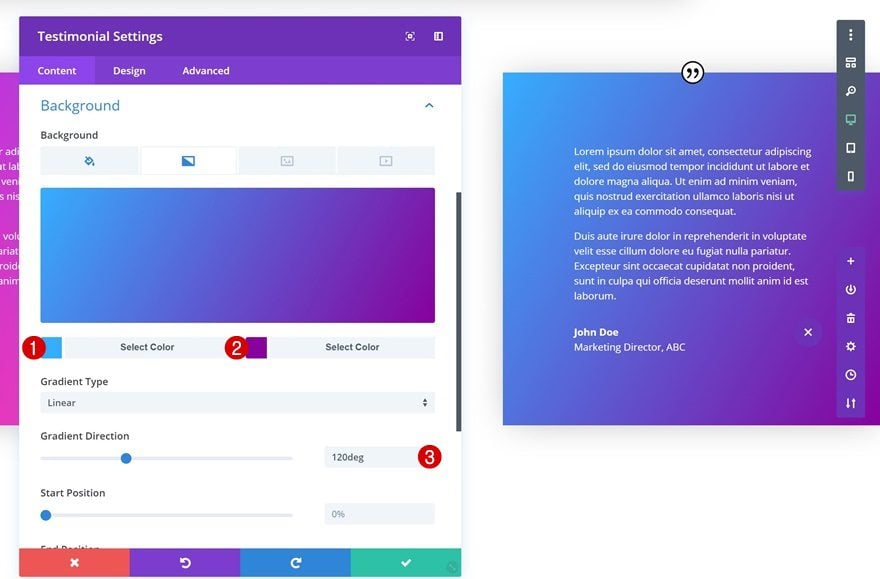
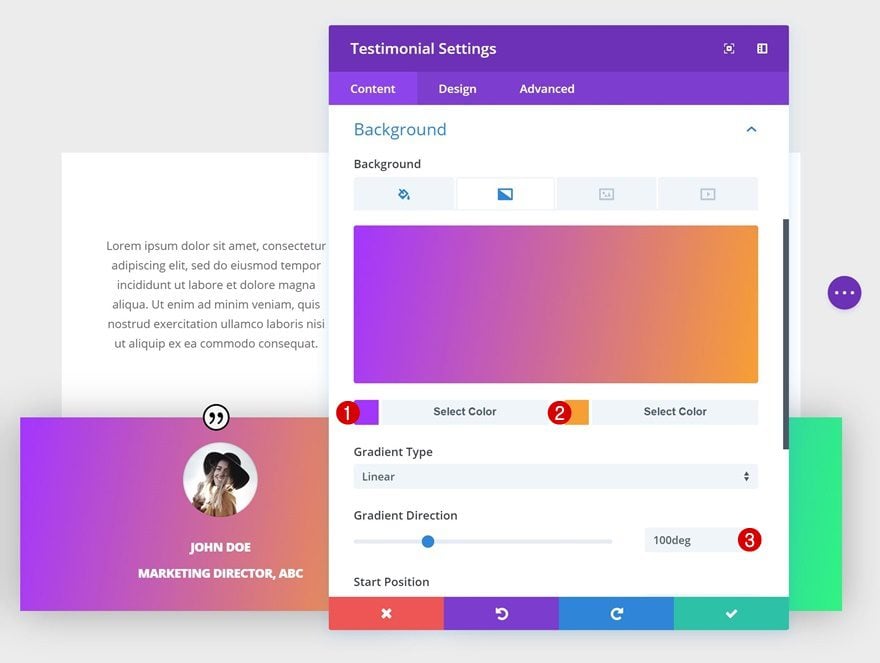
Gradient Background
Give the module a gradient background as well.
- Color 1: #8b32ff
- Color 2: #ff35ae
- Gradient Direction: 120deg
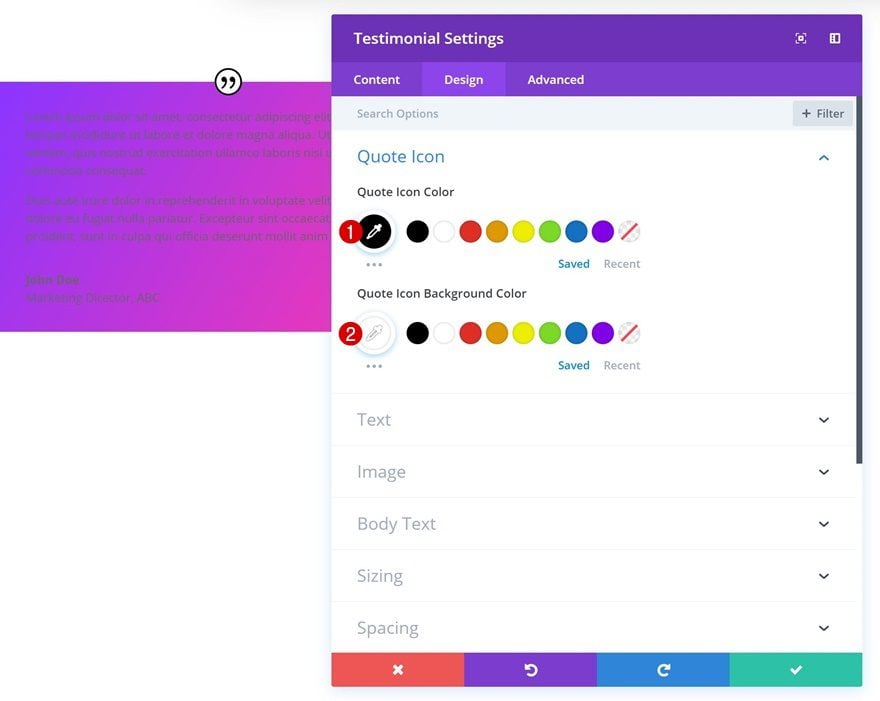
Quote Icon Settings
Then, make some changes to the icon settings.
- Quote Icon Color: #000000
- Quote Icon Background Color: #ffffff
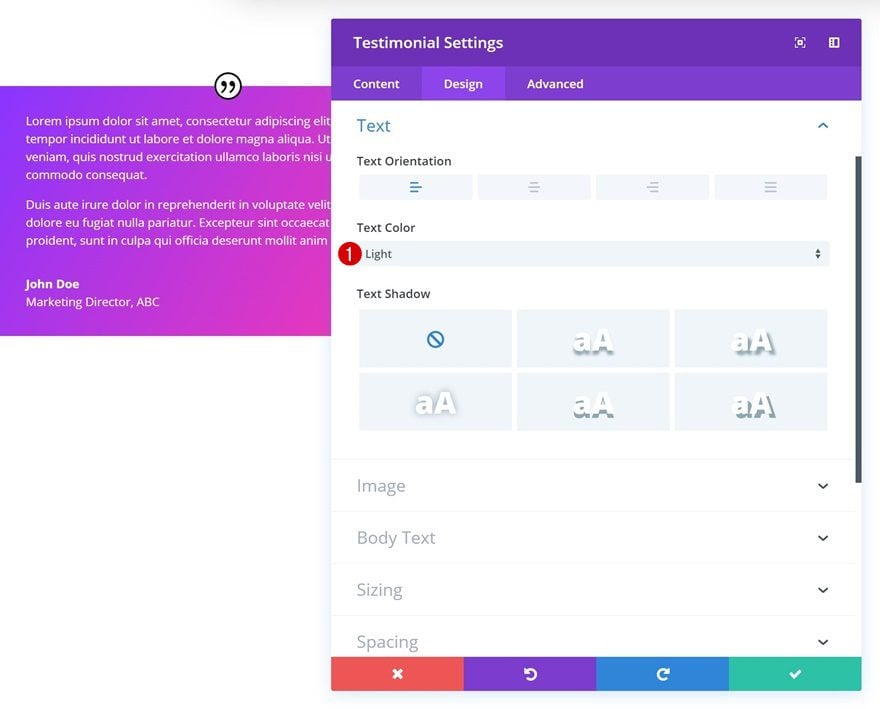
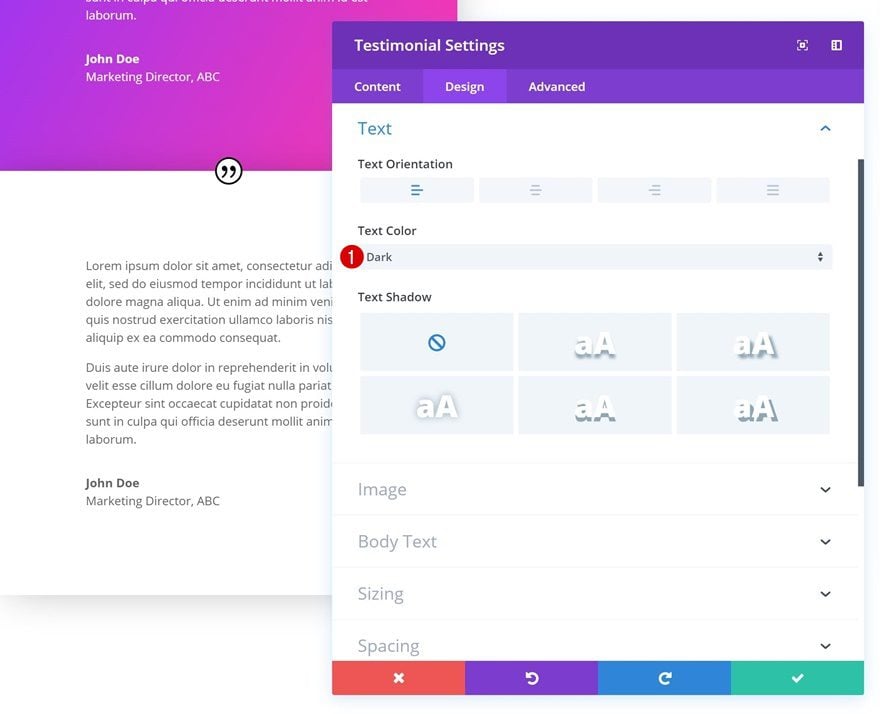
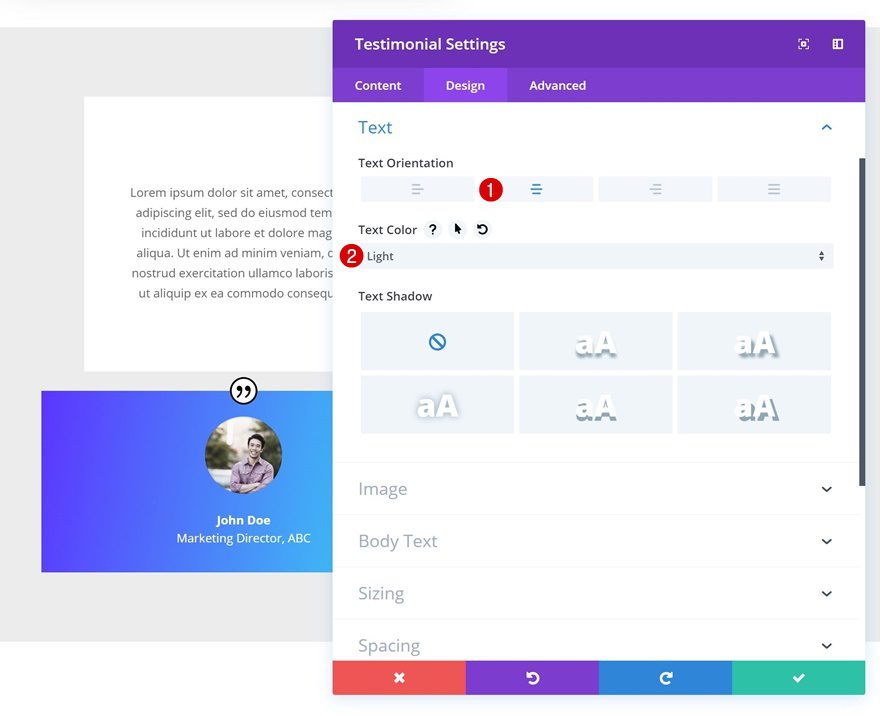
Text Settings
And change the text color in the text settings.
- Text Color: Light
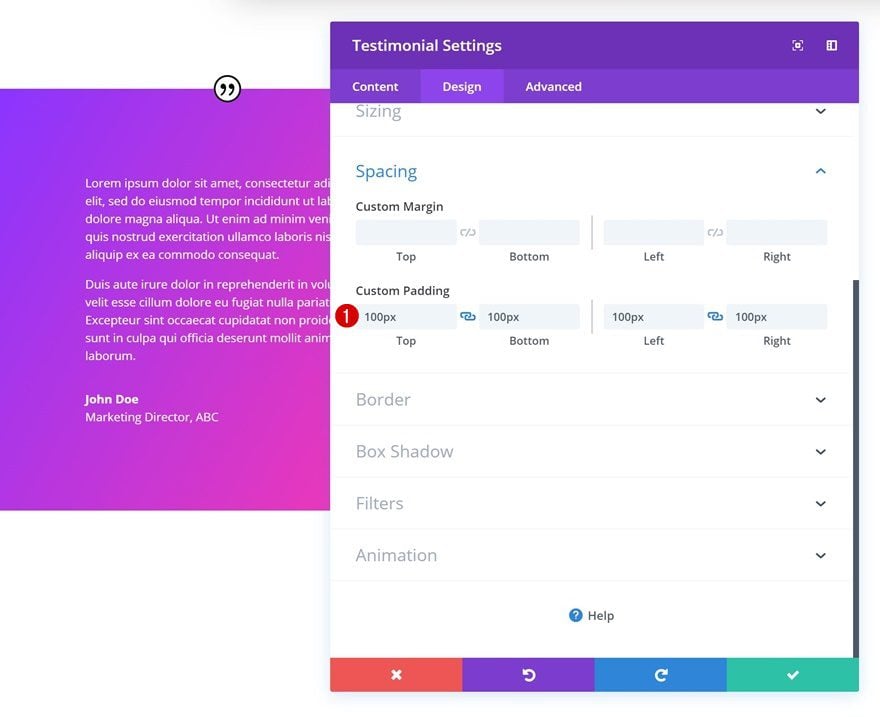
Spacing
To give the module a squared shape, we’re going to add some custom padding in the spacing settings.
- Top Padding: 100px
- Bottom Padding: 100px
- Left Padding: 100px
- Right Padding: 100px
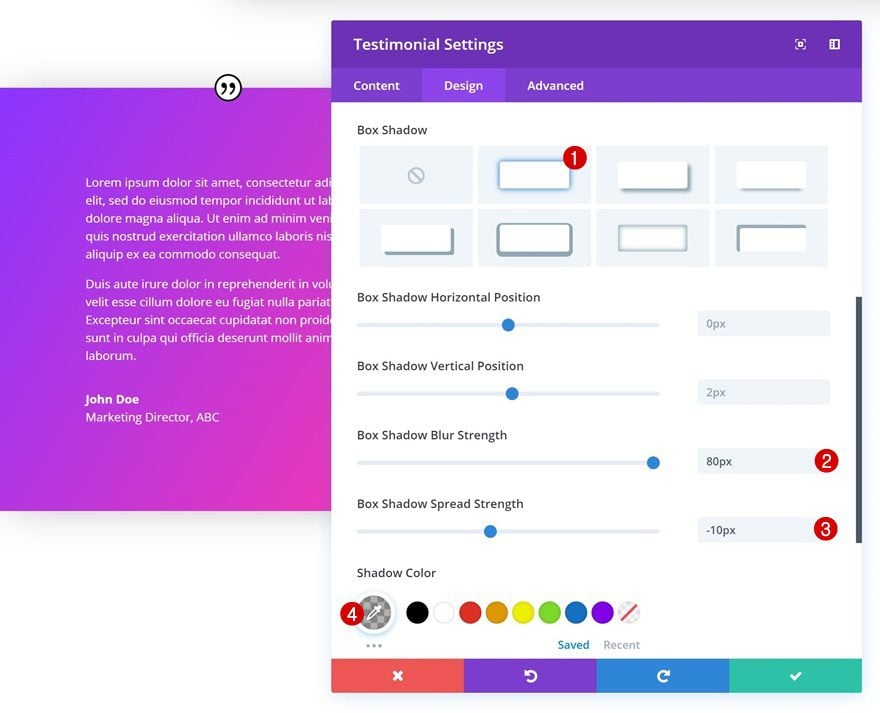
Box Shadow
You’ll also want to add some depth to the testimonial by using a subtle box shadow.
- Box Shadow Blur Strength: 80px
- Box Shadow Spread Strength: -10px
- Shadow Color: #ff35ae
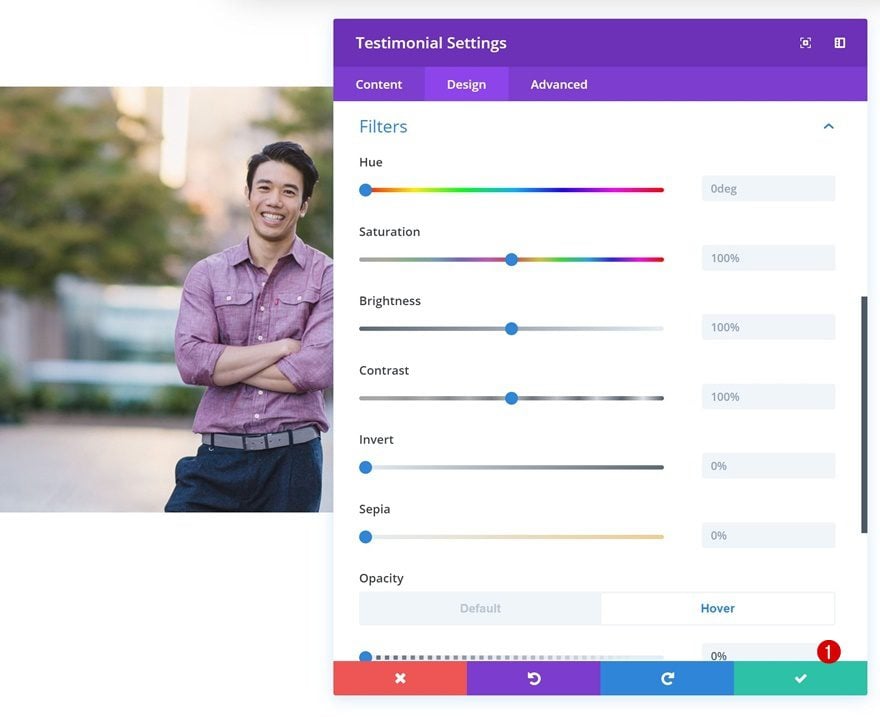
Default Filter
The idea behind this testimonial is that once you hover it, the testimonial disappears and the image shows up. To achieve this effect, we’re going to use the opacity filter in the filters settings. Make sure the default opacity is ‘100%’.
- Opacity: 100%

Hover Filter
And remove all opacity on hover.
- Opacity: 0%
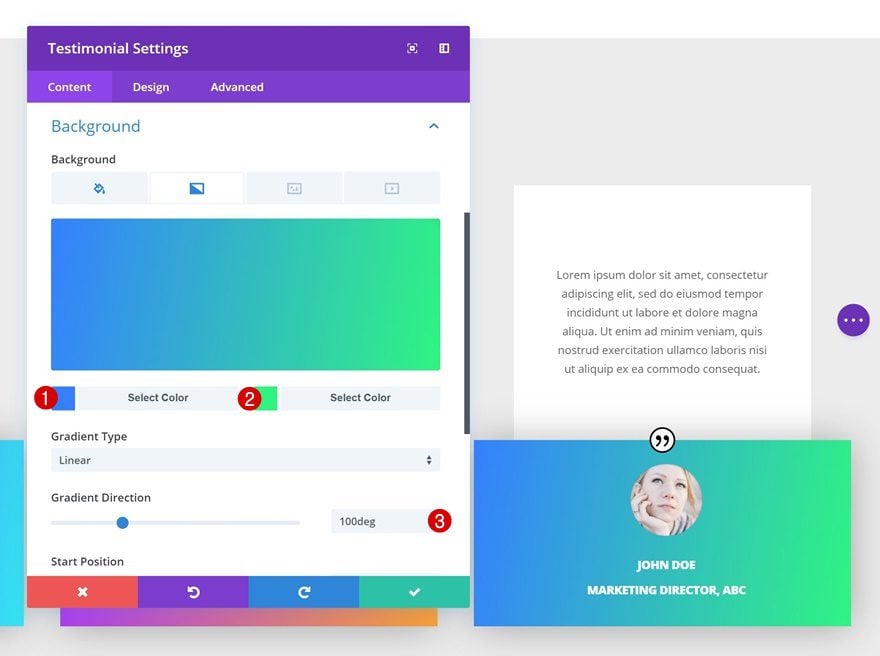
Clone Testimonial Module to Column 3
Once you’re done modifying the Testimonial Module in column 1, clone it and place the duplicate in the third column.
Change Gradient Background
Change the gradient background of the duplicate next.
- Color 1: #32b0ff
- Color 2: #89009e
- Gradient Direction: 120deg
Clone Row
And clone the entire row.
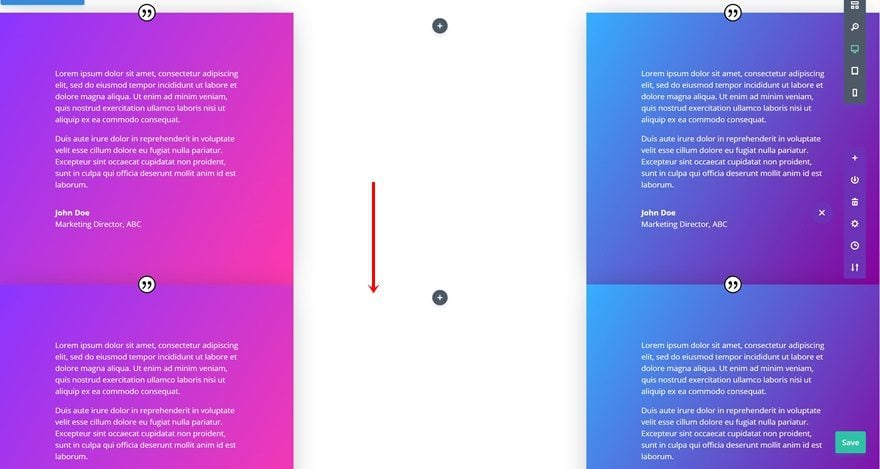
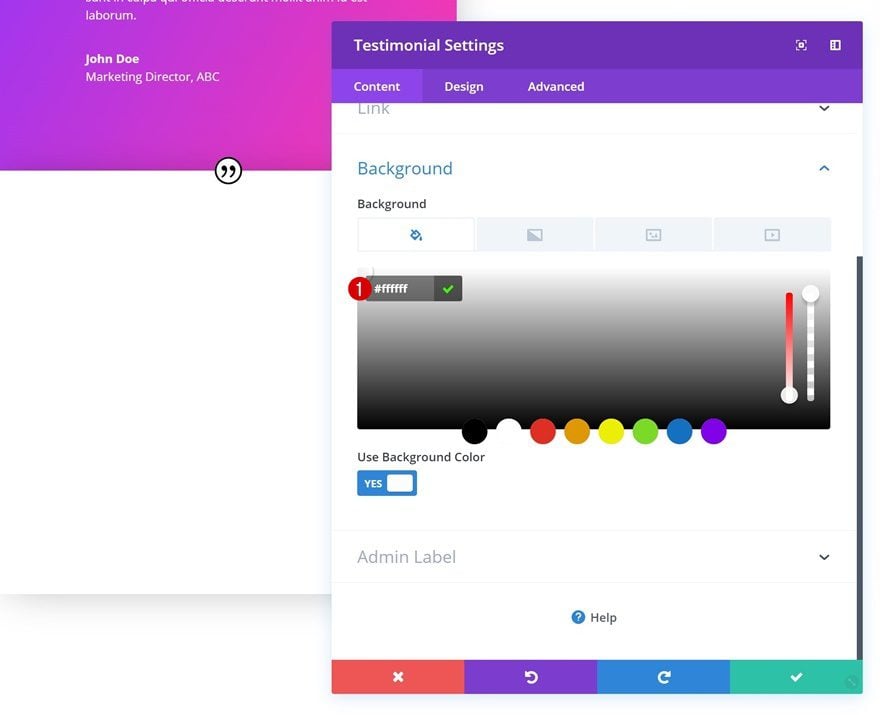
Remove Testimonial Gradient Background & Change Background Color
The next thing you will need to do is remove the gradient background of the Testimonial Modules and use a white background color instead.
- Background Color: #ffffff
Change Testimonial Text Settings
Once you’ve removed the gradient background, you can change the text color in the text settings.
- Text Color: Dark
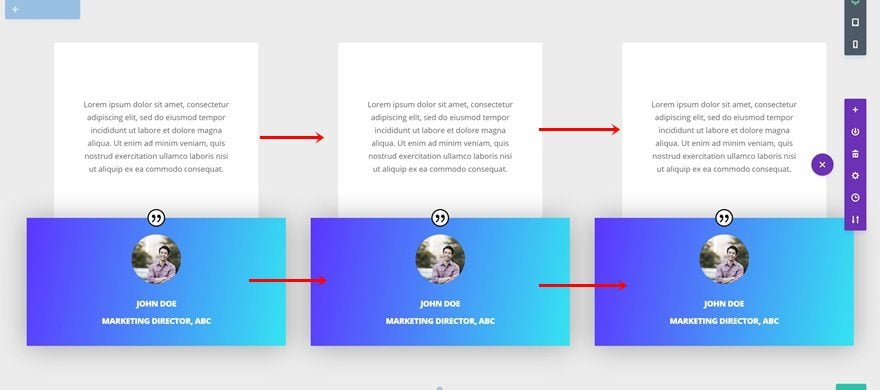
Recreate Example #5
Add New Section
On to the next and last example of this tutorial! Add a new regular section to your page.

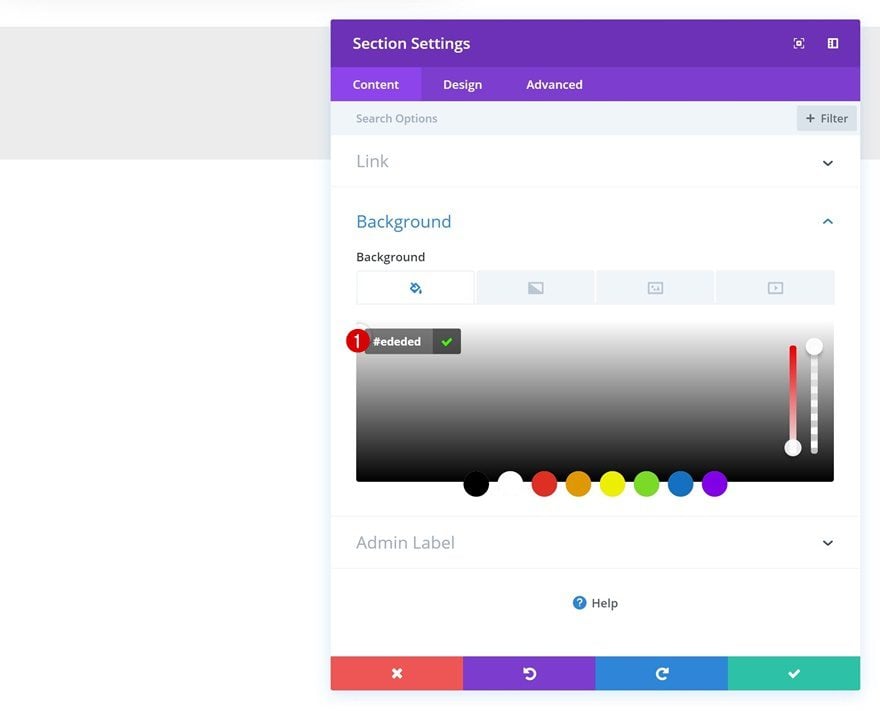
Background Color
Change the background color of the section.
- Background Color: #ededed
Add New Row
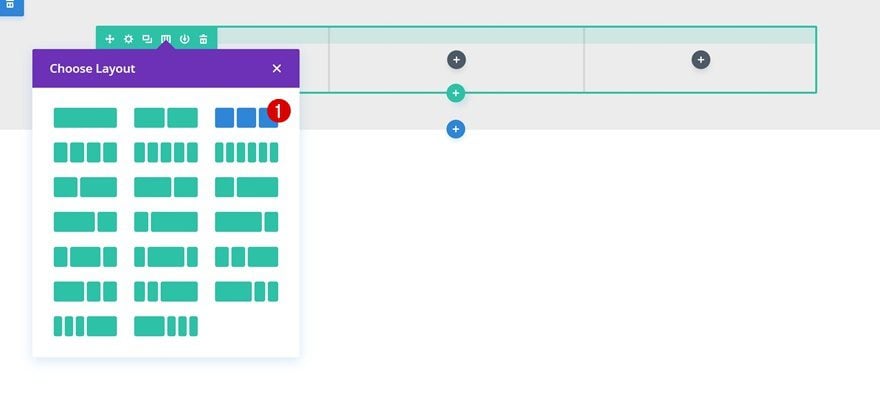
Column Structure
Then, add a new row using the following column structure:
Sizing
Make some changes to the sizing settings as well.
- Make This Row Fullwidth: Yes
- Use Custom Gutter Width: Yes
- Gutter Width: 2
Add Text Module to Column 1
Add Content
Continue by adding a Text Module to the first column. Add the testimonial copy to the content box.
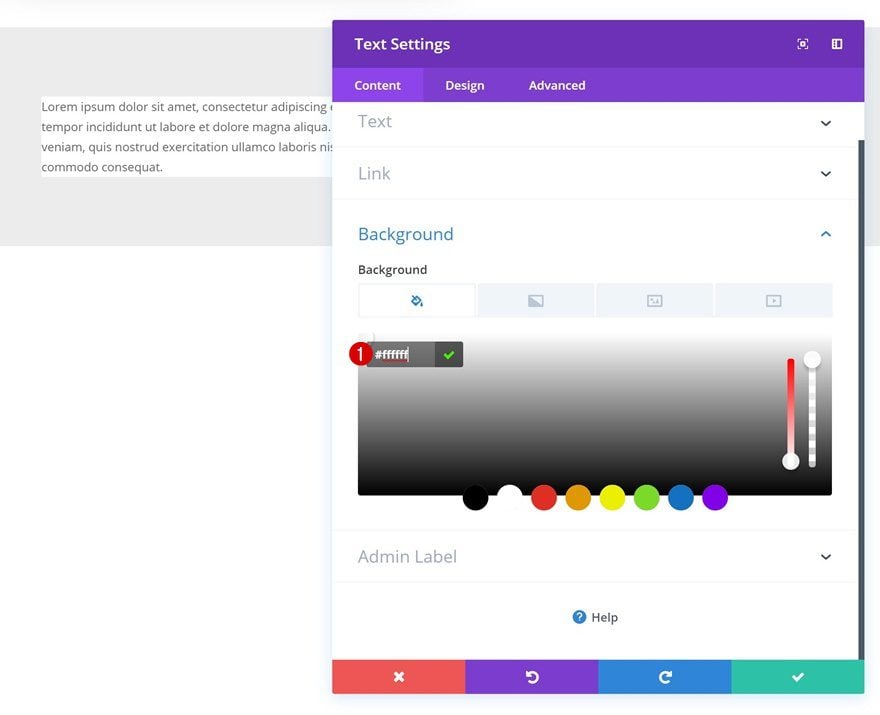
Background Color
And change the background color of the module.
- Background Color: #ffffff
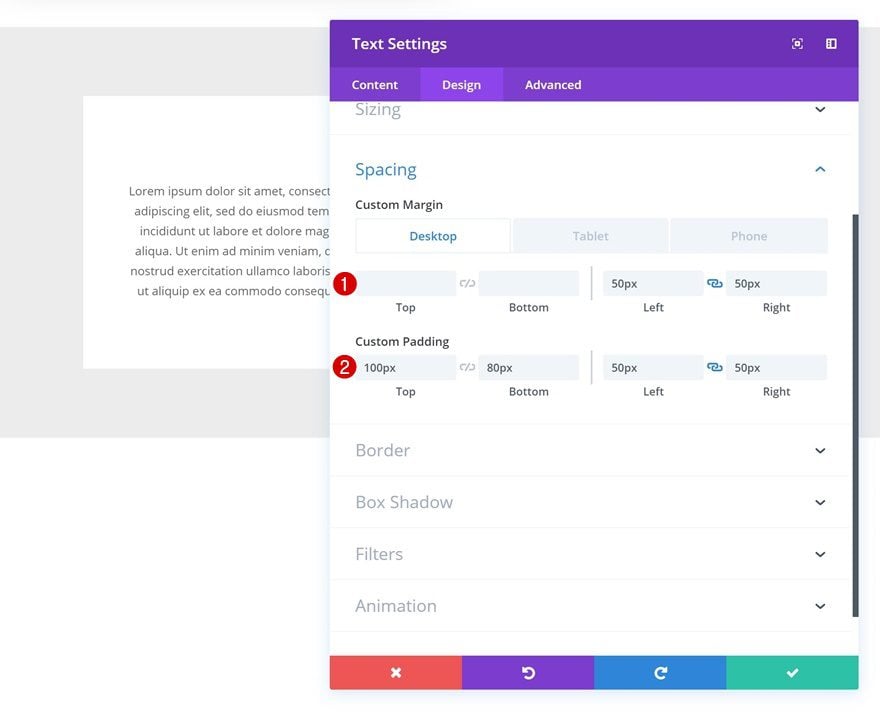
Text Settings
Then, go to the design tab and change the text orientation in the text settings.
- Text Orientation: Center

Spacing
Add some custom margin values as well.
- Left Margin: 50px (Desktop & Tablet), 20px (Phone)
- Right Margin: 50px (Desktop & Tablet), 20px (Phone)
Add Testimonial Module to Column 1
Add Content
Right below the Text Module, you can go ahead and add a Testimonial Module. Fill in the author name, job title and company name fields.
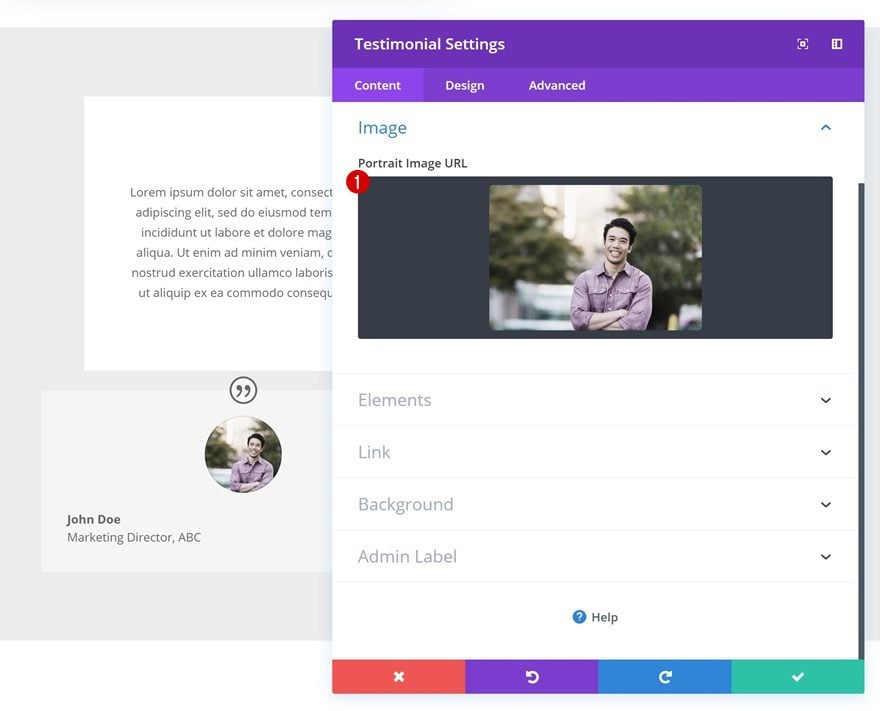
Upload Image
Upload an image in the image settings as well.
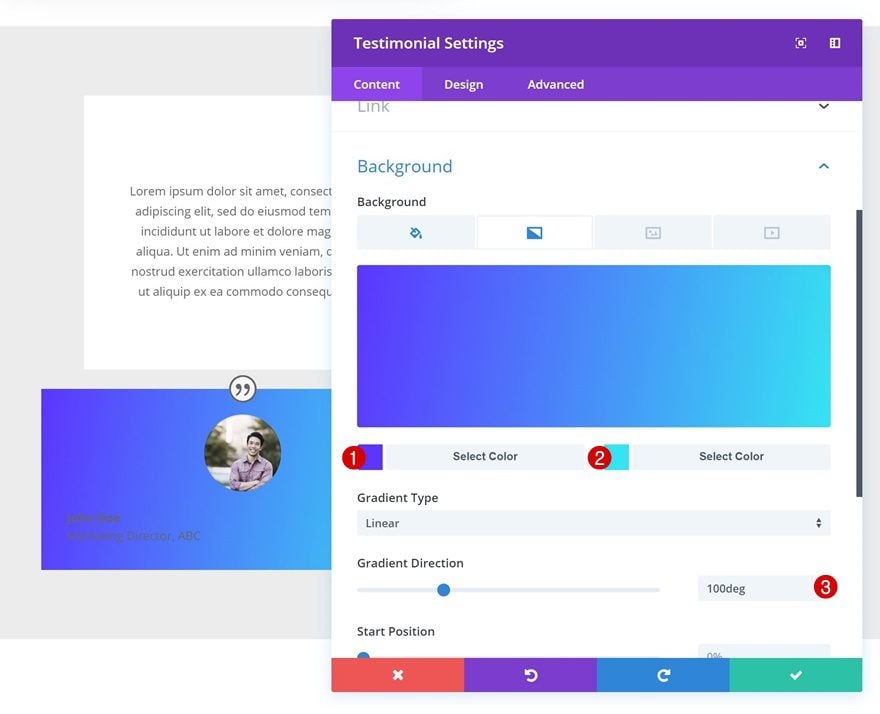
Gradient Background
And add a gradient background.
- Color 1: #5b32ff
- Color 2: #32e5f2
- Gradient Direction: 100deg
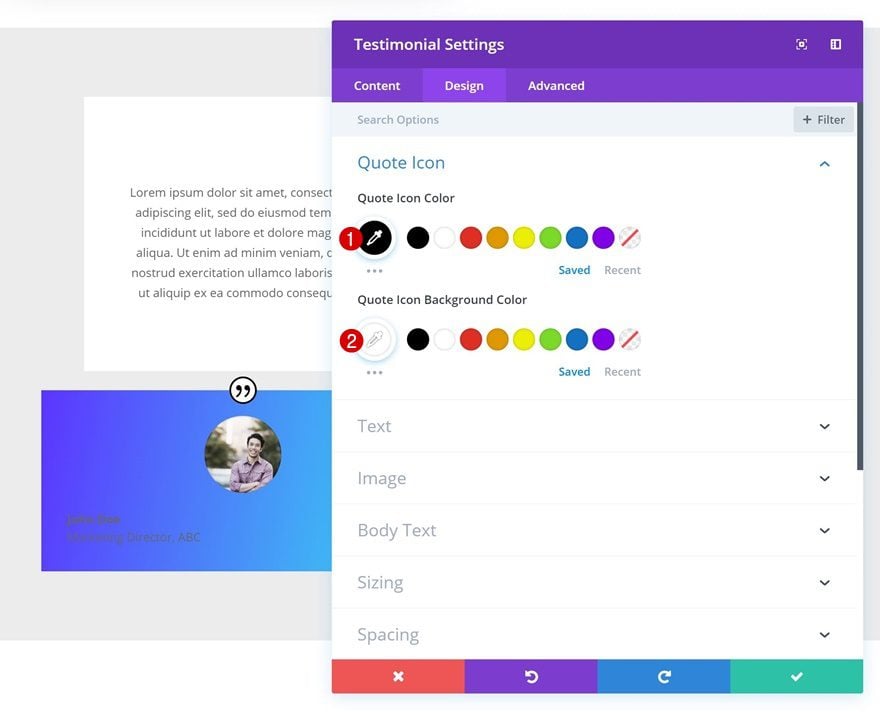
Quote Icon Settings
Continue by going to the design tab and changing the quote icon settings.
- Quote Icon Color: #000000
- Quote Icon Background Color: #ffffff
Text Settings
Change the text orientation in the text settings as well.
- Text Orientation: Center
- Text Color: Light
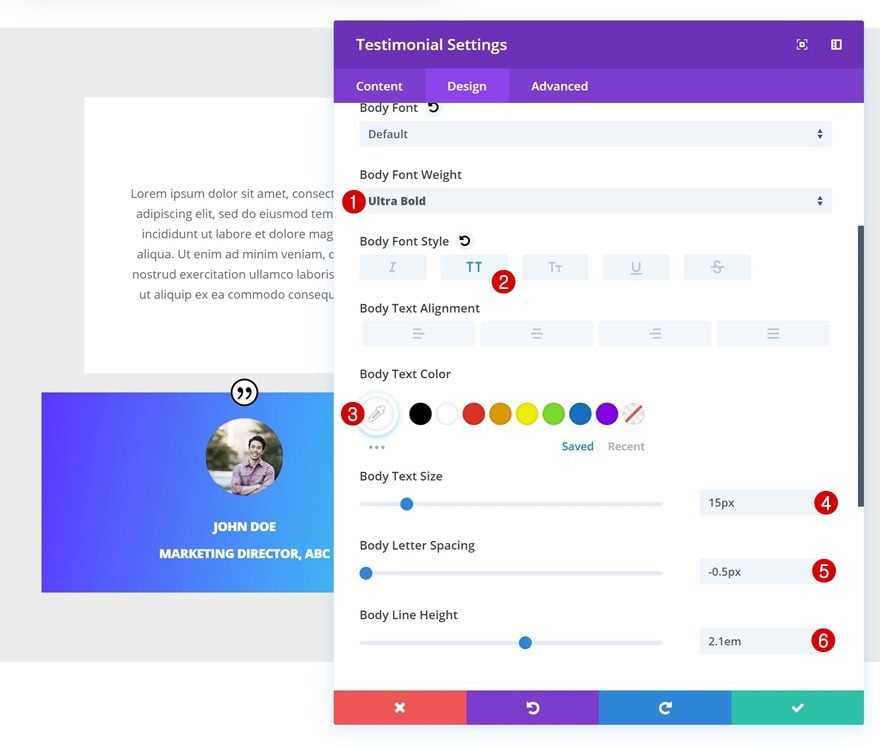
Body Text Settings
Next, play around with the body text settings.
- Body Font Weight: Ultra Bold
- Body Font Style: Uppercase
- Body Text Size: 15px
- Body Letter Spacing: -0.5px
- Body Line Height: 2.1em
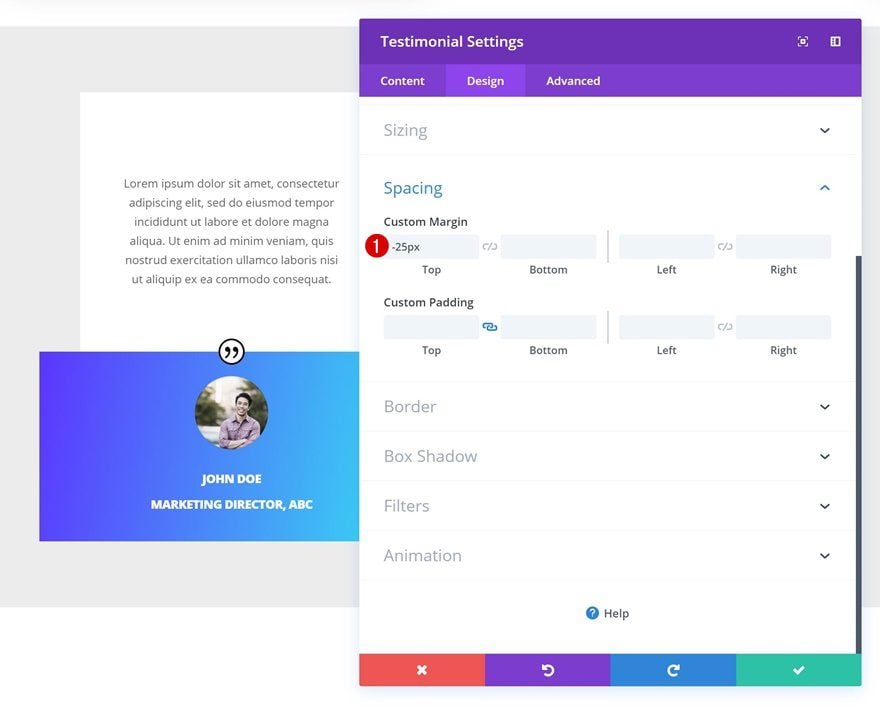
Spacing
Add some negative top margin to create the overlap between this module and the Text Module.
- Top Margin: -25px
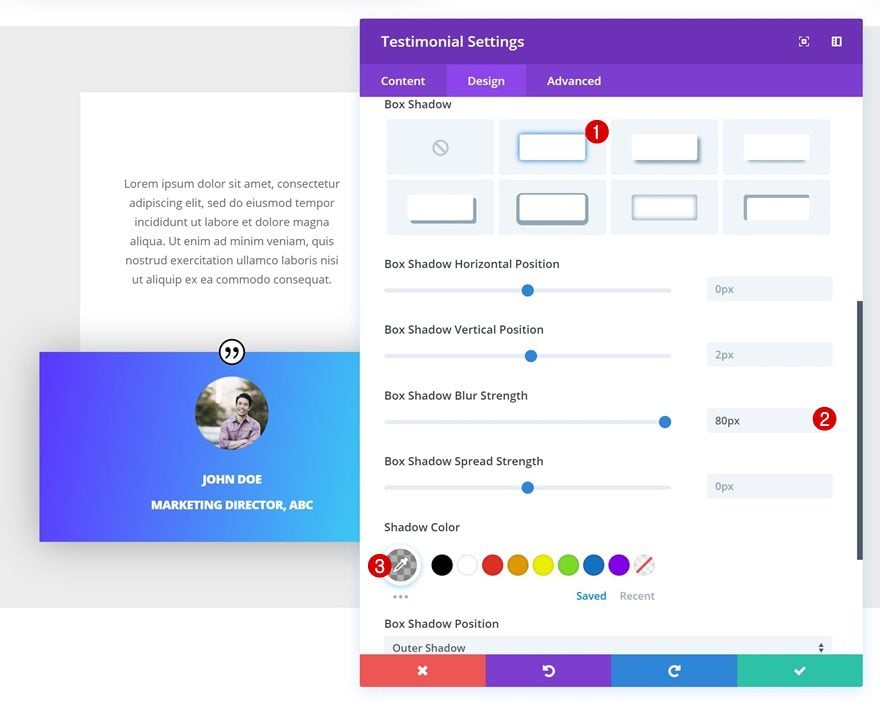
Box Shadow
And finish the testimonial design by giving the Testimonial Module a subtle box shadow.
- Box Shadow Blur Strength: 80px
- Shadow Color: rgba(0,0,0,0.3)
Clone Both Modules Twice & Place Duplicates in Remaining Columns
Once you’re done modifying the modules in column 1, you can clone them twice and place the duplicates in the two remaining columns.
Change Testimonial Content & Images
Make sure you change the content and images that are used in the modules.
Change Testimonial Gradient Backgrounds
Along with the gradient backgrounds.
- Color 1: #a632ff
- Color 2: #f7a131
- Color 1: #3281ff
- Color 2: #2cf483
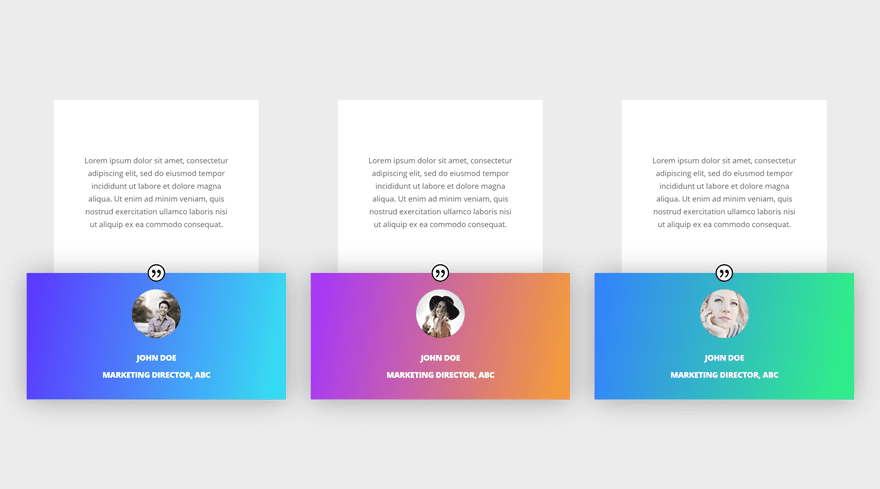
Preview
Now that we’ve gone through all the steps, let’s take a final look at the end result on different screen sizes.
Desktop
Mobile
Final Thoughts
In this post, we’ve shown you 5 fantastic ways you can style the Divi Testimonial Module. We’ve guided you through the tutorial step by step and created testimonials that you can use on basically any website you’re working on. If you have any questions or suggestions, make sure you leave a comment in the comment section below.


Just wanted to say how much I appreciate the effort that goes into making these tutorials so straightforward to follow. I realise that they take a lot of work but the clear step-by-step instructions supported by copious screenshots are invaluable to someone learning Divi. I have just implemented example #5 on a site and it looks great. Thanks.
This is great – thanks. I tend to use defaults too often and the examples showing the various end-results that can be achieved through tweaking the settings is really helpful to me…
Hey Donjete,
I always love your tutorials. You consistently manage to deliver beautiful functional outcomes in your presentations. Cheers
James
Fabulous designs and great inspiration. Appreciate the time it must take to create and keep track of all those screenshots. Just a suggestion, maybe paginate these tutorials as they are often very long by nature and require a lot of scrolling when viewed on a tablet.
Thank you!
Nice post
I find it comical that Elegant Themes continues to release blog posts showing their front-end builder being used. Given that it’s not loading for many people for what is going on a month now. I have submitted a ticket to support. I’ve updated to the latest version of everything. My site is hosted with Siteground…maybe that’s the problem. I’ve tried multiple versions of PHP as well.
When the front-end page editor is open. You click on the plus sign or gear icon of any module and nothing happens.
Please help with this! I am a massive fan of Elegant Themes and have been a paying customer for many years on multiple accounts.
Don’t let us down with all the current WordPress changes. You all do great work.
Wow – you’ve put an awful lot of work into this so very well done indeed and I just love the first one but do you know what? The chances of my clients being willing to have their photo plastered across my website is I suspect very low indeed. Also right now I have around 40 text testimonials on a page (maybe a few too many)so adding images to that would make it a very long page indeed.
Please keep sending these great tips. Super helpful and I love the design your team puts together. Thank you!
I like the idea of using a text module and testimonial module together.
Bring back the old support forum please.
Your new support system totally sucks.
I agree and it’s more work for ET as now you can’t search for an answer to a question that’s already been asked numerous times.
I couldn’t agree more. And it must be more work ET as it’s now impossible to search for an answer so the same question gets asked again and again and again.