Website badges are an often unsung element of modern marketing. Using them gives you the opportunity to both take advantage of endorsements, and increase your site’s traffic to boot. They’re both simple to implement and offer a number of clear benefits – so they should definitely form part of your current marketing strategy.
This post will firstly explain what website badges are, then offer up why you might consider creating your own. From there, we’ll also give you instructions for creating a badge that links back to your site, and some tips for sharing it.
An Introduction to Website Badges (and How They Can Increase Your Traffic)
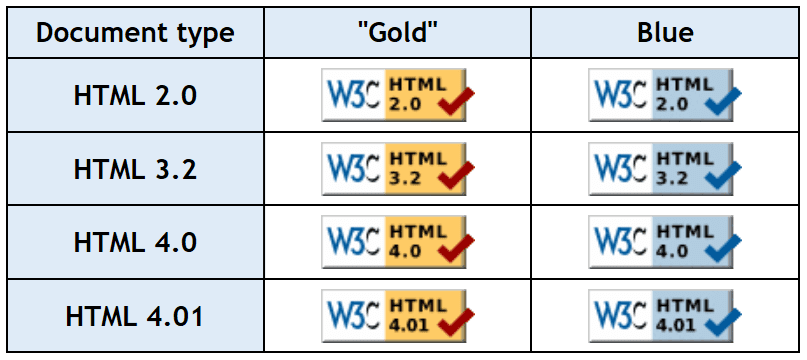
Website badges are typically small graphics that contain a link to an associated website. In the past, badges were mostly used for awards, validations, and accreditations. For example, you could have a badge for creating a well-coded website:
Another common use was professional accreditations:
![]()
While these applications are still fairly commonplace, the role of badges has broadened – and they can be applied to virtually any business. For example, you can use a badge to show where your work has been featured, or to display the companies involved in a particular project. They can also be excellent marketing tools to help you gain exposure for your blog, sell your product, or promote an event.
Let’s take a look at an example of an event-specific badge. Attendees are encouraged to add it to their site to help gain exposure, and as a result, attract more participants:

Having your own badge for other people to place on their site offers a way to show their affiliation or endorsement to your brand. For you, it results in referral traffic directed from their website. Similarly to a logo, a website badge is representative of your brand. If it’s designed well (which we’ll discuss later), having an official badge can add credibility and entice new visitors.
Another important point to note is that badges take advantage of people’s tendency to process visuals faster than they do text. While it’s beneficial to have people link back to your site through text links, visuals are more likely to grab attention and hence get clicks. People also tend to remember and recognize images more easily, so a badge makes it easier to promote familiarity and create a longer-lasting impression.
How to Create Your Own Website Badge (in 3 Steps)
Let’s move on to creating your website badge. Here we’ll walk through the three key steps to creating your own.
Step #1: Design Your Badge
The first step is to create a visual that represents your brand, and entices people to click. If you already have a great logo, you may want to use this (or an adapted version of it) to maintain a cohesive brand representation. For example, Ruffled uses its title text against one of the brand accent colors to create a badge for featured websites throughout the year:

NAMC’S 3–6 Montessori Homeschool Program uses an exact copy of its logo, title text, and tagline to create this badge for supporters to share:

As for creating badges, there are lots of tools you can use such as Photoshop, Canva, and PicMonkey. Photoshop users will be able to find numerous tutorials for designing badges, and for other tools you can start with tutorials for creating logos, which are similar in concept:
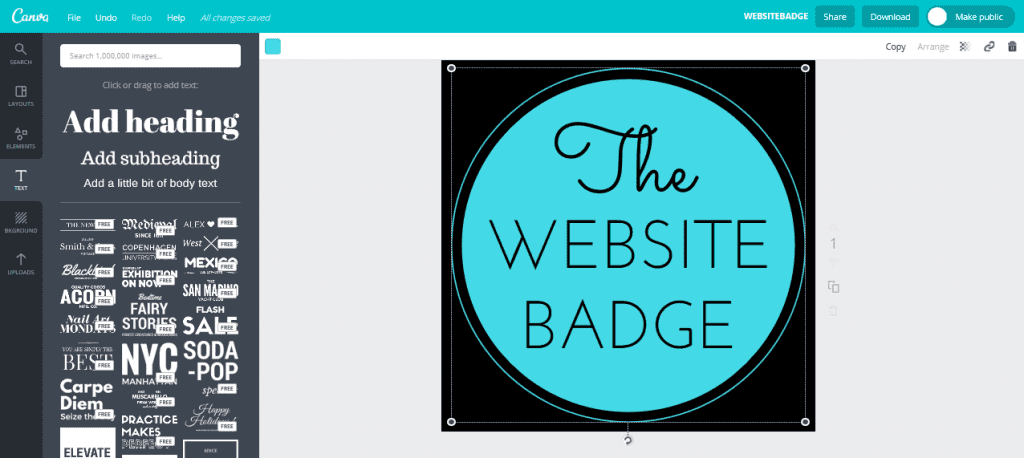
Canva’s design interface
There are also dedicated online tools to create badges such as ImageFu and Webestools. However, these tend to offer very limited design options, and often have less intuitive interfaces than the tools mentioned above:
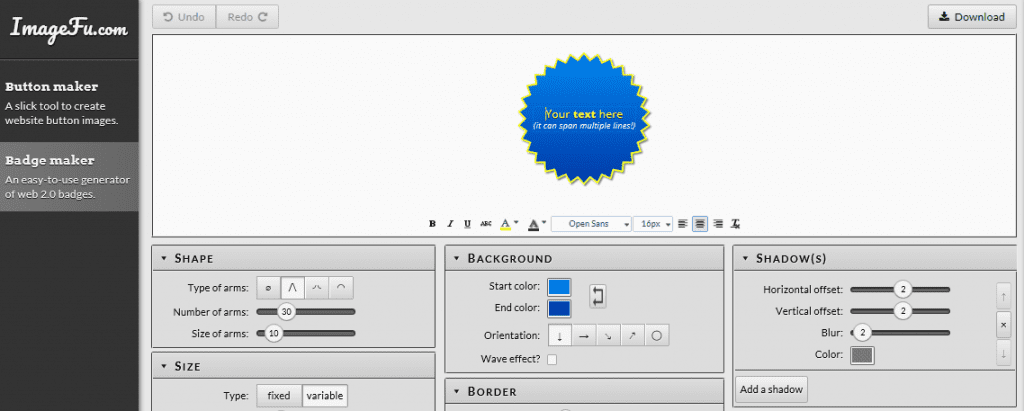
ImageFu’s design interface
Here are four elements to bear in mind when designing your badge:
- Size. It’s common to offer multiple size and/or shape options to users. A common size is 125px x 125px. Ultimately, you want the badge large enough to see easily, but to also have a small footprint.
- Colors. Your own website color palette may clash with those of other sites, preventing them from wanting to display your badge. Therefore, selecting colors for your badge may be even more difficult than normal. A neutral or monochromatic palette for at least one version of your badge is a good idea, although you can again offer multiple options to suit a myriad of websites.
- Text. Just as in a logo, text in a badge is optional. However, since people may not be familiar with your brand, most cases warrant the use of at least some text such as your company name or a slogan.
- Overall Design. If designed properly, a badge can grab people’s attention and compel them to click. Try to make it intriguing and enticing through interesting imagery and engaging content. Combining the concepts of logo design and button design is a good idea, and doing so enables you to create something that encourages familiarity, while also attracting clicks.
Of course, if you’re not design-savvy (or you simply don’t have the time), you can opt to hire someone to design your badge for you. There are tons of graphic designers ready to tackle these sorts of job at a wide range of prices. If this sounds like a route you’d like to take, some places you can look for a designer are Dribbble, 99designs, Fiverr, Upwork, and Freelancer.
Step #2: Convert Your Design Into a Clickable Image
Once you have an image you’re happy with, you can convert it into a badge that links to your website when clicked. However, before that you need to decide where to host it. One option is your own website, but this will mean a bandwidth hit every time the image is uploaded onto someone else’s site. If those are high-traffic sites, you stand to lose a lot of bandwidth.
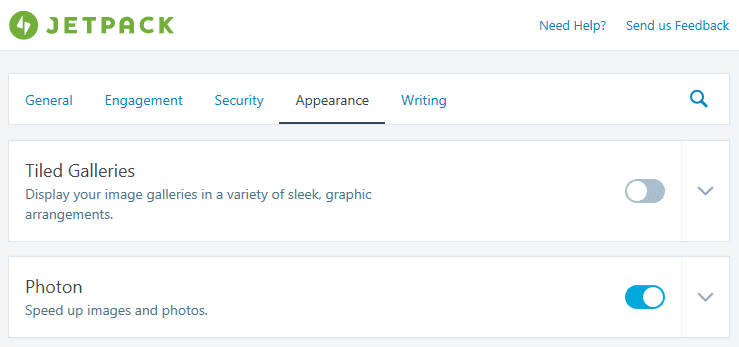
However, there is a simple solution – Jetpack’s Photon. This free service will host your images on the WordPress.com server, lessening the load on your own, and accelerating the speed that images are delivered to your readers.
Once Jetpack is installed, navigate to Jetpack > Settings on your WordPress dashboard. From here, select the Appearance tab and click the Photon button so that it is in the activated (blue) position:
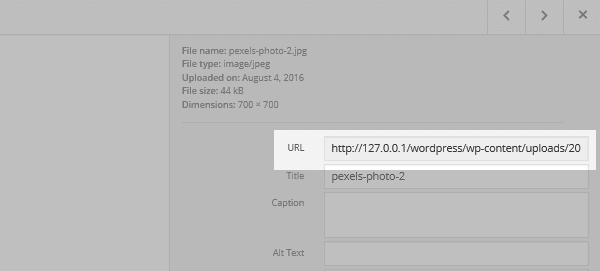
Now you can upload your image as usual to your Media Library. Doing this will generate a URL:
Next, you’ll need the code to display your badge. Copy and paste your image URL into the following line of code, along with your website’s URL and any relevant ‘alt’ text:
<a href="link URL"><img src="image URL" alt="alt text" /></a>
Code snippet source: Rockstar Finance.
You can now issue this line of code to anyone who might want to place their badge on your site.
If you’re not using Jetpack, there are some alternative options for hosting your images. You could use a Content Delivery Network (CDN) such as Cloudflare, or a photo hosting site such as Photobucket.
Now that you’ve created a clickable badge, you can share it with others. It’s here you’ll need to flex your promotion and marketing muscle – so ask your readers, guest posters, and other affiliates to share it on their website. Some people may already be referencing your site using a text link or non-clickable image. Simply contact them, letting them know you have a badge available to use instead.
You can also search for other sites that may be appropriate for sharing your badge. There are lots of resources to help you find influencers in your niche and approach them professionally. Once they agree to display your badge, offer them your code snippet.
There is also a simple way to get people to display your badge without asking. You can add a specific ‘Grab a Badge’ page or sidebar section to your website. That way, if someone wants to endorse your site, they can simply copy and paste the code without you having to do any extra work. It’s a passive approach to building a following – another great reason to use website badges.
How to Add a Badge Page to Your Divi Website
If you’re a Divi user, it’s simple to create an easy to use Grab a Badge page or sidebar section for your site:
![]()
Using the Divi Builder, you can create almost any type of layout for your page. Ours looks like this:
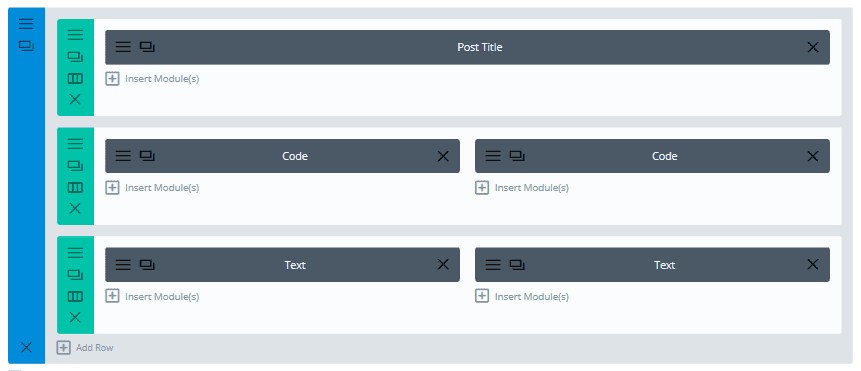
The Code modules let you insert the line of code you created above, enabling the clickable image to be displayed. The Text modules let you display the line of code via the Visual tab. Columns and rows can be added as required to display multiple badges for your visitors to choose from.
Conclusion
Creating a website badge can drive referral traffic and improve your overall brand image. However, for various reasons, these simple clickable images are often overlooked as a solid marketing tool.
In this article, we’ve outlined why you might want a website badge of your own, and the steps you can take to create one. Let’s recap those quickly:
- Design your badge.
- Convert your badge to a clickable image.
- Share your badge with others.
Do you think a website badge will help increase your traffic? Let us know in the comments section below, and don’t forget to subscribe so you can follow the conversation!
Article thumbnail image by rzarek / shutterstock.com.


Another Powerful read John.
Keep it coming!
Will do, Sean. 😉
I guess the using trusted badges makes sense. Everything depends on a particular case. Thanks for sharing
No problem. 🙂
such an interesting read. Thank you for sharing!
Our pleasure, Nathan!
Good Article John Hughes! I would also like to say that badges helps to build trustworthiness of a website.
Thanks for your insight, Deepa. 🙂
Hi John, Thank you for presenting a nice concept for the marketers. I am in rush to implement such concept at least one of my blog. Anyhow if you could explain that exactly where to paste the code snippet along with website URL, It would be more informative for me, little bit confused 😛
That is the point! What is the discussion about? Having a badge for visual impact for the clients or having a link for SEO?
You can have both! Why not?))
when i try in to add above given code,my website goes blank could you please share any other method which you thing might work for wordpress users?
thanks in advance
Apologies Aditya, the code was rendering incorrectly. It should be working now 🙂
Sources you shared to create badge is awesome. Thanks for amazing share.
Thanks. 🙂
I don’t buy that “backlinks are bad” being pushed by SEM and SEO pros. The reality is that Google has to respect the Domain Authority of those who have quality content that interlinks widely across the web.
If Google could have their way, we would all be scrapping digital marketing (and traditional), and paying them for every lead through Adwords.
To be true to digital marketing, use every method that brings you and your clients the most relevant traffic. That’s why ET puts such energy into blogging, and shares value with others using the providers featured.
This article makes sense because it is a creative way to embark an air of authority — with a badge — as well as by providing links to generate traffic, in addition to solid SEO or PPC.
To Joel’s point, add “nofollow” as well.
Joel makes a fantastic point, it’s also worth noting that site wide links are also bad for SEO. A lot of web design companies still link to own website in footer and google now see’s this as spammy.
Can you be more explicit in what this means? Like if “site designed by ME” in the footer has a link to my site that’s bad for my client’s site? Or is it bad for MY site?
Thanks.
It’s specifically bad for you because Google could decide you are running a linking scheme to point other sites to your own.
Both sites could be penalized, though, because Google does what it wants, for its own reasons, as Shar points out.
For more info: https://codex.wordpress.org/Nofollow
It’s bad for your Google rankings in search results but it is perfect for your business if someone likes the work and wants to find the designer’s site. You decide which is more important to you. I know what I do… 😉
I’d also like to see a link directly referenced from Google’s mouth and not a blogger about this linking a website in the footer.
Joel makes a good point, looking forward to seeing some responses, last thing we want to do is get on the bad side of google 🙂
Be sure to add nofollow to your badge links, or Google can (and very likely will, eventually) regard it as a linking scheme, and devalue your site accordingly.
Good tip Joel, thanks!