
For many websites, blogging has become an important part of their SEO strategy. But besides creating high-quality content, it’s also important to simplify the post navigation process for your visitors. That way, they can hop from one post to another and spend more time on your website reading the content you put out there. Within Divi, there’s a Blog Module you can use to dynamically display your blog posts and style them as well. If you’re looking for a way to take the post search experience to the next level, you’re going to love this post. We’ll show you how to turn the built-in Divi Blog Module into an advanced draggable/swipe carousel with Divi’s built-in elements and the free slick js library. You’ll be able to download the JSON file for free as well!
Let’s get to it.
- 1 Preview
- 2 Download The Blog Module Draggable Swipe Carousel Layout for FREE
- 3 Download For Free
- 4 1. Create Blog Page
- 5 2. Create Previous & Next Arrow Designs Using Blurb Modules
- 6 3. Prepare the Blog Module
- 7 4. Add Slick JS Functionality
- 8 5. Save Page & Exit Visual Builder to View Outcome
- 9 Preview
- 10 Final Thoughts
Preview
Before we dive into the tutorial, let’s take a quick look at the outcome across different screen sizes.
Desktop
Mobile
Download The Blog Module Draggable Swipe Carousel Layout for FREE
To lay your hands on the free Blog Module draggable swipe carousel layout, you will first need to download it using the button below. To gain access to the download you will need to subscribe to our newsletter by using the form below. As a new subscriber, you will receive even more Divi goodness and a free Divi Layout pack every Monday! If you’re already on the list, simply enter your email address below and click download. You will not be “resubscribed” or receive extra emails.

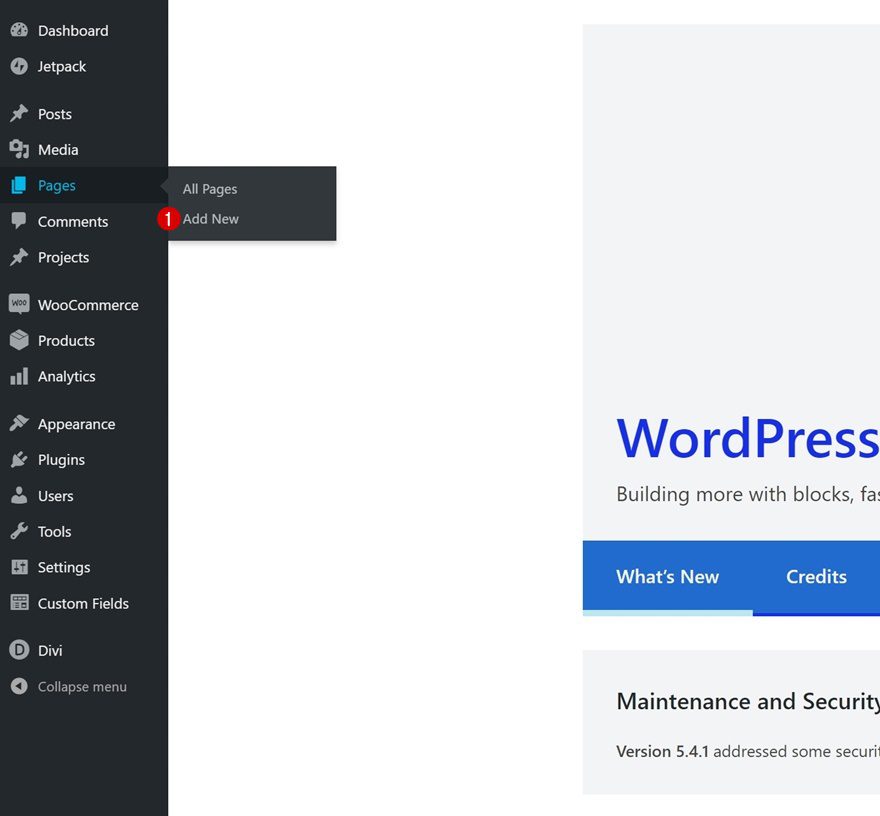
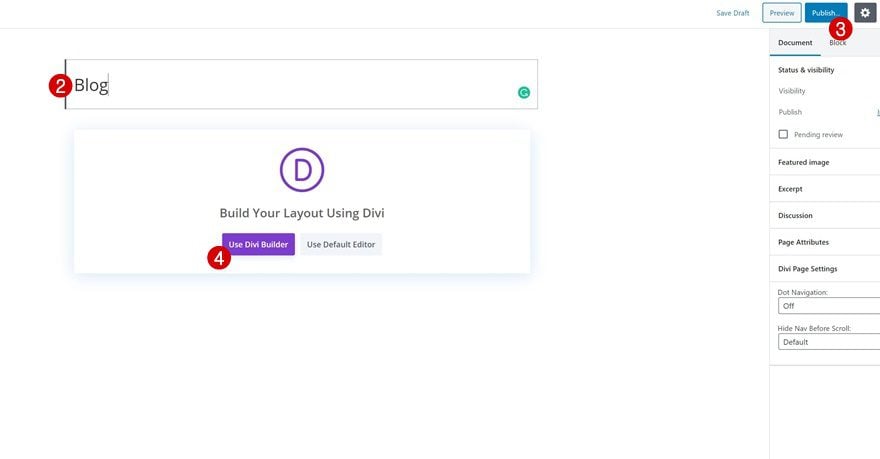
1. Create Blog Page
Add New Page
Start by adding a new page to the website you’re working on. Give your page a title, publish the page and switch over to Visual Builder.
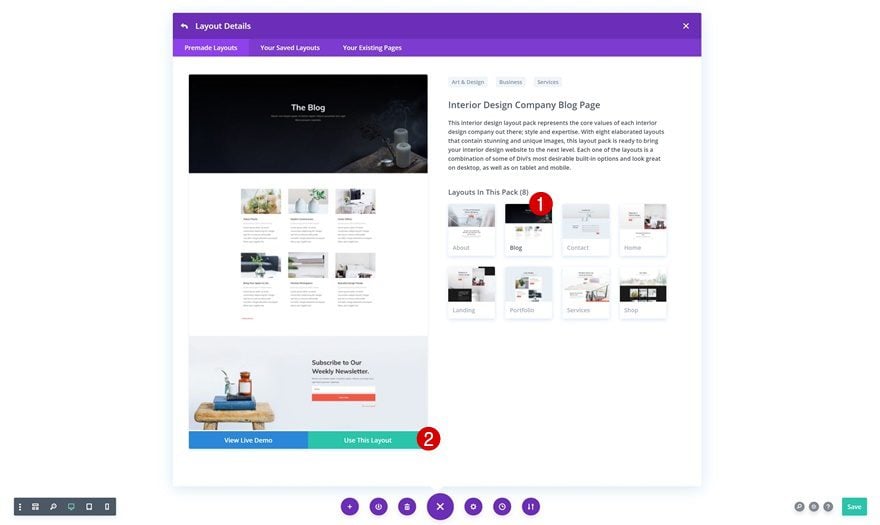
Upload Interior Design Company Blog Page Layout
In this use case tutorial, we’ll use the Interior Design Company blog layout but you’re free to use any other layout of your choice.
2. Create Previous & Next Arrow Designs Using Blurb Modules
Add New Row to Top of Section
Column Structure
Once we’re inside the blog page, we can start building the advanced draggable swipe carousel. The first part is dedicated to designing the arrows we need to allow visitors to go back and forth between posts. The arrows won’t be the only option visitors have to navigate through the carousel. They’ll be able to drag the carousel on desktop and swipe on mobile as well. To design the arrows, we’ll use Divi’s built-in Blurb Module but you’re free to use any other module of your choice. Add a new row to the top of your blog section using the following column structure:

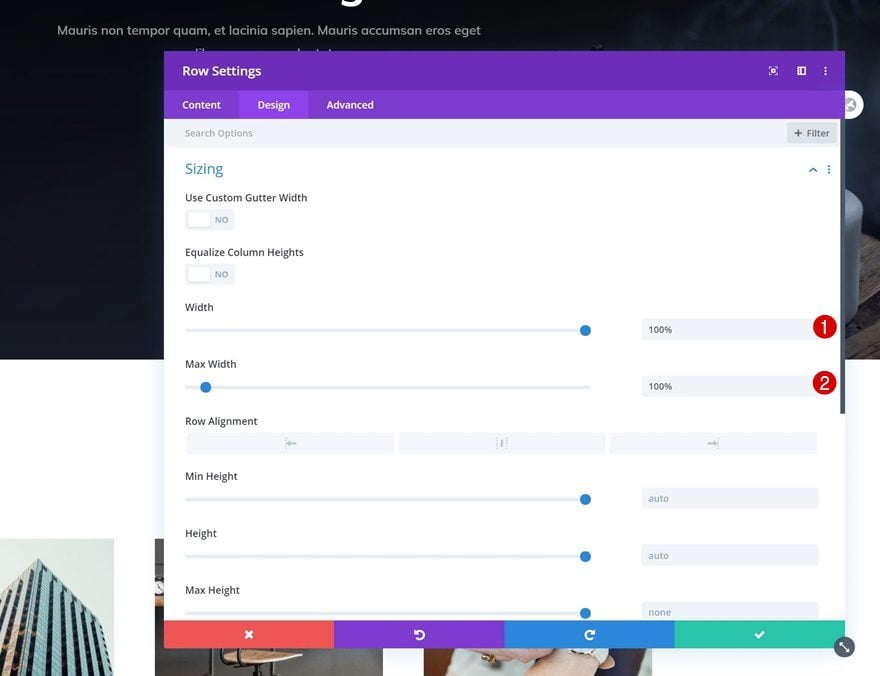
Sizing
Without adding any modules yet, open the row settings and allow the row to touch the left and right side of the section by changing the sizing settings as follows:
- Width: 100%
- Max Width: 100%
Add Blurb Module
Add Title
Then, add a Blurb Module and insert a title.

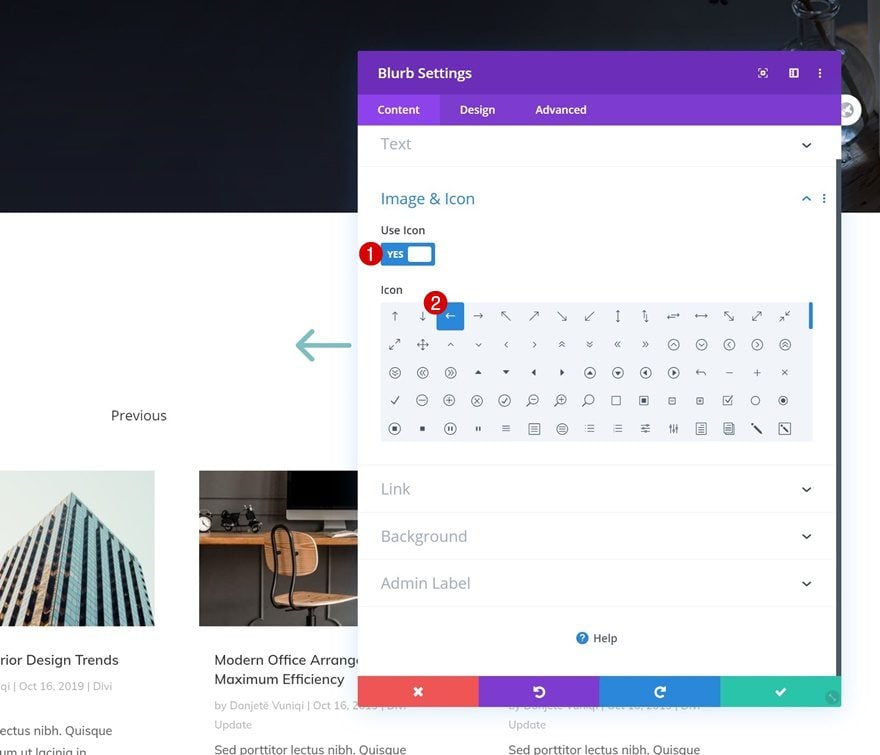
Select Icon
Select an icon next.
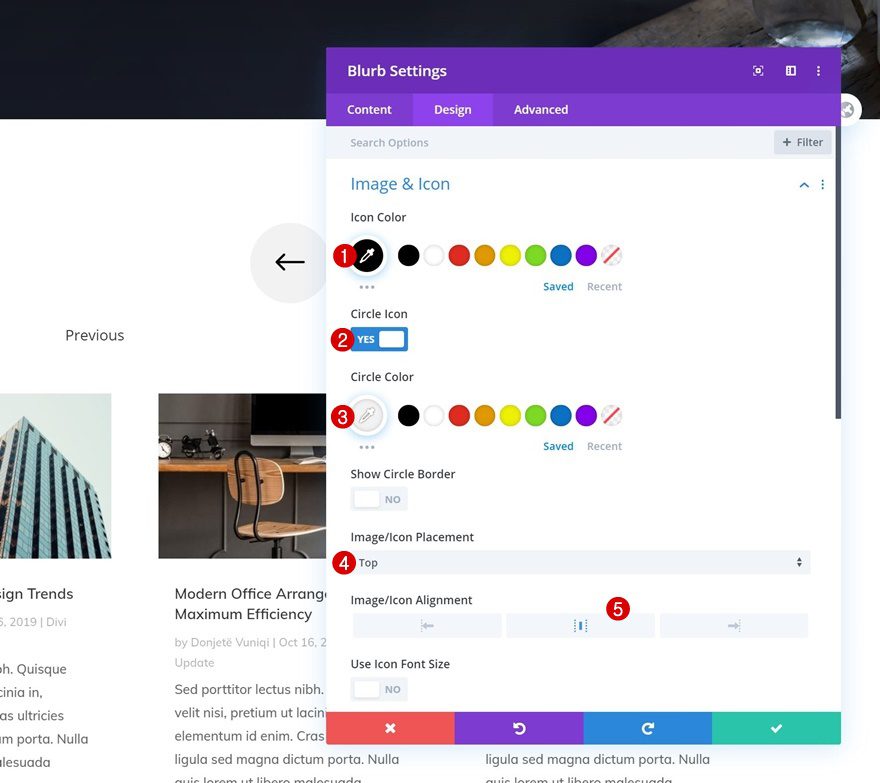
Icon Settings
Move on to the design tab and change the icon settings as follows:
- Icon Color: #000000
- Circle Icon: Yes
- Circle Color: #f2f2f2
- Image/Icon Placement: Top
- Image/Icon Alignment: Center
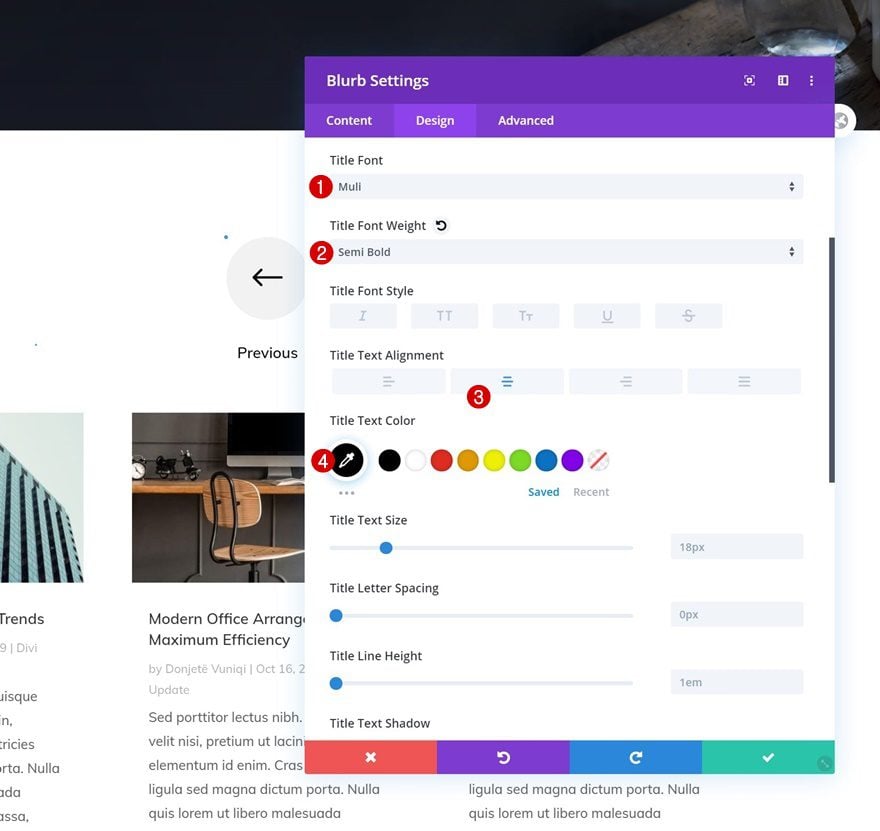
Title Text Settings
Then, modify the title text settings.
- Title Font: Muli
- Title Font Weight: Semi Bold
- Title Text Alignment: Center
- Title Text Color: #000000
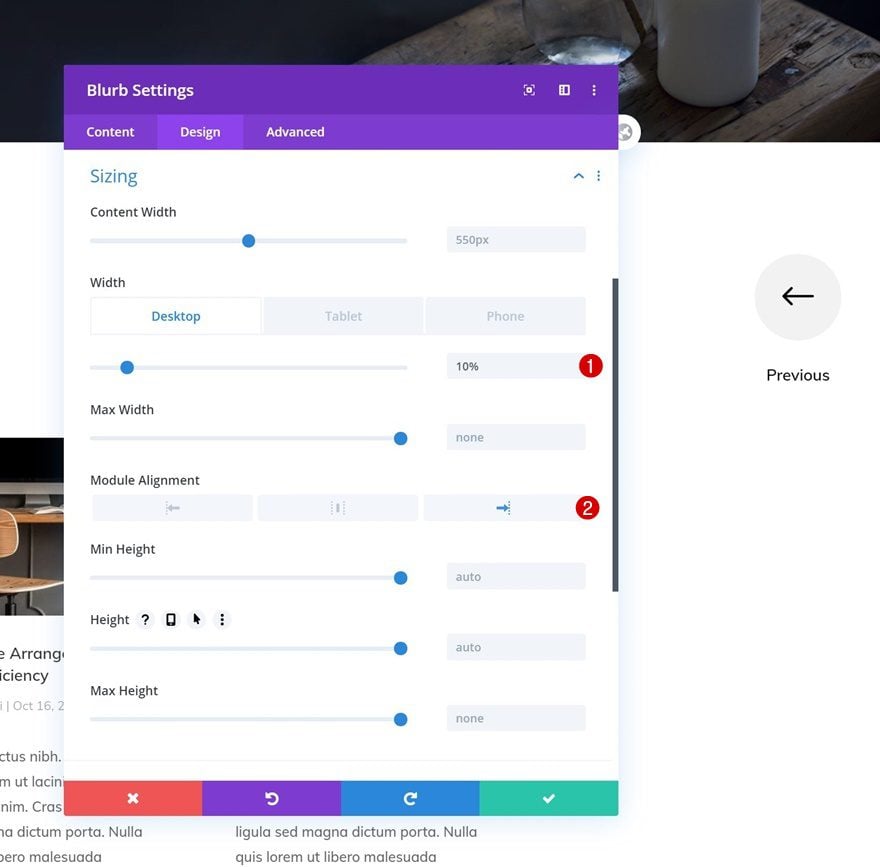
Sizing
We’re changing the module’s sizing settings across different screen sizes next.
- Width: 10% (Desktop), 20% (Tablet), 30% (Phone)
- Module Alignment: Right
CSS Class
And we’ll also add a CSS class. This CSS class will help us trigger the carousel action on click later on the tutorial.
- CSS Class: back-button

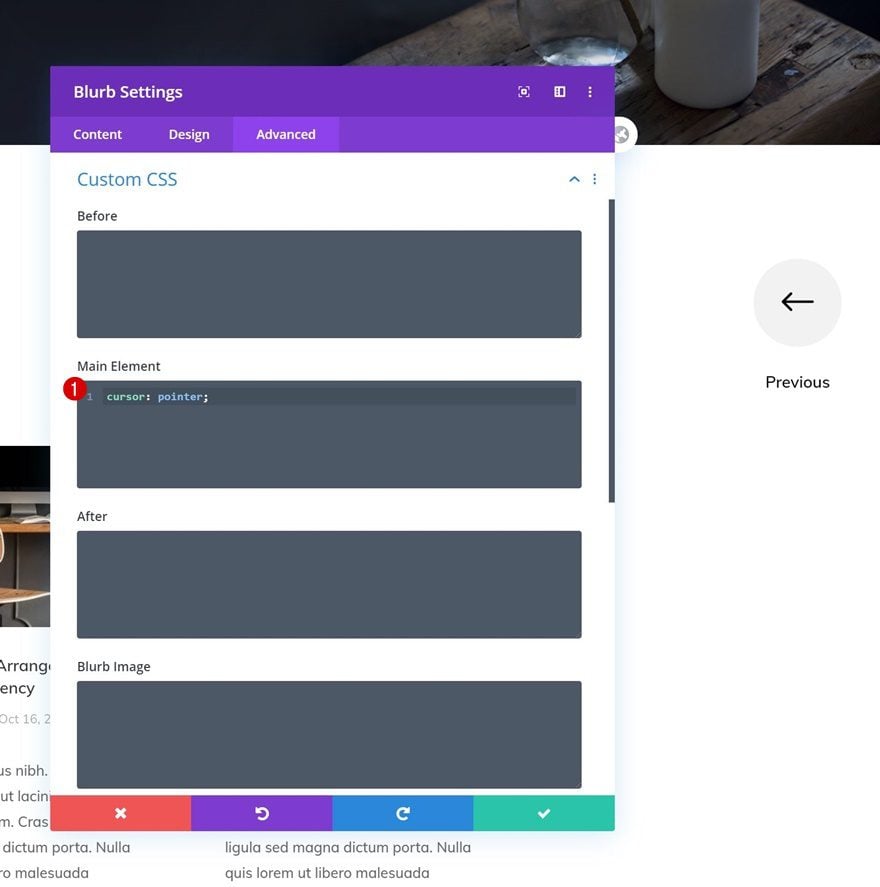
Main Element CSS
Last but not least, we’ll also add one line of CSS code to the module’s main element to change the cursor into a pointer.
cursor: pointer;
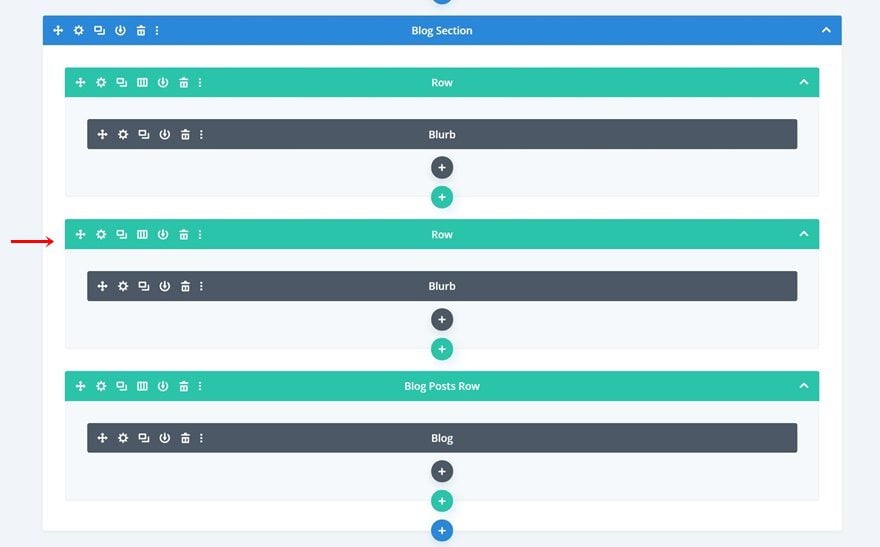
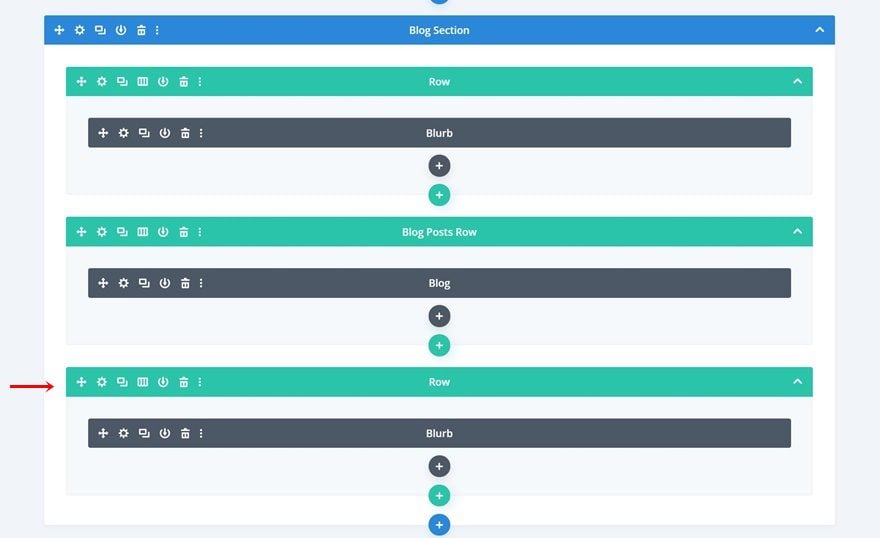
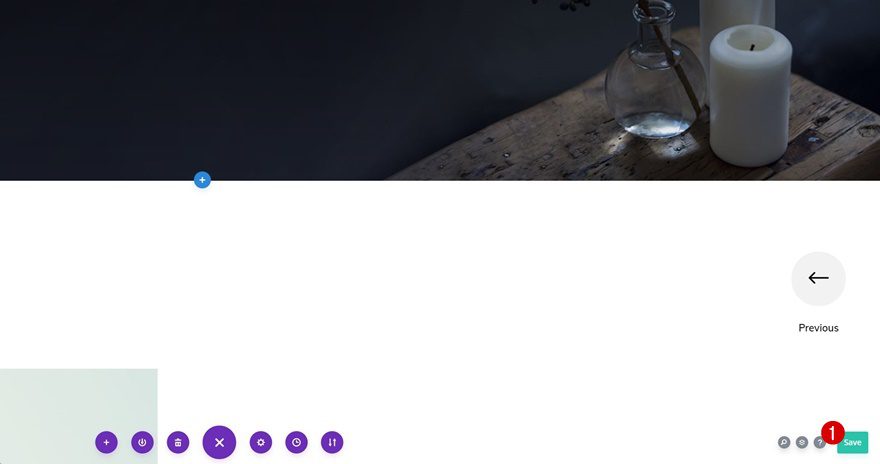
Clone Row & Place at Bottom of Section
Once you’ve completed the first arrow, you can clone the entire row container and place the duplicate row at the end of the blog section.
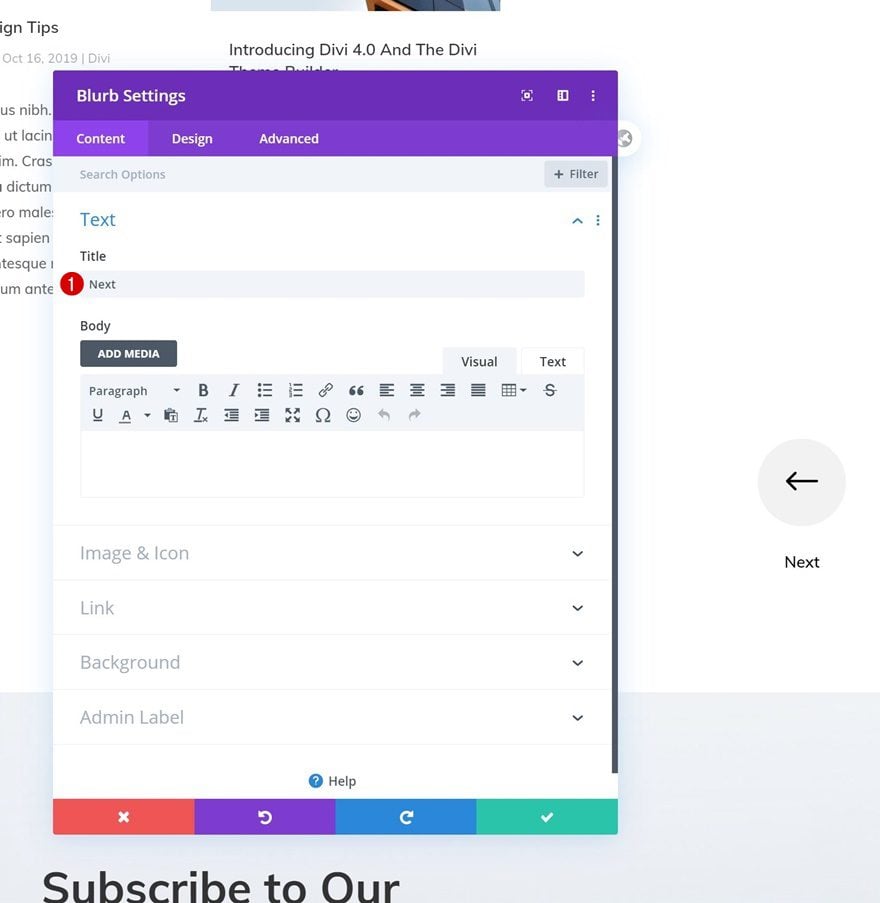
Change Title
Open the Blurb Module in the duplicate row and change the title.
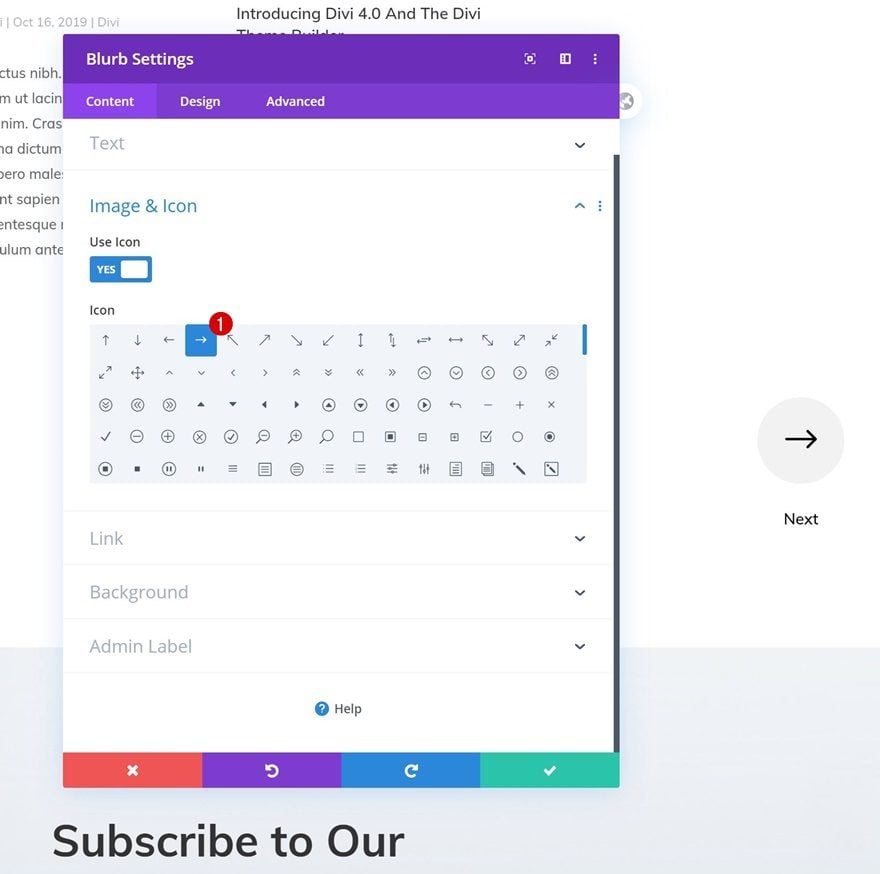
Change Icon
Along with the icon.
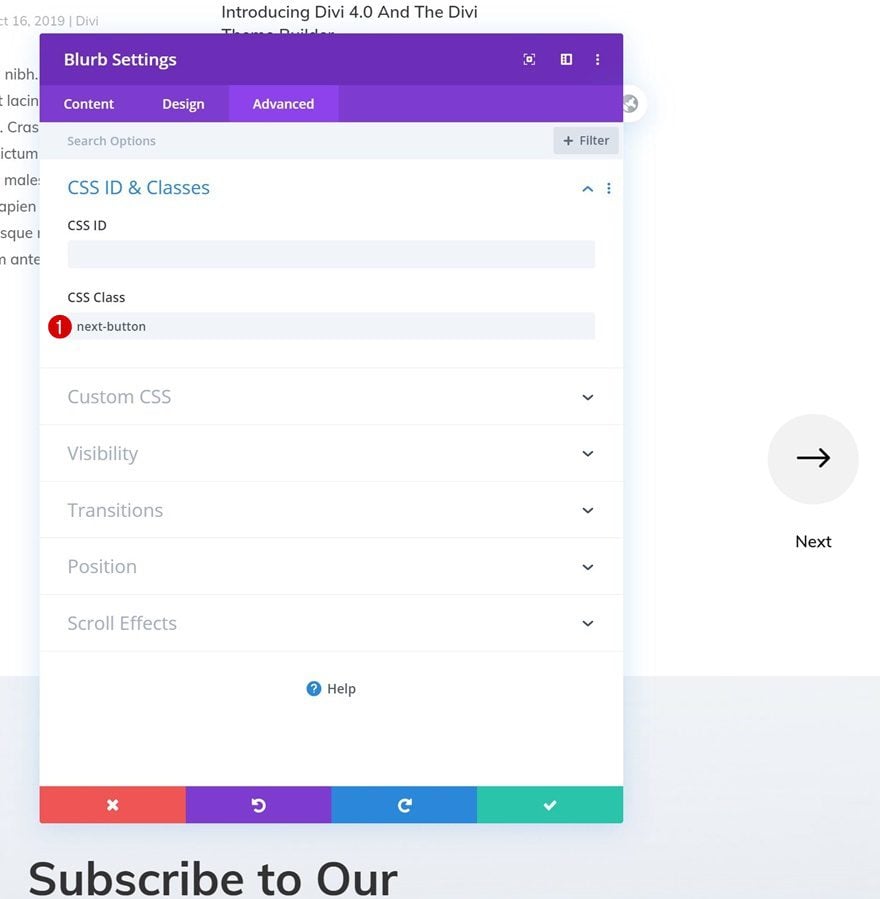
Change CSS Class
And modify the CSS class as well.
- CSS Class: next-button
3. Prepare the Blog Module
Open Row Containing Blog Module
Sizing
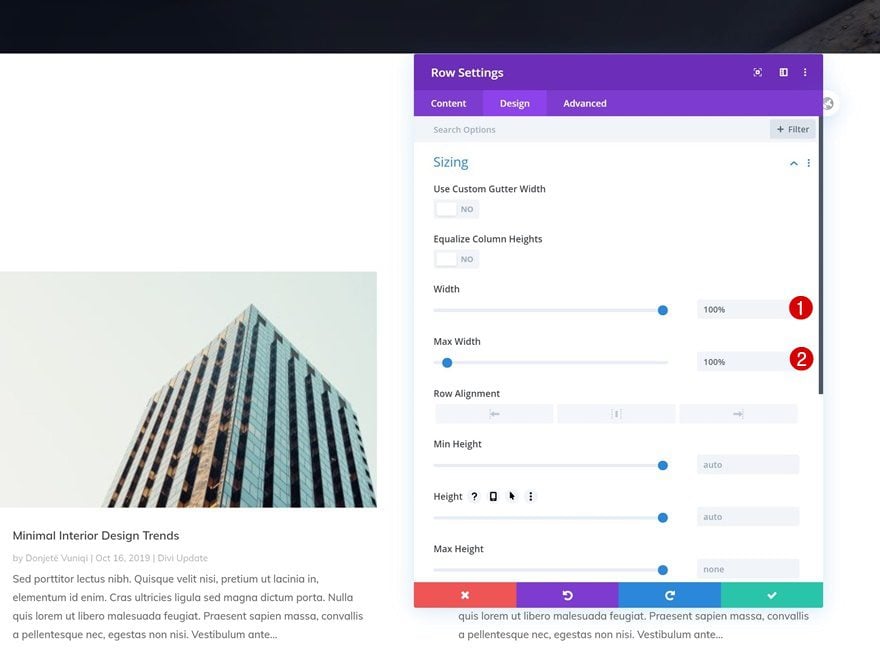
Once the arrows are in place, it’s time to start tweaking the Blog Module, starting with the row it’s placed in. Open the row settings and modify the sizing settings accordingly:
- Width: 100%
- Max Width: 100%
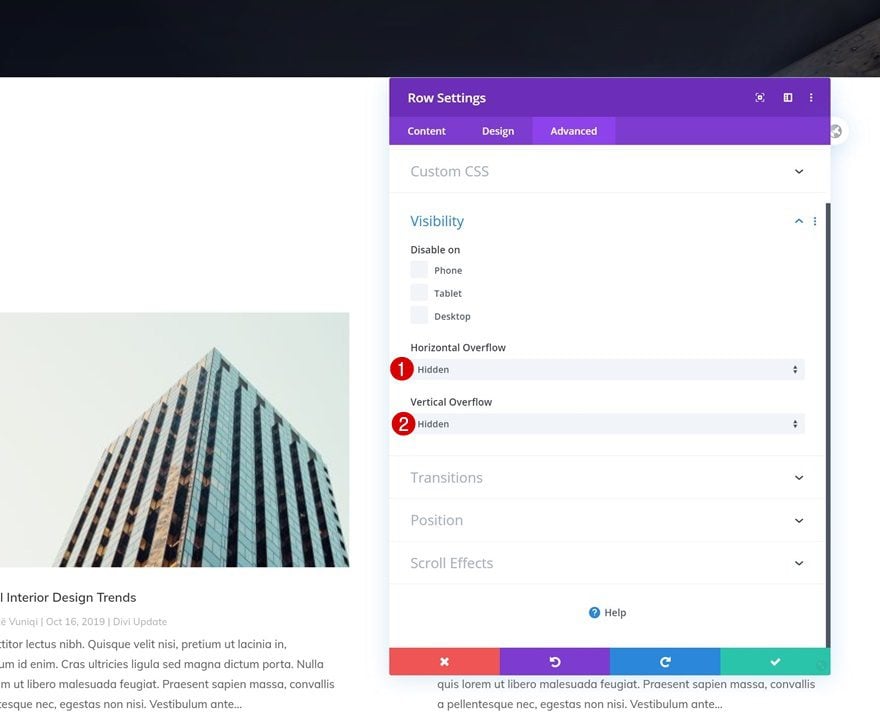
Visibility
Then, place the row’s overflows to hidden. This will help ensure that the carousel doesn’t cause any horizontal scroll bar to appear within our page.
- Horizontal Overflow: Hidden
- Vertical Overflow: Hidden
Modify Blog Module
Hide Pagination
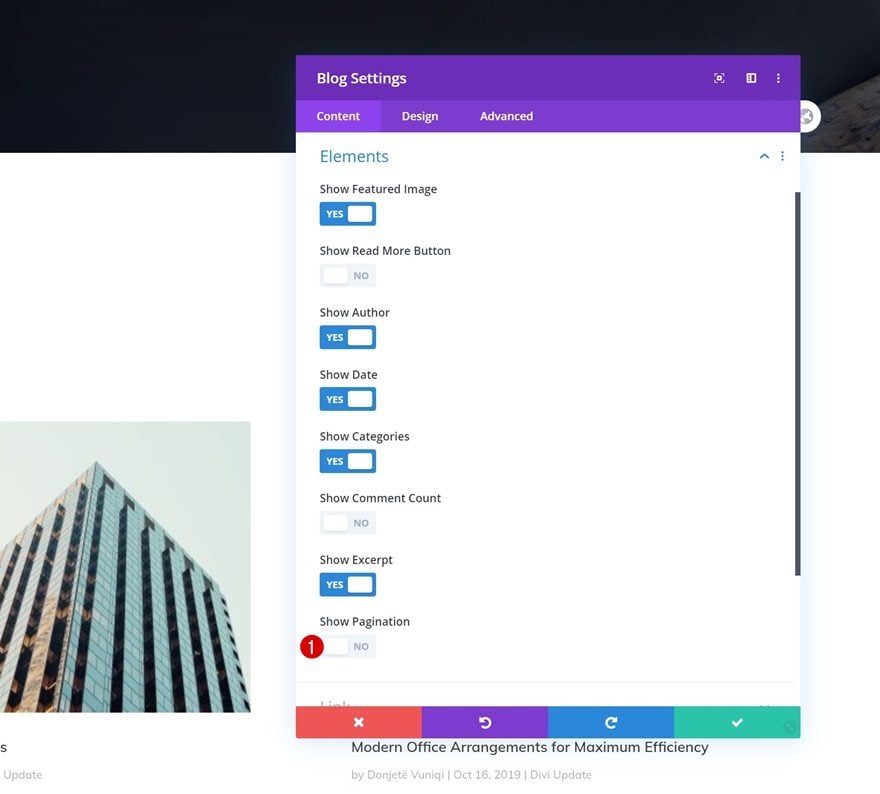
Once the row settings are in place, open the Blog Module settings. Make sure the pagination is disabled in the elements settings.
- Show Pagination: No
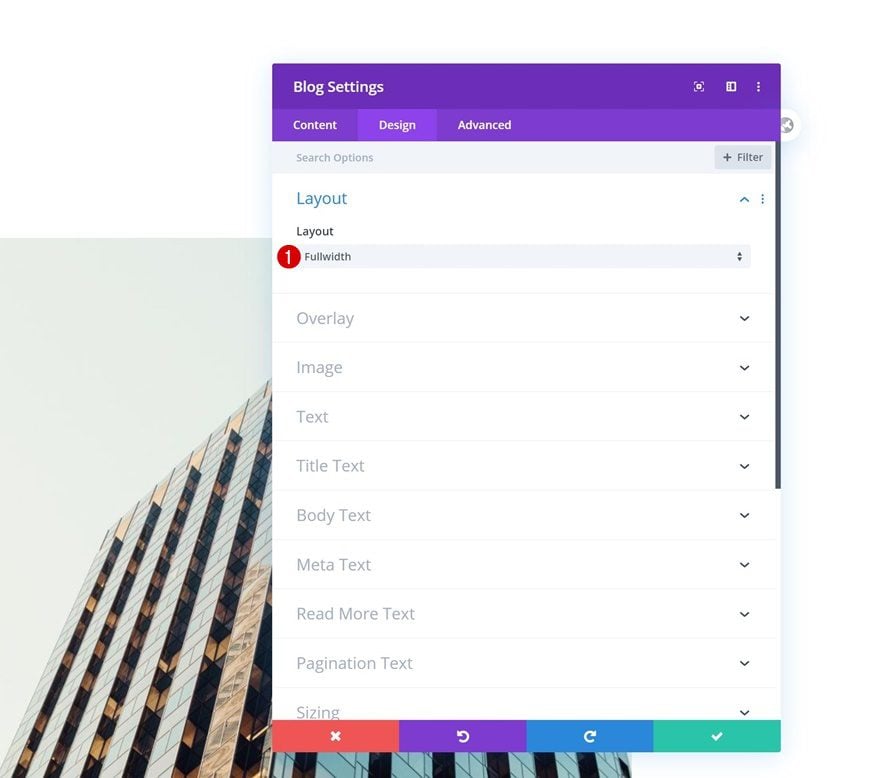
Layout
Then, move on to the design tab and change the layout to fullwidth.
- Layout: Fullwidth
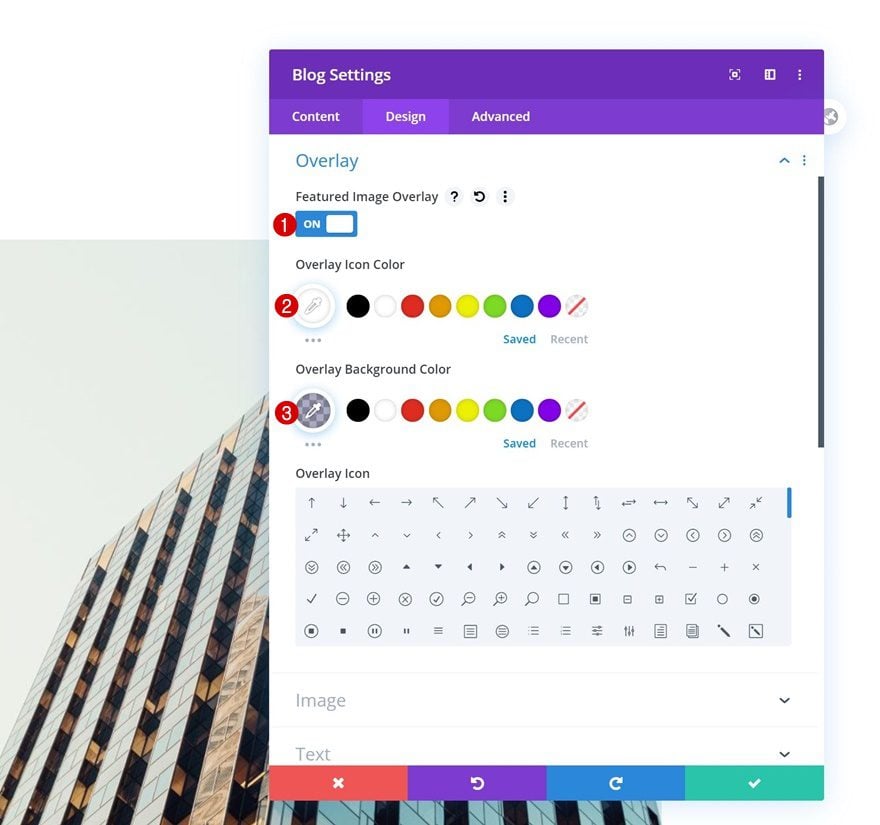
Overlay
We’re adding an overlay too.
- Featured Image Overlay: On
- Overlay Icon Color: #ffffff
- Overlay Background Color: rgba(1,0,66,0.33)
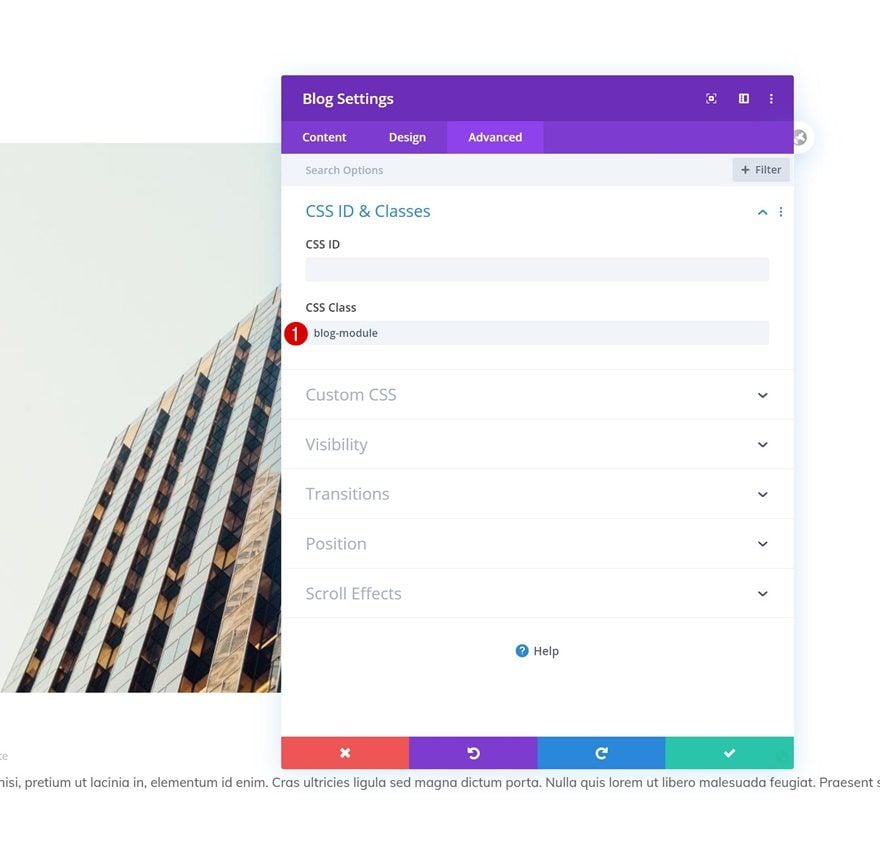
CSS Class
Next, we’ll add a CSS class to our blog, which will help us enable the carousel later on the tutorial.
- CSS Class: blog-module
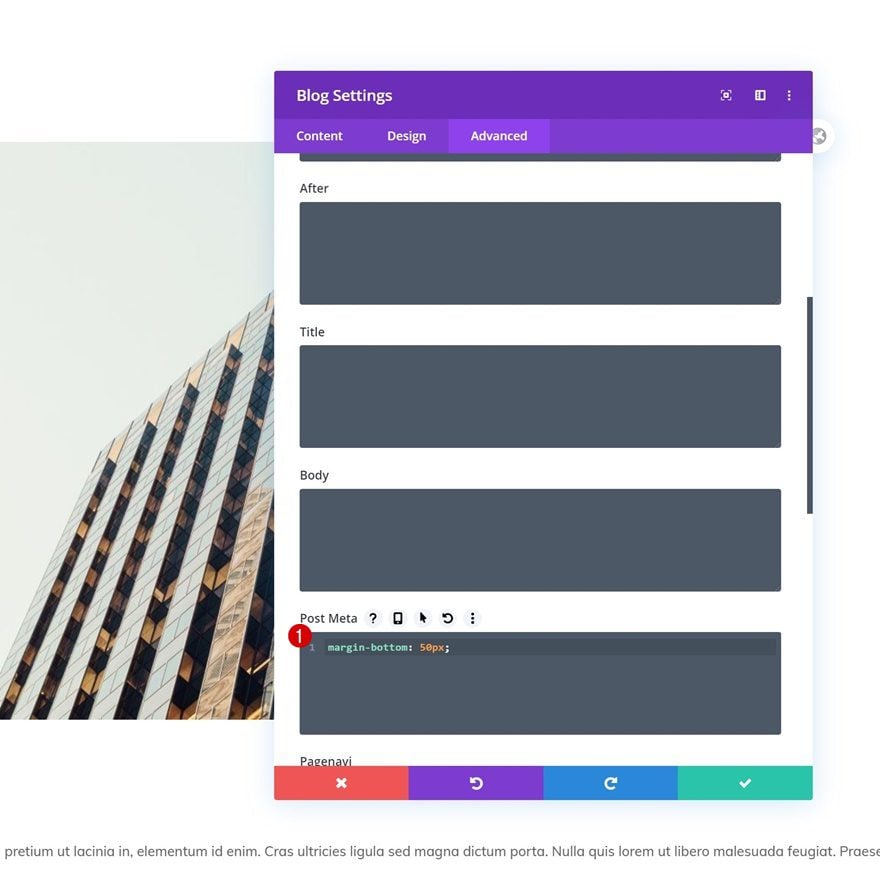
Post Meta CSS
And we’ll generate some space between the post meta and excerpt by adding some bottom margin to the post meta CSS element in the advanced tab.
margin-bottom: 50px;
4. Add Slick JS Functionality
Add Code Module Below Blog Module
Once all the Divi settings are in place, it’s time to add the slick js functionality! Add a Code Module right below the Blog Module (or anywhere else on the page).

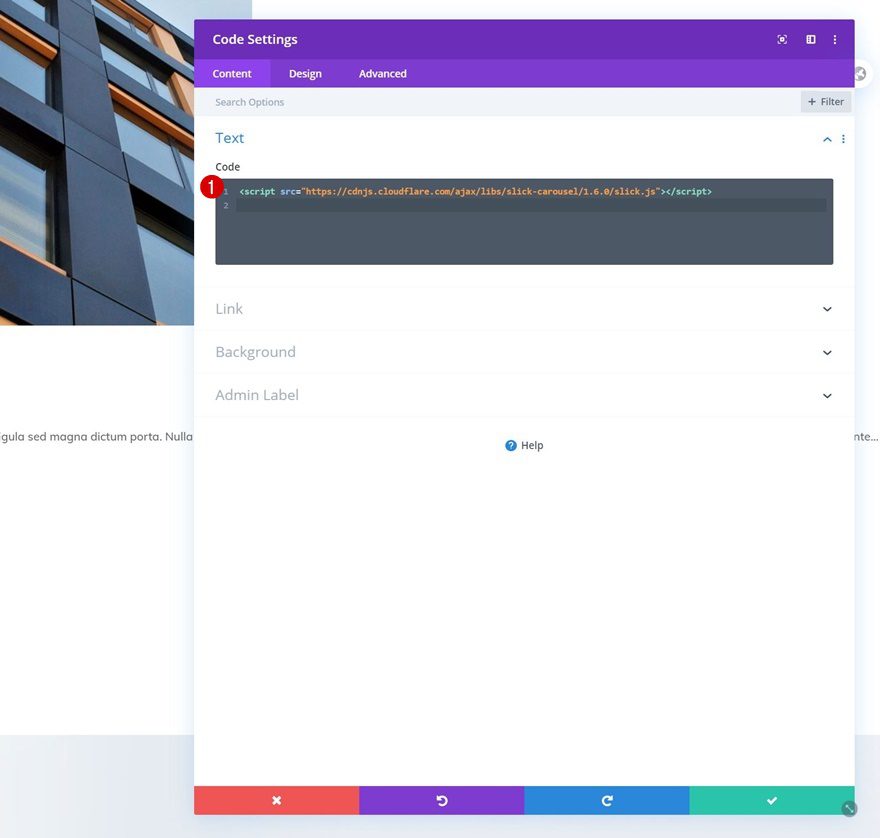
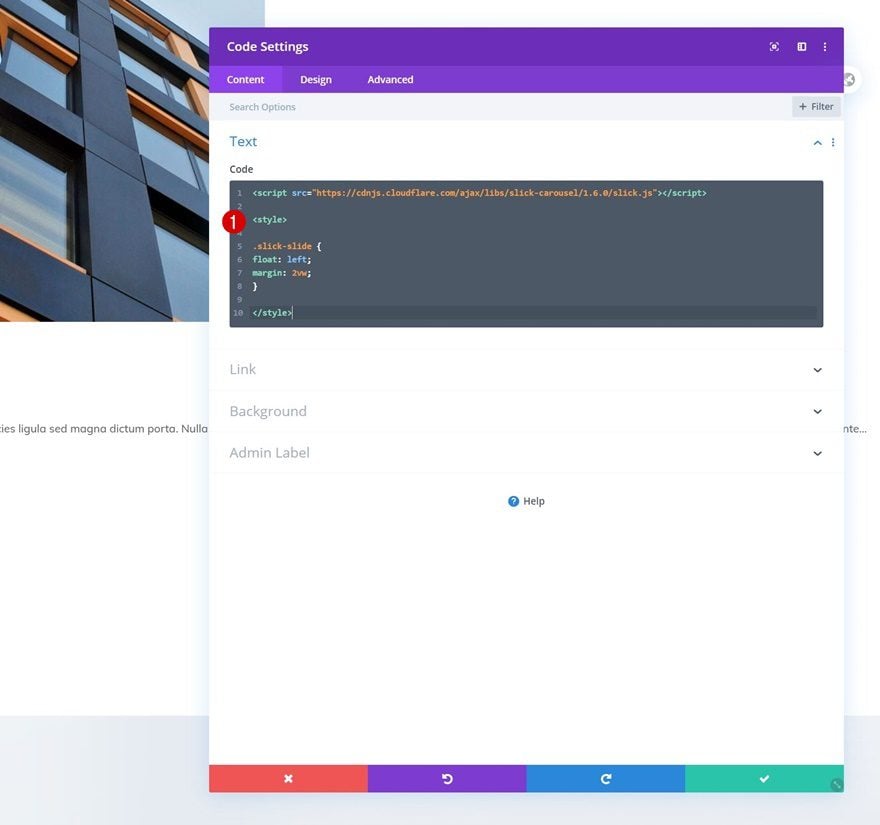
Add Slick JS Script Tags
Then, add the slick js library within script tags (as you can see in the print screen below). You’re free to add these to the head of your website in the Divi theme settings as well.
src="https://cdnjs.cloudflare.com/ajax/libs/slick-carousel/1.6.0/slick.js
Add Slide CSS Code
We’ll slightly modify each blog post on an individual level using some CSS code. Make sure you place the code between style tags as seen in the print screen below.
.slick-slide {
float: left;
margin: 2vw;
}
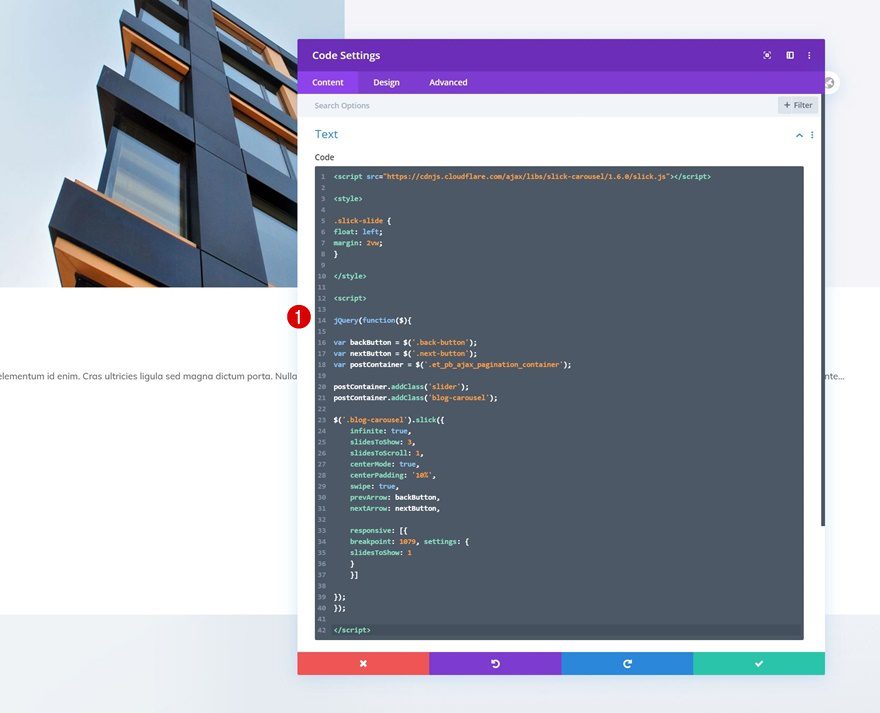
Add JQuery Code
And last but not least, we’ll add some JQuery code to allow the advanced draggable swipe carousel to take its form. Within the code below, we’re also adding the buttons we’ve designed to the carousel’s functionality. Make sure you place the code within script tags as you can see in the print screen below.
jQuery(function($){

var backButton = $('.back-button');
var nextButton = $('.next-button');
var postContainer = $('.blog-module .et_pb_ajax_pagination_container');

postContainer.addClass('slider');
postContainer.addClass('blog-carousel');

$('.blog-carousel').slick({
    infinite: true,
    slidesToShow: 3,
    slidesToScroll: 1,
    centerMode: true,
    centerPadding: '10%',
    swipe: true,
    prevArrow: backButton,
    nextArrow: nextButton,

    responsive: [{
    breakpoint: 1079, settings: {
    slidesToShow: 1
    }
    }]

});
});
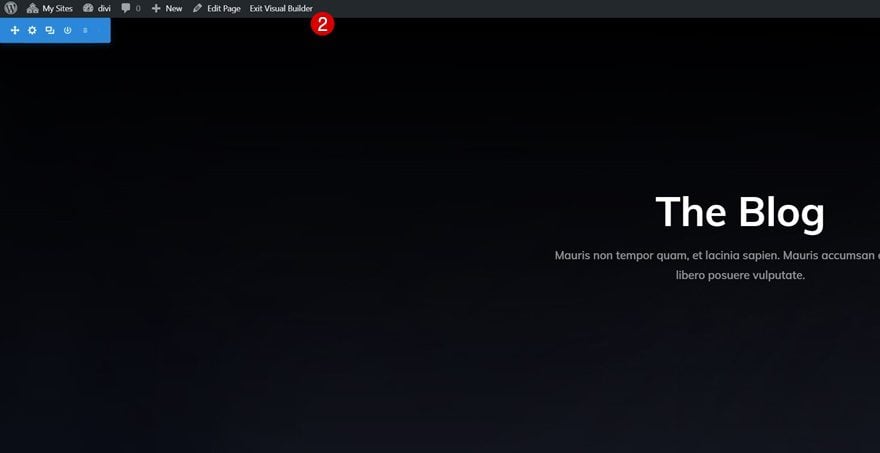
5. Save Page & Exit Visual Builder to View Outcome
Within the Visual Builder, you won’t see the outcome. So, as soon as you’re done, save your page, exit the Visual Builder and view the outcome on your website!
Preview
Now that we’ve gone through all the steps, let’s take a final look at the outcome across different screen sizes.
Desktop
Mobile
Final Thoughts
In this post, we’ve shown you how to take your Blog Module design to the next level. More specifically, we’ve shown you how to turn Divi’s built-in Blog Module into an advanced draggable swipe carousel using the free slick js library. We’ve provided the JSON file for free as well! If you have any questions or suggestions, feel free to leave a comment in the comment section below.
If you’re eager to learn more about Divi and get more Divi freebies, make sure you subscribe to our email newsletter and YouTube channel so you’ll always be one of the first people to know and get benefits from this free content.


Thanks… but it doesn’t look right at all.
Would it possible to integrate this dynamically with something like the next post / previous post module in Divi. Allowing readers to visually scroll through a post grid of headlines instead of just seeing headline links or text?
Doesn’t work for me.
4. Add Slick JS Functionality
Something is broken in the suggested code to be inserted in the Code module below the Blog module
Blog Section
Row
Blurb – Previous
Blog Posts Row
Blog
Code (in this section, as recommended in the )
Row
Blurb – Next
Really helpful post. Divi Changes Everything- it’s true and elegant themes are awesome.
Love you guys.
Hello Donjete, thank you for this post.
Works well on desktop, doesn’t work for me on mobile 🤔🥺….
Hi,
It doesn’t work for me.
First, it missing the last double quote when you added the slick js library source.
Then, I still have a broken page.
I have this error (about slick js I think) :
Uncaught TypeError: $(…).slick is not a function
at HTMLDocument.
Super nice Donjete! Useful and well explained! Thanks!
Thank you Donjete, this post is really useful and explained very well. It’s time to do some experiments with the Slick.js library.