
The Divi Blog module is a powerful tool when it comes to creating category and archive pages. With a few simple settings, you can assign a template to any category or archive page without having to adjust the Blog module. In this article, we’ll look at how to use a Blog module inside a category or archive page template and assign it to any category or archive page.
Let’s get started.
What is a Category and/or Archive Page?
First, let’s define what we’re talking about.
An archive page displays posts that belong to a specific type of archive. These include the post author, category, date, and tag. It also works for each of the post types, such as projects.
A category page displays posts for a specific blog category. It’s a type of archive page.
Divi allows us to create templates for all of these archive pages. We can also create templates for specific archive pages using dynamic post options.
Specifying the Archive Page Content
Even though we can assign a template to an archive page, we still have to specify what the page will display. This is done within the Blog module within the template itself. The Blog module displays the feed based on our selections. We’ll look at the most efficient way to set up the Blog module so it can be used with any archive page.
Upload the Category Page Template
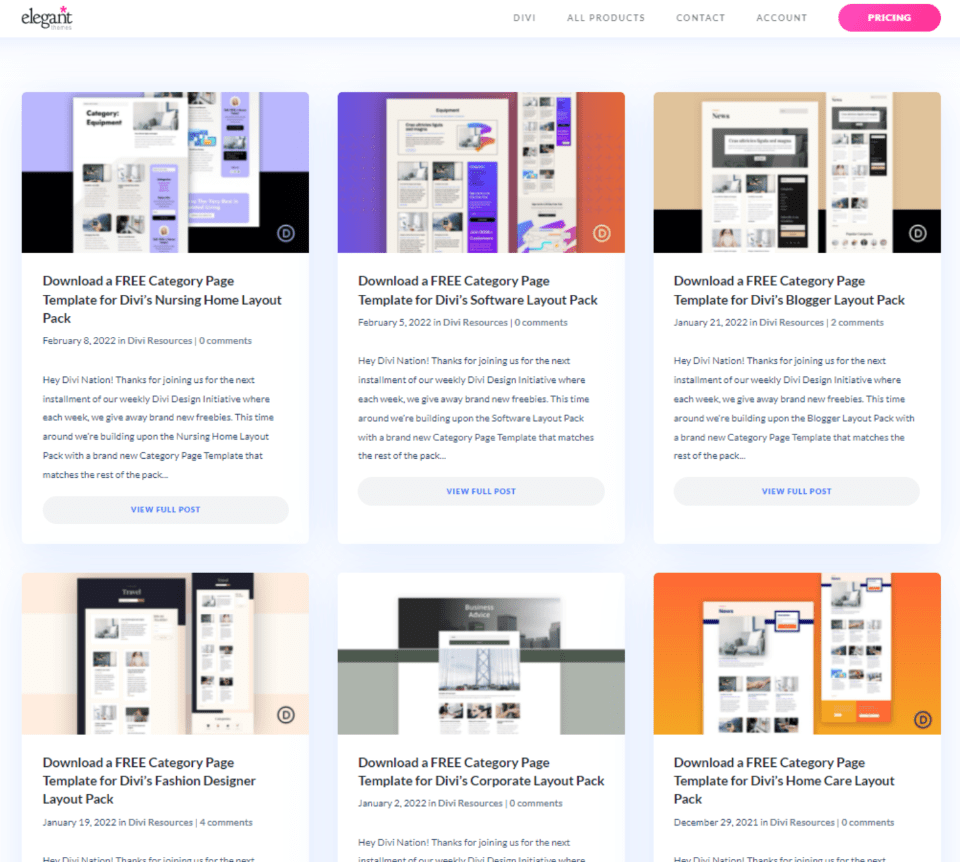
To follow along, you’ll need a Category page template. You can create it from scratch, or you can download one from the Elegant Themes blog. You can find lots of free category page templates in the Elegant Themes blog by searching for “free category page template”. Download the zipped file to your computer and unzip it. You’ll need to upload the JSON file.
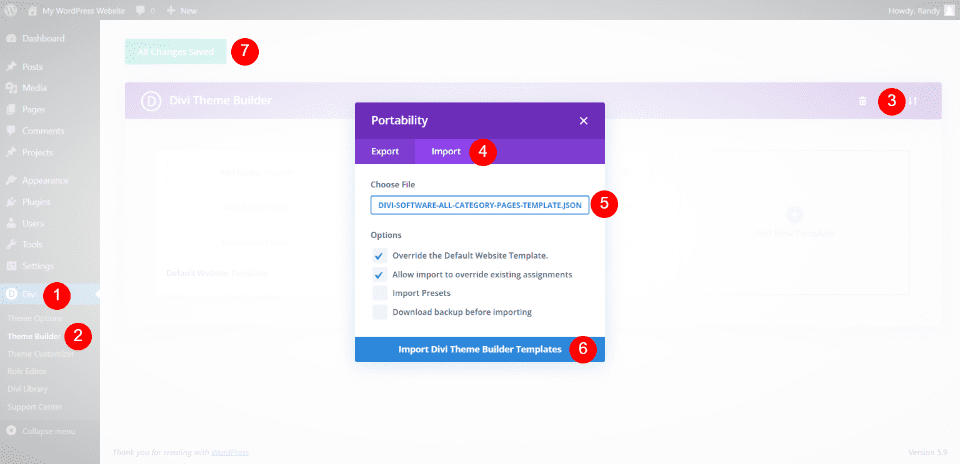
For my examples, I’m using the free Category Page Template for Divi’s Software Layout Pack. Upload the category template by going to Divi > Theme Builder in the WordPress dashboard. Select Portability in the right corner, choose the Import tab and navigate to the JSON file on your computer. Select the file and click Import Divi Theme Builder Templates. Save your template.
- Divi
- Theme Builder
- Portability
- Import
- Choose File
- Import Divi Theme Builder Templates
- Save
Assign the Category Page Template
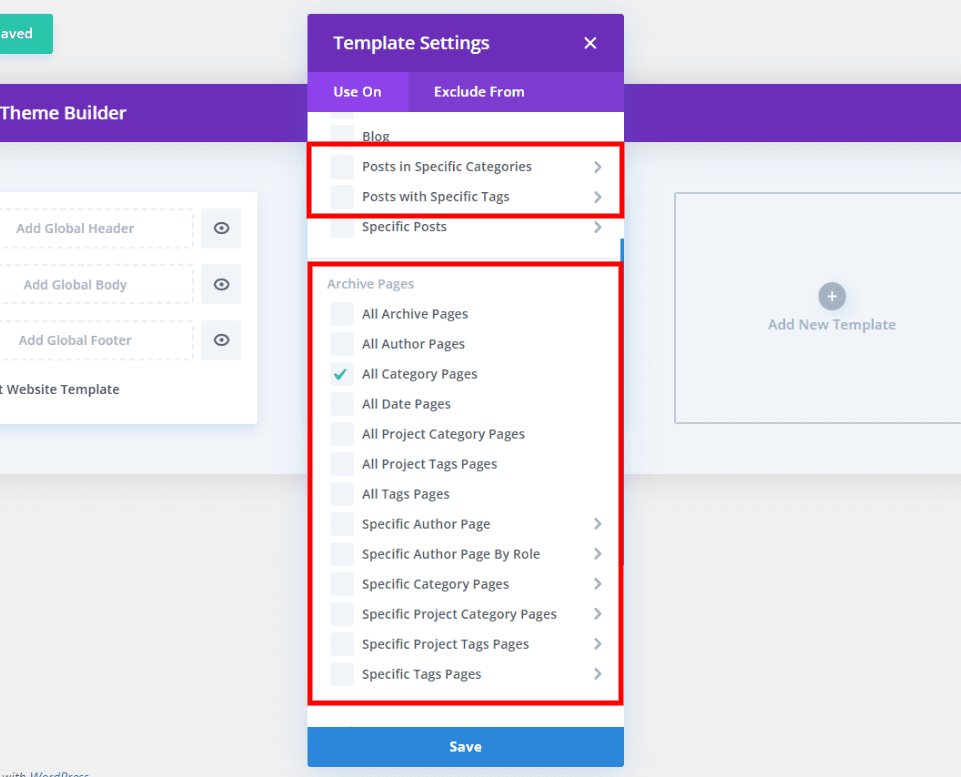
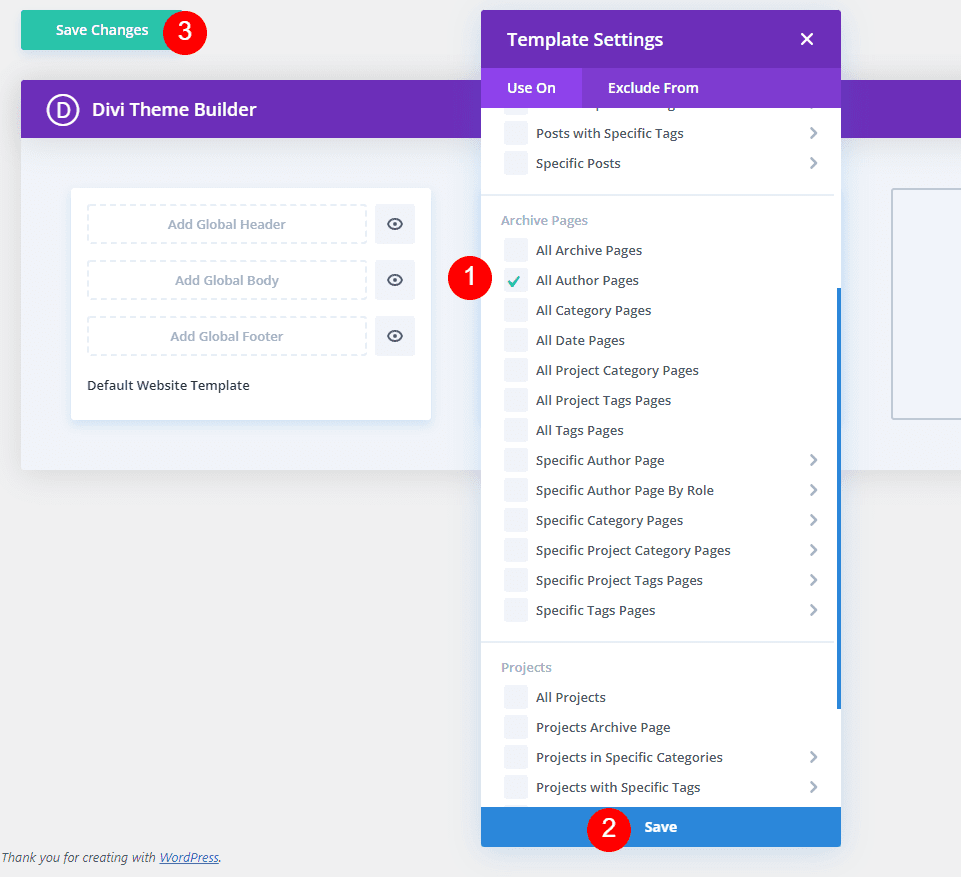
The Category template is automatically set to All Category Pages. You can assign it to a specific archive or category pages by selecting the gear icon.

The Template Settings let us choose the posts that will display the template. we can choose All of a certain type of post or a specif post. For example, we can assign the template to all authors, or choose a specific author.
Adjusting the Category Page Template
Our template includes a Post Slider module and a Blog module. The Post Slider is part of the hero section, while the Blog module creates the blog feed.
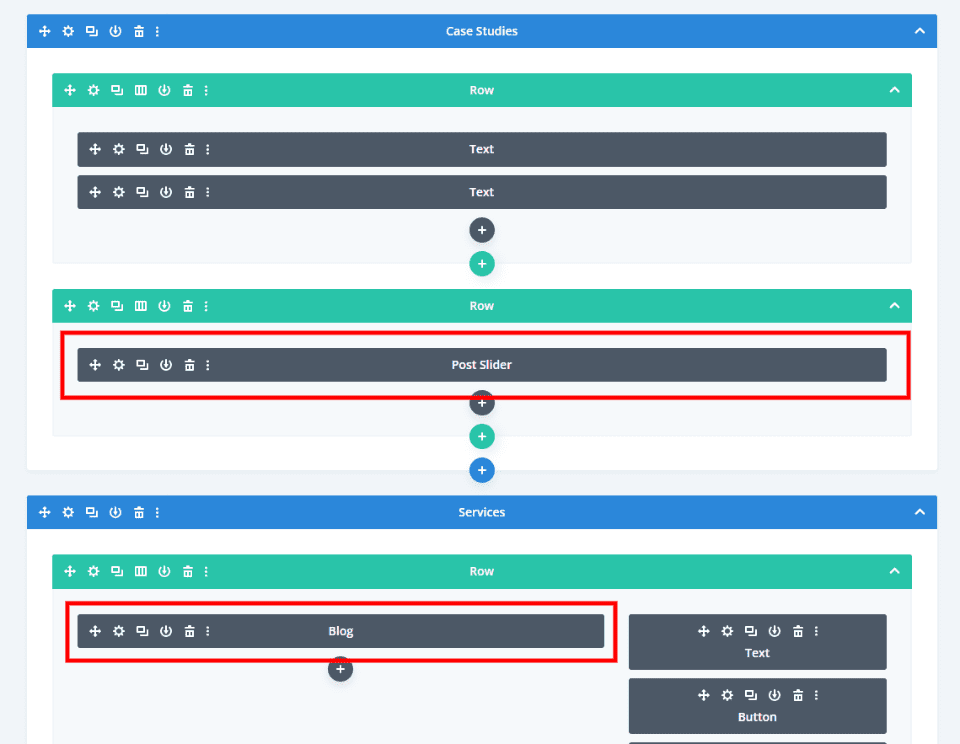
I want to create them from scratch, so I’ve deleted the Post Slider module and Row, and the Blog module from my template. We’ll first build the template with a Blog module and then add the Post Slider later in order to create two versions of the layout.
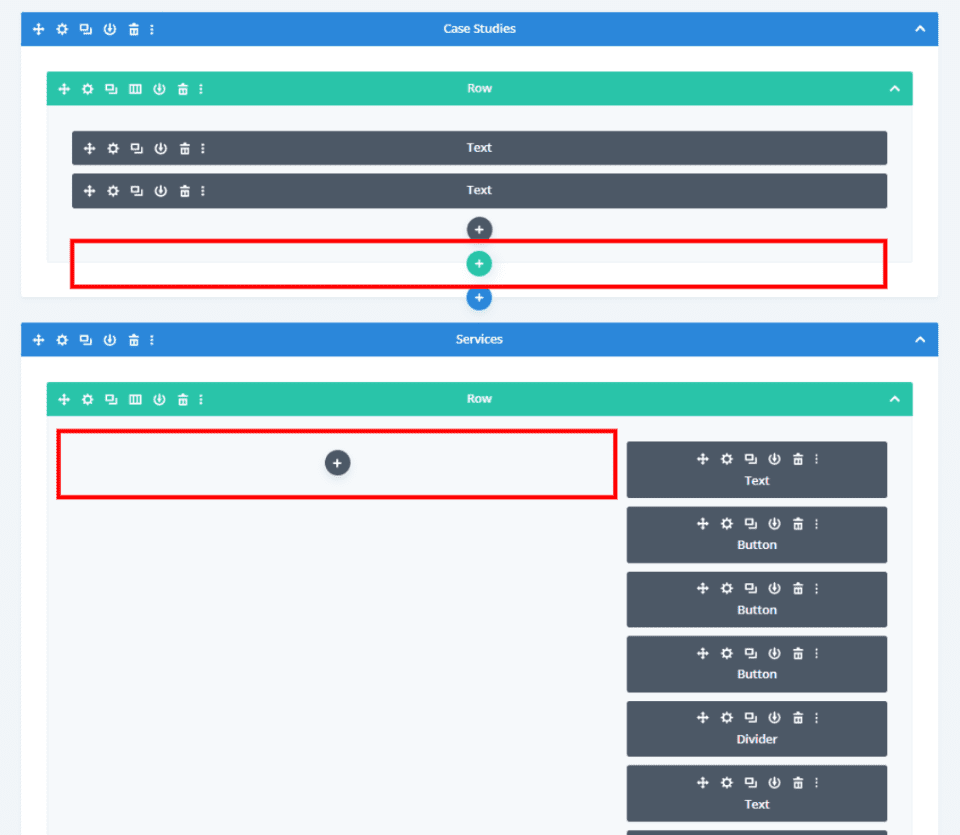
Create the Category or Archive Template
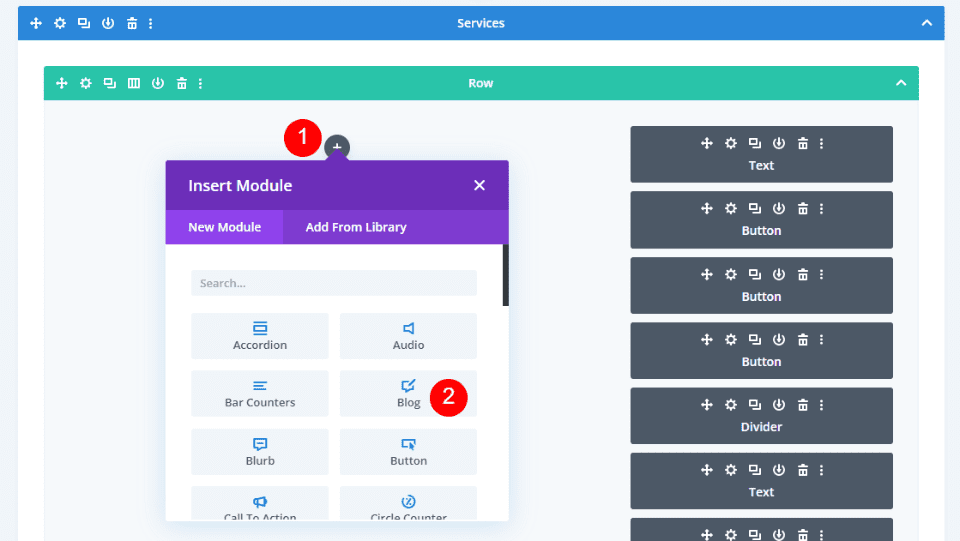
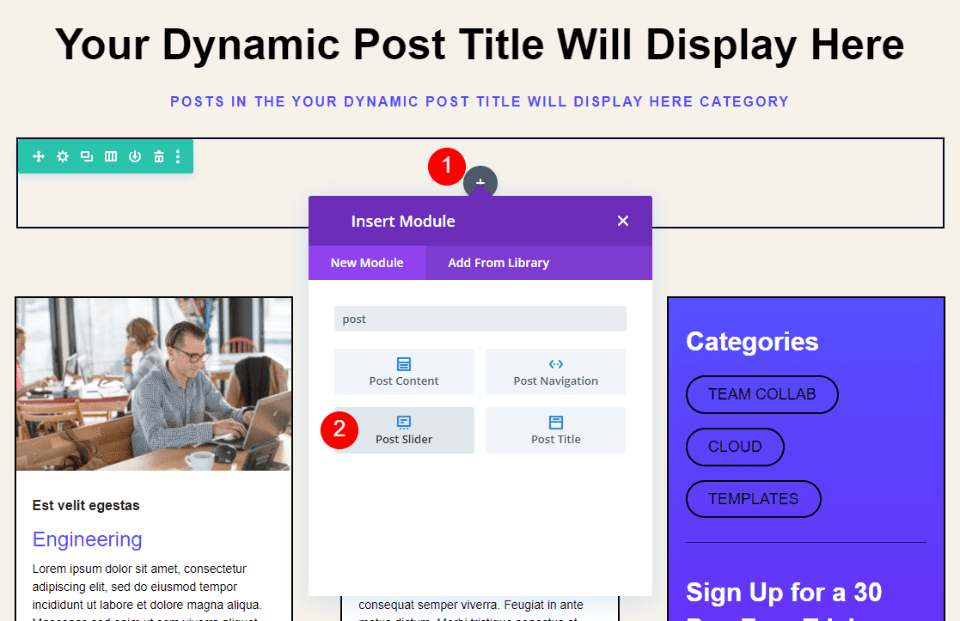
First, we’ll add a Blog module. Select the gray icon and choose the Blog module from the options.
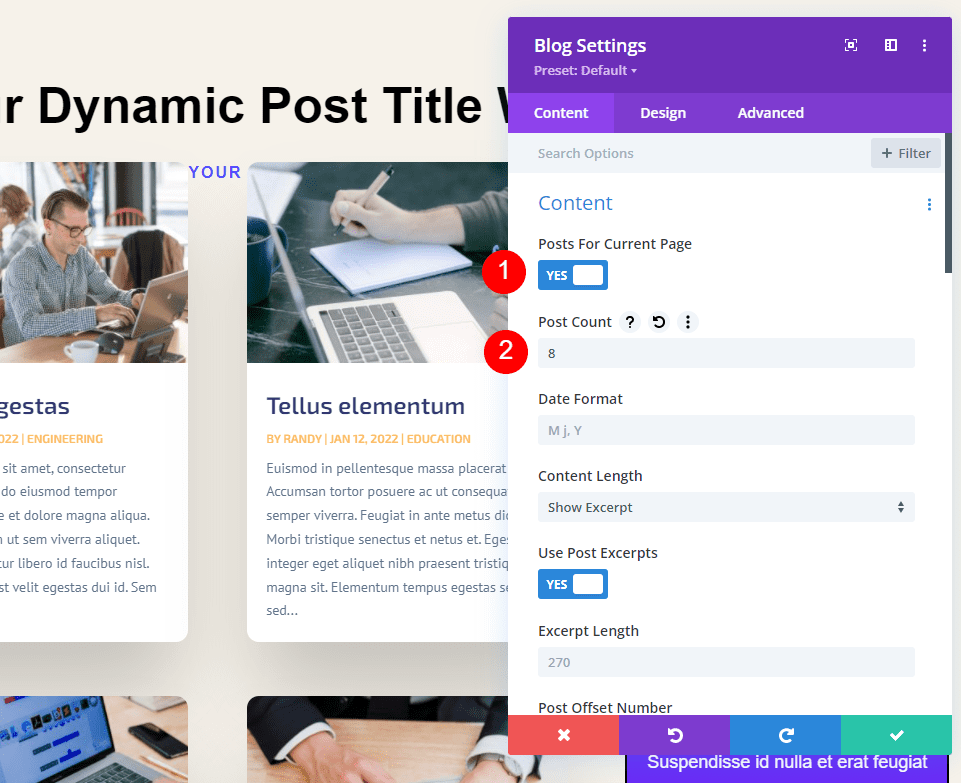
Content
First, enable Posts for Current Page. This allows the module to display the posts dynamically regardless of the page assignment. Next, set the Post Count to 8.
- Posts for Current Page: Yes
- Post Count: 8
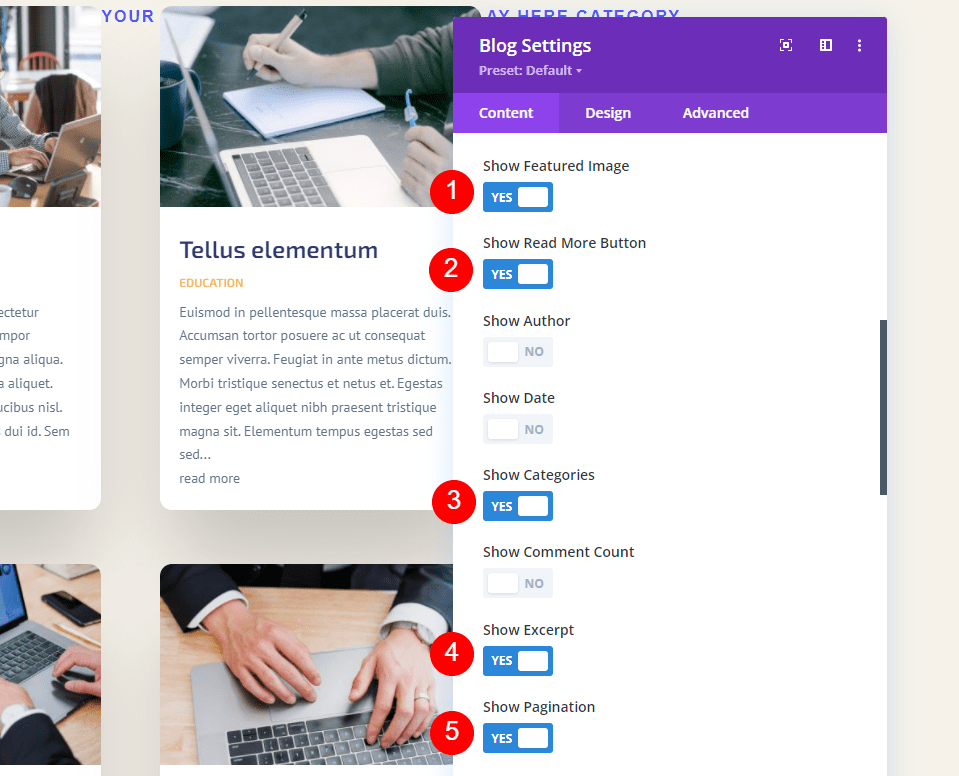
Elements
Scroll down to Elements. Select to use the Featured Image, Read More Button, Categories, Excerpt, and Pagination. Disable the rest.
- Featured Image: Yes
- Read More Button: Yes
- Categories: Yes
- Excerpt: Yes
- Pagination: Yes
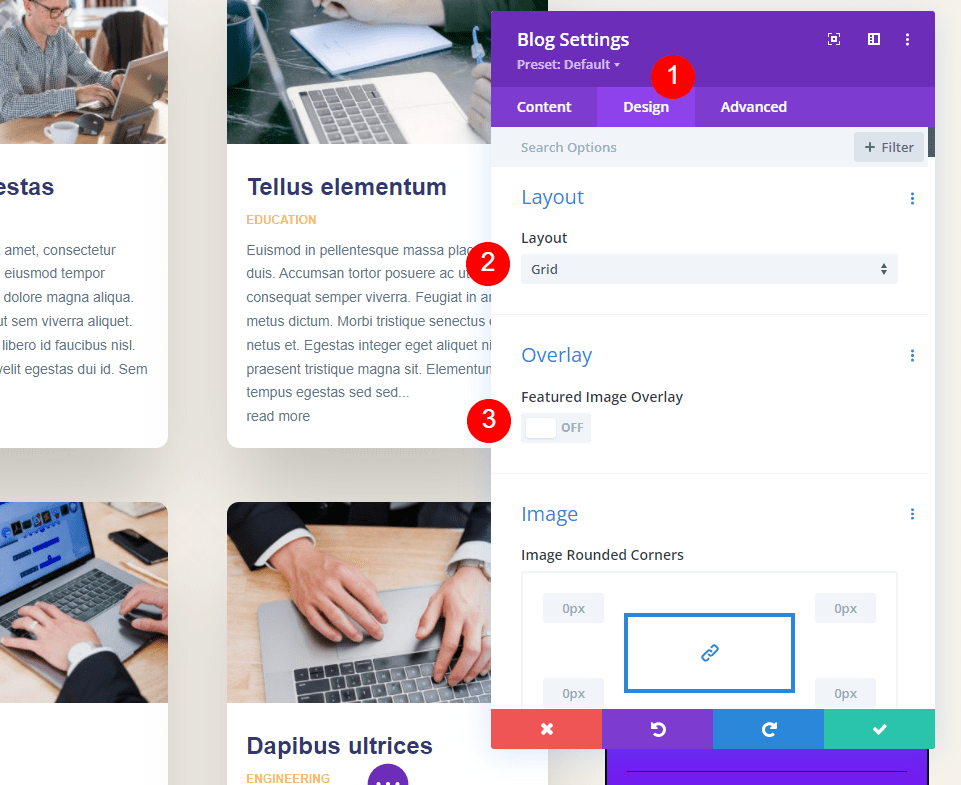
Layout and Overlay
Go to the Design tab. Make sure Grid is selected for the Layout and disable the Overlay.
- Layout: Grid
- Overlay: Off
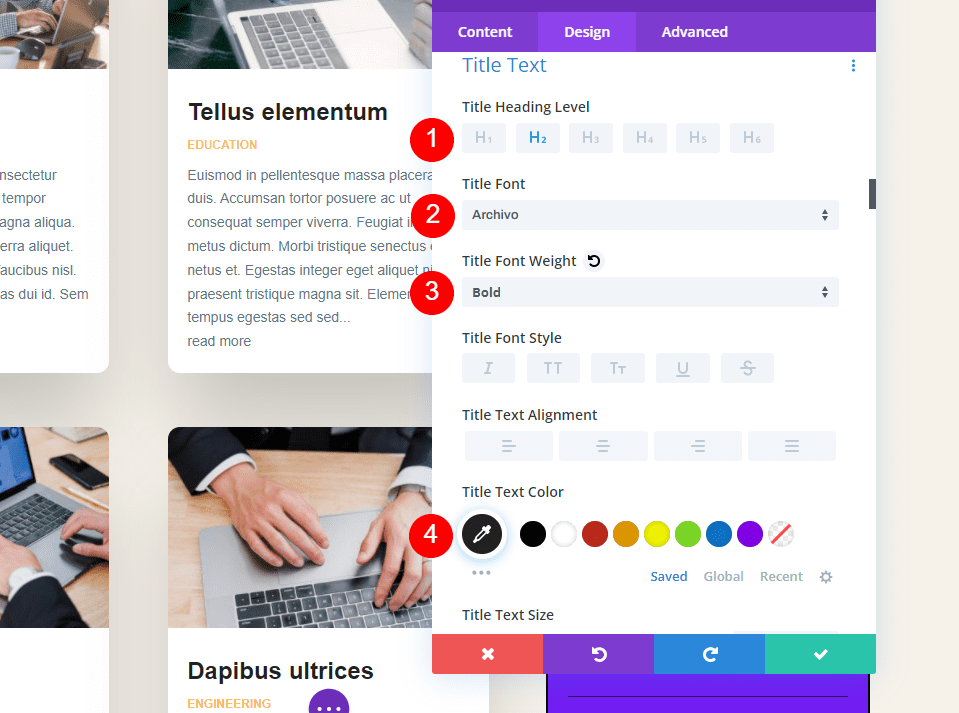
Title Text
Scroll to Title Text and select H2 for the Heading Level. Choose Archivo for the Font and set it to Bold. Set the Color to #222222.
- Heading Level: H2
- Font: Archivo
- Weight: Bold
- Color: #222222
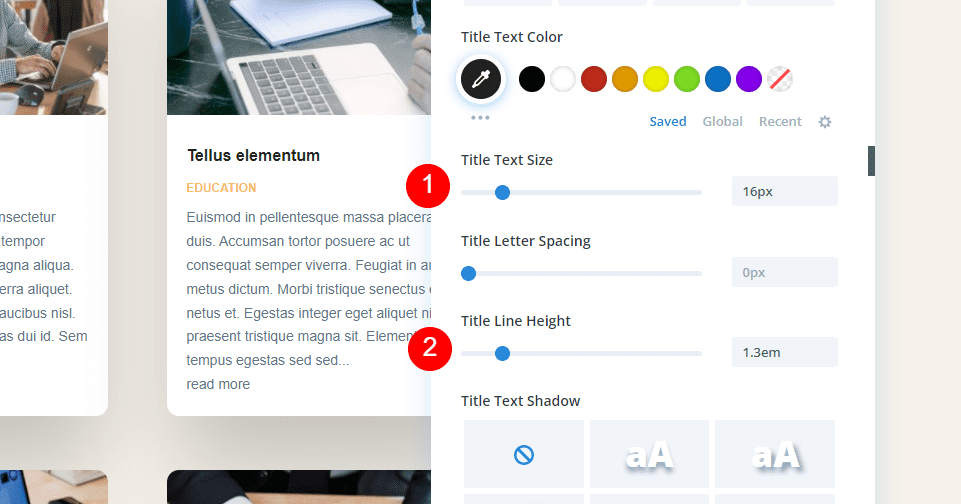
Set the Size to 16px and the Line Height to 1.3em.
- Size: 16px
- Line height: 1.3em
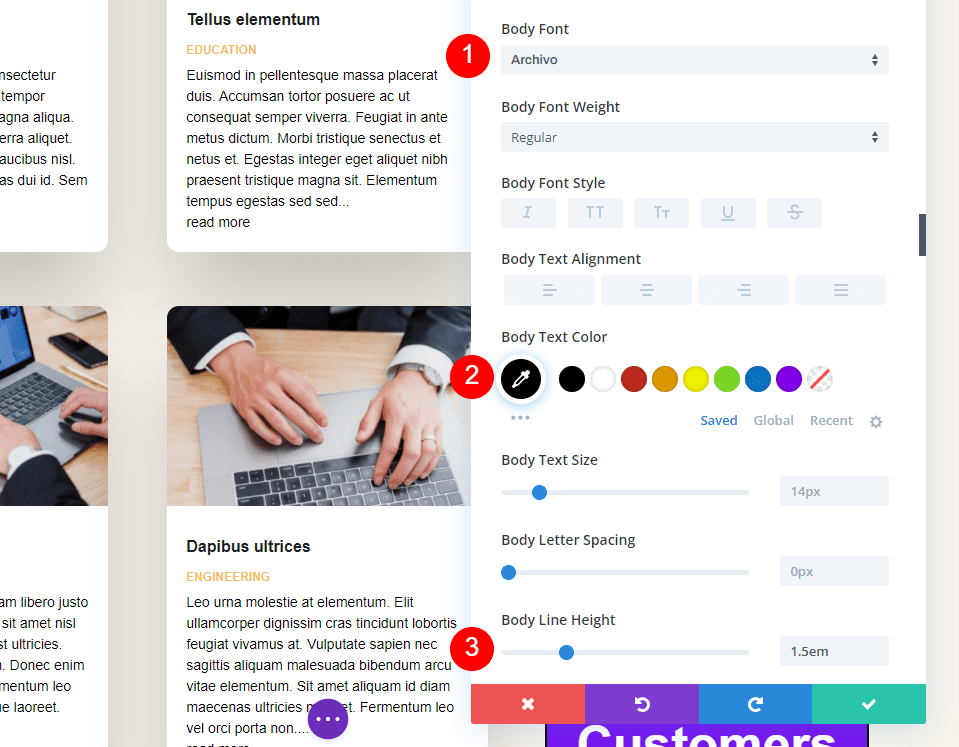
Body Text
Scroll to Body Text and choose Archivo for the Font. Set the Color to black and the Line Height to 1.5em.
- Font: Archivo
- Color: #000000
- Line Height: 1.5em
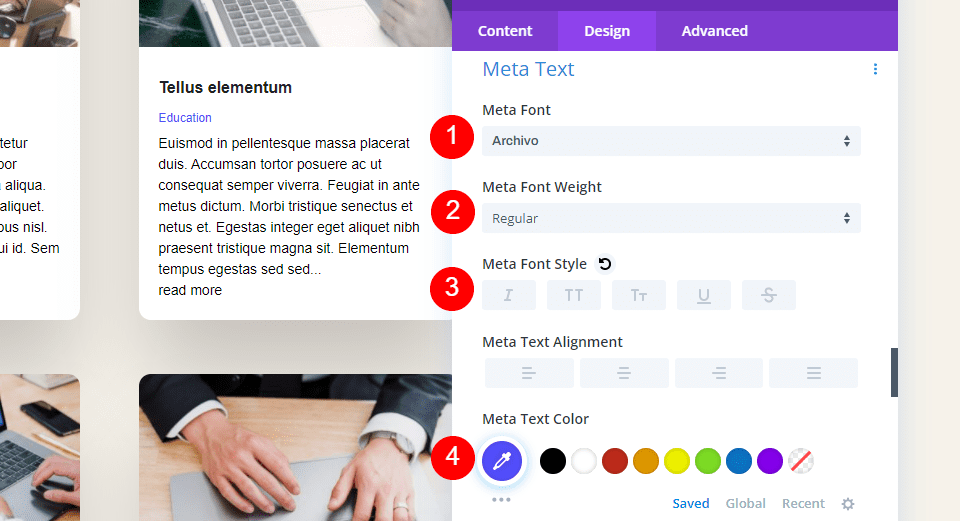
Meta Text
Scroll to Meta Text and choose Archivo for the Font. Set the Style to none and the Color to #544fff.
- Font: Archivo
- Style: None
- Color: #544fff
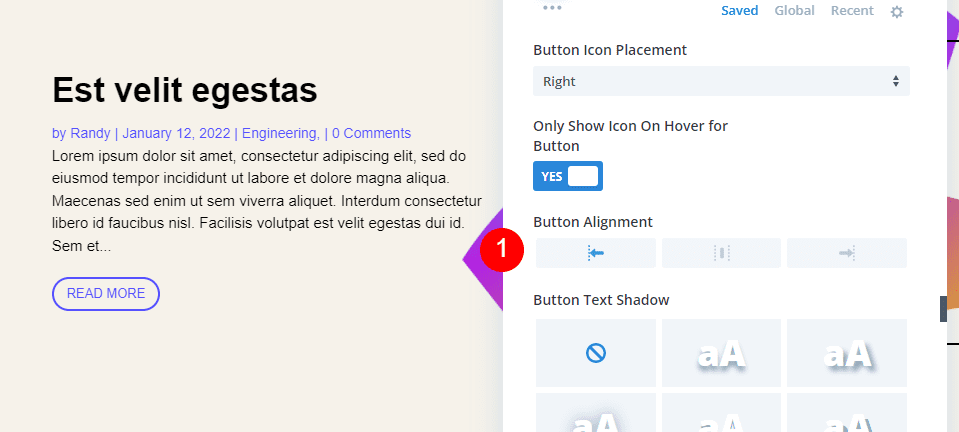
Read More Text
Scroll down to Read More Text and set the Weight to Semi Bold, the Style to TT and Underlined, the Color to #544fff, and the Size to 13px.
- Weight: Semi Bold
- Style: TT, Underlined
- Color: #544fff
- Size: 13px

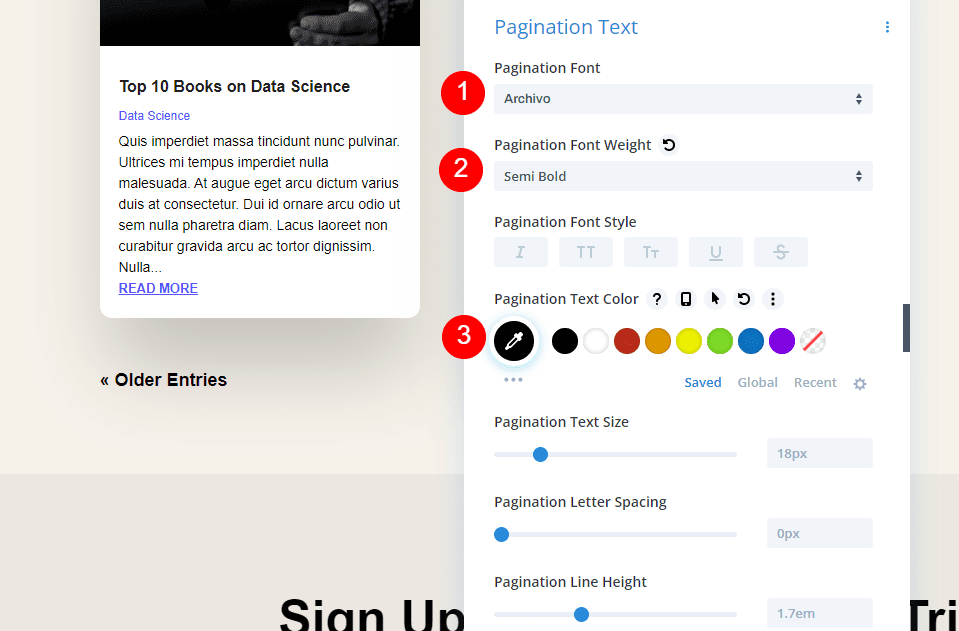
Pagination Text
For the Pagination Text, choose Archivo for the Font and set it to Semi Bold and black.
- Font: Archivo
- Weight: Semi Bold
- Color: #000000
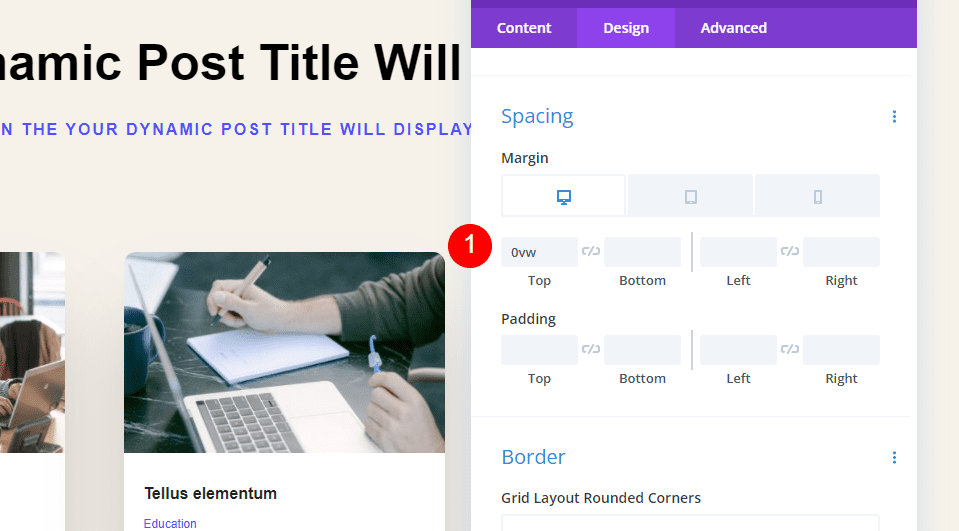
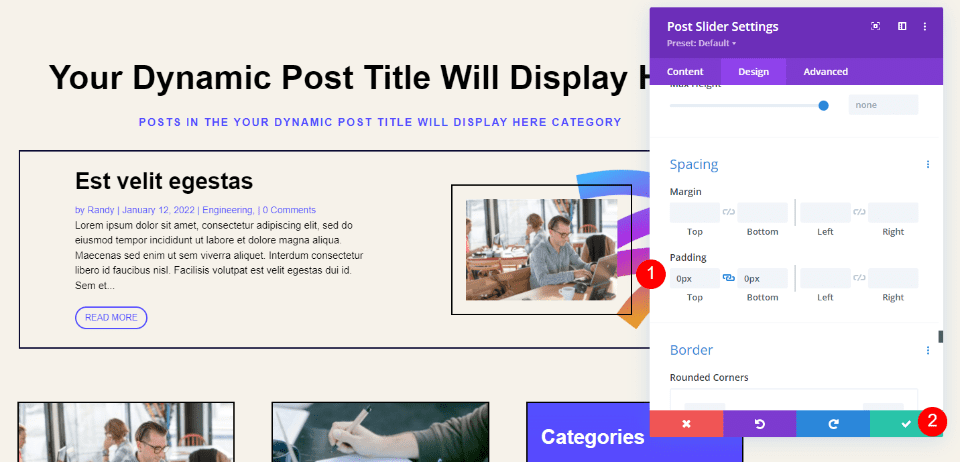
Spacing
Scroll to Spacing and set the Top Margin to 0vw.
- Top Margin: 0vw
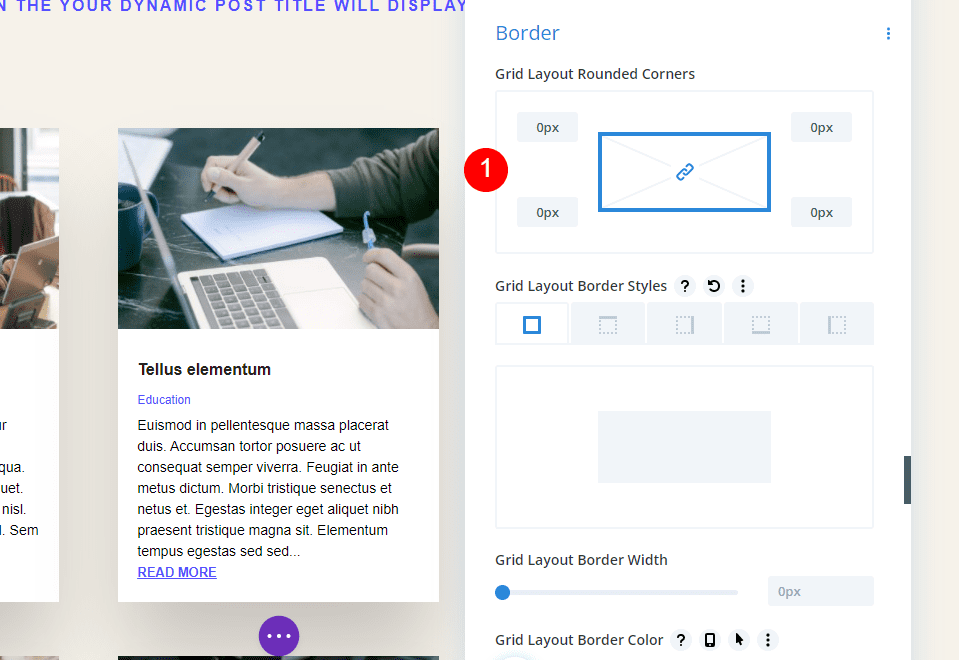
Border
Go to Border and set the Rounded Corners to 0px.
- Grid Layout Rounded Corners: 0px
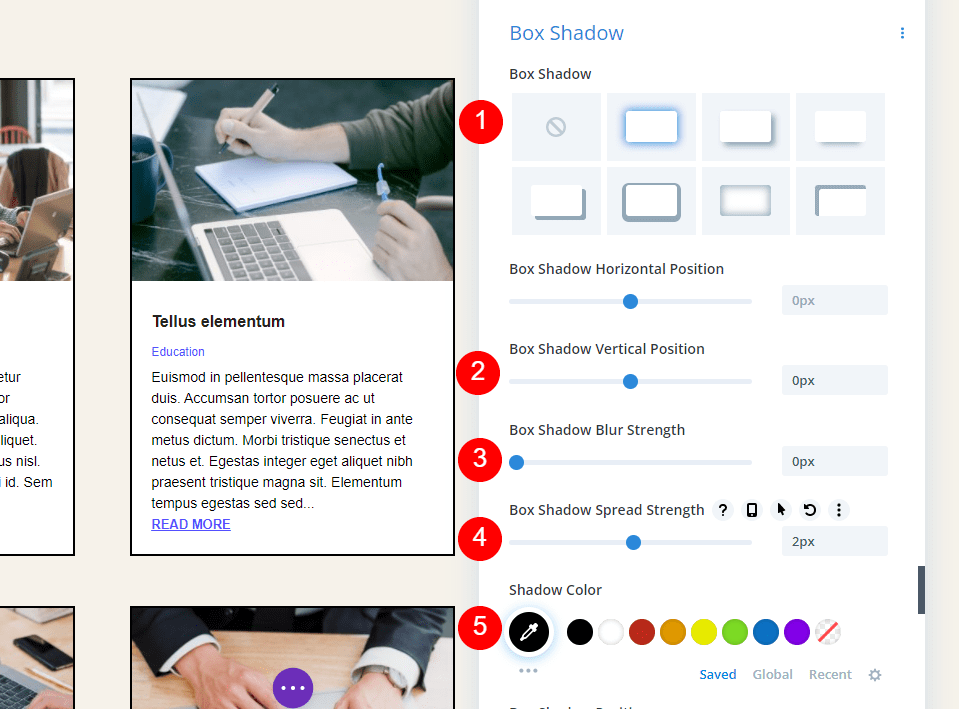
Box Shadow
Scroll down to Box Shadow and choose the first option. Set the Vertical Position to 0px, the Blur Strength to 0px, the Spread Strength to 2px, and the Color to black.
- Box Shadow: First
- Vertical Position: 0px
- Blur Strength: 0px
- Spread Strength: 2px
- Color: #000000
Custom CSS
Finally, we’ll add some CSS to the Read More Button to add some space between the text and the Read More Button. Go to the Advanced tab and scroll to the Read More Button Field and add this CSS:
margin-top: 10px !important;

display: block;
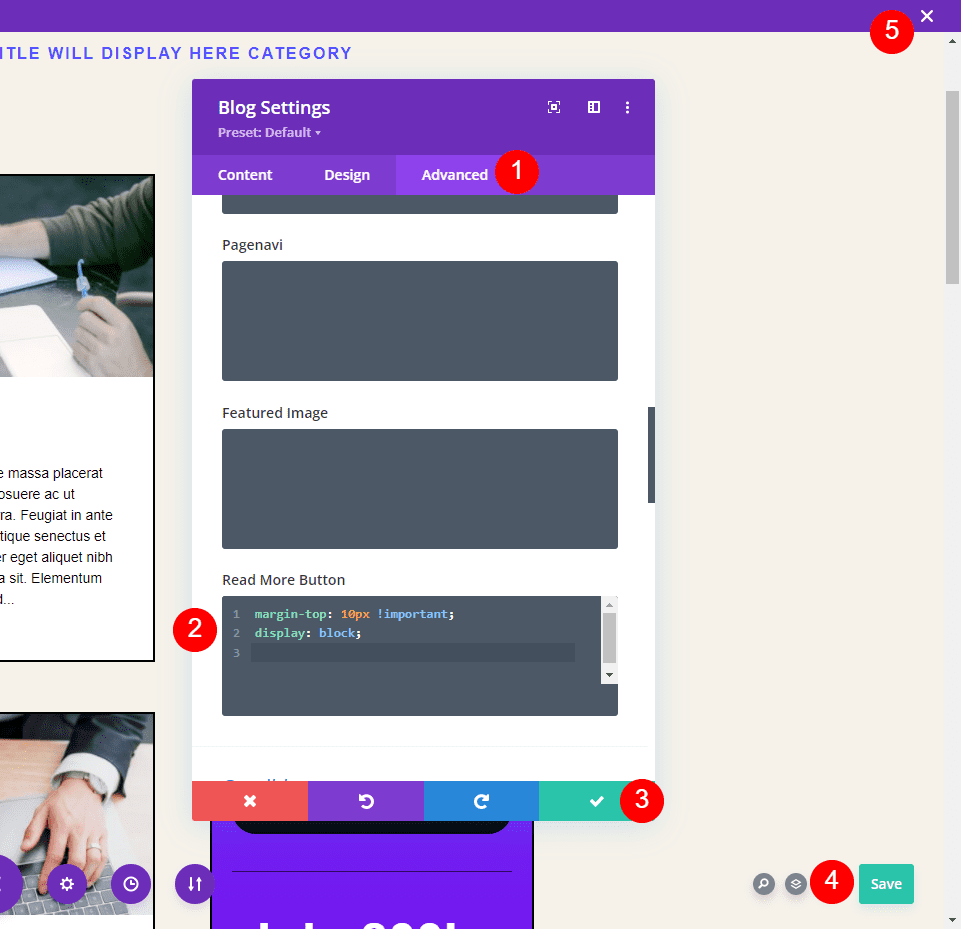
Now, save your settings and close the Theme Builder.
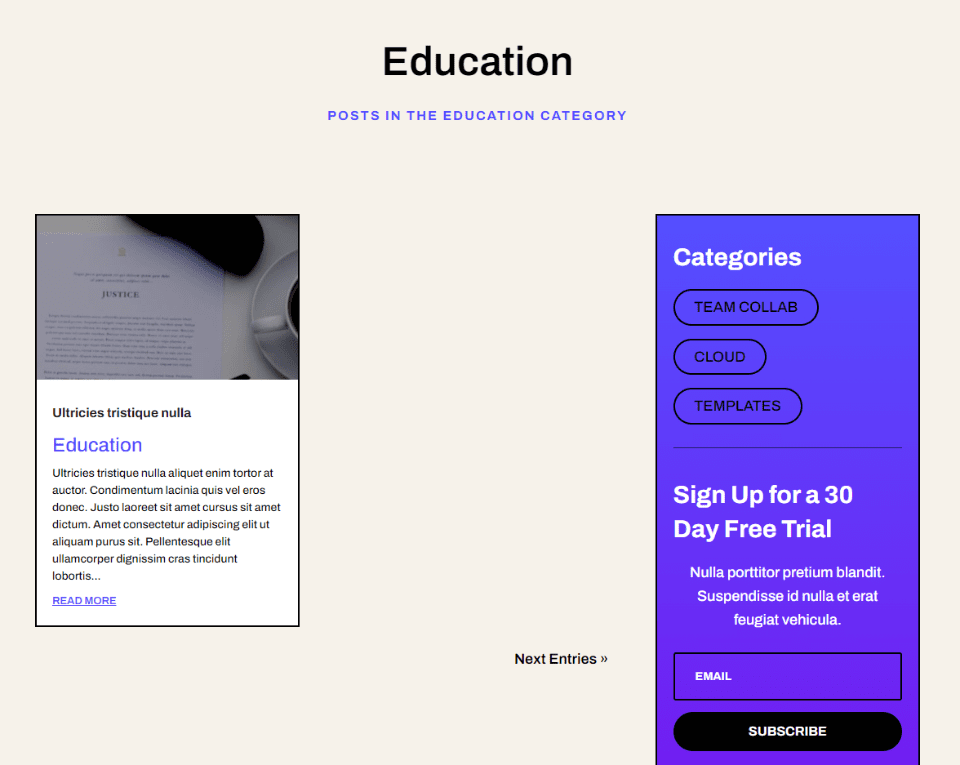
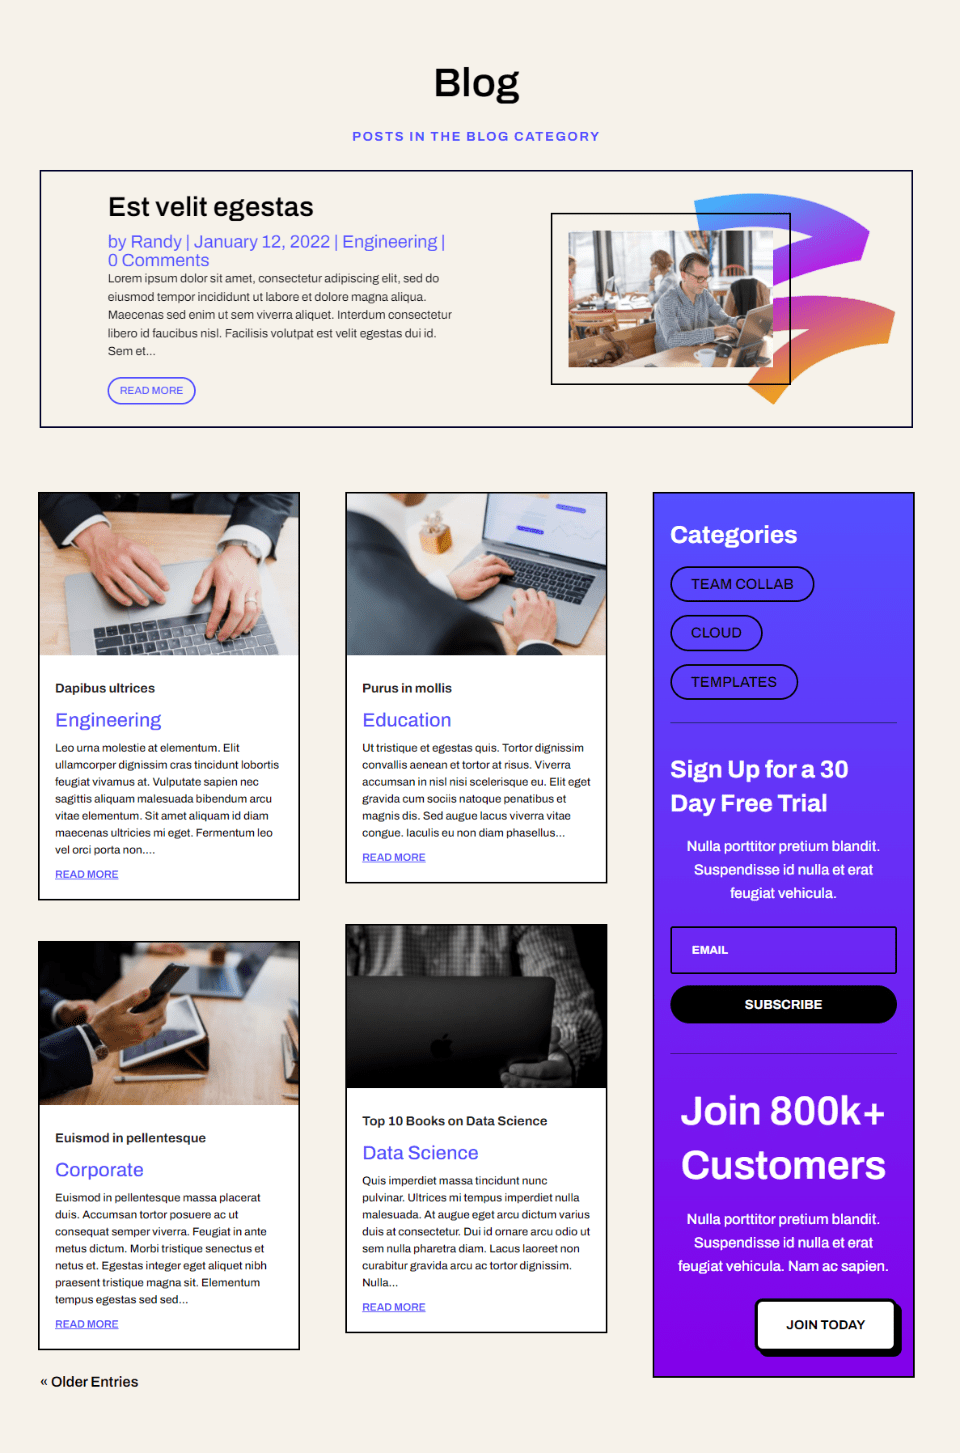
Category and Archive Page Results
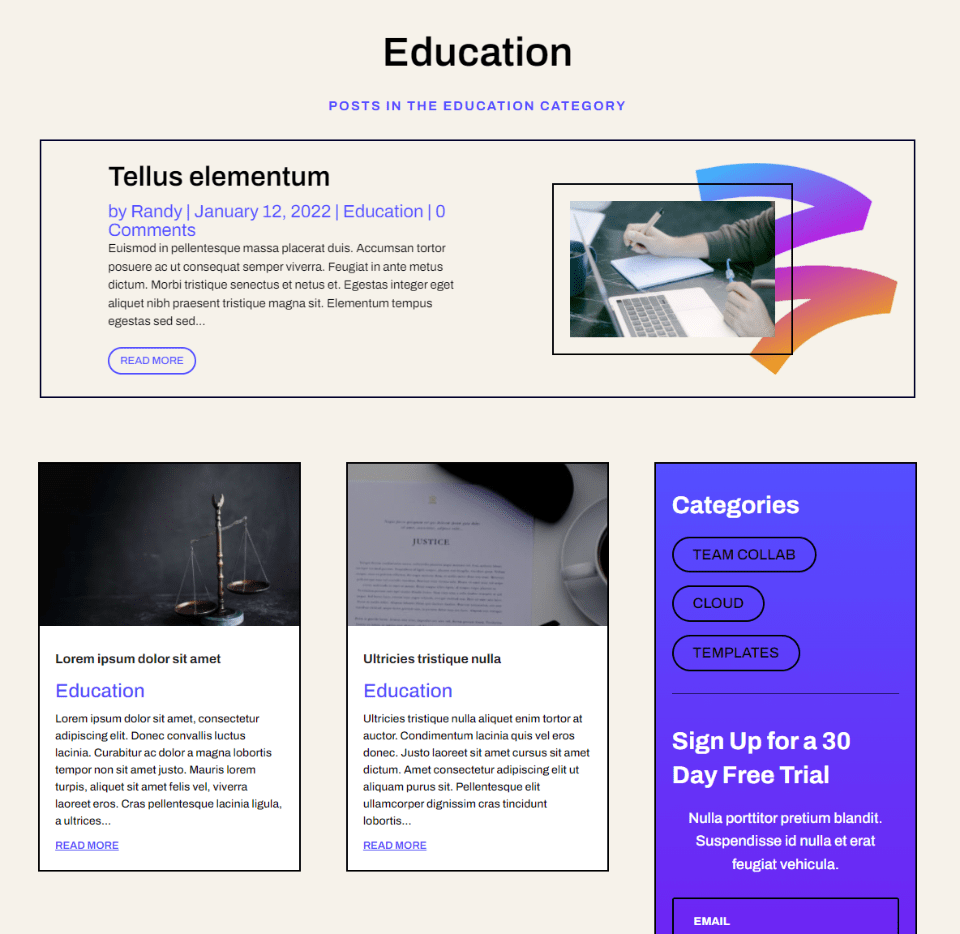
Here’s how our Category Template looks when assigned to All Categories. The page displays dynamic content from me Education category. For my examples, I’ve changed my post count to 4 to keep the screenshots smaller and increased the size of the Meta Text to make them easier to see.
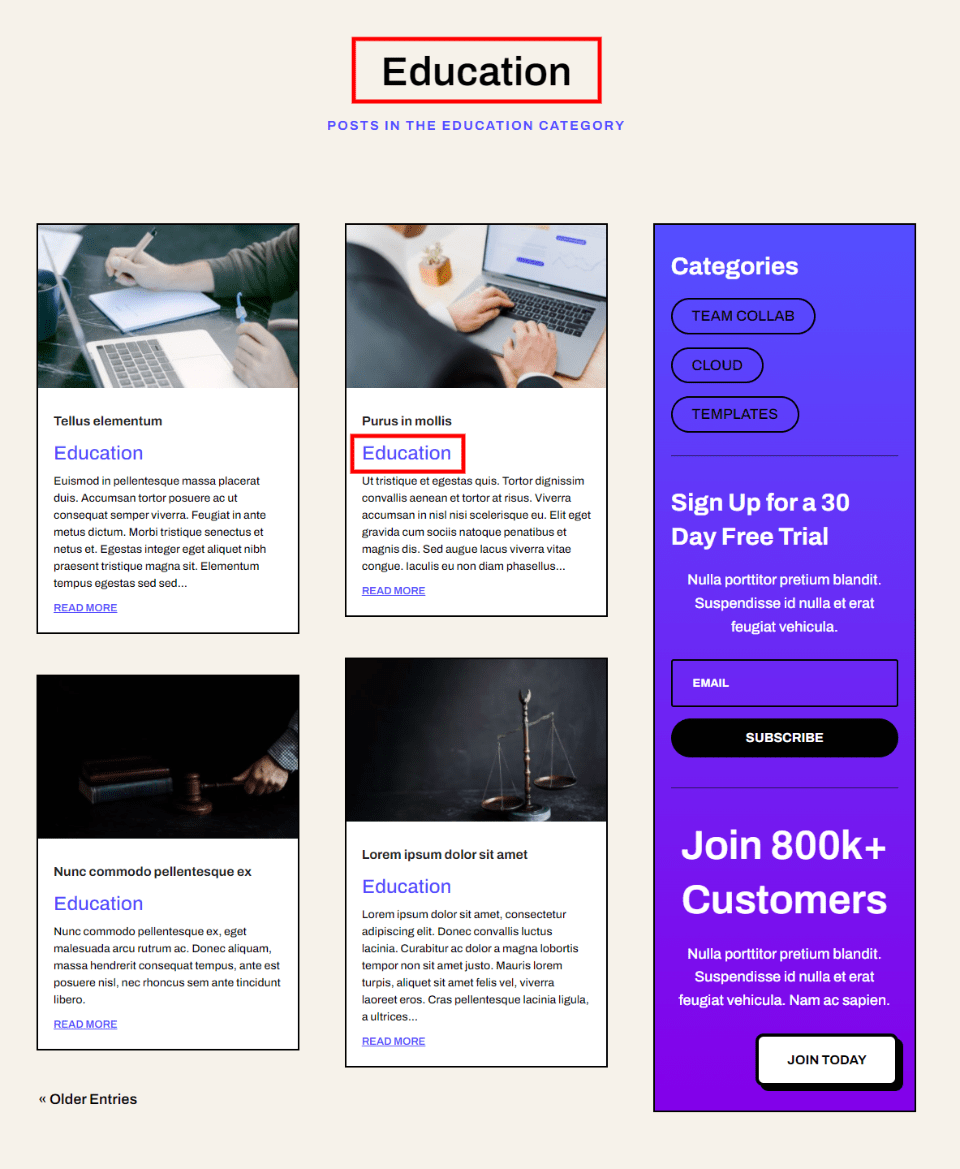
The pagination only works dynamically within this category. For the next image, I’ve selected the Older Entries and it still only shows entries in the Education category.
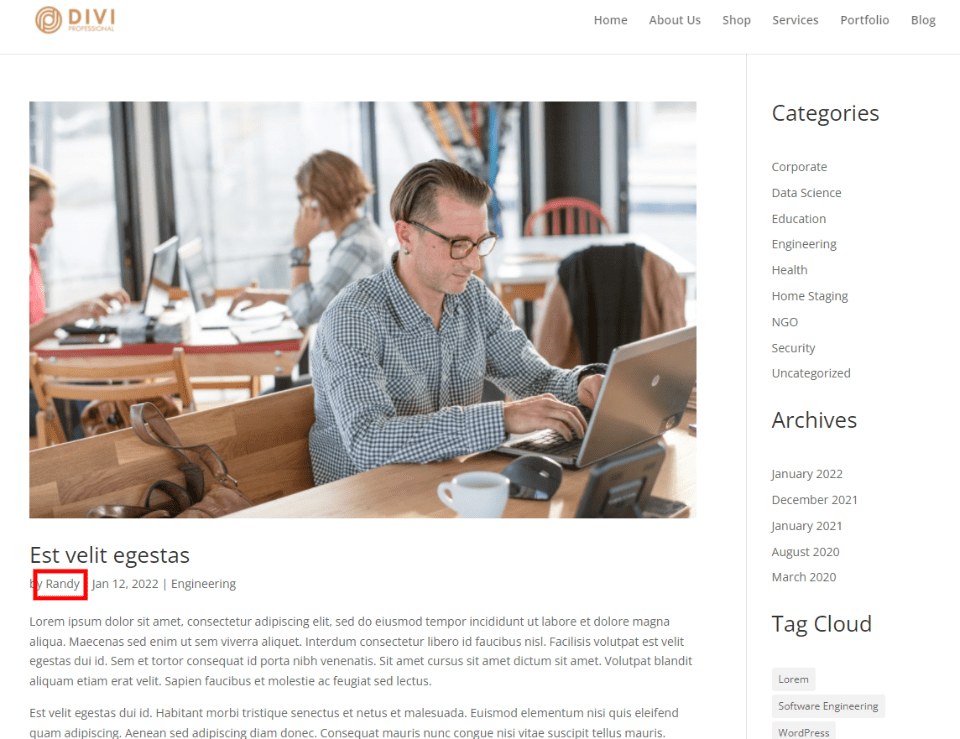
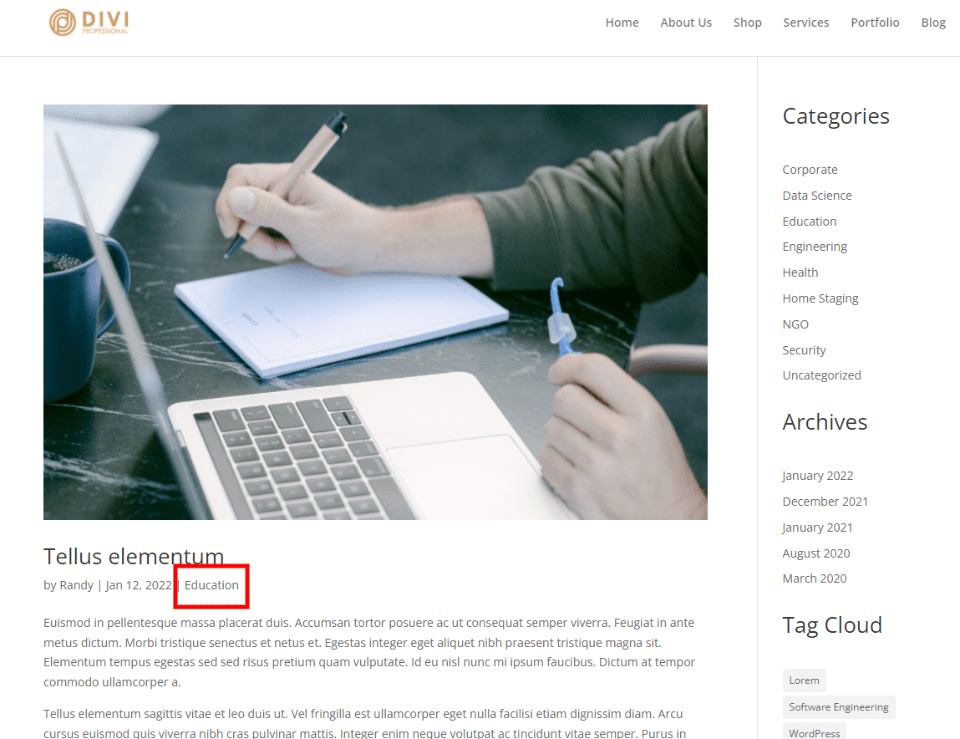
Only Category pages use this template. If I select an author’s name, tag, or date, I see the standard blog feed. Here’s my author page:
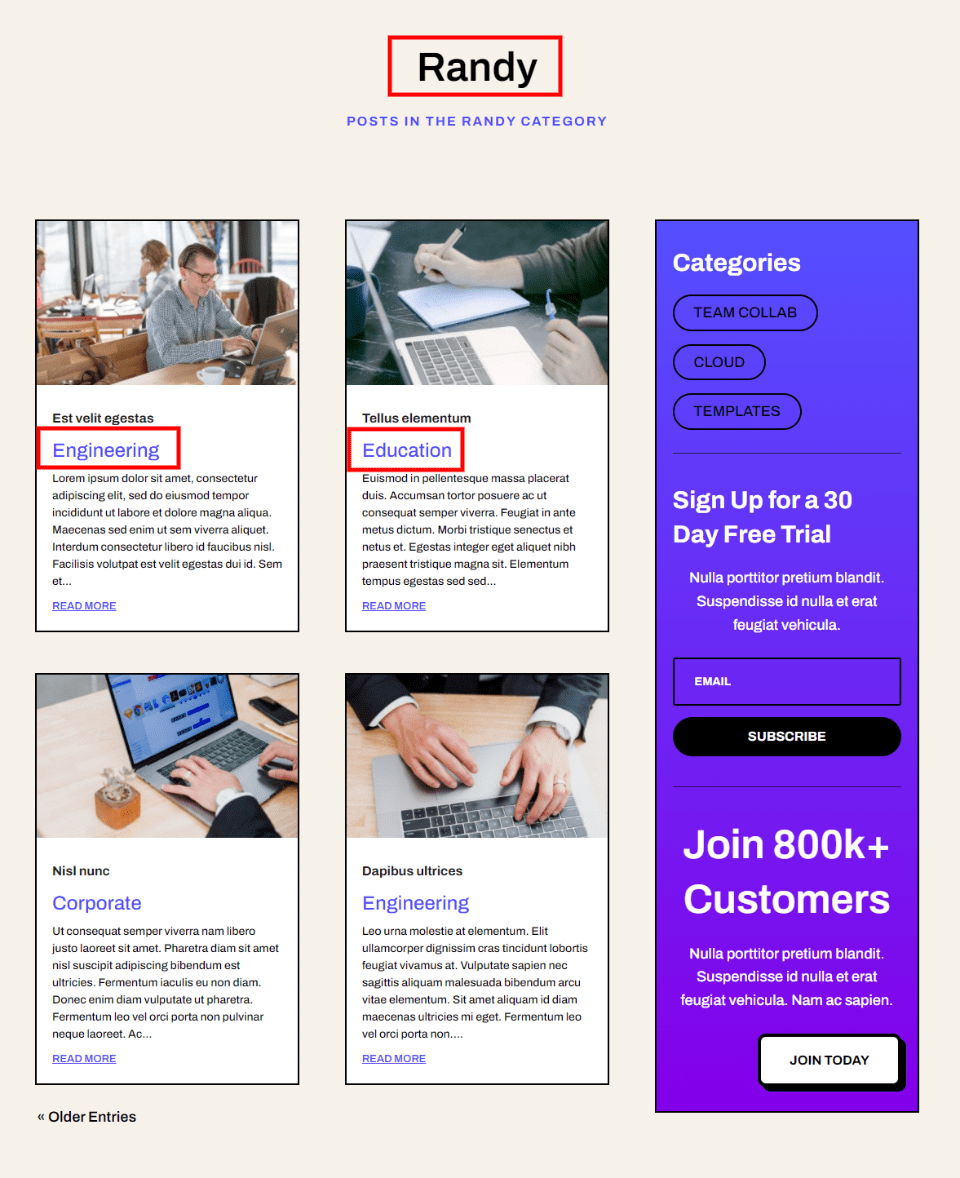
Now, let’s go back and change the assignment to Author Pages.
Now, when I view the author page, I see posts from multiple categories. The page even shows the dynamic content in the title. I made no adjustments inside the template itself. I’ve only changed the assignment.
Add the Hero Section to the Archive Page Template
Next, let’s add a hero section with a Blog Slider. It will display a few of the latest posts from the category or archive we assign the template to. Since both modules will display posts from the same category or archive, we don’t want them to overlap and show the same posts. We’ll need to make adjustments to both modules.
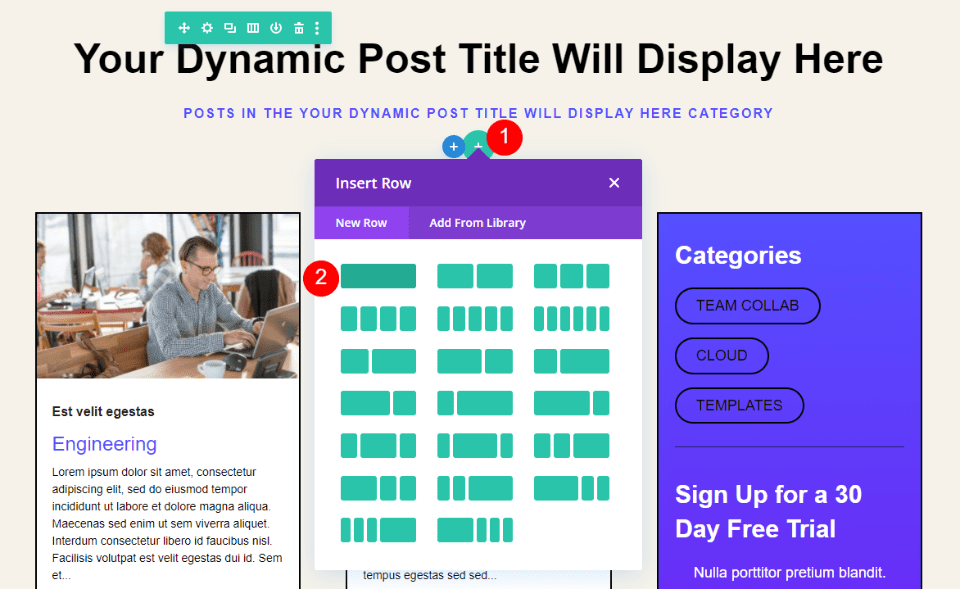
Add a Row
First, add a single-column Row under the Title.
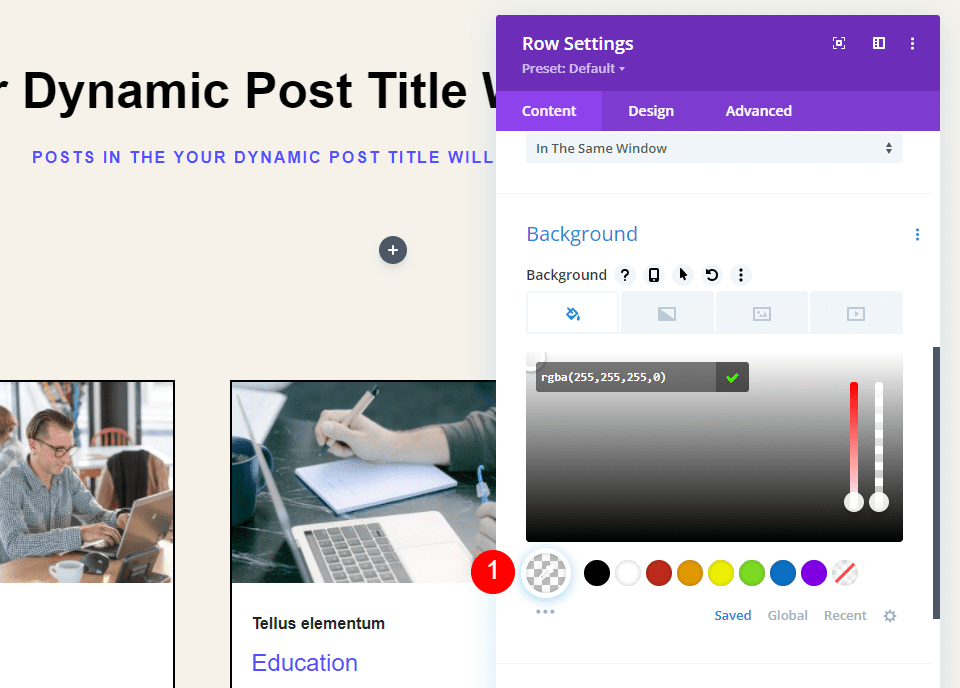
Background
Go to the Background Settings and set the Background Color to rgba(255,255,255,0).
- Background Color: rgba(255,255,255,0)
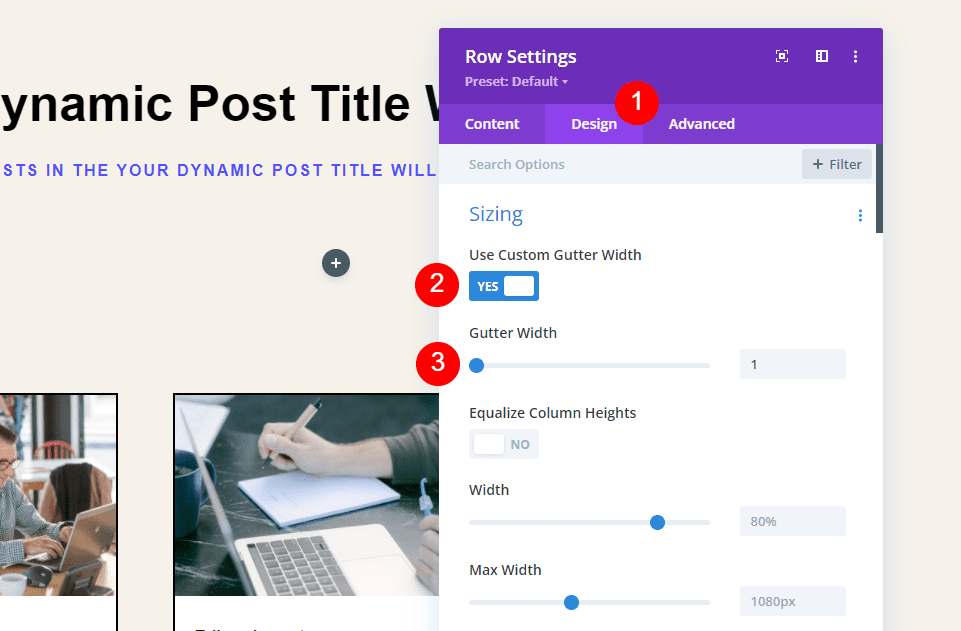
Sizing
Select the Design tab and enable Use Custom Gutter Width. Set the Width to 1.
- Use Custom Gutter Width: Yes
- Gutter Width: 1
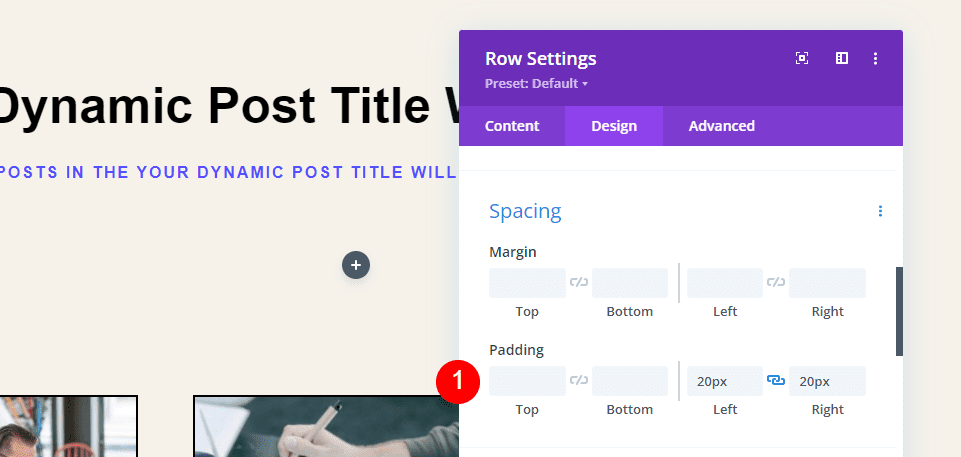
Spacing
Scroll down to Spacing and set the Left and Right Padding to 20px.
- Padding: Left, Right 20px
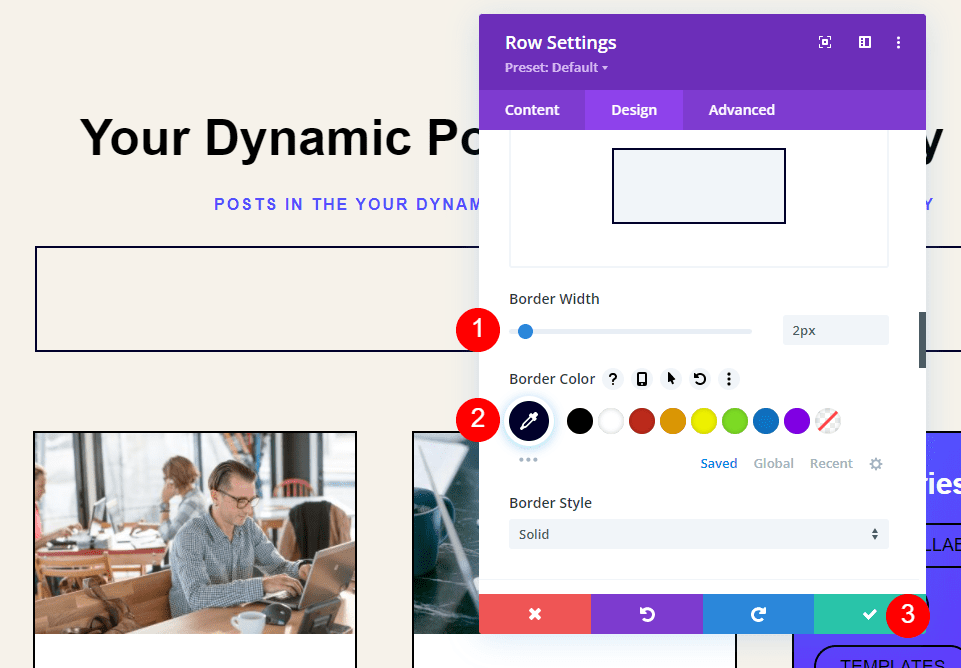
Border
Go to Border and set the Width to 2px and the Color to #01012c. Close the Row settings.
- Border Width: 2px
- Border Color: #01012c
Add a Post Slider
Now it’s time to add the Post Slider. Click the gray plus icon and select the Post Slider module.
Content
Next, we’ll make our adjustments to the Post Slider module. The Post Slider can also display posts dynamically. In the Post Slider module’s Content settings, select to use Posts for Current Page and enter 3 for the Post Count.
- Posts for Current Page: Yes
- Post Count: 3

Elements
Scroll down to Elements and select to use Arrows, the Read More Button, and Post Meta.
- Arrows: Yes
- Read More Button: Yes
- Post Meta: Yes

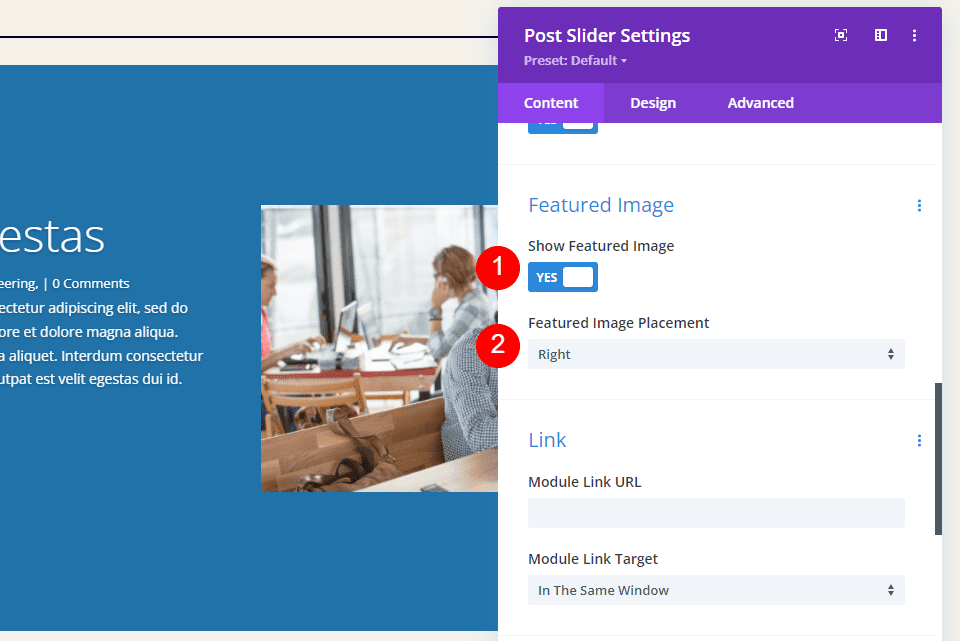
Featured Image
Enable the Featured Image and set the Featured Image Placement to the Right.
- Show Featured Image: Yes
- Featured Image Placement: Right
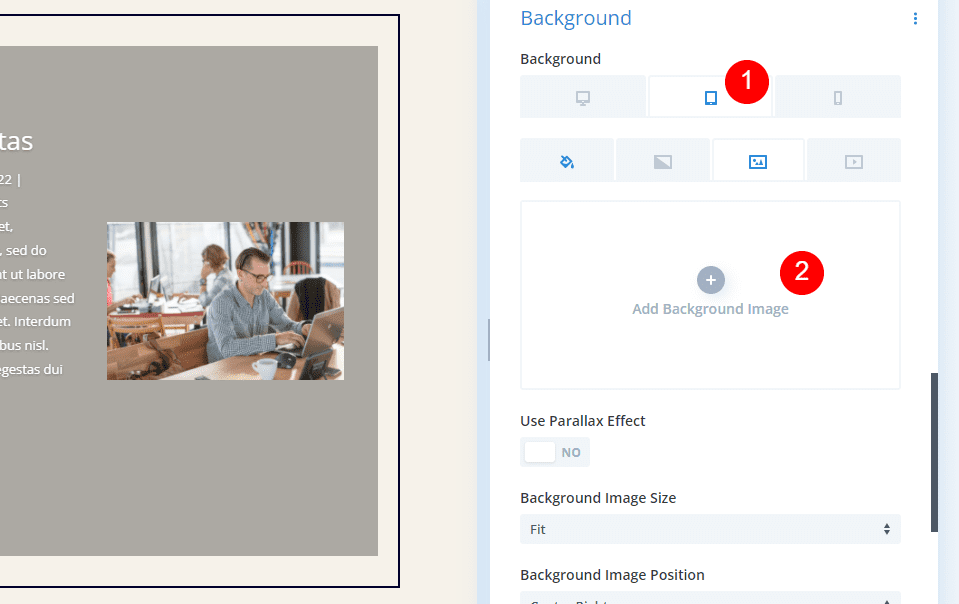
Background
Go to Background and change the Background Color to rgba(255,255,255,0).
- Background Color: rgba(255,255,255,0)
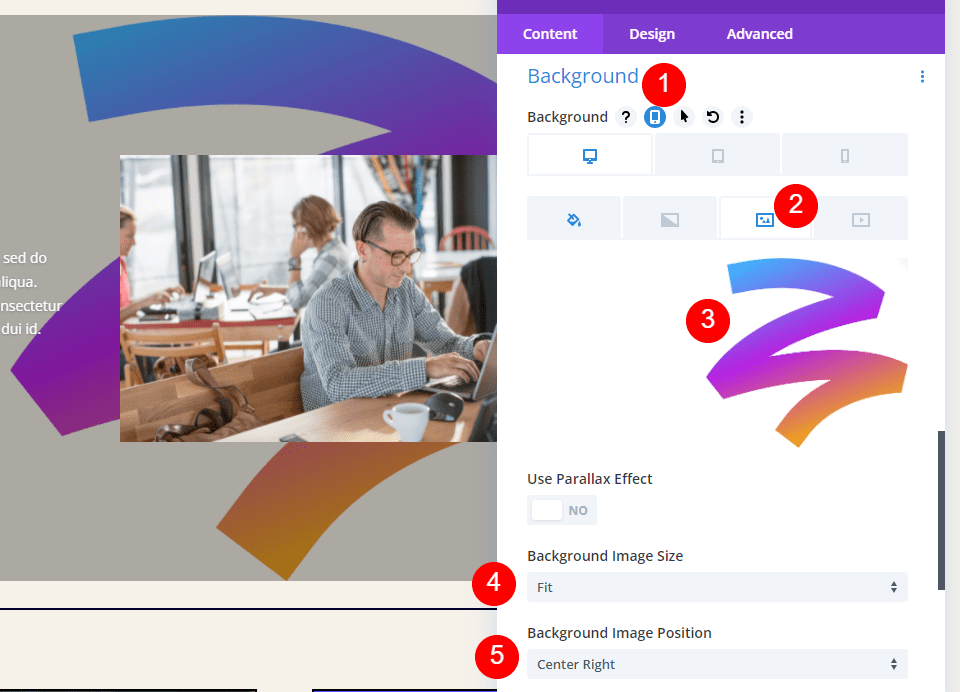
Select the Device icon and choose Desktop. Choose the Image tab and select your image from the media library. The image isn’t in place at first, but we’ll fix this later.
- Desktop Image: Choose from library
- Background Image Size: Fit
- Position: Center Right
- Repeat: No Repeat
- Blend: Normal
Choose the Tablet icon and delete the image. We don’t want the image to show for tablets and phones.
Overlay
Next, go to the Design tab. Under Overlay, disable both the Background and Text Overlay.
- Use Background Overlay: No
- Use Text Overlay: No

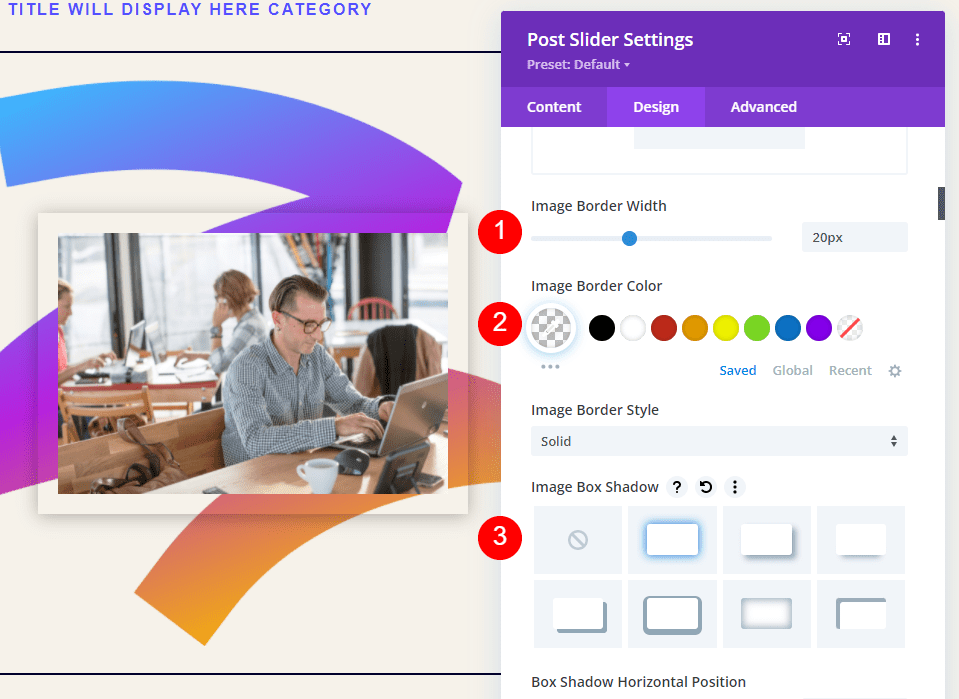
Image
Scroll to Image and set the Border Width to 20px. Change the color to rgba(255,255,255,0) and select the first Box Shadow.
- Border Width: 20px
- Image Border Color: rgba(255,255,255,0)
- Box Shadow: first
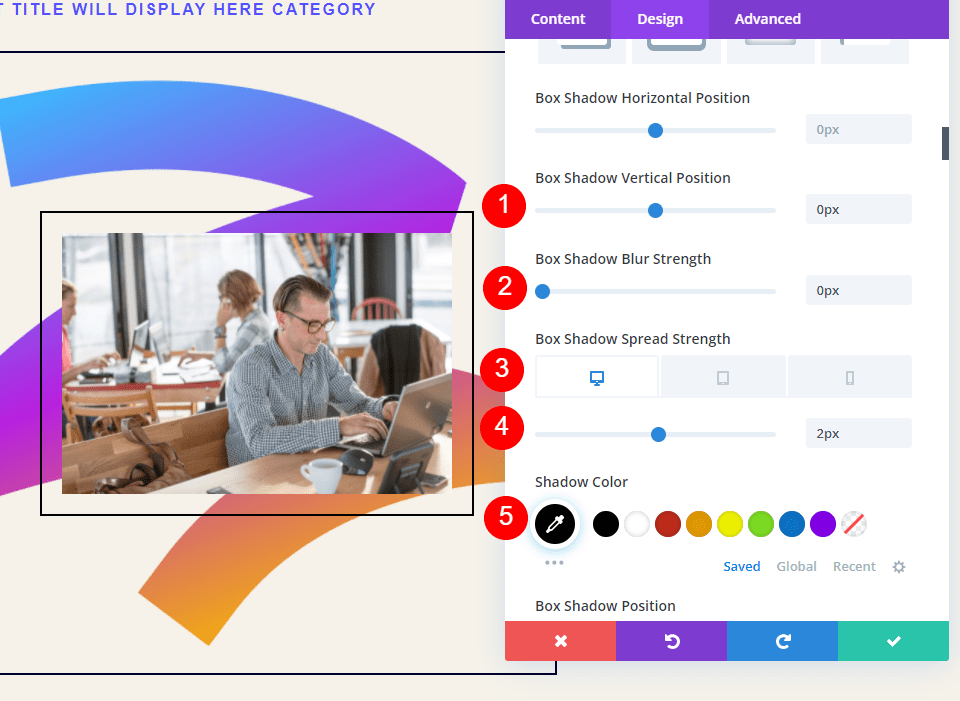
Adjust the Vertcal Position to 0px, the Blur Strength to 0px, the Spread Strength to 2px for Desktop and 0px for Phone. Change the color to black.
- Vertical Position: 0px
- Blur Strength: 0px
- Spread Strength: 2px Desktop, 0px Phone
- Color: #000000
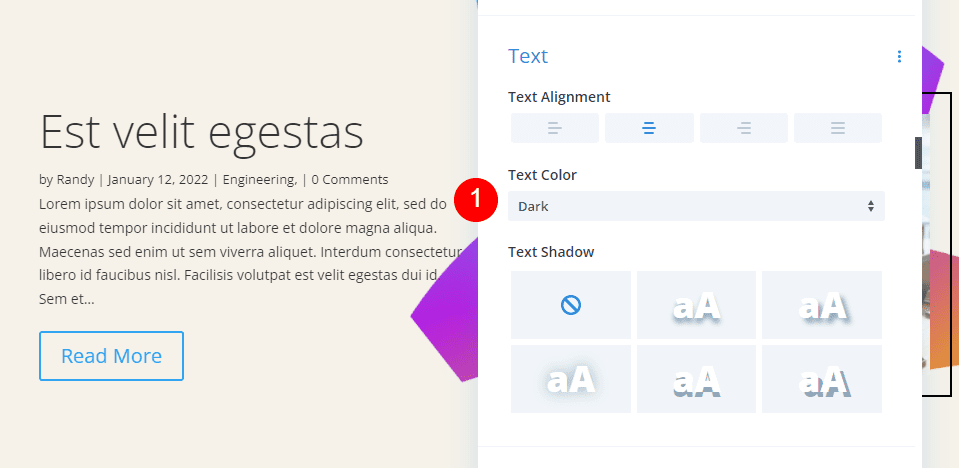
Text
Under Text, choose Dark for the Text Color. We’re going to change the colors later, but the fonts will have a shadow if we skip this step.
- Text Color: Dark
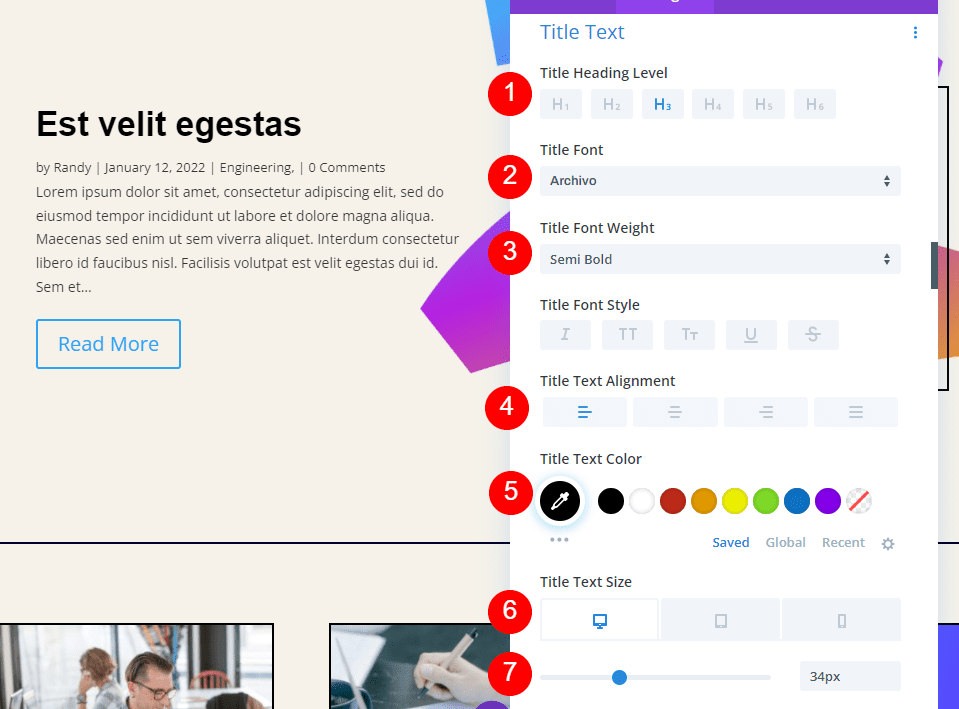
Title Text
Scroll to Title Text. Choose H3 for the Heading Level. Change the Font to Archivo, set the Weight to Semi Bold, the Alignment to Left, and the Color to black.
- Heading Level: H3
- Font: Archivo
- Weight: Semi Bold
- Alignment: Left
- Color: #000000
- Size: 34px Desktop, 24px Tablet
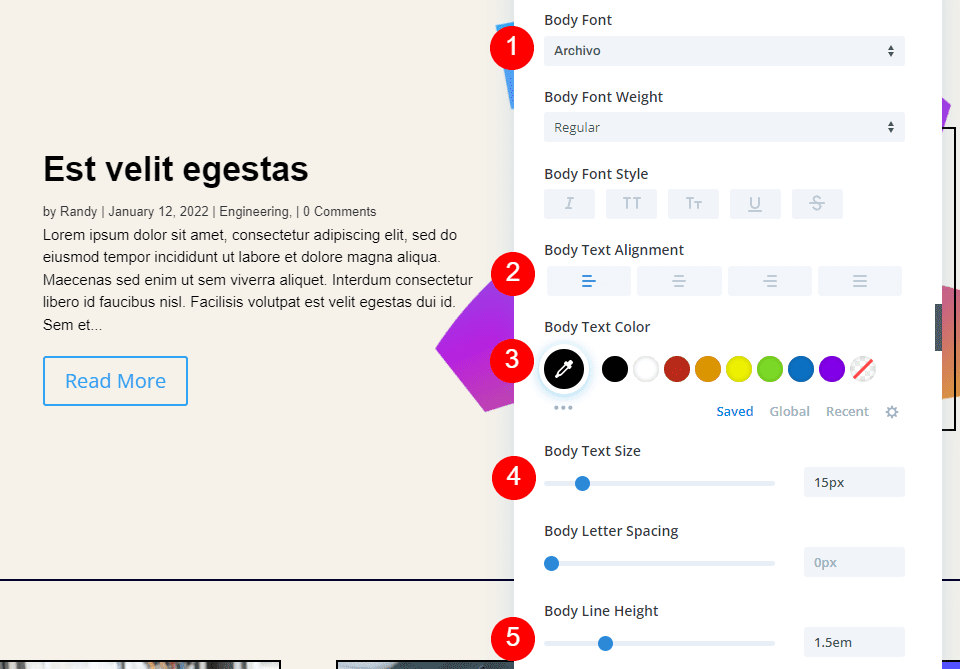
Body Text
Next, scroll to Body Text and choose Archivo for the Font. Set the Alignment to Left, the Color to black, the Size to 15px, and the Line Height to 1.5em.
- Font: Archivo
- Alignment: Left
- Color: #000000
- Size: 15px
- Line Height: 1.5em
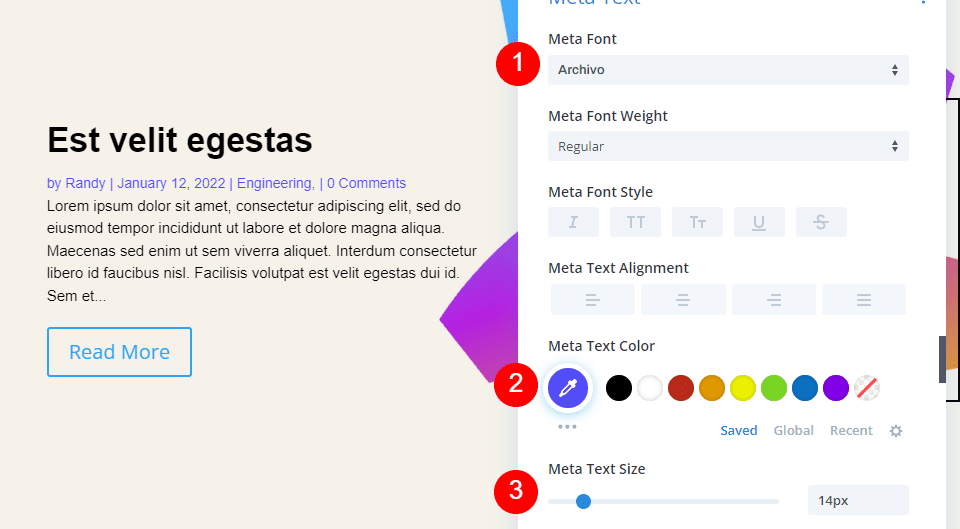
Meta Text
Next, scroll to Meta Text. Choose Archivo for the Font. Set the Color to #544fff and the Size to 14px.
- Font: Archivo
- Color: #544fff
- Size: 14px
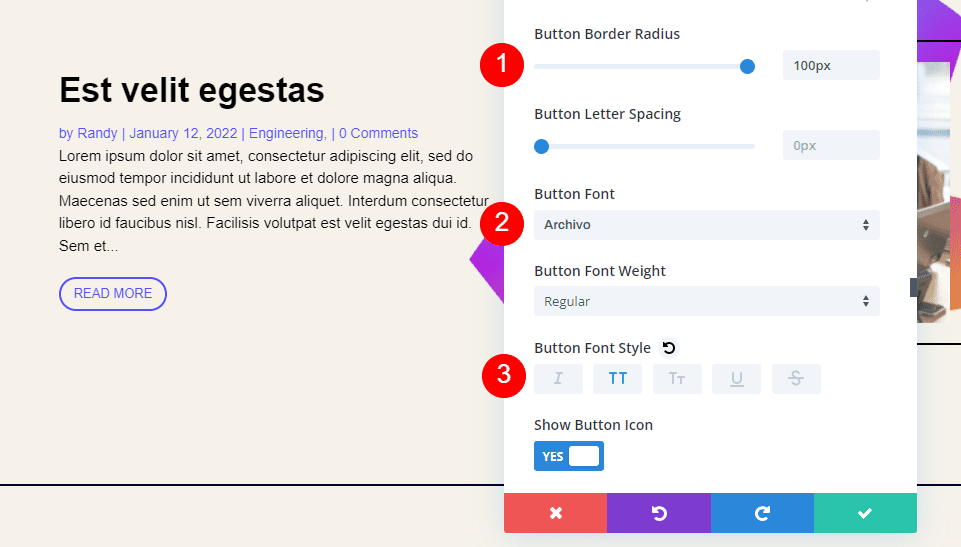
Button
Now, we’ll style the button. Select Use Custom Styles for Button and change the Size to 13px. Set the Color to #544fff.
- Use Custom Styles for Button: Yes
- Text Size: 13px
- Color: #544fff

Change the Border Radius to 100px, the Font to Archivo, and the Style to TT.
- Border Radius: 100px
- Font: Archivo
- Style: TT
Change the Button Alignment to Left.
- Button Alignment: Left
Spacing
Finally, scroll down to Spacing and set the Top and Bottom Padding to 0px. Close the module’s settings.
- Padding: Top, Bottom 0px
Blog Feed Section
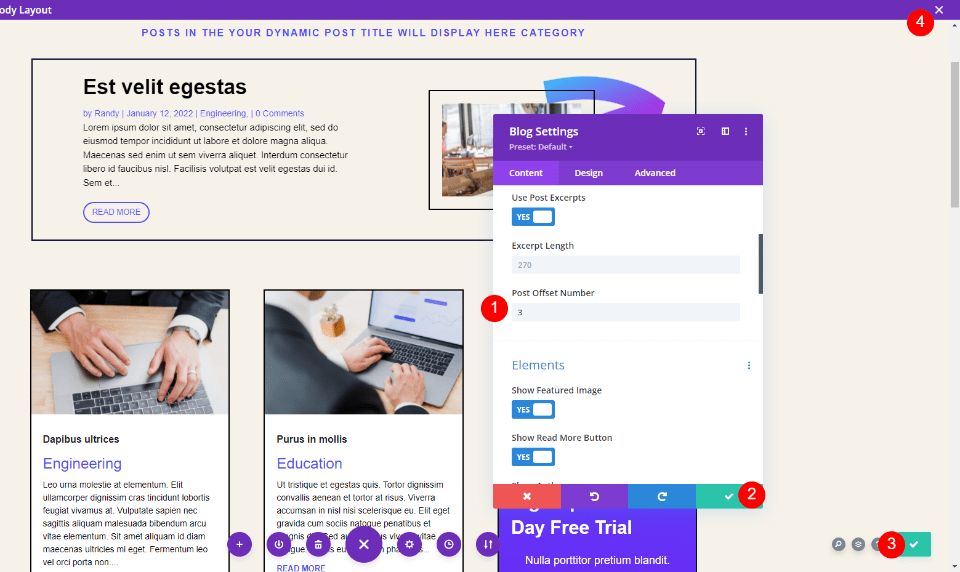
Next, we’ll make a small adjustment to the blog feed. Open the settings for the Blog module.

Since we’re displaying 3 posts in the Blog Slider, was want the Blog module to skip those 3 posts. To do this, change the Post Offset Number to 3. Close the Blog module, save your page, and exit the Theme Builder.
Hero Section Results
Here’s a look at the template. As before, I’ve increased the size of the meta font to make it easier to see. I’ve assigned it to All Archive Pages and selected the Blog page. It dynamically displays posts from the blog archive.
The example below shows the template for my Education category.
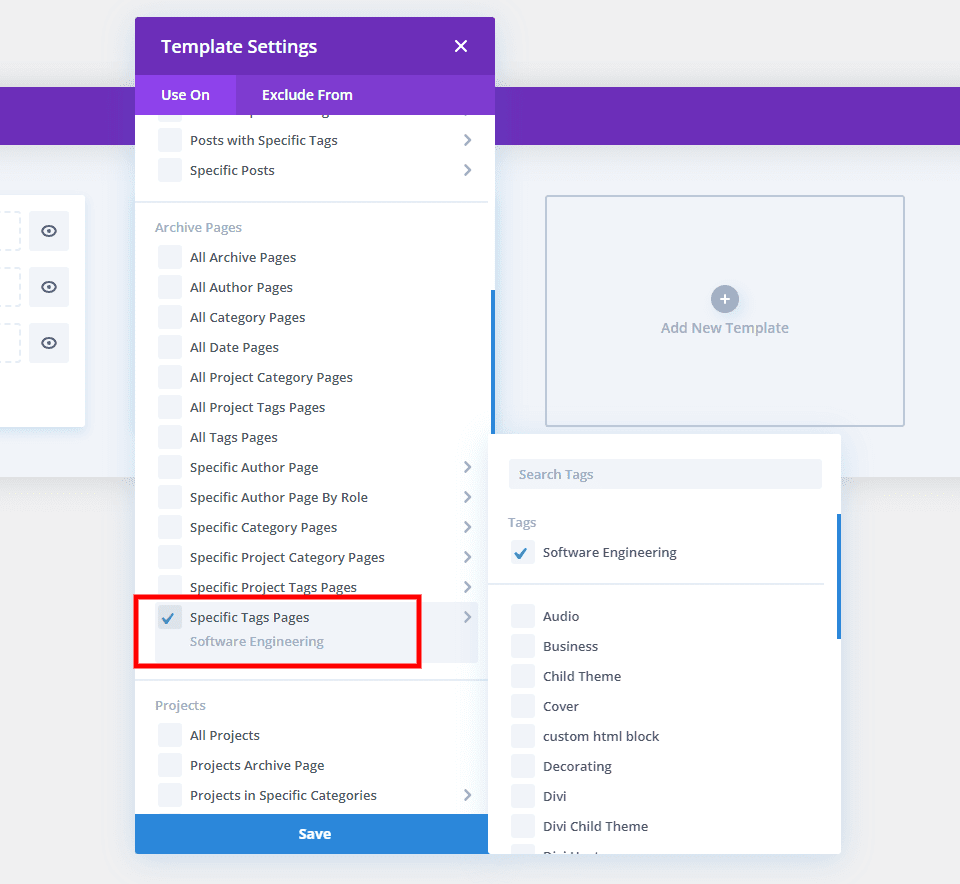
Now, I’ll set it to only display on the archive pages for the specific tag Software Engineering. I’m not making changes to the modules inside the template. It will still display dynamically.
The Education category now shows the default archive page.
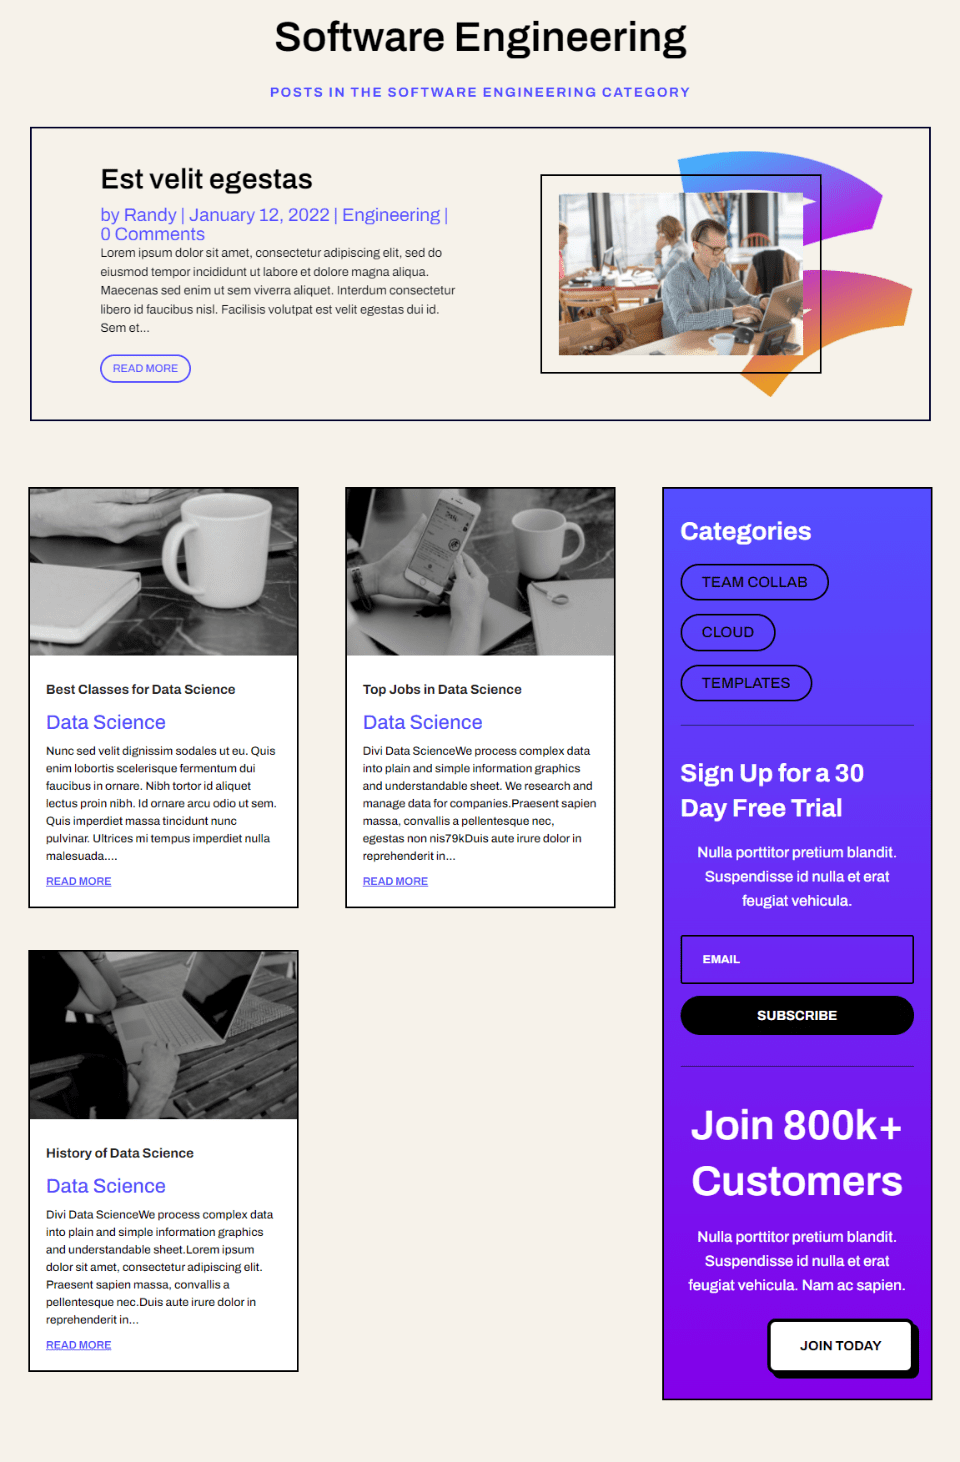
Now, only posts with the Software Engineering tag display the template. I’ve added that tag to posts in my Engineering and Data Science categories, so those are the only posts that display on this page. As before, I’ve made no changes to the modules within the template. I’ve only changed the template’s assignment.
Also as before, the Blog module offsets the posts, so it doesn’t show the same posts as the Blog Slider. Pagination still works within the current template assignment.
Ending Thoughts
That’s our look at how to use a Blog module inside a category and/or archive page template. Even though it’s simple, Post for Current Page truly is a powerful dynamic feature. With posts for Current Page set up, changing a template assignment is all you need to do. The Blog module follows the template assignment. Add the Post Offset and you can display as many Blog and Post Slider modules as you want without displaying the same post twice.
We want to hear from you. Do you use a blog module inside your category and archive page templates? Let us know about your experience in the comments.


Leave A Reply