

Divi and its new position options open the door for creating unique image collage layouts using the absolute position property. This allows you to make more precise placements for each element of your design. And once you combine that with the countless combinations of design settings within Divi, you can design some pretty amazing image collages.
In this tutorial, I’m going to show you how to use Divi’s built-in position options to create a beautiful interactive image collage for your Divi website in minutes.
Let’s get started!
- 1 Sneak Peek
- 2 Download the Layout for FREE
- 3 Download For Free
- 4 You have successfully subscribed. Please check your email address to confirm your subscription and get access to free weekly Divi layout packs!
- 5 What You Need to Get Started
- 6 Creating the Interactive Image Collage with Divi’s Position Options
- 7 Changing the Location Point for the Images for Different Layout Designs
- 8 Final Thoughts
Sneak Peek
Here is a quick peek at the interactive image collage layout we will build in this tutorial.
Download the Layout for FREE
To lay your hands on the image collage layout from this tutorial, you will first need to download it using the button below. To gain access to the download you will need to subscribe to our newsletter by using the form below. As a new subscriber, you will receive even more Divi goodness and a free Divi Layout pack every Monday! If you’re already on the list, simply enter your email address below and click download. You will not be “resubscribed” or receive extra emails.

To import the layout to your page, simply extract the zip file and drag the JSON file into the Divi Builder.
Let’s get to the tutorial, shall we?
What You Need to Get Started

To get started, you will need to do the following:
- If you haven’t yet, install and activate the Divi Theme.
- Create a new page in WordPress and use the Divi Builder to edit the page on the front end (visual builder).
- Choose the option “Build From Scratch”.
After that, you will have a blank canvas to start designing in Divi.
Creating the Interactive Image Collage with Divi’s Position Options
Optimizing the Row and Column
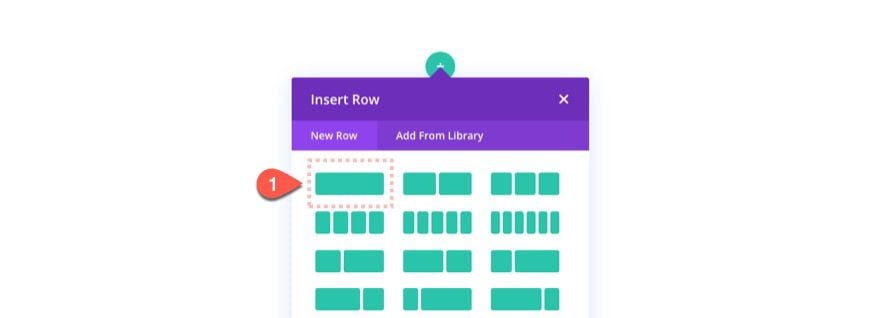
To start, create a one-column row.
Row Settings
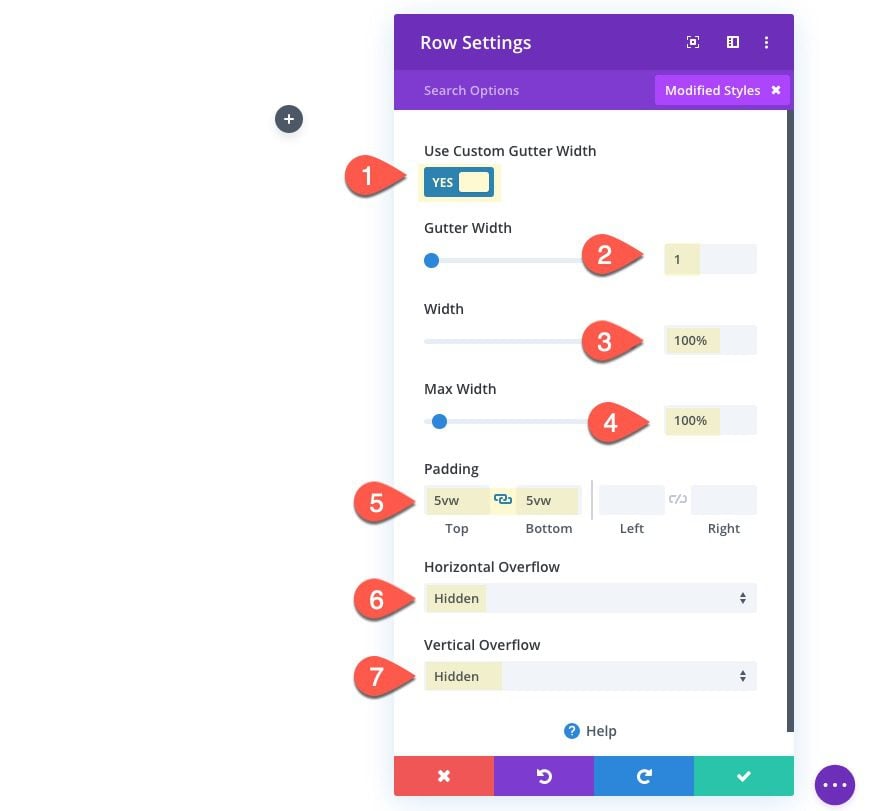
Next, we need to update the row so that we don’t have any extra space between modules (via gutter width) so we will set the gutter width to 1. We also need to make sure row spans the full width of the browser window so we can take advantage of vw length units to position our images (the vw (viewport width) length unit is related to the width of the browser window). With the width set to 100%, we can use vw length units to position our images within the row/column so that the position remains intact on all browser widths for seamless responsive design. And to hide any image overflow outside of the row, we need to set the overflow to hidden.
To do this, optimize the row settings as follows:
Setting Column Height
By default, the column’s height is determined by the height of the content (or Divi modules) it contains. Divi Modules (like all divs in HTML) will have a static position by default which means they will add actual space/height to its parent column because it is positioned in the normal flow of the page. However, Divi Modules that have an absolute position, break out of the normal flow and will not create actual space/height for the column. For this reason, we need to add a specified height for the column so that we can then position the images within a predetermined space.
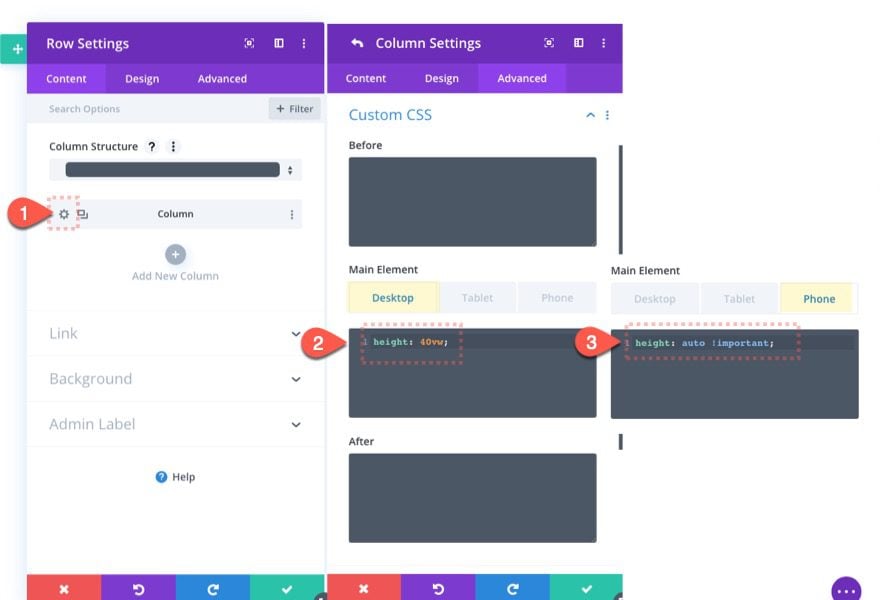
To do this, open the row settings and update the column settings by adding the following Custom CSS to the Main Element.
height: 40vw;
Under the phone tab, restore the height to its default state since we are also changing the images back to a static position on phone. Add the following Custom CSS to the phone tab:
height: auto !important;
Adding the Title Text
With the column height set, we can start adding our absolute positioned elements to the column. Let’s start by adding a text module for the title of our image collage layout.
Text Module Content
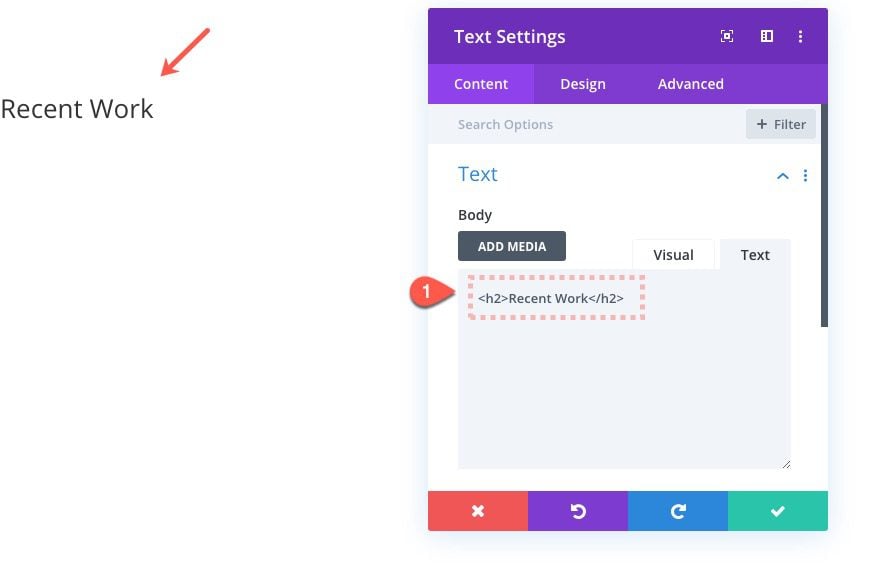
Then update the text with the following content:
<h2>Recent Work</h2>
Text Module Settings
Then update the text module settings as follows:
- Heading 2 Font: Limelight
- Heading 2 Text Alignment: center
- Heading 2 Text Color: #24005b
- Heading 2 Text Size: 5vw (desktop and tablet), 50px (phone)
- Width: 100%
- Max Width: 35vw (desktop and tablet), 100% (phone)
- Position: Absolute (desktop), Default (phone)
- Horizontal Offset (desktop): 35vw

Creating and Positioning Images
Now that the title is in place, let’s create the first image for our interactive image collage. The idea is to create the first one with all the optimizations in place so that we can duplicate it to make it easy to create and position the rest of the images for the collage.
Optimizing the First Image with Hover Effects, Lightbox, and Absolute Positioning.
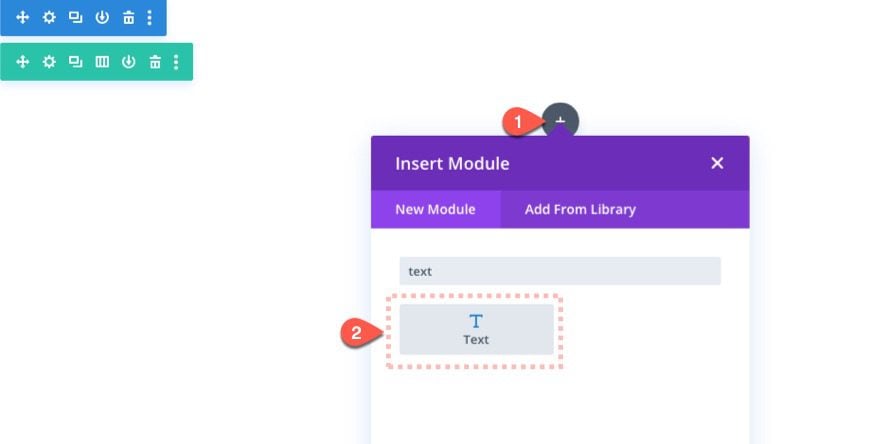
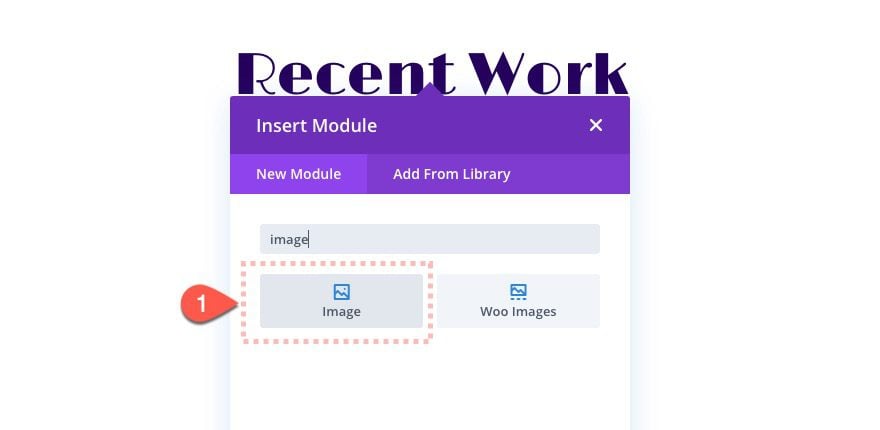
First, add an image module under the text module.
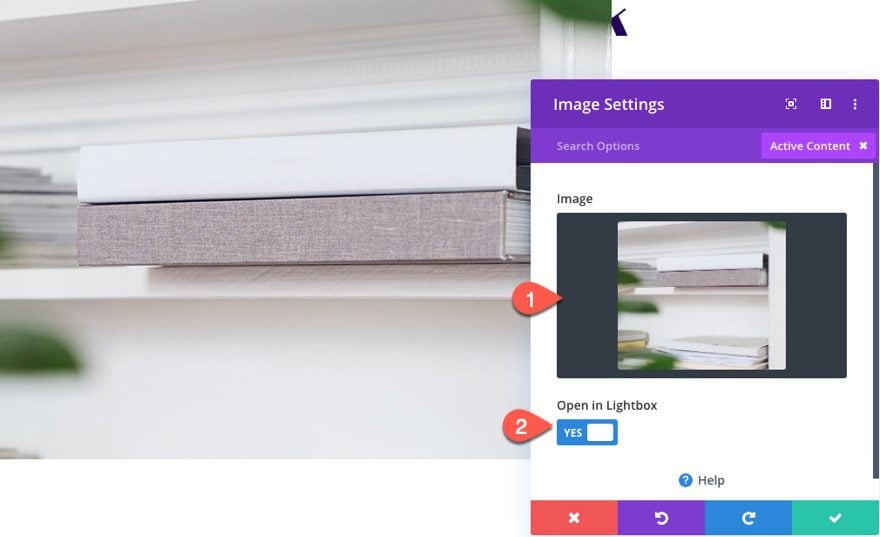
Then upload an image to the module and choose the option to open the image in a lightbox. Now the image will show in a lightbox on click.
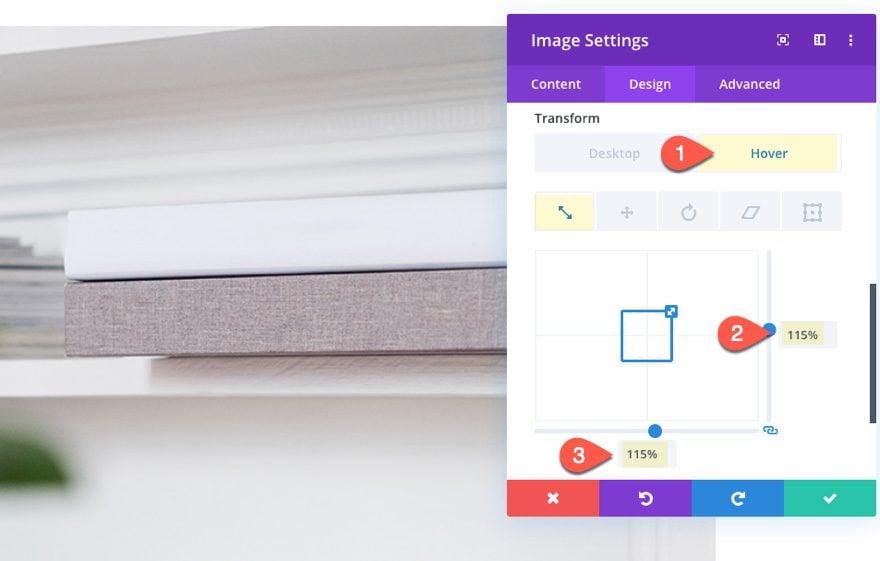
Scale Image on Hover
In addition to the lightbox interaction, add a hover effect that causes the image to scale larger a bit. To do this, update the following transform option:
- Transform Scale (hover): 115%
Absolute Positioning with Z Index priority on Hover
To position our image, we will be using an absolute position with vw length units. Update the position options as follows:
On Desktop (and Tablet)
- Position: absolute
- Location: Top Left
- Vertical Offset: 5vw
- Horizontal Offset: -2vw
On Phone
- Position: Default
On Hover
- Z Index: 2
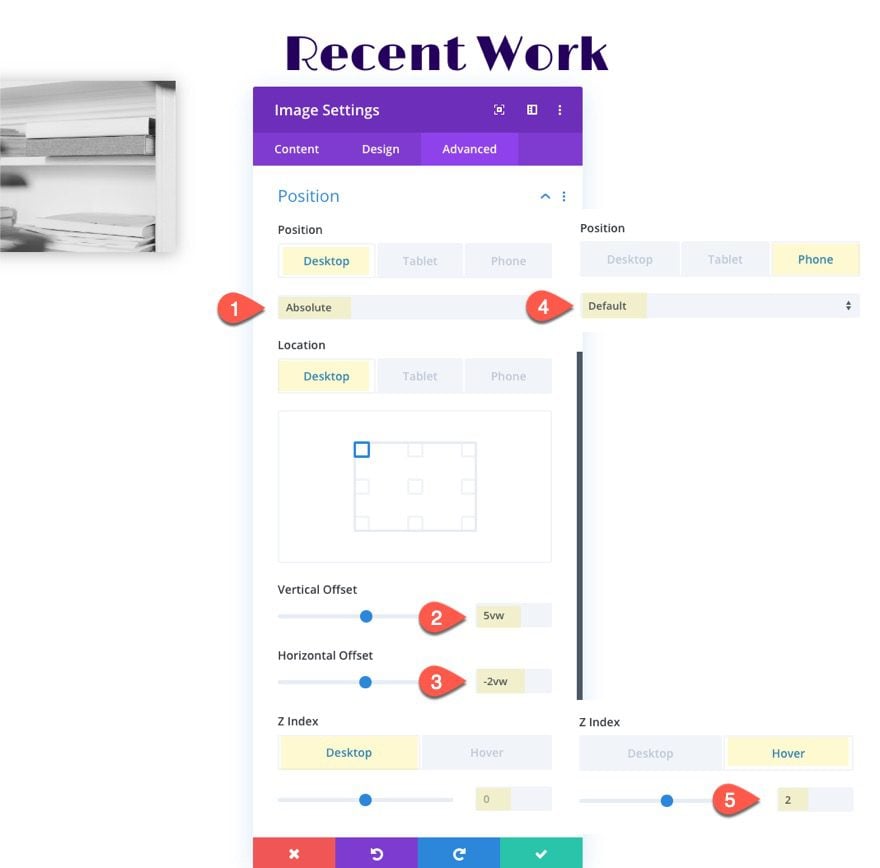
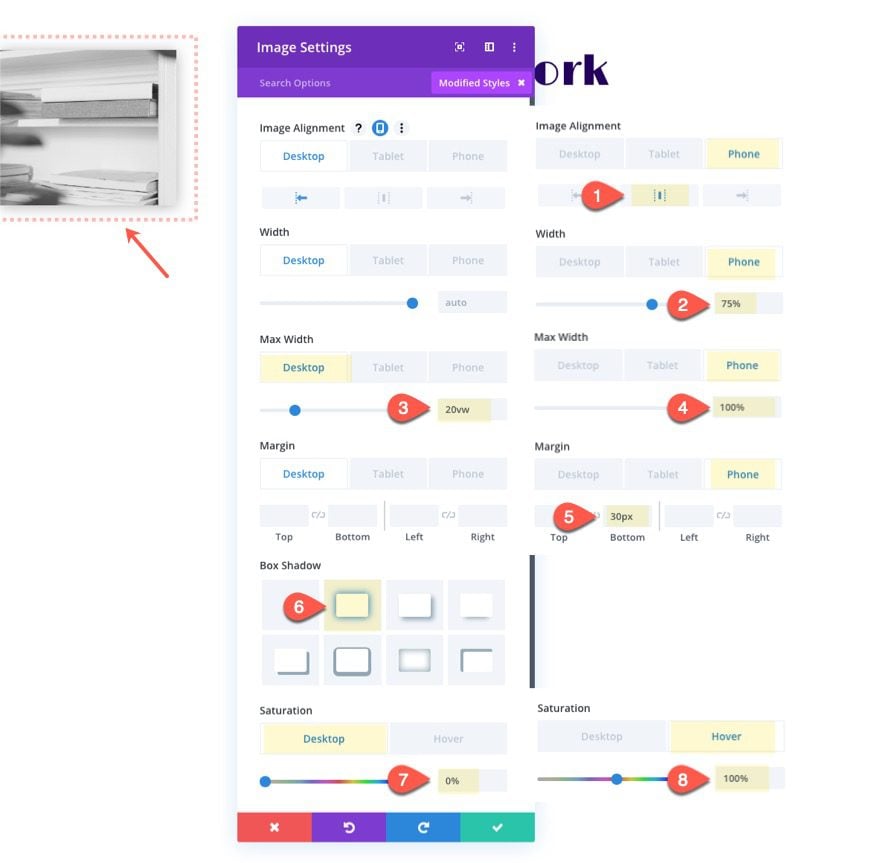
Image Design and Responsive Settings
Then update the following:
- Image Alignment: left (desktop), center (phone)
- Width: 75% (phone)
- Max Width: 20vw (desktop and tablet), 100% (phone)
- Margin (phone): 30px bottom
- Box Shadow: see screenshot
- Saturation: 0% (desktop), 100% (hover)
Using the First Image as a Template for Quickly Creating and Positioning the Other Images
Once the first image is complete, it is really easy to create new images to build the interactive image collage. It is a powerful design tool as well because you will be able to drag the images in place and adjust the size while viewing the design in realtime.
Here is the process…
- Duplicate the Image by clicking the duplicate icon. The duplicate image will be positioned absolutely in the same place directly on top of the image you are duplicating.
- Drag the Image in Place. Since the duplicate image inherits the vw length unit of the previous image, you can use the drag icon to position the image exactly where you want to within the row.
- Update the Image with a new one.
- Adjust the size of the image using the built-in size options.
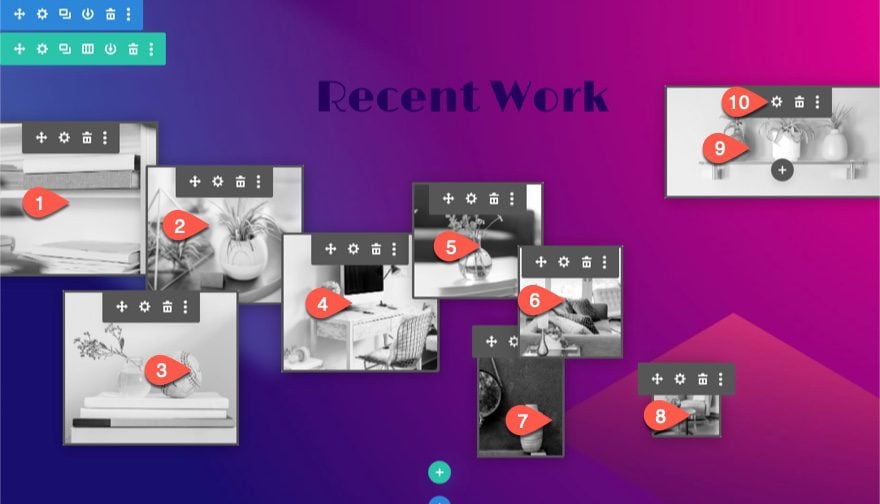
Here is an illustration of what that would look when creating the second image.
The cool part about this process is that the position (vertical and horizontal offsets) will be determined whenever you drag the image into place. No need to update the offset positions manually in the settings.
But, so you can see the offsets I used for this example, I’ll include them for each image below along with the size adjustments.
Image #2 Updates
- Vertical Offset: 10.06 vw
- Horizontal Offset: 16.51 vw
- Max Width: 18 vw
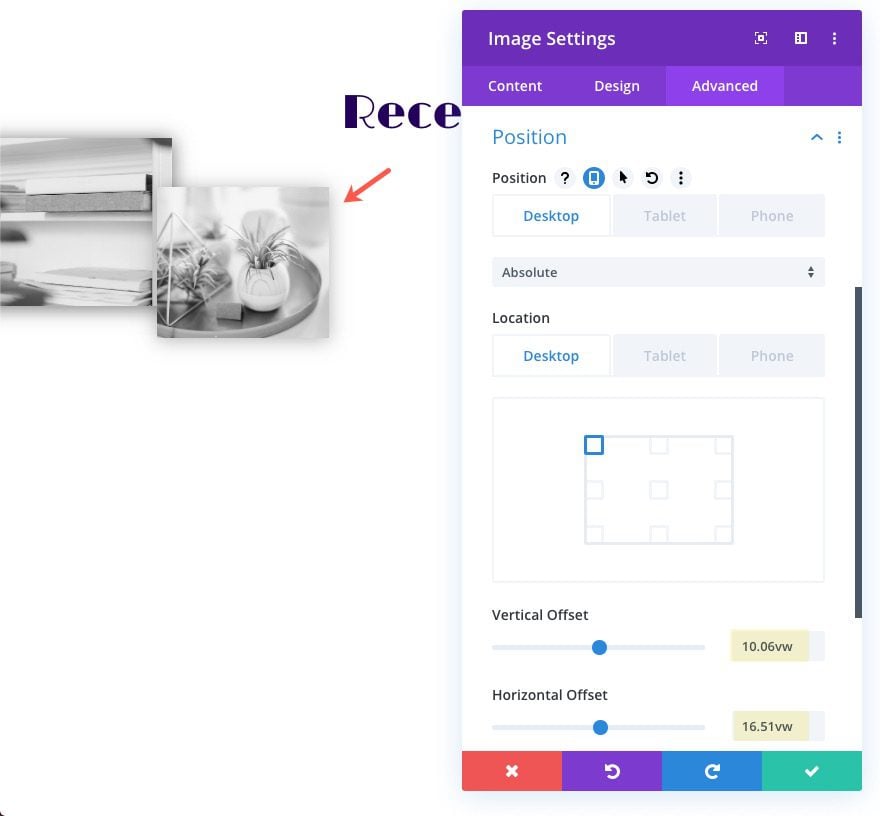
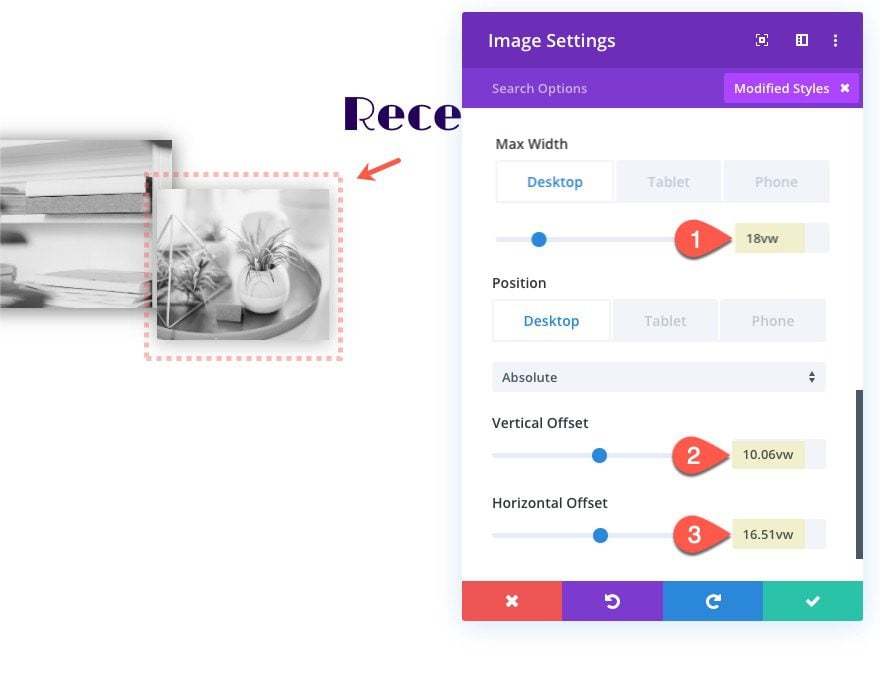
Image #3 Updates
- Vertical Offset: 24.25vw
- Horizontal Offset: 7.13vw
- Max Width: 20vw
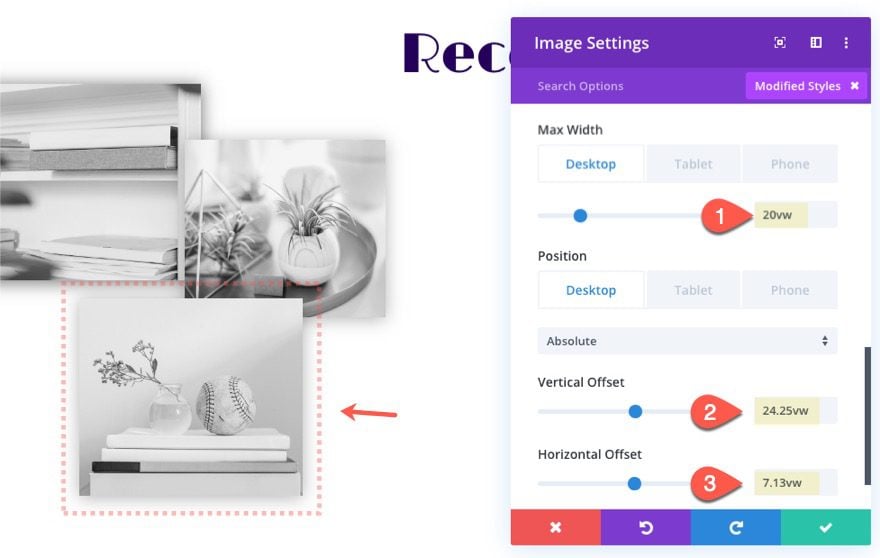
Image #4 Updates
- Vertical Offset: 17.69vw
- Horizontal Offset: 31.91vw
- Max Width: 18vw
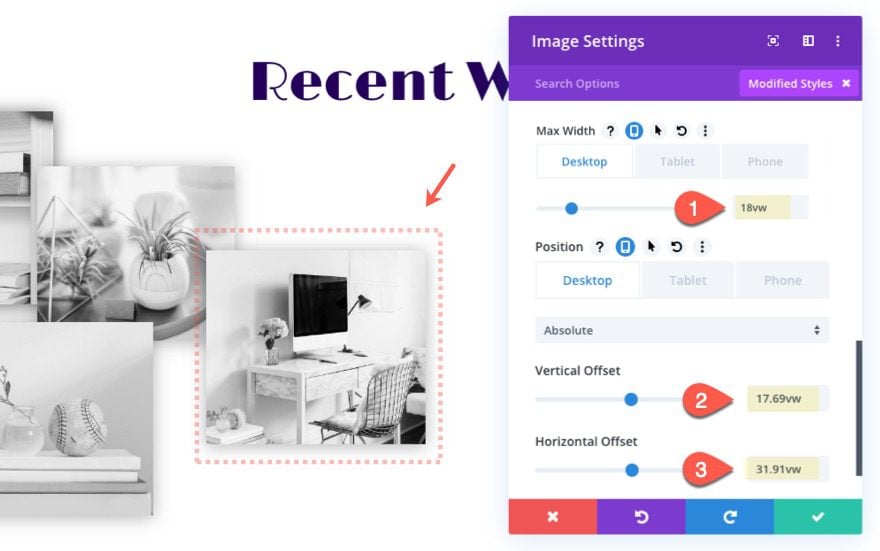
Image #5 Updates
- Vertical Offset: 12vw
- Horizontal Offset: 46.82vw
- Max Width: 15vw
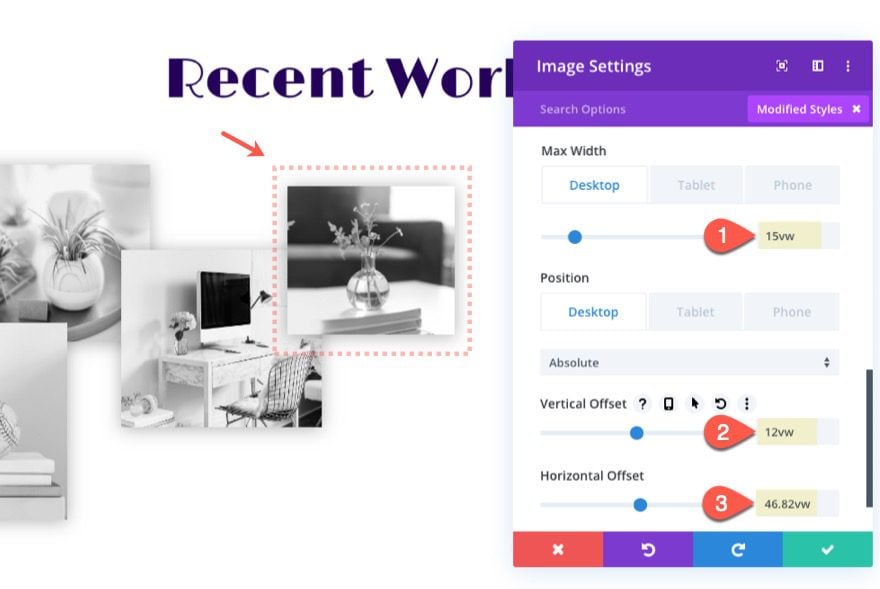
Image #6 Updates
- Vertical Offset: 19.13vw
- Horizontal Offset: 58.84vw
- Max Width: 12vw
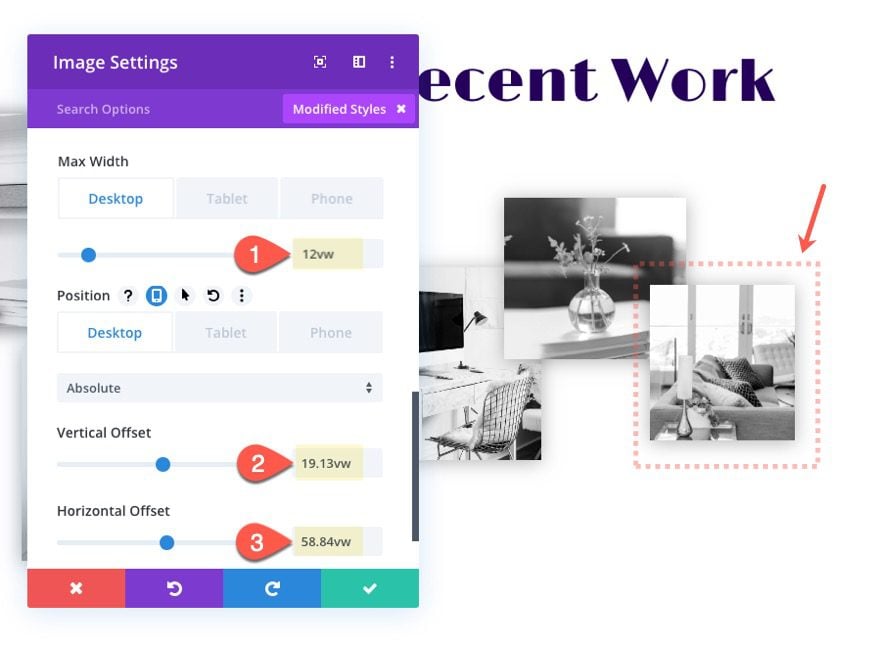
Image #7 Updates
- Vertical Offset: 28.24vw
- Horizontal Offset: 54.2vw
- Max Width: 10vw

Image #8 Updates
- Vertical Offset: 32.5vw
- Horizontal Offset: 74.04vw
- Max Width: 8vw
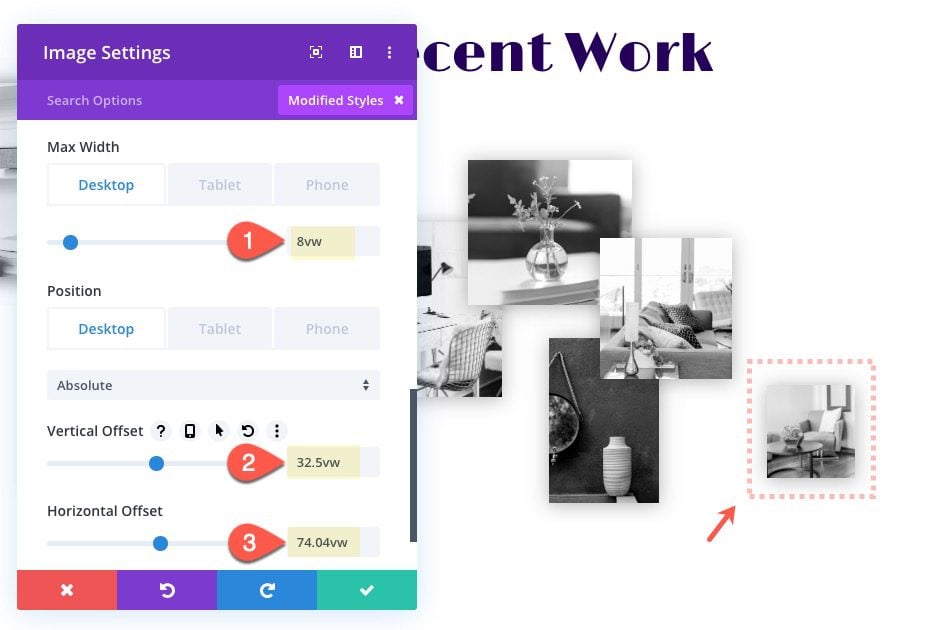
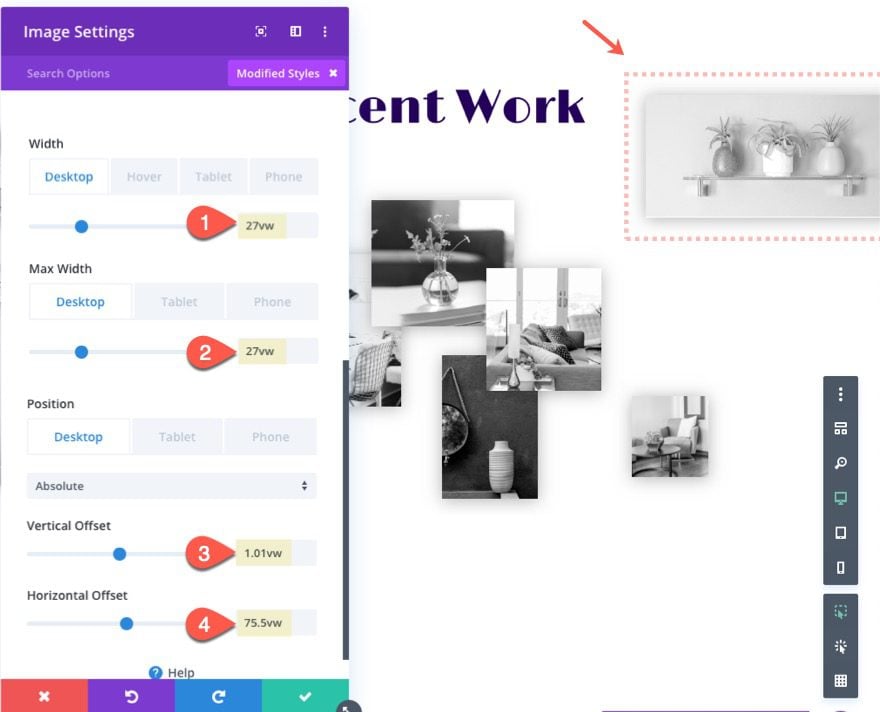
Image #9 Updates
- Vertical Offset: 1.01vw
- Horizontal Offset: 75.5vw
- Width: 27vw
- Max Width: 27vw
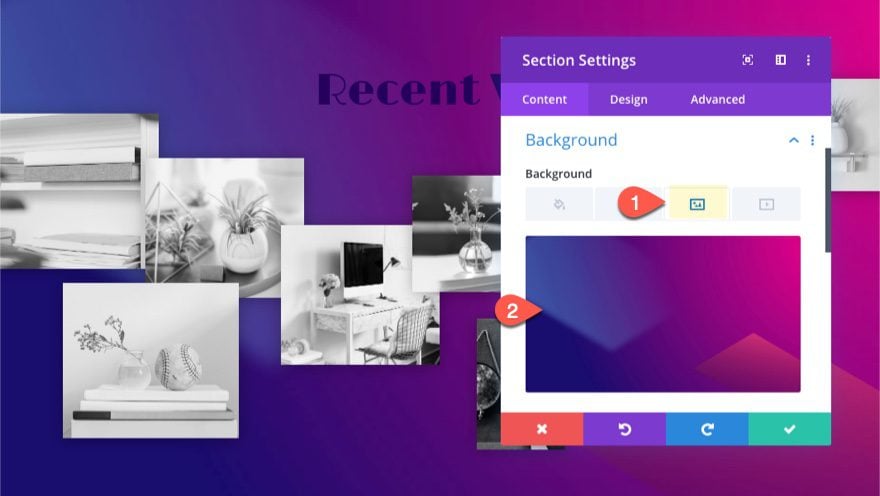
Add Background Image
For one final touch, add a background image to the section and you are done!
Final Result
This is what the interactive image gallery will look like on desktop and tablet. Notice the hover effects that bring the image to the front, show the full-color version of the image, and scales the image larger. Then you can click the image to show the lightbox effect.
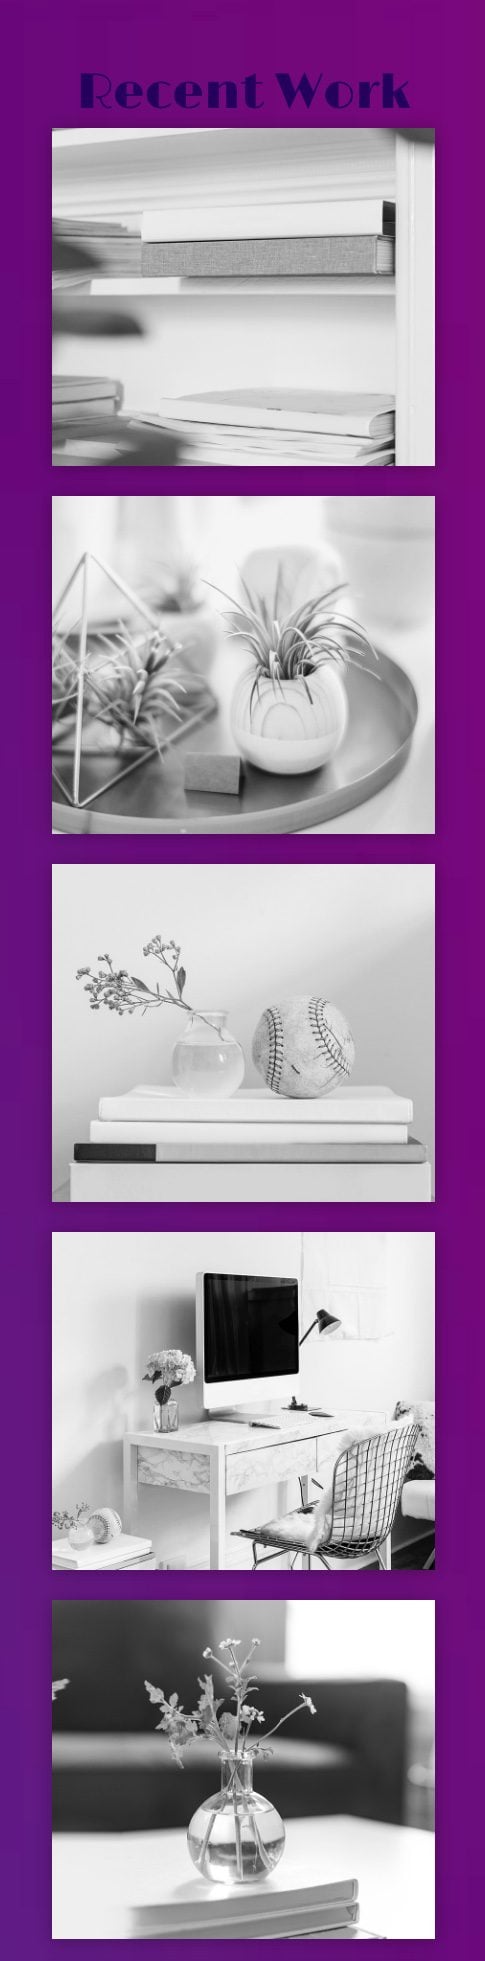
Here is the design on the phone display.
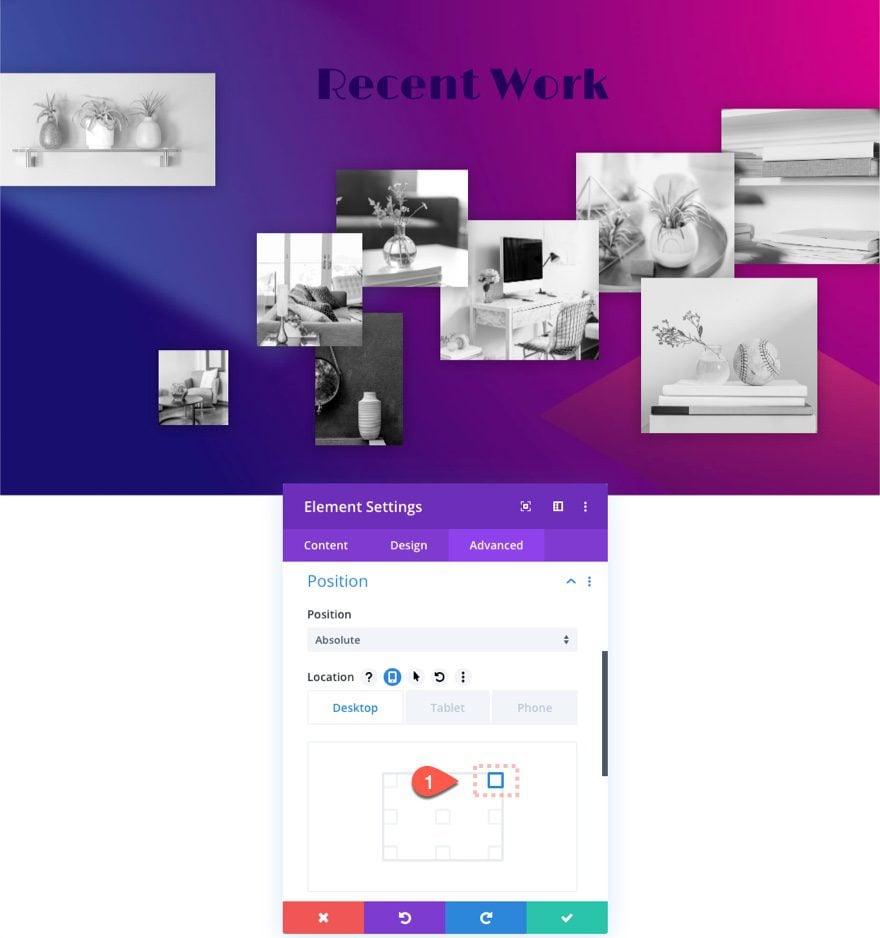
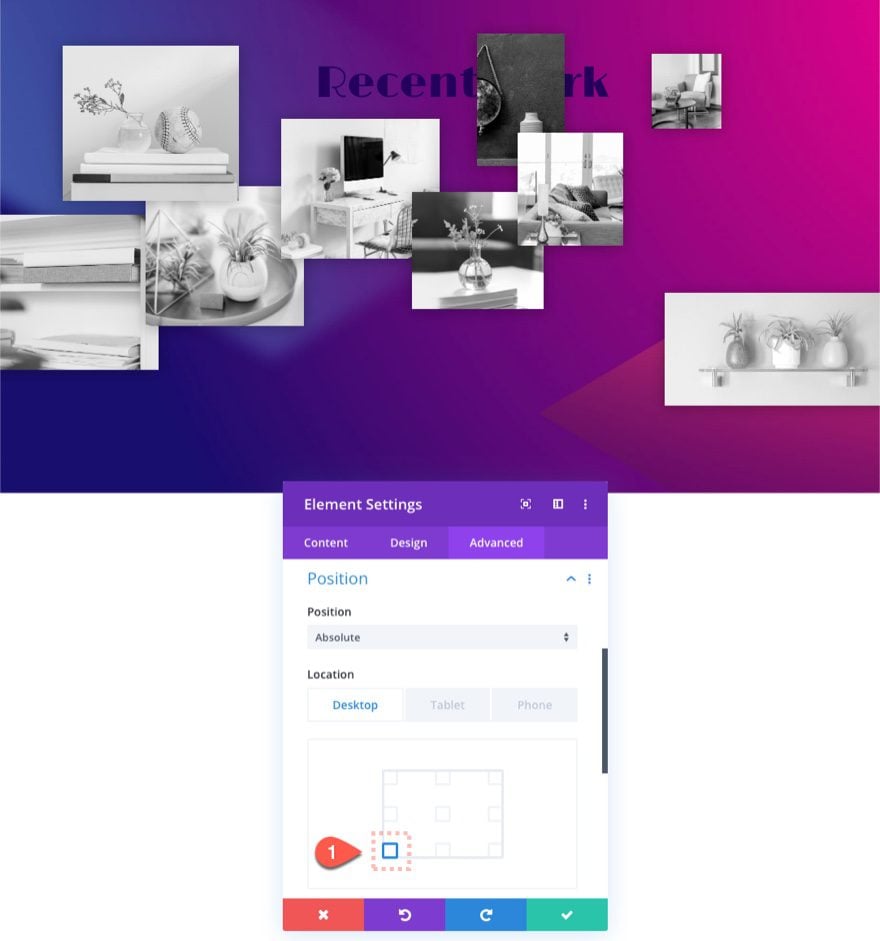
Changing the Location Point for the Images for Different Layout Designs
Since the offsets for each of the images are relative to the location point, we can change the original location point for the images to see our design coming from different directions in seconds.
To do this, use Divi’s multi-select feature to select all of the image modules. Then open one of the image module settings to bring up the element settings modal.
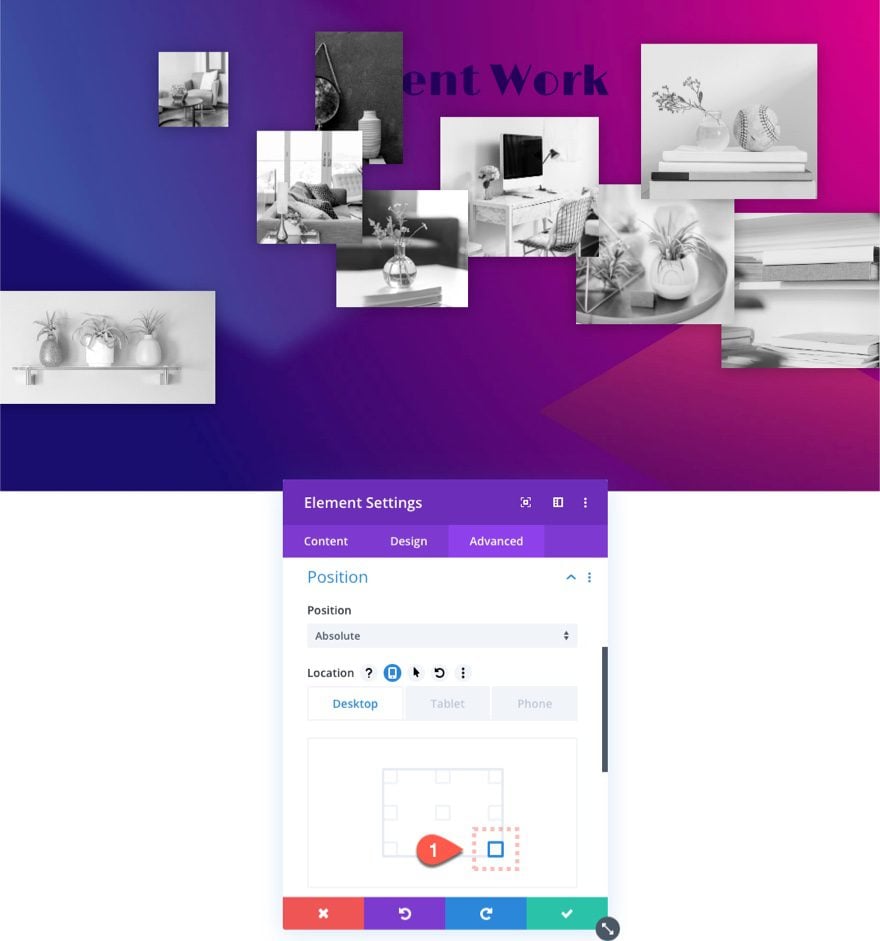
Then you can change the location to each of the four corners for different structures of the layout.
Top Right Corner Location
Bottom Left Corner Location
Bottom Right Corner Location
Final Thoughts
Divi’s new position options are both powerful and convenient. And as we’ve experienced in this tutorial, they provide us with some wonderful design tools for designing unique layouts for our images. Hopefully, this interactive image collage will serve as a little inspiration for your next project.
I look forward to hearing from you in the comments.
Cheers!


Love this!! My only problem is when I view it on mobile it only shows on image, and the rest seem to be hidden under the subsequent section. What could I be doing wrong?
Great idea for my new project !!! Thanks
Hope it works out well, Celia. Thanks for the comment.
I will be using this tutorial. Thank you ET!!
Awesome!
Wow !!! Beautiful!! It’s perfect for my Dropshipping stores and my landing pages !!
Congratulations Jason !!!
Thanks, Agustin. That’s exciting! Glad it helped.