
Divi’s built-in sticky settings allow you to keep an element “sticky” or fixed on the screen while you scroll down the page. When combined with other non-sticky elements, you can achieve an eye-catching and engaging layout to bring your website design to the next level. In this tutorial, we will show you how to add a sticky map module to your Divi page. We’ll keep the map module sticky and add relevant information to scroll alongside the map.
Without further ado, let’s get started!
Sneak Peek
Here is a preview of what we will design

What You Need to Get Started
Before we begin, install and activate the Divi Theme and make sure you have the latest version of Divi on your website.
Now, you are ready to start!
How to Add a Sticky Map Module to Your Divi Page
Create a New Page with a Premade Layout
Let’s start by using a premade layout from the Divi library. For this design, we will use the Craft School Landing Page from the Craft School Layout Pack.
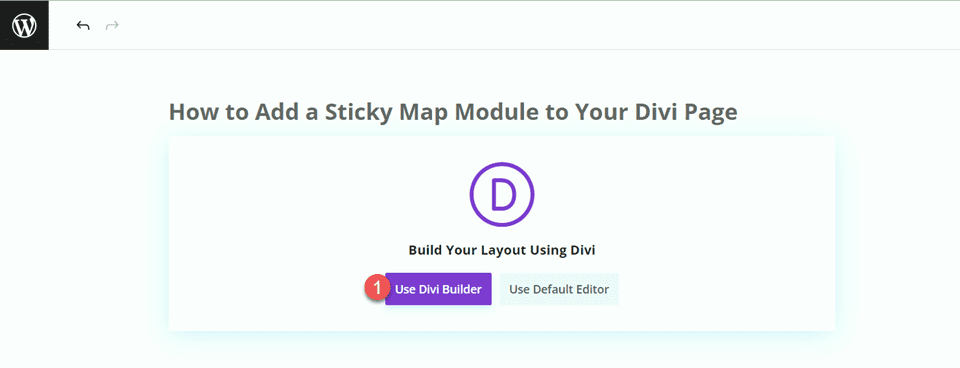
Add a new page to your website and give it a title, then select the option to Use Divi Builder.
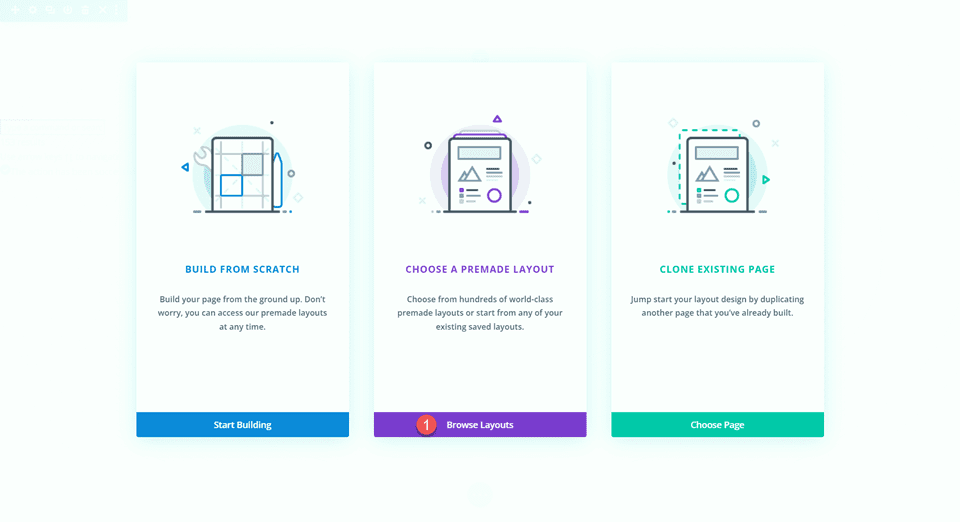
We will use a premade layout from the Divi library for this example, so select Browse Layouts.
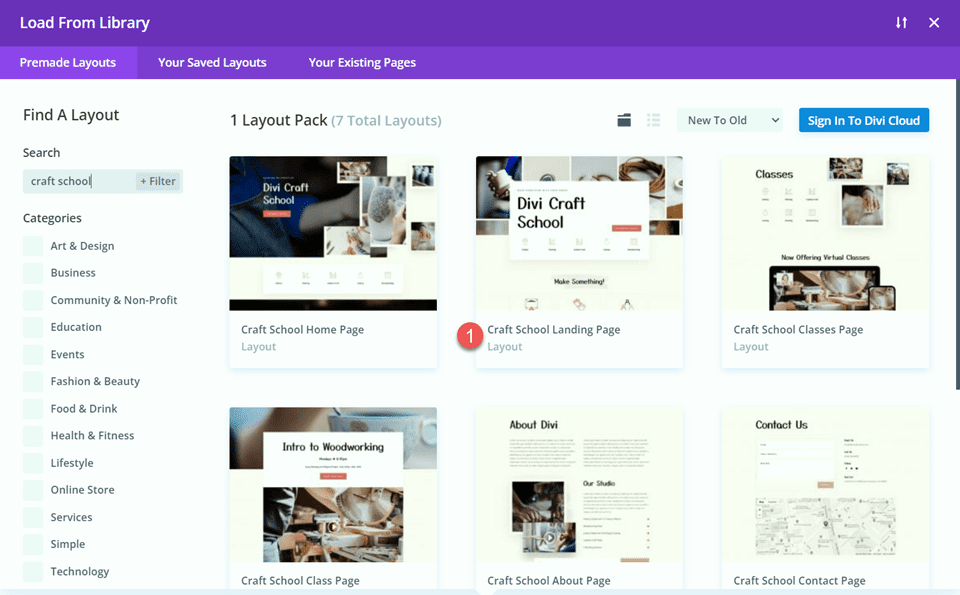
Search for and select the Craft School Landing Page.
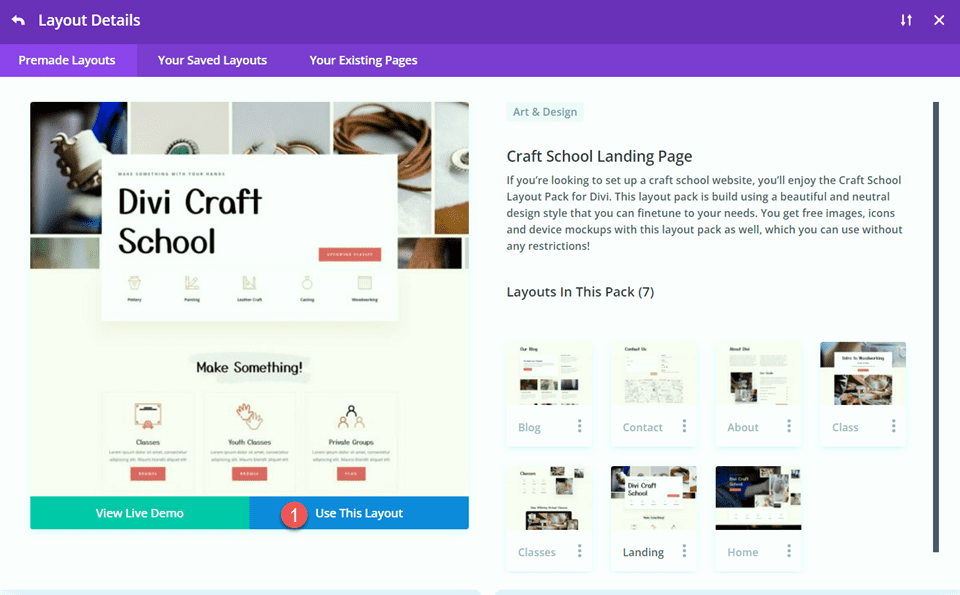
Select Use This Layout to add the layout to your page.
Now we are ready to build our design.
Modifying the Layout for the Sticky Map Module
Sign Up CTA
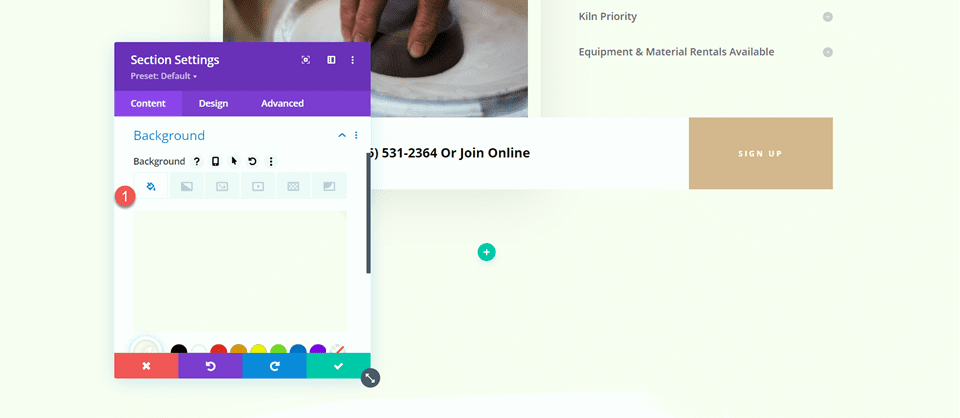
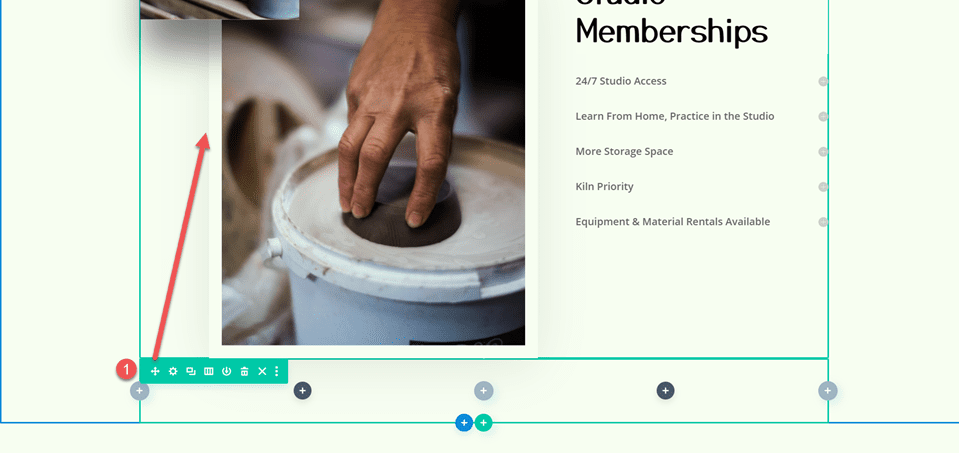
Scroll to the “Studio Memberships” section of the page. Then, add a new section below.

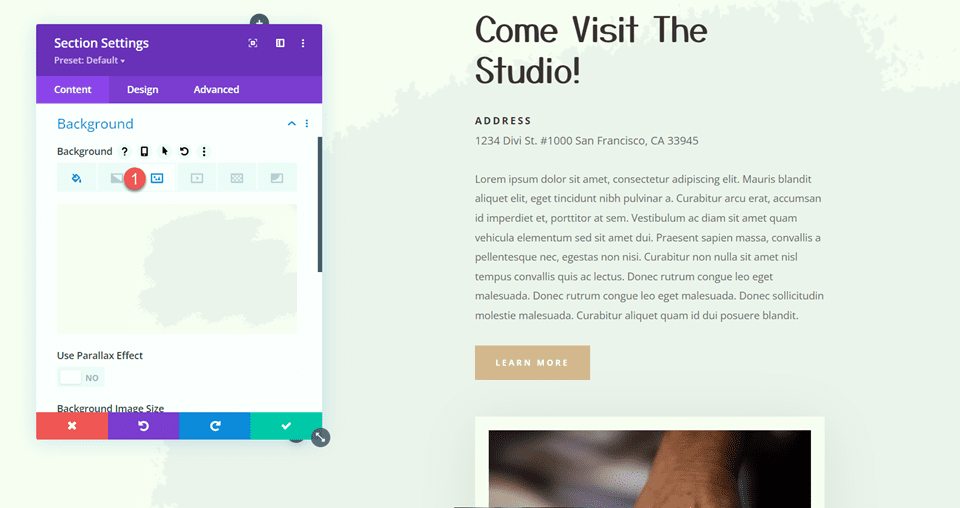
Open the section settings and add a background color.
- Background: #fcf8f3
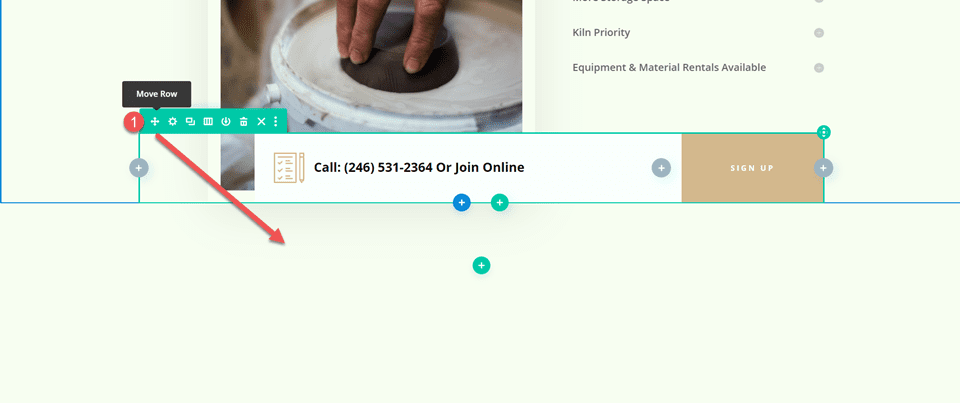
Next, move the “Call or Join Online” row to this new section.
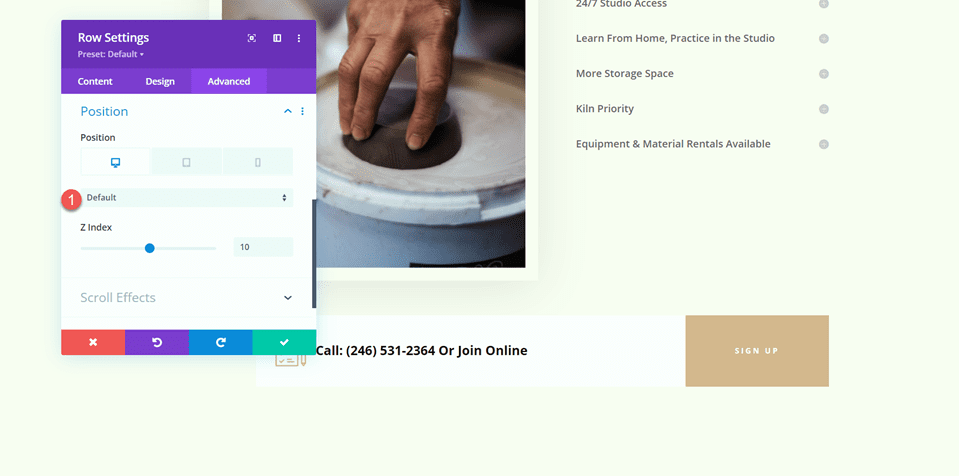
Open the row settings and navigate to the Advanced tab. Under the Position settings, change the position from Absolute to Default.
- Position: Default
“Come Visit the Studio” Section
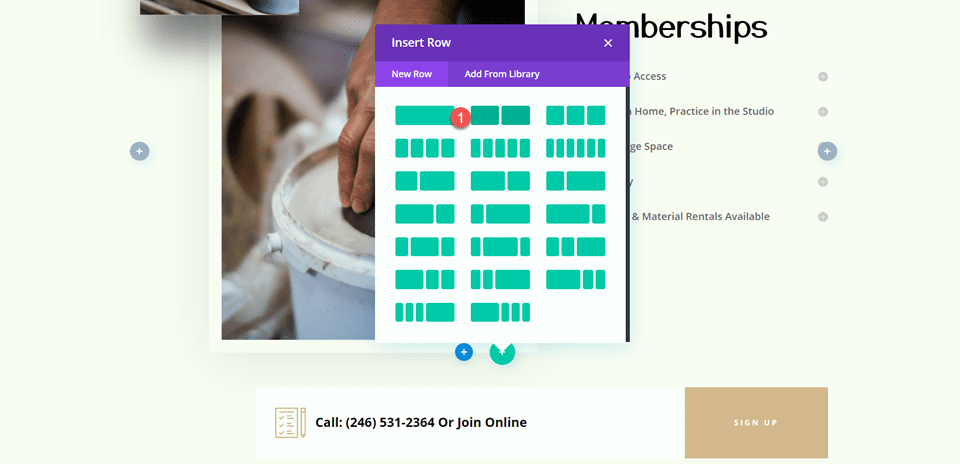
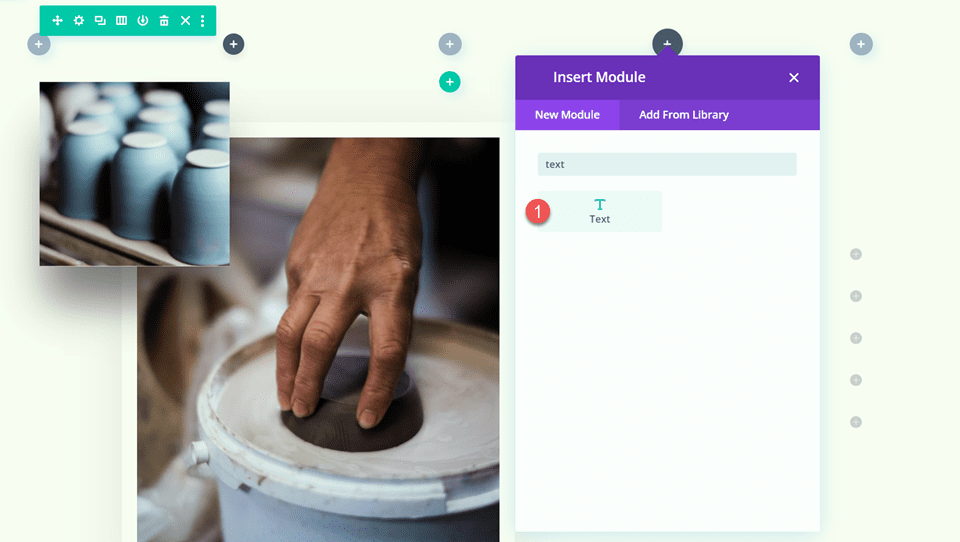
Add a new row with two columns below the Studio Memberships section.
Then, move that row above the Studio Memberships section.
Heading Settings
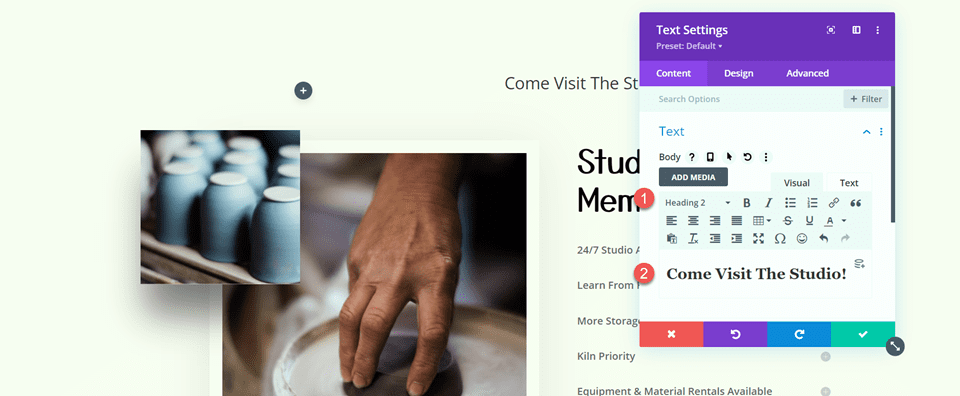
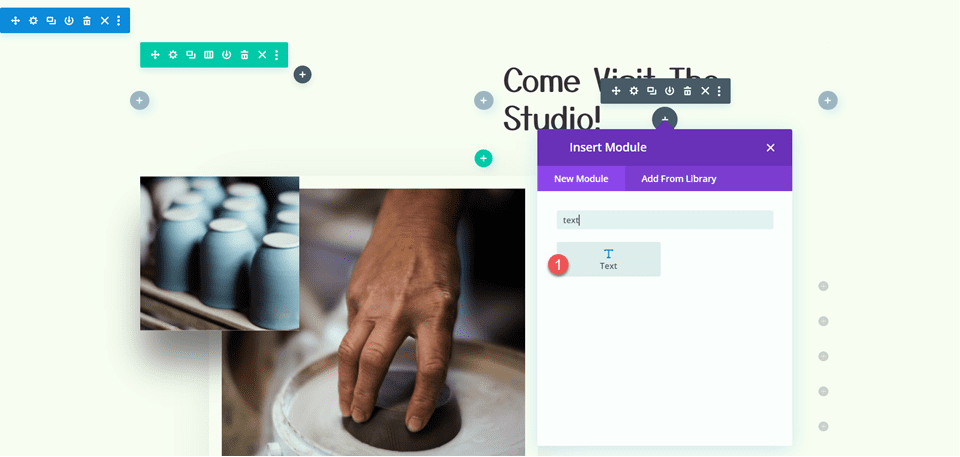
Add a text module to the right column.
Add the text.
- H2: Come Visit The Studio!
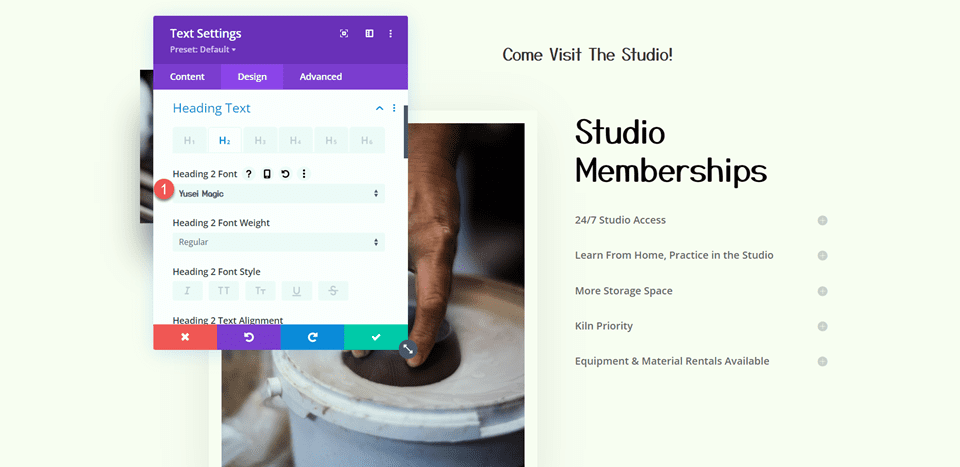
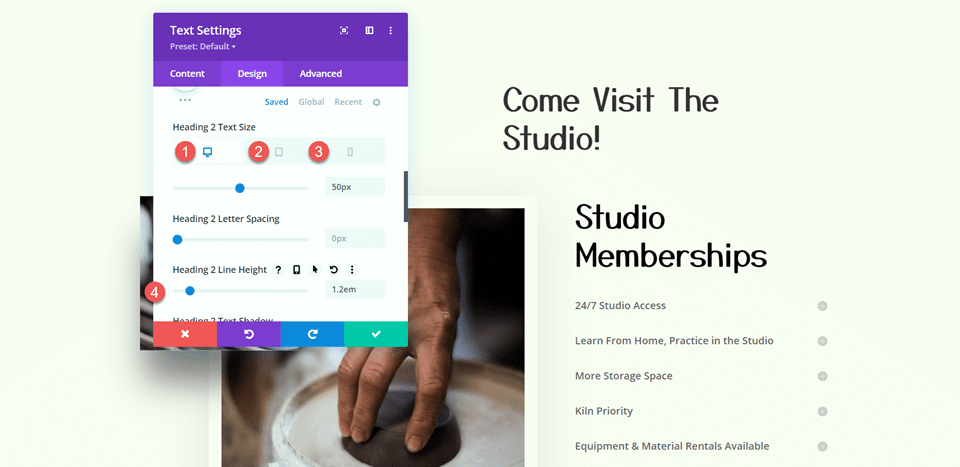
Next, navigate to the Design tab and open the heading text settings. Customize the font as follows:
- Heading 2 Font: Yusei Magic
Then, customize the font size and line height. Use the built-in responsive options to add different text sizes for tablet and mobile devices.
- Heading 2 Text Size Desktop: 50px
- Heading 2 Text Size Tablet: 30px
- Heading 2 Text Size Mobile: 24px
- Heading 2 Line Height: 1.2 em
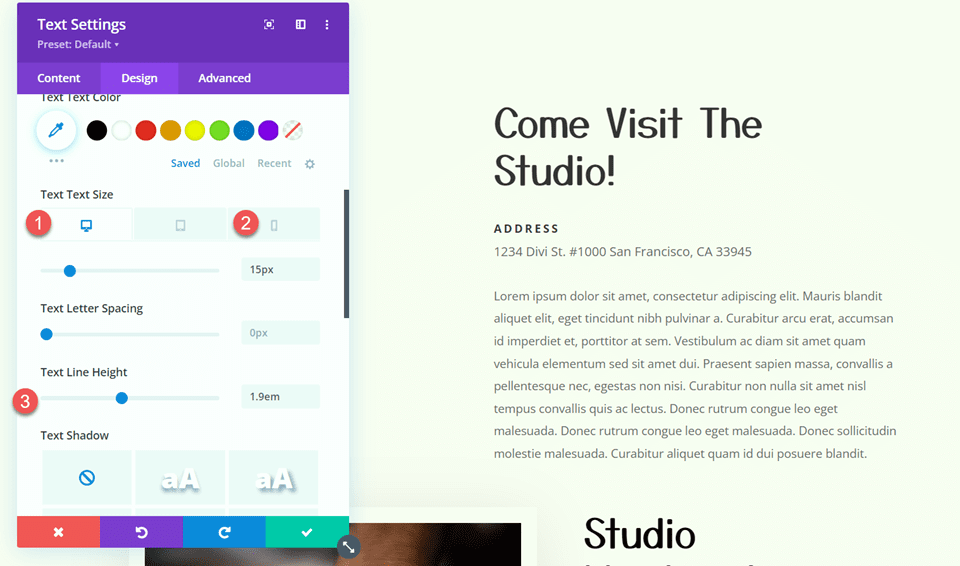
Text Settings
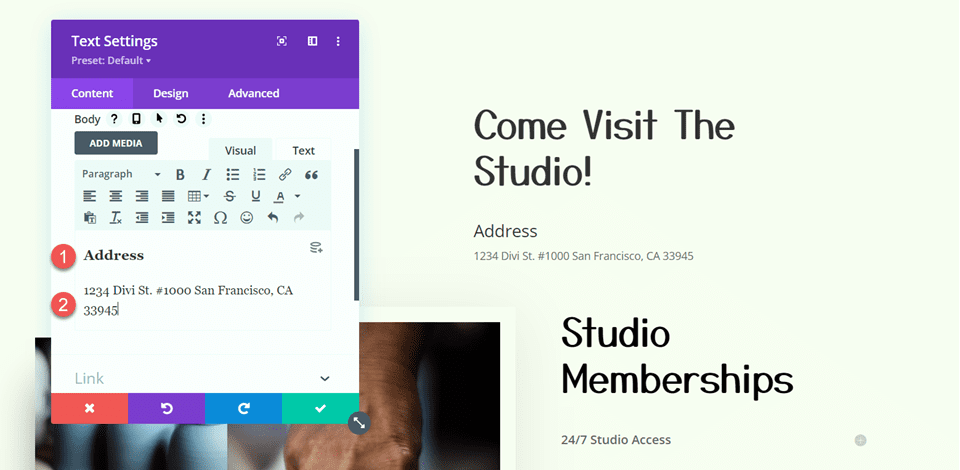
Add another text module below the “Come Visit The Studio” text.
Insert the following text.
- H3: Address
- Paragraph: 1234 Divi St. #1000 San Francisco, CA 33945
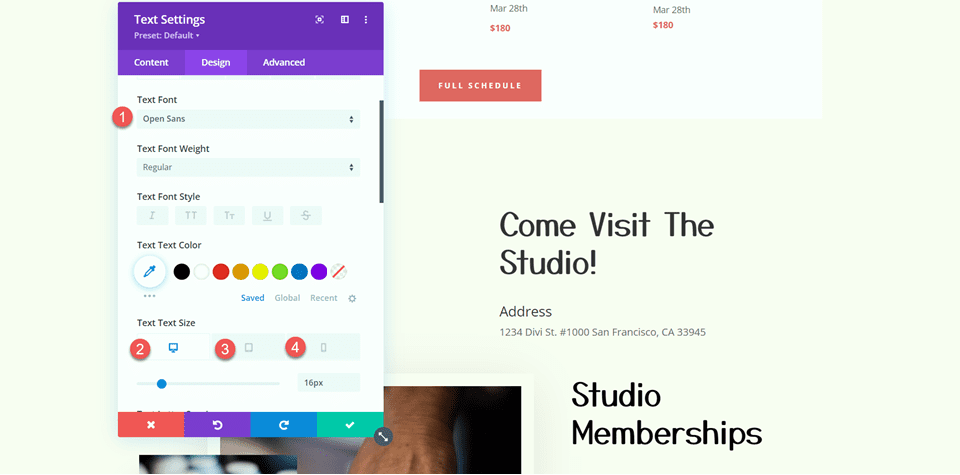
Under the Design tab, modify the text styles.
- Text Font: Open Sans
- Text Size Desktop: 16px
- Text Size Tablet: 15px
- Text Size Mobile: 13px
Then, modify the heading styles.
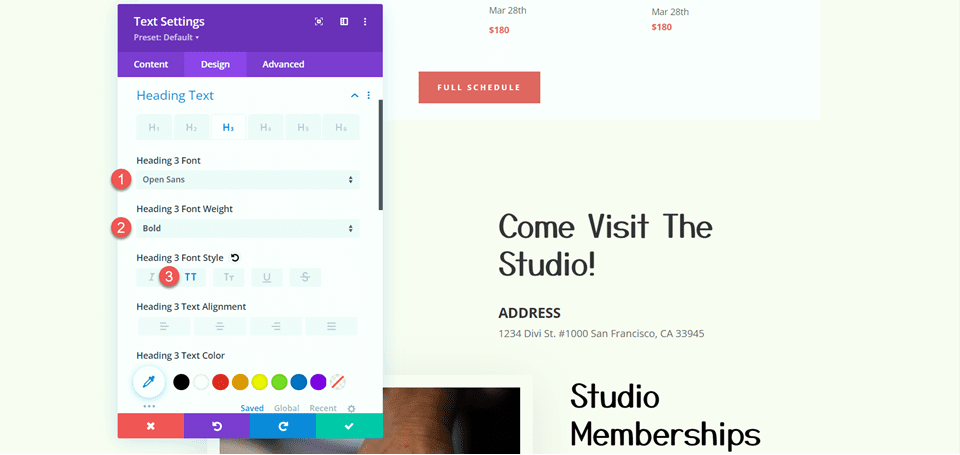
- Heading 3 Font: Open Sans
- Heading 3 Font Weight: Bold
- Heading 3 Font Style: Capitalized (TT)
Next, modify the text size and letter spacing. Once again, use the responsive settings to set different text sizes for different screen sizes.
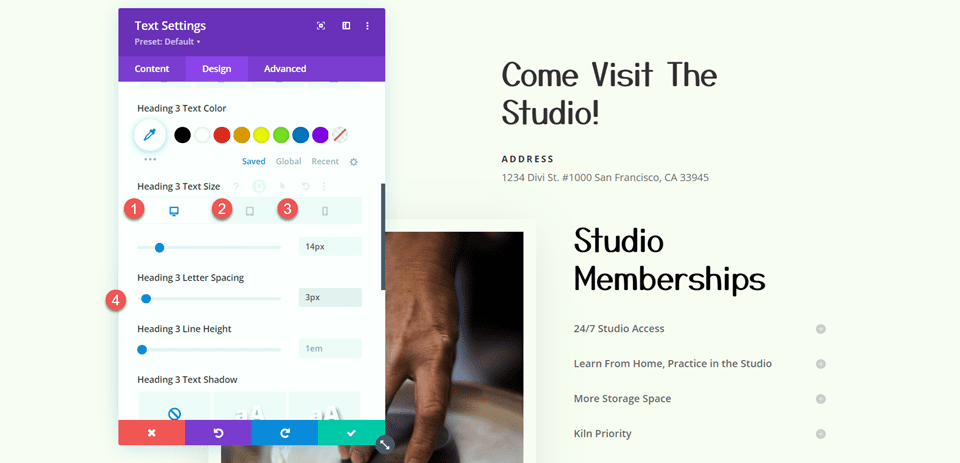
- Heading 3 Text Size Desktop: 14px
- Heading 3 Text Size Tablet: 13px
- Heading 3 Text Size Mobile: 12px
- Heading 3 Letter Spacing: 3px
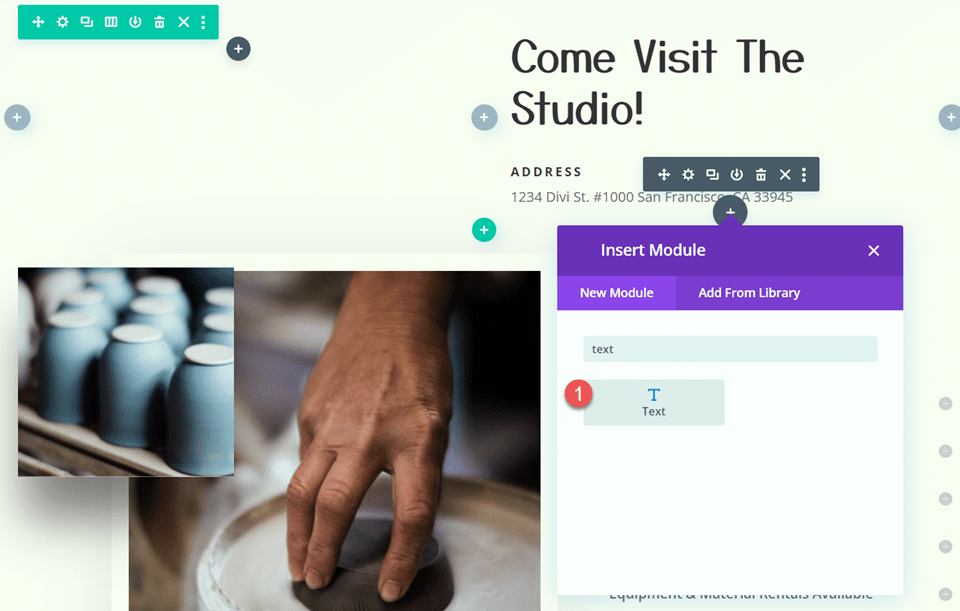
Add another text module below the address module.
Then, add the following content to the body:
- Body: Lorem ipsum dolor sit amet, consectetur adipiscing elit. Mauris blandit aliquet elit, eget tincidunt nibh pulvinar a. Curabitur arcu erat, accumsan id imperdiet et, porttitor at sem. Vestibulum ac diam sit amet quam vehicula elementum sed sit amet dui. Praesent sapien massa, convallis a pellentesque nec, egestas non nisi. Curabitur non nulla sit amet nisl tempus convallis quis ac lectus. Donec rutrum congue leo eget malesuada. Donec rutrum congue leo eget malesuada. Donec sollicitudin molestie malesuada. Curabitur aliquet quam id dui posuere blandit.
Move over to the design tab and customize the font.
- Text Font: Open Sans
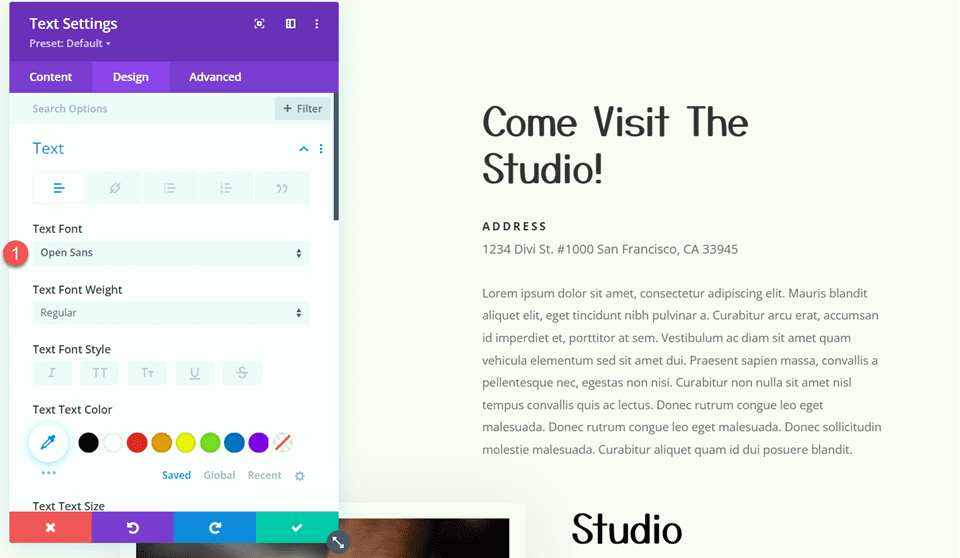
Then, customize the text size and line height.
- Text Size Desktop: 15px
- Text Size Mobile: 13px
- Text Line Height: 1.9em
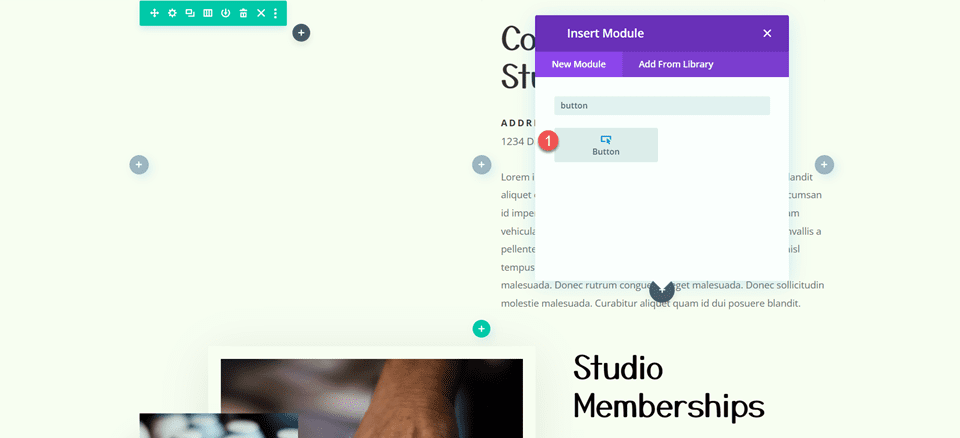
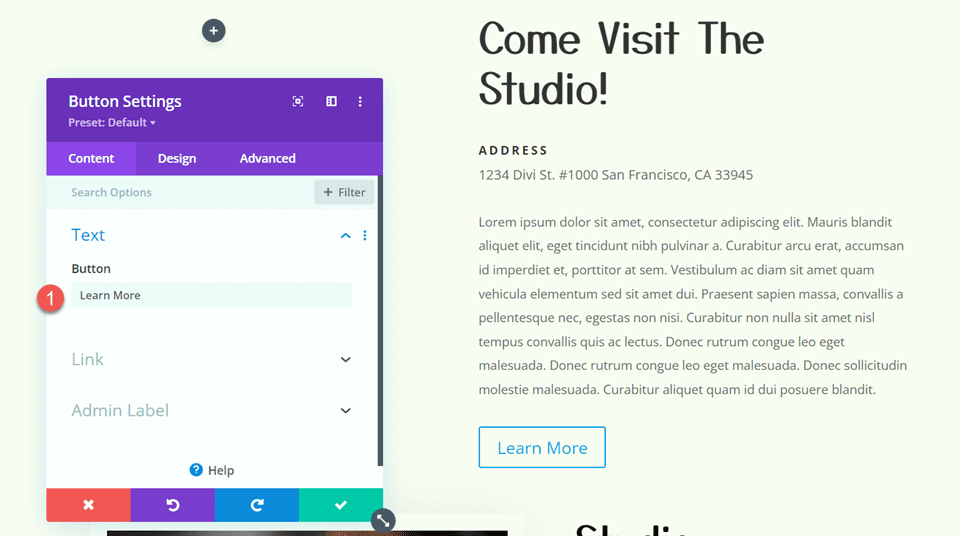
Button Settings
Add a button module to the section, below the text we added.
Set the button text to “learn more”.
- Button: Learn More
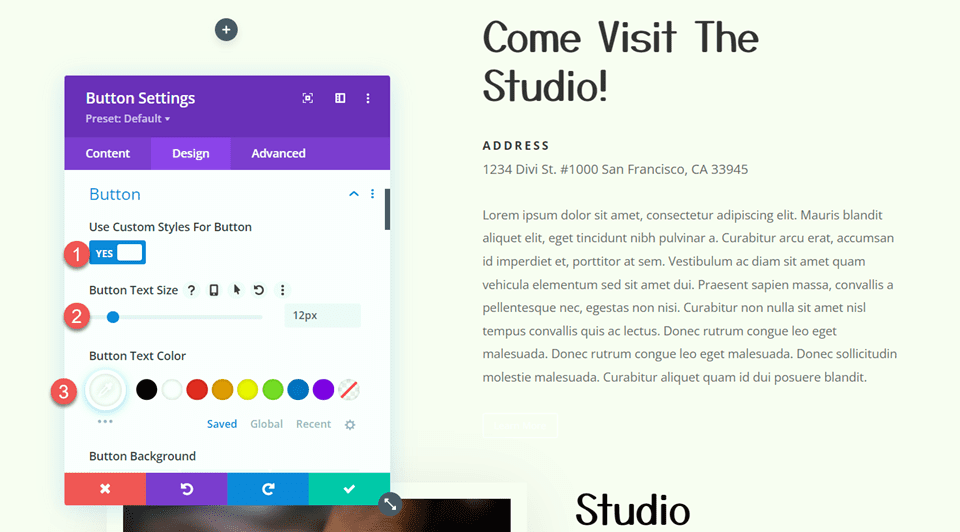
Next, move to the design tab and open the button settings. Enable custom styles.
- Use Custom Styles For Button: Yes
- Button Text Size: 12px
- Button Text Color: #FFFFFF
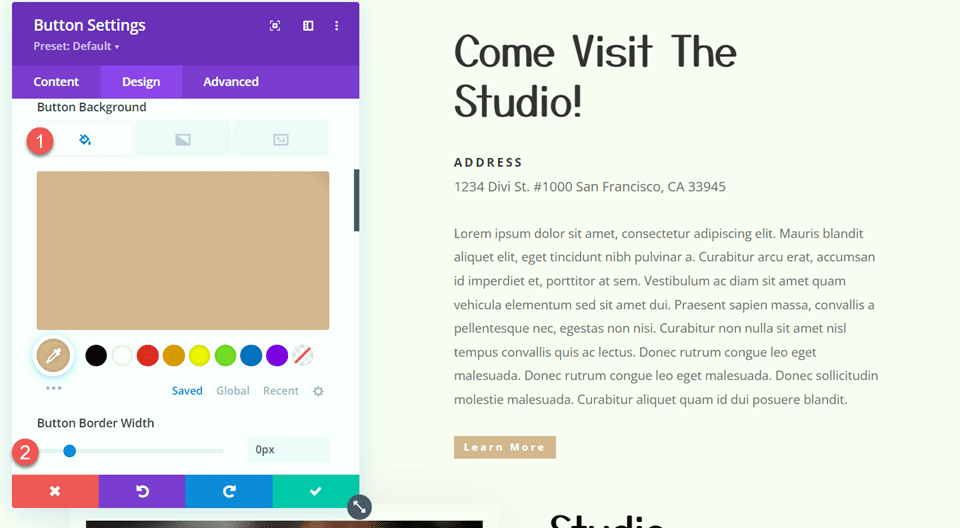
Customize the button background and border width.
- Button Background: #d5b38e
- Button Border Width: 0px
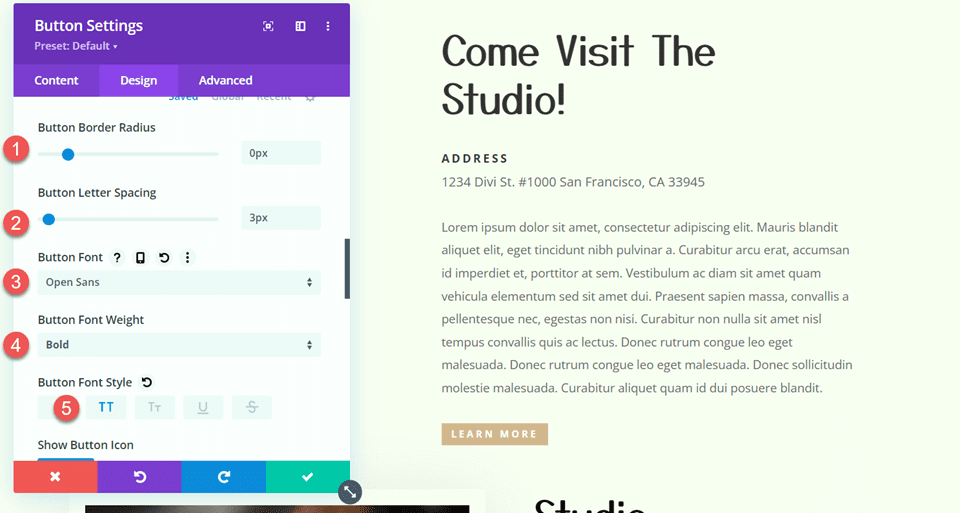
Modify the button border radius, letter spacing, and font.
- Button Border Radius: 0px
- Button Letter Spacing: 3px
- Button Font: Open Sans
- Button Font Weight: Bold
- Button Font Style: Capitalized (TT)
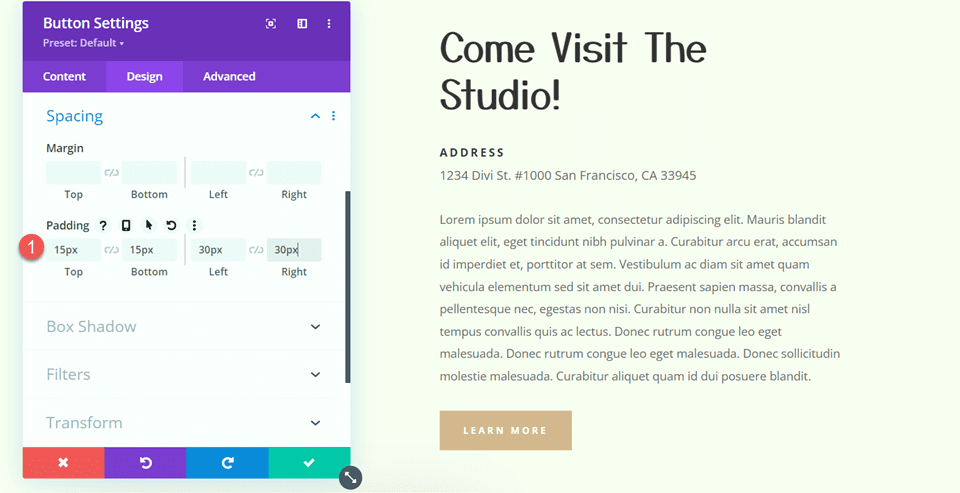
Finally, add padding to the button.
- Padding-Top: 15px
- Padding-Bottom: 15px
- Padding-Left: 30px
- Padding-Right: 30px
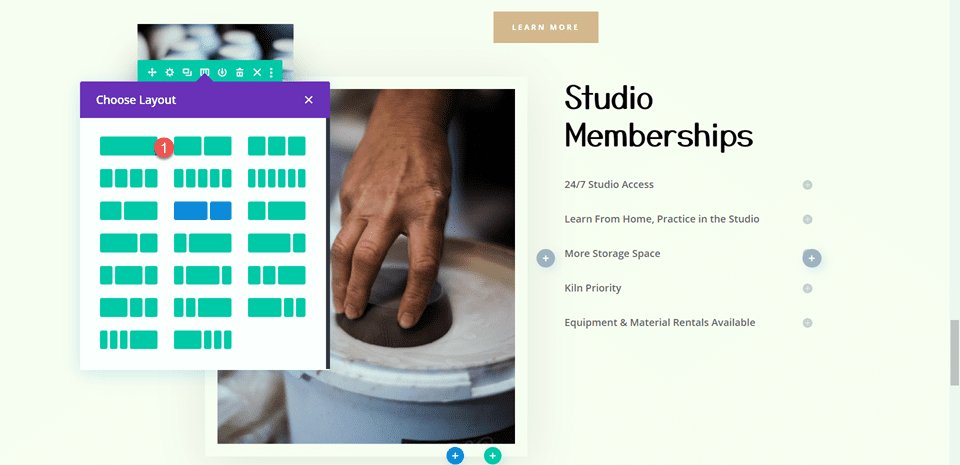
Studio Memberships Section
Now we are going to modify the Studio Memberships section. First, change the row layout to two equal columns.
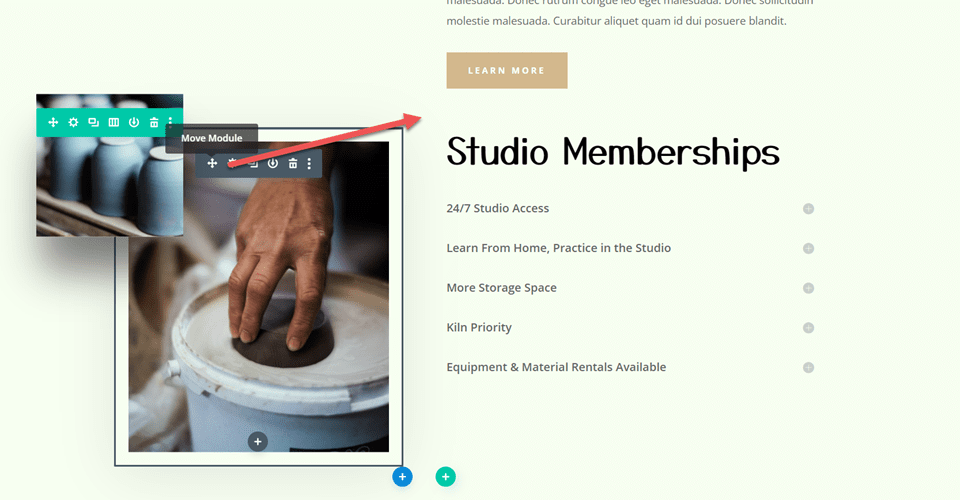
Then, move the large image to the right column, above the “Studio Memberships” text module.
Scrolling Image Settings
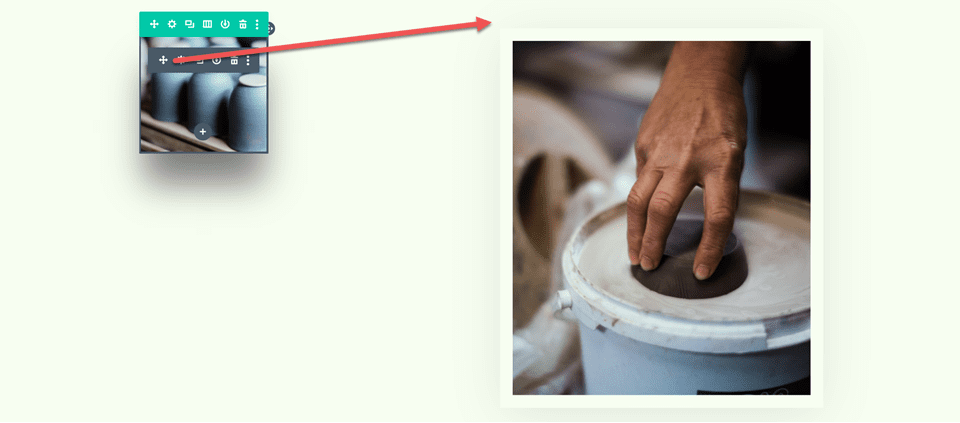
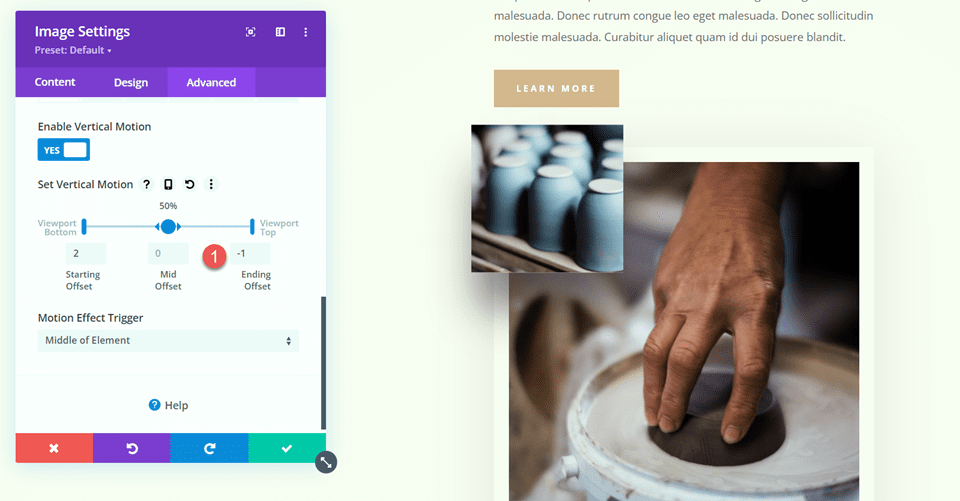
Move the small scrolling image of the pottery to the right column, above the large image we moved.
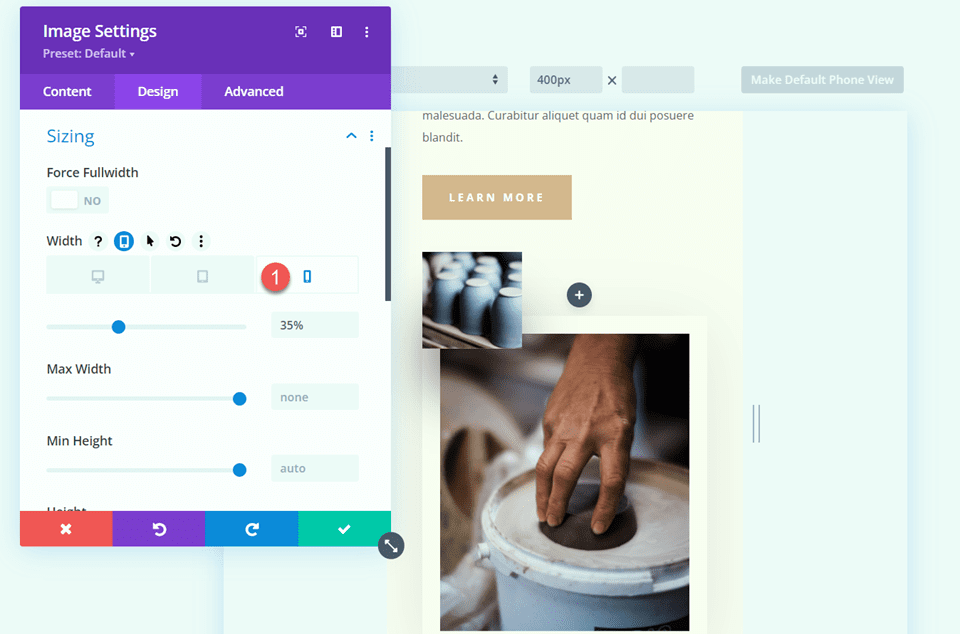
Open the module settings for the small image. Under the Sizing settings, use the responsive settings to set a different width for mobile devices.
- Width-Mobile: 35%
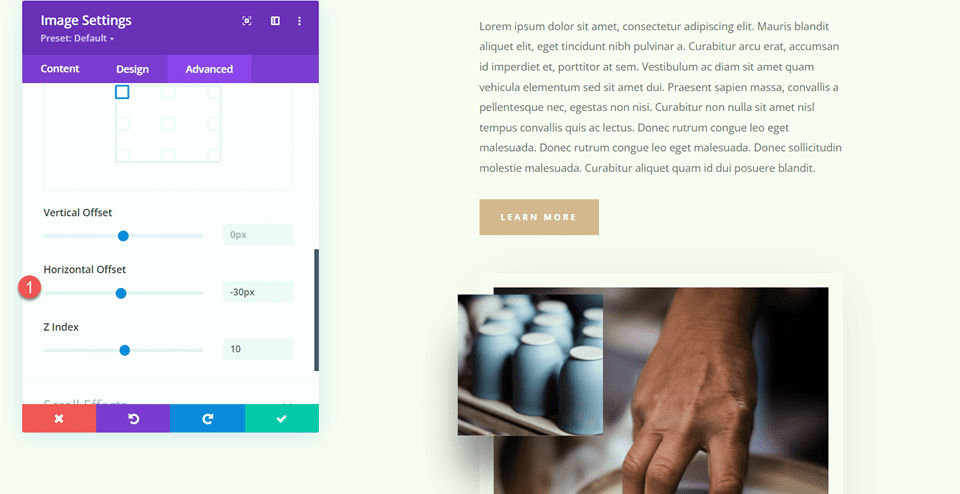
Under the Advanced tab, open the Position settings and add some horizontal offset. This allows the small image to hang over the side of the larger image, adding dimension and creating a more unique layout.
- Horizontal Offset: -30px
Finally, open the scroll effects and adjust the ending offset for the vertical motion.
- Ending Offset: -1
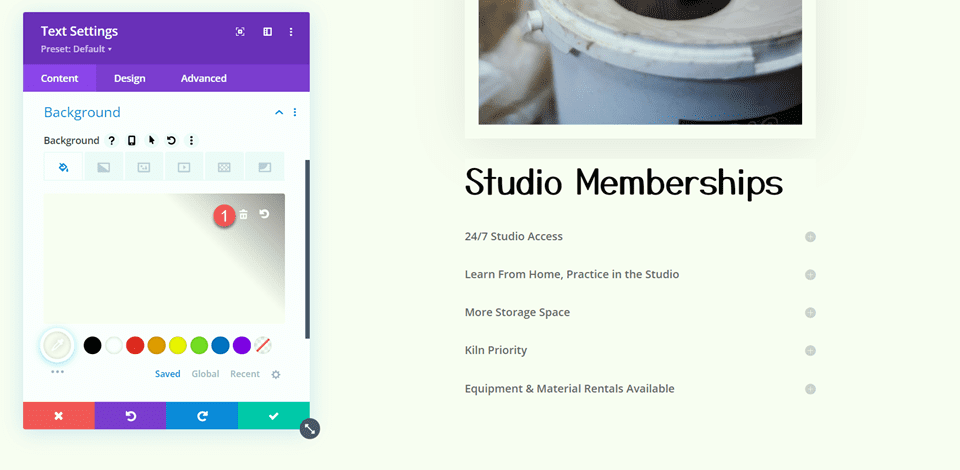
Studio Memberships Text
Open the Studio Memberships text module settings. Remove the background from the module.
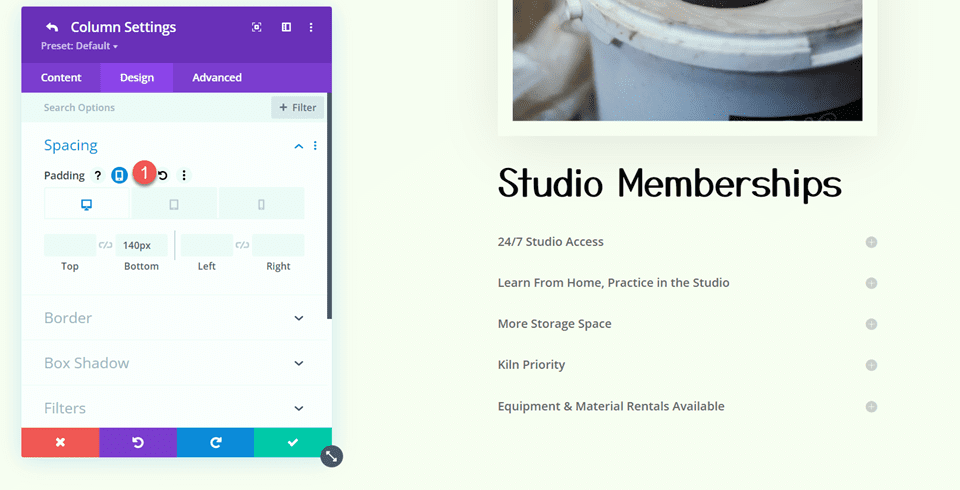
Then, open the row settings and open the column 2 settings.
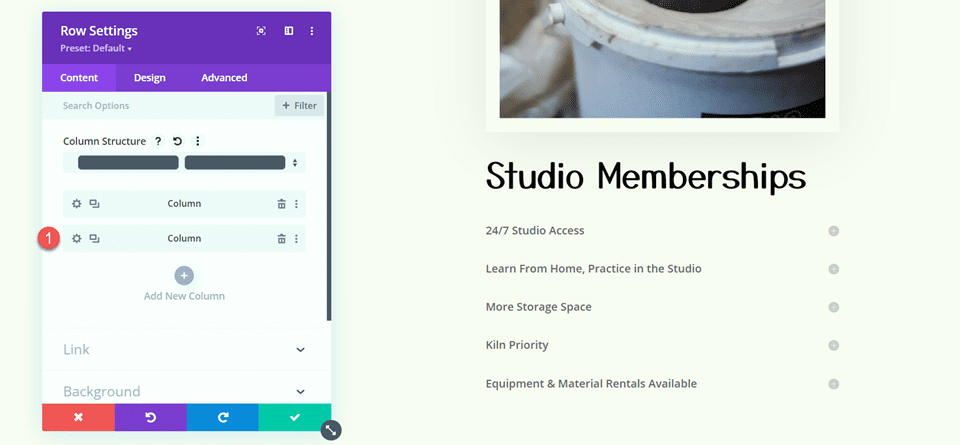
Under the Spacing settings in the Design tab, remove the existing bottom padding.
Section Background
Open the section settings. Under the background settings, add a background image. Select craft-school-24.png from your media library.
Add the Sticky Map Module
Now that our layout has been modified, we can add the sticky map module. The map module will be in the left column and stay in place as you scroll through the content on the right. Let’s get started.
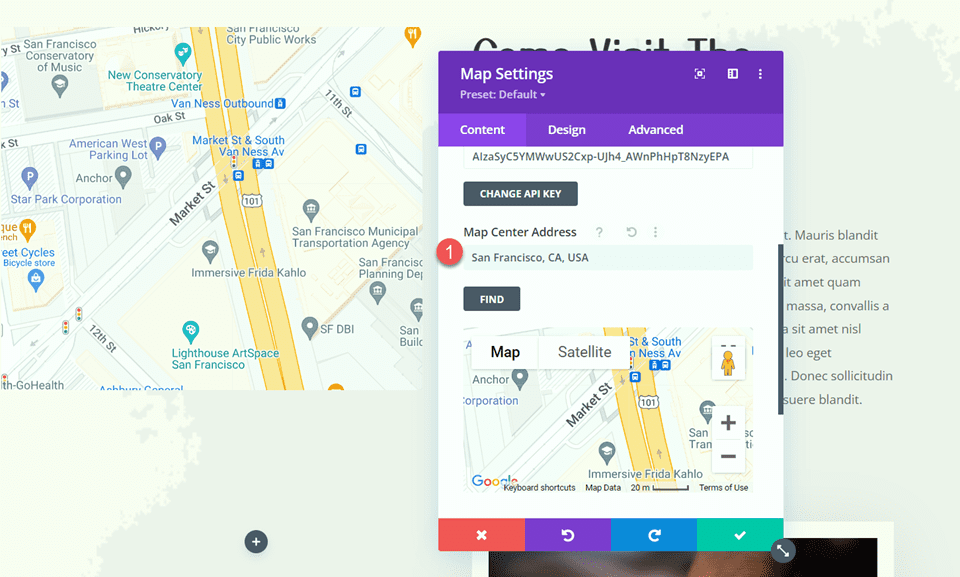
First, add a map module to the left column of the “Come Visit The Studio” row.

Open the map settings and add a map center address. For this tutorial, we will center the map on San Fransisco, CA.
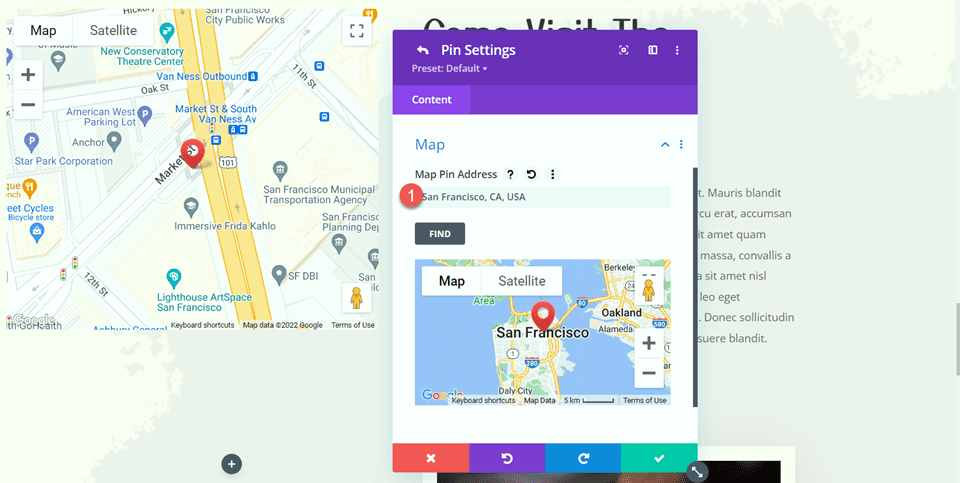
Then, add a pin to the map. We will also set this to San Fransisco, CA.
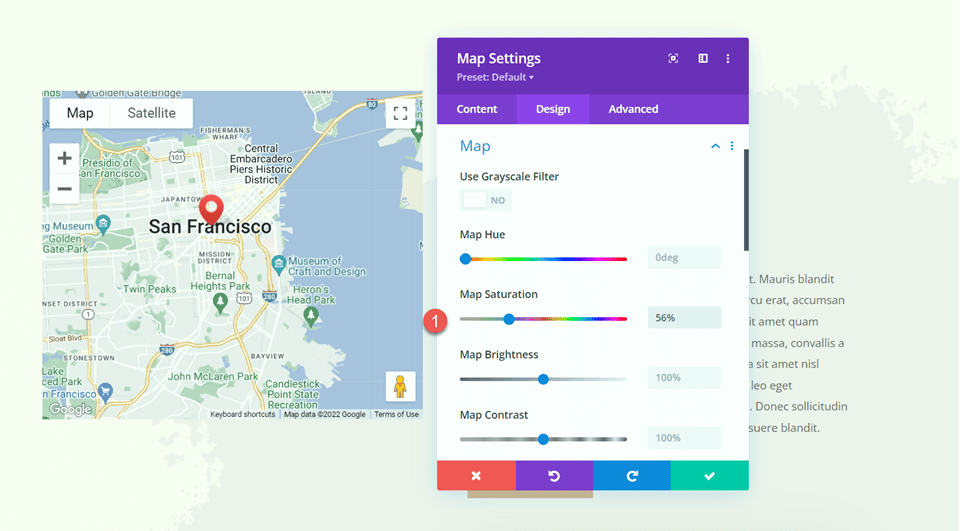
Map Design
Under the design tab, open the map settings. You can use these settings to completely customize the way your map appears. For this tutorial, we want the map to match the muted colors of this page, so we will modify the map saturation.
- Map Saturation: 56%
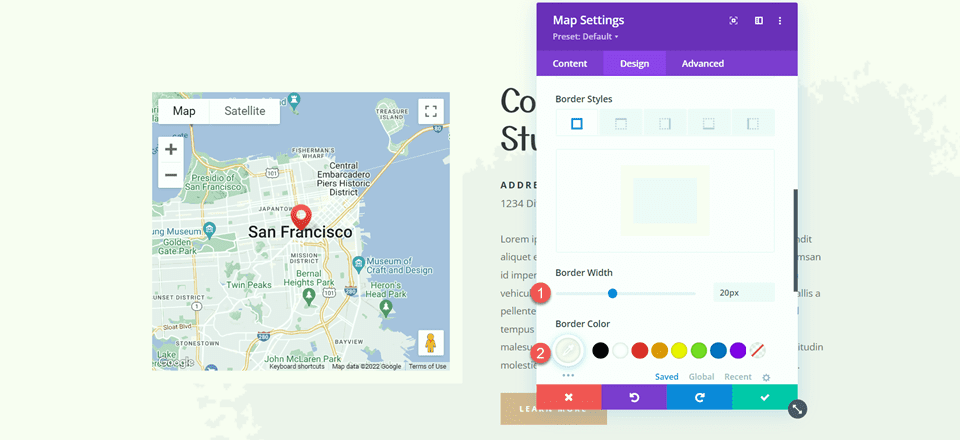
Next, open the border settings and customize the border as follows:
- Border Width: 20px
- Border Color: #fcf8f3
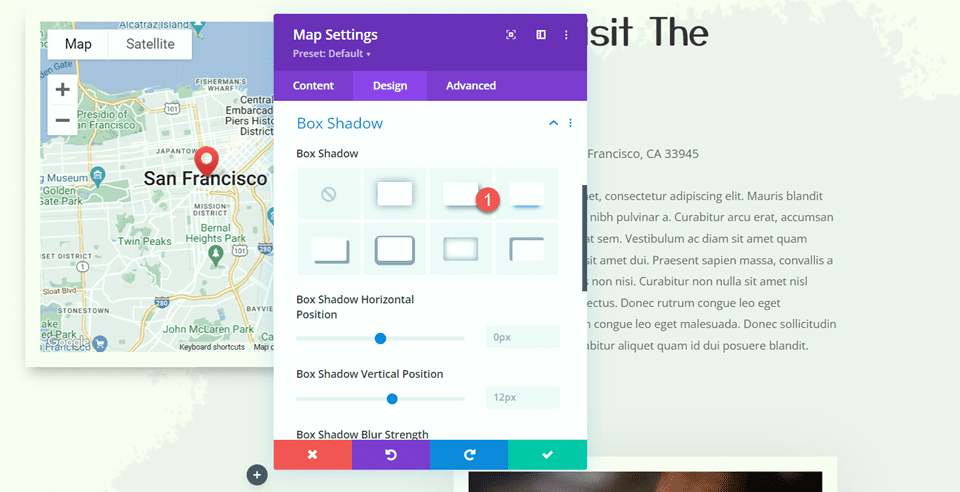
Open the Box Shadow settings and add a shadow to the map module.
- Box Shadow: Below
Sticky Settings
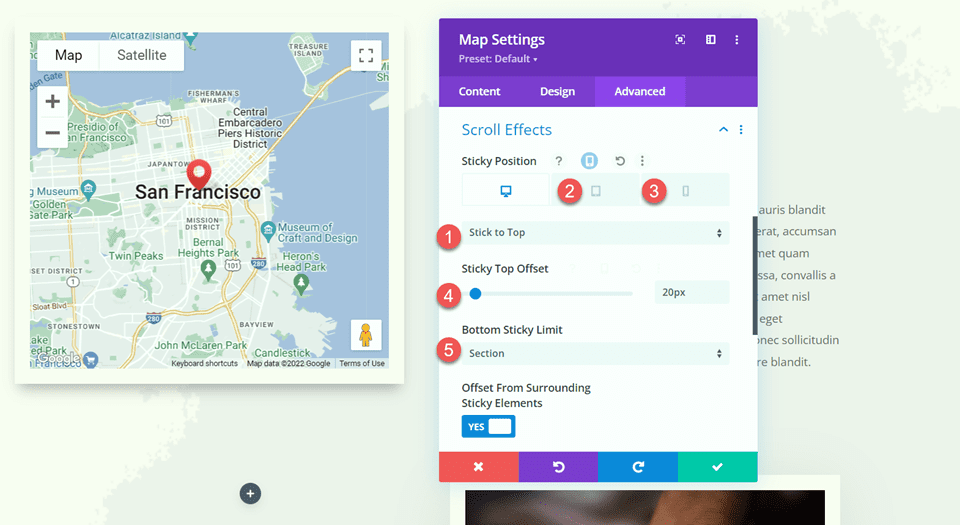
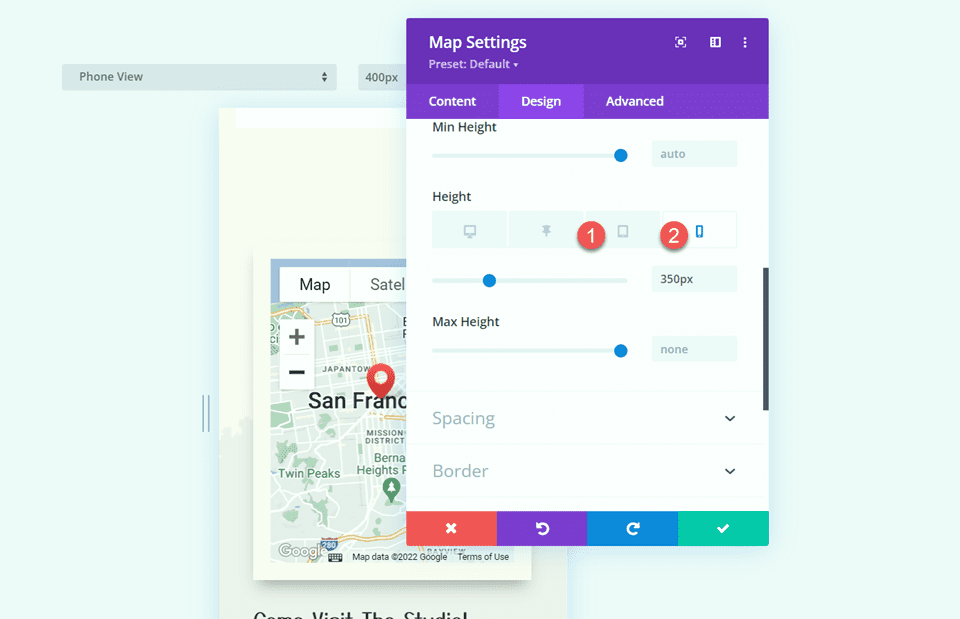
Now let’s add the sticky settings so the map sticks in place while you scroll. Move over to the Advanced tab and open the Scroll Effects Settings. Use responsive options to modify the sticky position settings, as the map will not be sticky on mobile devices.
- Sticky Position Desktop: Stick to Top
- Sticky Position Tablet and Mobile: Do Not Stick
- Sticky Top Offset: 20px
- Bottom Sticky Limit: Section
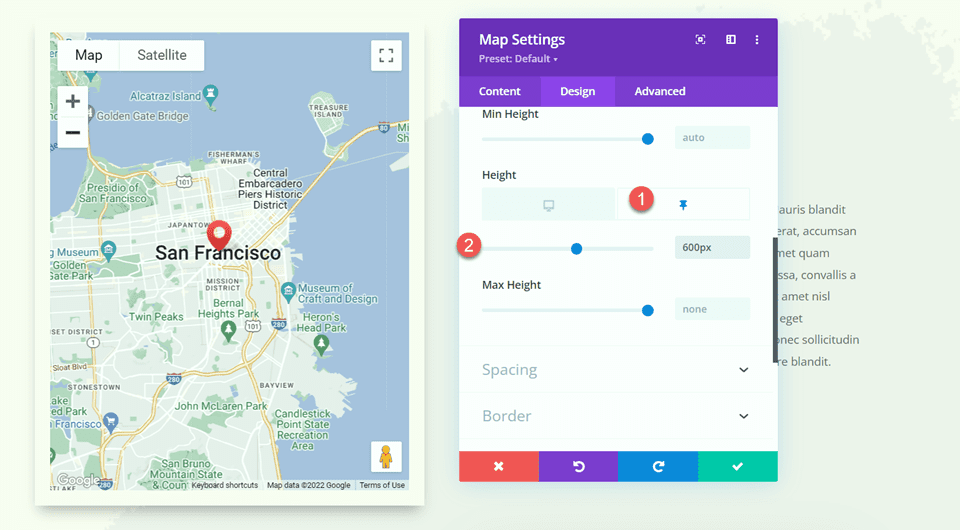
Now go back to the Design tab and open the sizing settings. We want the map height to increase when it is in the sticky state. Use the sticky settings to set a different height.
- Height when Sticky: 600px
Finally, use the responsive settings to change the map size on tablet and mobile.
- Height Tablet and Mobile: 350px
Final Result
Now let’s take a look at our sticky map module in action.
Final Thoughts
Divi’s sticky settings allow you to create dynamic website layouts that draw your eye with the movement. With all of the customization options available, you can make any element on your website sticky and modify the design exactly to your liking. By making the map module sticky in this design, we highlight the location information for the website and add a unique design element to the page. For more tutorials on Divi’s sticky settings, check out this article on adding a sticky contact form to your page. Do you use sticky elements on your website? We would love to hear from you in the comments!


Leave A Reply