
Aspen Footer Editor from Aspen Grove Studios lets you edit the Divi footer area using the WordPress WYSIWYG editor. This means you can markup and style the text any way you want, add images and videos, and even use shortcodes in your footer. The Aspen Footer Editor works with both Divi and Extra, so you’re not limited in choosing your theme.
Why is the Aspen Footer Editor needed? To answer that let’s take a look at the Divi footer editor and see what it can and cannot do and then we’ll compare it with the Aspen Footer Editor and see what advantages it might have.
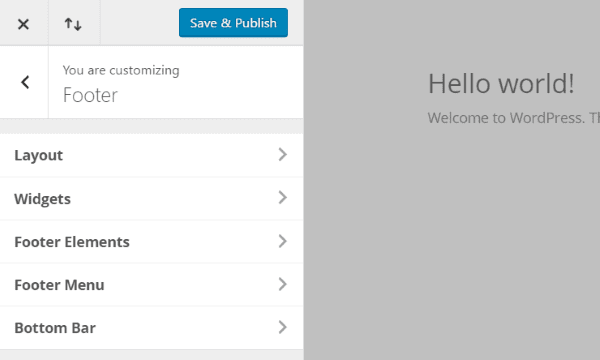
Divi has its own footer customizations built into the theme customizer. It includes customizations for:
- Layout
- Widgets
- Footer Elements
- Footer Menu
- Bottom Bar
Of these menu items, only Footer Elements and Bottom Bar deal with the actual footer. The others create a pre-footer area for widgets and menus. Let’s look at the Footer Elements and Bottom Bar.
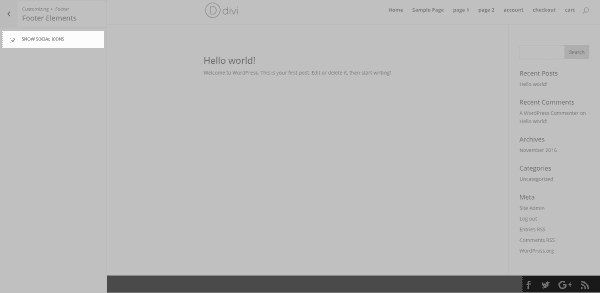
Footer Elements will enable or disable the social icons. You can leave these and the Aspen Footer Editor will leave them intact. If you prefer different icons then disable these and we’ll see later how we can add our own using the Aspen Footer Editor.
Bottom Bar
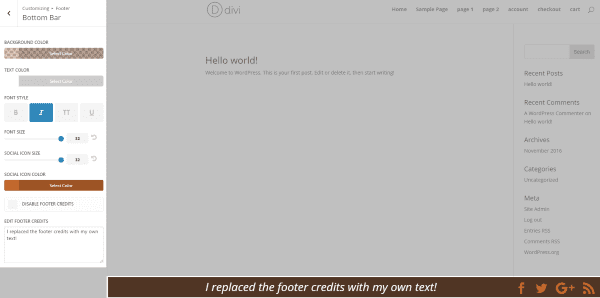
The Bottom Bar settings allow you to change the colors of the background, text, and social icons, as well as change the font style and the size of the icons and font. Disable the original footer credits completely or replace them with your own text.
I’ve tried using markup but the only markup it keeps is italics. It will display all of the markup even after saving the settings. However, after exiting the customizer the only markup it kept was emphasis- deleting the bold, underline, strikethrough, and color markup.
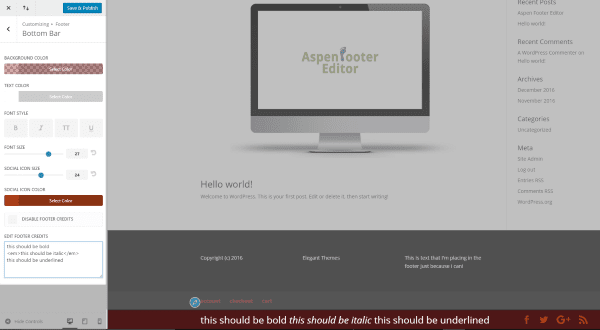
The Divi Bottom Bar is great for creating your own text, modify the color and size of the font, font style, and background color. It will even take special characters and links. If that’s all you need in your footer then the Divi footer editor will work great for you. However, if you want to do a little more, such as style the text (even down to the individual letters), add media and shortcodes, then you’ll need something like the Aspen Footer Editor.
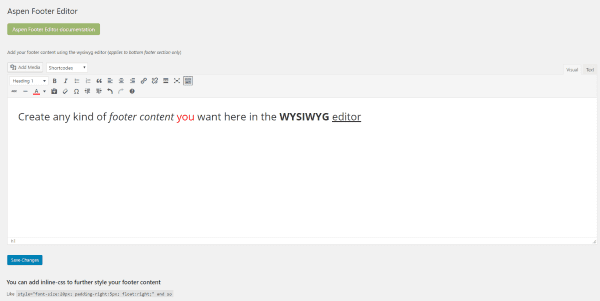
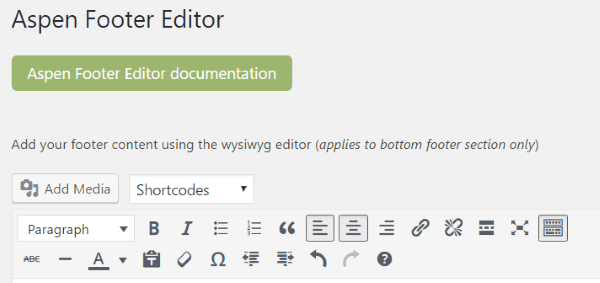
To install the plugin, unzip the download file before uploading. The zipped file contains a PDF file and the plugin zipped file. Once you’ve unzipped the download file, upload the plugin file as you would any plugin. Aspen Footer Editor will then appear in the Divi dashboard menu. Click the link in the menu to open the footer editor.
Here you can place all of the content for your footer. This is a standard WYSIWYG editor and works the same as the regular WordPress editor. All you have to do it create your content and save it. The content will now appear in the footer.
Using Text
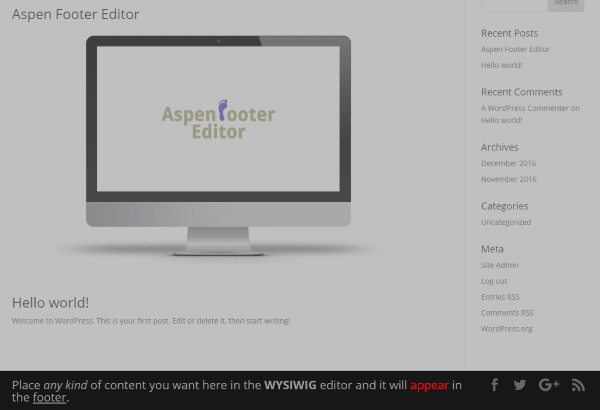
Here’s a quick example of adding text to the footer. I’ve added some styling to a few words including italics, bold, underling, and color. You can see how the content works with the social icons which are still in place. We can turn those off in the Footer Elements settings if we want and the new content will use that area too. I adjusted the font size using the Divi Bottom Bar font settings.
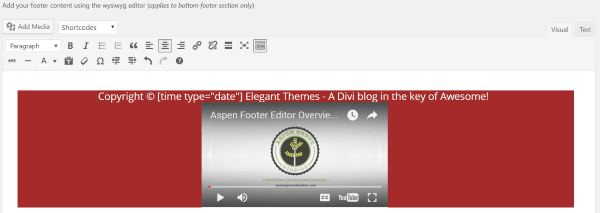
Using Media
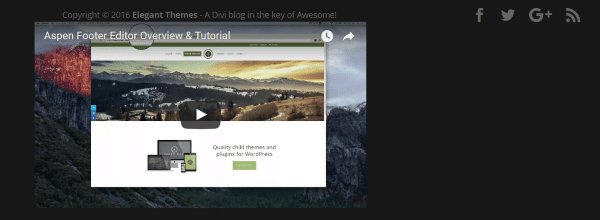
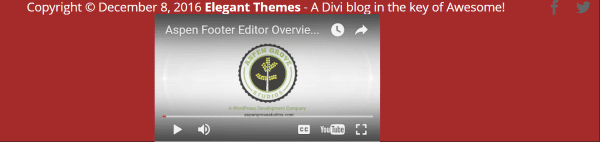
In this one I embedded a link to the Aspen Footer Editor video on YouTube. The video displays just like it does in a page or post.
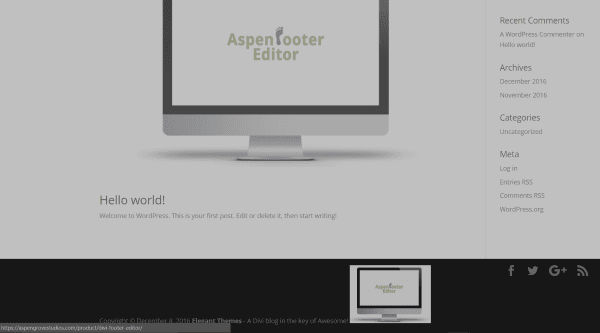
Here’s one with a clickable image with an external link. You can see that it’s a clickable image when you mouse over it and the hyperlink shows in the bottom left corner.
Using the Built-in Shortcodes
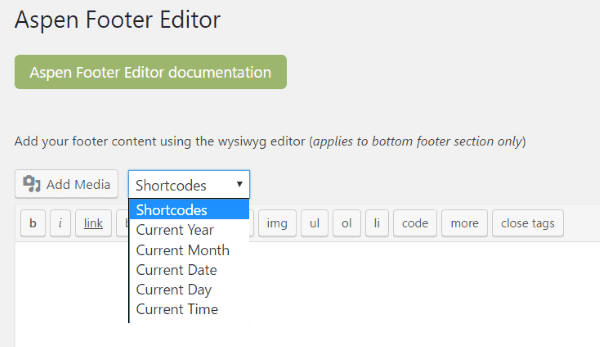
The Aspen Footer Editor has several built-in shortcodes for dates and time. It will show the current:
- Year
- Month
- Date
- Day
- Time
Each one is dynamic so they stay updated. Just select them from the dropdown box and they’ll be placed within your content (where your cursor is sitting). You can move them around and use as few or as many as you want.
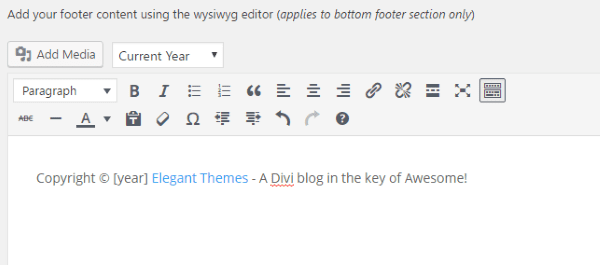
In this one I created a standard copyright notice (click on the omega symbol (Special Character menu) to find the copyright symbol), added a link to Elegant Themes, and made a little comment about the site. The year (or any of the date shortcodes in the list) will automatically change as the year changes so I never have to update it.
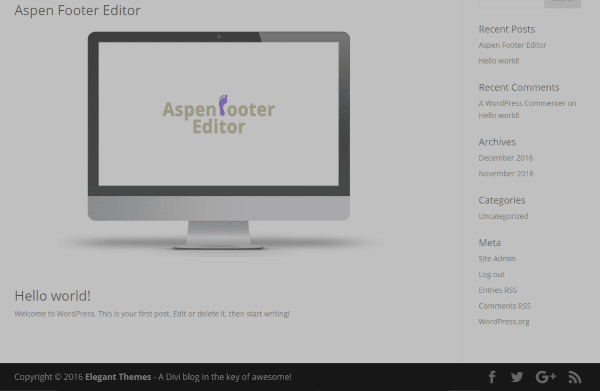
Here’s what it looks like in the footer. It’s fairly standard. I brightened the color and increased the font size slightly using the Divi Bottom Bar settings to help make it easier to see in the images.
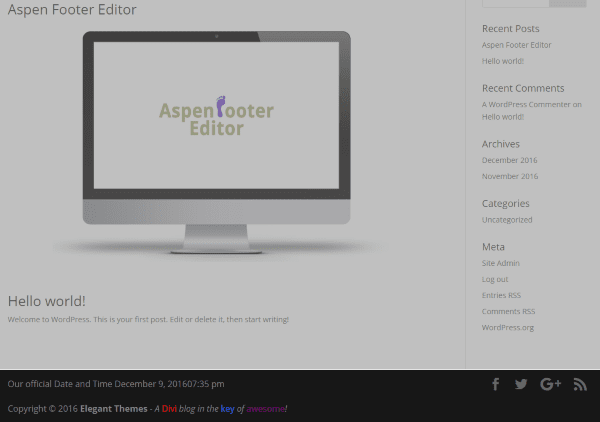
This one uses multiple shortcodes to show the date, time, and year. It also includes some extra styling on some of the text for color, italics, and a line-break to place the second line of text under the first.
Using Shortcodes for Other Plugins
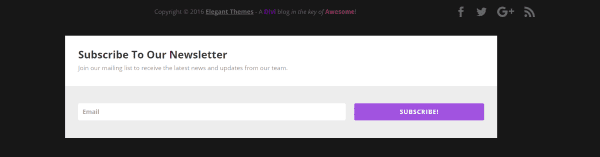
Just like the standard WYSIWYG editor you can place shortcodes from other plugins. This one uses a Bloom shortcode to place an opt-in form within the footer. You can use this to place forms, maps, etc.
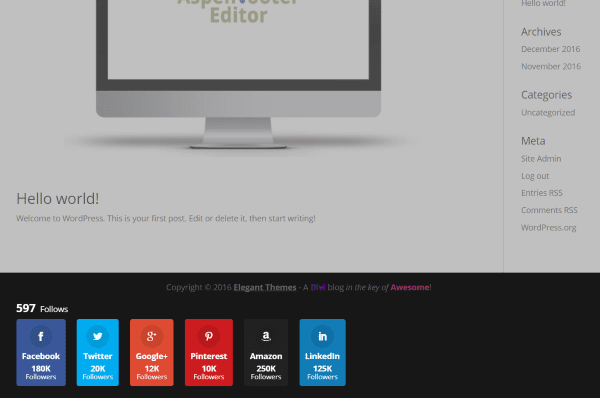
I’ve disabled the social icons in the theme customizer and replaced them with those from Monarch. There are several ways to display the social icons using Monarch. I can modify theme in the Monarch menu and the changes are automatically reflected in the footer because I’m using the same shortcode.
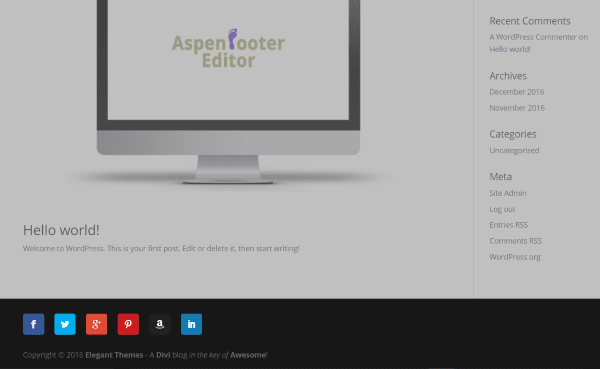
This one simplifies the social icons, creating a smaller and cleaner look to the footer.
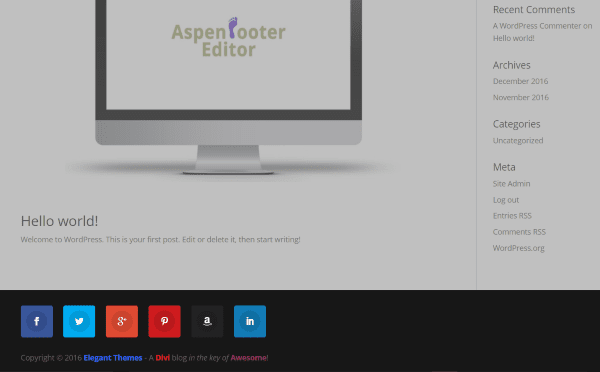
This one gives the icons a little more style. I like working with shortcodes because I can refresh the page to quickly see the new styling.
Using In-Line CSS
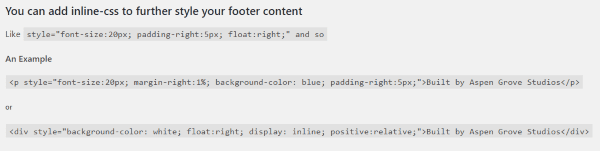
What if you wanted to change colors of the text or background using CSS? You can do that. The plugin includes a couple of examples to help you get started.

I did a few of my own modifications to add styling to the font and the background. This code sets the background color, font size, and padding. The content includes two links (one for text and one for the image), and a shortcode for the date.
I also wanted to change the font color. For that I can simply used the WYSIWYG editor in the visual tab and adjusted the colors. I also set to text to Centered. You can see the results using the Visual tab in the WYSIWYG editor as you make the adjustments.
The only difference in the actual footer is it shows the results from the shortcodes.
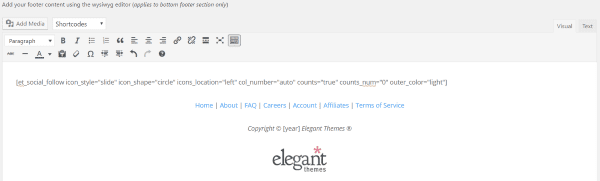
Here’s a look at creating a simple footer with common elements that we see on websites today. I wanted to create something that would be useful with information and links. I added social icons using a Monarch shortcode and used inline CSS to modify the icons’ placement (I tried several placements). I then added a menu with links, copyright notice with the shortcode to display the year, and the Elegant Themes logo.
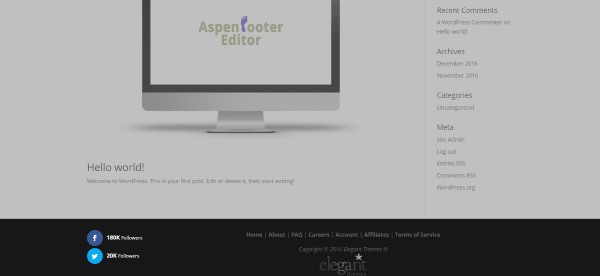
This one uses a float left CSS to stack the social follow buttons on the left of the menu. This works if you just have a few icons to display.
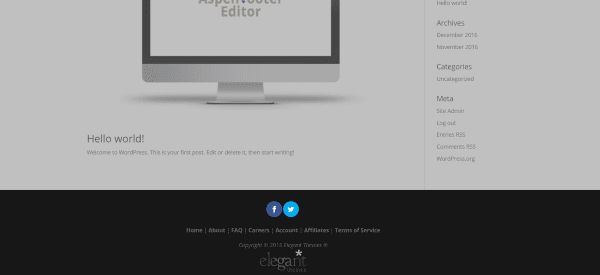
This one uses centered CSS to center the social buttons above the menu. This is better for multiple icons.

This one adds a Bloom shortcode with float left and some padding to create two columns – one for the opt-in form and one for the menu, text, and image.
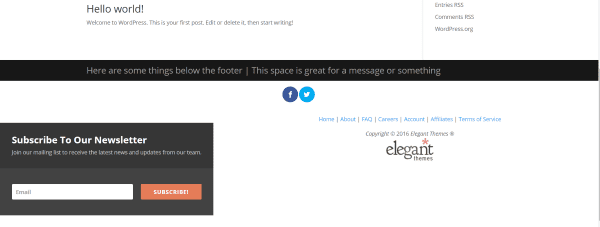
Here’s a look at the footer while using the original Divi footer. If you place content within the Divi Bottom Bar, the content in the Aspen Footer Editor will appear in the area below the footer creating an interesting and useable new area.
The Divi Bottom Bar styling doesn’t affect the text created with the Aspen Footer Editor if you have text in the Bottom Bar’s footer credit’s area. You don’t want it to because it would do away with the extra level of detail we now get by using the WYSIWYG editor.
This can be handy in using the Bottom Bar for a message or links and using the area below that for something else entirely such as opt-in forms, maps, or videos.
Aspen Footer Editor doesn’t have a feature built-in to save, import, or export your footers, but there is an easy way to save them manually and reuse them. Just follow these simple steps:
Step 1

In the Aspen Footer Editor screen, click the Text tab to see all of the content as code.
Step 2
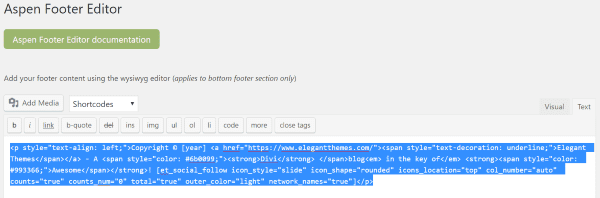
Highlight and copy all of the code.
Step 3
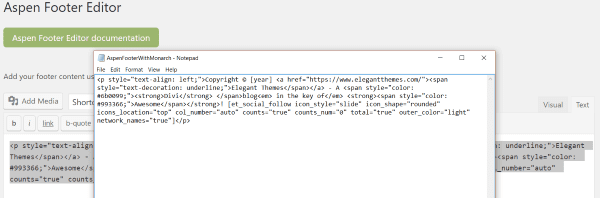
Create a new text document and paste in the content. Save the document with a name that describes the footer.
That’s it! Now you can save, share, and reuse the footers. I like using this method for experimenting with footer designs. I recommend keeping them in a folder to help you sort your footer designs. If you’ve uploaded media to use in the footer make sure to keep the media on your website if you want to paste the code back in later. If you delete it you’ll have to upload it again and rename the file within the text to match the upload date. It’s much easier to just leave the media in the media library.
If you deactivate the plugin the footer credits will revert back to the default. Reactivating the plugin does bring the custom footer back (at least it did in my tests), but I still recommend saving the code for the footer in a text file just in case.
Updates, Documentation, License, and Support
Aspen Footer Editor includes free lifetime automatic updates. A link is added to the plugin list to check for updates.
The download file includes PDF documentation within the zipped file. There’s also a link in the editor (the big green box under the title) that will open the PDF at the Aspen Groves Studios website in another tab. It covers a description of the plugin, features, installation, an FAQ, and an email link for support.
The license includes unlimited usage for you and your clients.
Support is also for life. You can get support through the website for before, during, and after purchase. The have both a support ticket system and an FAQ page.
Final Thoughts
The Aspen Footer Editor makes it easy to create your own footer using the WYSIWYG editor. It gives you all of these tools to markup the text, use inline CSS, include your own images and video media, use shortcodes, and more. It can create great stand-alone footers or it can be used with other Divi footer elements to create something even more unique.
It’s easy and intuitive to use. It saves the changes fast and doesn’t strain the website. The plugin is lightweight and I didn’t notice any slowdown at all. If you’re looking for an easy way to create your own footers, Aspen Footer Editor might be the tool you need.
Have you tried Aspen Footer Editor? Let us know what you think about it in the comments below!
Featured Image by VectorsMarket / shutterstock.com


I agree with Micha and Estevan Montoya, this type of functionality really should be built into the Divi theme.
I purchased the Aspen Footer plugin and tested it out. It’s easy and works very nicely.
Thanks for the post Randy, nicely done 😉
Jules
Personally, I think this should be a built in feature for a premium theme. After paying for a premium theme, I should be able to change the footer without hacking it or buying an additional plugin. StudioPress/Genesis allows for custom footers…
Don’t get me wrong, I LOVE and use Divi/Extra for most sites I make, I just think a premium theme should have this option built in. As well as a text logo.
It’s now built in, Divi> theme customizer> footer. Which makes me wonder why ET need to write up footer plugins at all now
Cheers
Hi, would it be possible to please post the CSS code for the example “…centered CSS to center the social buttons above the menu” ? Thanks !
Thanks for the write-up. I had not heard about Aspen before …. but ….
Why isn’t this just built into Divi editor?
i know, silly question,
when i must write all as css and shortcodes, why i should not write this down to the footer (php) at my Child-Theme?
Haven’t seen this yet but thank you for sharing.
Why use this plugin when you have the Divi/Extra Layout Injector plugin instead???
We’ve also featured the Layout Injector plugin here: https://www.elegantthemes.com/blog/divi-resources/divi-plugin-highlight-divi-layout-injector
People can use whatever plugin they’d like. We’re simply featuring one of the third party options created by the community.