Using Divi Transform Options
Divi Transform Options are a set of powerful tools that allows you to manipulate your web design in stunning ways, creating depth and compelling visual effects.
Divi Transform Options are a set of powerful tools that allows you to manipulate your web design in stunning ways, creating depth and compelling visual effects. You can move elements around, scale them up or down, rotate on three different axis, skew elements, and adjust the transform origin all within the Visual Builder.
No more writing detailed custom code to add transform effects to your page elements, now you’re able to transform all sections, rows, and modules directly in the Visual Builder all while seeing those effects take action in real-time! Combing these effects with Div’s hover options allows you to create powerful interactive designs as your user scrolls through your website.
When applying Transform effects, it’s important to note that this will not disrupt the elements around it. That means you can move elements around, increase their size, and rotate them without affecting any of the surrounding elements. This allows you to “break free” elements from their parent columns, rows, or sections, allowing you to stack items on top of each other and create beautiful collages with different modules.
In this doc, we’ll cover:
- Where to Find Divi’s Transform Options
- How to Use the Divi Transform Options
- Tips & Best Practices For Using Divi Transform Options
- Continue Learning
Where to Find Divi’s Transform Options
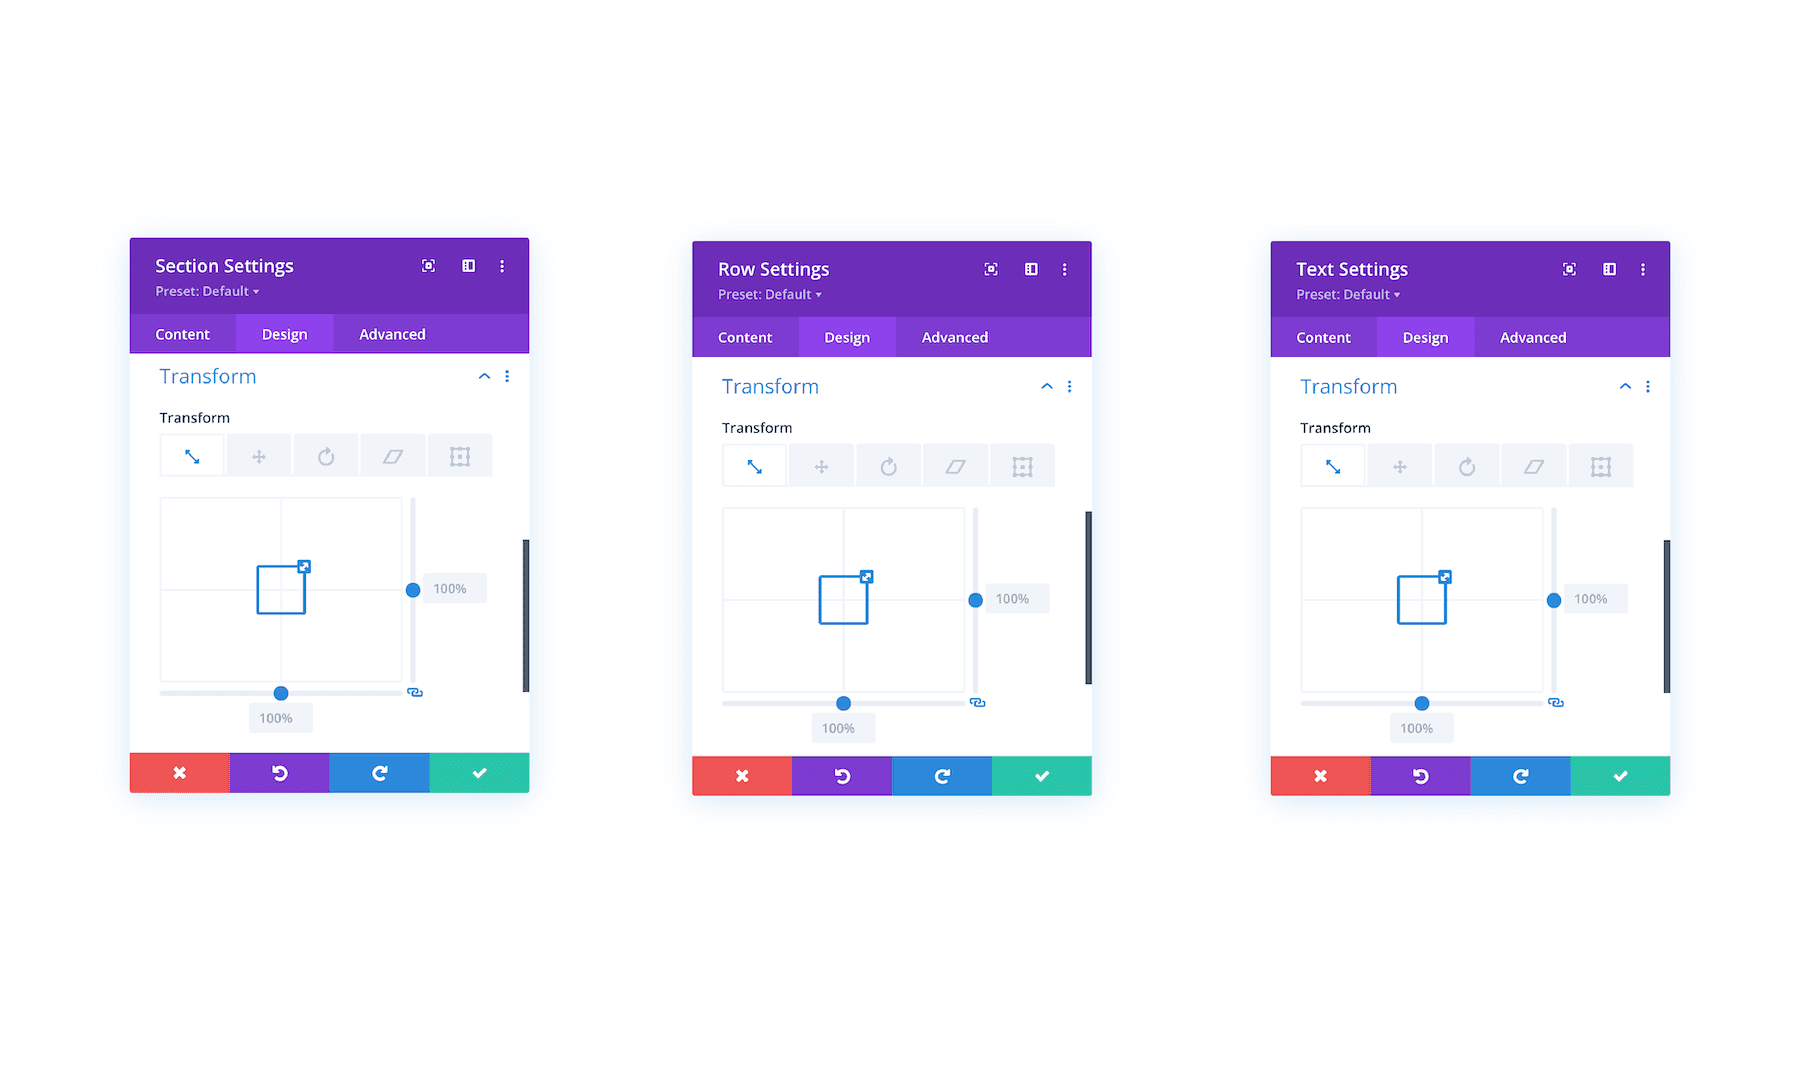
The Transform settings group can be found in any Divi element (sections, rows, columns, or modules). Simply navigate to the design tab, scroll to Transform, and click to expand the Transform option group.
How to Use the Divi Transform Options
With Transform controls, you can easily adjust the appearance of any section, row, or module within Divi. The transform interface not only includes standard range sliders and input values for adjusting settings but presents the transformation in a visual way so that it’s easy to understand what’s taking effect. As you adjust the controls, you’ll see the transformation taking effect right before your eyes on the page.
Transform Scale
Using the Scale control, you can quickly adjust the size of any element. Drag the range sliders up or down to increase or decrease the size of the element. By default, the original aspect ratio will be kept, however, you can unsync the height and width settings and adjust them independently by clicking the chainlink icon in the bottom right corner.
Transform Translate
Using the Translate control, you can easily adjust the position of any element on the page. Moving an element with the translate option allows you to move the element within the page without affecting any surrounding elements or its parent element. This is similar to using absolute positioning in CSS, except the position is based on the element’s inline position instead of the position of its parent relative element.
Transform Rotate
Using the Rotate control, you can easily rotate any element on three different axis for a full range of three-dimensional rotation. The first option allows you to tilt elements down right or up left, the second option allows you to tilt elements backward or forward, and the third option allows you to tilt elements from left to right.
Instead of having to rotate design elements in Photoshop, you can now create this effect within Divi, saving you tons of design time! And if you ever need to replace an image, you don’t have to re-edit it in Photoshop but can replace it with ease within Divi.
Transform Skew
Using the Skew control, you can easily slant an element in one direction or another. This can be used to create compelling depth effects. Simply drag the range sliders to adjust the skew. By default, the original aspect ratio of the element will be kept, however, you can unlink these values as you adjust them individually by clicking the chainlink icon in the bottom right corner.
Much like the Scale control, you can skew elements with a locked aspect ratio, or you can unlock each side and adjust them independently. Combining Skew and Rotation can lead to some pretty stunning 3d effects that add depth and complexity to your page.
Transform Origin
The transform Origin option allows you to change the starting point of any transformation that has been set using the transform options. This is a convenient way to offset the position in which a certain transform effect takes place. For example, you can use this option in conjunction with the rotate option in order to pinpoint the location where you want the rotation to occur. All you need to do is position the point using the UI provided.
Best Practices & Tips For Using Divi Transform Options
Use Transform With Hover Options
To create some truly interactive designs, you can combine transform effects and hover effects to design elements that transform on hover.
TIP: If you want to move an element on hover using transform translate, you should also add increase the size using transform scale to avoid any messy jumping when hovering over the element.
Add Perspective for 3D Effects
Perspective is a technique used by artists to draw objects that appear to be 3D even though it exists on a 2D plane. In web design, you can position elements in 3D positions using the transform property. In Divi, these transform options are built-in to the Divi builder. The main transform property that puts an element in a 3D position is transform rotate, which allows you to rotate items along the z, x, or y axis. However, if you rotate an item using transform rotate, the element won’t appear as 3D unless the perspective property is applied.
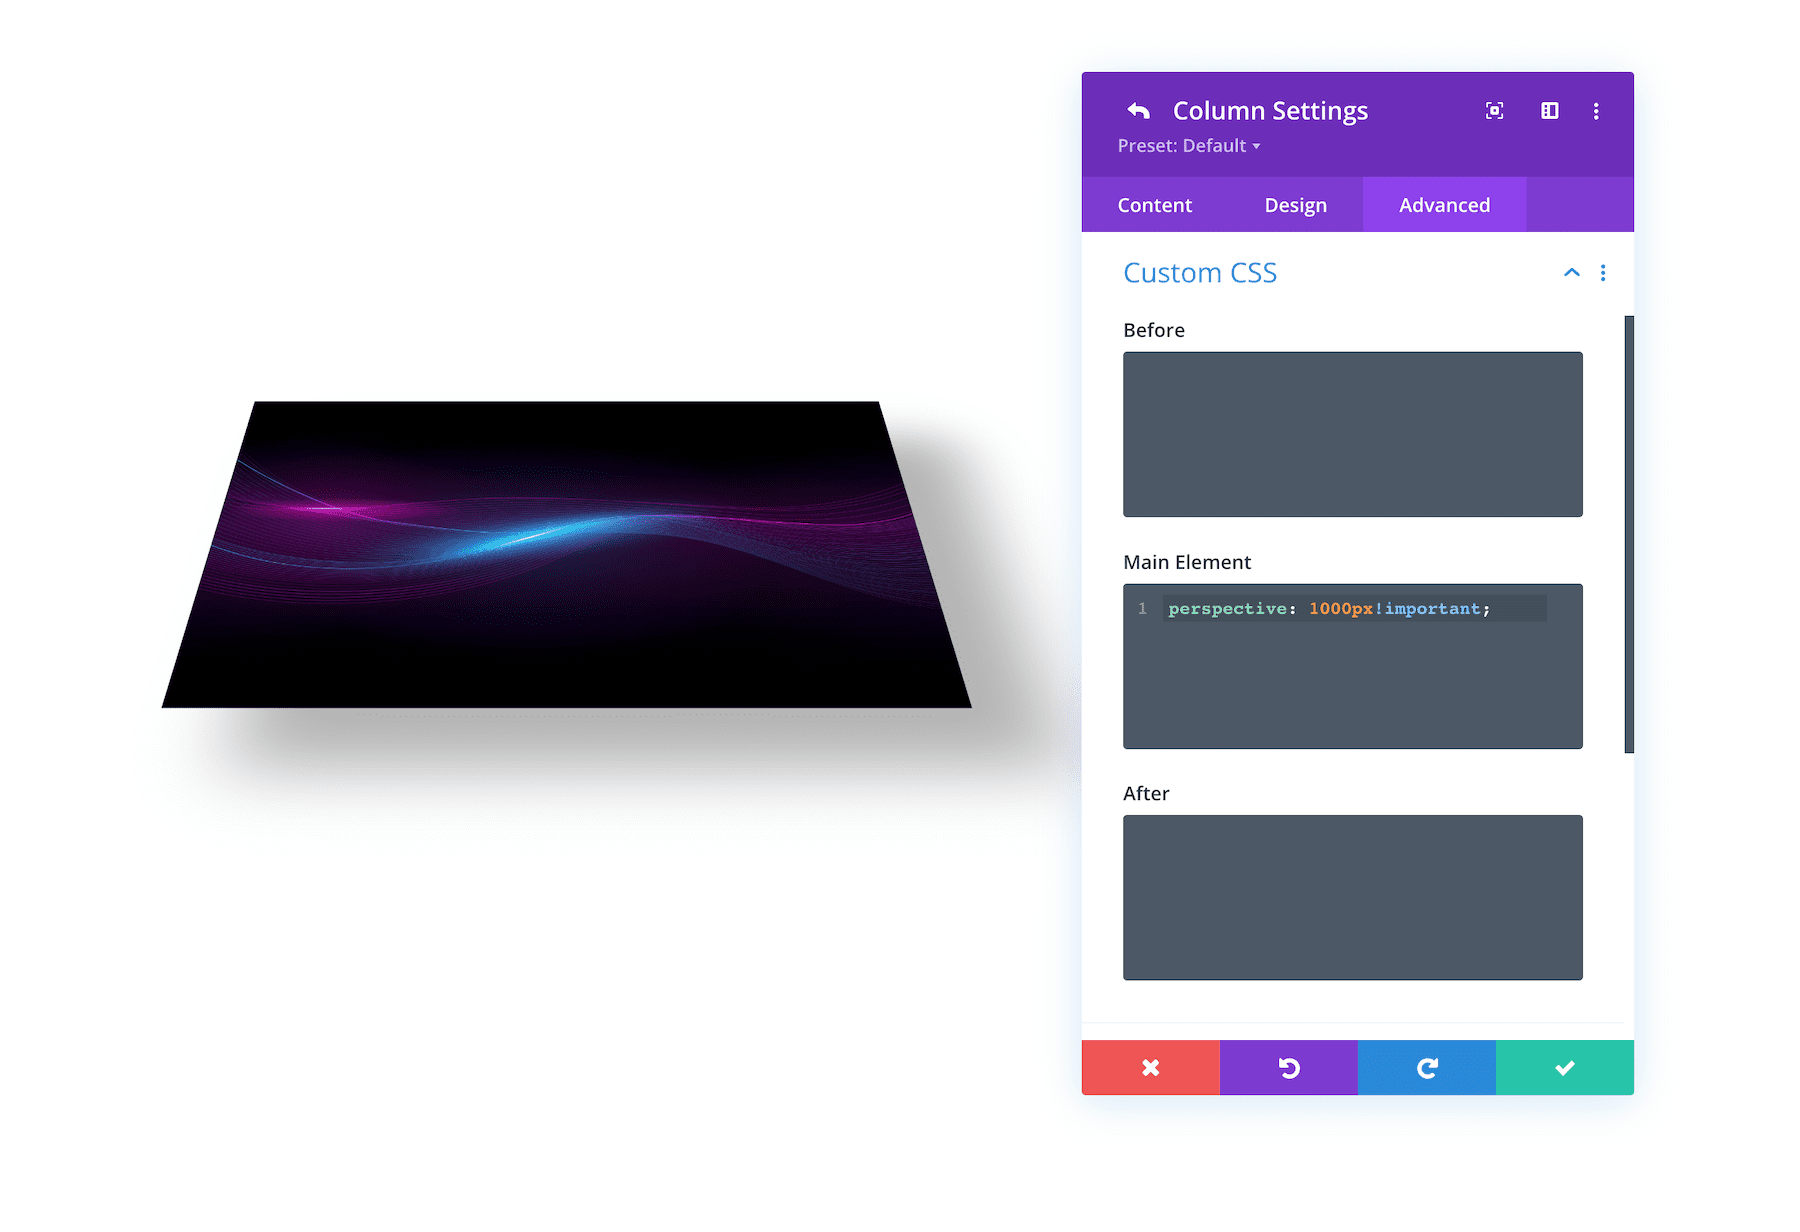
For example, let’s say you have a single image module with an image added to a one-column row. Then you use the transform rotate property to rotate the image along the x-axis. The image will rotate but remain 2D so the image simply looks like it was squeezed from the top and bottom to become shorter. Now if you add perspective using a small snippet of CSS to the Row’s main element (which is a parent element of the image), you add perspective to the image. Depending on the perspective value, you can increase or decrease the distance the object appears from the user looking at the screen. Here is an example of what the image will look like if you add “perspective: 1000px” to the column.
For more, check out how to use perspective with transform options to design 3D photo walls in Divi
Continue Learning
See what’s possible using the Transform options within Divi! Check out these blog articles detailing a bunch of ways to use the transform options.
- How to Add 3D Effects GIFs and Videos Using Transform Options
- How to Use Transformed Motion Shapes as Backgrounds with Divi
- How to Add Image Markers with Divi’s Transform Options
- 3 Seamless Transform Hover Effects That You Can Apply to Your Images with Divi
- How to Transform Multiple Elements for Abstract Hover Effects in Divi
- Using Transform Translate vs. Negative Margin with Divi
- How to Use Transform Options to Design Unique Section Divider Backgrounds in Divi
- Creative Interactive Blurb Modules Using Divi’s Transform & Hover Options
- How to Beautifully Stack Portfolio Items with Divi’s Transform Options