
Case studies can be an extremely valuable marketing tool. Consumers love a good case study because they love a good story. And it does seem that the companies/brands that tell the best stories are the best marketers, especially if their stories are backed with quality products and services. If you have a lot of great case studies that you want to share with the world on your website, it helps to put some thought into how you want to organize them for your visitors.
In this use case tutorial, I’m going to show you how to create a filterable portfolio with in-post navigation to organize your case studies. To do this, I’m going to be using Divi’s Filterable Portfolio Module to design a portfolio grid that matches the design of the layout, and I’ll be using the Post Navigation Module to provide next and previous links to make it easier for users to browse through case studies of the same category.
Sneak Peek
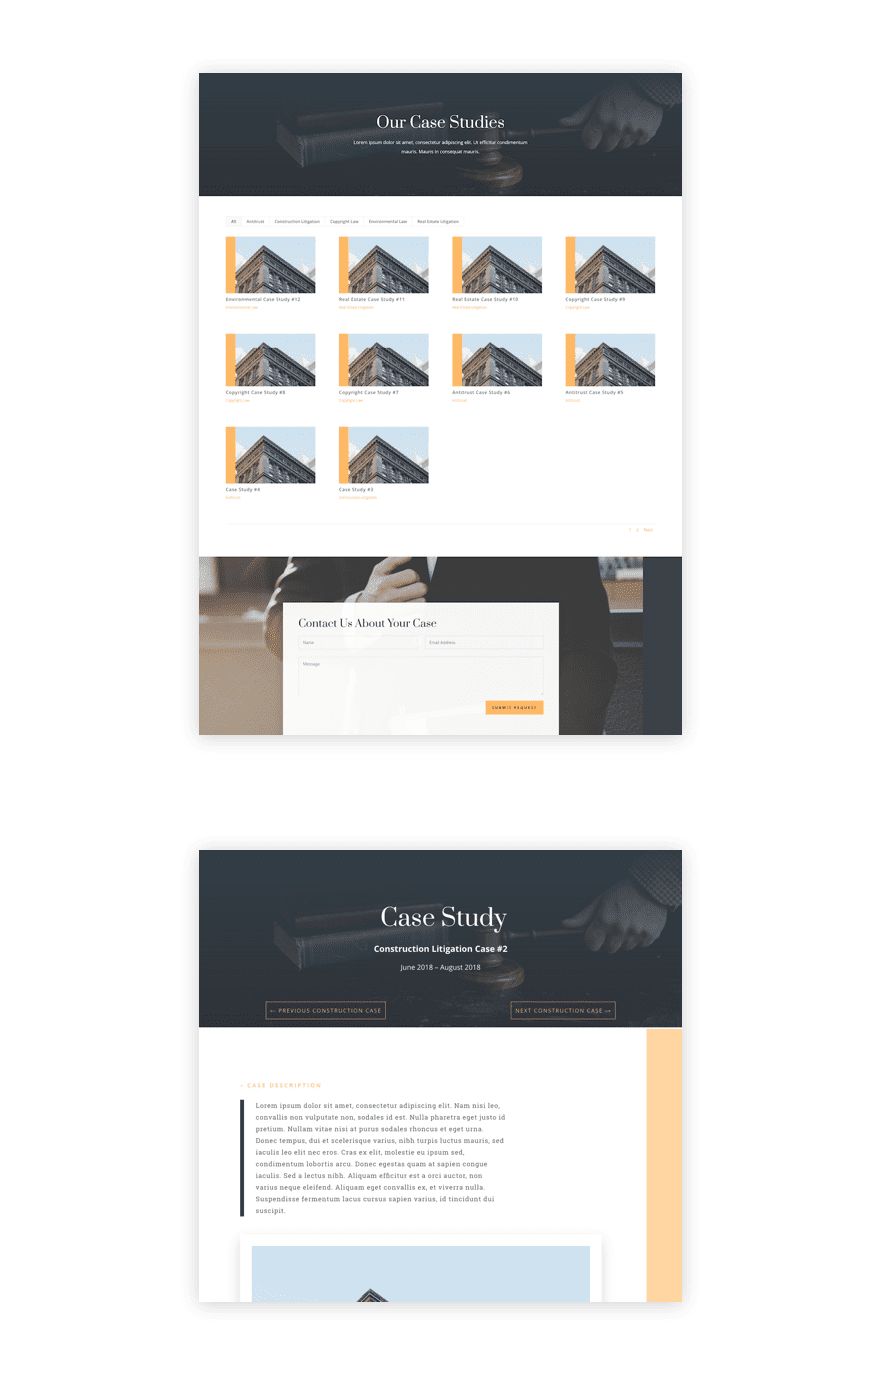
Here is a preview of the portfolio page and post navigation I will be creating.
What You Need for This Tutorial
For this use case tutorial, you will be using the following:
- Divi Theme
- Divi Law Firm Layout Pack (included with Divi)
- Divi Filterable Portfolio Module (included with Divi)
- Divi Post Navigation Module (included with Divi)
Creating Project Categories for Your Case Studies
In addition to the normal blog post type, Divi has an additional project post type that allows you to organize projects like you would for normal blog posts. Since I will need my projects/case studies to be organized by category, it helps to add the project categories before we start adding new case studies as project posts.
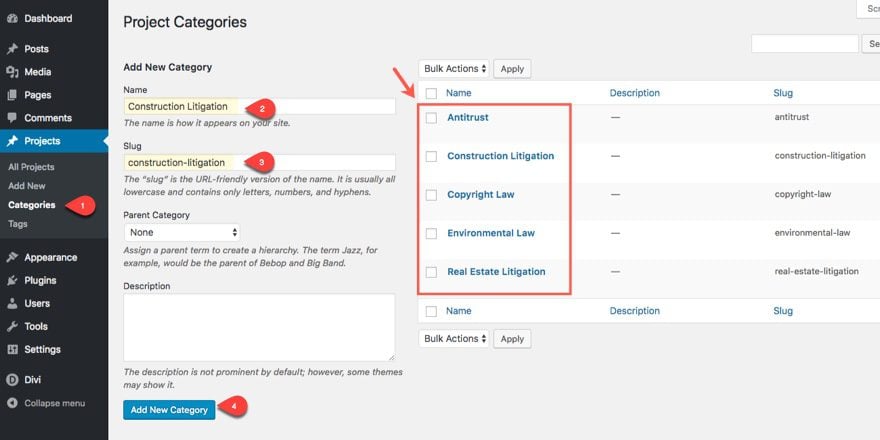
To add a new project category, go to your WordPress dashboard and navigate to Projects > Categories. Then enter the name and slug for your new category and click the Add New Category button.
You will need to do this for each category you will want to use.
Here is a list of the categories I’m using for this specific Law Firm use case.
- Antitrust
- Construction Litigation
- Copyright Law
- Environmental Law
- Real Estate Litigation
Adding Case Studies as New Projects
With your project categories in place, you can start creating case studies as new projects. Since the Law Firm Layout pack already has a Case Study page layout, we can use that layout for our project posts.
Creating your Case Study Project Layout
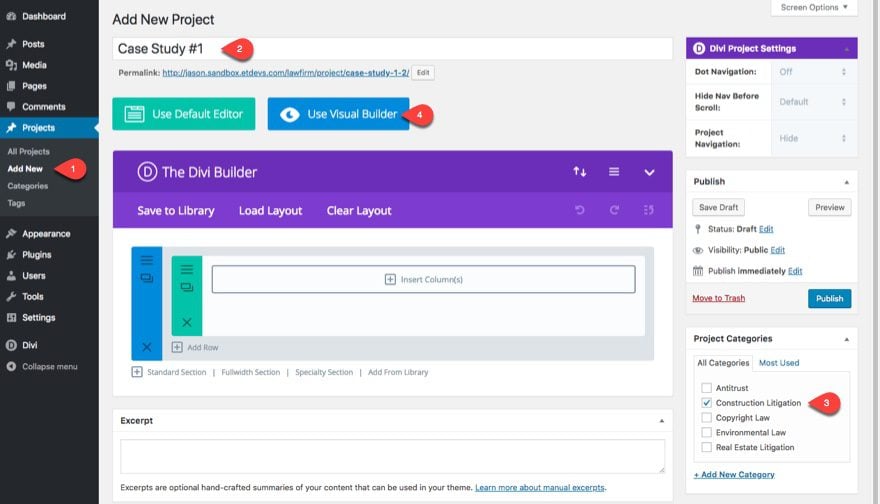
To create your Case Study project layout, navigate to Projects > Add New.
On the Add New Project page, enter a title for the case study and assign your Project Category. You may also want to add a featured image for your post to be displayed on the portfolio grid, but for this tutorial, I will be pulling from the post to automatically generate a thumbnail (more on this later).
Then deploy the Visual Builder.
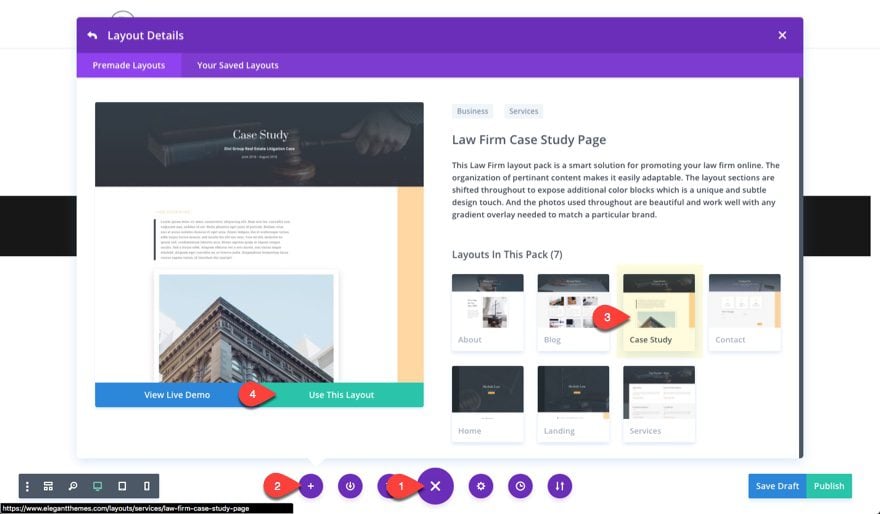
Now you are ready to import your Law Firm Case Study page layout. Open the settings menu at the bottom of the page. Click the Load from Library button and select to use the Law Firm Case Study Page Layout from under the Premade Layouts tab.
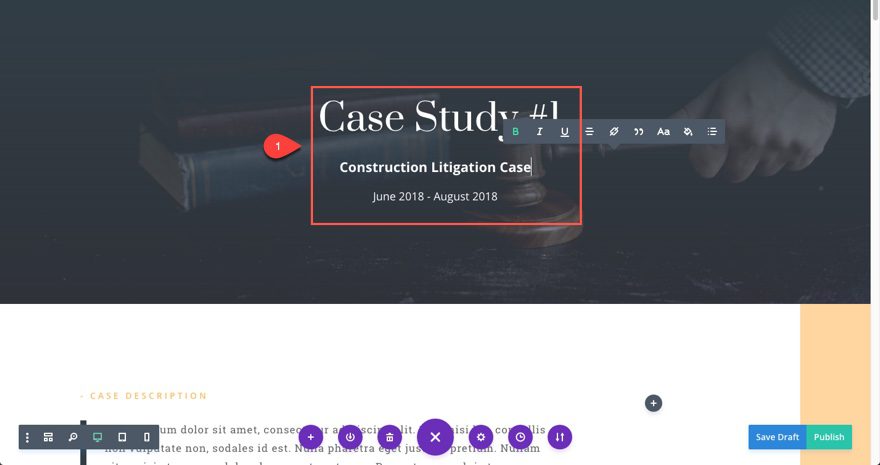
Once the page has been imported, go ahead and update the Title of the Page with the Title of the specific Case Study.
If you aren’t familiar with the post navigation module, it basically adds next and previous links to your posts. This will allow you to click to next and previous case studies without having to go back to the main case study portfolio page. Plus, the post navigation module allows you to link to other posts in the same category instead of all posts in general. So, if the user selects to view a case in a specific category, they can go back and forth to view other cases relevant to their interest. This is commonly done on blogs, but can also work well for Law Firm case studies.
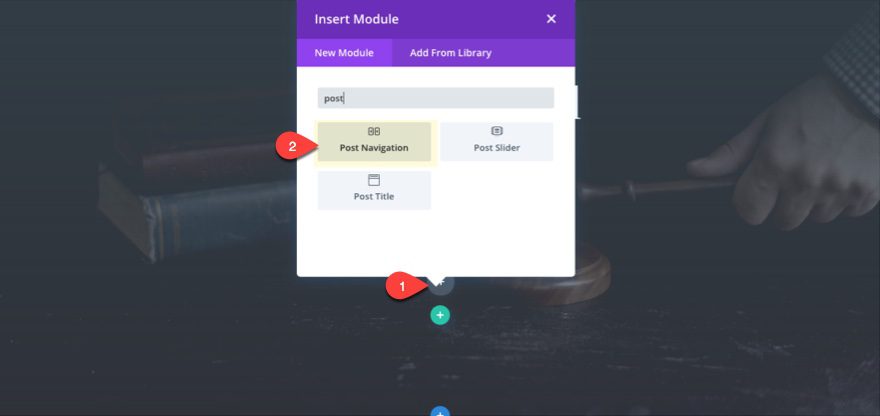
To add post navigation to your project post, add a new one-column row under the text module that holds the title and then add a post navigation module to the row.
NOTE: We are adding the Post Navigation Module to the this post layout before we have other project posts. This means you won’t have any other project posts to link to. But since we are going to be using this layout for the rest of our case studies, I wanted to include the post navigation now so that we wouldn’t have to add it to each one later.
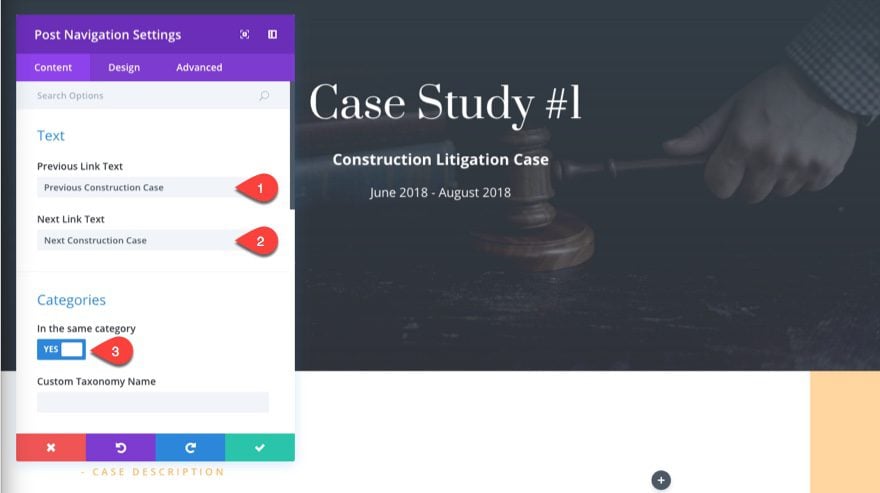
Under the content tab of the post navigation settings, you have the option of adding custom text for your previous and next links (like “next” and “previous”). By default, the module will show the post title as the link text unless you change it. To make it more clear to users that they are viewing case studies in the same category, I’m going to add the following custom link text for this post (since it is in the Construction Litigation category):
Previous Link Text: “Previous Construction Case”
Next Link Text: “Next Construction Case”
Then select to keep the navigation in the same category.
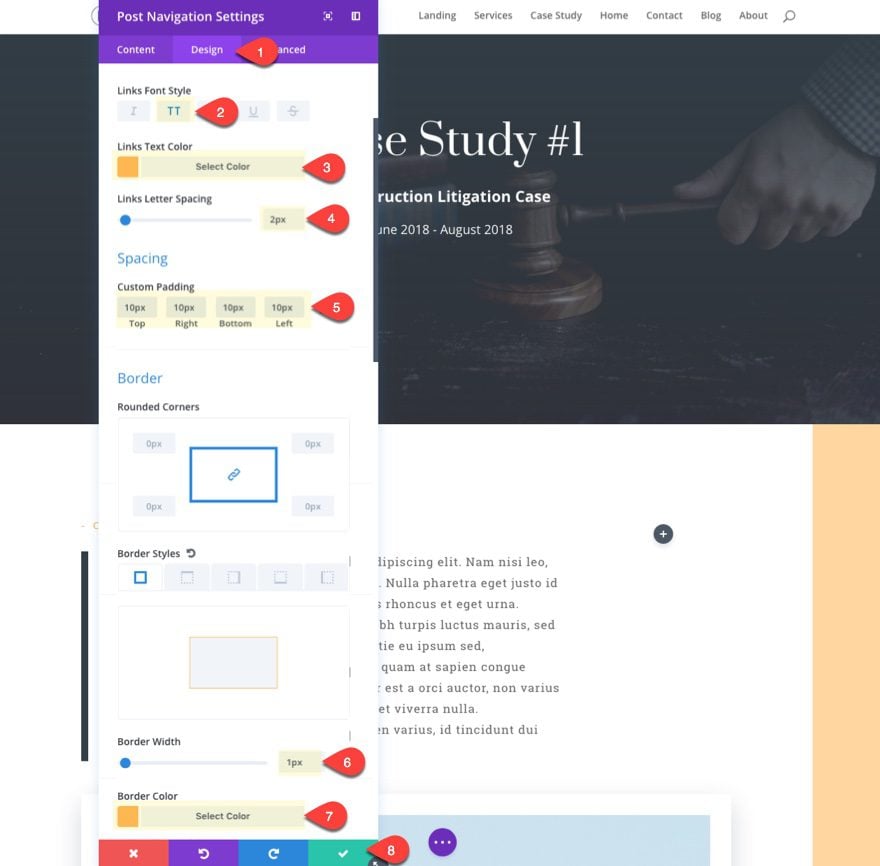
Under the design tab, style your post navigation module with the following:
Links Font Style: TT
Links Text Color: #ffba60
Links Letter Spacing: 2px
Custom Padding: 10px Top, 10px Right, 10px Bottom, 10px Left
Border Width: 1px
Border Color: #ffba60
Save Settings.
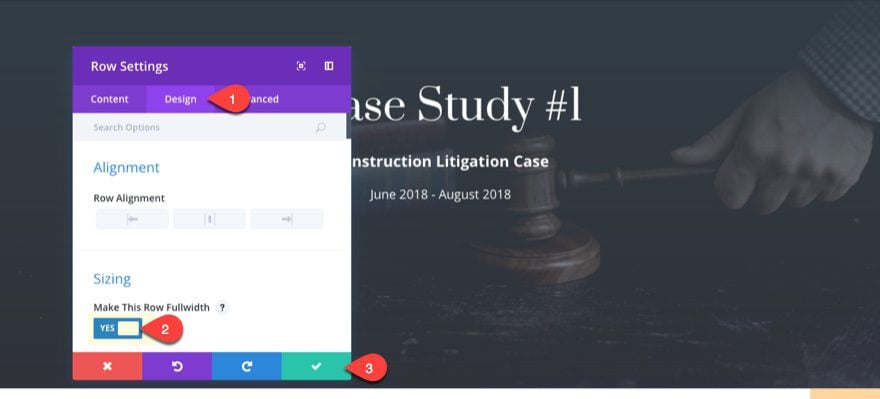
To give your links a little more room to breathe, go to the row settings and select to make the row fullwidth.
Save Layout to Divi Library
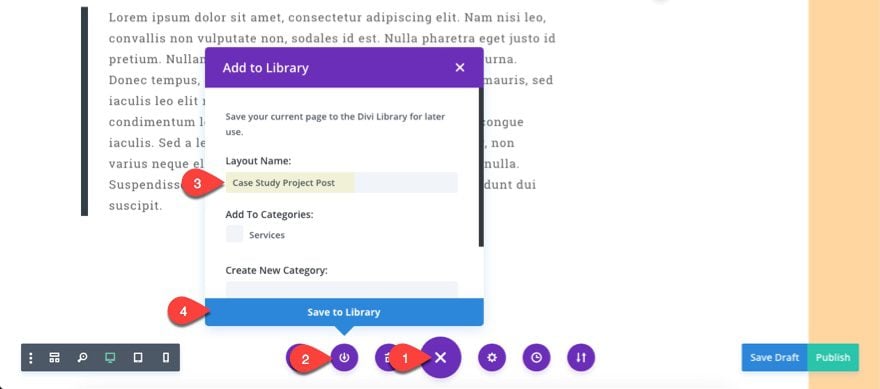
Now that you are finished with the case study layout you are going to use for the rest of your project posts, save it to your Divi library. Open the settings menu at the bottom of the visual builder, then click the Save to Library icon. In the Add to Library box that pops up, enter a name for the layout and click Save to Library.
Create the Rest of the Case Study Posts with the New Layout
Now that you have the layout saved to your library, you can continue to add new project posts using this layout. Just make sure that you update your post navigation module link text to reflect the category of the post you create. For example, if you create a new post with the category “Copyright Law”, your post navigation text links should say “Previous Copyright Case” and “Next Copyright Case”.
Once you have enough posts in a category to link to, this is what your new case study post will look like:

Well that’s about it for the project posts.
Setting Your Post Thumbnails to pull the First Image in Your Posts
As mentioned earlier, I didn’t set a featured image when creating the project posts. Instead, I’m going to use the first image in the actual post to be automatically used as the post thumbnail. To do this, go to Divi > Theme Options and enable the option to “Grab the first post image”.

Creating Your Filterable Portfolio Page
At this point you should have enough categories and posts to create your filterable portfolio page to display your case studies.
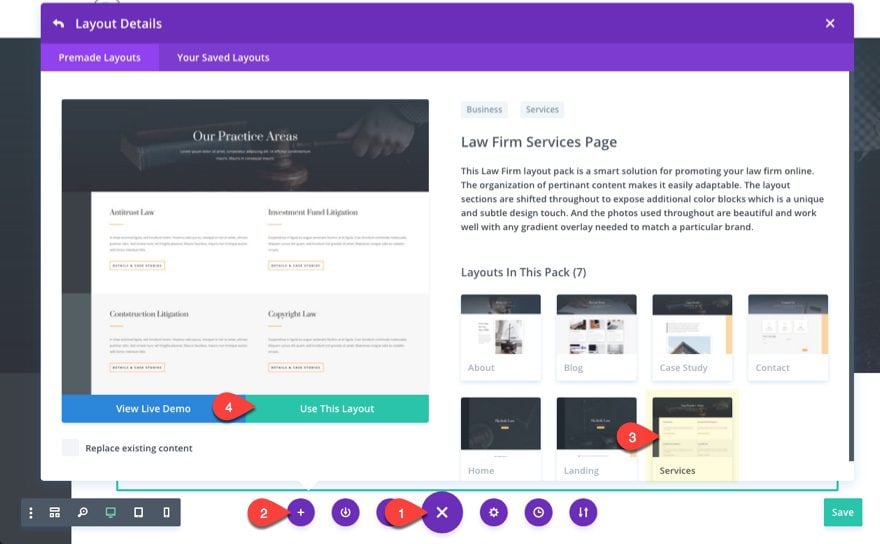
Create a new page, give it a title and open the visual builder. Then load the Law Firm Services Page Layout.
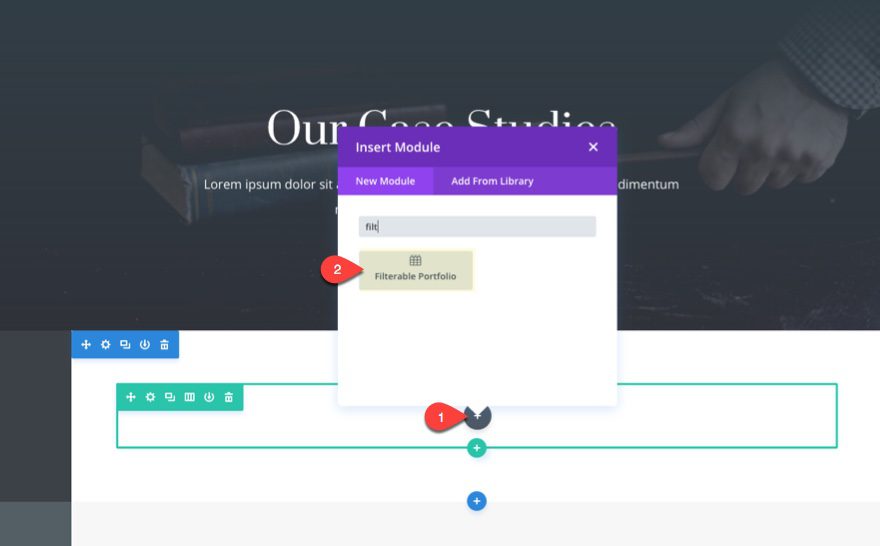
Once the layout is loaded, update the Title to “Our Case Studies”. In the second section (under the header), change the row to a one-column structure and delete all of the existing modules in the row. After that, add your filterable portfolio module.
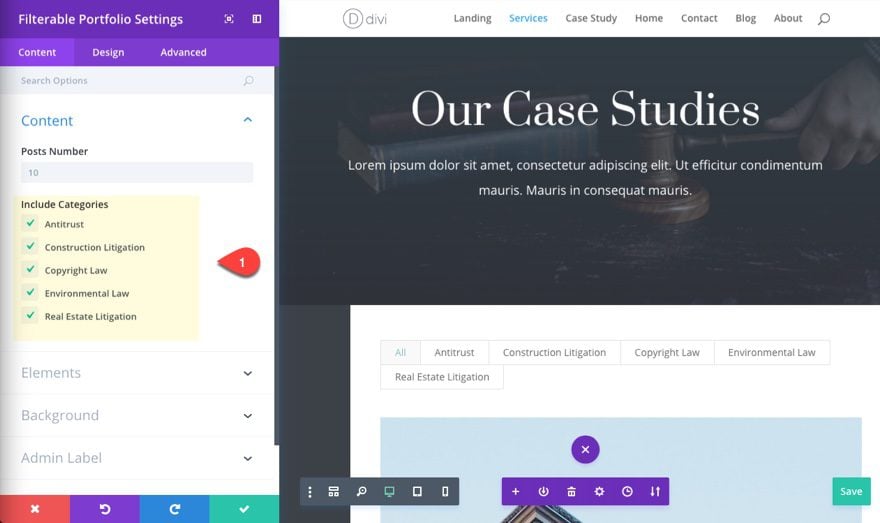
Update the filterable portfolio module settings as follows:
Select all the Categories to be included in the portfolio.
Layout: Grid
Zoom Icon Color: #ffba60
Hover Overlay Color: rgba(84,95,102,0.92)
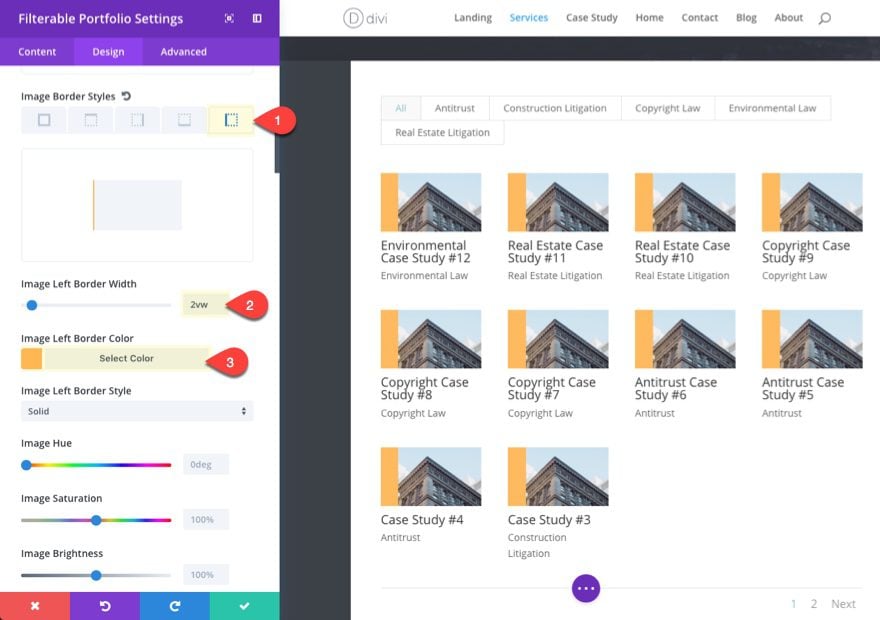
Then add a Left Border with the following:
Image left Border width: 2vw
Image Left Border Color: #ffba60
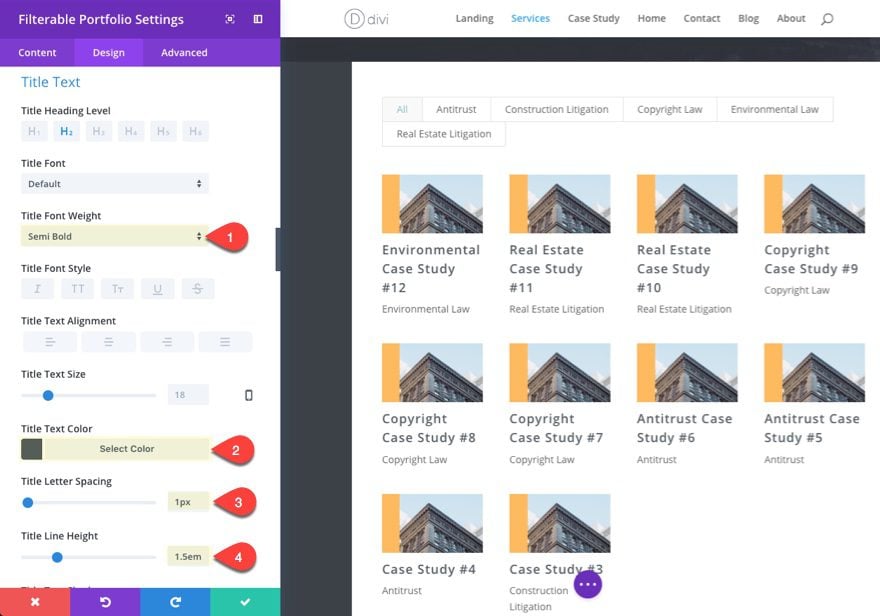
Then customize the title and meta text.
Title Font Weight: Semi Bold
Title Text Color: #545f66
Title Letter Spacing: 1px
Title Line Height: 1.5em
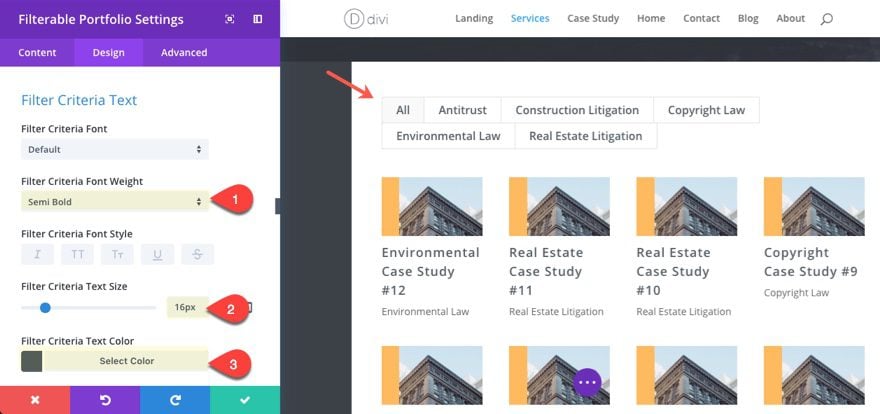
Update the Filter Criteria text.
Filter Criteria Weight: Semi Bold
Filter Criteria Text Size: 16px
Filter Criteria Text Color: #545f66
Lastly, change the meta text and pagination text color to #ff9000.
Deleting Sections You Don’t Need
Now all you have to do is clean up the rest of the layout by deleting the sections you don’t need.
Here is the final result.
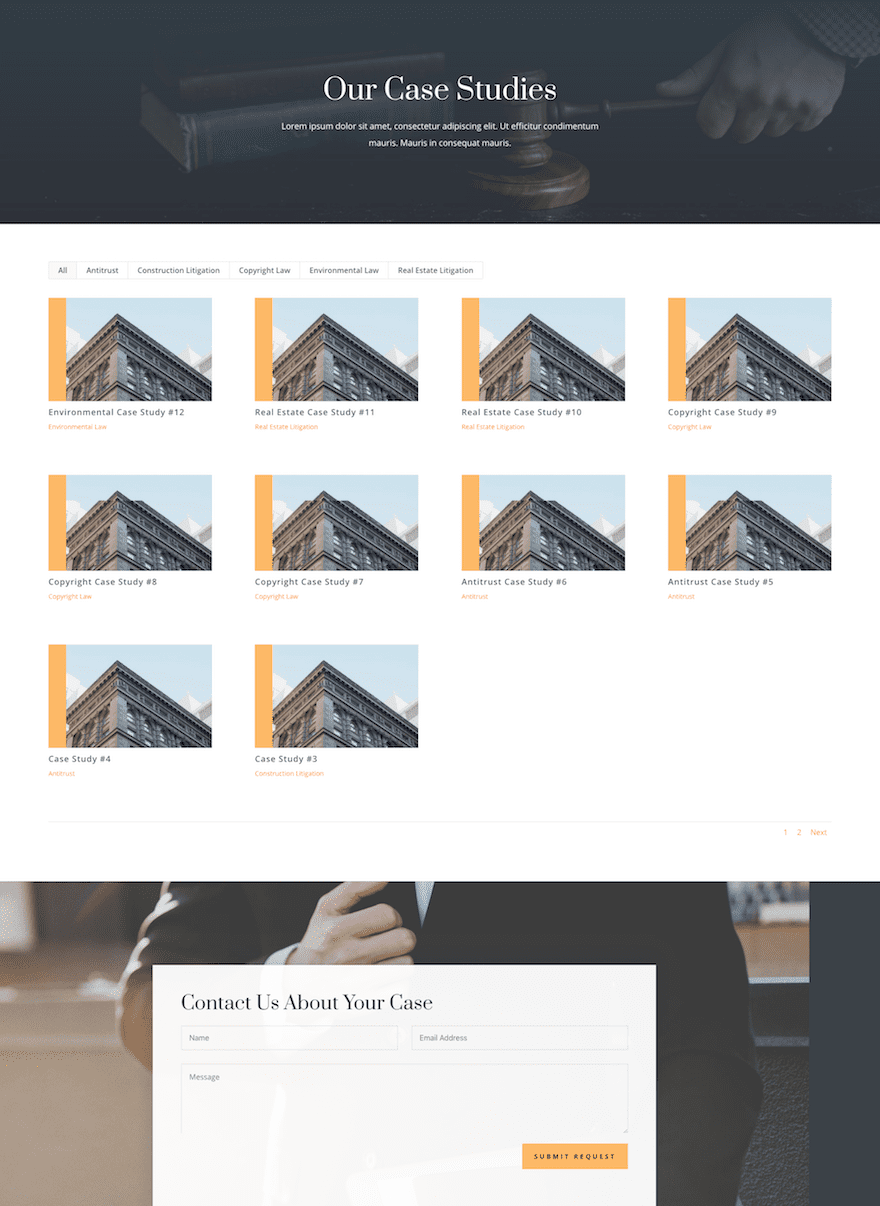
Notice that the thumbnail images are all the same because they are pulling the same first image in each of the posts.
Now you should be able to filter the case studies by clicking the filter links above the grid. Once you select a specific case study, you will have the option of navigating to next and previous posts in the same category.
Final Thoughts
Ultimately, how you organize your case studies or projects can make a big difference on how users interact with your content. Hopefully this use case tutorial gave you a few options that will help you in your next project.
If you are interested, there is more documentation on the filterable portfolio module and post navigation module in our documentation area on our website.
I look forward to hearing from you in the comments.
Cheers!


Hello,
good contribution, have filterable portfolio in use, if I select a category and click on a picture to read info text, how can I get back elegantly to the displayed images of this category, or you can delete the picture with an x top right, there it’s a plugin for this feature.
thanks Markus
Thanks Jason, nice post but i was actually searching for how to place a corner ribbon on the top right of the thumbnail images and make the permalinks to link to two different url (mywebsite.com/portfolio/ and mywebsite.com/case-study)
Excellent used this today, looks really fab.
thanks folks 🙂
Awesome, Steven. Glad to help.
I love this, and I see a couple uses for it. I would love to see some photography portfolios from ET’s creative team. I’m always looking new or different ways to set one up. (Yes, this is shameless begging 😀 )
Thanks Beate. Good suggestion.
Great share, thank you!
Nice and interesting post, working on something related right now.. Got a questions, there is a way to apply different colors to images or to the title text by portfolio category?
Xus,
You would have to use custom css for this but you definitely can. For example, here is some css that will change all the titles to red that are in the category “antitrust”. Just put the following in your page settings custom css or in the theme customizer additional css.
.project_category-antitrust .et_pb_module_header a {
  color: red !important;
}
You would need to replace “antitrust” in the code with whatever category you want to target.
Hope that helps.
Thanks to shear useful content.
Thanks you very much
Gracias