")
Welcome to post 4 of 5 in our miniseries How to Create Stunning Grid Layouts with Divi’s Video Module. In this series we are going to walk you through how to create amazing grid layouts from scratch using the Divi Visual Builder. And if you are worried about this being too complicated, think again! All of these layouts can be created and styled using the Visual Builder without additional code.
I hope you are enjoying the grid layouts so far. Today’s layout is number 4 in the series, and it is one of my favorites (and fastest to implement). Not only is it easy (and fun) to build using Divi, but it is also customizable to fit the color scheme of your site. The background gradient options are the main feature of this design which have been used to create the two tone colors separated by a diagonal line. The spacing is also purposeful to make the videos readily perceived. Arguably, this design may fall outside the scope of what we would normally call a “grid”, but I think you will see the potential.
So here we go. I’m going to show you how easy it is to build this grid design using the video module and a few custom background elements.
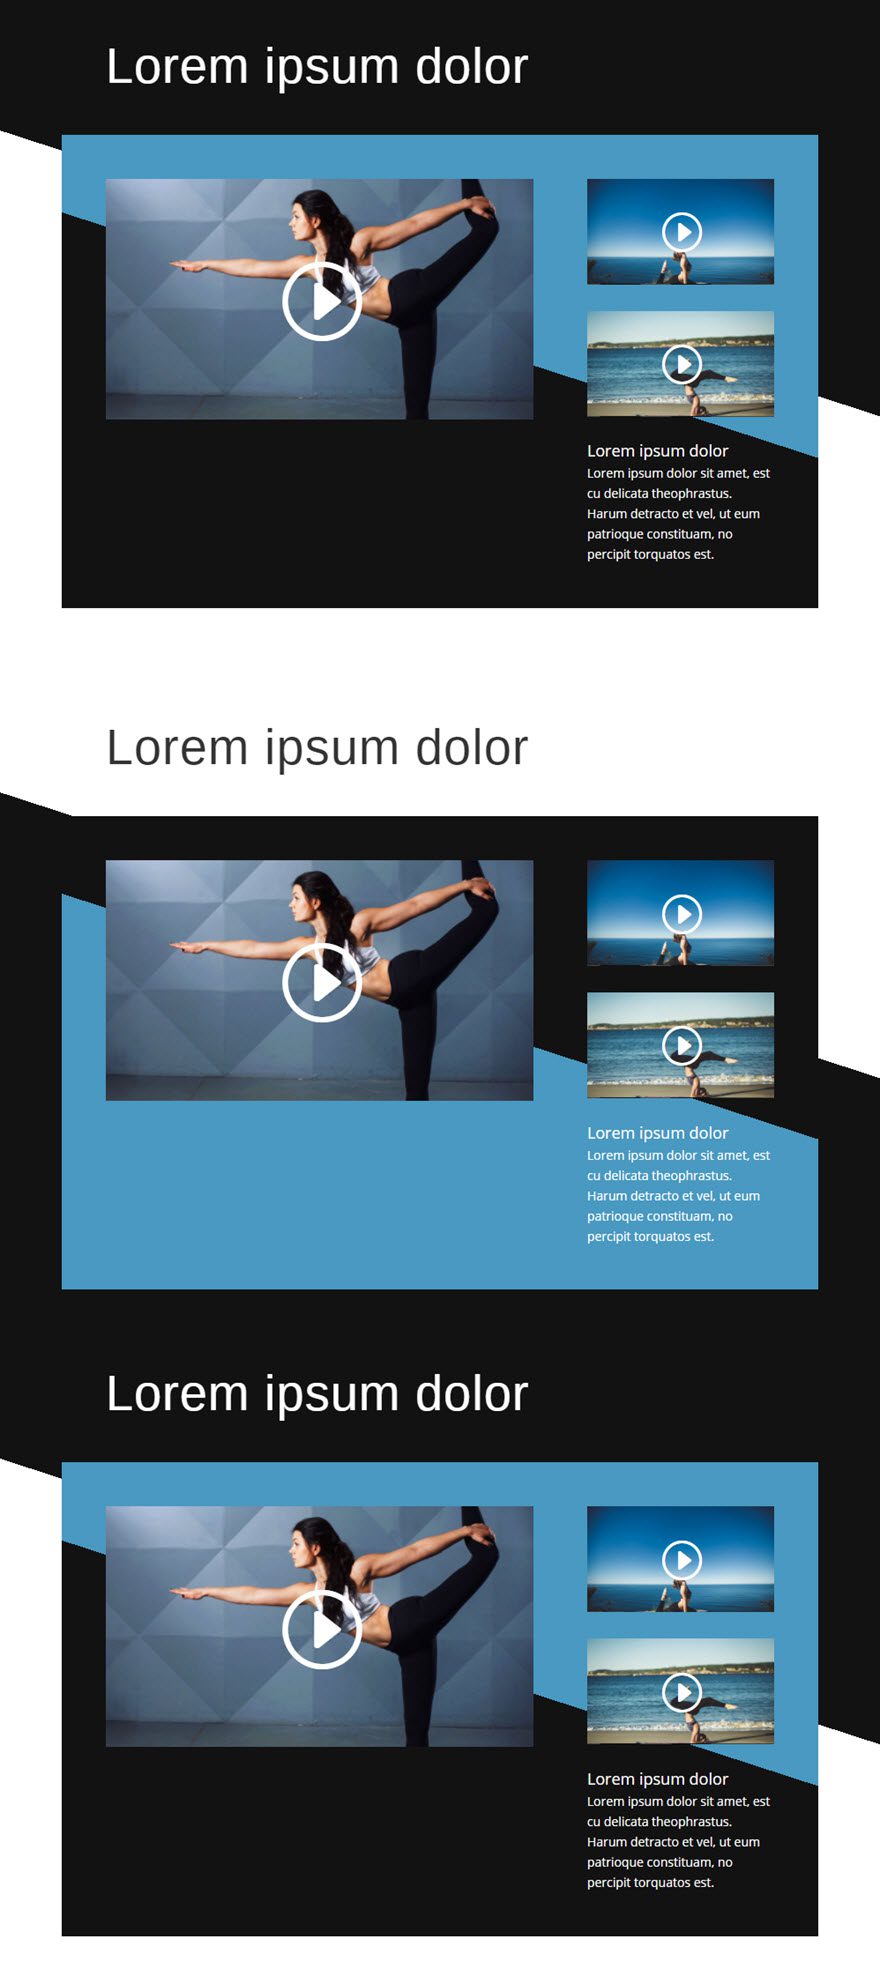
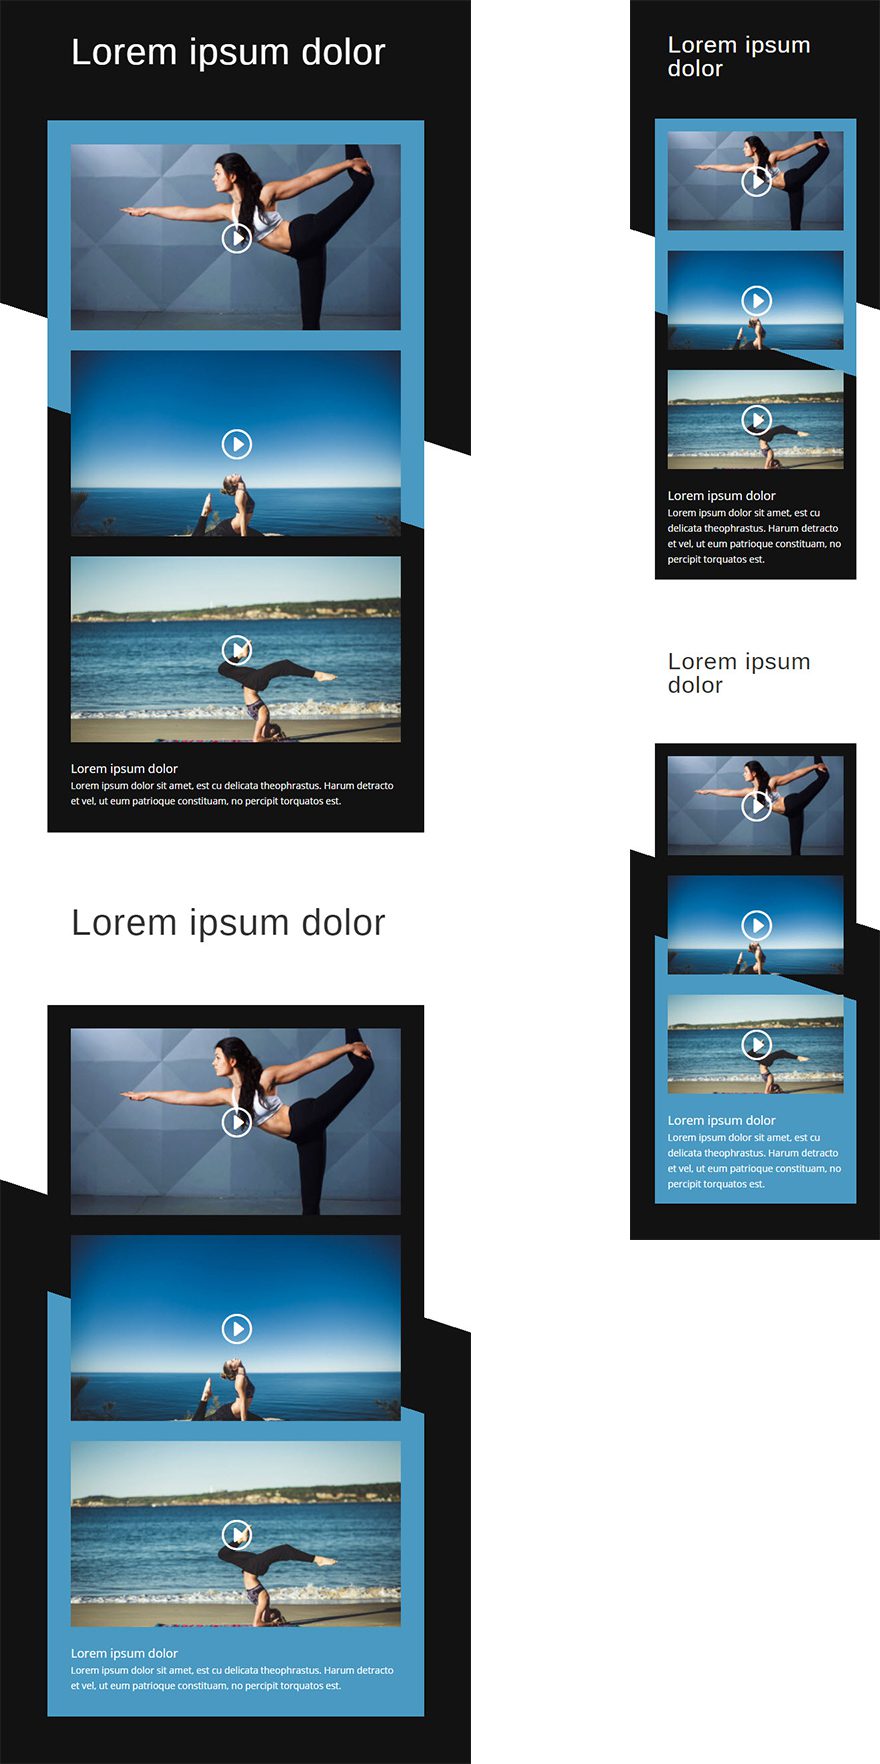
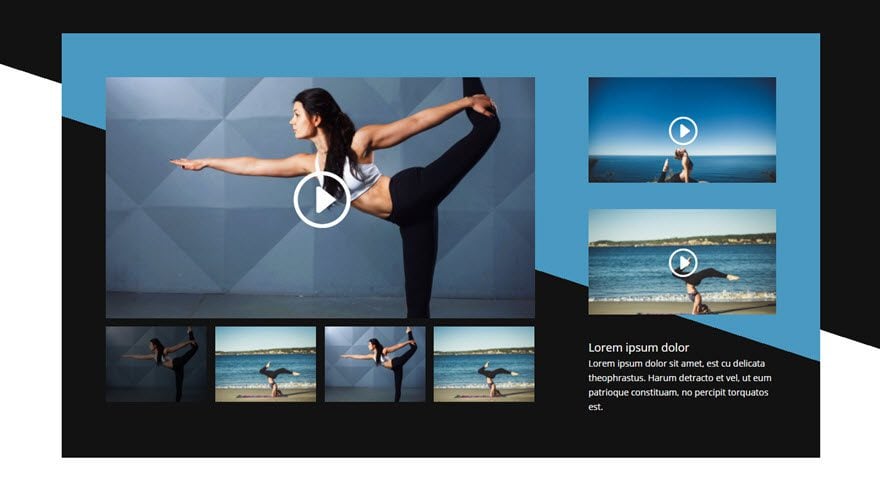
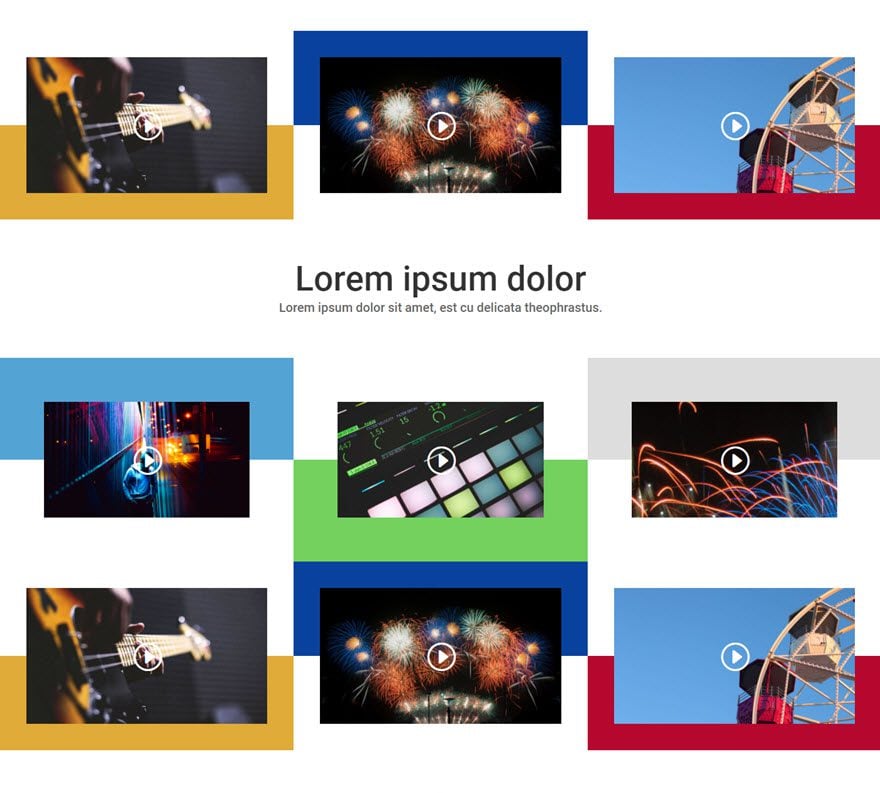
Here is what the Final Result will Look Like
The Concept & Inspiration
I was looking for a nice and clean layout that organized small batches of videos to be used for things like tutorials or courses. This combined with my impulsive eagerness to play around with background gradients, I came out with this. I hope you like it.
Let’s get started.
Implementing The Design With Divi
Subscribe To Our Youtube Channel
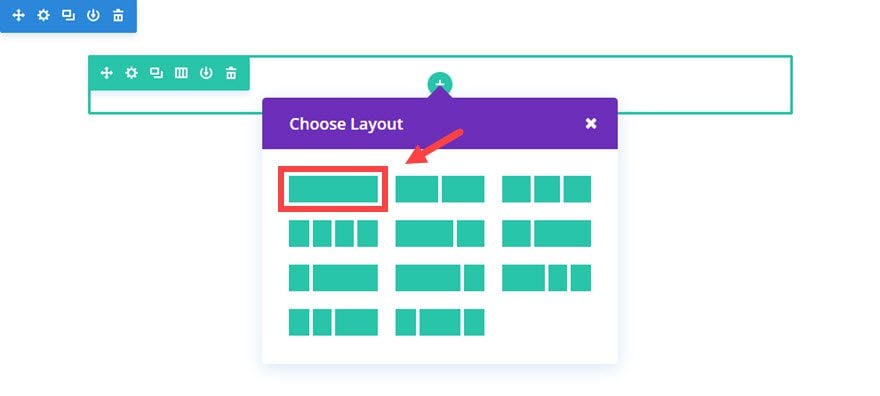
First, add a regular section with a fullwidth (1-column) structure.
Next add a Text Module to the column. This will serve as a title or headline for the section of the page.
Update the Text Settings as follows:
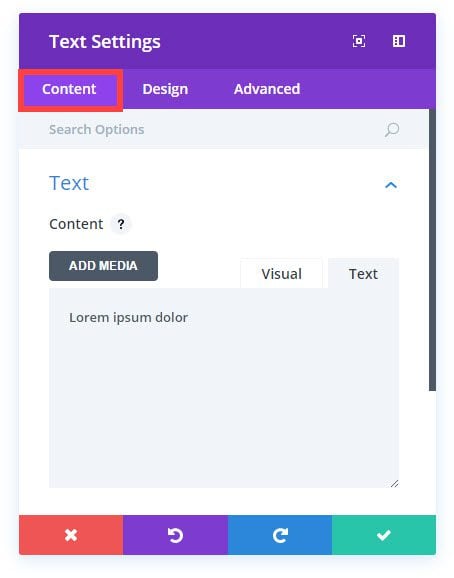
Content Options
Content: [enter text for title]
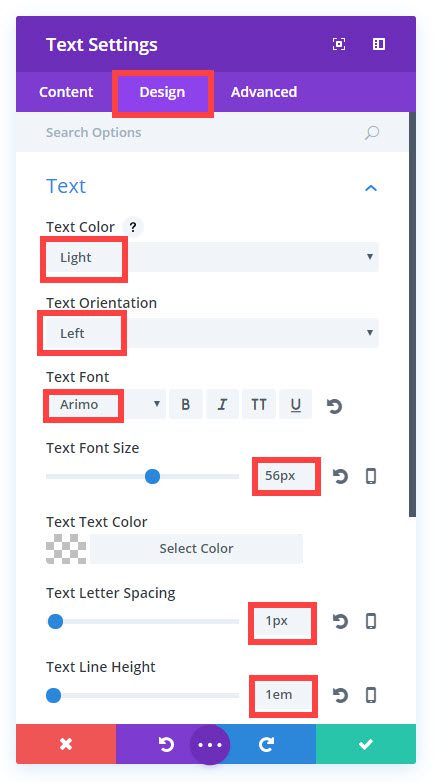
Design Options
Text Color: Light
Text Font: Arimo
Text Font Size: 56px
Text Letter Spacing: 1px
Text Line Height: 1em
Save Settings
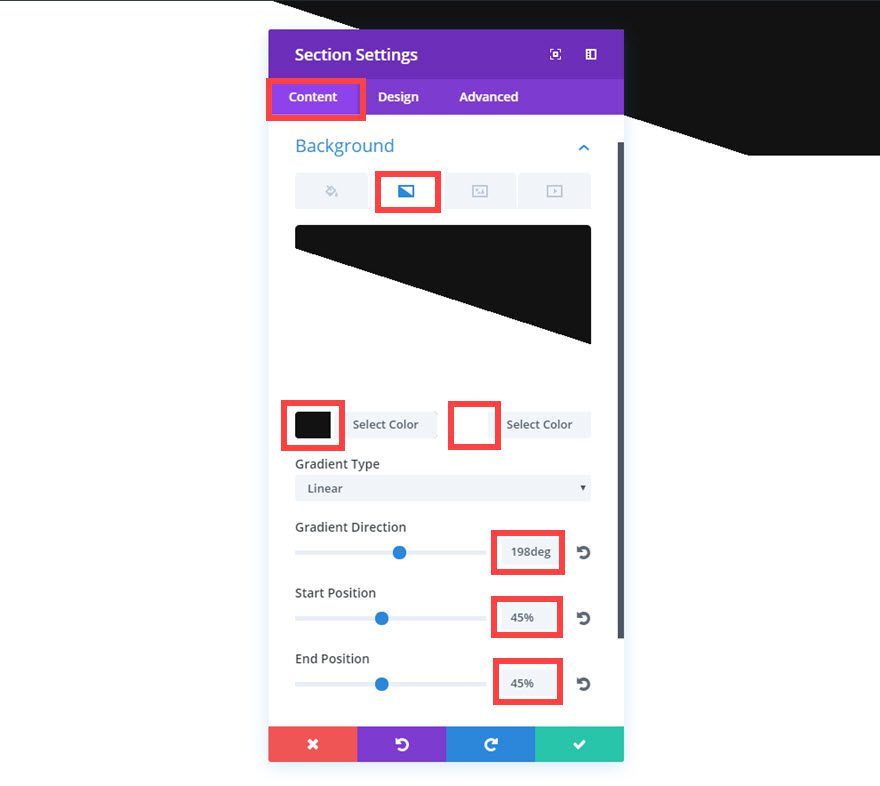
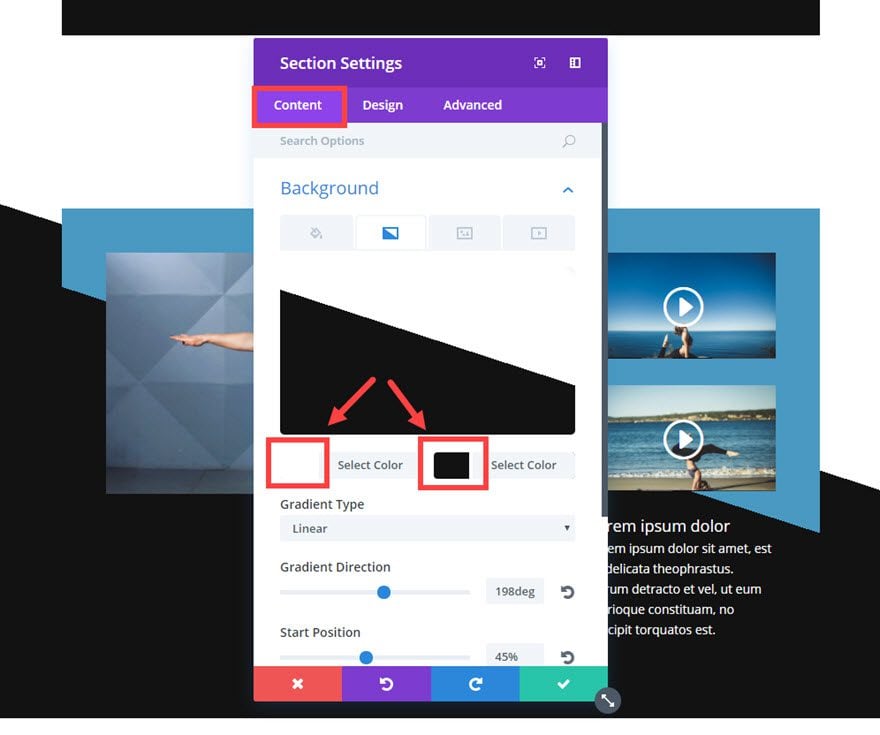
You won’t be able to see anything yet because you have white text on a white background but that’s okay. Let’s go ahead and add our section background gradient. Go to the Section Settings and, under the Content Section, update the following options:
Background Gradient Colors: #121212, #ffffff
Gradient Type: Linear
Gradient Direction: 198deg
Start Position: 45%
End Position: 45%
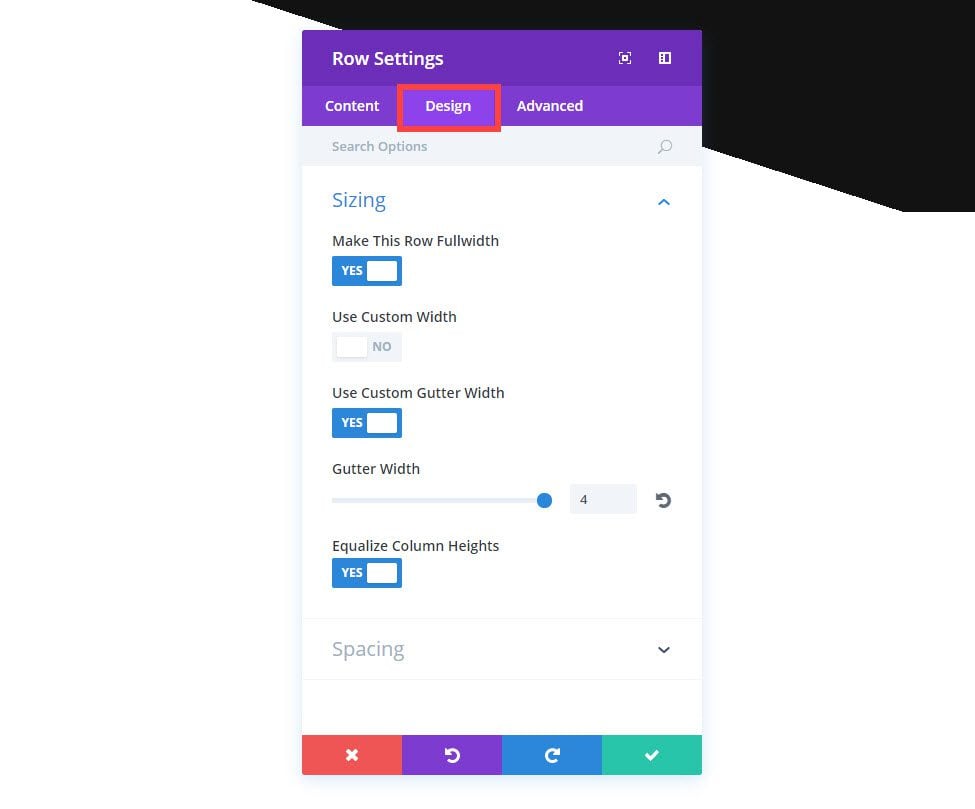
Next, update the Row Settings for the row you just added as follows:
Design Options
Make This Row Fullwidth: YES
Use Custom Gutter Width: YES
Gutter Width: 4
Equalize Column Heights: YES
Custom Padding: 1% Top, 5% Right, 5% Bottom, 5% Left
Save Settings
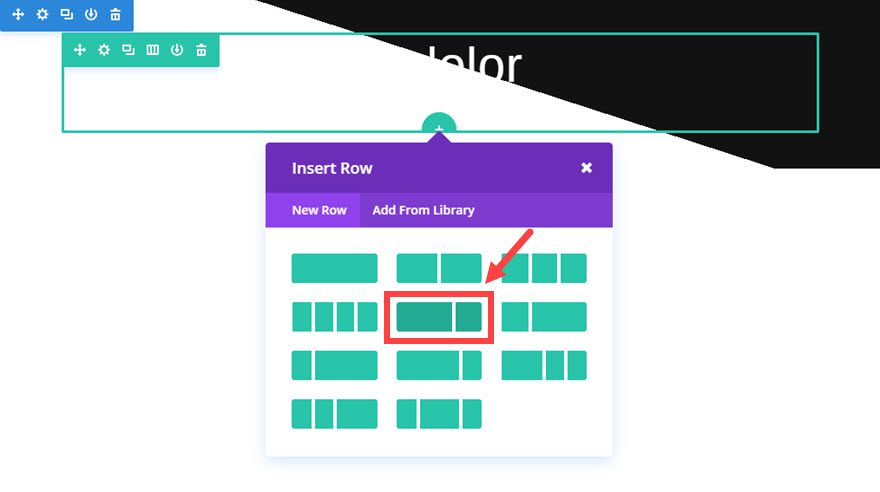
Now add another row with a ⅔ ⅓ (2 column) structure directly under the row you just created.
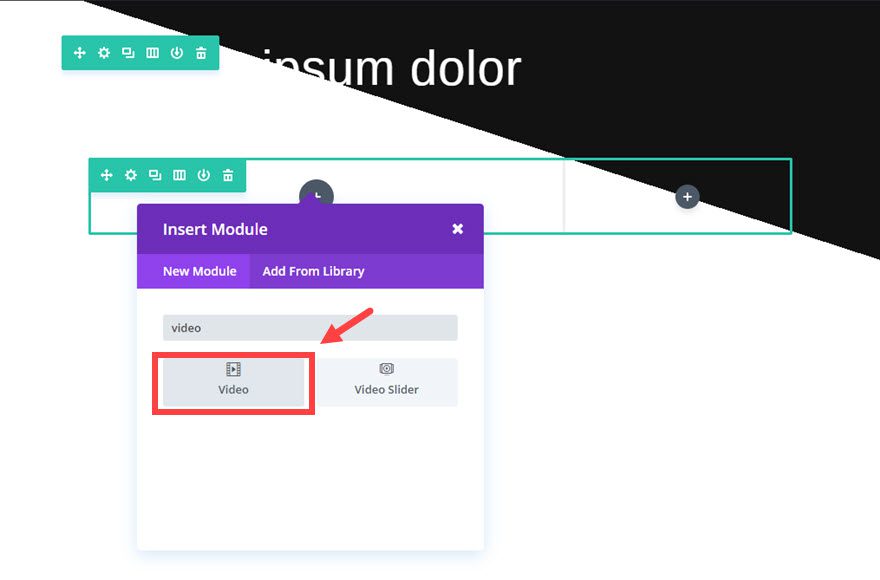
Next, add a Video Module to the left column.
Update the Video Settings as follows:
Content Options
Video MP4/URL: [enter URL of your video]
Image Overlay URL: [enter overlay image URL]
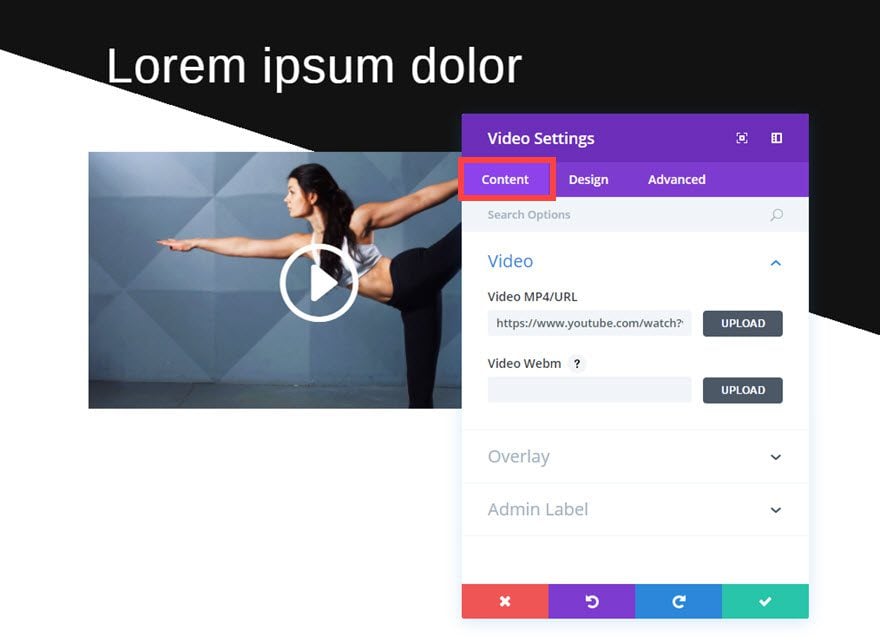
Save settings
Next, duplicate (or copy) the video module you just created twice and drag (or paste) the two duplicate videos so that they stack on the right column.
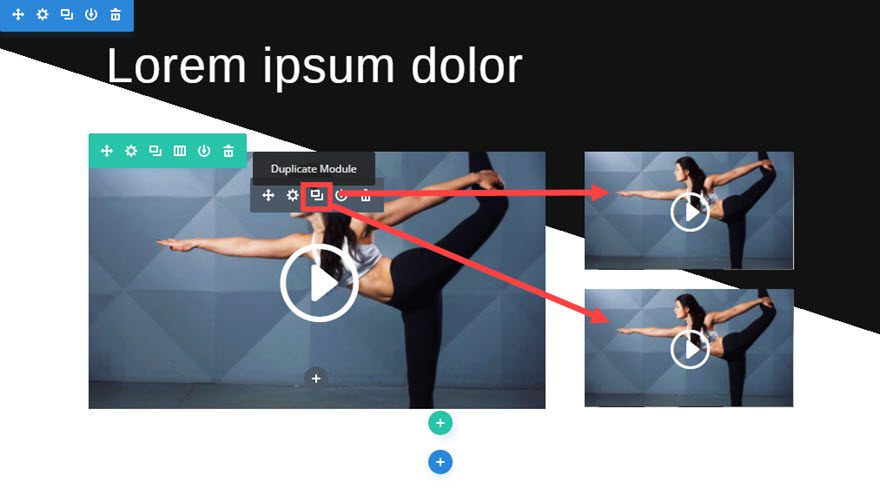
Update the content of the videos to include the correct URL’s and cover images.
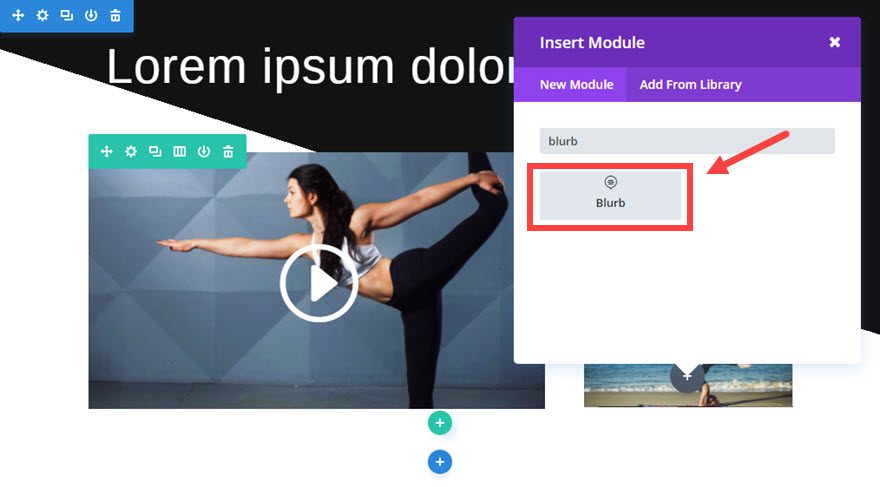
Go ahead and add a Blurb Module under the two video modules in the right column. This can serve as a description of the videos within this grid.
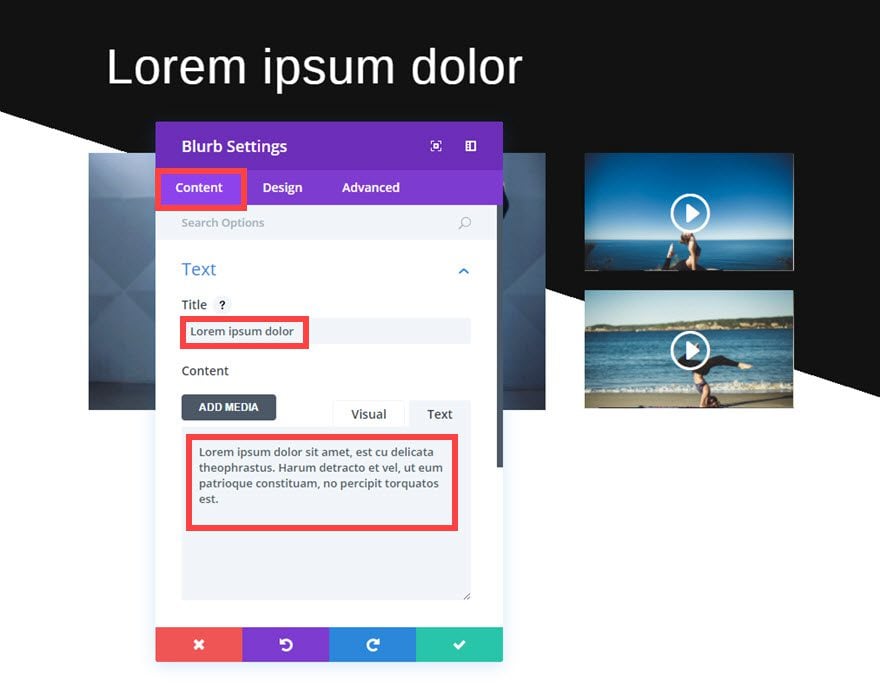
Update the Blurb Settings as follows:
Content Options
Title: [enter title]
Content: [enter content or description]
Design Options
Text Color: Light
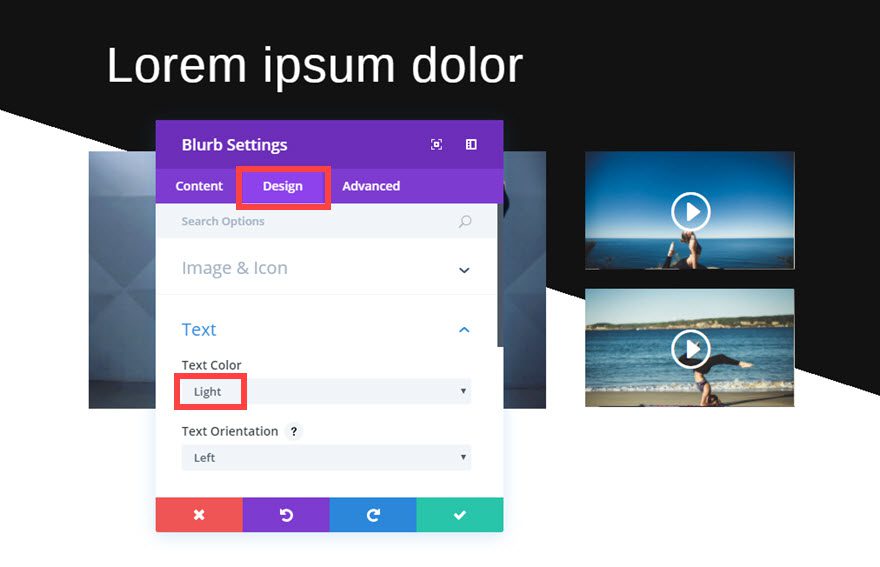
Save Settings
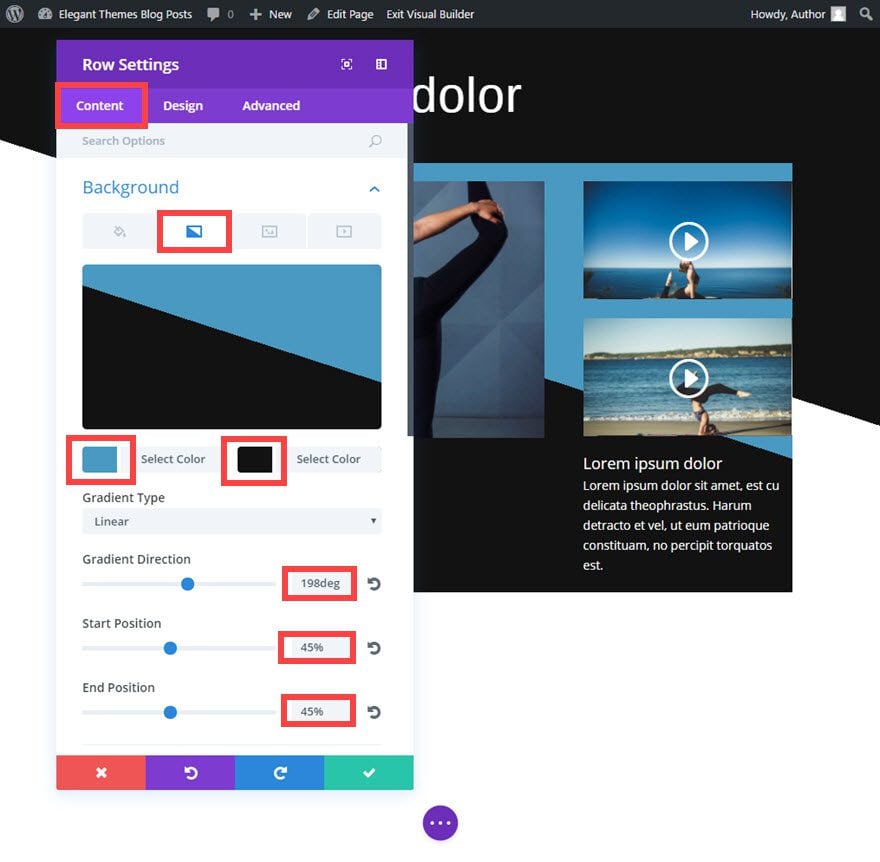
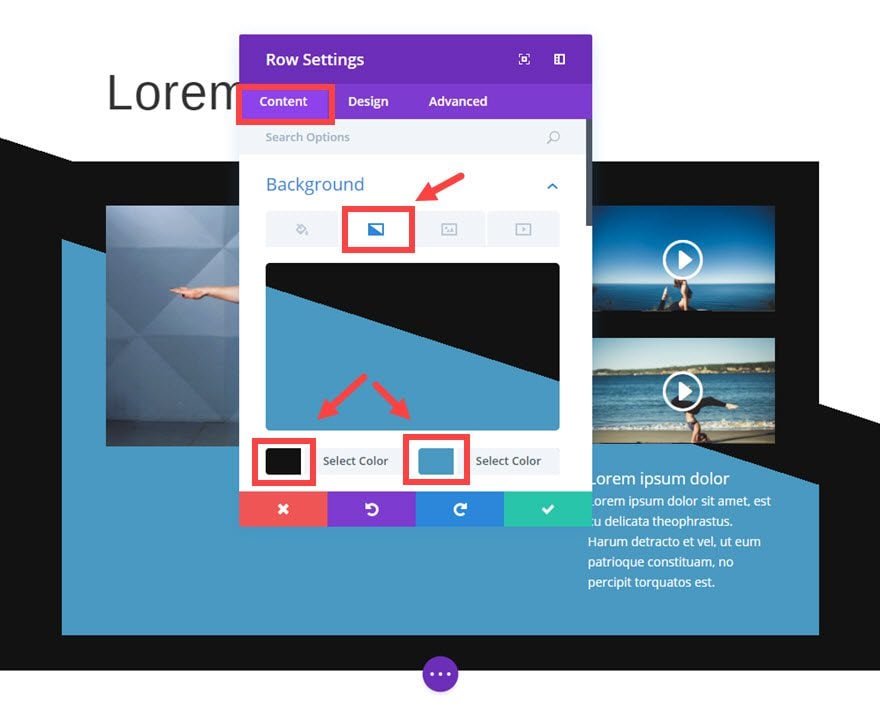
Now edit the Row Settings for the row holding the videos you just created as follows:
Content Options
Background Gradient Colors: #4999c1, #121212
Gradient Type: Linear
Gradient Direction: 198deg
Start Position: 45%
End Position: 45%
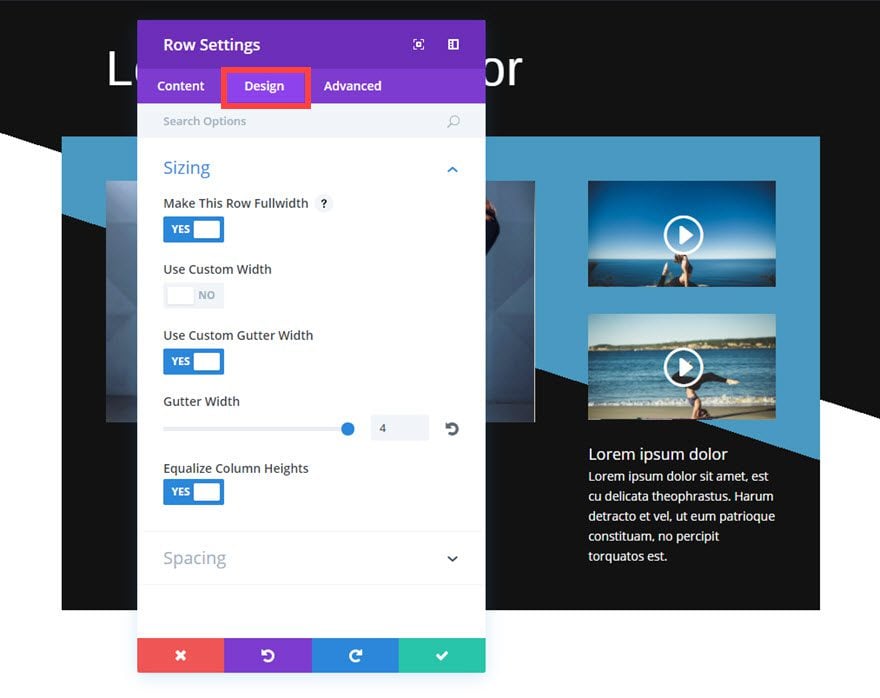
Design Options
Make This Row Fullwidth: YES
Use Custom Gutter Width: YES
Gutter Width: 4
Equalize Column Heights: YES
Custom Padding: 5% Top, 5% Right, 5% Bottom, 5% Left
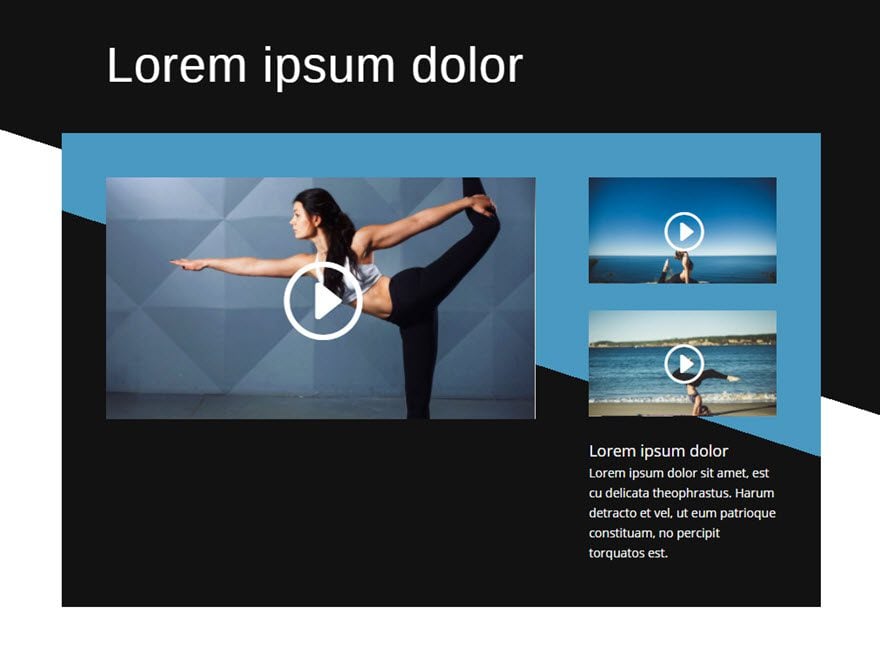
Great! You finished the first section. We are almost done. Check out the progress so far.
To create the next section, duplicate the entire section you just built by clicking the duplicate section button..

Update the new section settings as follows:
Content Options
Background Gradient Colors: #ffffff, #121212 (these colors are in the opposite order of the first section)
Next update the Text Module Settings in the duplicated section with the following:
Design Options
Text Text Color: #333333
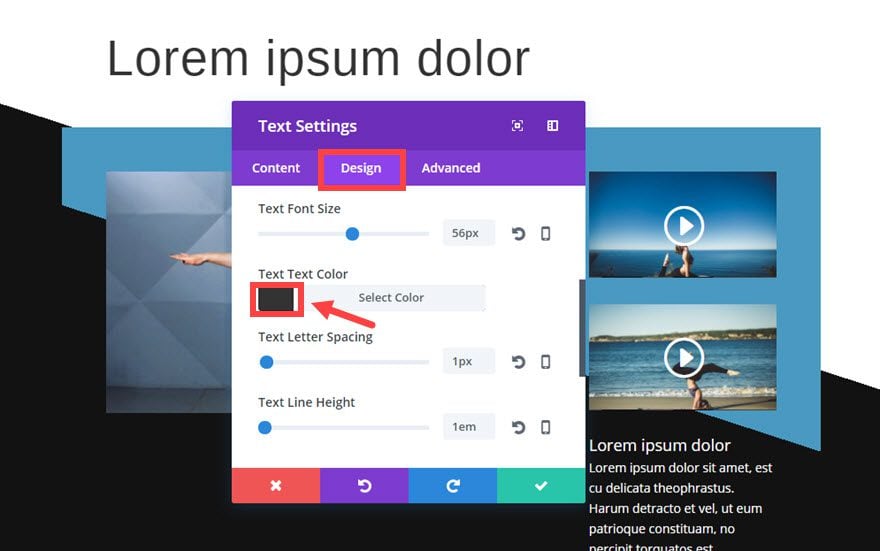
Save settings
To complete this section, update the Row Settings that contain your videos with the following:
Content Options
Background Gradient Colors: #121212, #4999c1 (basically you are switch the order of colors so they are in the opposite order of the first section)
Save settings
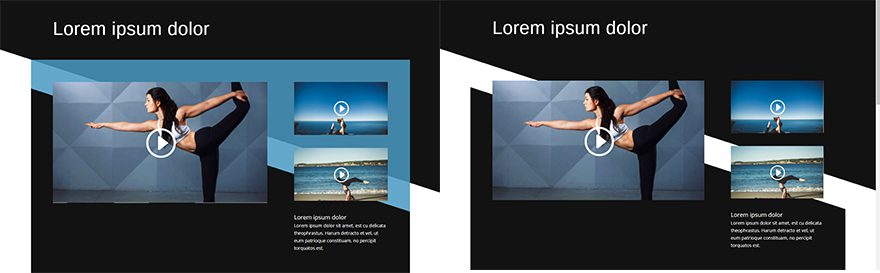
Now let’s check out the result after adding the second section…
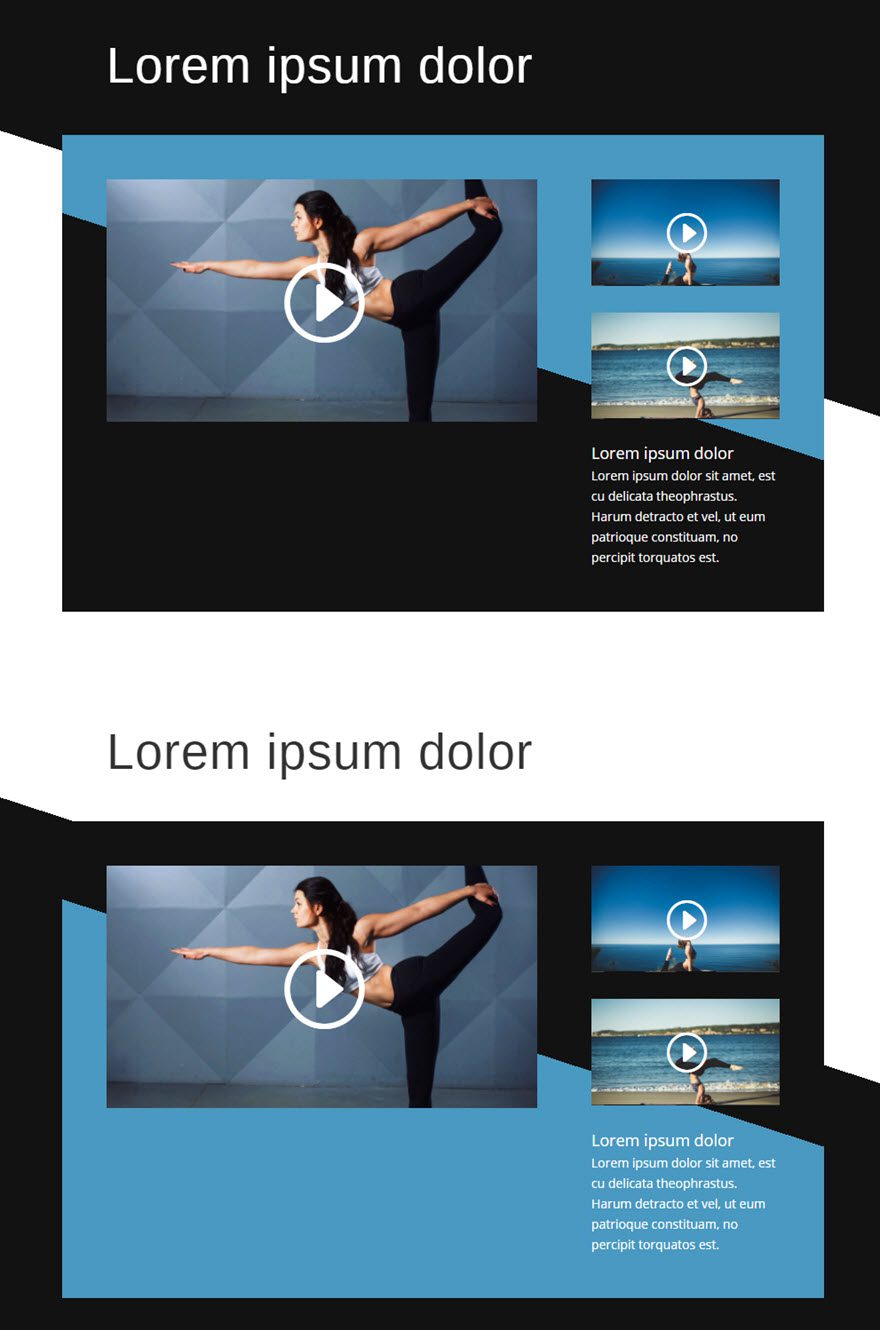
If you haven’t already noticed, you can continue adding more sections easily since we already have these two sections created. Let’s create one more section just for good measure. Since our section background color is black at the bottom, we want to start the next section with a black background color at the top. That means we need to duplicate the first section at the top and drag it to the bottom of the page under the second section. This keeps the continuity of the design throughout the page.
Here is what it looks like after the third section is added:
That’s it! All finished.
Responsive?
This layout actually looks even better on mobile without any modifications. Check it out!
Further Customization
After building this grid layout with multiple sections, you can probably already notice how easy it would be to change the colors to match the theme of your next project. All it takes is changing the background gradient colors for the sections and rows.
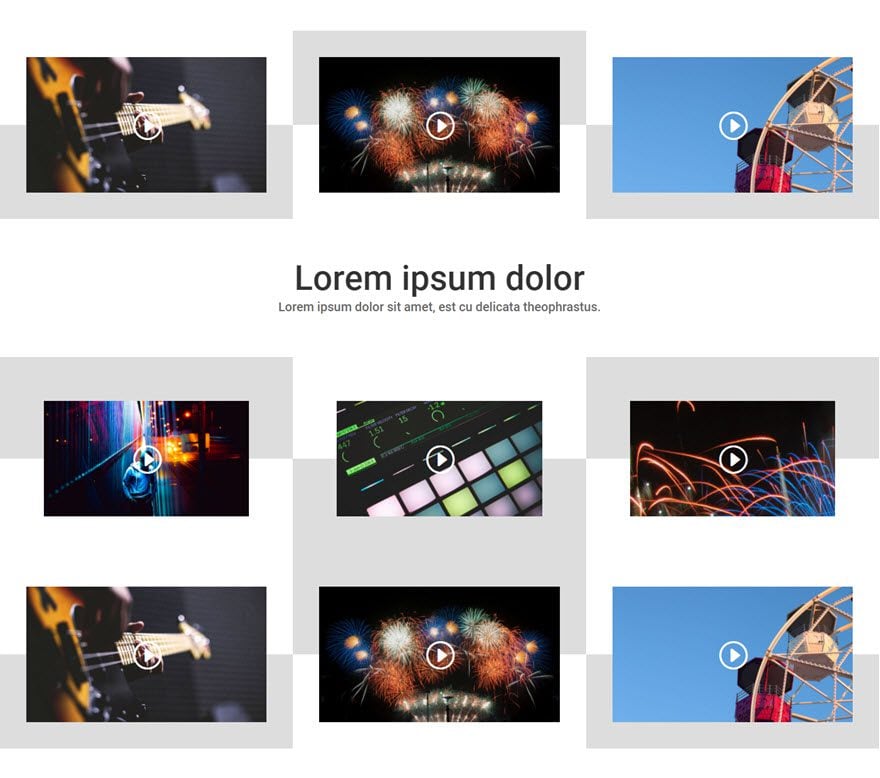
If you would like to tweak the design further, I suggest adding semi-transparency to the gradient colors to expose the background behind them. Or try getting rid of one of the gradient colors altogether and see what it looks like. Here are a couple of examples of what changing just one gradient color can do…
You could also add a Video Slider Module to the grid on the left column.
Coming Up…
Coming up next is our last video grid layout in the series. This one gives you the option of keeping things nice and clean with subtle framing elements or using colors in a unique way to make each video standout.
Until then, I look forward to hearing from you in the comments.
Enjoy!


Thanks for your sharing idea. It’s possible to put responsive fb video instead ytb ?
I tried it with code module, but it’s not responsive.
Sorry Vladislav. I’m not sure.
Thanks Jason! Perfect timing for me to be inspired by this design. I am going to use it right away. Thank you for taking the time to do this series.
Thanks
Thanks!!!
Hello Jason, I think this is really a nice post, would like to get more such posts in future.
Hi Jason,
Thanks for the tuto about grid layouts with video.
Very Superb Article.
Thanks a lot for sharing this information
This is, by far, my favorite! The simple and alternating color scheme, along with the angles, make for a very sleek and clean look. And the layout can be used for other media assets as well, I imagine, including photos, etc.
Thanks for the detailed tutorial and inspiration, Jason!
Exactly Mathias! You can use this for a number of things. Let me know if you use it for something else. I’d like to see that. Anyway, thanks for the support.
Looking great but I don’t get it! How can I have second video or third? I have to replicate it.
Jordan,
Sorry for the confusion. Are you asking how to have another video section? or have another video module? Thanks.
Hello Jason,
Thanks for the very clear and precise tuto about grid layouts with video. I will try on my personnal website !
These are awesome. As usual, more awesome reasons to be a loyal DIVI fan.
hi. very nice tutorial. would you mind posted the finished product or am i clicking on the wrong link:)
Hi Jason Champagne, I have read last 3 part in this series. And also just finished part 4. I have learn something new about Divi. Thank you so much for your hard your.