

It’s no secret that about pages are great to create click-throughs on your website. It’s also that one kind of page that’ll emphasize the human part of the company behind the website. Knowing this makes us aware that it’s important we pay attention to the way we structure about pages, what kind of information we share and how we create interactions. One of the things you can do to elevate the about page experience is providing a team members section that puts your employees in the spotlight. On top of that, you can add a bio hover effect to team member photos using Divi and its built-in options only. This will allow you to save space on the page you’re working on and create a hover interaction between you and your visitors.
In this tutorial, we’ll show you step by step how to get there. Once you get the approach, you’ll be able to customize the design style to your own needs.
Let’s get to it!
Preview
Before we dive into the tutorial, let’s take a look at the outcome on different screen sizes.
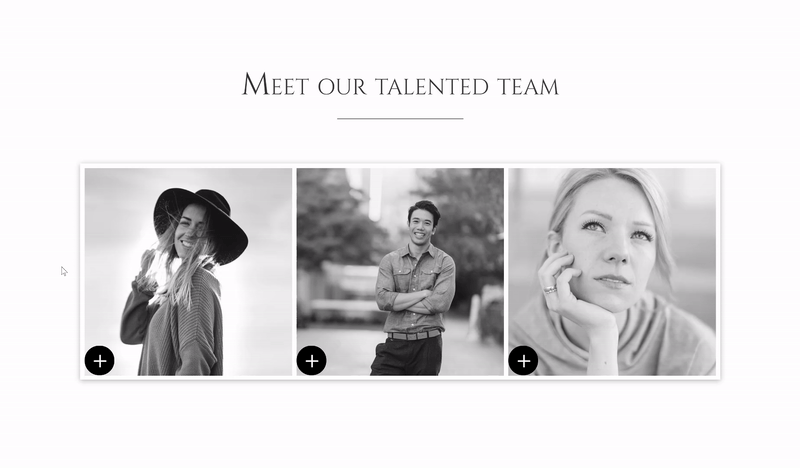
Desktop
Mobile
Let’s Start Recreating
Subscribe To Our Youtube Channel
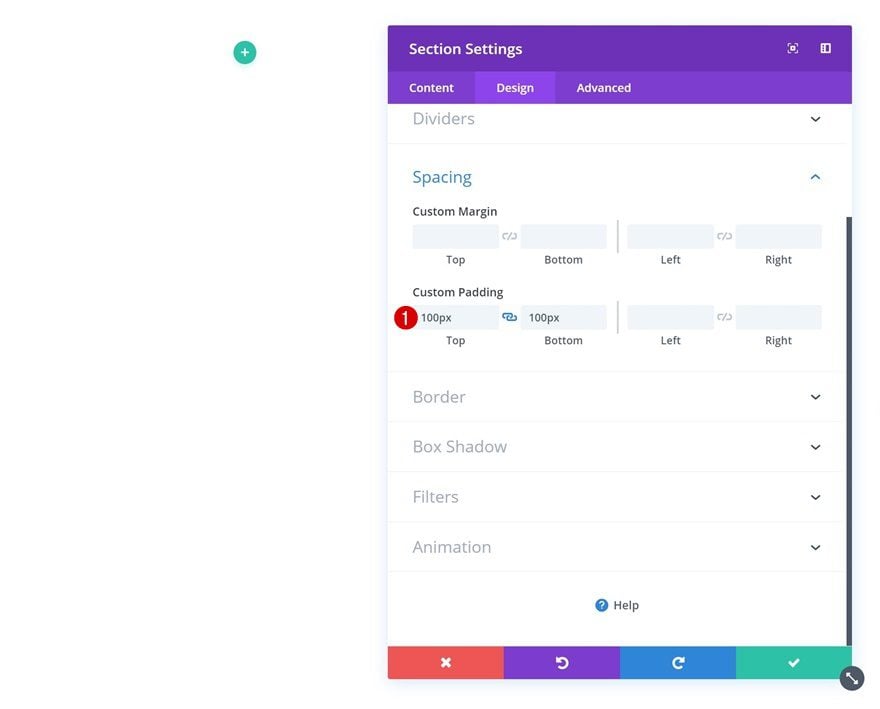
Add New Section
Spacing
Create a new page or open an existing one and add a new section using the following custom padding values:
- Top Padding: 100px
- Bottom Padding: 100px
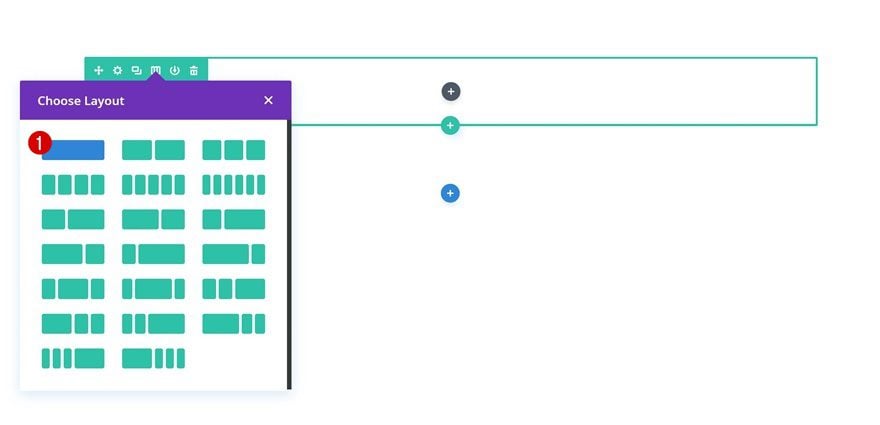
Add Row #1
Column Structure
Once you’re done adding the custom padding to your section, you can close the section settings and add a new row using one column only.
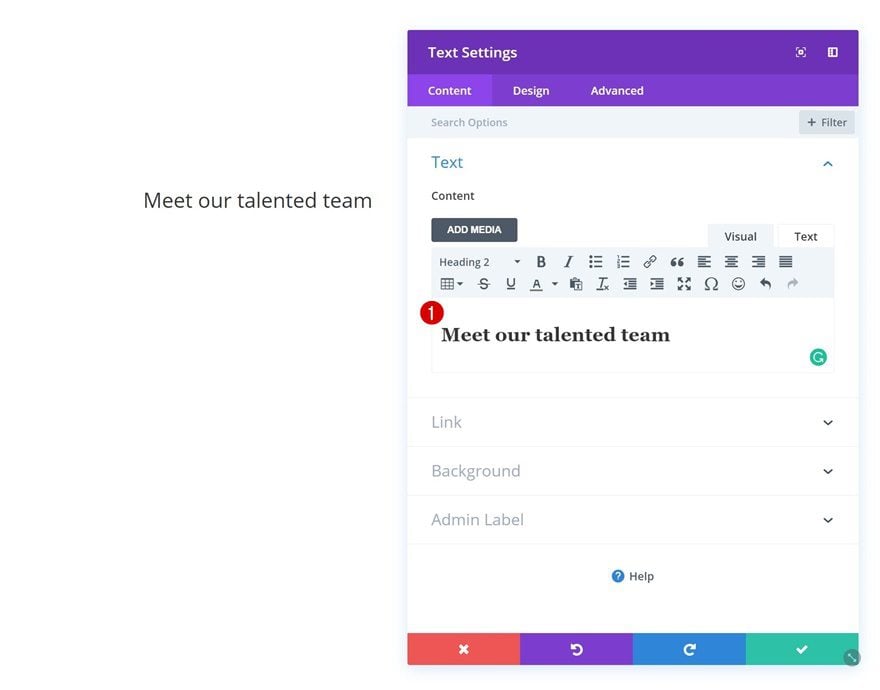
Add Text Module
Add H2 Content
Add a title Text Module to the column with some H2 copy of choice.
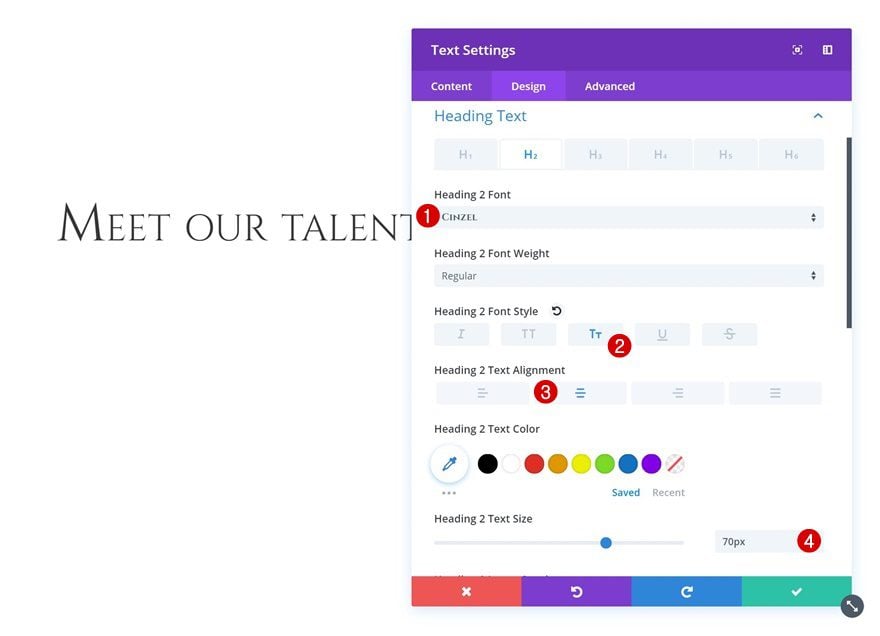
H2 Text Settings
Then, go to the H2 text settings and make some changes to the appearance of the copy.
- Heading 2 Font: Cinzel
- Heading 2 Font Style: Small Caps
- Heading 2 Text Alignment: Center
- Heading 2 Text Size: 70px
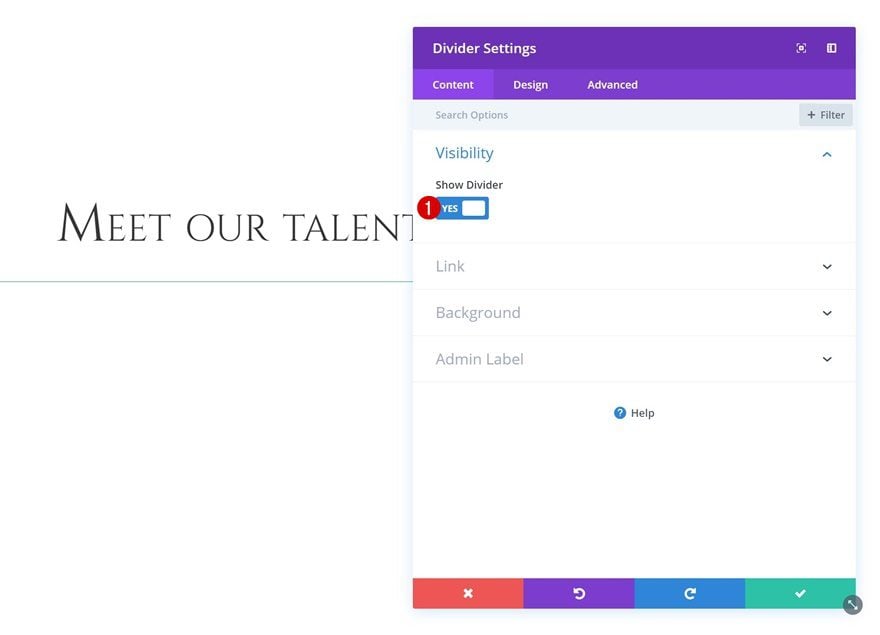
Add Divider Module
Visibility
Continue by adding a new Divider Module right below the title Text Module.
- Show Divider: Yes
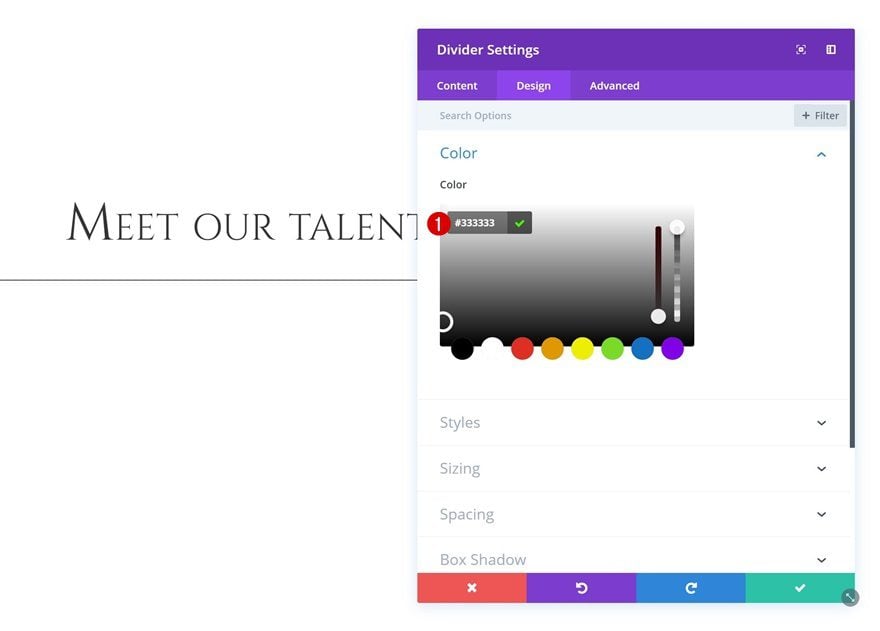
Divider Color
Go to the design tab, open the color settings and change the color of your divider accordingly:
- Divider Color: #333333
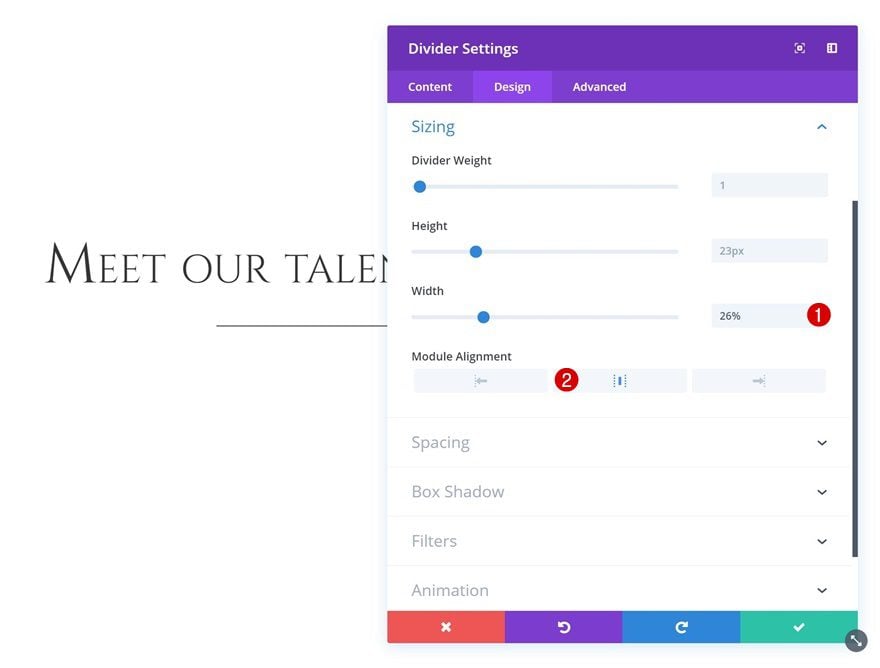
Sizing
Next, we’ll decrease the size of the divider and center it.
- Width: 26%
- Module Alignment: Center
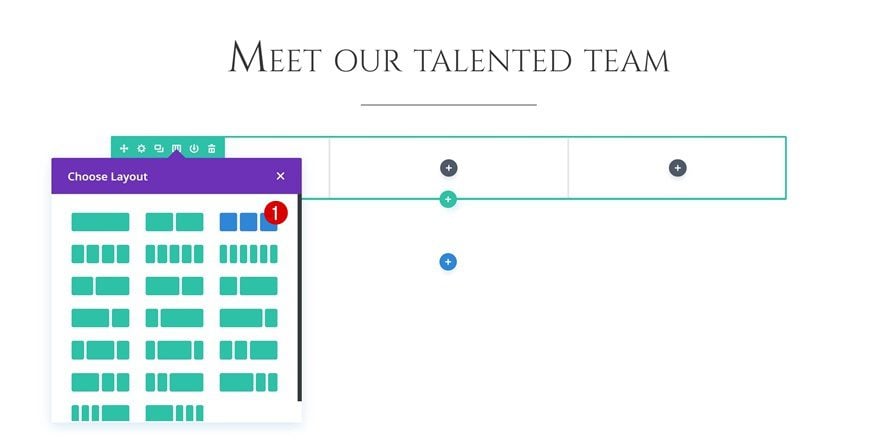
Add Row #2
Column Structure
Right below the previous row you’ve added, go ahead and add a new row using three equally-sized columns.
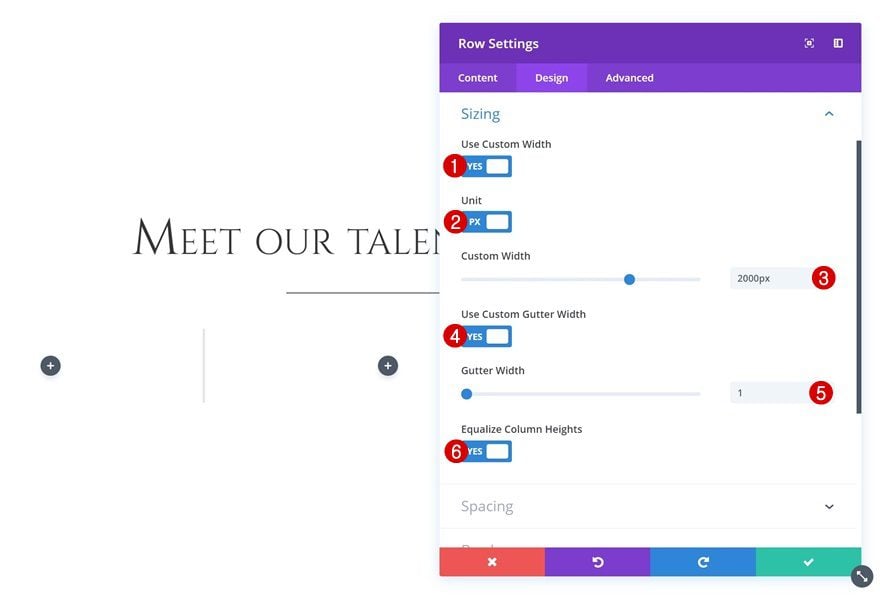
Sizing
Without adding any modules yet, open the row settings and make some adjustments to the sizing settings.
- Use Custom Width: Yes
- Unit: PX
- Custom Width: 2000px
- Use Custom Gutter Width: Yes
- Gutter Width: 1
- Equalize Column Heights: Yes
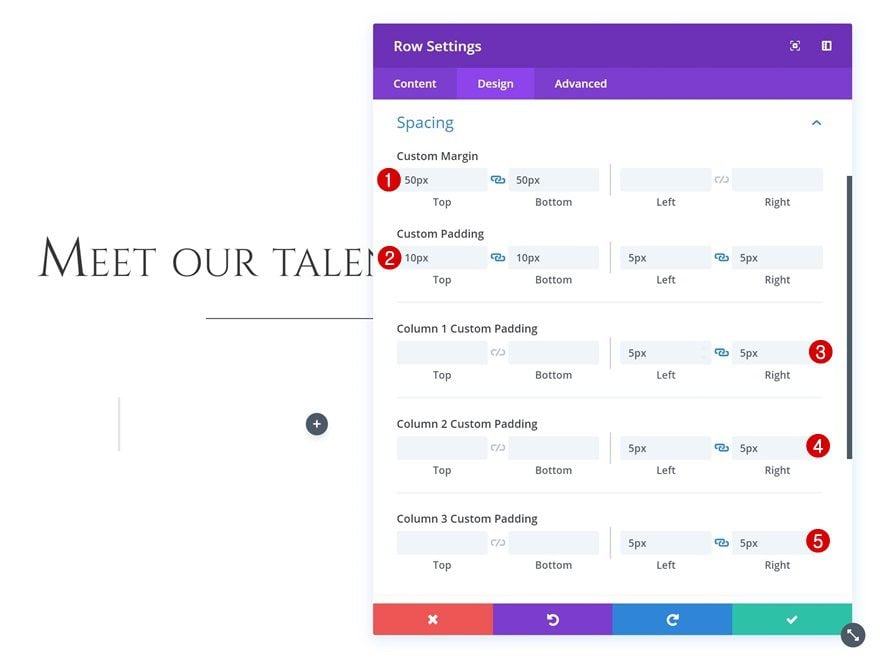
Spacing
Then, go to the spacing settings and add custom margin and padding values.
- Top Margin: 50px
- Bottom Margin: 50px
- Top Padding: 10px
- Bottom Padding: 10px
- Left Padding: 5px
- Right Padding: 5px
- Column 1, 2 & 3 Left Padding: 5px
- Column 1, 2 & 3 Right Padding: 5px
Box Shadow
We’re also giving our row a bit of depth by adding a box shadow to it with the following settings:
- Box Shadow Blur Strength: 80px
- Box Shadow Spread Strength: -14px
- Shadow Color: rgba(0,0,0,0.3)

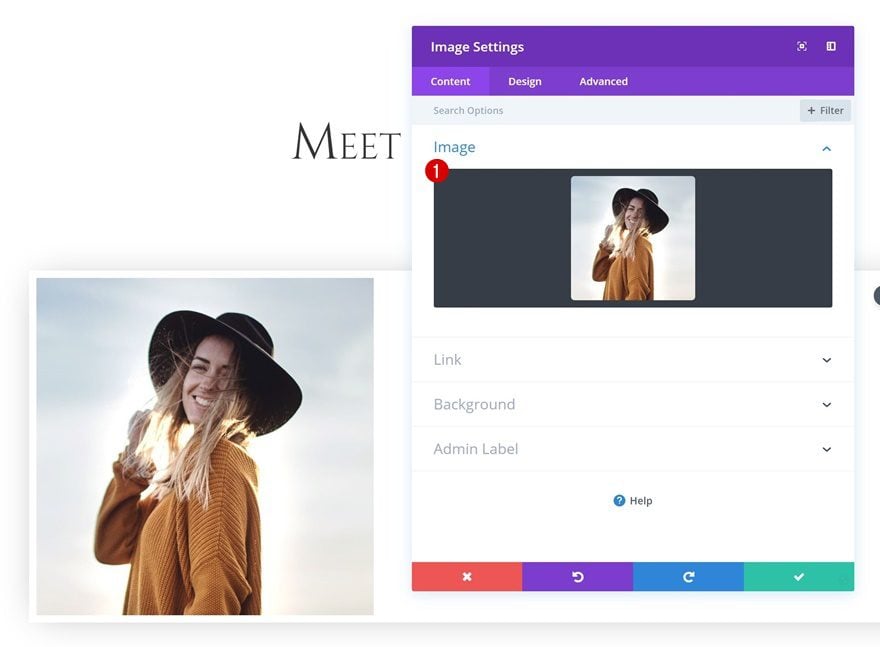
Add Image Module to Column 1
Upload Image to Image Module
Time to start adding modules! To achieve the bio hover effect, we’ll need two modules in total; an Image Module and a Blurb Module. The Image Module will hold the image of the team member you want to showcase. The Blurb Module, on the other hand, will be used to add the icon to the left bottom corner and the bio on hover. Add an Image Module to the first column using a square-sized image.
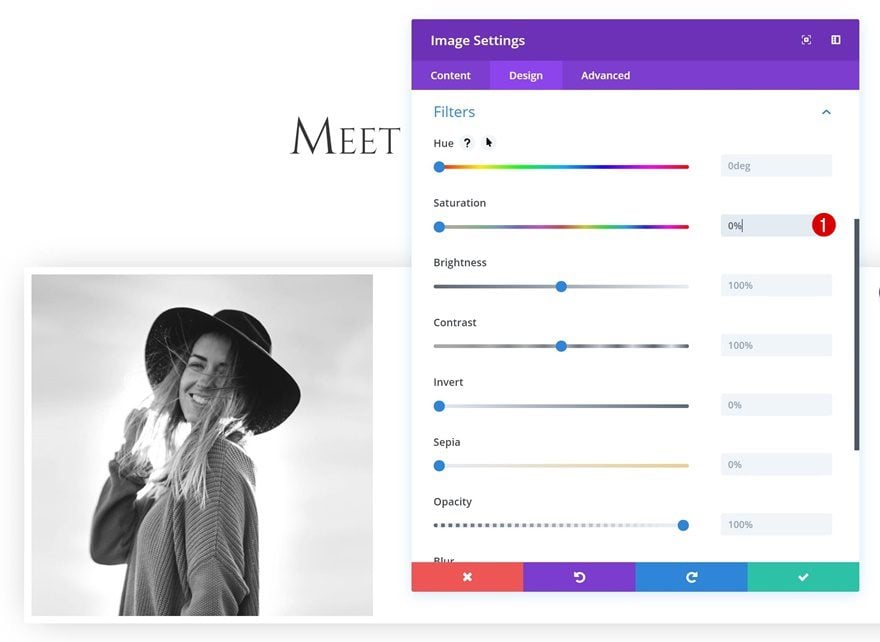
Filters
The design we’re creating is entirely grayscale. To add this grayscale to our image, go to the filters settings and remove all the saturation.
- Saturation: 0%
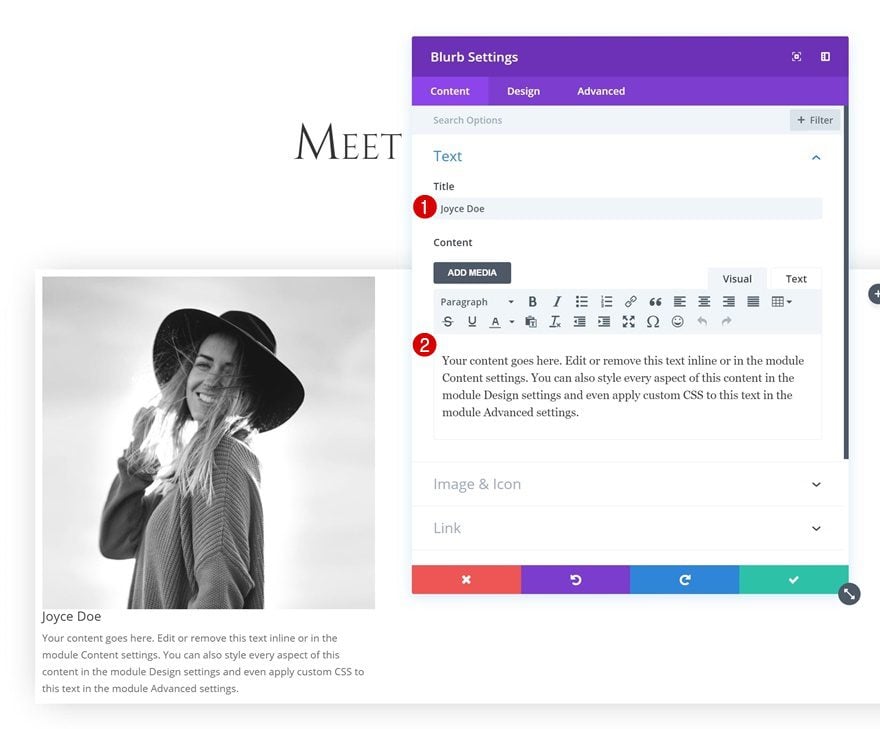
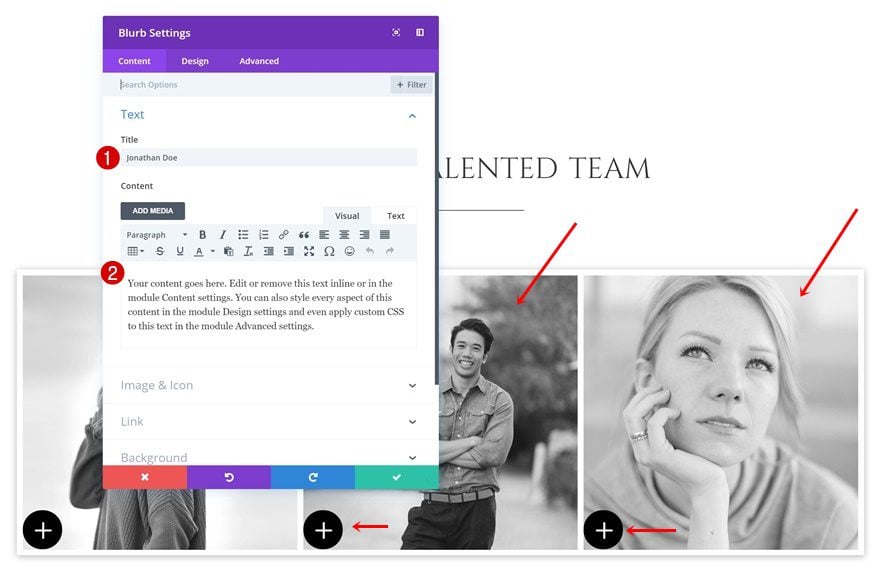
Add Blurb Module to Column 1
Add Content
Continue by adding a new Blurb Module right below the Image Module in column 1. Add the team member’s name to the title field and enter some more info about the team member in the content box.
Choose Icon
The next thing we’ll do is choose an icon of choice that’ll show visitors that there’s more to it than just a picture.

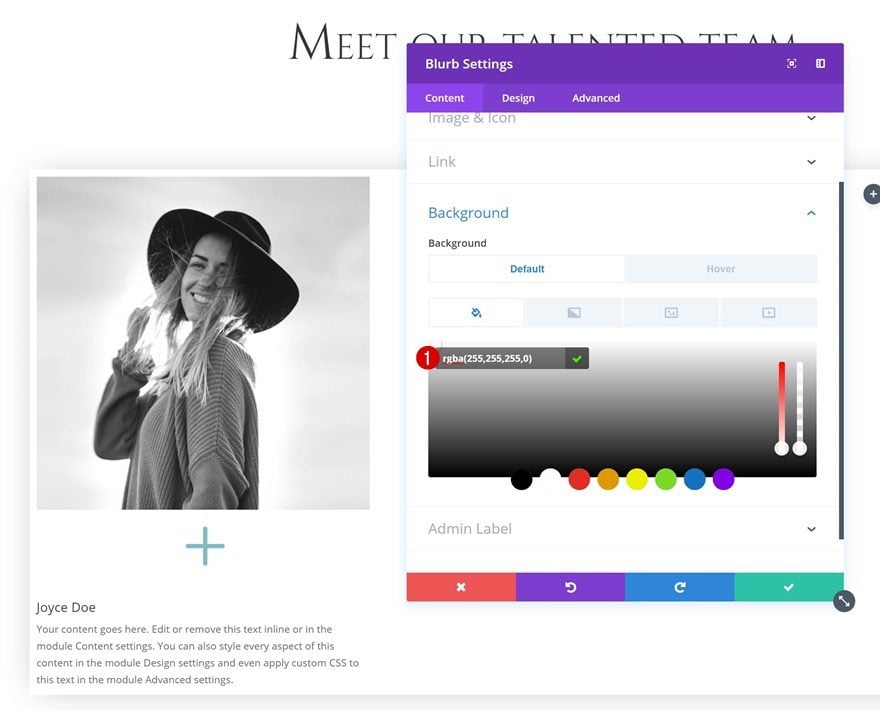
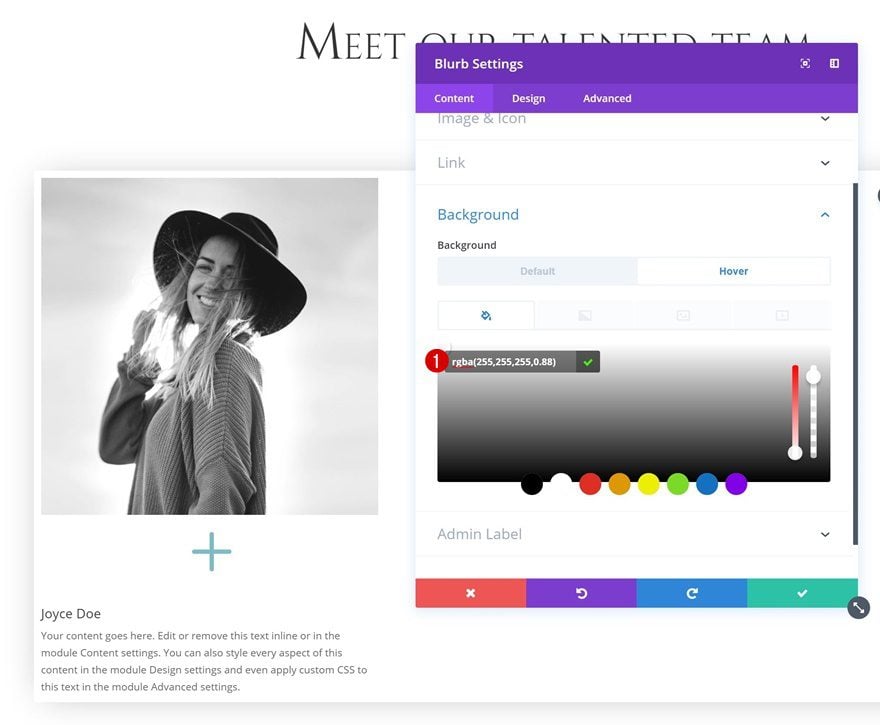
Default Background Color
Then, we’ll choose an entire transparent background color.
- Background Color: rgba(255,255,255,0)
Hover Background Color
And we’ll change that color on hover.
- Background Color: rgba(255,255,255,0.88)
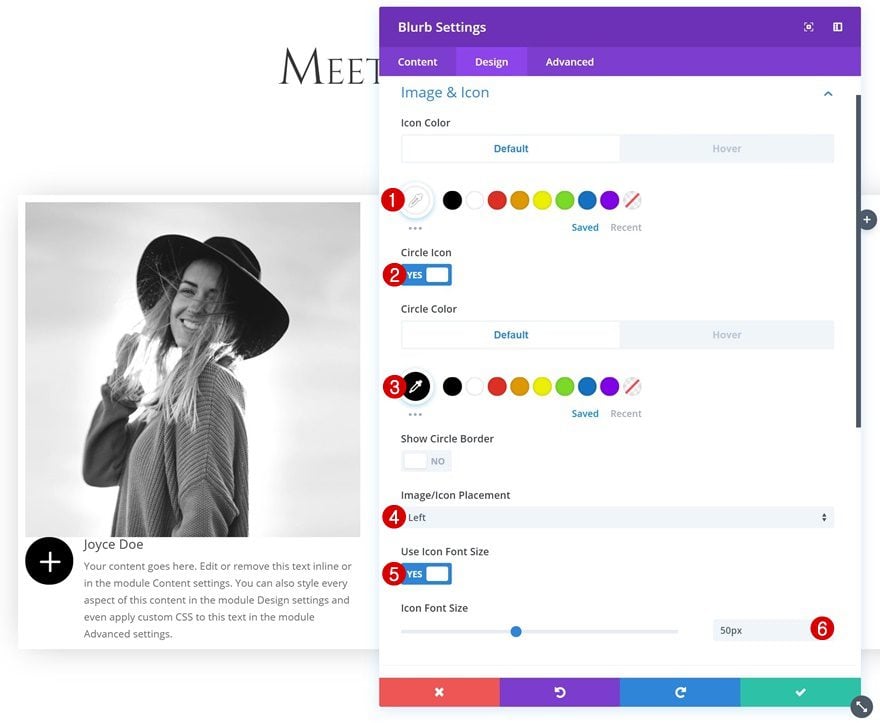
Default Icon Settings
We want a noticeable icon that will help visitors understand they can hover it. Change the icon settings to achieve an icon like that.
- Icon Color: #ffffff
- Circle Icon: Yes
- Circle Color: #000000
- Icon Placement: Left
- Use Icon Font Size: Yes
- Icon Font Size: 50px
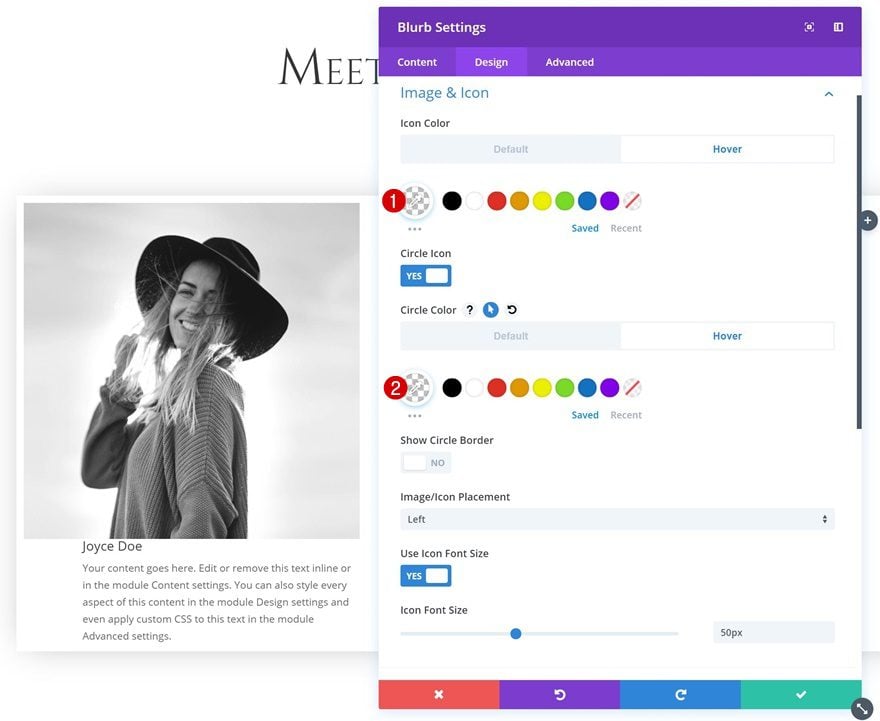
Hover Icon Settings
However, we don’t want the icon to appear on hover. That’s why we’ll use a completely transparent color instead.
- Icon Color: rgba(255,255,255,0)
- Circle Color: rgba(255,255,255,0)
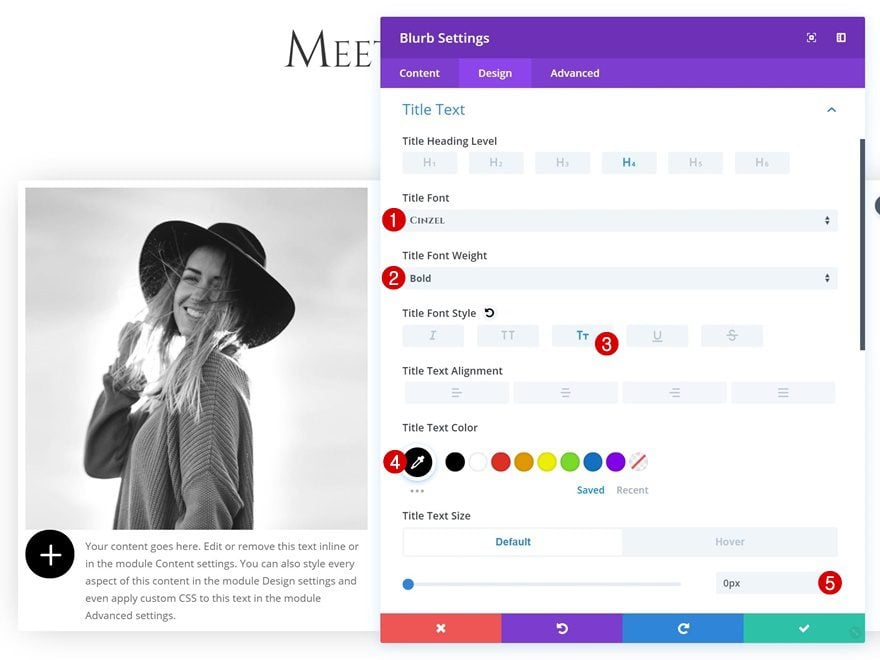
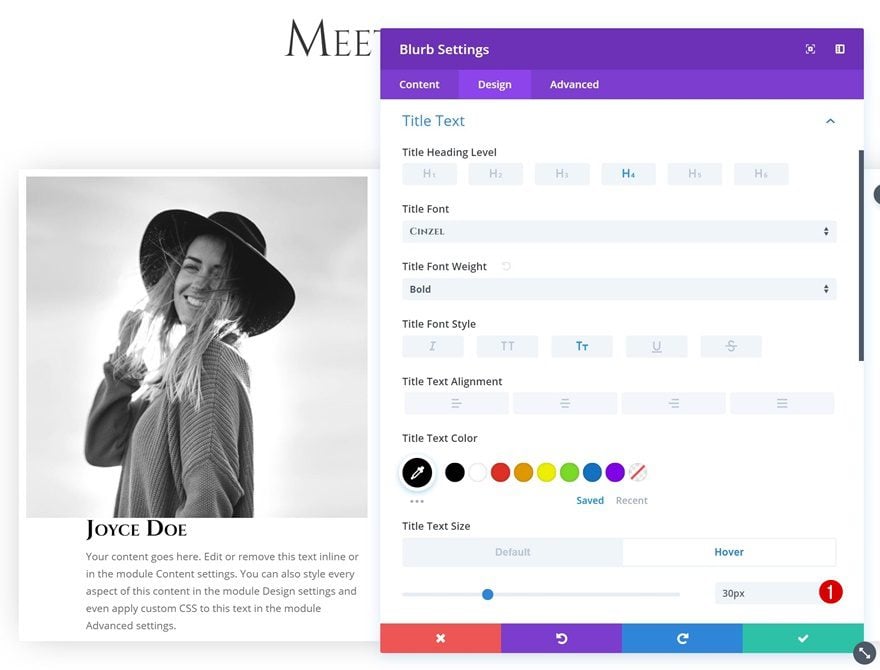
Default Title Text Settings
Next, go to the title text settings and make some changes.
- Title Font: Cinzel
- Title Font Weight: Bold
- Title Font Style: Small Caps
- Title Text Color: #000000
- Title Text Size: 0px
Hover Title Text Settings
Modify the text size on hover.
- Title Text Size: 30px
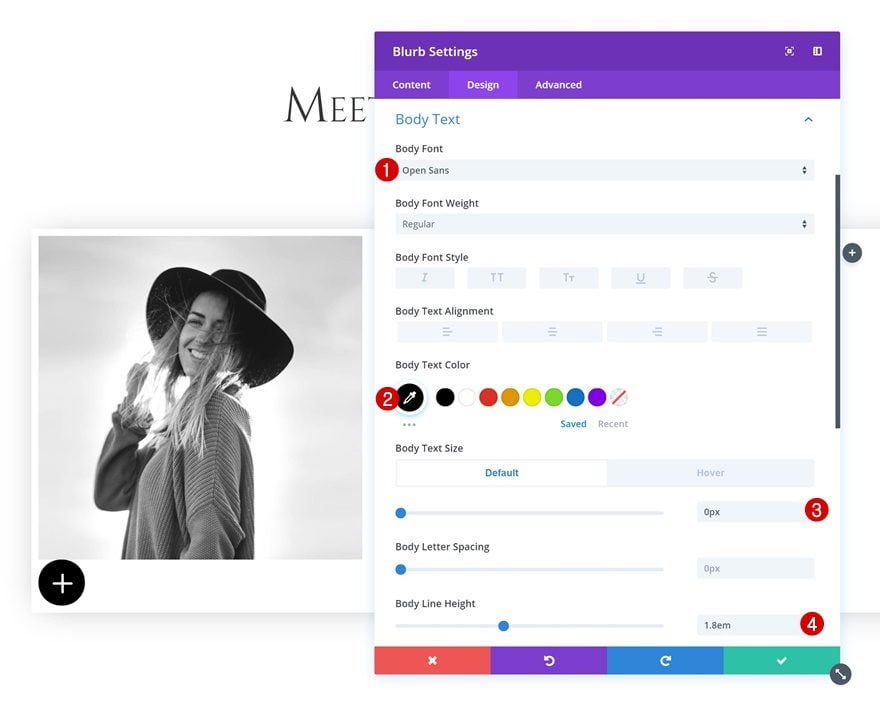
Default Body Text Settings
Modify the body text settings as well.
- Body Font: Open Sans
- Body Text Color: #000000
- Body Text Size: 0px
- Body Line Height: 1.8em
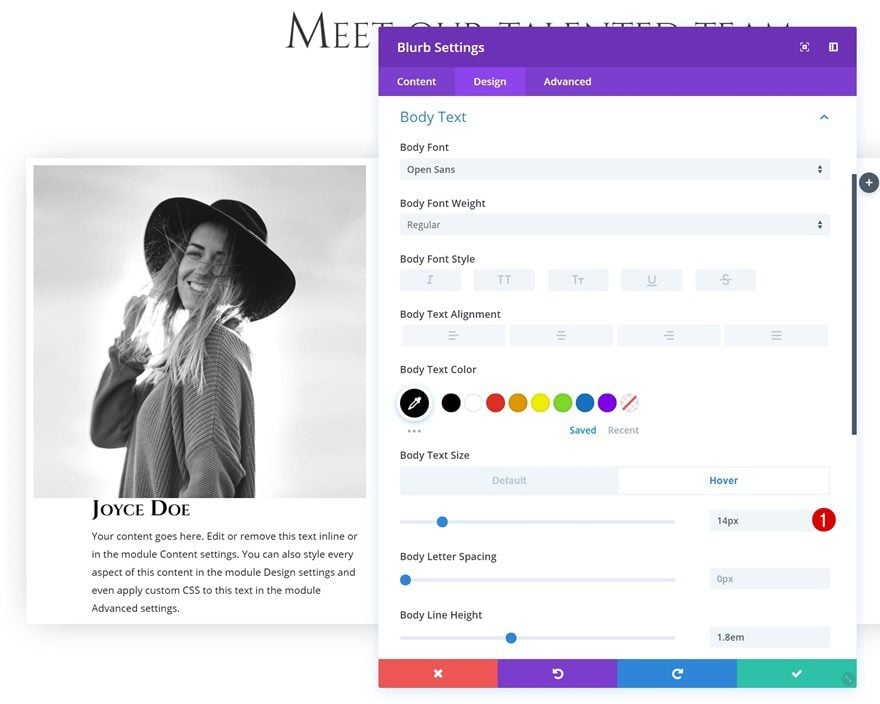
Hover Body Text Settings
And, again, change the body text size on hover.
- Body Text Size: 14px
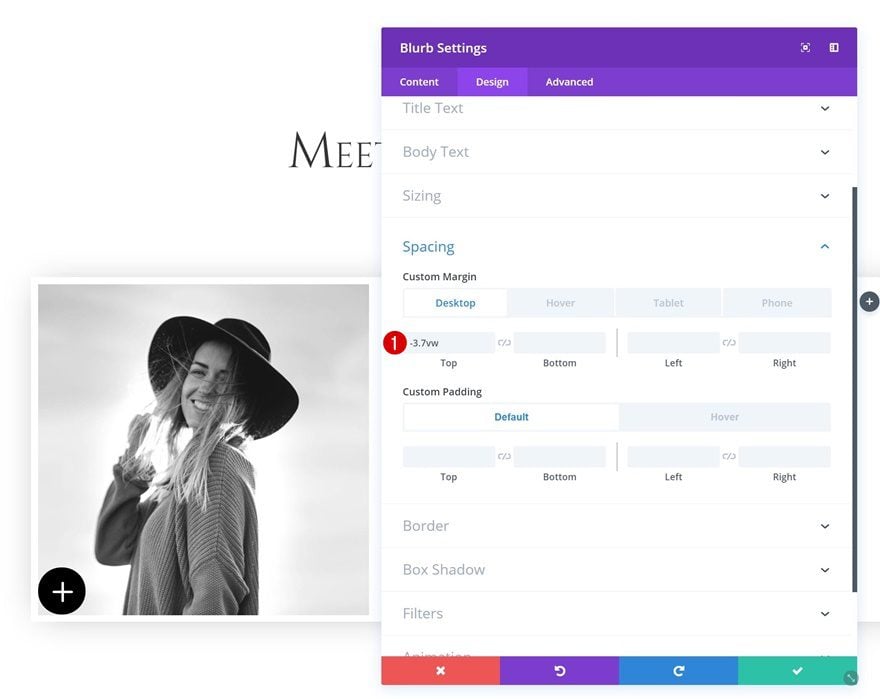
Default Spacing
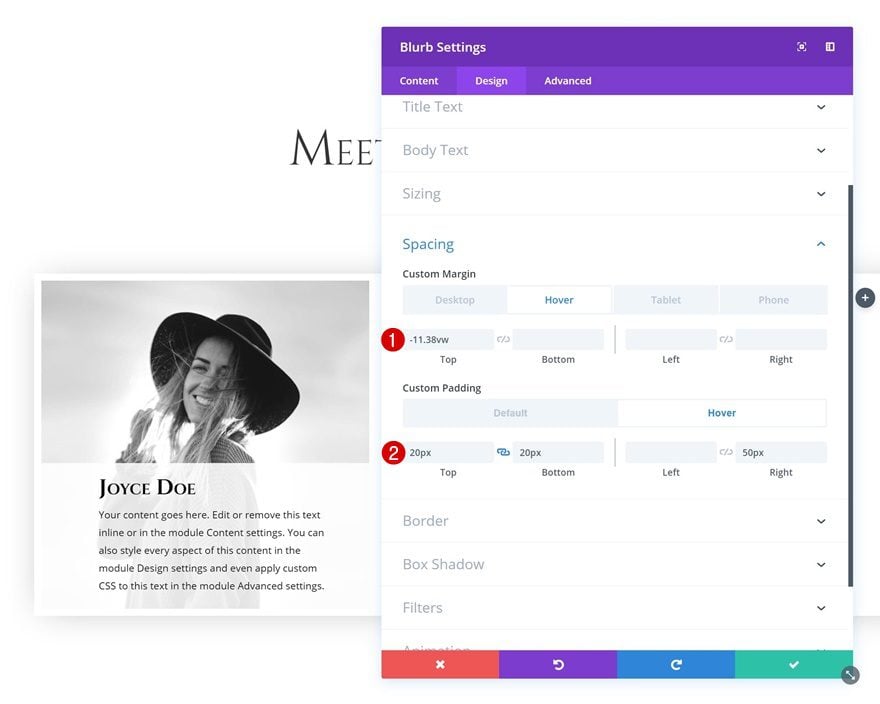
Last but not least, we’ll need to create an overlap between the Blurb Module and Image Module using negative top margin.
- Top Margin: -3.7vw (Desktop), -9vw (Tablet & Phone)
- Bottom Margin: 1.5vw (Tablet), 2vw (Phone)
Hover Spacing
Change the custom margin and padding values on hover.
- Top Margin: -11.38vw
- Top Padding: 20px
- Bottom Padding: 20px
- Right Padding: 50px
Clone Both Modules Twice & Place Duplicates in Remaining Columns
We’re done creating our first bio hover effect. To save time, we can simply clone both modules in column 1 twice and place the duplicates in the two remaining columns.
Change Image & Content of Blurb Module
Remember to change the image in the Image Module and the copy in the Blurb Module to finish the team member section!
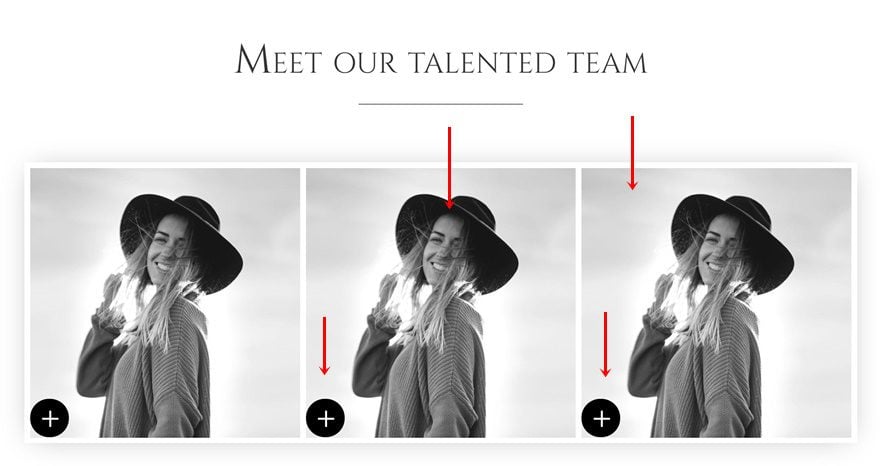
Preview
Now that we’ve gone through all steps, let’s take a final look at the outcome on different screen sizes.
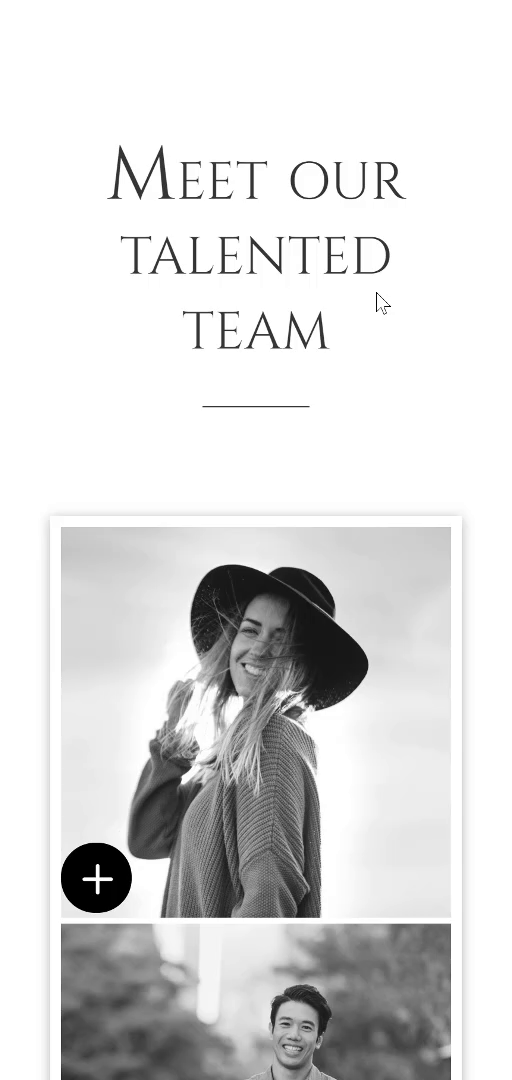
Desktop
Mobile
Final Thoughts
In this post, we’ve shown you how to create a bio hover effect on hover for team member photos using Divi’s built-in options only. We’ve mentioned how important it is to create good about pages, as they’re one of the most visited pages websites. Using bio hover effects for team member photos will not only allow you to take your about page to the next level but also create an interaction with your visitors. If you have any questions or suggestions, make sure you leave a comment in the comment section below!


I don’t have the hover option when I go to Design Tab/Image & Icon. Is there a reason for this?
On hover, the text appears jerky and fluttering.
I entered all as directed above with the exception of the image shape is a rectangle instead of a square and the image is color.
This does not seem to happen on mobile only desktop.
Also, the site is in Local By Flywheel.
I can give you a link if you contact me in advance.
This is cool! Thank you.
I love how easy Elegant Themes has made it to quickly put together these advanced effects!!
I am experiencing a slight resizing of my row element on hover any thoughts on what could be causing this?
Same here. Works fine if I change color text transparency on hover instead of text size.
Did you find any other solution ?
Cannot go wrong with more hover options. I think this is a fine art that very few appreciate! A good hover can go a long ways toward getting more information out there without taking up more space than is necessary. Thanks will implement.
Pedro Manoeland and Krystal, you can find hover option settings using Divi visual builder. Hover function will be released also for “classic” Divi builder soon.
Nice – however I question why so many of the tutorials as of late focus on hover effects when everything is moving to mobile so quickly (where these effects do not exist).
Curious why you’ve not used the person module? Always good to see a different approach, but just wondering your thoughts on why a blurb module?
I love this look. However, it seems my clients always have two issues. 1) They want the name to appear on the photo pre-hover and 2) They need more space for the bio than would fit behind a photo. Have you ever seen an elegant solution to this? So far, I’ve used a photo with a toggle under it, but it’s not a very elegant solution.
Thanks for this tutorial.
This effectively replaces some plugins
I love how easy Elegant Themes has made it to quickly put together these advanced effects!!
I’m trying to do this right now but when I go to the ‘background’ section in the settings for the blurb, I don’t have an option for ‘hover’ background. I just updated to the latest version and I still don’t see this option 🙁
When you hover over a style name (like “Body Text Color”), you’ll see small icons. Click the arrow (cursor?) icon to reveal the other options like Hover.
I haven’t found this option for hover too. Can anyone help us?
How does it work with mobile and hover feature? There isn’t a mouse on a mobile view.
Its with a click.
As always. Excellent. thankyou.