
Before and After sliders are a great way to let visitors compare two images. As the name suggests, they can be images before and after something is changed, such as weight loss, an image that’s retouched, a room that’s decorated, a car that’s painted, etc. Of course, they’re useful for much more than before and after photos. They can be used to compare graphics, products, vacation destinations, and lots more.
In this article, we’ll take a look at Divi Sensei Before and After Slider, a before and after slider module for the Divi Builder, see what it can do, and help you decide if you need this third-party plugin in your Divi toolbox.
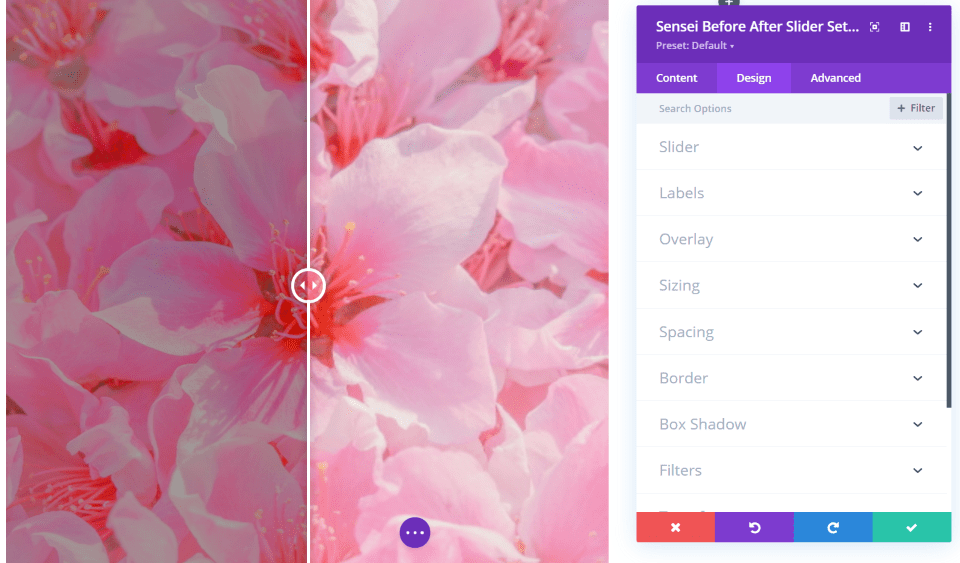
Divi Sensei Before and After Slider Module
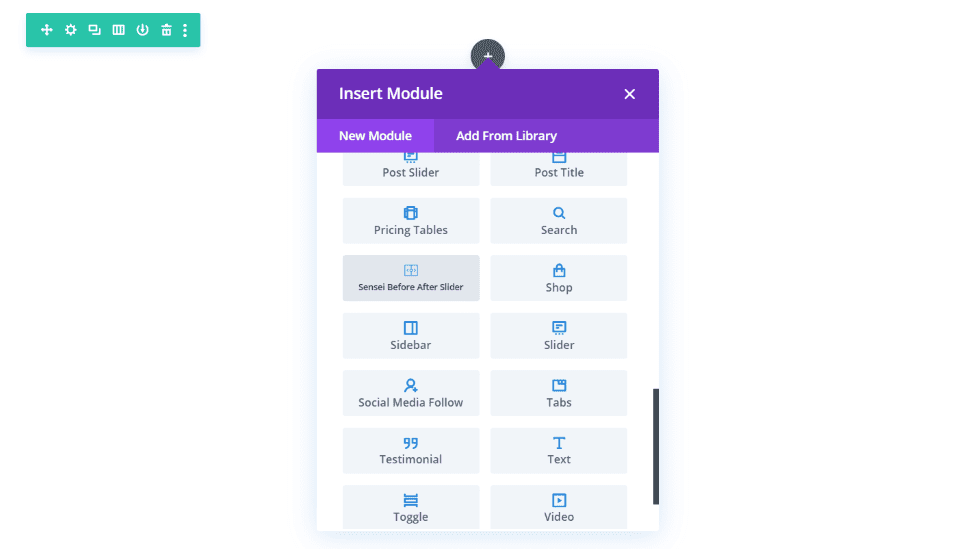
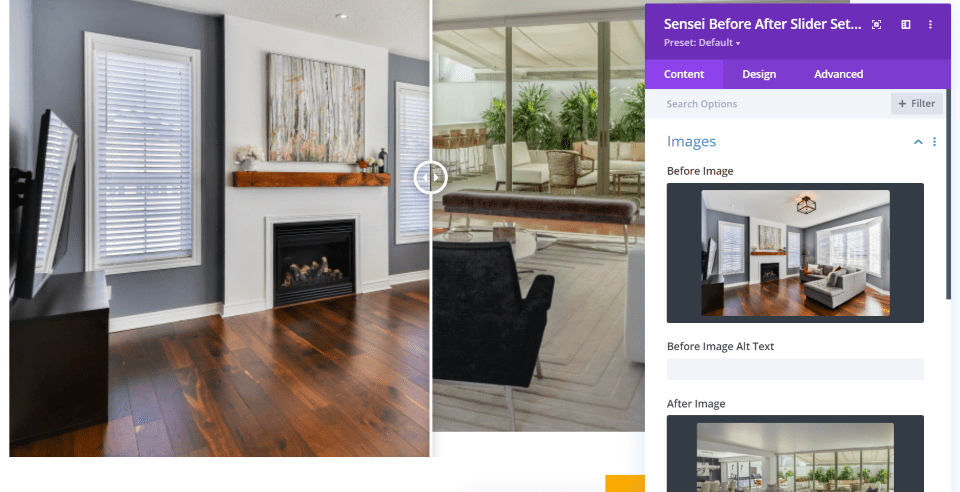
Upload and install the Divi Sensei Before and After plugin as normal. Three are no settings to go through. Once you upload and activate the plugin, you’ll see a new module added to the Divi Builder called Sensei Before and After Slider.
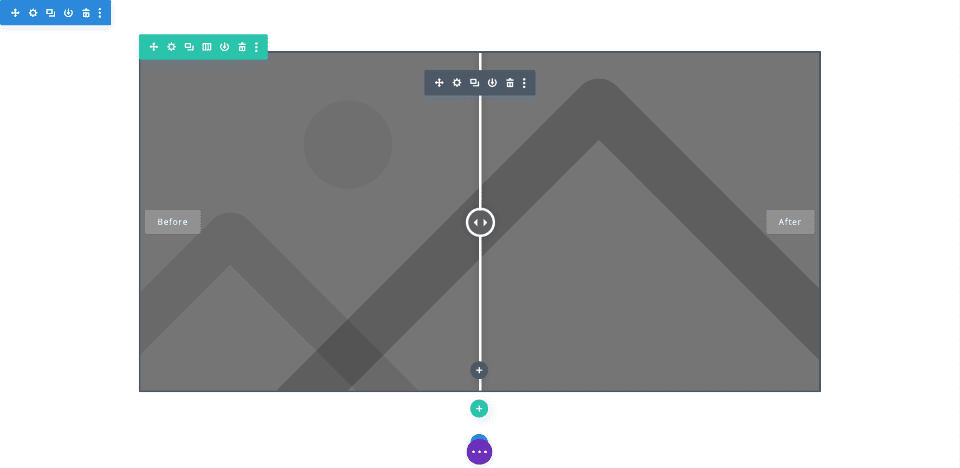
The module displays a before image on the left side and an after image on the right. It displays a slider bar in the center that users can grab and slide from one side to the other. Hovering over the images reveals before and after labels and adds an overlay. You have design control over each of these elements.
Let’s take a look at the features and options for the slider. For these examples, I’m using images from Unsplash.com.
Content Tab
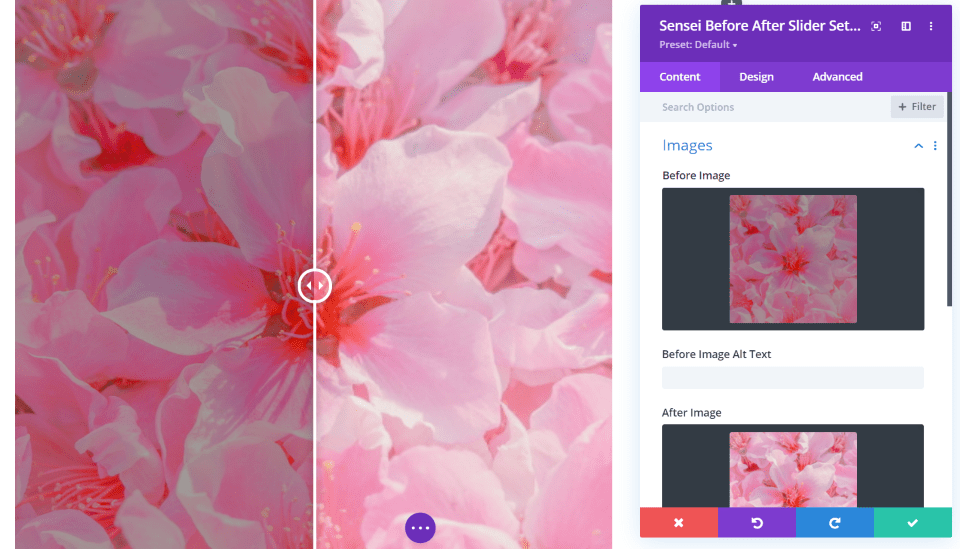
The Content tab lets you add a before image, after image, and labels. In this example, I’ve added two different versions of the same image to create the before and after image. This is useful to show the results of a photo that’s been retouched. The options also include the standard link, background, and admin label settings.
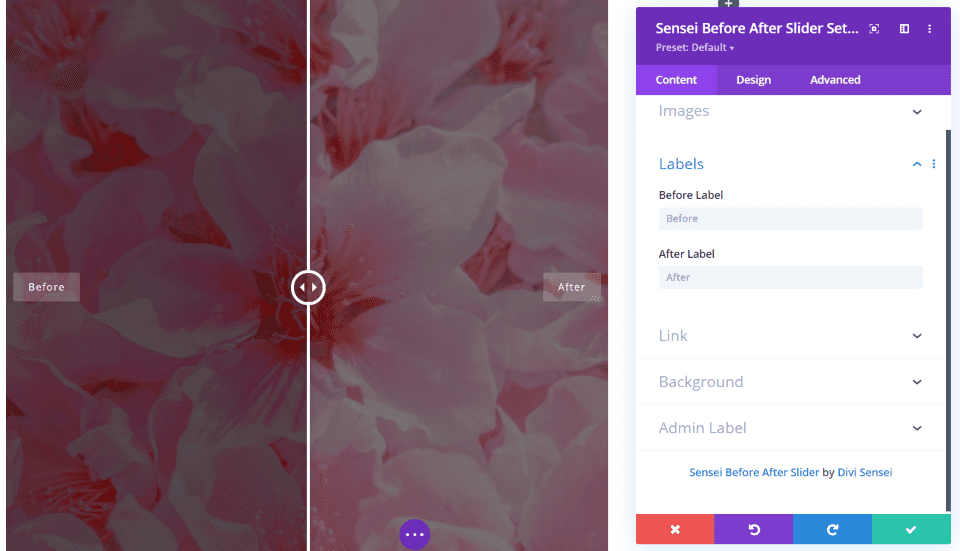
It also provides fields where you can change the text of the before and after labels. I’m hovering over the images to reveal the labels. They only display on hover by default, but you can change this.
Design Tab
The Design tab includes settings for the slider, labels, and overlay. It also includes the standard settings for sizing, spacing, border, box shadow, filters, transform, and animation.
Slider
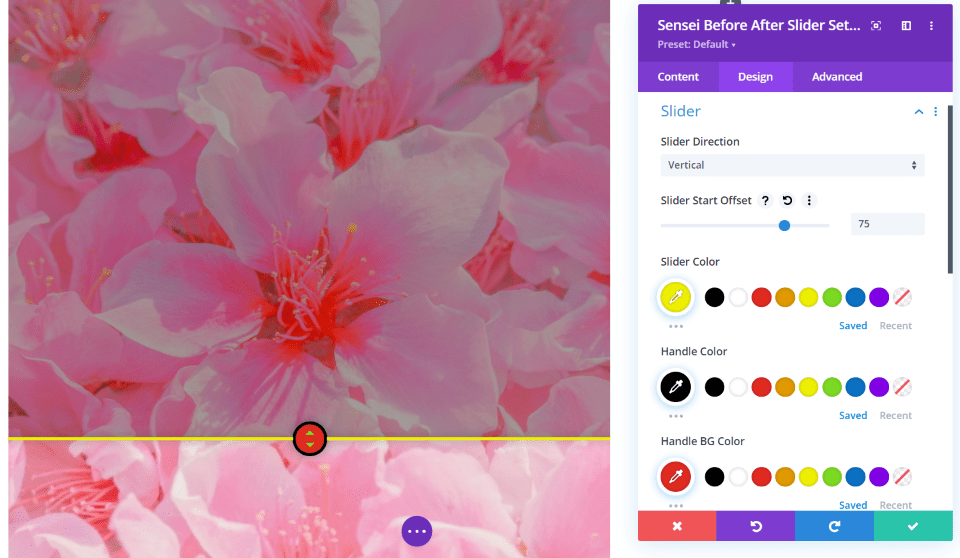
The Slider settings let you choose the slider direction between horizontal and vertical, set the start offset to determine where on the images the slider starts, and change the colors of the slider, handle, handle background, and handle icon. I’ve adjusted each of these settings in the example above.
Labels
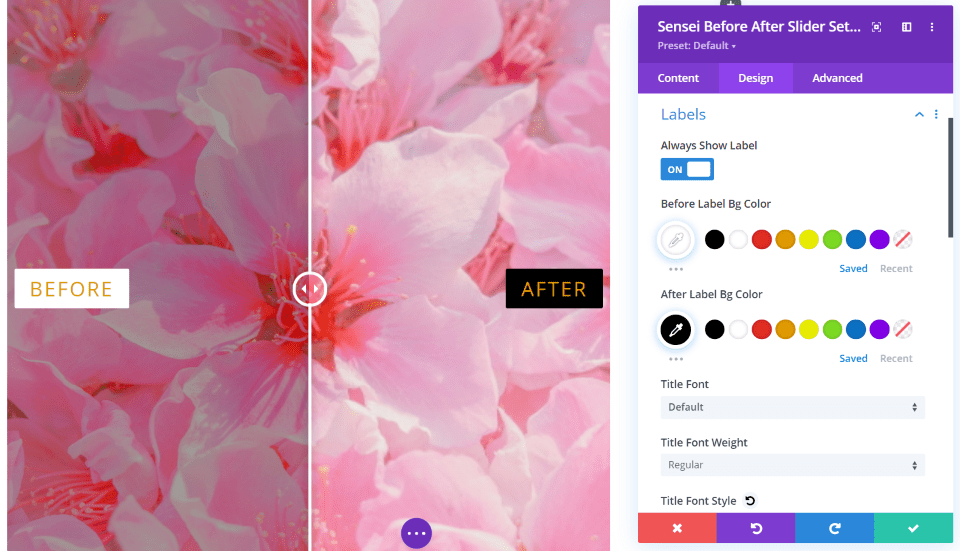
For the labels, you can have them to always display or only display on hover, and adjust the backgrounds and fonts. The background colors include solid colors and opacity adjustments. You can adjust the backgrounds individually, but it doesn’t let you adjust the text colors individually. You can also choose the fonts, change their sizes, styling, alignment, line height, add a shadow, etc. The line-height sets the size of the background.
In the example above, I’ve specified the background and font colors, changed the size of the fonts, and the size of the line-height. I’ve also set them to always display so they’re visible without the user having to hover over the images to see them.
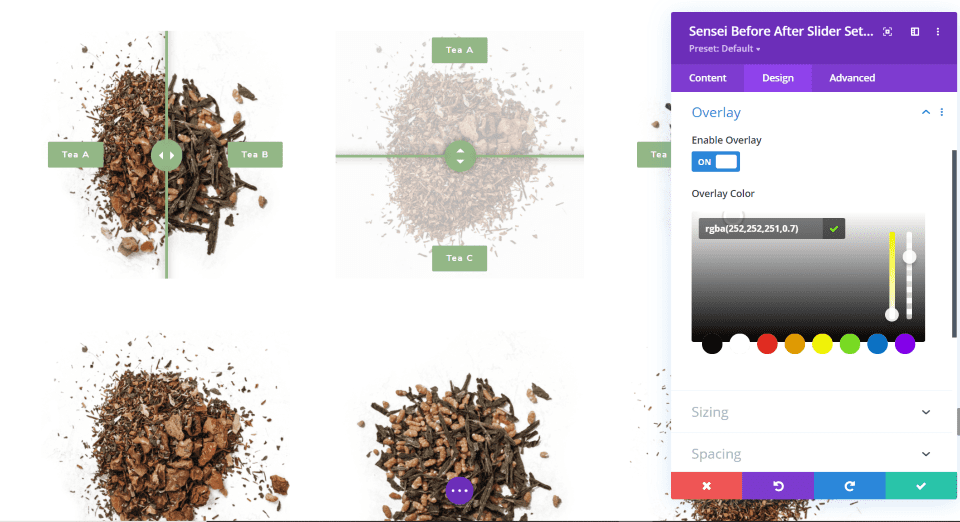
Overlay
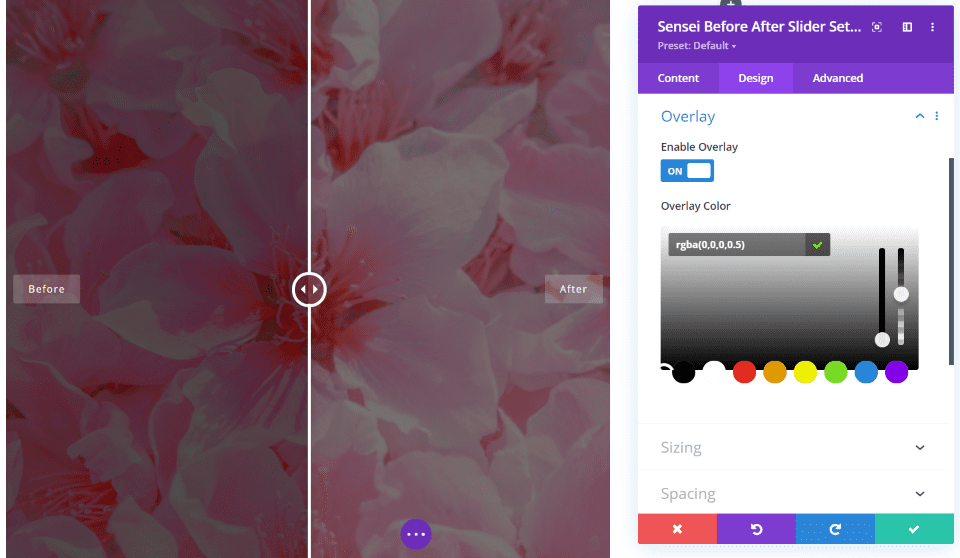
The overlay is enabled by default. You can disable it, adjust the color, and adjust the opacity. The default color is black with 50% opacity.
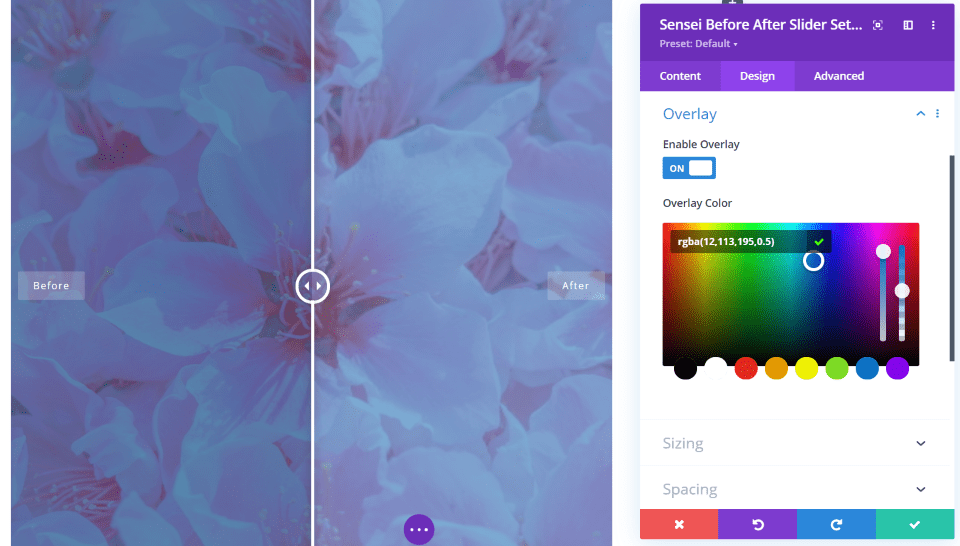
I’ve selected blue in this example and left the opacity at 50%. Allowing the image to show through while you’re hovering seems to work best. Whether you use a light or dark color and the amount of opacity you set will be determined by the colors in the image and how you want to use the overlay.
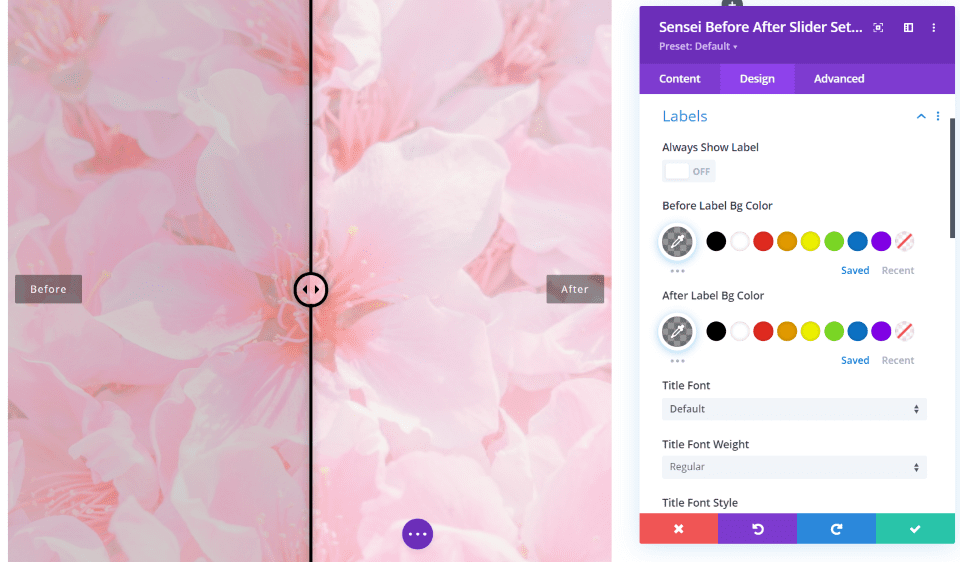
For this example, I’ve used a black and white color scheme. The overlay and label text is white and slider elements are black. I’ve decreased the opacity of the label’s backgrounds to darken them. I’ve left them at their default sizes.
Divi Sensei Before and After Slider Examples
Let’s look at a few examples of ways the slider can be used and how they look within Divi layouts. I’m using images from Unsplash and those that are available in the free Divi layouts that are built into Divi. I’ll identify the Divi layouts I’m using as I go.
Graphics Comparison
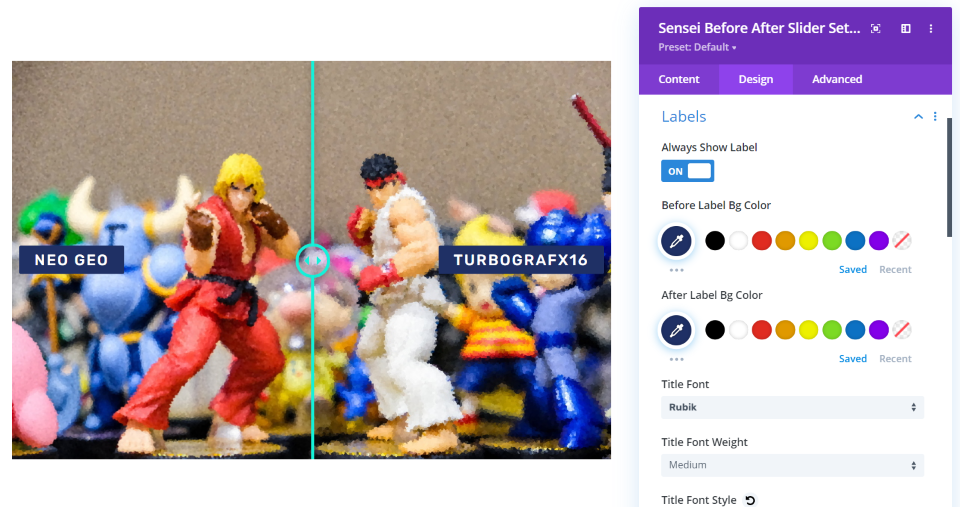
For this one, I used design elements from the Divi Video Game layout pack. I’ve disabled the overlay, changed the slider elements to green, and made the labels to always display. The background for the labels is solid blue. I’ve increased the font size, changed the color, used the Rubik font family, made the font-weight medium, and made them all-caps. Kudos if you’ve owned or played these gaming systems and you know why this made-up graphics comparison can’t exist.
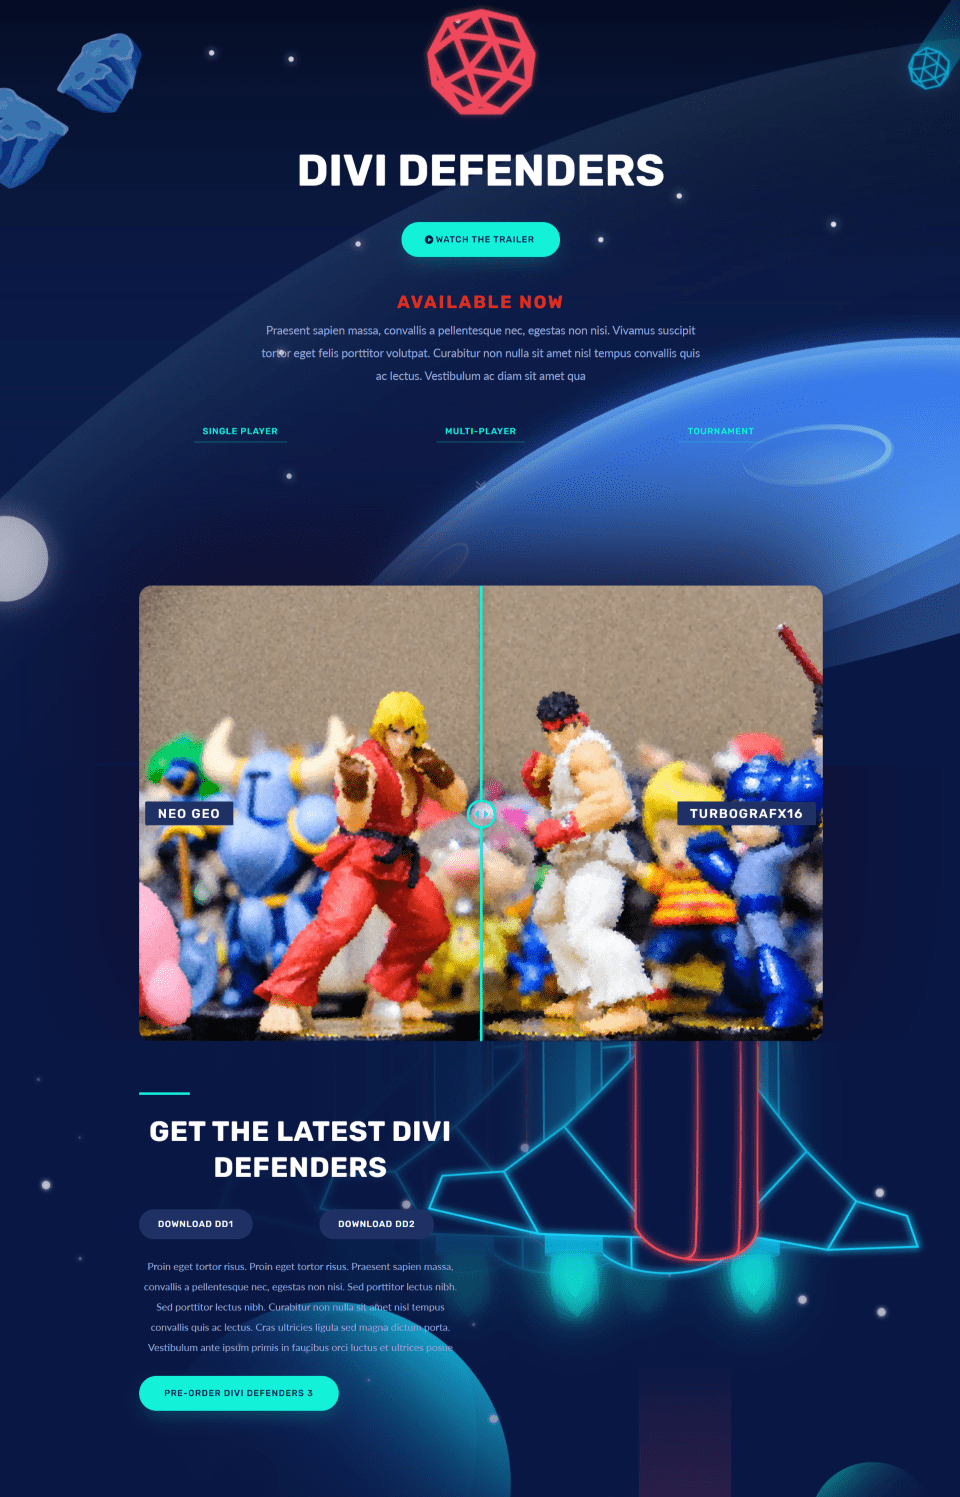
This is how it looks within the layout. It’s excellent for doing comparisons like this mockup of two different game machines’ graphics.
Services Before and After Portfolio
This example mimics the idea of a room before and after renovation is done. When the two images are different sizes, it will use the size for the larger image and the smaller image will show a gap. It will place their heights or widths equally and fill in the rest as empty space. In this example, the image on the right is shorter than the image on the left. While having images the same size works better, it still works well with images that are close to the same size.
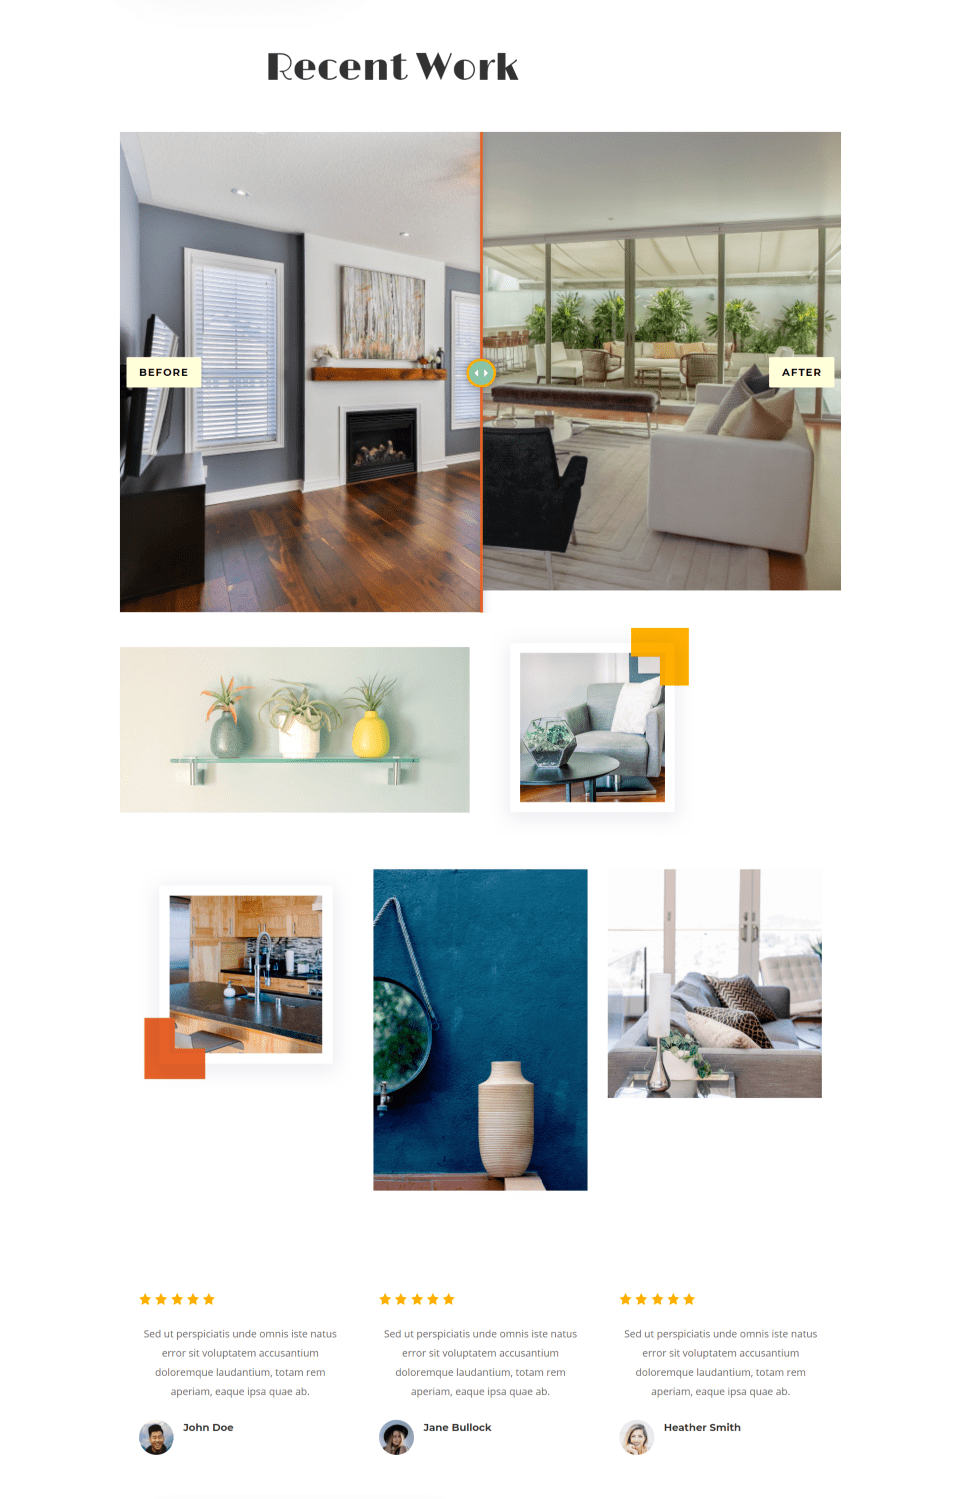
I’ve added colors and fonts from the Home Improvement layout pack. Here’s how it looks within a portion of the layout.
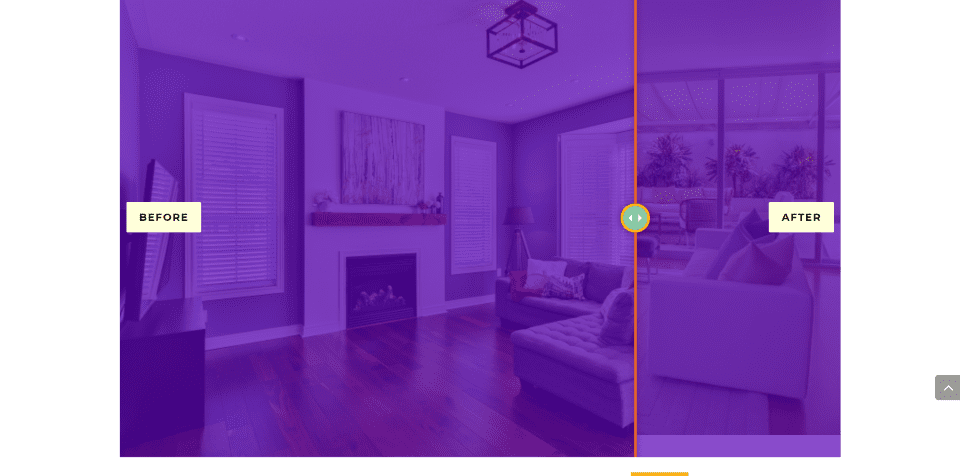
Here’s how it looks with the overlay. I’ve moved the slider to one side to show more of the before image.
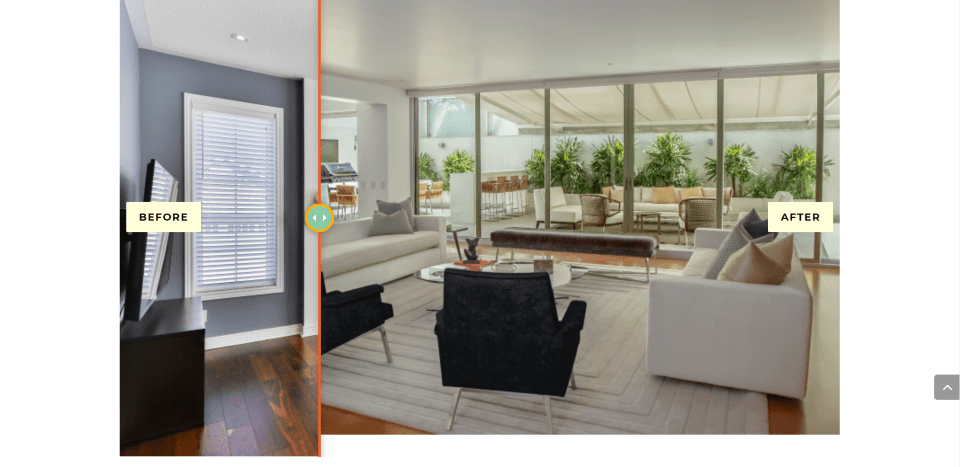
For reference, here’s the image with the handle moved to show more of the after image.
Product Comparison
For this example, I’m replacing the three tea images in the Tea Shop layout with 3 DS B&A sliders. I’m using colors from the layout for the buttons and slider controls. The middle slider is set to vertical just to be different. The overlay uses a color from the layout with decreased opacity.
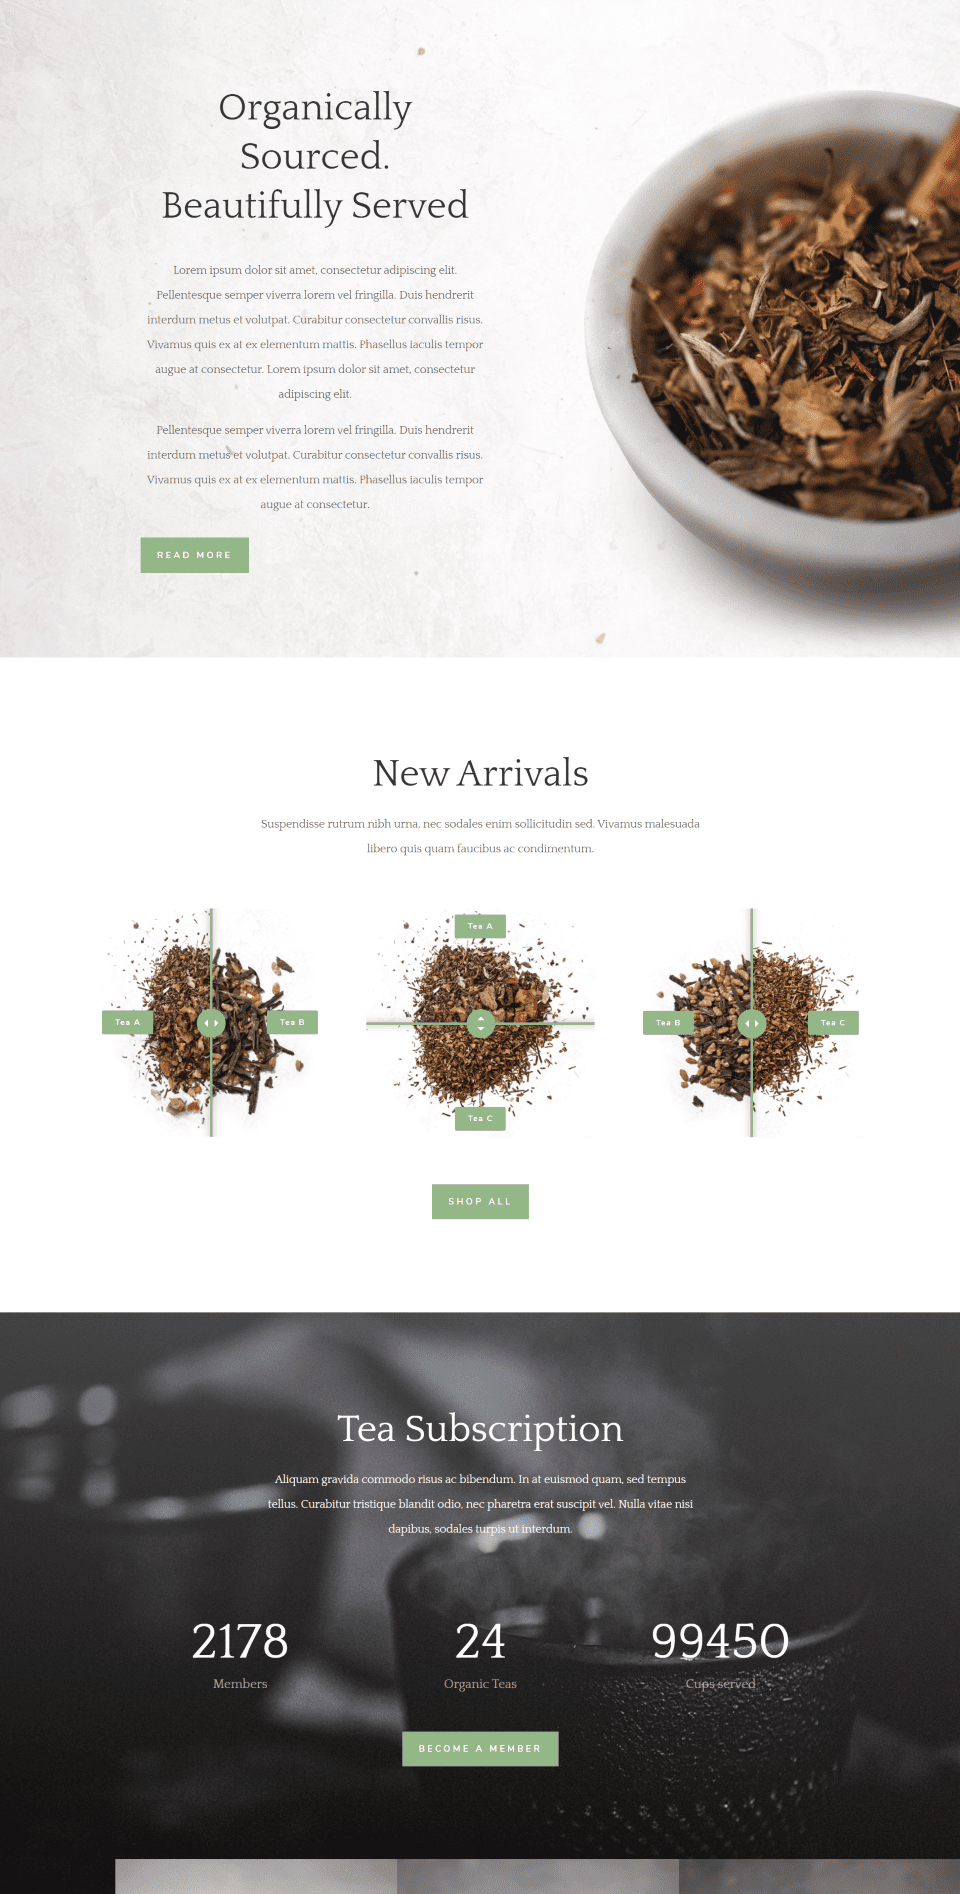
Here’s how they look within the layout. This is excellent for comparing the visual details of multiple products, multiple locations, multiple colors, for products that have multiple options to show with and without the options, etc.
Comparing Locations
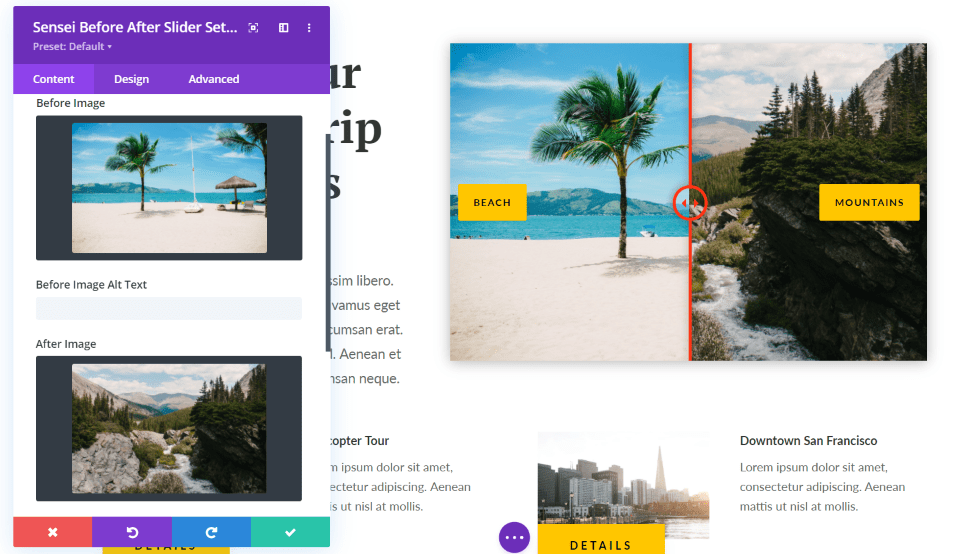
In this example, I’m using the slider to compare two locations. They don’t have to be similar, just something to compare for one reason or another. I’ve added colors from the layout for the slider and labels, as well as the fonts for the labels. I’ve also added a box shadow to help it stand out from the rest of the images.
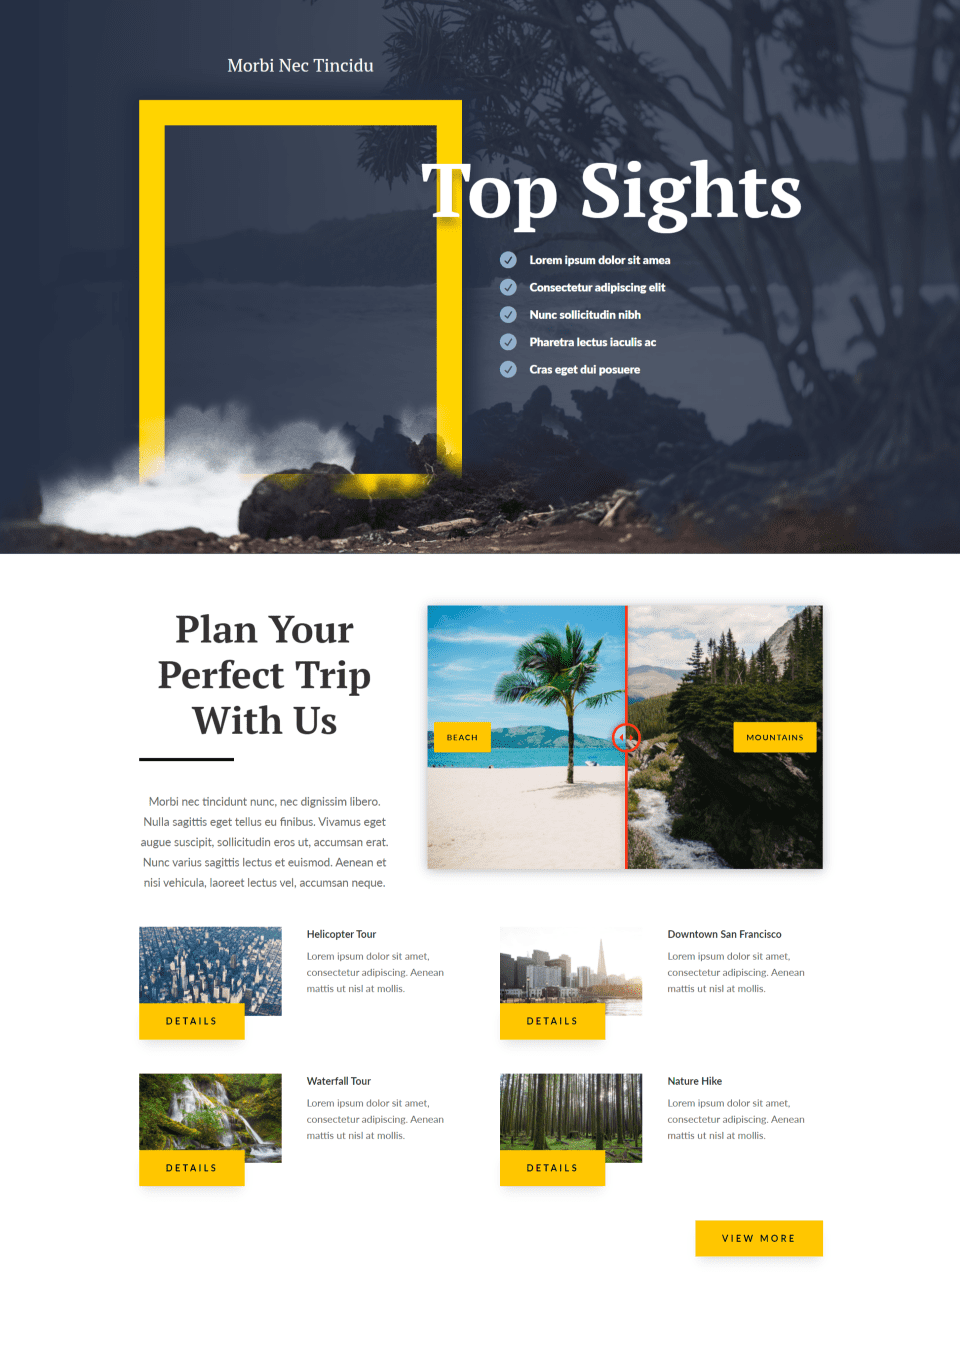
Here’s how it looks within the Siteseeing layout pack using colors from the layout. This is a good example of how the two images don’t have to be a before and after of the same thing or even similar things. This is a good way to show wedding venues, vacation spots, etc., to help buyers choose between them (or make the selection more difficult, but I don’t recommend that as a goal).
Purchase
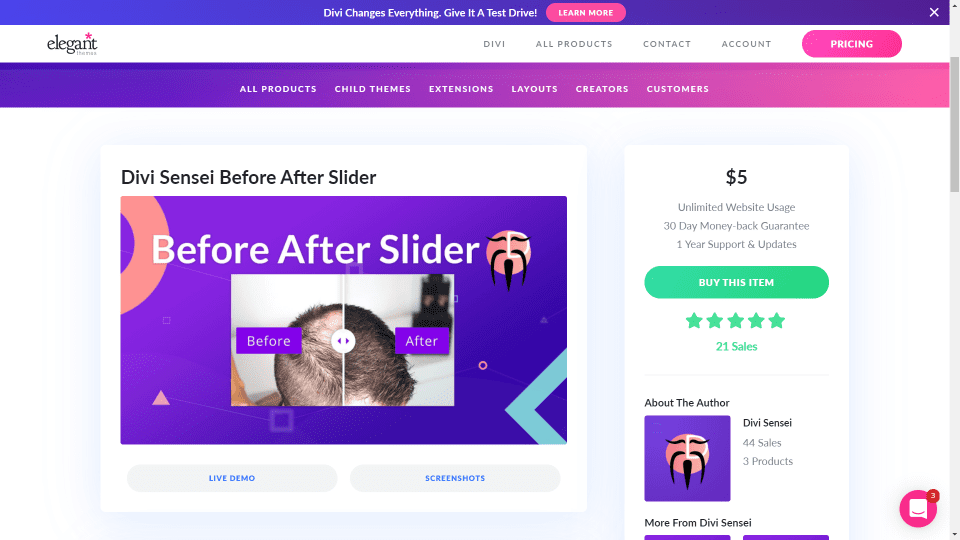
You can purchase Divi Sensei Before and After Slider in the Divi Marketplace. The cost is $5 for unlimited website usage and 1 year of support and updates. This price includes a 30-day money-back guarantee.
Ending Thoughts
The Divi Sensei Before and After Slider is a simple module. For example, the slider doesn’t have width controls and the labels don’t include borders, box shadows, gradients, etc., but the settings it does have made it easy to fit the styling of every layout I added it to. For the price, and for what it can do, the level of settings makes sense and I was able to get the designs I wanted with ease.
All of the controls were intuitive and I never thought about needing instructions. You can even use different alt tags for the images to help improve SEO. If you’re interested in a before and after slider to use with your Divi websites, Divi Sensei Before and After Slider is worth a considering.
We want to hear from you. Have you tried Divi Sensei Before and After Slider? Let us know what you think about it in the comments below.
Featured Image via Elvetica / shutterstock.com


I have used a Before/After function on a contractor’s website to demonstrate what a project looked like before they started and then the finished results. It’s a fantastic way to clearly show a dramatic difference in appearance.
Great plugin! It may definitely come in handy if I need to compare 2 images.
simple functiona, what have all builder in market
but you try sell it) dam, why?)
P.S. in wordpress market you can download free plugin for before\after slider