How To Create One-Page Websites With Divi
Divi makes it easy to create beautiful one-page websites.
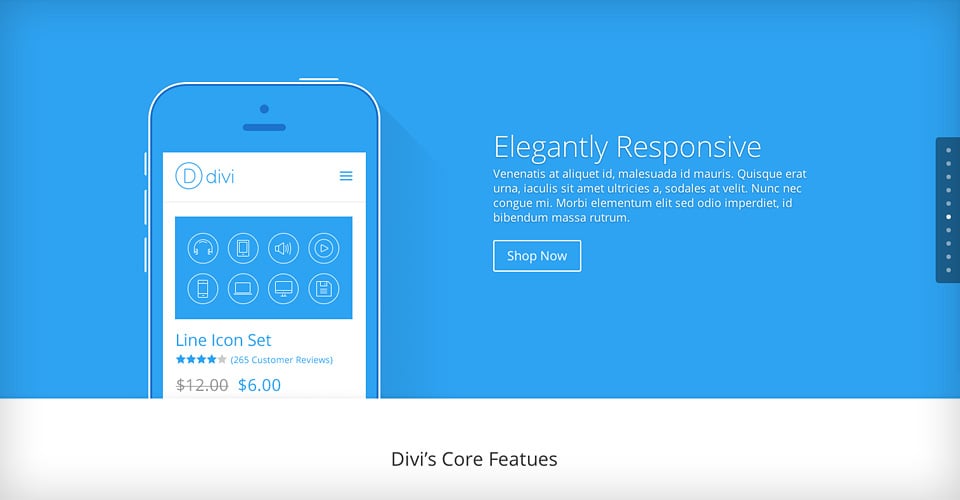
Divi’s Single Page Sidebar Navigation Makes It Easy
When you create a new page, you can easily enable Divi’s Single Page navigation option, giving your visitors a visual and clickable representation of their progress on the page. You can also use custom anchor links and Section ID’s to create one-page menus for the complete One-Page package.
View A Live Demo Of This Feature
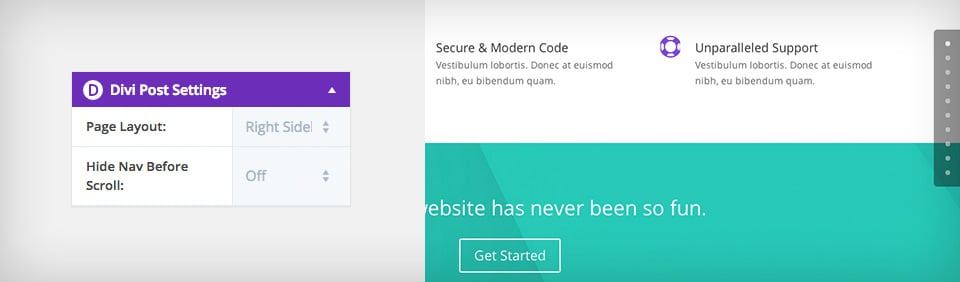
Enabling Single Page Navigation
Enabling Single Page Navigation is easy, and it can be done on a per-page basis. Whenever you create or edit a page, look for the “Divi Settings” box to the right of your text editor. Within this box you will see the Dot Navigation option. Select “On” from the dropdown menu, and then save the page. You will now notice that a floating navigation bar has been added to the right side of your page. The Dot Navigation bar automatically adds a clickable link to each section on your page. When you add a new section, a new circle link (or dot) will be added automatically to your floating side nav. Users can click the dots to skip to different sections on the page. It also makes it easier to identify where the visitor is on the page, making long-format pages easier to understand and navigate.
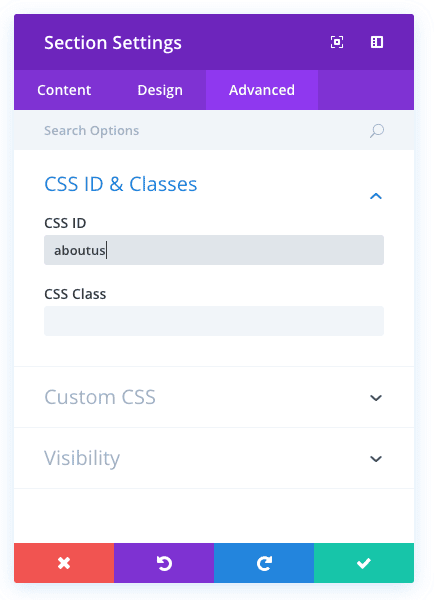
Create Custom Menu Links For One-Page Websites
In addition to side navigation, it’s also possible to transform your main header navigation into one-page navigation. If you are creating a one-page website, then you don’t want your menu links to point to separate pages. Instead, these links can point to relevant sections on the same page. When clicked, they can take you to the relevant section on the page using a smooth scrolling effect. This can be accomplished using custom ID’s. Any element on the page that is built with the builder can be assigned an ID. You can assign an ID to a section by clicking on the section settings icon, and looking for the “CSS ID” setting. Once an ID has been assigned, you can then link to it from the navigation menu. For example, let’s say you have a section called “About Us” and you want it to link to the part of your page that describes your company. Edit the section that contains your About Us content, and enter “aboutus” into the “CSS ID” field and click “Save.” Now that an ID has been assigned, we can point a link to it.
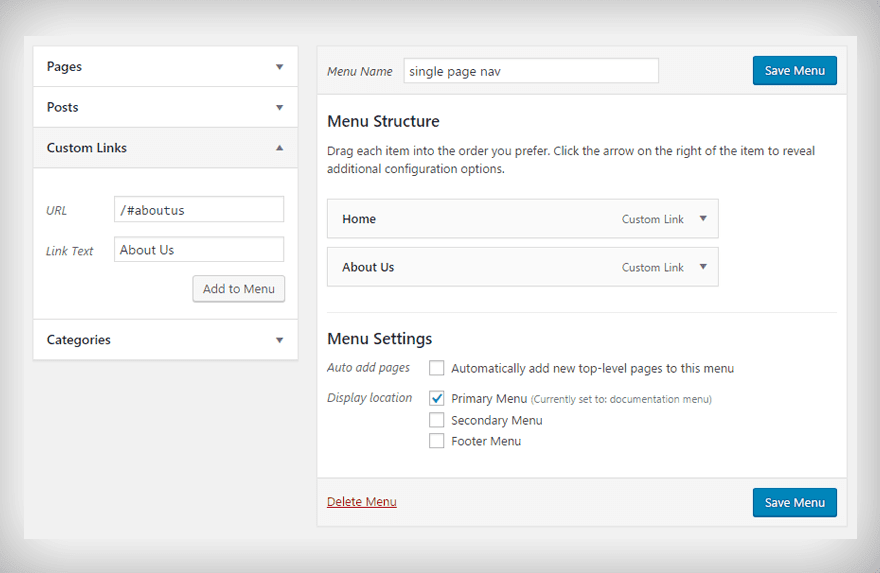
Pointing A Menu Link To An ID
To create a custom menu link, you will need to add a new link to your menu using the “Appearances > Menus” tab in your WordPress Dashboard. If you are unfamiliar with the Menus system, check out this great tutorial. Once you have created a new menu and assigned it to the Main Navigation location, you can start adding links to your header. In this case, we will be creating a custom link by clicking the “Link” tab on the left hand side of the page. Once clicked, you will be given two fields (URL and Link Text). For the “Link Text,” simply enter the text that you would like to show up in your menu (For example, “About Us”). For the URL, we need to link to the ID that we assigned to our section earlier. In this case, we added the id “aboutus” but you can add any ID name that you like. Since we used the ID “aboutus,” we can link to that ID by creating a URL pointing to “/#aboutus”. You can use this same method to create as many custom links as you want. Simply enter a URL of “/#” followed by the ID that you want to target.