
")
Divi and its new WooCommerce Modules update has been long-awaited and now that it’s here, the possibilities to customize product pages have become endless. Today, we’ll show you how to use Divi’s built-in options and the new WooCommerce Modules to create a customized minimal product page that you can reuse for all your product pages. You’ll be able to download the JSON file for free as well!
Let’s get to it.
- 1 Preview
- 2 Download The Minimal Product Page Layout for FREE
- 3 Download For Free
- 4 You have successfully subscribed. Please check your email address to confirm your subscription and get access to free weekly Divi layout packs!
- 5 1. Add/Open WooCommerce Product
-
6
2. Create Minimal Product Page Using Divi’s Visual Builder
- 6.1 Add New Section
- 6.2 Add Row #1
- 6.3 Add Woo Breadcrumb Module to Column
- 6.4 Add Row #2
- 6.5 Column 1 Settings
- 6.6 Add Woo Image Module to Column 1
- 6.7 Add Text Module to Column 2
- 6.8 Add Woo Title Module to Column 2
- 6.9 Add Woo Description Module to Column 2
- 6.10 Add Woo Price Module to Column 2
- 6.11 Add Woo Add to Cart Module to Column 2
- 6.12 Add Row #3
- 6.13 Column 1 Settings
- 6.14 Add Text Module to Column 1
- 6.15 Add Woo Description Module to Column 1
- 6.16 Add Woo Additional Info Module to Column 1
- 6.17 Add Image Module to Column 1
- 6.18 Add Image Module to Column 2
- 7 Preview
- 8 Final Thoughts
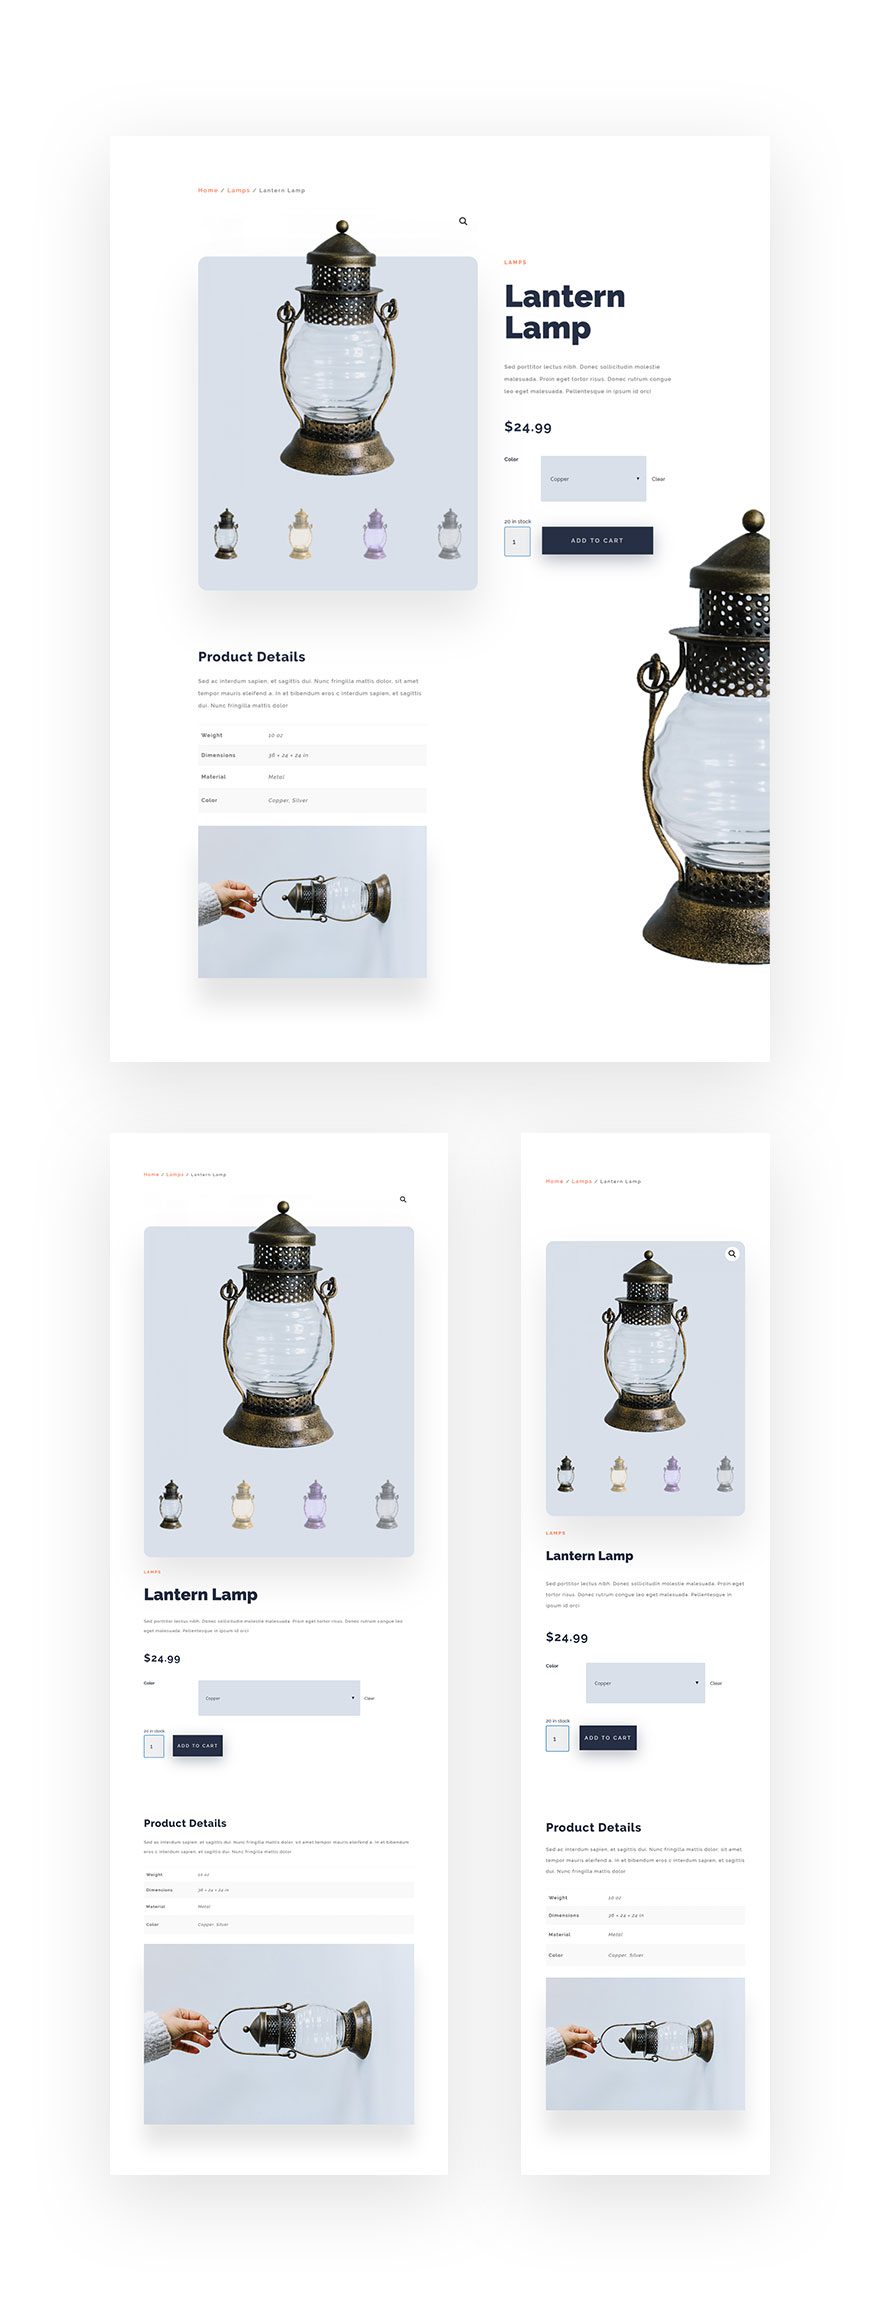
Preview
Before we dive into the tutorial, let’s take a quick look at the outcome across different screen sizes.
Download The Minimal Product Page Layout for FREE
To lay your hands on the free minimal product page layout, you will first need to download it using the button below. To gain access to the download you will need to subscribe to our newsletter by using the form below. As a new subscriber, you will receive even more Divi goodness and a free Divi Layout pack every Monday! If you’re already on the list, simply enter your email address below and click download. You will not be “resubscribed” or receive extra emails.

Subscribe To Our Youtube Channel
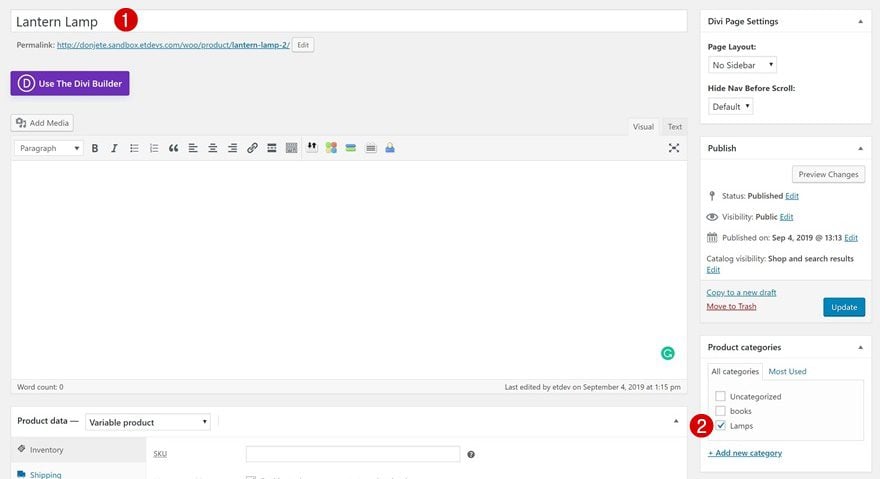
1. Add/Open WooCommerce Product
Product Details
Open an existing product page or create a new one. In the steps below, you’ll see all the info that is needed to obtain the exact same outcome as shown in the preview of this post. If you’re using different product info, don’t worry. You’ll still be able to follow the tutorial, but the outcome will be slightly different depending on the product info you’re sharing.
Product Title & Category
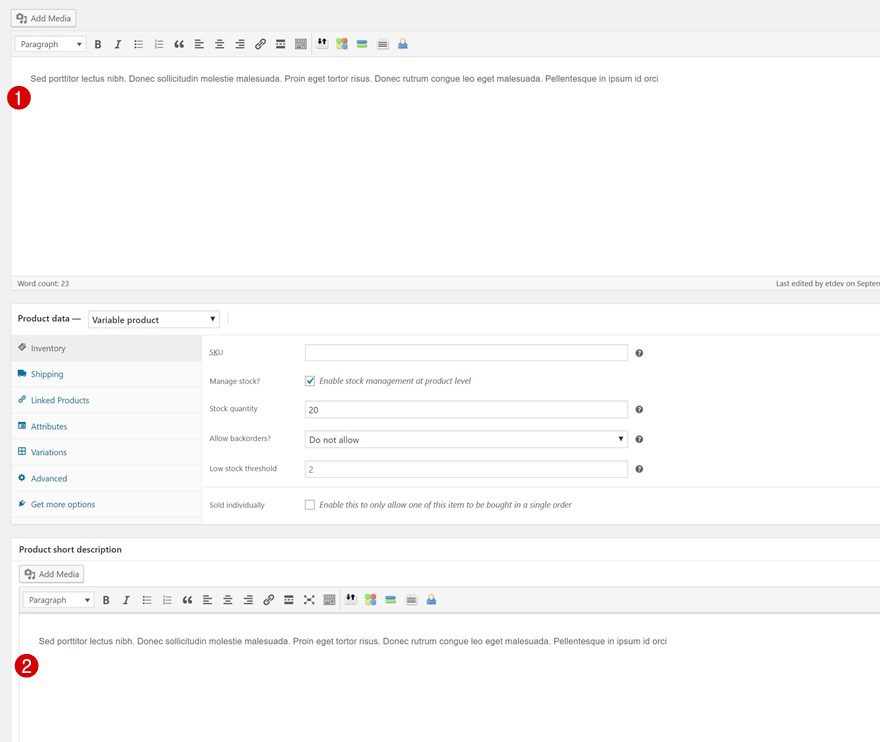
Product Short & Long Description
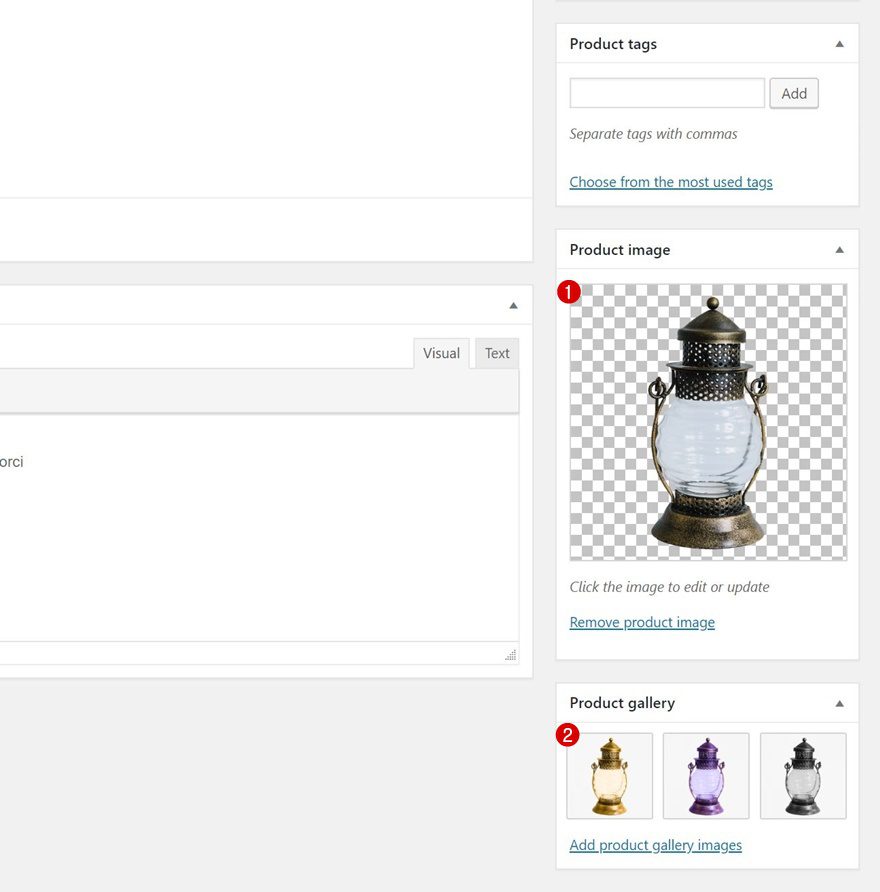
Product Image & Gallery
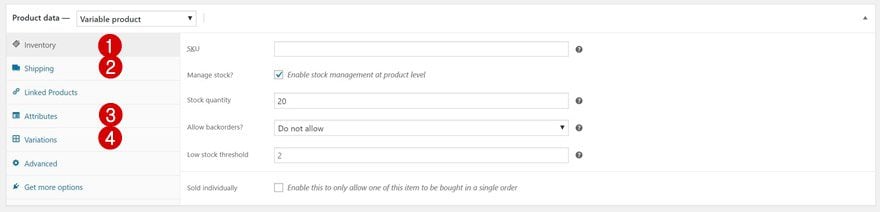
Product Data
- Product Data: Variable Product
- Inventory
- Shipping
- Attributes
- Variations
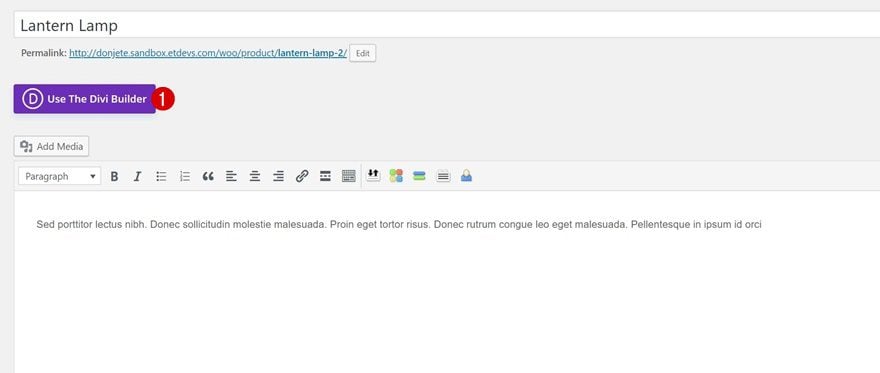
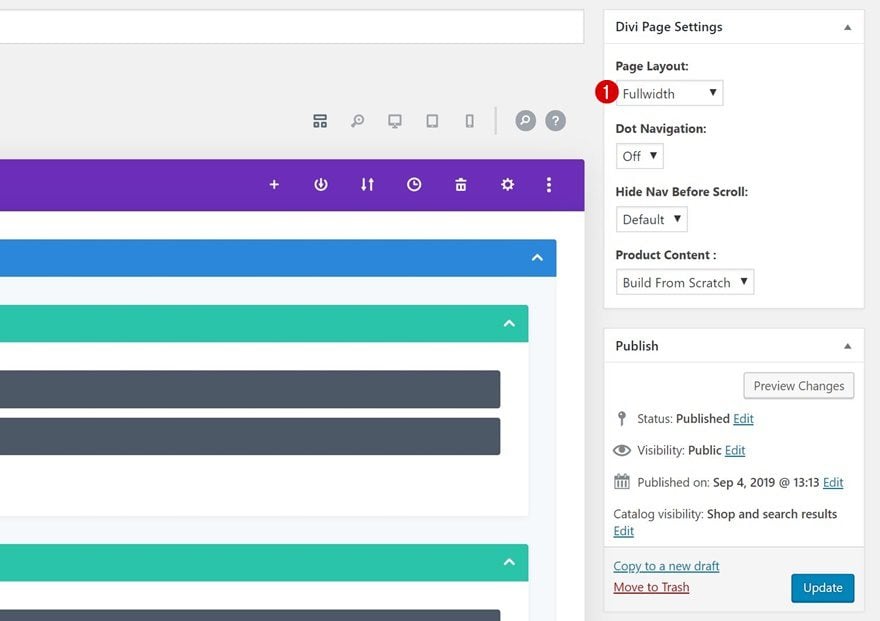
Enable Divi Builder & Modify Product Page Settings
Once you’ve added the product details, you can enable the Divi Builder and change the page layout to ‘Fullwidth’ in the Divi page settings.
Switch Over to Visual Builder
Once that’s done, switch over to Visual Builder.
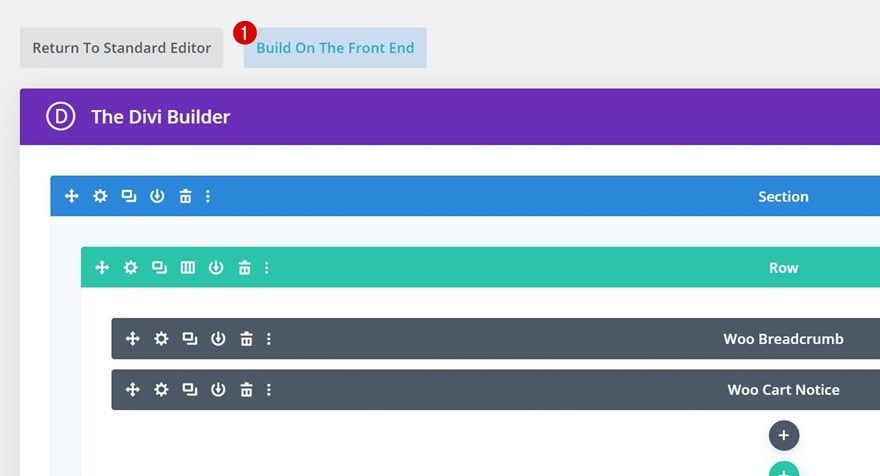
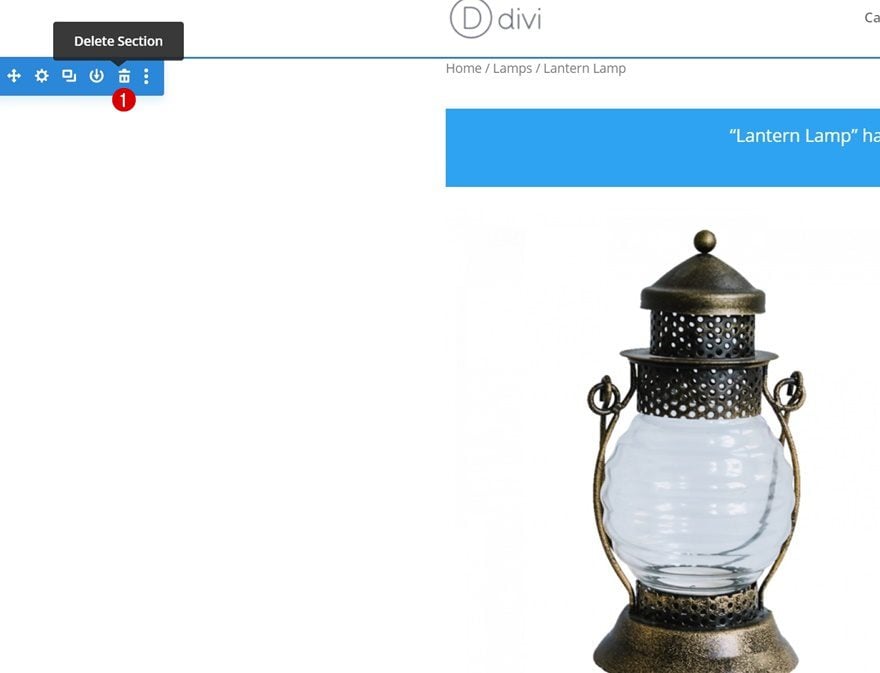
Remove Original Product Section on Page
Inside the Visual Builder, you’ll see the original WooCommerce product info, placed inside one single section. In the upcoming steps of this post, we’ll create our design from scratch so feel free to remove the entire section.
2. Create Minimal Product Page Using Divi’s Visual Builder
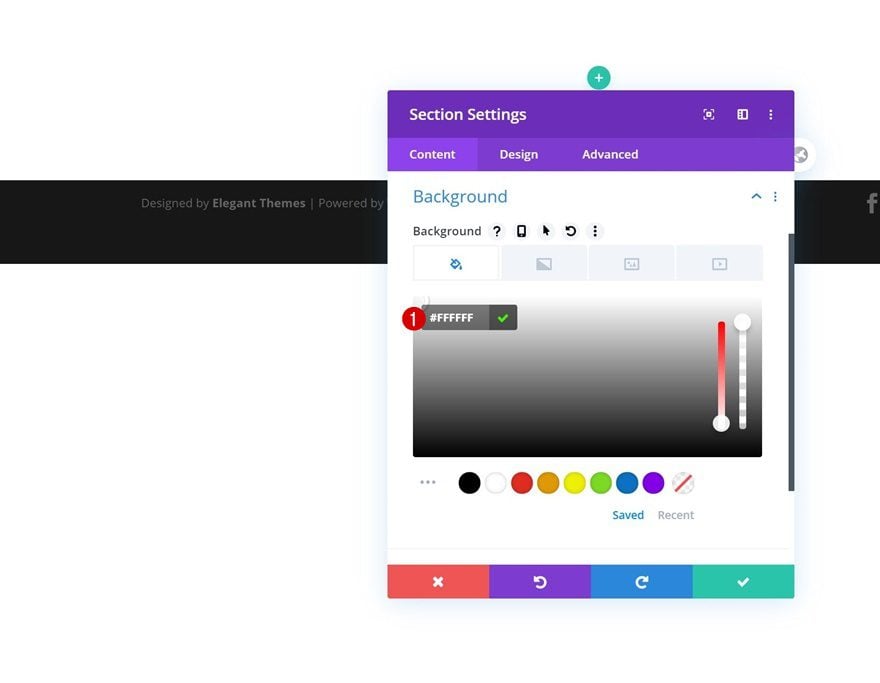
Add New Section
Background Color
Continue by adding a new section and changing the section’s background color.
- Background Color: #FFFFFF
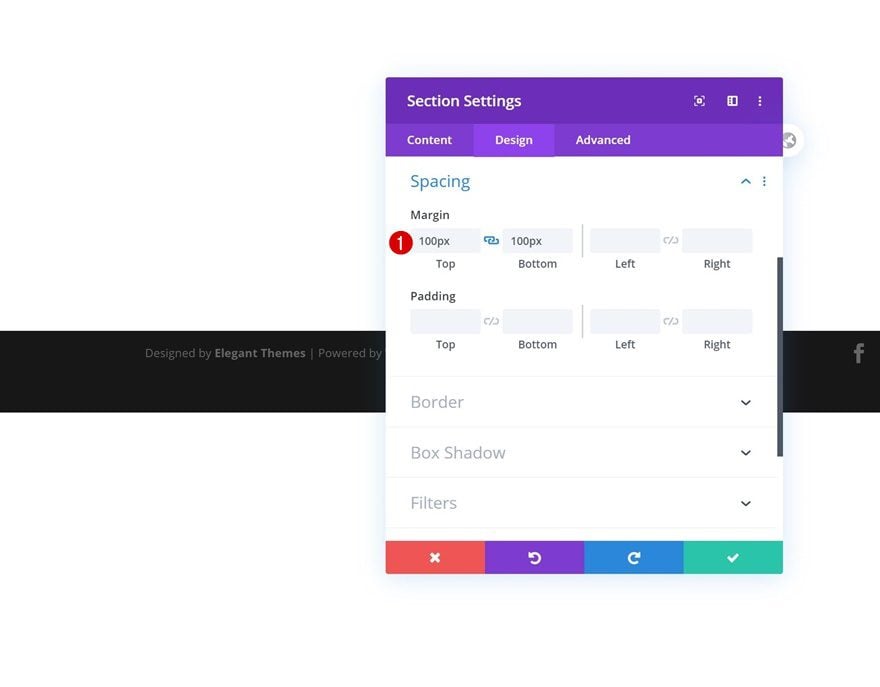
Spacing
Add some custom margin values too.
- Top Margin: 100px
- Bottom Margin: 100px
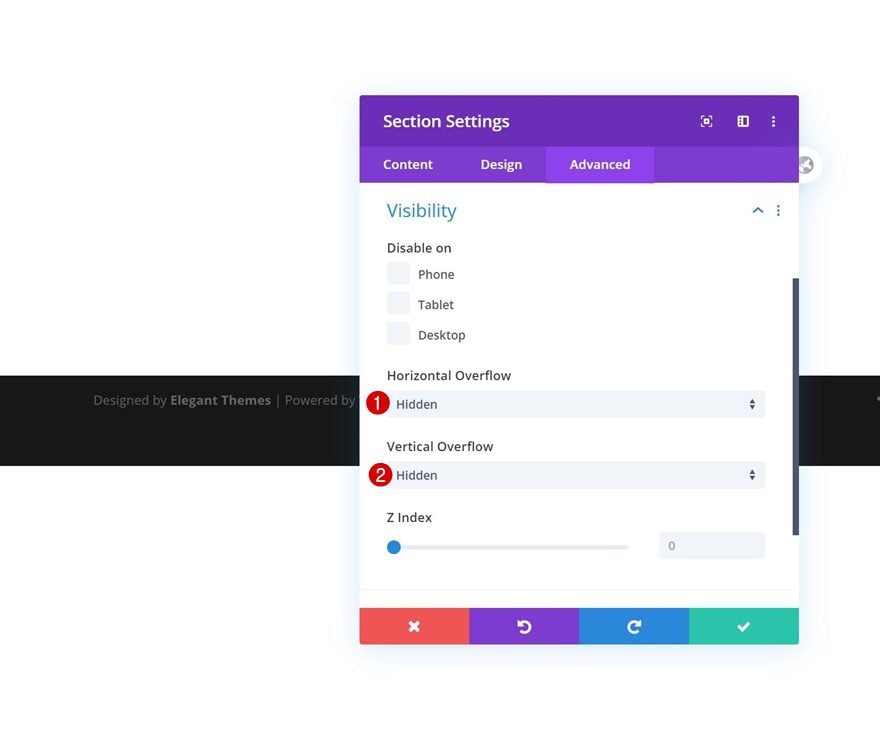
Overflows
To make sure nothing exceeds the section container, we’ll hide the overflows in the visibility settings.
- Horizontal Overflow: Hidden
- Vertical Overflow: Hidden
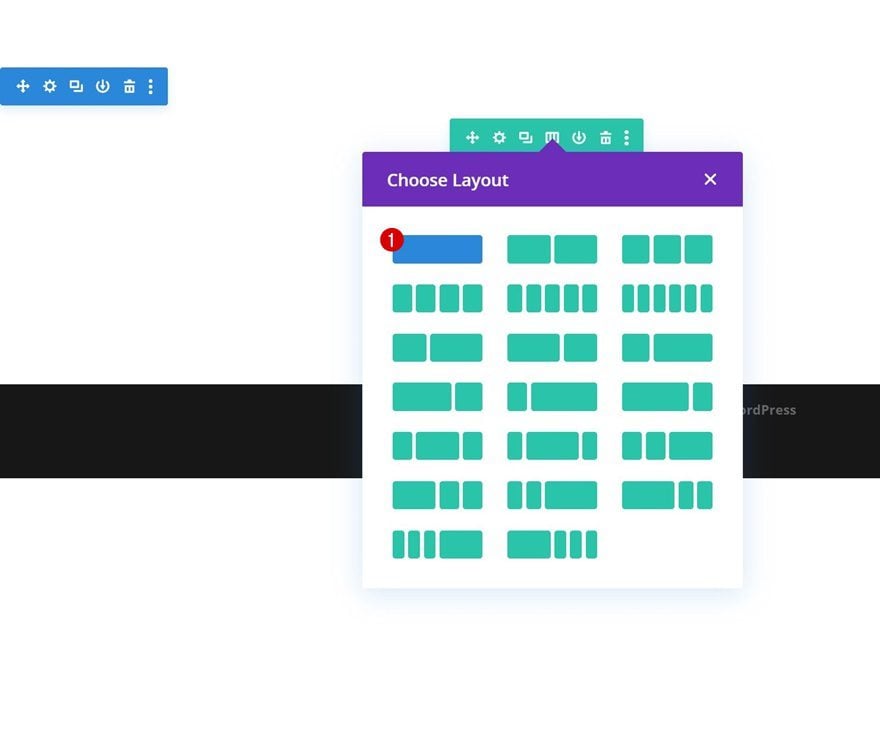
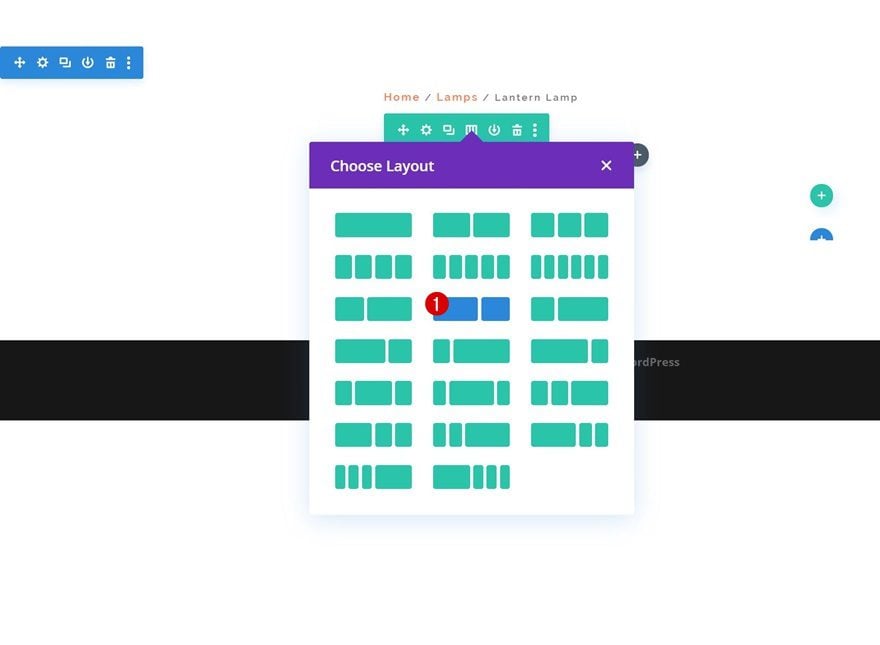
Add Row #1
Column Structure
Add the first row to your section using the following column structure:
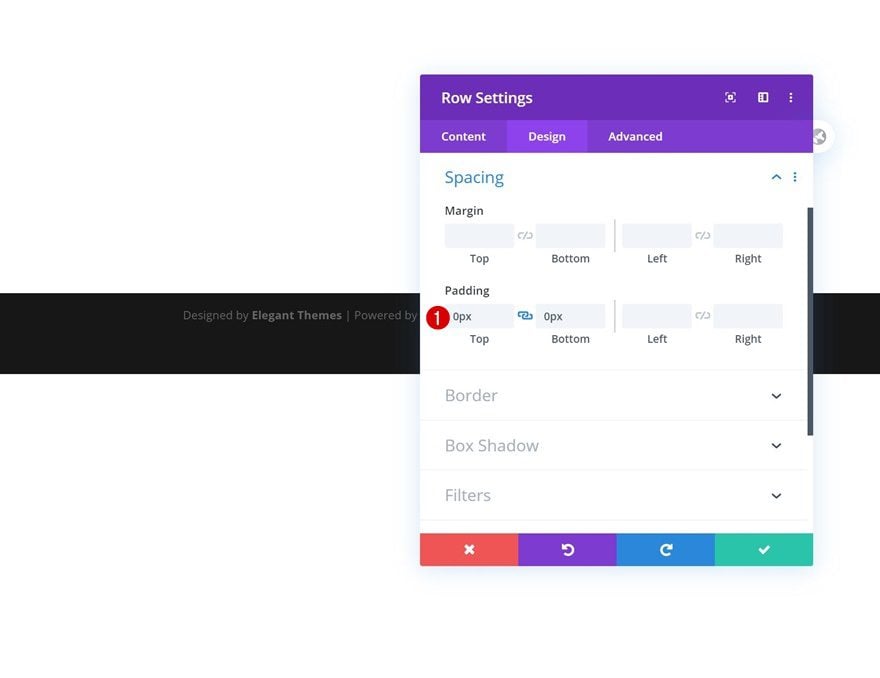
Spacing
Without adding any modules yet, open the row settings and remove all default top and bottom padding.
- Top Padding: 0px
- Bottom Padding: 0px
Dynamic Content
The only module we need in this row is the Woo Breadcrumb Module. Make sure the module is linked to the product you’re working on.
- Product: This Product

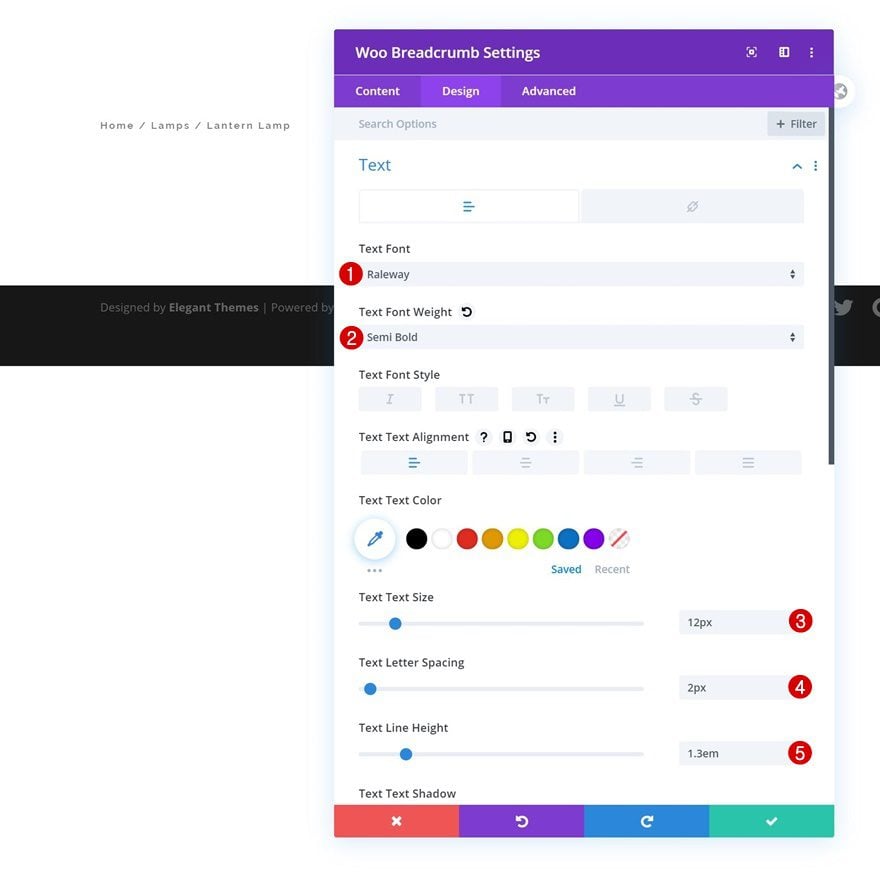
Text Settings
Move on to the design tab and style the text settings accordingly:
- Text Font: Raleway
- Text Font Weight: Semi Bold
- Text Size: 12px
- Text Letter Spacing: 2px
- Text Line Height: 1.3em
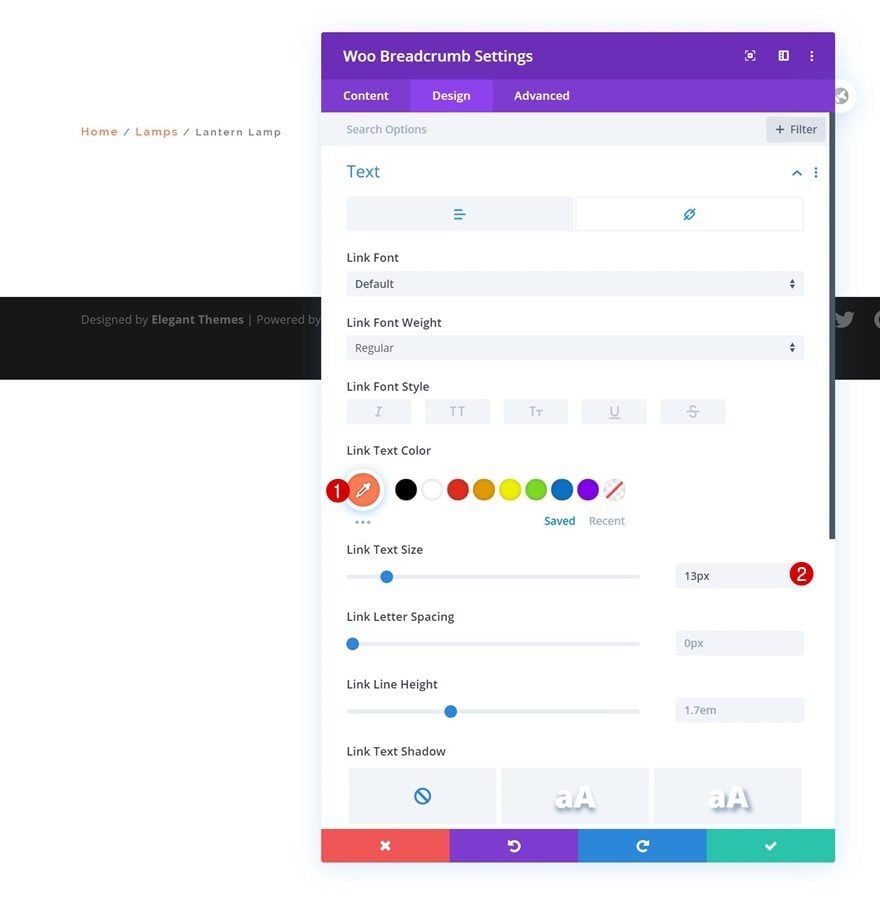
Link Text Settings
Change a few settings in the link text settings next.
- Link Text Color: #fc7b52
- Link Text Size: 13px
Add Row #2
Column Structure
Continue by adding the second row using the following column structure:
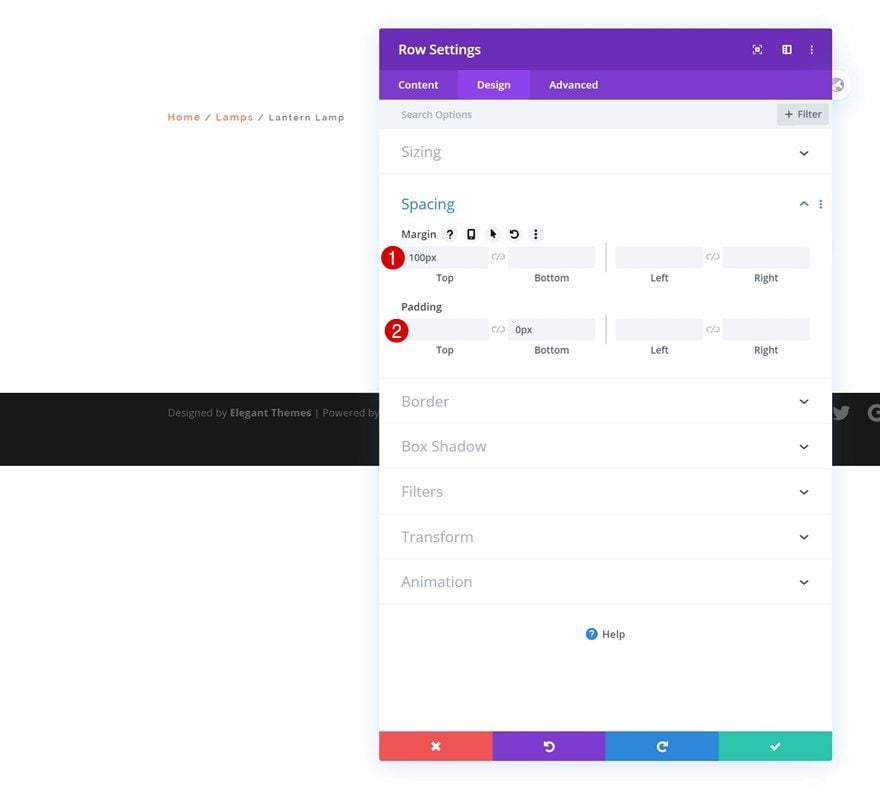
Spacing
Without adding any modules yet, open the row settings and modify the margin and padding values accordingly:
- Top Margin: 100px
- Bottom Padding: 0px
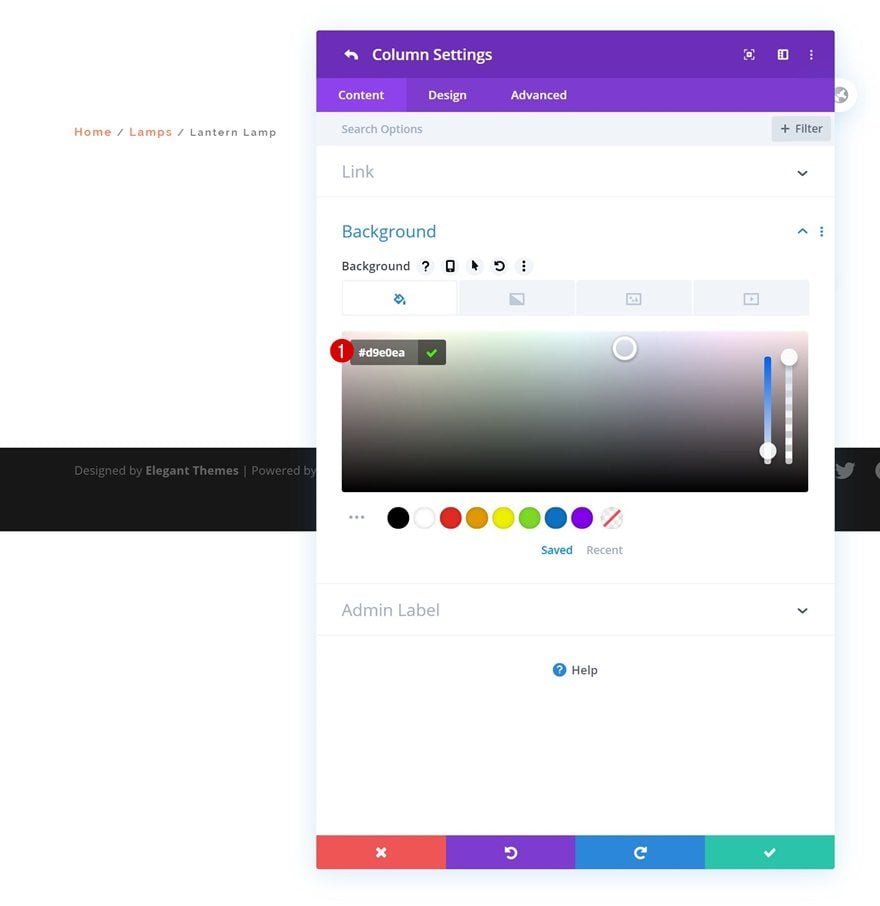
Column 1 Settings
Background Color
Open the column 1 settings next and add a background color.
- Background Color: #d9e0ea
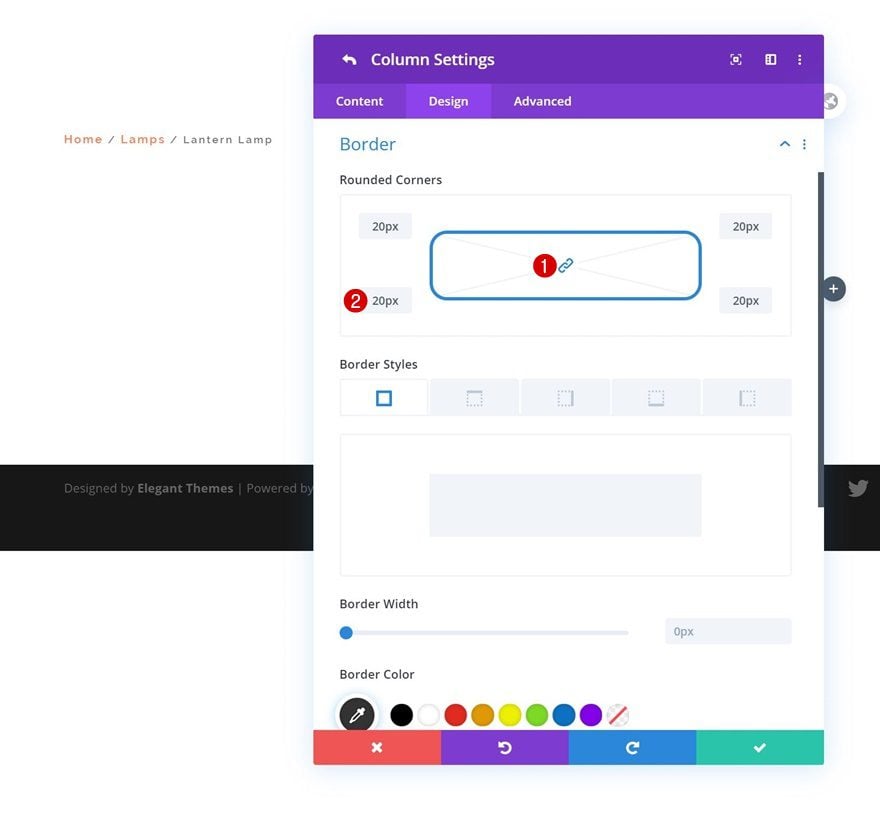
Border
We’re adding ’20px’ border radius to the column’s corners as well.
Box Shadow
Along with a subtle box shadow.
- Box Shadow Vertical Position: 60px
- Box Shadow Blur Strength: 100px
- Shadow Color: rgba(0,0,0,0.1)
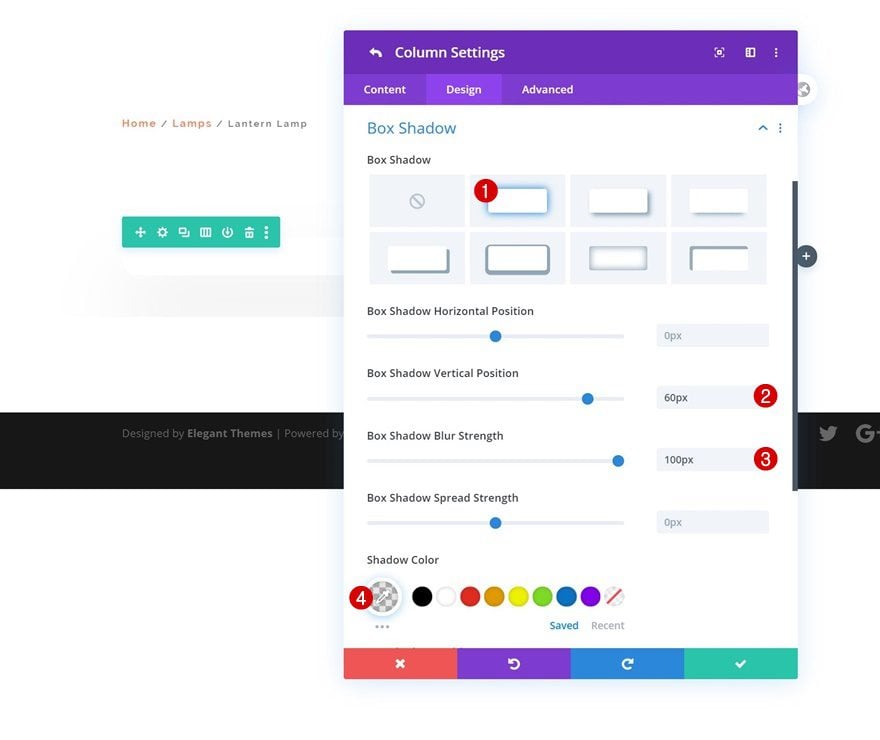
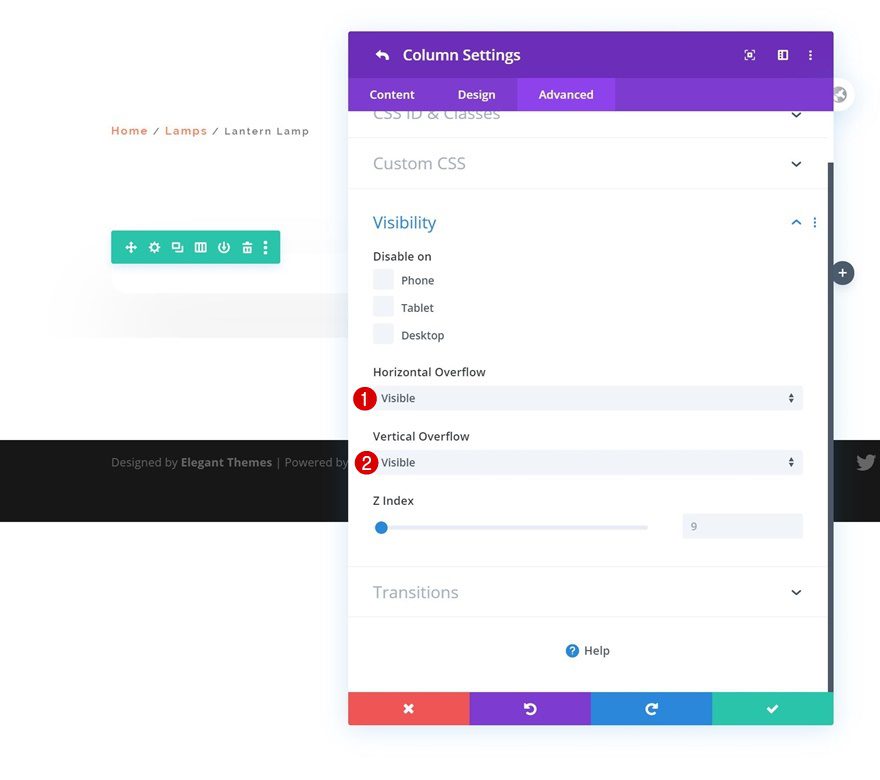
Overflows
Last but not least, make sure the column’s overflows are set to visible.
- Horizontal Overflow: Visible
- Vertical Overflow: Visible
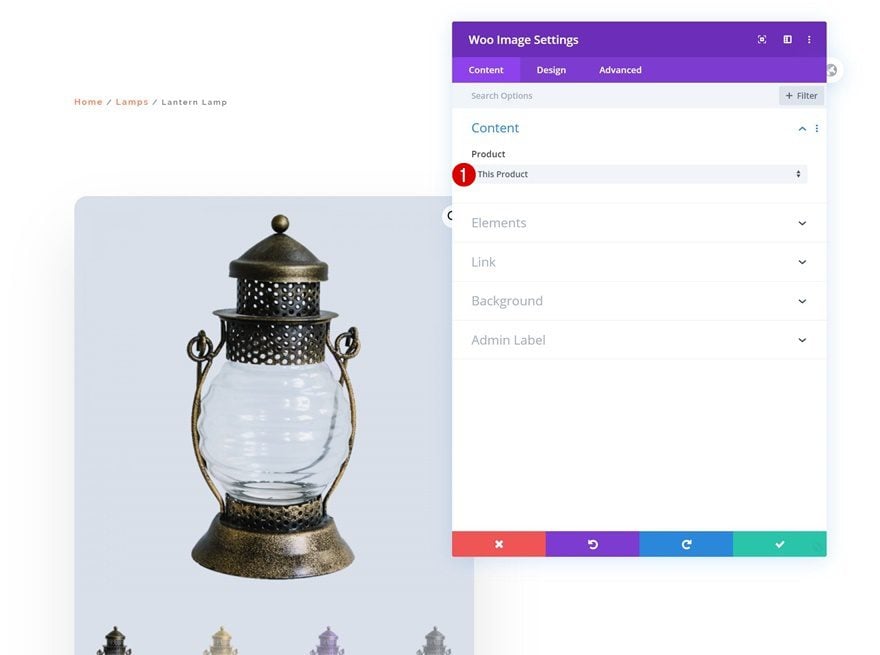
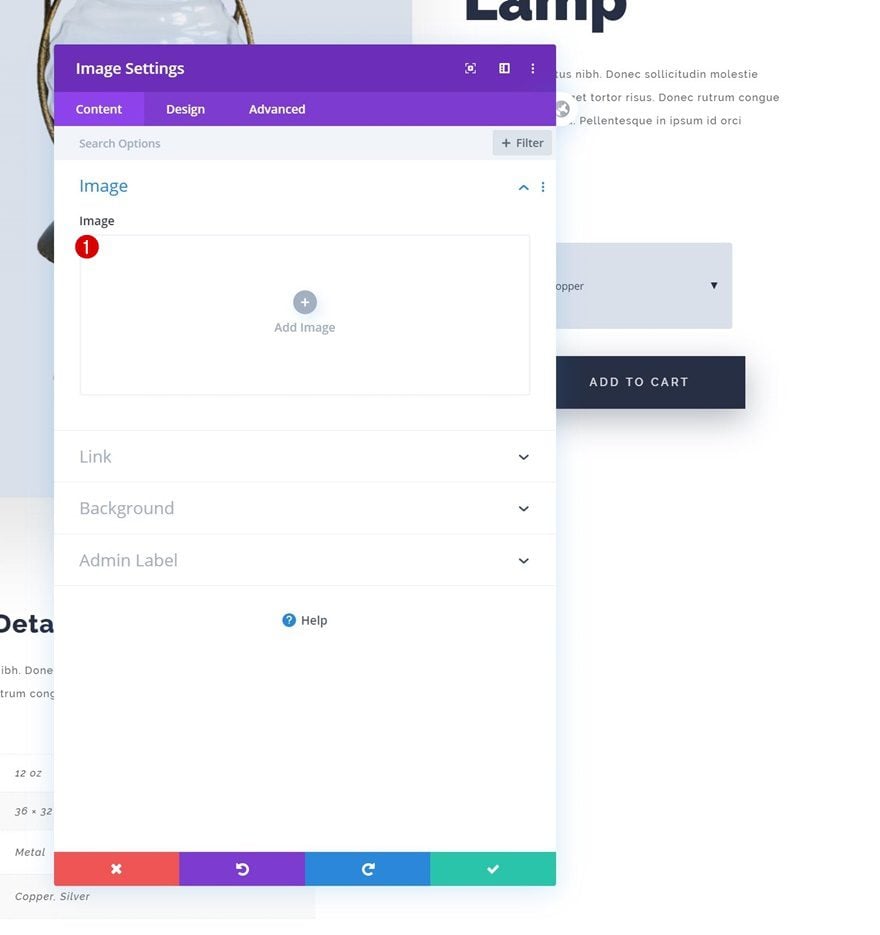
Add Woo Image Module to Column 1
Dynamic Content
Time to start adding modules! The first and only module we need in column 1 is the Woo Image Module.
- Product: This Product
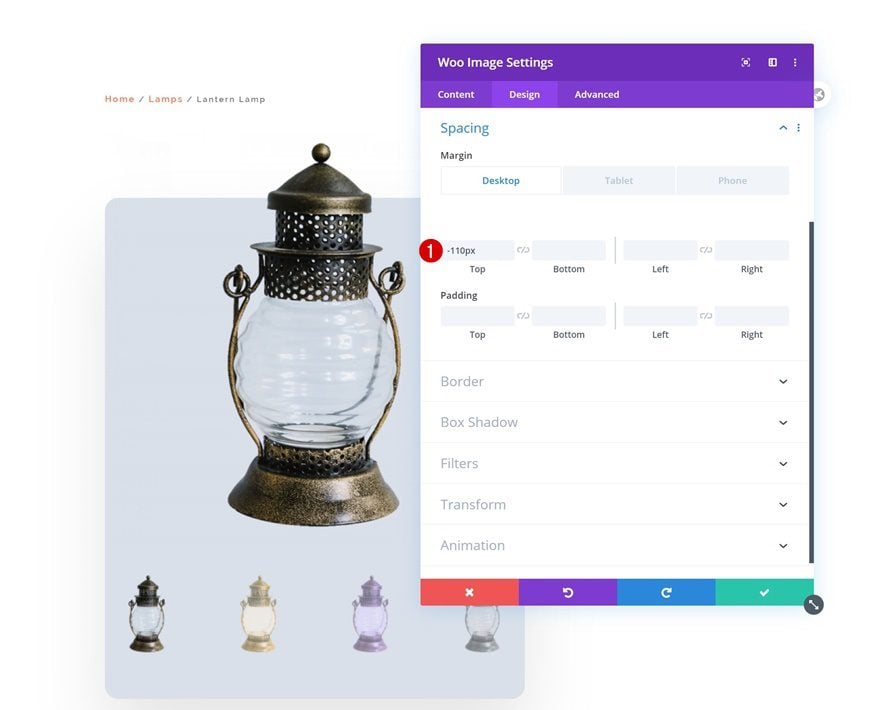
Spacing
Create some top overlap by adding negative top margin to the module’s spacing settings.
- Top Margin: -110px (Desktop & Tablet), 0px (Phone)
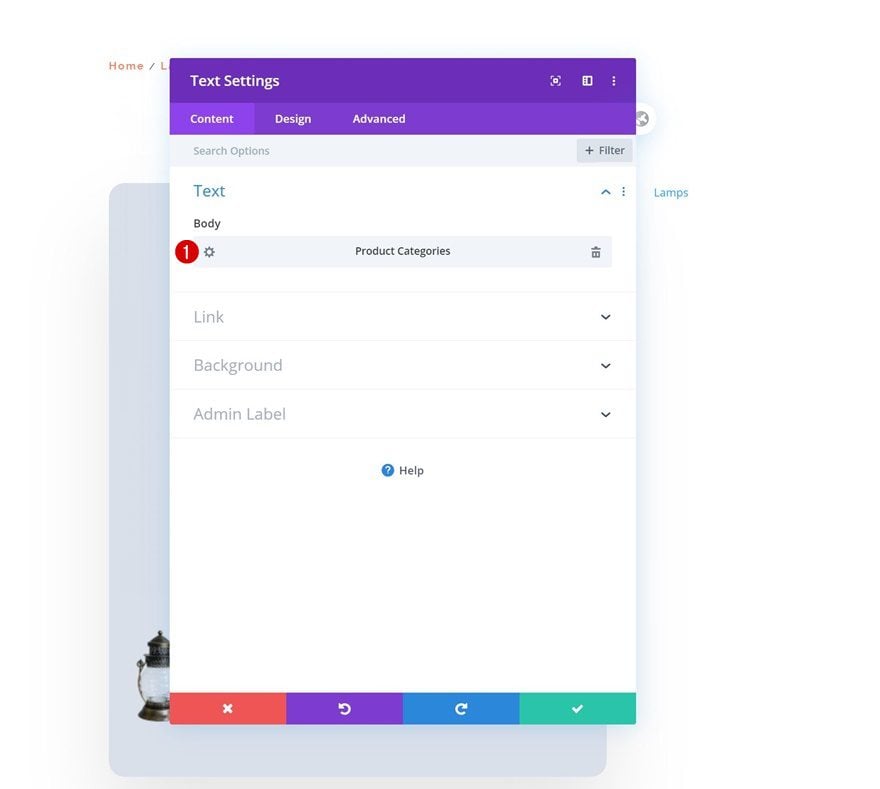
Add Text Module to Column 2
Dynamic Content
In the second column, the first module we need is a regular Text Module. Make sure you connect the content box to the product categories.
- Body: Product Categories
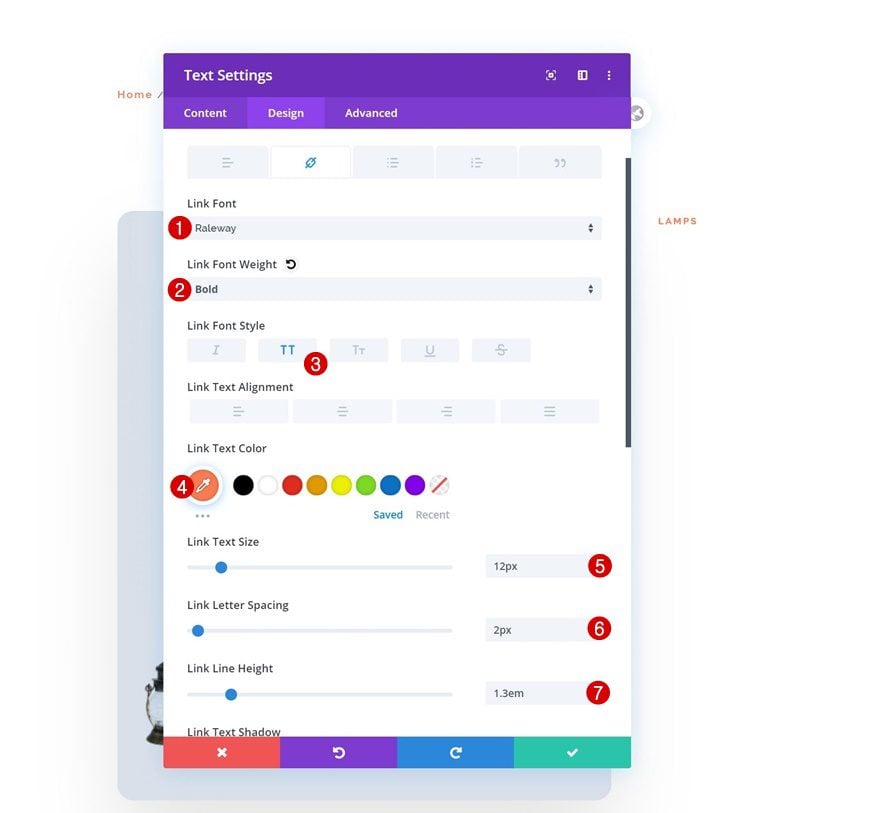
Link Text Settings
Move on to the Text Module’s design tab and change the link text settings accordingly:
- Link Font: Raleway
- Link Font Weight: Bold
- Link Font Style: Uppercase
- Link Text Color: #fc7b52
- Link Text Size: 12px
- Link Letter Spacing: 2px
- Link Line Height: 1.3em
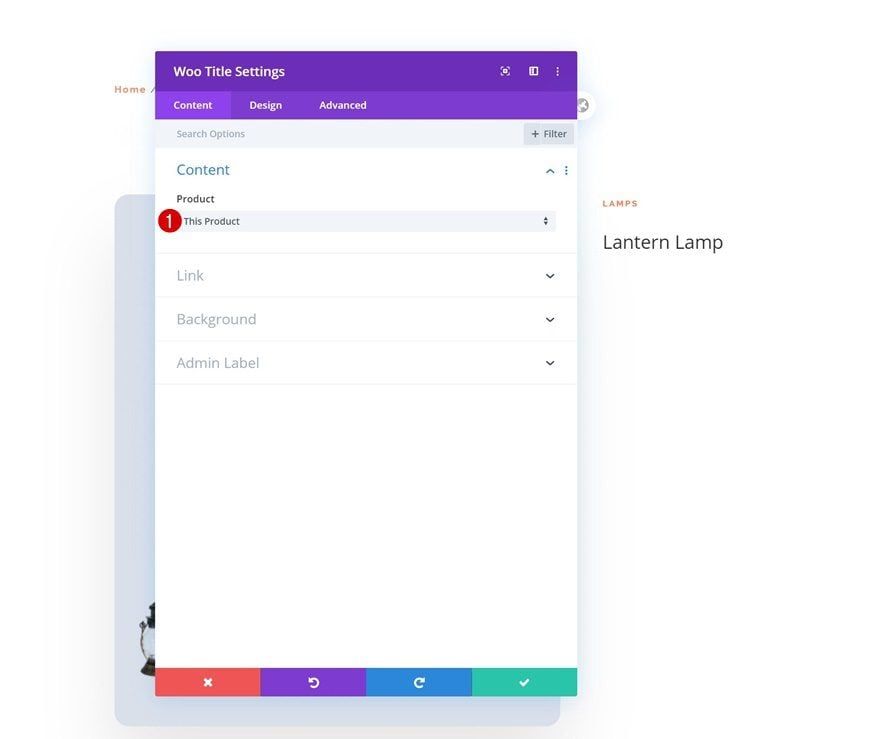
Add Woo Title Module to Column 2
Dynamic Content
Add the Woo Title Module right below the Text Module.
- Product: This Product
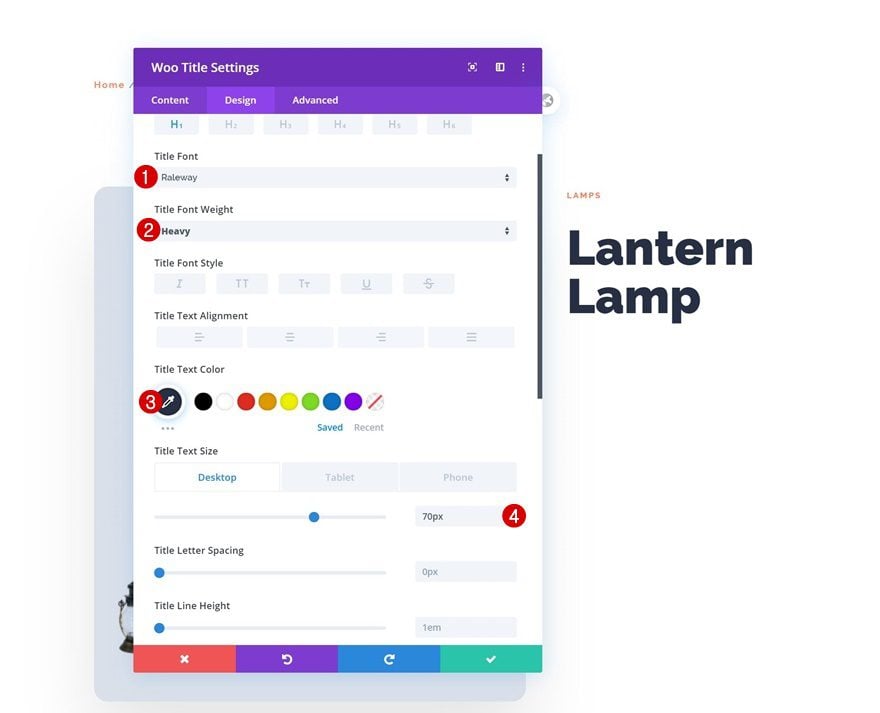
Title Text Settings
Move on to the design tab and change the title text settings as follows:
- Title Font: Raleway
- Title Font Weight: Heavy
- Title Text Color: #262f44
- Title Text Size: 70px (Desktop), 48px (Tablet), 32px (Phone)
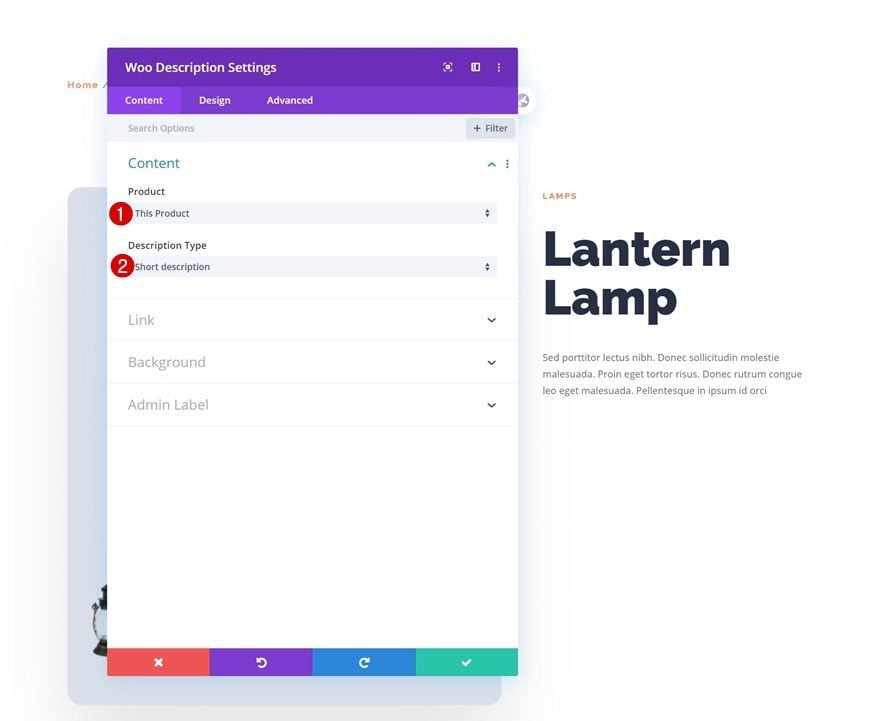
Add Woo Description Module to Column 2
Dynamic Content
Right below the Woo Title Module, we’re adding the Woo Description Module.
- Product: This Product
- Description Type: Short description
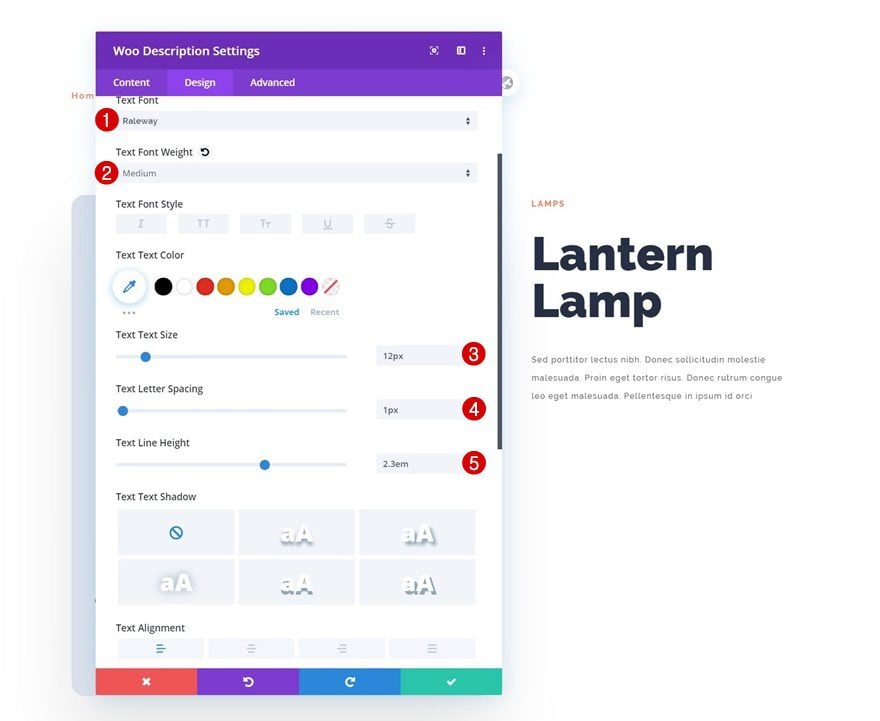
Text Settings
Change the module’s text settings accordingly:
- Text Font: Raleway
- Text Font Weight: Medium
- Text Size: 12px
- Text Letter Spacing: 1px
- Text Line Height: 2.3em
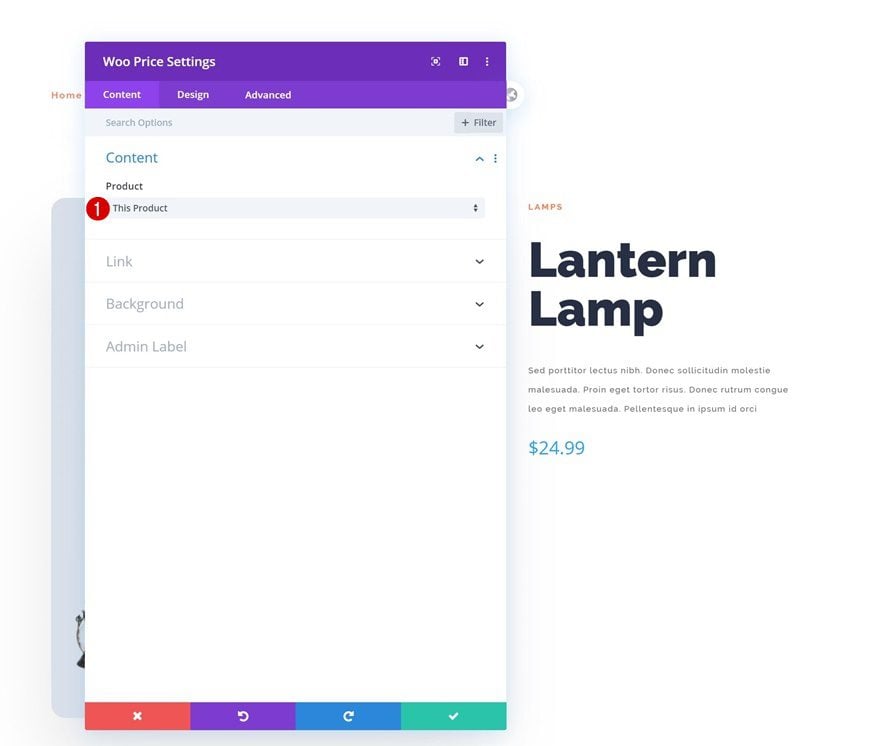
Add Woo Price Module to Column 2
Dynamic Content
On to the next module, which is the Woo Price Module.
- Product: This Product
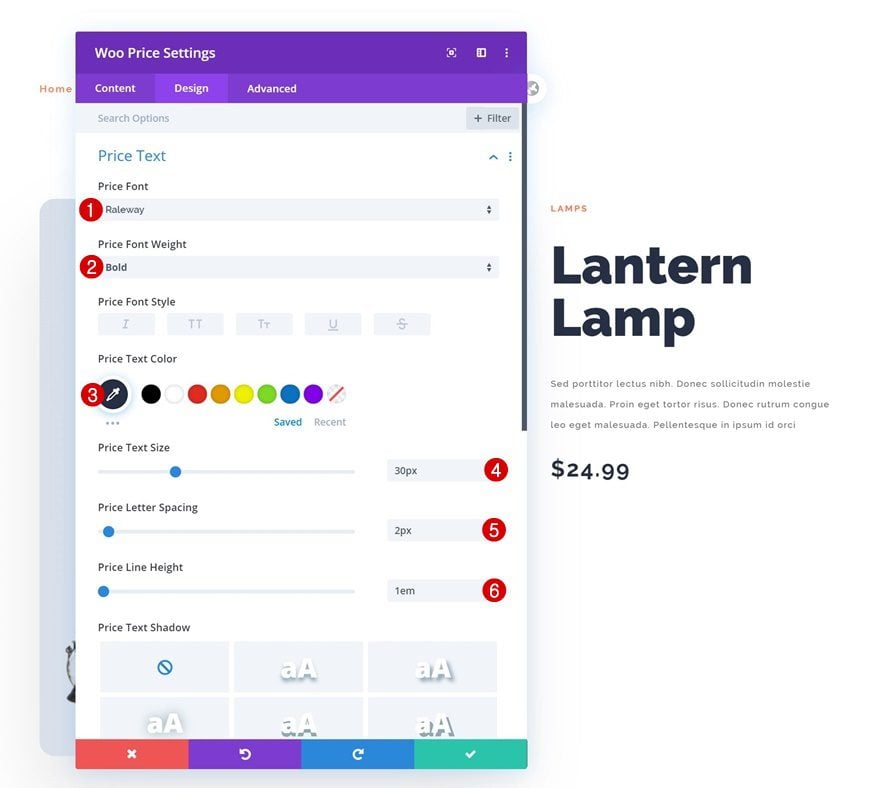
Price Text Settings
Modify the price text settings as follows:
- Price Font: Raleway
- Price Font Weight: Bold
- Price Text Color: #262f44
- Price Text Size: 30px
- Price Letter Spacing: 2px
- Price Line Height: 1em
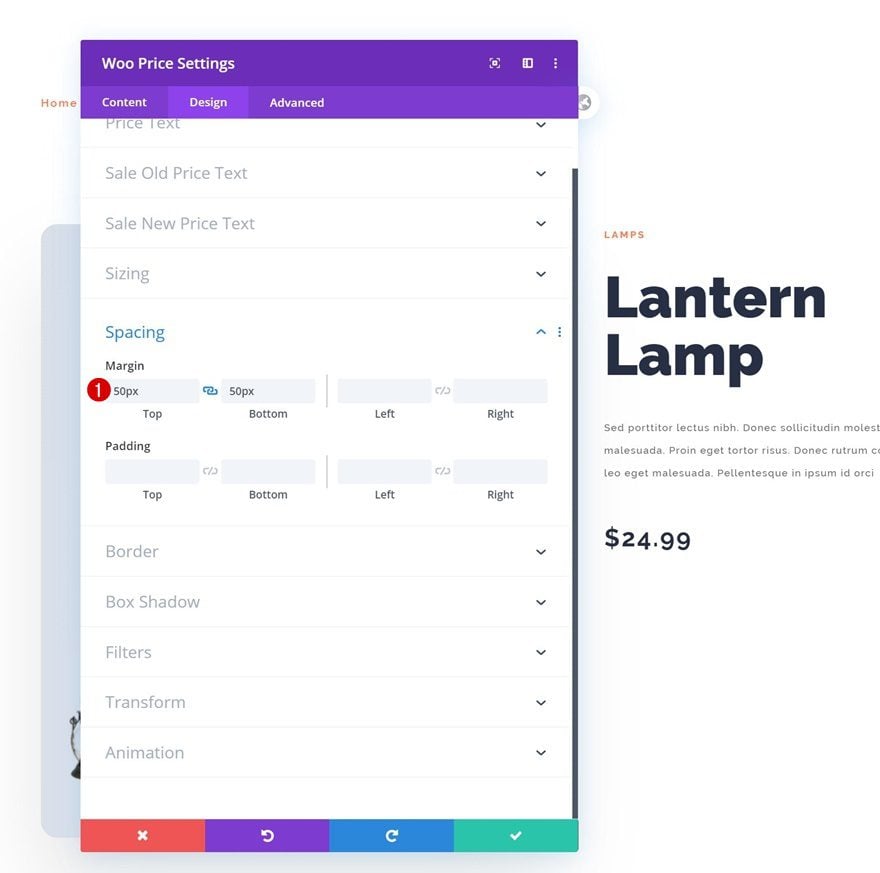
Spacing
And create some space above and below the module by adding some custom margin values to the spacing settings.
- Top Margin: 50px
- Bottom Margin: 50px
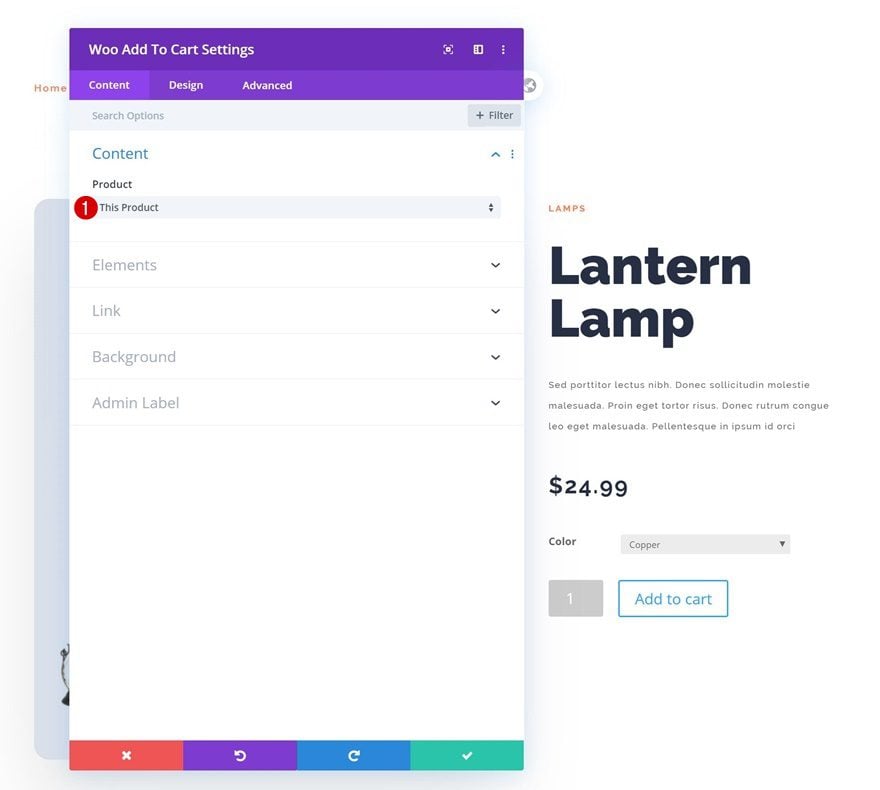
Add Woo Add to Cart Module to Column 2
Dynamic Content
The next and last module we need in column 2 is the Woo Add To Cart Module.
- Product: This Product
Text Settings
Change the module’s text settings.
- Text Font: Raleway
- Text Font Weight: Medium
- Text Color: #262f44
- Text Size: 12px

Fields Settings
Continue by modifying the fields settings.
- Fields Background Color: rgba(38,47,68,0.08)
- Field Text Color: #262f44
- Fields Focus Background Color: rgba(0,0,0,0)
- Fields Focus Text Color: #262f44
- Right Margin: 6px
- Top Padding: 32px
- Bottom Padding: 32px
- Fields Font: Raleway
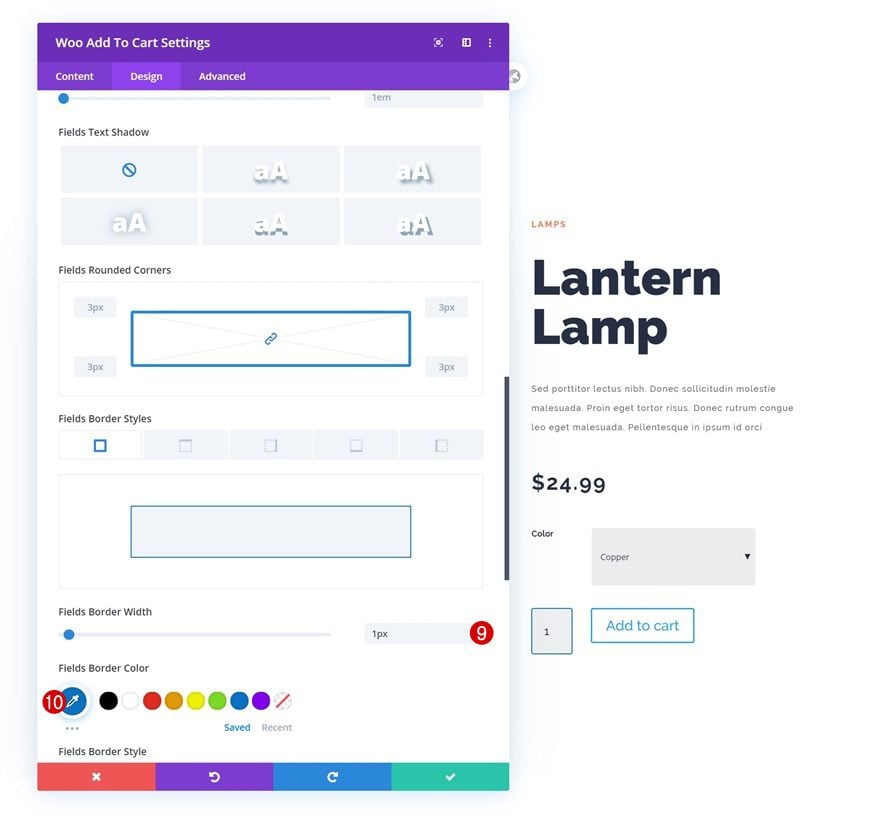
- Fields Text Size: 16px
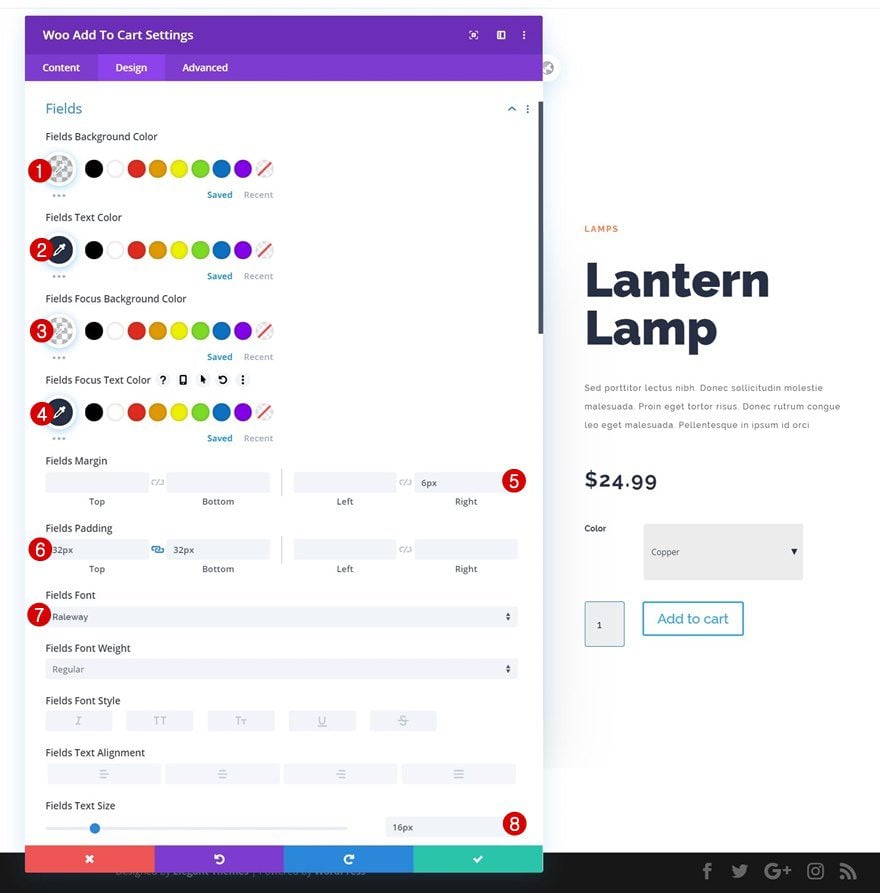
- Fields Border Width: 1px
- Fields Border Color: #0c71c3
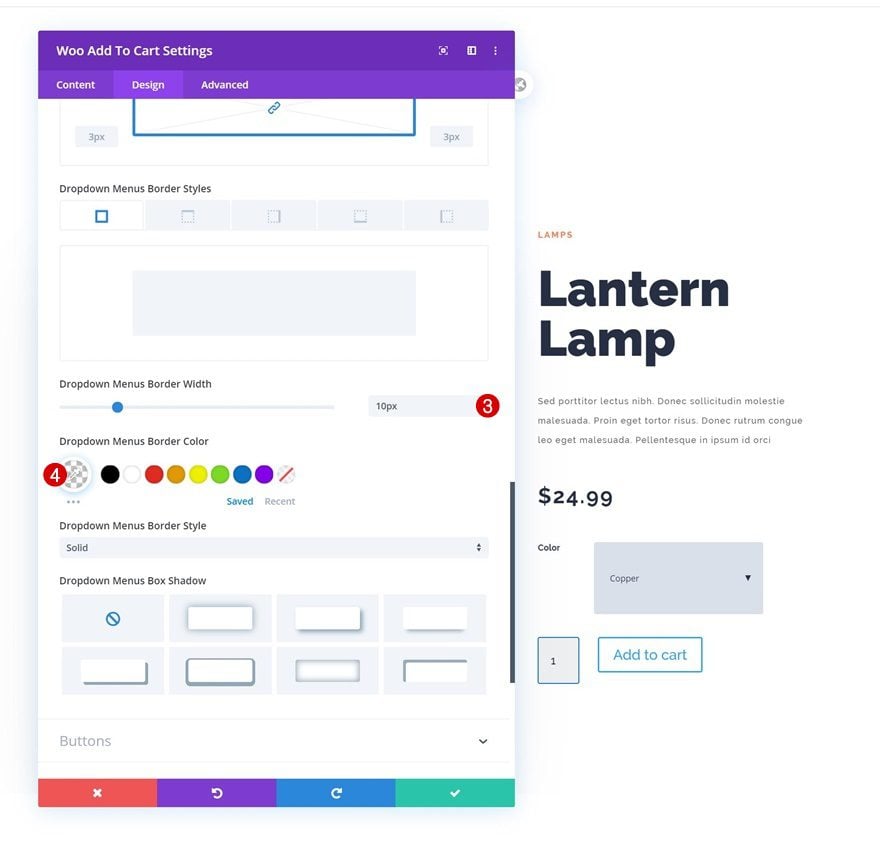
Dropdown Menus Settings
Make some changes to the dropdown menus settings too.
- Dropdown Menus Background Color: #d9e0ea
- Top Padding: 90px
- Bottom Padding: 90px
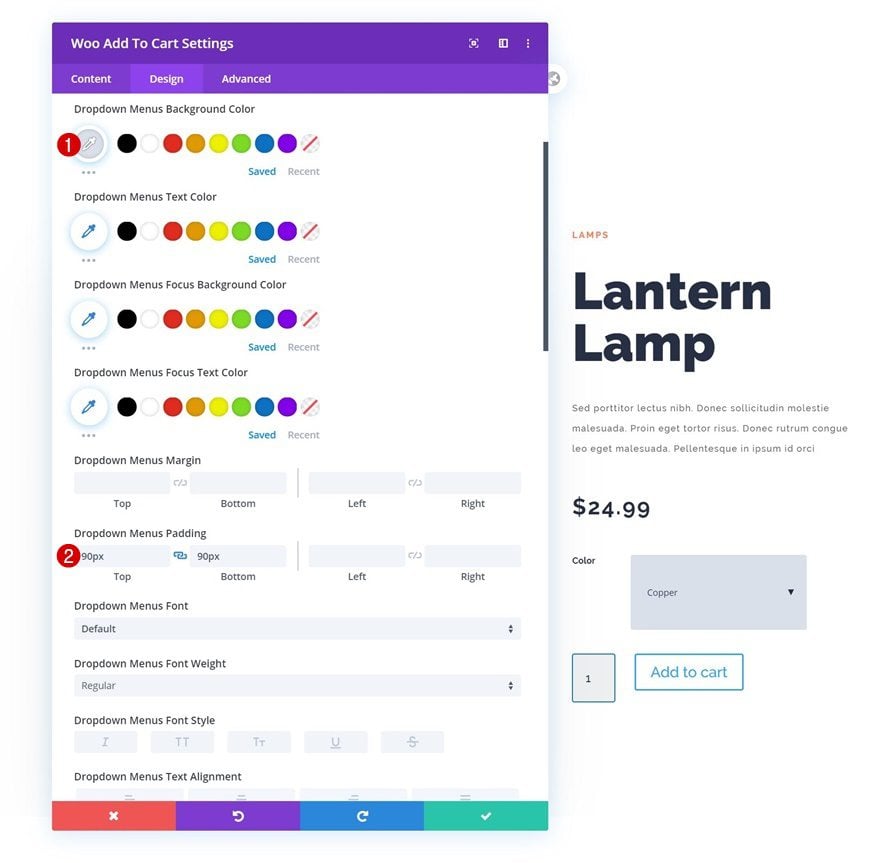
- Dropdown Menus Border Width: 10px
- Dropdown Menus Border Color: rgba(0,0,0,0)
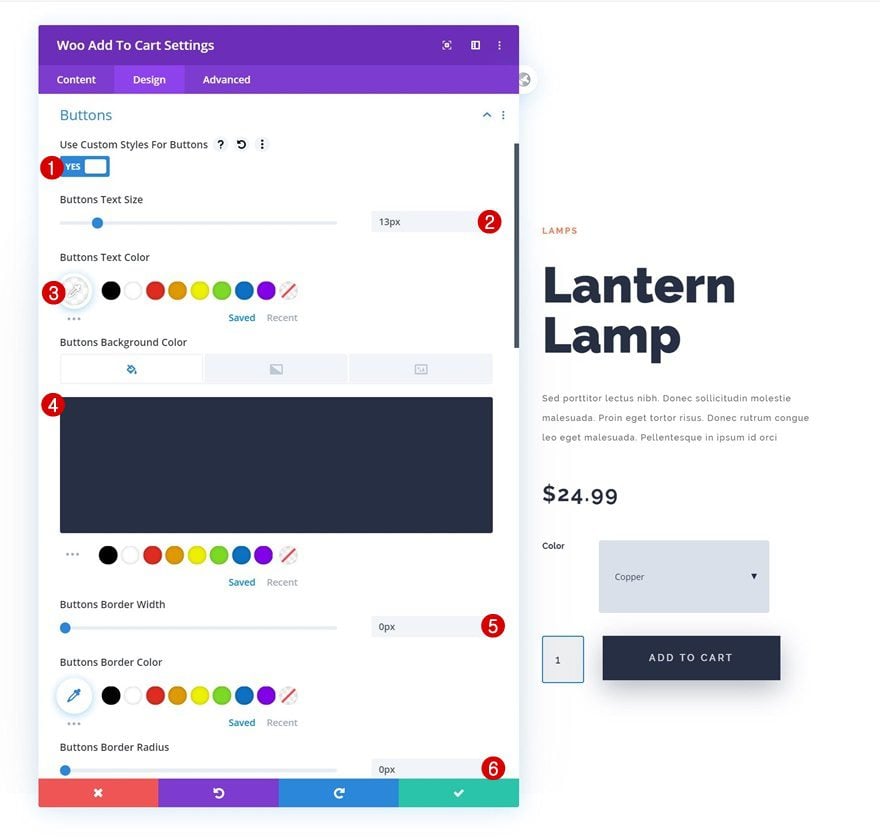
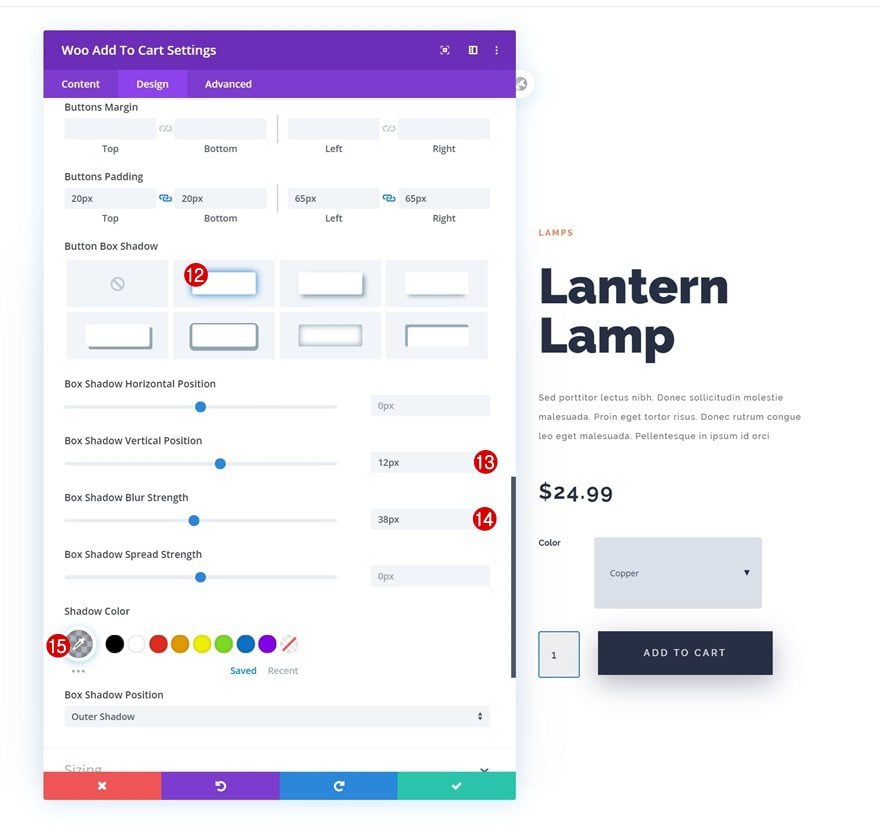
Button Settings
And complete the module’s design by styling the button.
- Use Custom Styles for Button: Yes
- Button Text Size: 13px
- Button Text Color: rgba(255,255,255,0.8)
- Button Background Color: #262f44
- Button Border Width: 0px
- Button Border Radius: 0px
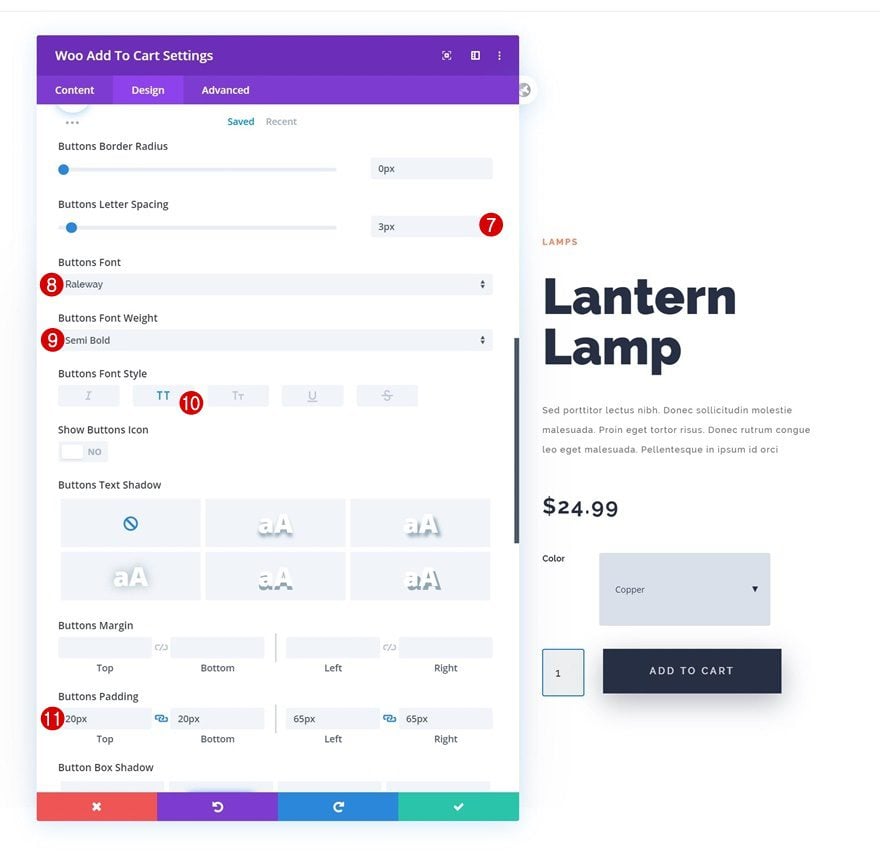
- Button Letter Spacing: 3px
- Button Font: Raleway
- Button Font Weight: Semi Bold
- Button Font Style: Uppercase
- Top Padding: 20px
- Bottom Padding: 20px
- Left Padding: 65px
- Right Padding: 65px
- Box Shadow Vertical Position: 12px
- Box Shadow Blur Strength: 38px
- Shadow Color: rgba(38,47,68,0.36)
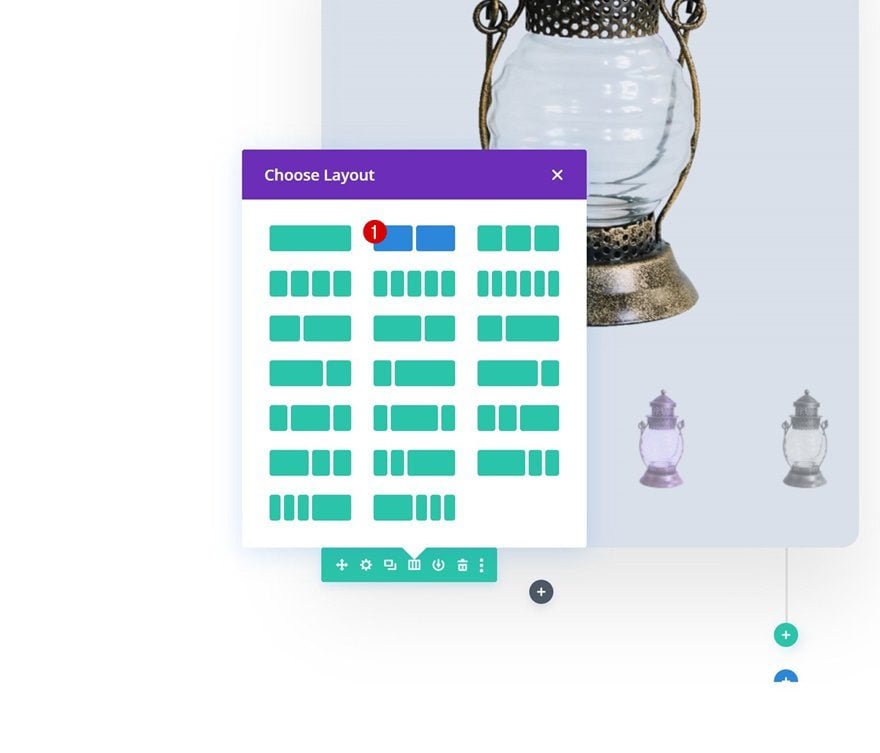
Add Row #3
Column Structure
On to the next and last row! Choose the following column structure:
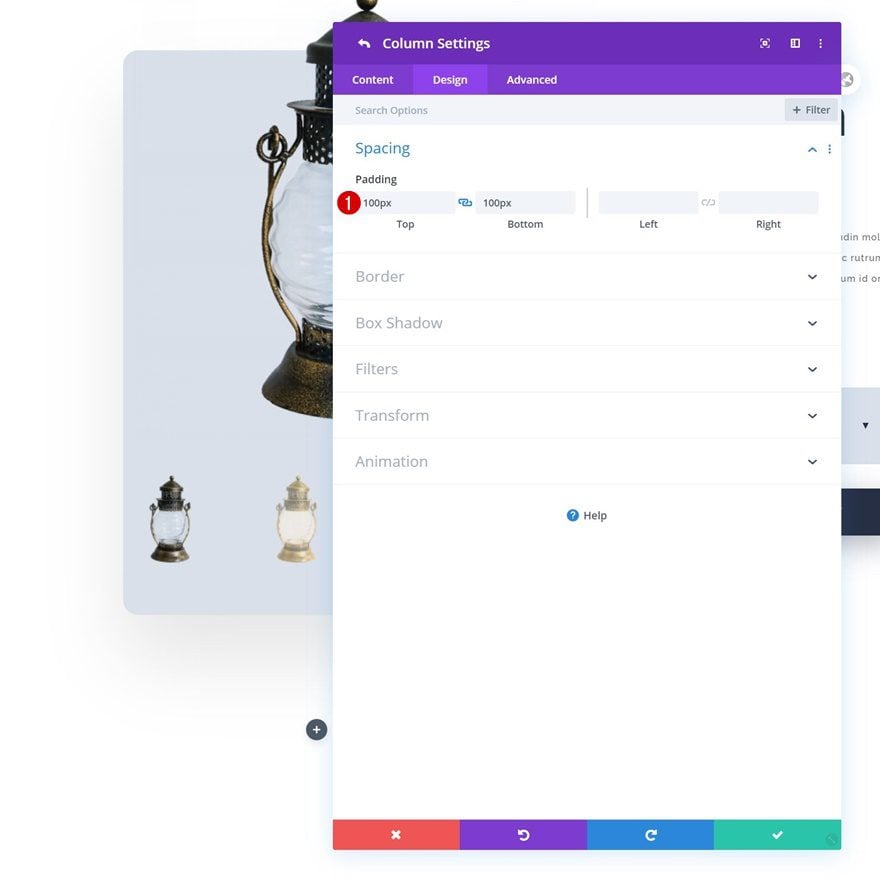
Column 1 Settings
Spacing
Open the column 1 settings and add some custom top and bottom padding.
- Top Padding: 100px
- Bottom Padding: 100px
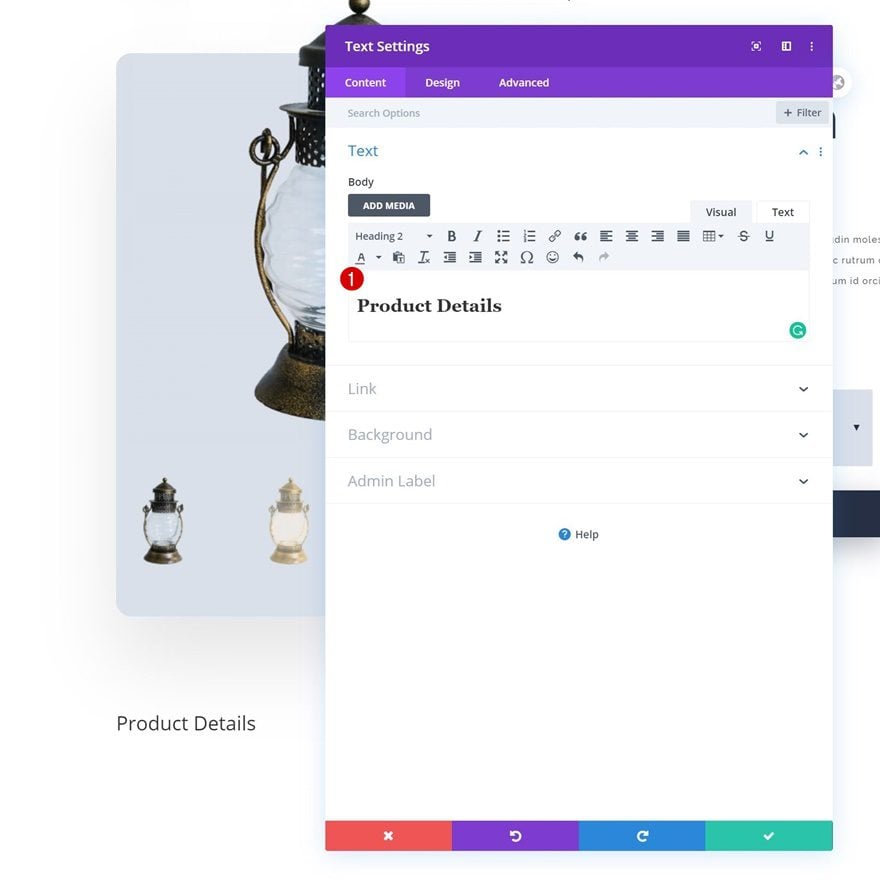
Add Text Module to Column 1
Add H2 Content
Continue by adding a regular Text Module to column 1 with some H2 content of your choice.
H2 Text Settings
Move on to the design tab and change the H2 text settings accordingly:
- Heading 2 Font: Raleway
- Heading 2 Font Weight: Ultra Bold
- Heading 2 Text Color: #262f44
- Heading 2 Text Size: 30px
- Heading 2 Letter Spacing: 1px
- Heading 2 Line Height: 1.4em
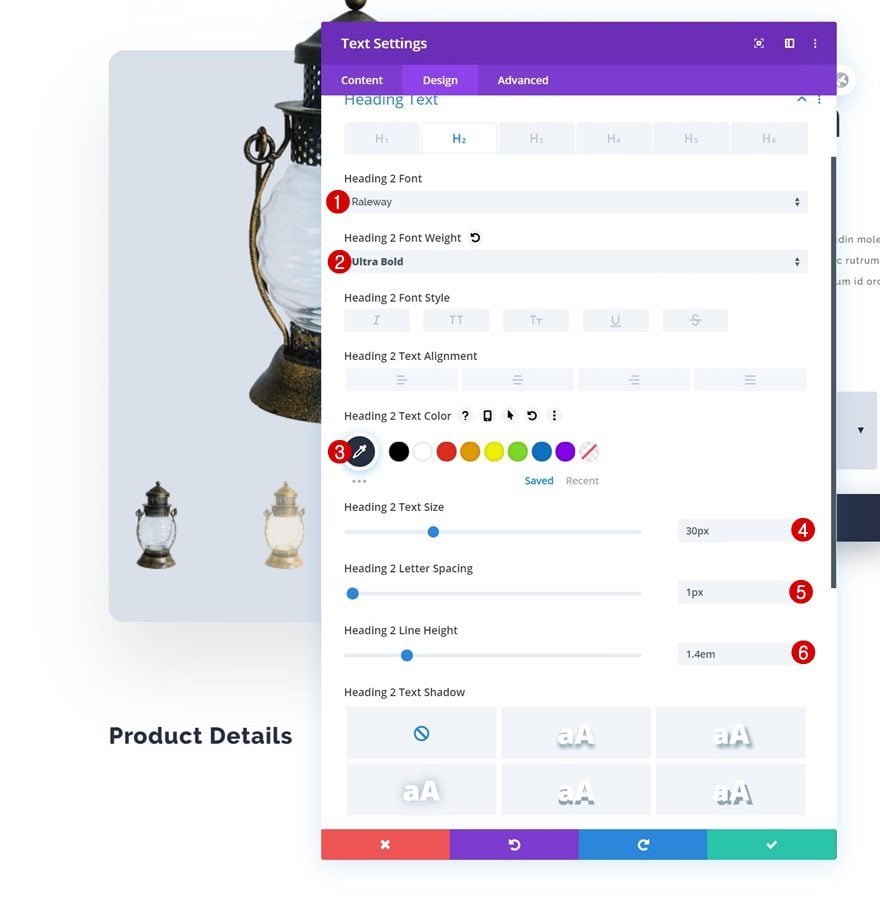
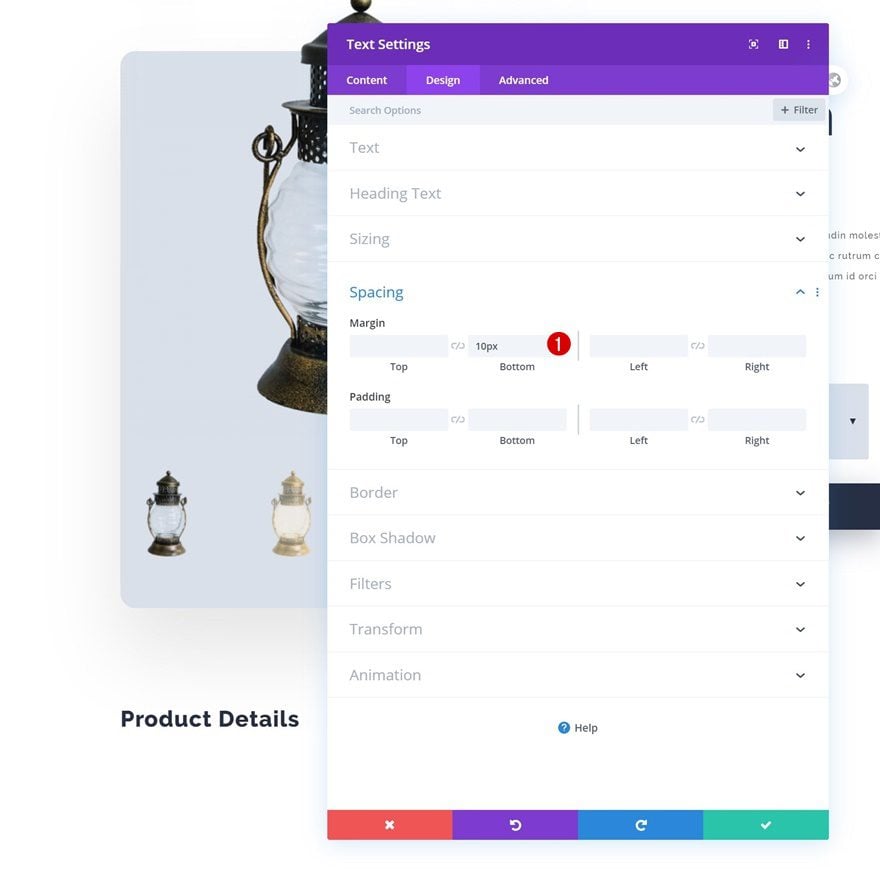
Spacing
Add some bottom margin to the Text Module as well.
- Bottom Margin: 10px
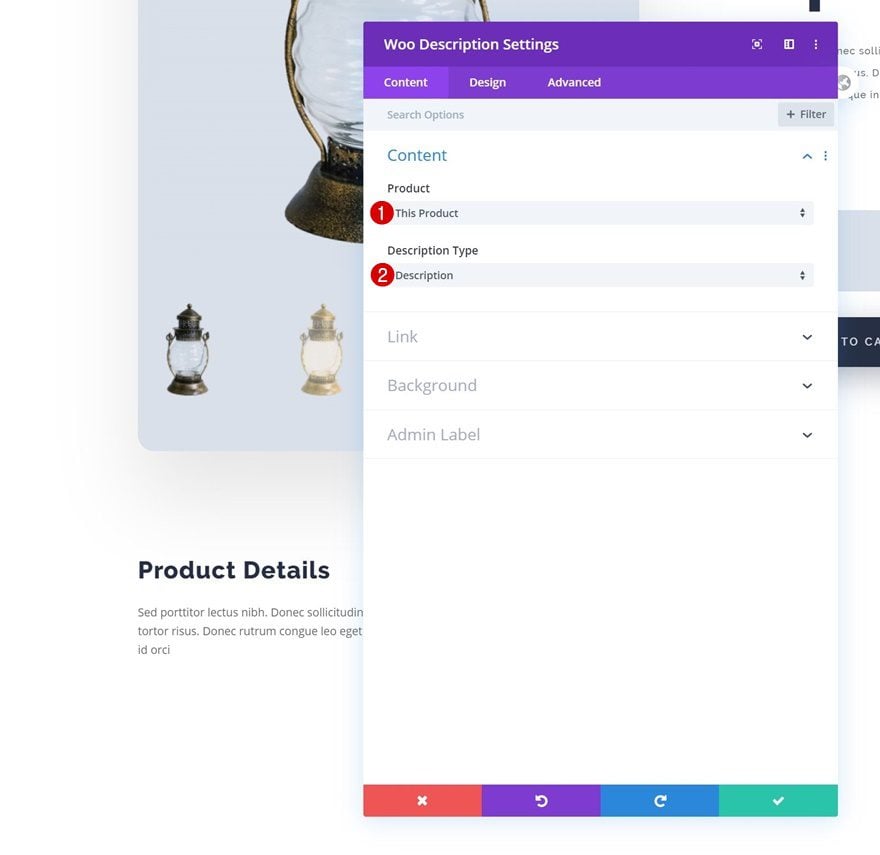
Add Woo Description Module to Column 1
Dynamic Content
Add the Woo Description Module right below the Text Module in column 1.
- Product: This Product
- Description Type: Description
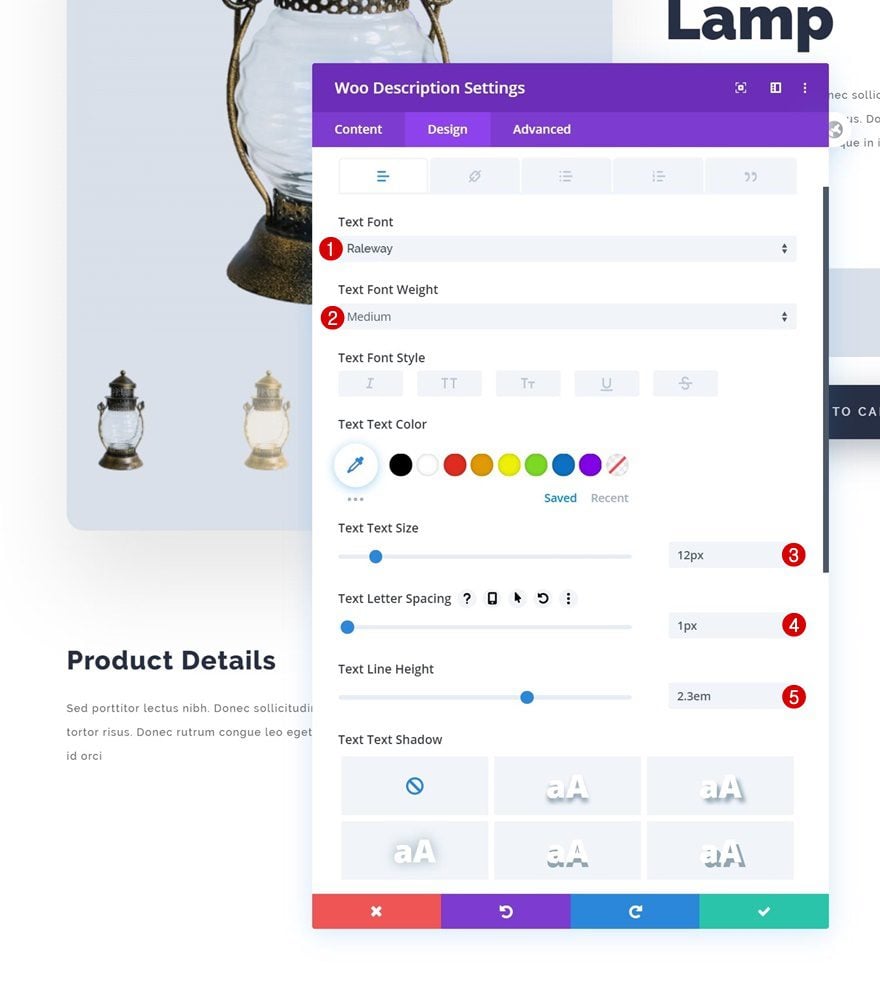
Text Settings
Modify the text settings accordingly:
- Text Font: Raleway
- Text Font Weight: Medium
- Text Size: 12px
- Text Letter Spacing: 1px
- Text Line Height: 2.3em
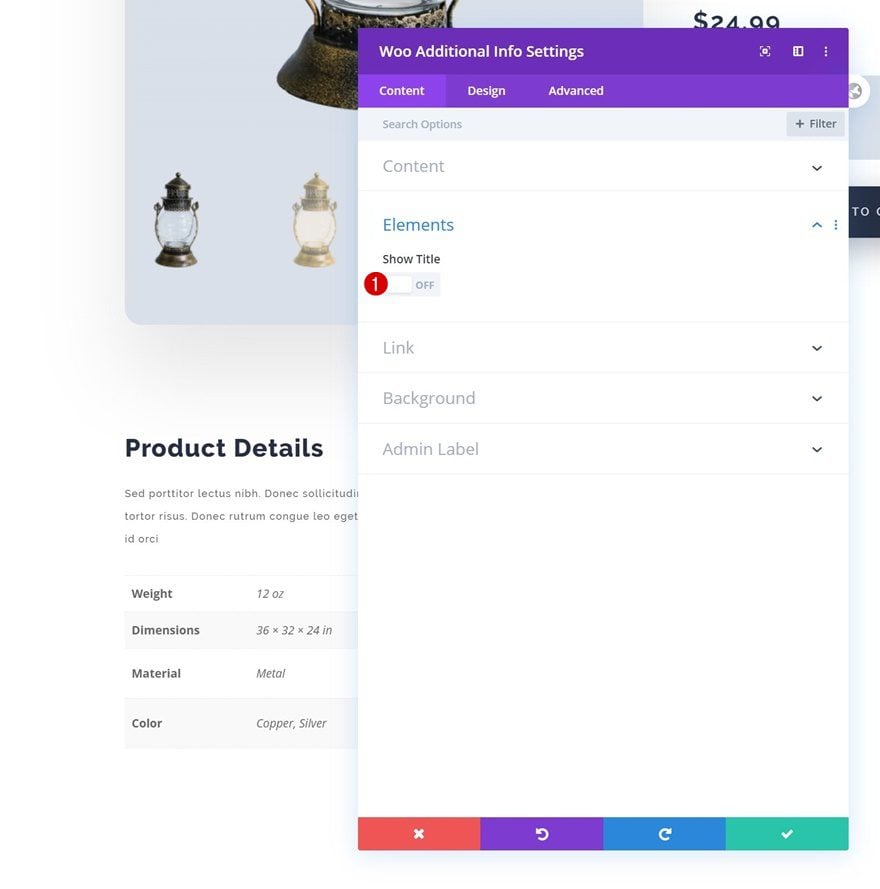
Add Woo Additional Info Module to Column 1
Elements
We’re also adding the Woo Additional Info Module. Go to the elements settings and turn off the title.
- Show Title: OFF
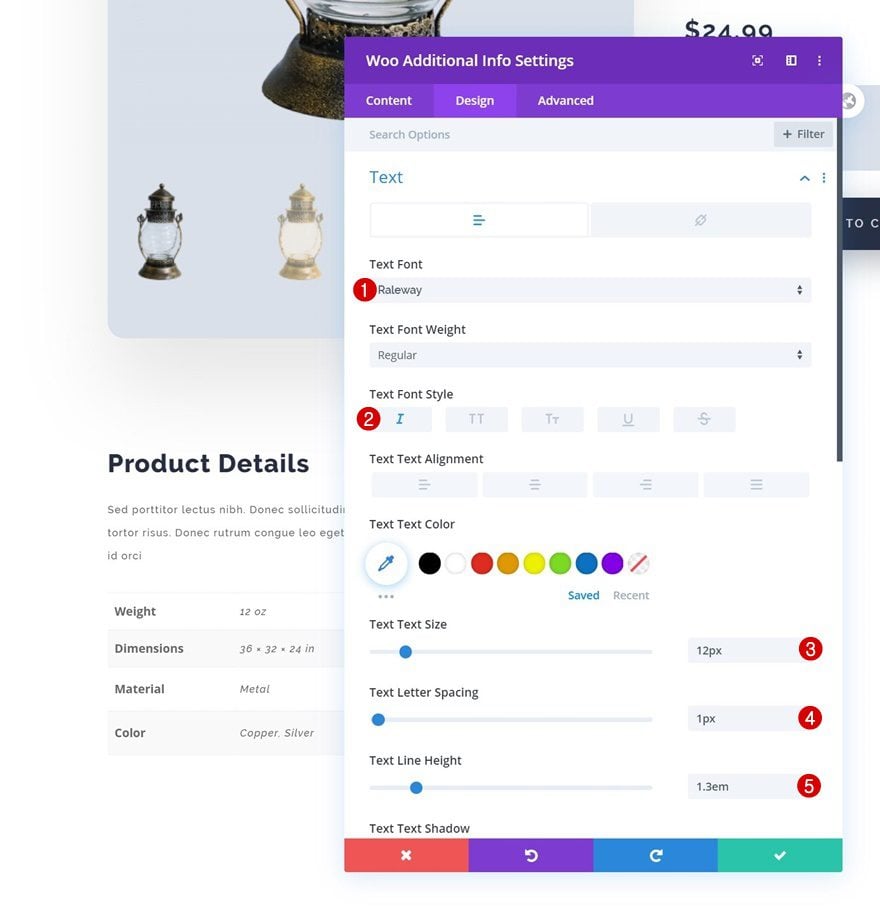
Text Settings
Move on to the design tab and change the text settings.
- Text Font: Raleway
- Text Font Style: Italic
- Text Size: 12px
- Text Letter Spacing: 1px
- Text Line Height: 1.3em
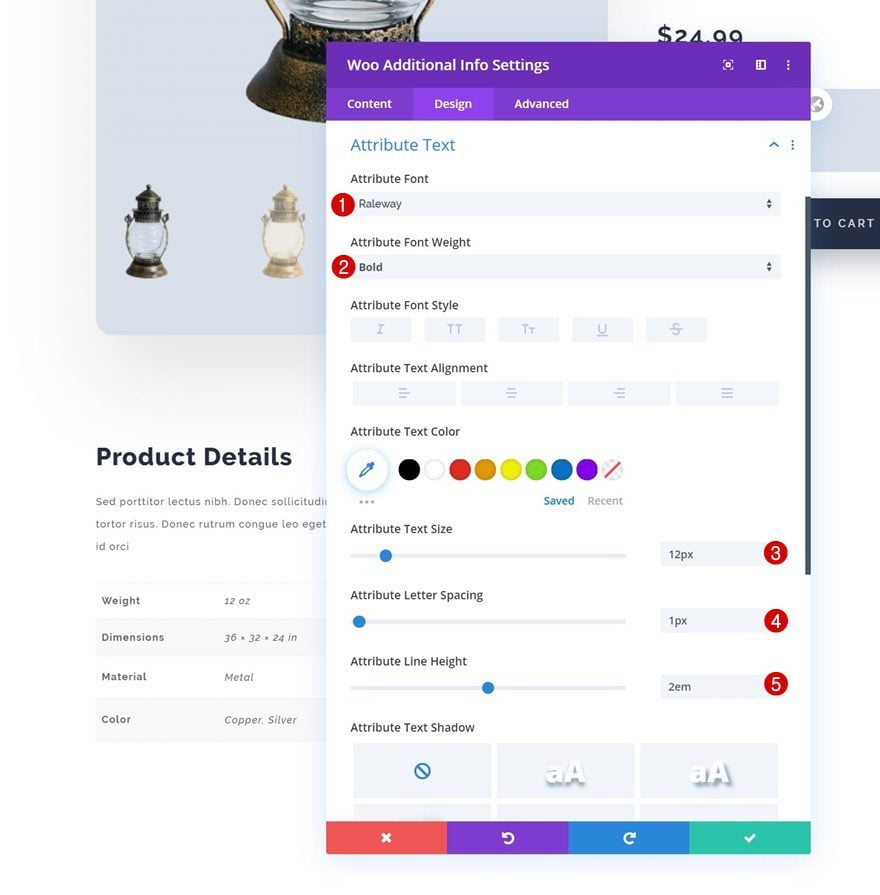
Attribute Text Settings
Modify the attribute text settings too.
- Attribute Font: Raleway
- Attribute Font Weight: Bold
- Attribute Text Size: 12px
- Attribute Letter Spacing: 1px
- Attribute Line Height: 2em
Add Image Module to Column 1
Upload Image
The next and last module we need in column 1 is a regular Image Module. Upload a relevant image of your choice.
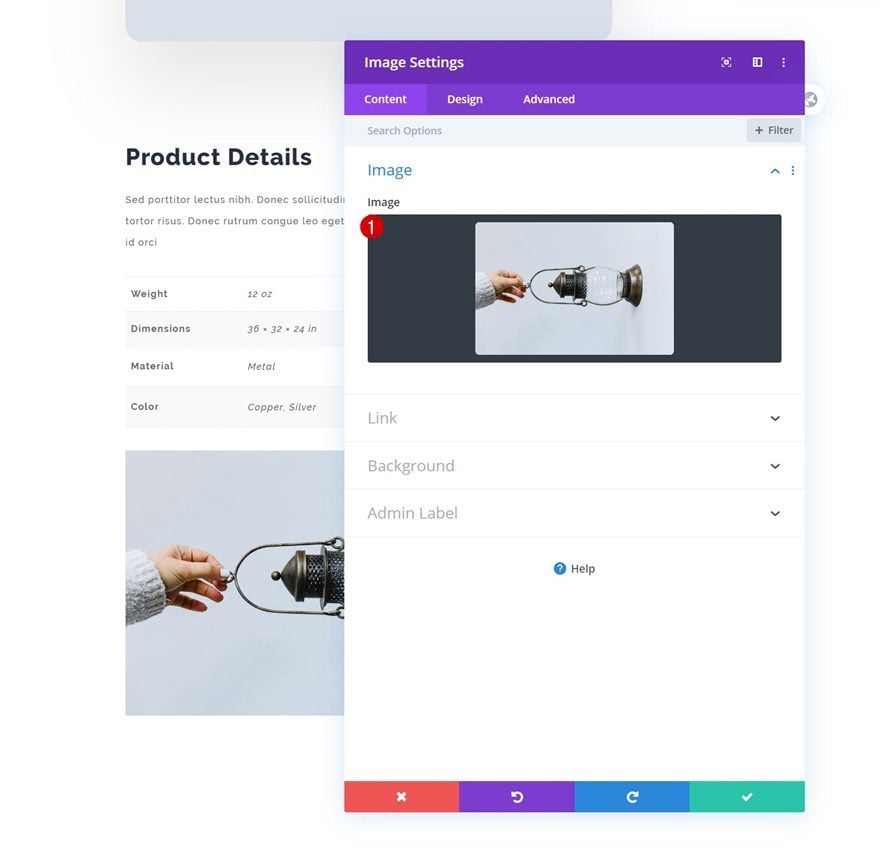
Box Shadow
Then, go to the design tab and add a subtle box shadow.
- Box Shadow Vertical Position: 60px
- Box Shadow Blur Strength: 50px
- Shadow Color: rgba(0,0,0,0.1)

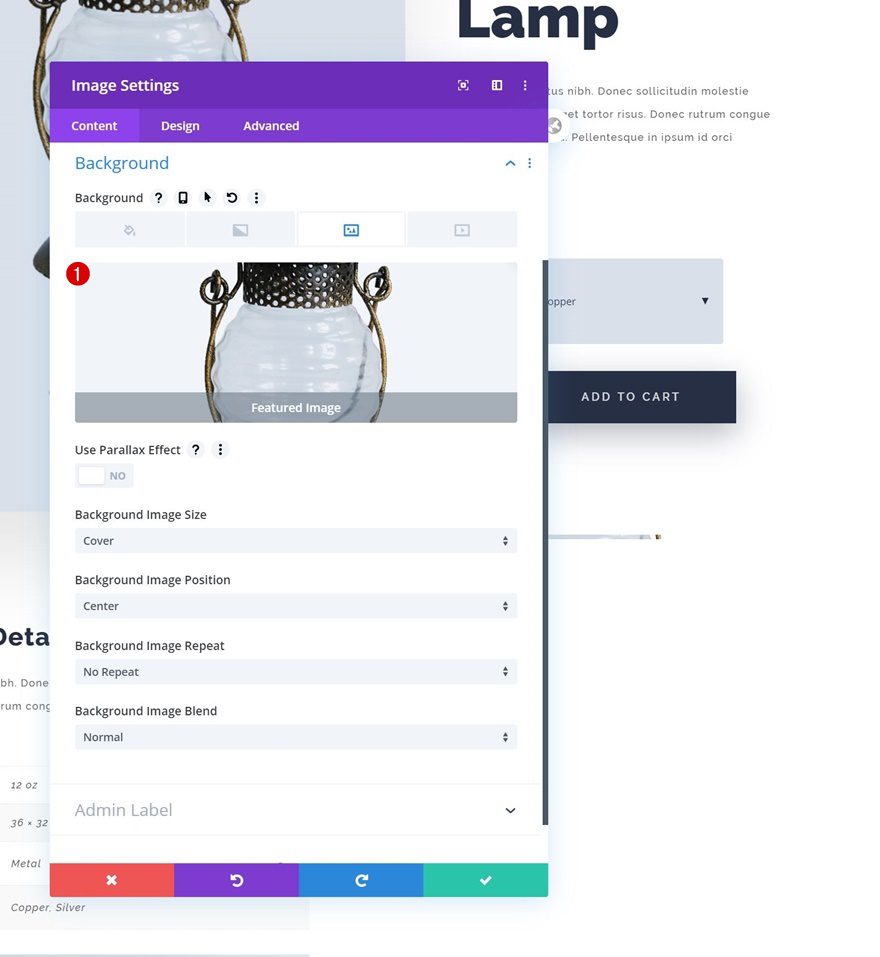
Add Image Module to Column 2
Leave Image Box Empty
In column 2, the only module we need is a regular Image Module. Make sure you leave the content box empty.
Add Dynamic Background Image
Instead, we’re linking the background image to the product’s featured image using dynamic content.
- Background Image: Featured Image
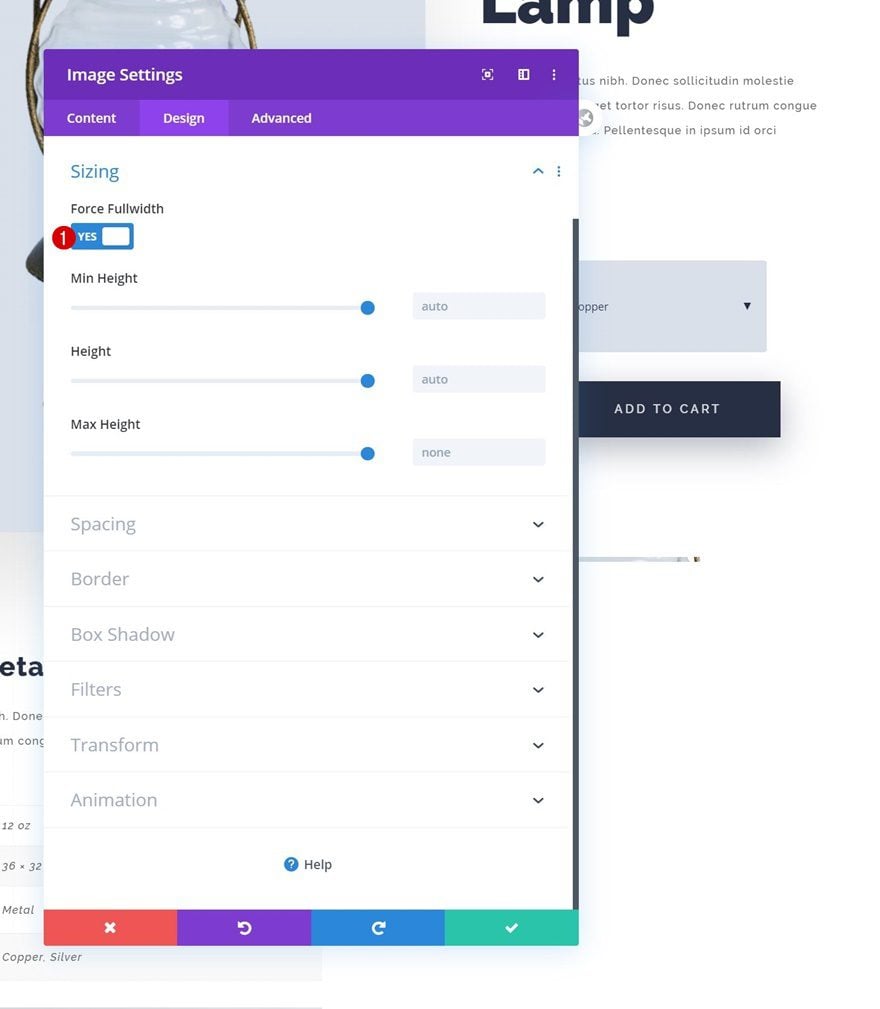
Sizing
We’re also forcing the Image Module to be fullwidth in the sizing settings.
- Force Fullwidth: Yes
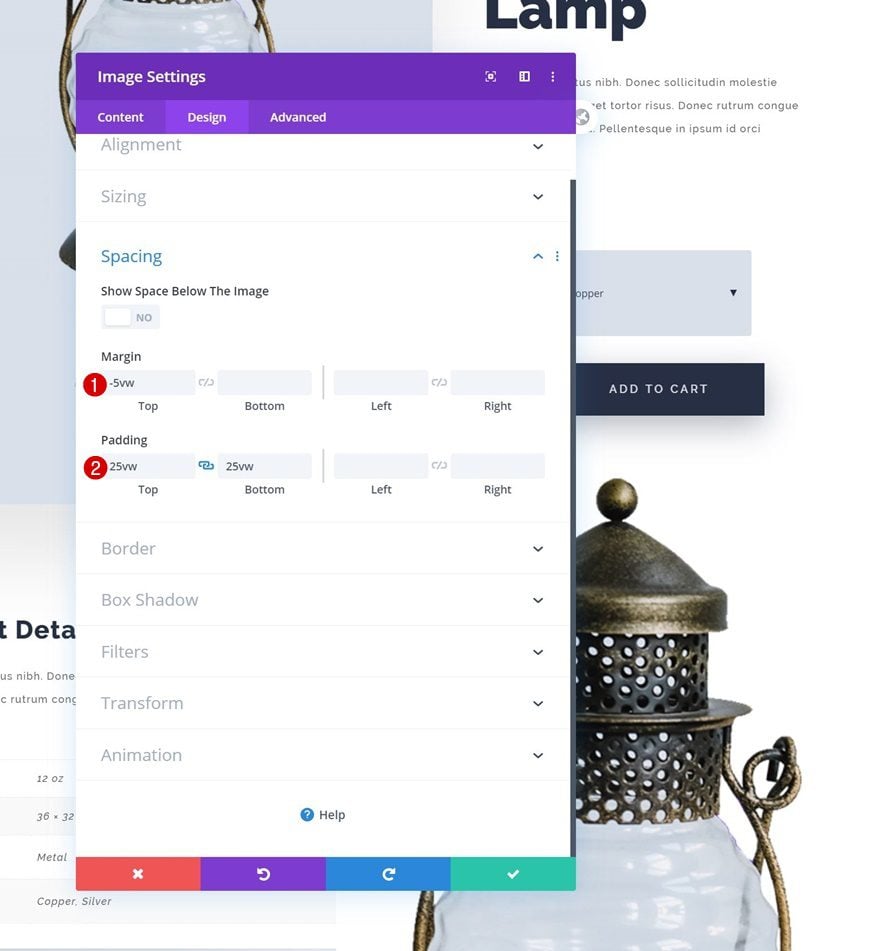
Spacing
We’ll increase the size of the module and create some top overlap by modifying the spacing settings next.
- Top Margin: -5vw
- Top Padding: 25vw
- Bottom Padding: 25vw
Transform Scale
Then, we’ll increase the module’s size even more by modifying the transform scale options.
- Right: 150%
- Bottom: 150%
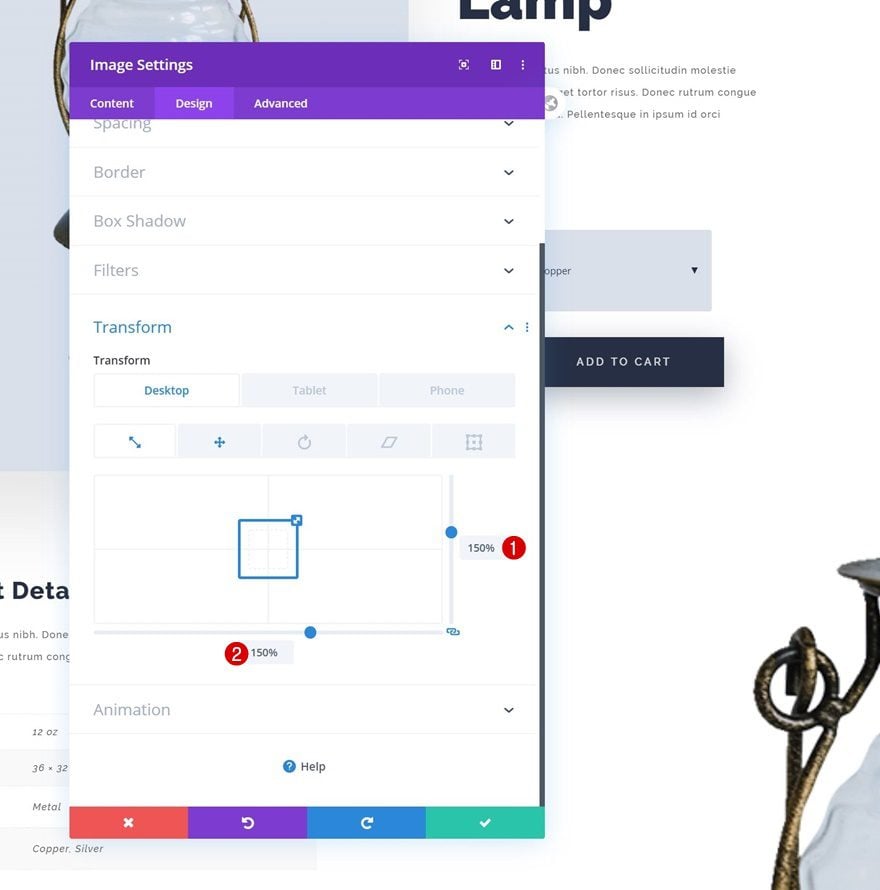
Transform Translate
To reposition the Image Module, we’ll apply a bottom transform translate value too.
- Bottom: 18vw

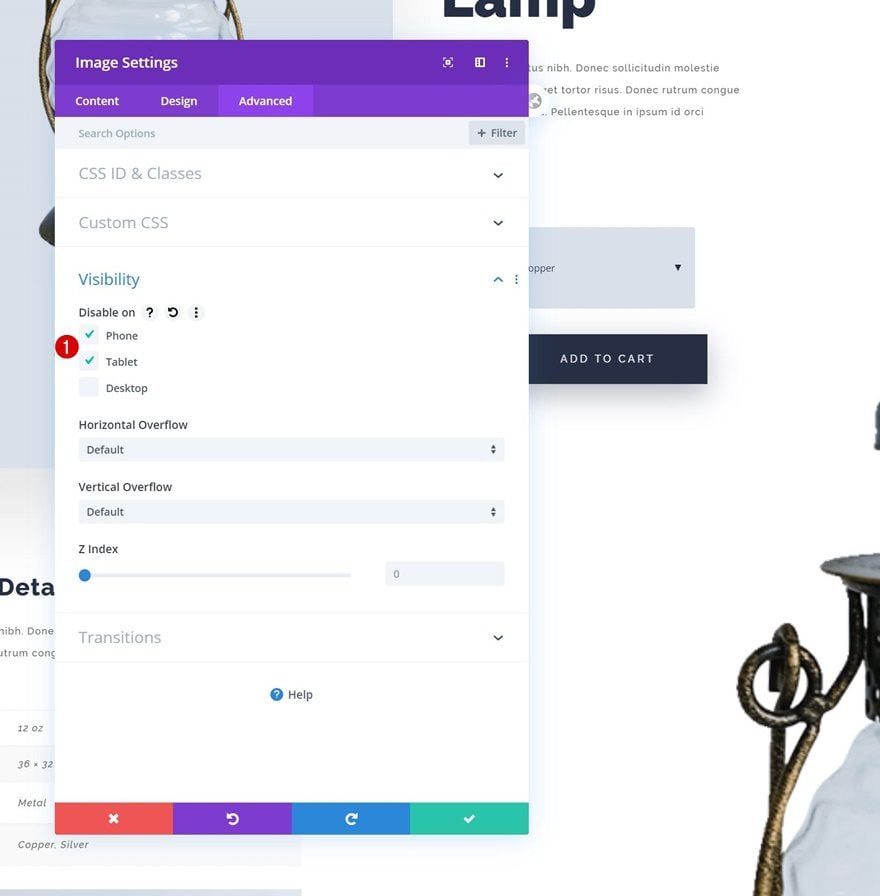
Visibility
And last but not least, we want this module to show up on desktop only. That’s why we’ll hide the entire module on tablet and phone. Once that’s done, the design is completed!
Preview
Now that we’ve gone through all the steps, let’s take a final look at the outcome across different screen sizes.
Final Thoughts
In this post, we’ve shown you how to create a stunning minimal product page that you can reuse for all your products. This tutorial goes to show how easy it is to create product pages designs using Divi’s new WooCommerce Modules. If you have any questions or suggestions, feel free to leave a comment in the comment section below!
If you’re eager to learn more about Divi and get more Divi freebies, make sure you subscribe to our email newsletter and YouTube channel so you’ll always be one of the first people to know and get benefits from this free content.


Section 1 – Row 2 – Column 2 – Could you explain what you mean by “Make sure you connect the content box to the product categories.” when adding the text module to the 2nd column?
You have to click on what looks like a pile of coins, it’s the “dynamic content module”
This must be new and thank you for the great work. Actually Divi customer service even do not know you can use Divi to edit product page.
Hi,
Editing a product page was really much awaited addition to divi.
Could you please explain the steps involved to enable woo modules in my divi builder’s insert module screen?
Just updated my divi version to latest one and woo module are now available.
thanks
Hi, Donjete!
Great tutorial!!!
I’m new in using Divi (I receantly buy it), so I don’t know if this minimalistic design can be used in all products pages in automatic or if I have to do this in every page…
Thanks in advance for your answer!
I believe, right now, you have to do it individually. When the much anticipated Theme Builder arrives, I believe it will be able to do it across the board.
Yeah, I supposed it…
Thanks, anyway.
Great. Its wonderful to here this. I already Purchased this divi theme for 1 year membership. never tired woocommerce Website. It looks quite easy.
Fab post Donjete! However I haven’t managed to find out how to import properly the .json file.
From a page?
From a Page?
Into the library first?
Either of those wont work. Thanks in advance. 🙂
Happy you like it! 🙂
Upload it to your Divi Library first (theme options) and it’ll appear in ‘Your Saved Layouts’ next to the ‘Premade Layouts’ tab once you’ve opened your product page with Divi.
Errr. I’m sorry Donjete,
It appears in the library as a ‘Section’ not a ‘layout’.
Secondly when you try to import this as a section in a blank product page there is nothing to show under the section.
hhmmmm scratching my head… 🙂
Talk soon
My upload got corrupted. Re uploaded. all is fine. Many thanks 🙂
Amazing! But, how do I get this same design to be implemented in the rest of the products?
Following!
Thank you for this first tutorial with WooCommerce modules.
Do you add the category WooCommerce resources to your blog?
Hi..
I dont have the page layout full width?