Using The Bloom Locked Content Opt-In
Required your visitors to subscribe before they get access to the content on your post or page.
What Is The Locked Content Opt-In?
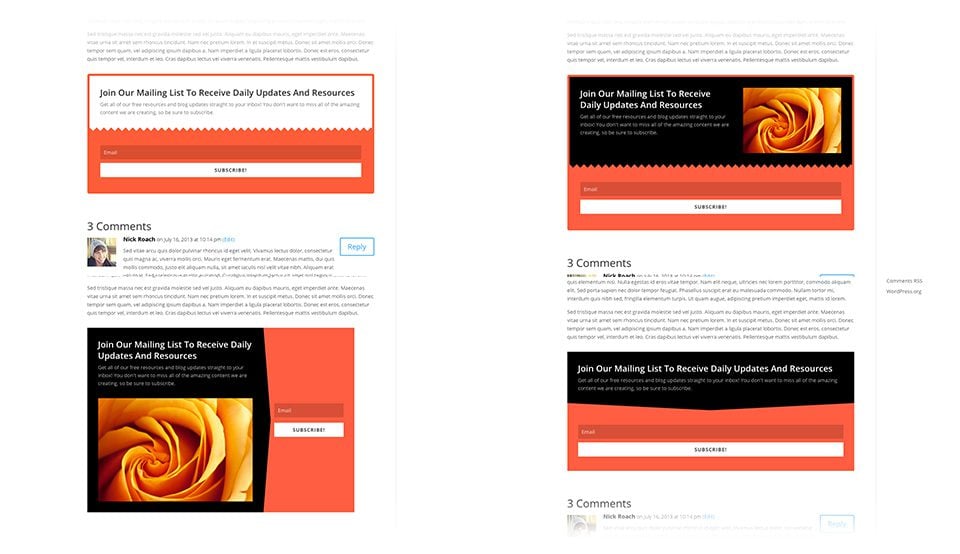
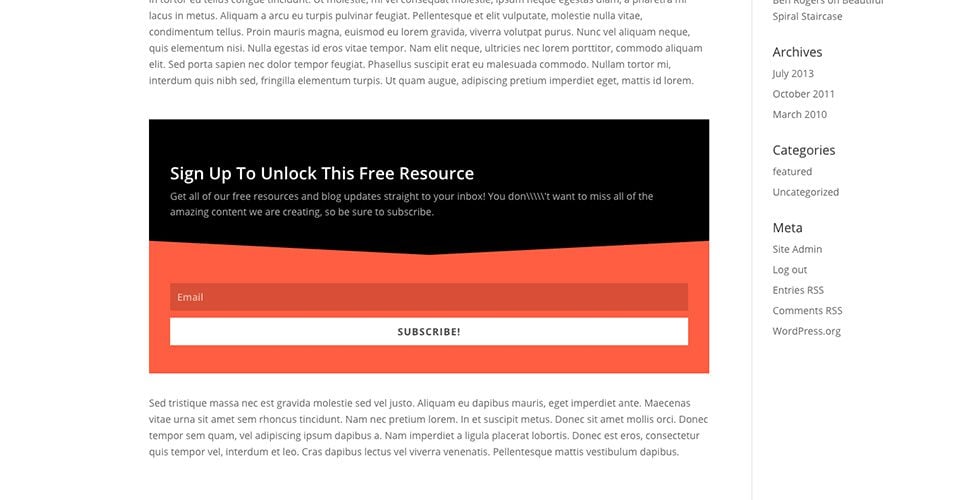
Locked content is a great way to get new subscribers by requiring them to subscribe to your list before they get access to a free resource. After you finish creating your locked content opt-in, you will be give a shortcode that you can use to wrap the content that you would like to lock within any given post or page. For example, you could lock a link that gives down-loadable access to your eBook. Or you could write a great post, and lock the second half of the post for only your subscribers to access.
Creating The Locked Content Opt-In
To create an opt-in form, click on the Bloom > Email Optins link in your WordPress Dashboard, or click on the “Home” icon within the Bloom settings page to open up the main settings tab. Here you can manage the opt-ins that you have created in the past, as well as create new opt-ins. To create your first opt-in form, click the “New Optin” button. This will reveal the 6 opt-in types that Bloom supports.
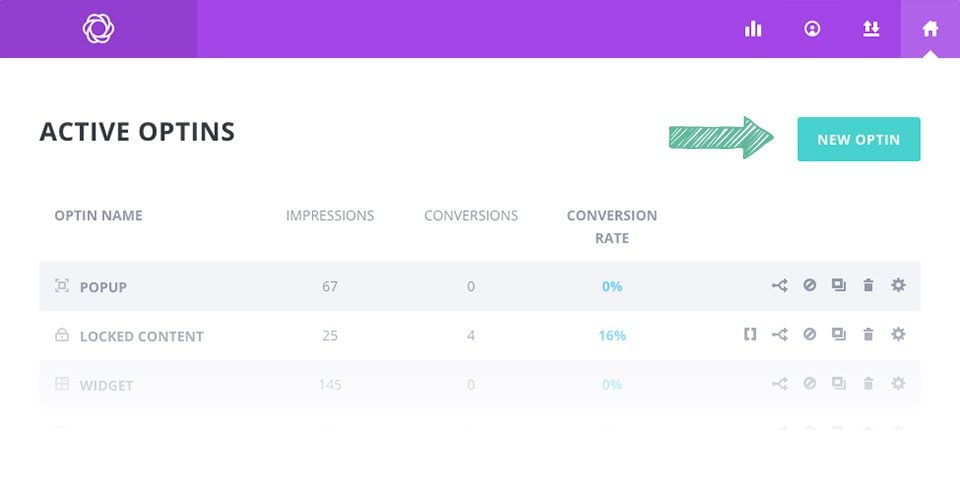
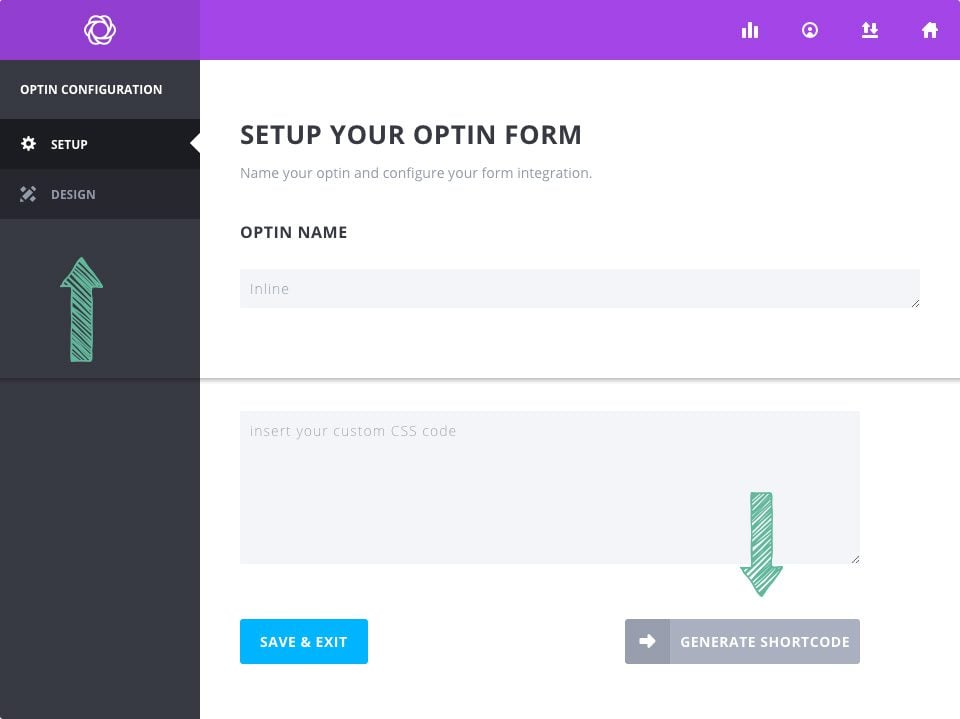
Click on the “Locked Content” icon to begin building your new opt-in. Once you select your opt-in type, you will be taken to the opt-in creation screen where you can adjust the various opt-in settings. These settings are broken into two categories: Setup & Design.
After you finish designing your opt-in, you will reach the final step: Generate Shortcode.
Setup
Within the Setup tab of the opt-in creation process, you can give your opt-in a name (for future reference) and assign an email account to the opt-in form. Before you can start collecting email addresses, you first need to connect Bloom to your email marketing service, such as MailChimp or Constant Contact. If you have not already added an account to Bloom, you can do so here. If you have already added an account to Bloom, then you can select the account and the associate email list from within the Form Integration settings on this page. For detailed information about how to add accounts to bloom, as well as a comprehensive list of all account types support by Bloom, please refer to our in-depth accounts tutorial.
Design
Within the Design tab, you can customize the appearance of your opt-in form. Bloom comes with tons of design settings, such as background color, font color, button color, form color, image and form location, border styles and much more. Within this tab you can adjust all of these settings, as well as preview your form by clicking the Preview button. For an comprehensive look at the Bloom design settings, please refer to our in-depth design tutorial.
Generate Shortcode
After you have configured your locked content opt-in, you will be presented with a “generate shortcode” button. This button will display the shortcode that you can use to place your locked content opt-in form anywhere on your website. You can also access a list of all of your shortcodes from within the Bloom Shortcode button within the WordPress post editor, or by clicking the shortcode icon within the opt-in management tab in your Bloom settings panel. For more information about using shortcodes, be sure to read our in-depth shortcodes tutorial.
Using these settings you can create a wide range of opt-in boxes, and have them appear on different areas of your website (or your entire website if you so choose).