An Overview Of Post Formats In Extra
Extra supports all major post formats, giving your blog a wonderful variation of media.
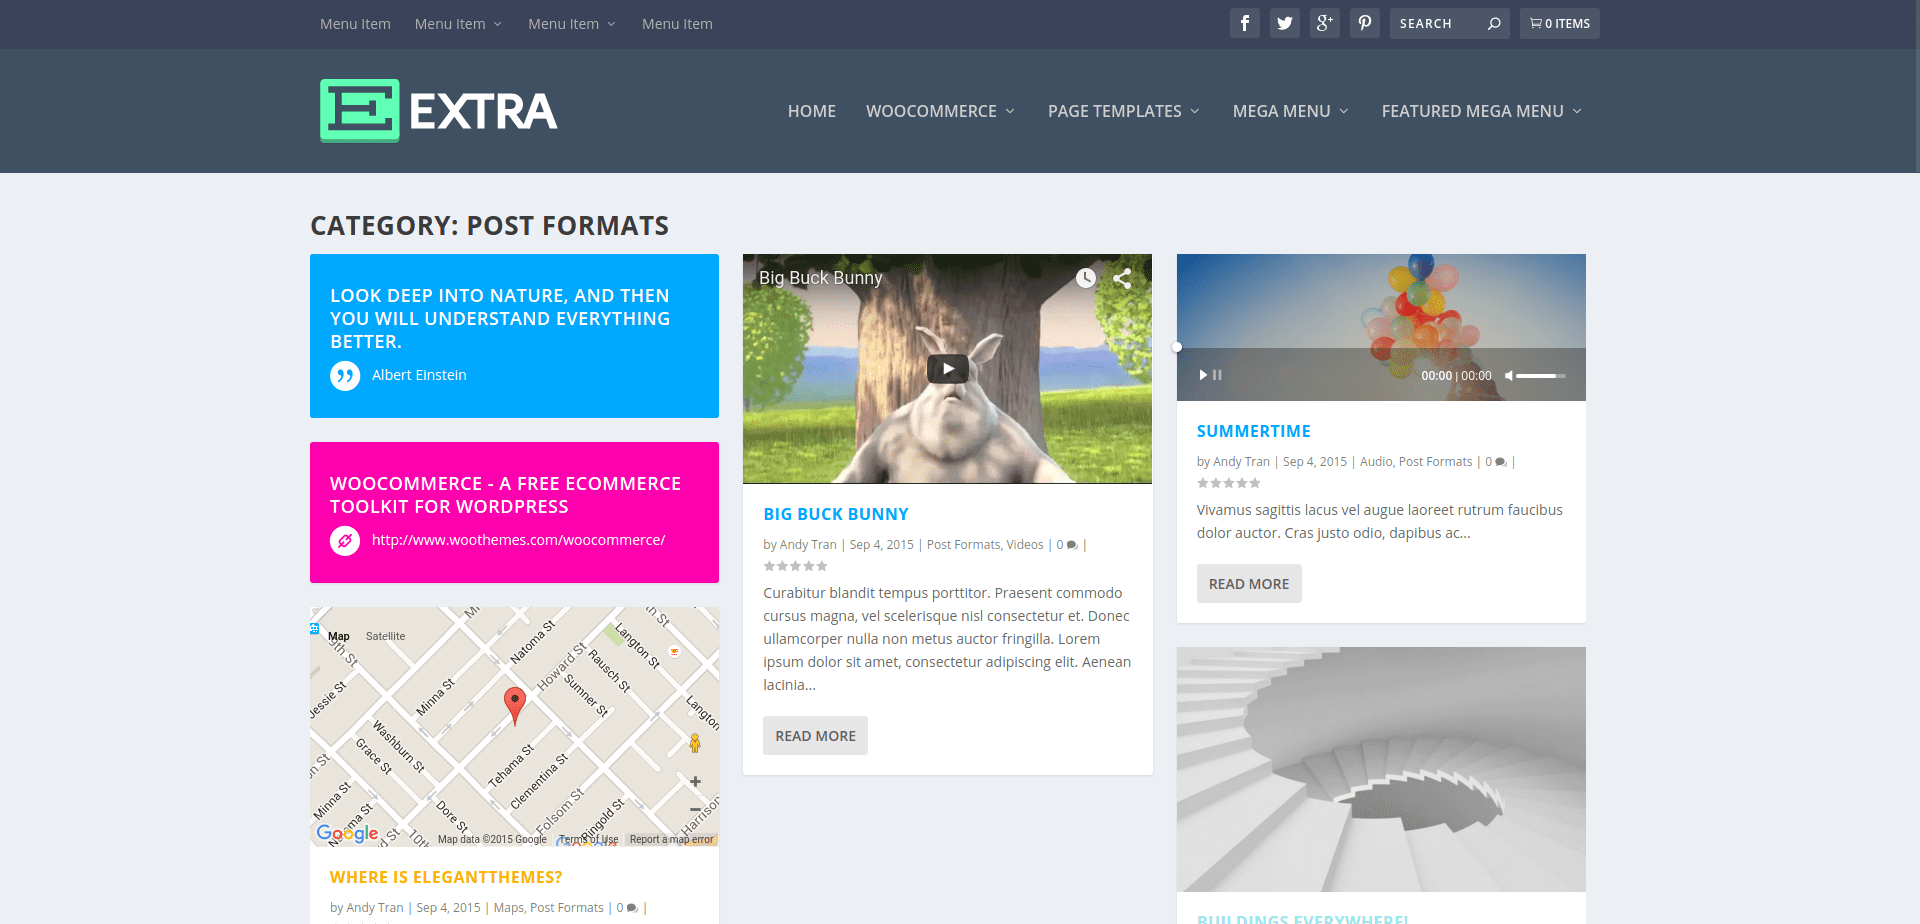
Extra Supports All The Major Post Formats
When you write a blog post, you can apply one of 7 different post formats to the post: Standard, Video, Audio, Quote, Gallery, Link, and Map. Each of these formats structures your post differently, putting more focus on the type of content that the format represents.
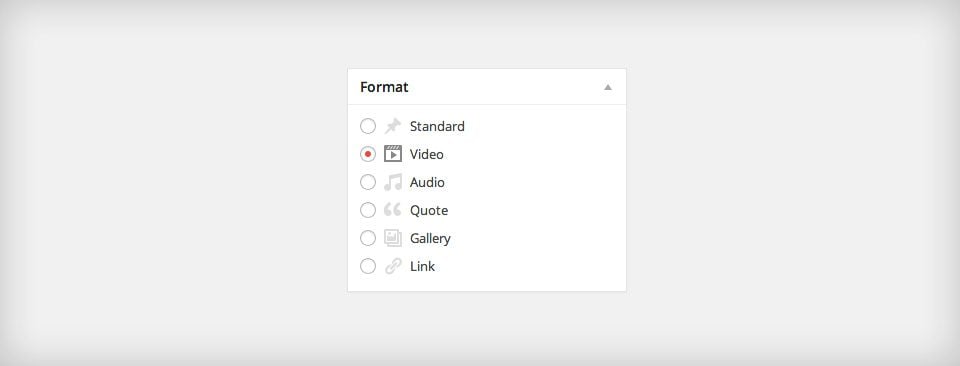
When you write a blog post, you will notice a box to the right of your text editor labeled “Format.” Within this box are the 6 format options. Choosing “Standard” will result in a normally-formatted blog post, while each of the other options has a unique design associated with their format type.
Using The Video Post Format
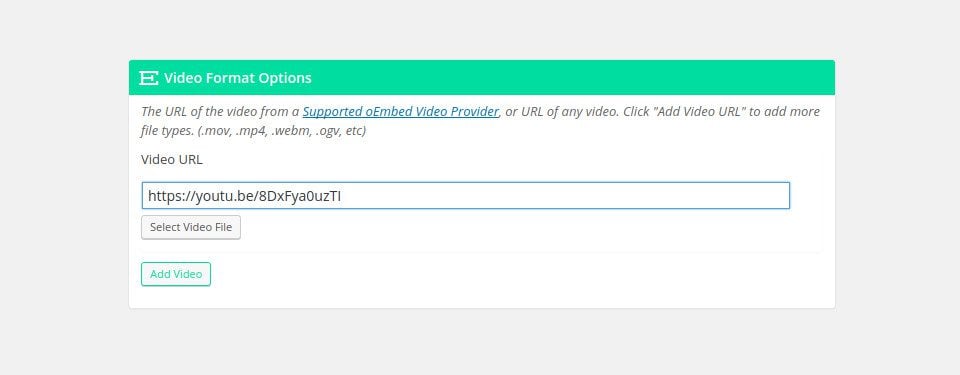
For posts using the Video Post Format, a video is placed at the top of the post. Additionally, the post’s Featured Image will be replaced with an embedded video in post listings.
Upon selecting the “Video” post format from within the Format options box, you will notice a new settings box has been added in the left column. There you can define your video(s) by either copy/pasting a video URL (from providers like Youtube and Vimeo) or by installing your own HTML5 video via the WordPress Media Library.
Using The Audio Post Format
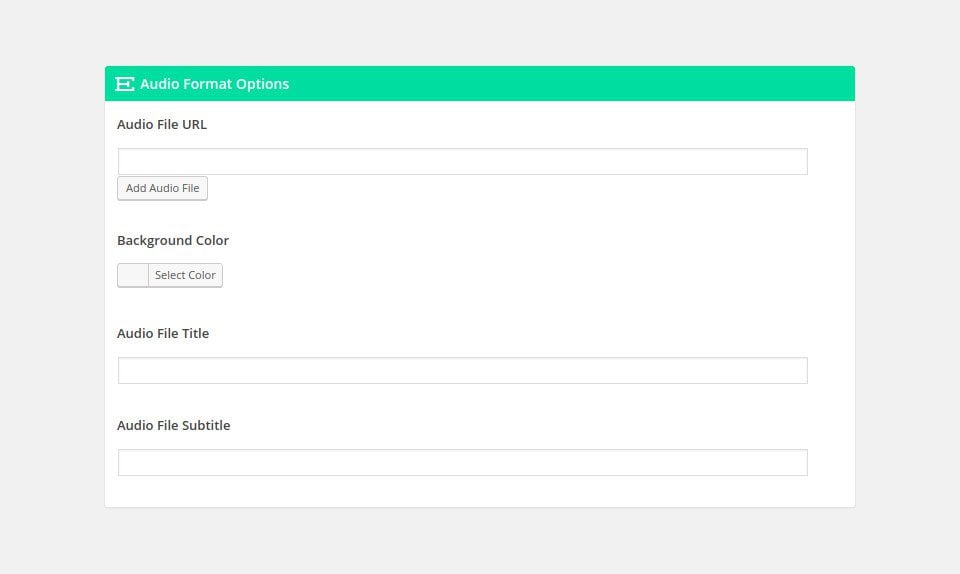
Posts using the Audio Post Format will display an audio player at the top of their content. The post’s Featured Image on index pages will be replaced by an audio player as well. Upon selecting the “Audio” post format from within the Format options box, you will notice a new settings box has been added in the left column. You can use the options provided there to define an Audio file for the post.
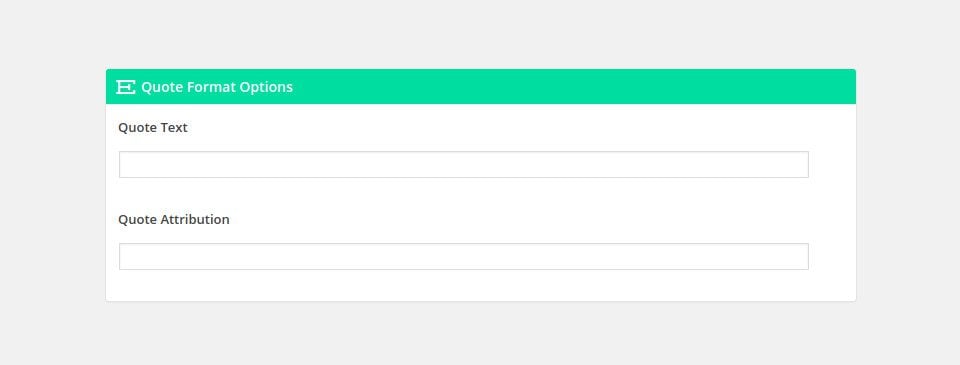
Using The Quote Post Format
Applying the Quote Post Format to a post will display a stylized quote at the top of your post. The stylized quote will also replace the post’s Featured Image on all index pages.
Upon selecting the Quote Post Format from within the Format options box, you will notice a new settings box has been added in the left column. You can use the options provided there to define a quote for the post.
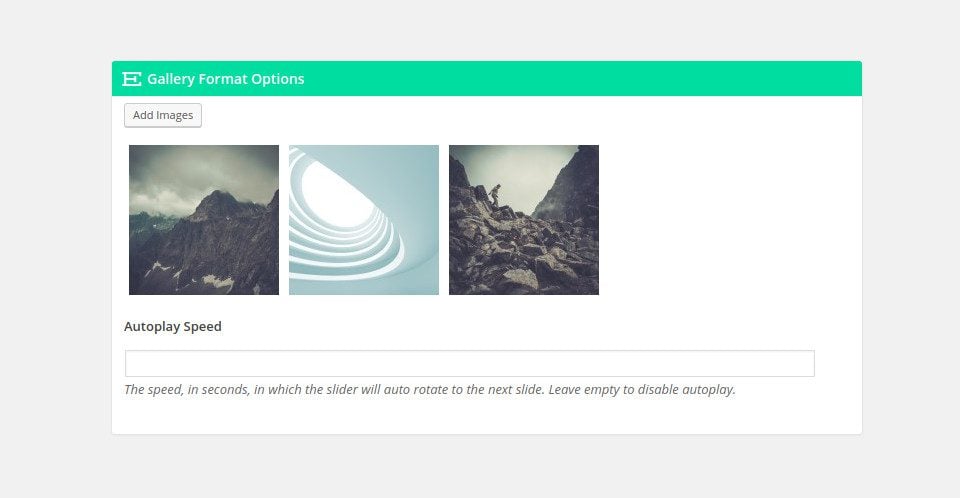
Using The Gallery Post Format
An image gallery is displayed at the top of the post content when you apply the Gallery Post Format to a post. A gallery slider will replace the post’s Featured Image on all index pages.
Upon selecting the Gallery Post Format from within the Format options box, you will notice a new settings box has been added in the left column. You can use the options provided there to define your gallery images for the post.
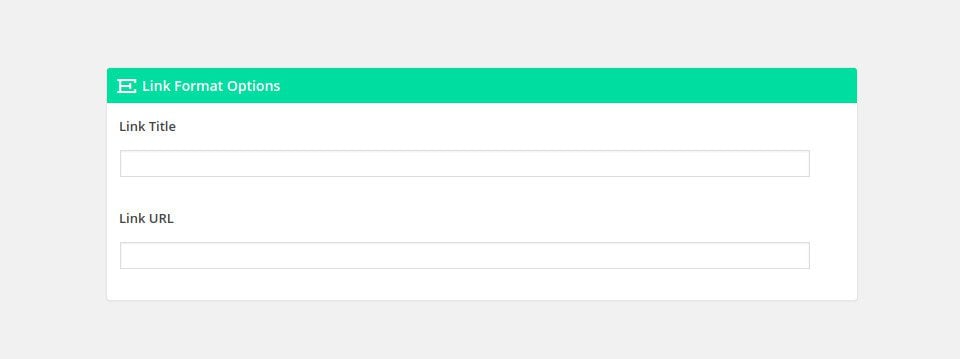
Using The Link Post Format
Applying the Link Post Format to a post will display a stylized link at the top of your post. The stylized link will also replace the post’s Featured Image on all index pages.
Upon selecting the Link Post Format from within the Format options box, you will notice a new settings box has been added in the left column. You can use the options provided there to define a link for the post.
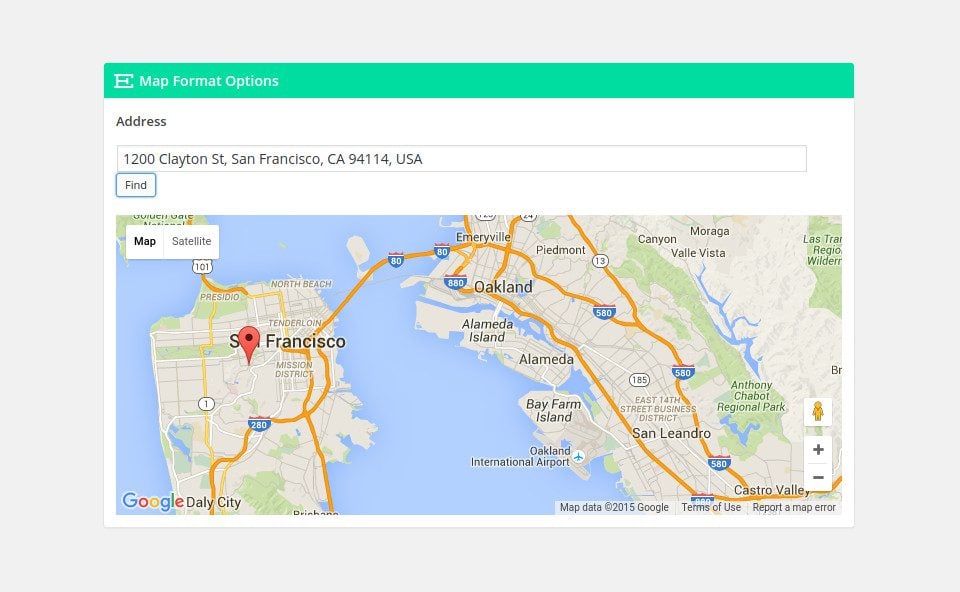
Using The Map Post Format
When you apply the Map Post Format to a post, a map centered on a location of your choosing will appear prominently at the top of the post content. This can be useful in various situations, especially for sites where posts might be connected to a physical location (a restaurant review site is one example that comes to mind).
Upon selecting the Map Post Format from within the Format options box, you will notice a new settings box has been added in the left column. You can use the options provided there to define a map point for the post as well as configure the map’s zoom level and positioning.
Google Maps API Key
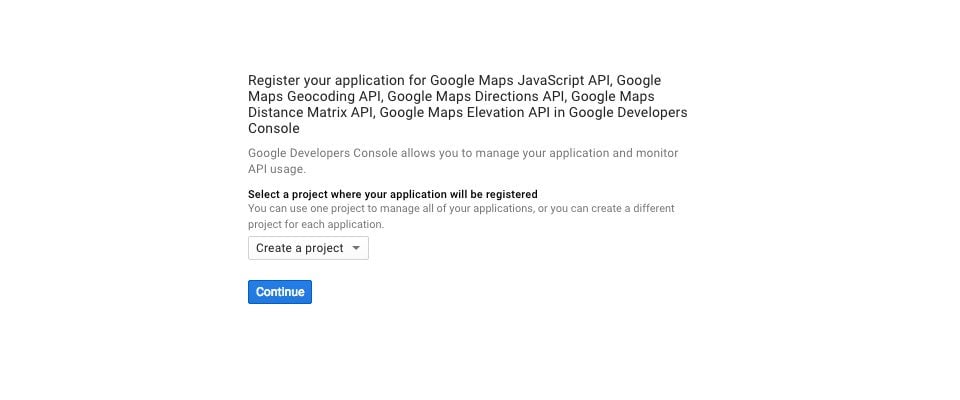
An API key is required in order to use the Contat Page Template since it contains a google Map. To obtain an API key, log into the Google Developers Console, which will guide you through the process, and activate the Google Maps JavaScript API and any related services automatically. The first thing you will be asked to do is create a new project.
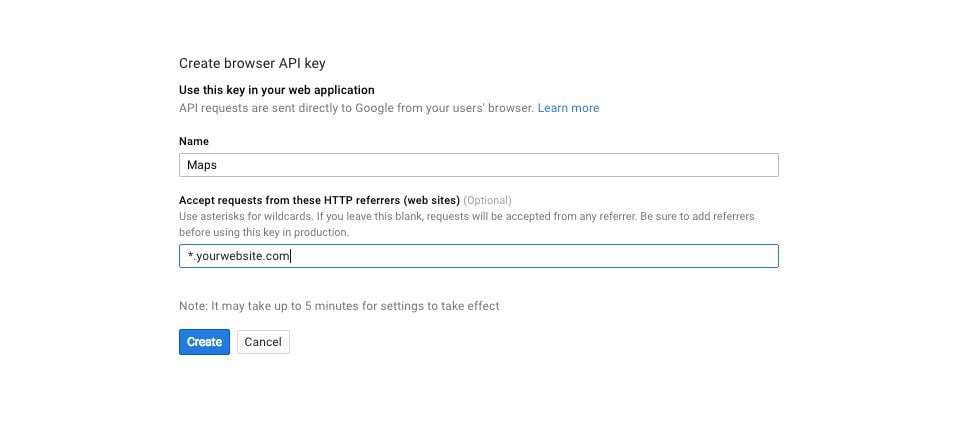
Next you will be asked to name your project. You can name the project anything you like. In this example, I simply called it “Maps.” You can also input your website’s domain name (add an * in front of it if you allow access from both www.domain.com and domain.com) to make sure to other website’s are allowed to your your API key.
After you have created an named your project, you will be presented with an API Key that you can use.
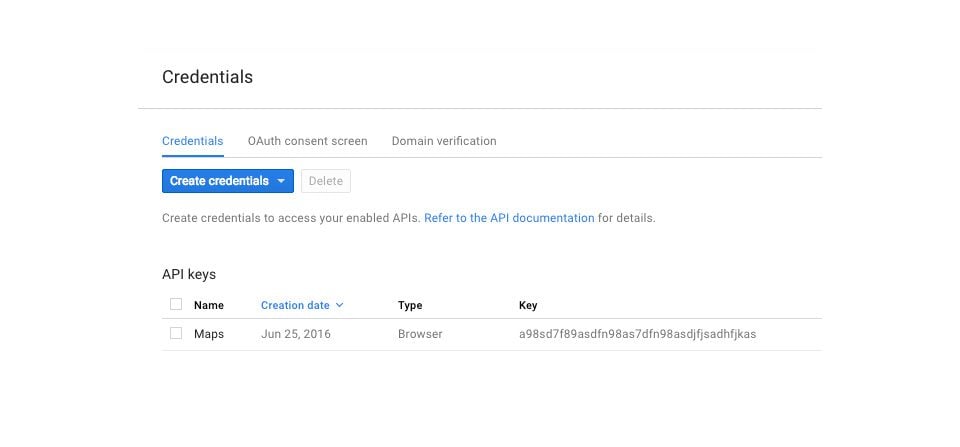
After you have obtained an API key, you must copy/paste it into the theme options panel by navigating to: Divi>>Theme Options>>General Settings>>Google Maps API Key