How To Install Your Bloom WordPress Plugin
Installing our plugins is a snap using the WordPress Dashboard plugin installer.
Download Your Plugin
To update your new plugin, you must first upload it to your WordPress website via the WordPress dashboard. When you download Bloom from the Elegant Themes Member’s Area, you will be be given a file called bloom.zip. Some browsers (such as Safari on OSX) will automatically unzip that folder for you. In this case, you will need to re-size the Bloom folder by right clicking the folder and compressing it. Once you have located your bloom.zip file, you are read to upload it to your WordPress website.
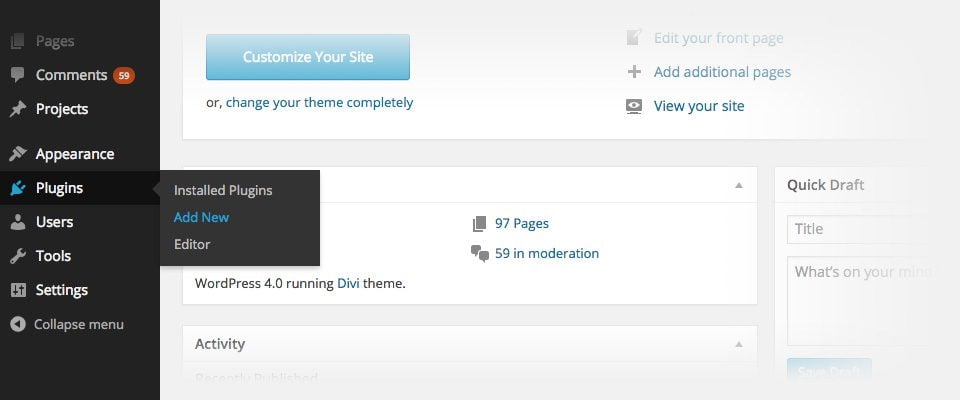
Log in to your WordPress Dashboard and click the Plugins > Add New link. This will bring you to the WordPress plugins page.
Upload Your Plugin
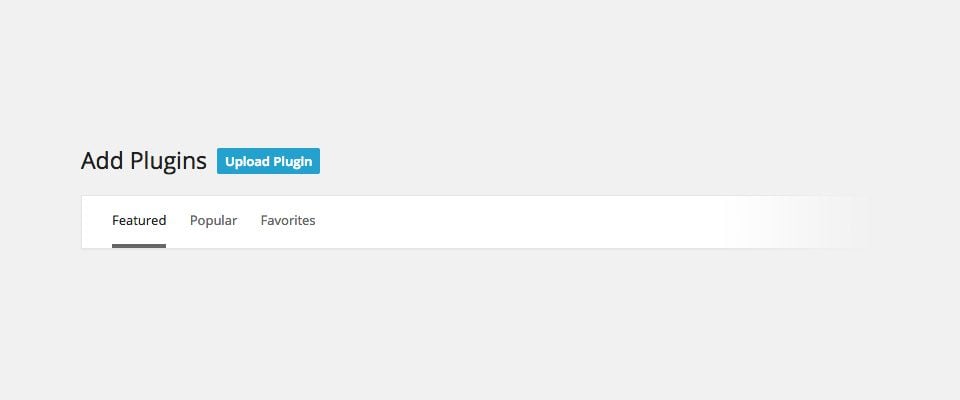
After the plugins page in your dashboard has loaded, locate the “Upload Plugin” button towards the top of the screen. Click this button to proceed to the next step.
Choose Your Plugin ZIP File
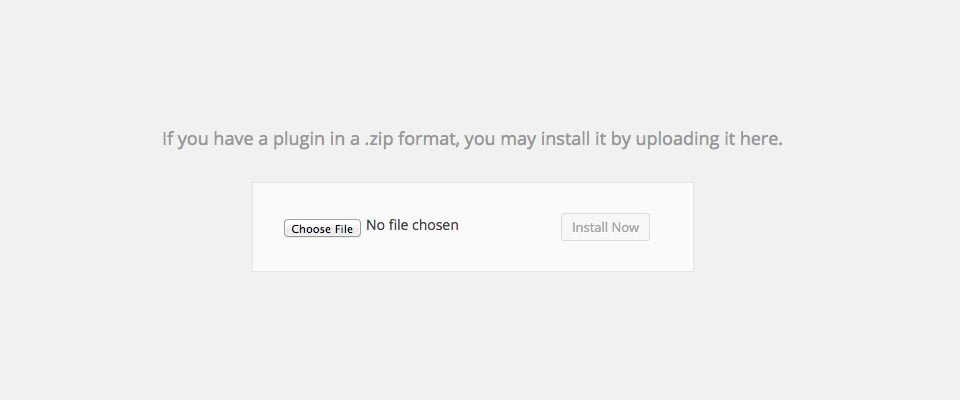
After clicking “Upload Plugin,” you will be taken to a new page where you can select the plugin that you would like to install. In this case, we will be installing the bloom.zip file that you downloaded earlier. Click the “Choose File” button to open a local browser window.
Upload And Activate
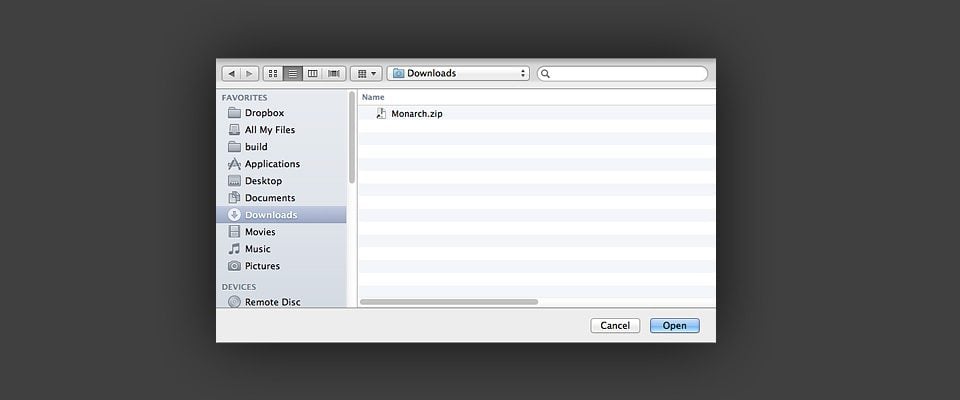
You will need to browse your local machine and find the bloom.zip file. You will often find it in your Downloads folder, but it depends on your browser settings. Once you have located the file, select it and click the Open button. Next click the “Install” button to install the bloom.zip folder that you have just selected. After the plugin has been uploaded you will be taken to a confirmation page where you can activate the plugin. Click the “activate” button and you are good to go!