

If you’ve experimented with the Gutenberg block editor and only kind of like it, the TinyMCE Advanced plugin may be a great “halfway” option so that you can move to the new editor and still have the type of control you like when creating posts. The plugin adds a classic paragraph block – and a sort of hybrid mode – to Gutenberg. You’ll be able to use a familiar editor while still having access to everything Gutenberg offers.
TinyMCE Advanced Features
TinyMCE Advanced has a lot of ways to take control of your page and post creation. Notable features include:
- Advanced table settings
- Change a block editor paragraph to a Classic Paragraph
- Clear Formatting button
- Extra list options, like upper or lower case or disc vs. square
- In-block text modifications (bold, italicize, underline, add a link, align, etc.)
- Option to keep paragraph tags in the block editor
- Import/export settings to a file
- Import your customized CSS
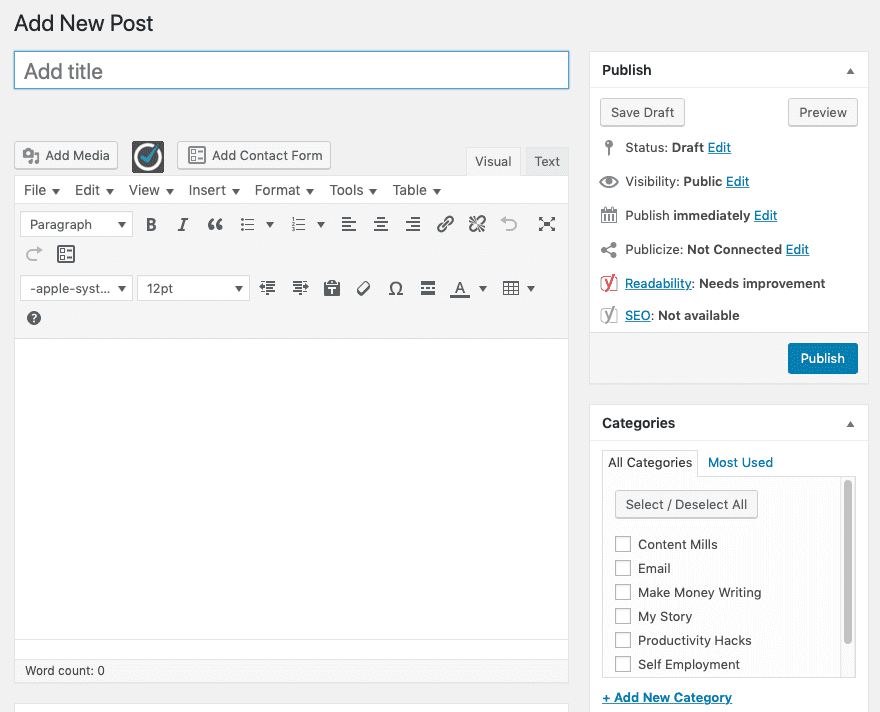
In addition to basic text modifications, there’s a bar at the top of the block with word processing-like options you’re already familiar with (File, Edit, Insert, View, Format, Table, Tools). You can also use the original, classic WordPress editor if you’d like. When you create a new page or post, you won’t see Gutenberg anymore; it’ll look like this:
Getting Started with TinyMCE Advanced
I’m sure you know how to install a new plugin, but just in case:
- Log in to WordPress
- Click “Plugins” on the left
- Select “Add New”
- Search for “TinyMCE Advanced”
- Click “Install”
- Select “Activate”
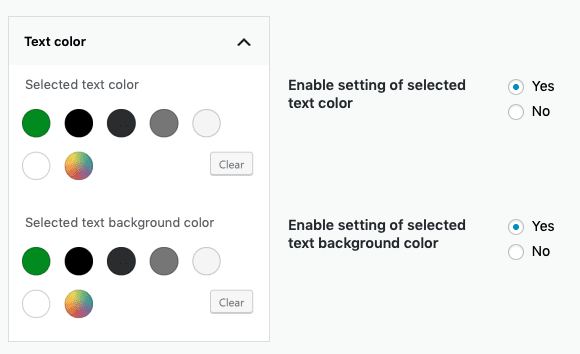
Once you’ve installed TinyMCE Advanced, you can play around with its settings (Plugins > Scroll down to the plugin > Click “Settings”). You’ll default to the Gutenberg settings, and you can change the tools you see in the toolbars, as well as your default text and background colors:
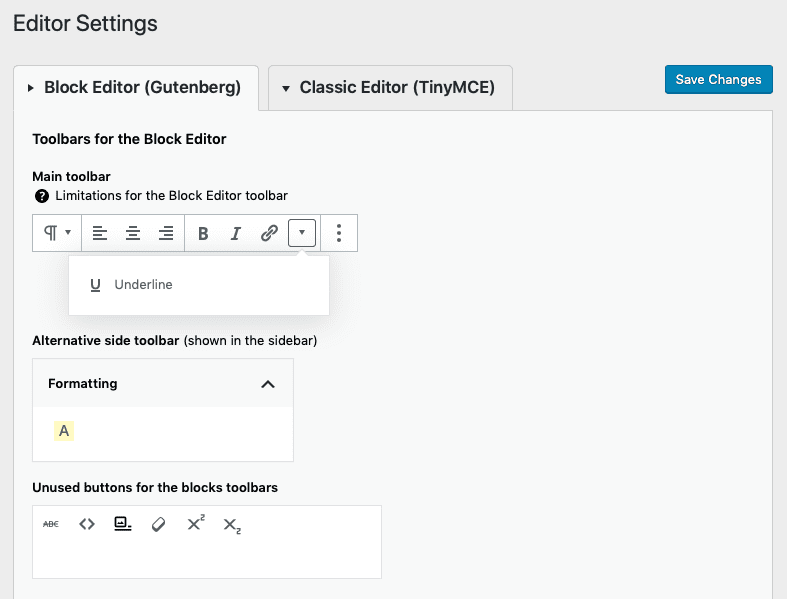
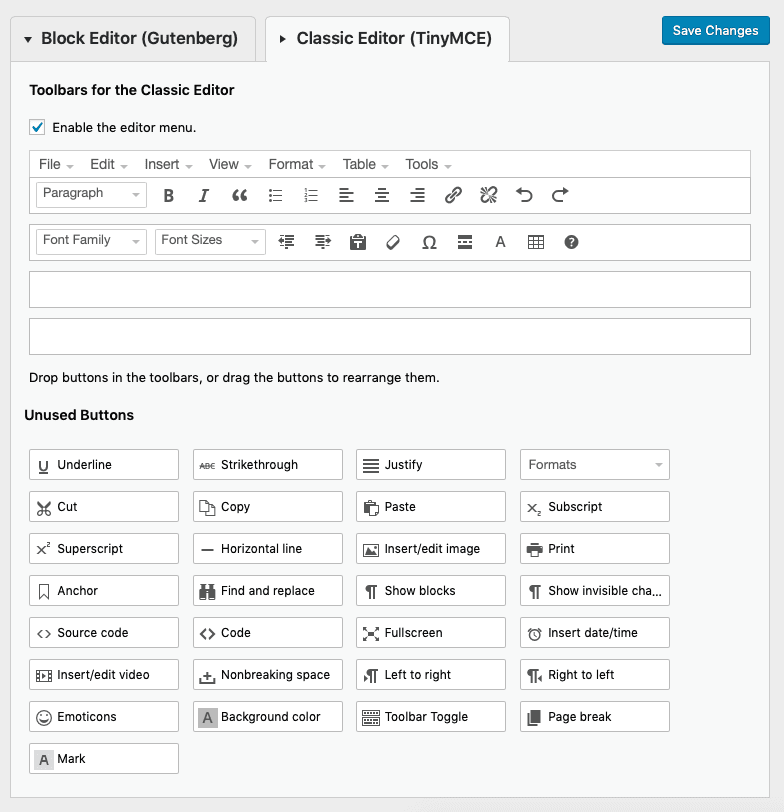
If you scroll down, you’ll see a number of options, and this is where you can opt to replace Gutenberg with the classic editor. You can also remove the Classic Paragraph block option or make it your default block. Clicking over to the “Classic Editor (TinyMCE)” tab under “Editor Settings” lets you customize the Classic Editor toolbars:
Using TinyMCE Advanced
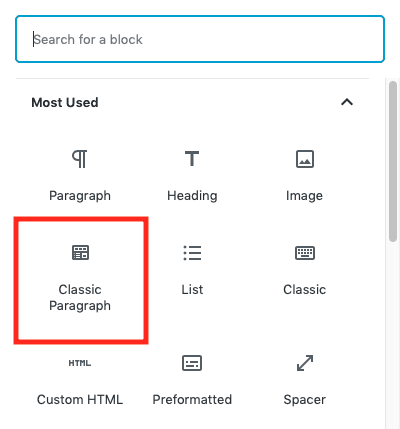
Using TinyMCE Advanced couldn’t be easier, especially if you set the Classic Paragraph as the default block. Even if you don’t, it’s still super simple. Add a block by hovering over the blank space of your page or post, then click the plus sign. Choose “Classic Paragraph.” Voila. That’s it.

Then you just type as normal and use the tools in the toolbar to do whatever you need – switch between paragraph and heading sizes; bold, italicize or underline text; add lists; align the text; etc. You can do this with the Gutenberg paragraph editor, too, but the toolbar is at the top of the page, which isn’t as convenient as having it right in the block.
Adding Photos with Gutenberg vs. TinyMCE Advanced
In both the Gutenberg paragraph block and the TinyMCE Advanced classic paragraph block, you can add images directly to the block. They function a bit differently, and I like them both for different reasons.
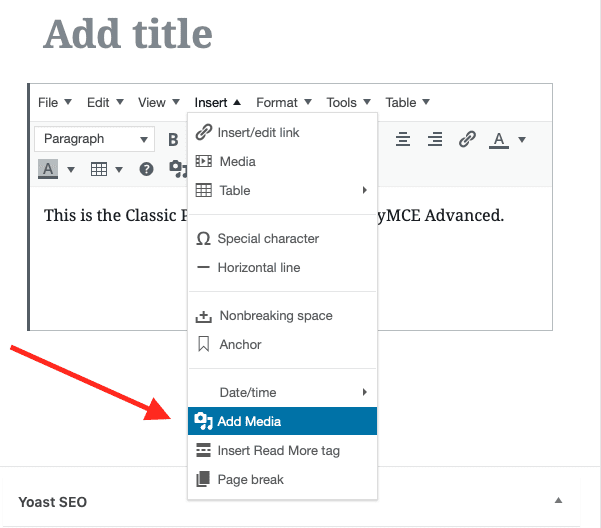
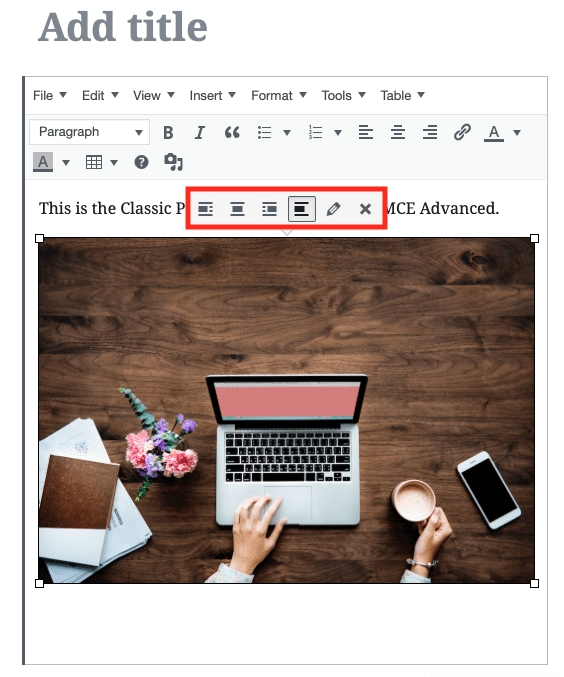
In the Classic Paragraph block, you click “Insert” and then “Add Media,” and then you either upload a photo or choose one from your WordPress library. Once inserted, you have the option to align it differently or edit it.
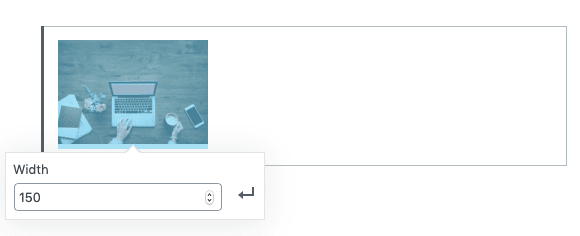
In the Gutenberg paragraph block, you can choose “Inline Image” from the menu at the top of the page, which will also let you insert an image in the block. (FYI, I placed the “Inline Image” tool in that menu when customizing the toolbars in the plugin’s settings.) This time, though, the image is small, and you can change the size of it right in the block.
Creating Tables with TinyMCE Advanced
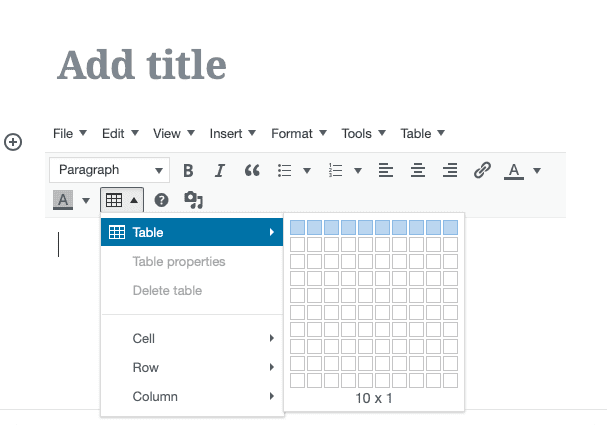
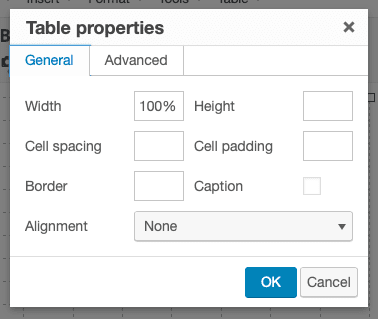
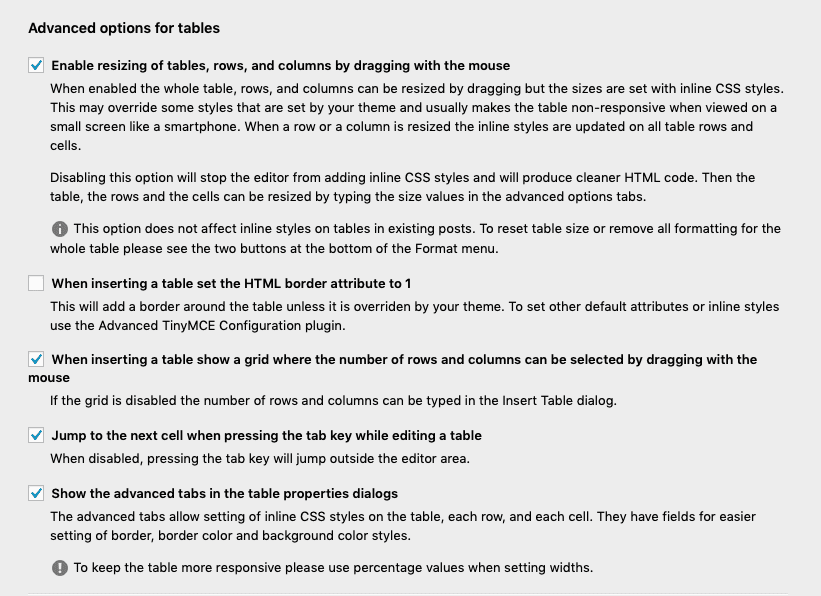
The ability to easily create tables and the different options you have for your tables are some of TinyMCE Advanced’s best features. To create a table, just hover over the table icon in the toolbar, which will bring up a few options. Once you’ve created your table, you can click that icon again to change the table properties.

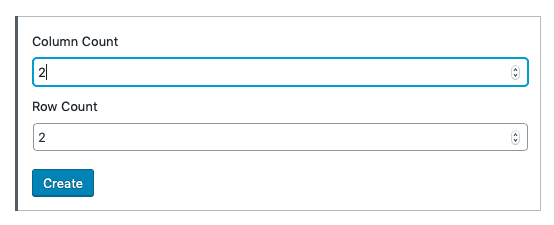
This is a more visual way to create tables than in the Gutenberg paragraph block (and it’s much easier than creating tables in HTML). There are also a lot of table-specific options in the plugin’s settings.
Problems with TinyMCE Advanced
One of the perks of using TinyMCE is that you have more font options…in theory. I did everything I could think of to get them to show up in the Classic Paragraph block, and while I saw them on a new page at one point, I couldn’t get them to show up again at all – not on a page or a post, not in a new block, not after signing in and out, deleting the cache, updating everything there was to update… I also kept toggling the editor menu (File, Edit, Insert, etc.) “off,” but it was still there every time. So… I don’t know. If you don’t need the additional font options, TinyMCE Advanced is still a good choice if you prefer the classic editor. If you do need the font options, then good luck, and let me know if you can get them to work.
Final Thoughts
Some people love Gutenberg, but you may find it clunky or difficult to learn. If you like the idea of Gutenberg, though, you may want a way to get used to it without getting stressed out or having it interrupt your workflow. TinyMCE walks that line – create pages and posts in a way that’s familiar and easy to use, and keep the option to play with everything else Gutenberg offers to get used to it on your own timeline. Since it’s easy to add a Gutenberg paragraph or a TinyMCE Advanced paragraph, you can pick and choose which you use when creating a page or a post, and you can add the one you like based on how it lets you write, add photos or create tables.
If you’re using the classic editor, it’s probably because you want a streamlined approach to creating content. Check out this Content Creator’s Guide to Writing Faster and More Efficiently.
Featured image via miri019 / shutterstock.com


Advanced TinyMCE is not compatible with the Divi Builder, and I use for all my pages the Divi Builder and am bummed that the Divi Builder has so few style options! I have to implement academic texts and using the Divi Builder I have write inline code for subscript and superscript texts or extra small texts for references – the Divi Builder is so primitive.
It works on the backend Divi Builder (https://i.imgur.com/2cqZQeo.png), but it doesn’t work yet on Visual Builder.
TinyMCE Advanced is a great plugin. I have used in many the custom WordPress projects. It is great add on to Gutenberg editor.
I don’t understand the relationship, if any, between the Gutenberg editor and Divi. I though they were mutually exclusive. I do know I dislike the defaults that Divi has put into their editor/Visual systems. I can no longer, for example use the multiple columns plugin from Tortoise II which was/is terrific. But those options do not show up unless I bail out of VB and go to classic. PITA stuff for no apparent benefit to me. BTW, I love the TinyMCEAdvanced.
I’ve been using this plugin not knowing if it’s actually compatible since I started with Elegant/Divi years ago. It def has bugs, such as having to constantly re-set the fonts/colors/sizes with new paragraphs and even new sentences, but none of the options within either wordpress or Divi itself worked at all for me, or took advanced degrees in subatomic particle physics to try to figure out.
I guess it’s good to finally know I can use the plugin and not worry about conflicts, even tho it remains an imperfect solution.
TinyMCE Advanced seems more promising than Gutenberg editor. But Classic editor is the best option for me 🙂
Thanks for your comment! I can’t help but love the classic editor, too 🙂
I’m Using Classic Editor But It Has Less Features In It But When We Use It With Advanced TinyMCE It’s Better Than GutenBerb And Less Confusing And In TinyMCE We Can Add Features Which Are Helpful To Us And We Can Also Remove The Features That We Don’t Use Them So When We Use The Editor It Won’t Look Cluttered. For My Site I prefer Using Classic Editor With Advanced TinyMCE. It Saves Me Time And Makes The Post Look Attractice.