

This article is a follow up to a previous post How To Create A Local WordPress Installation On A Mac. A lot of people requested we show how to take a local installation of WordPress and move it to a live web server. Because of the demand, I will walk you through how to go about doing this.
The task of moving your website can always be a scary one but it doesn’t need to be. A lot of assets, code, and structure can change in the process of moving your site. There are proven steps to take to avoid headaches and even some notable services that can do the process for you. If you’re interested in doing it yourself then I invite you to follow along with this article about migrating a local WordPress installation to a live web server.
Setup
If you already have WordPress installed locally then you have completed the very first step. If you are not sure how to install WordPress on your local machine then view my other article How To Create A Local WordPress Installation On A Mac or Kevin’s on How To Install WordPress Locally On A Windows Computer (if you’re a Windows user) to find out how to get things setup. For the purposes of this tutorial I will assume you already have WordPress installed on your local machine and your site is ready to push to a live web server.
Backup Your Files and Database
If your site is indeed ready to push live, make sure you make a copy of all your files within it to keep a backup handy. For good measure it is also wise to backup your database used when you installed WordPress locally.
To backup your database you’ll need to have your local server running. I personally use MAMP for my locally installed WordPress websites. You can use whichever option your prefer.
Launch MAMP and start your local server.
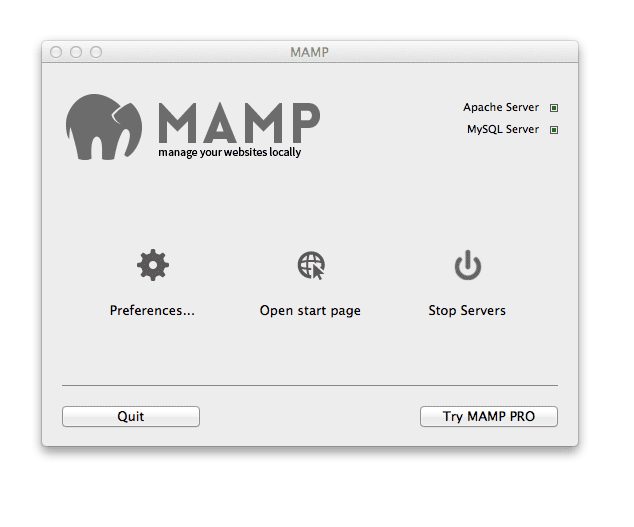
MAMP server is running
To verify your server has started MAMP should tell your by its status indicators but if you still aren’t sold then click on Open start page and you should see the screen below:
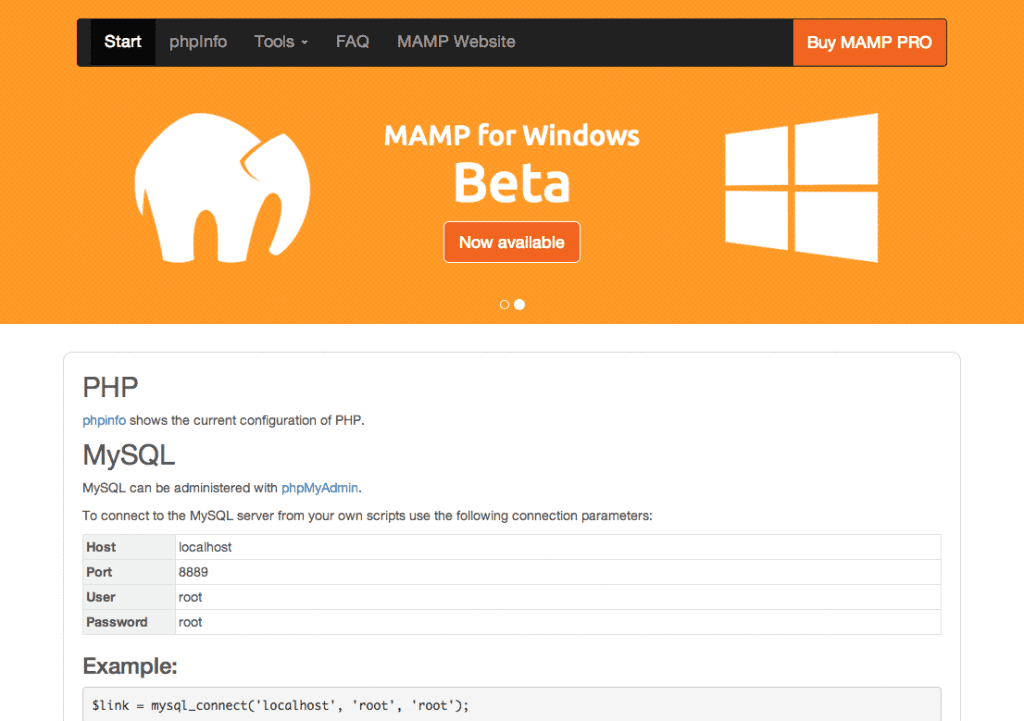
Our MAMP server is successfully live.
Success!
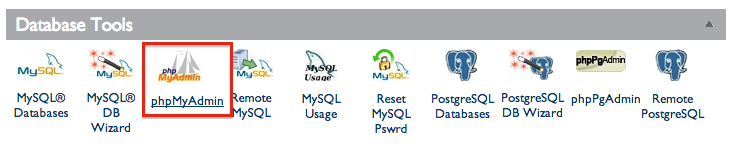
To backup our database we need to head to our phpMyAdmin section within the MAMP tool list.
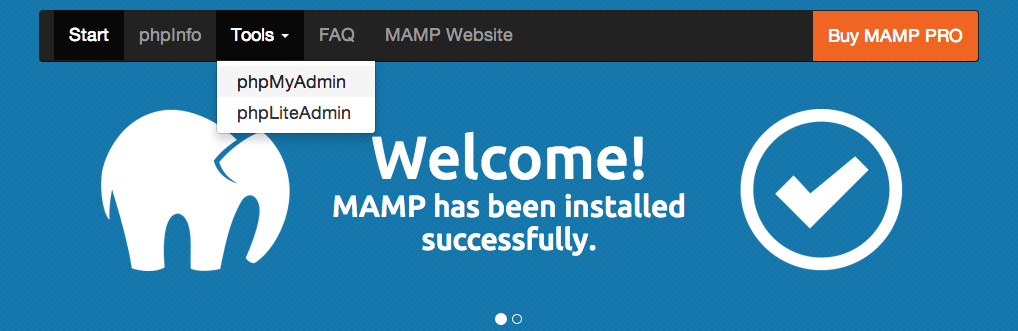
Click on phpMyAdmin to get access to your local databases.
Once you click on the link you’ll be redirected to the phpMyAdmin dashboard. Find the Databases tab and click on it. Here you will want to find the database you used on your website. If you don’t remember the name of the database then you’ll need to reference your wp-config.php file inside your WordPress installation. If you open your entire WordPress installation in a code editor your should see something like below. I currently have my wp-config.php file open.
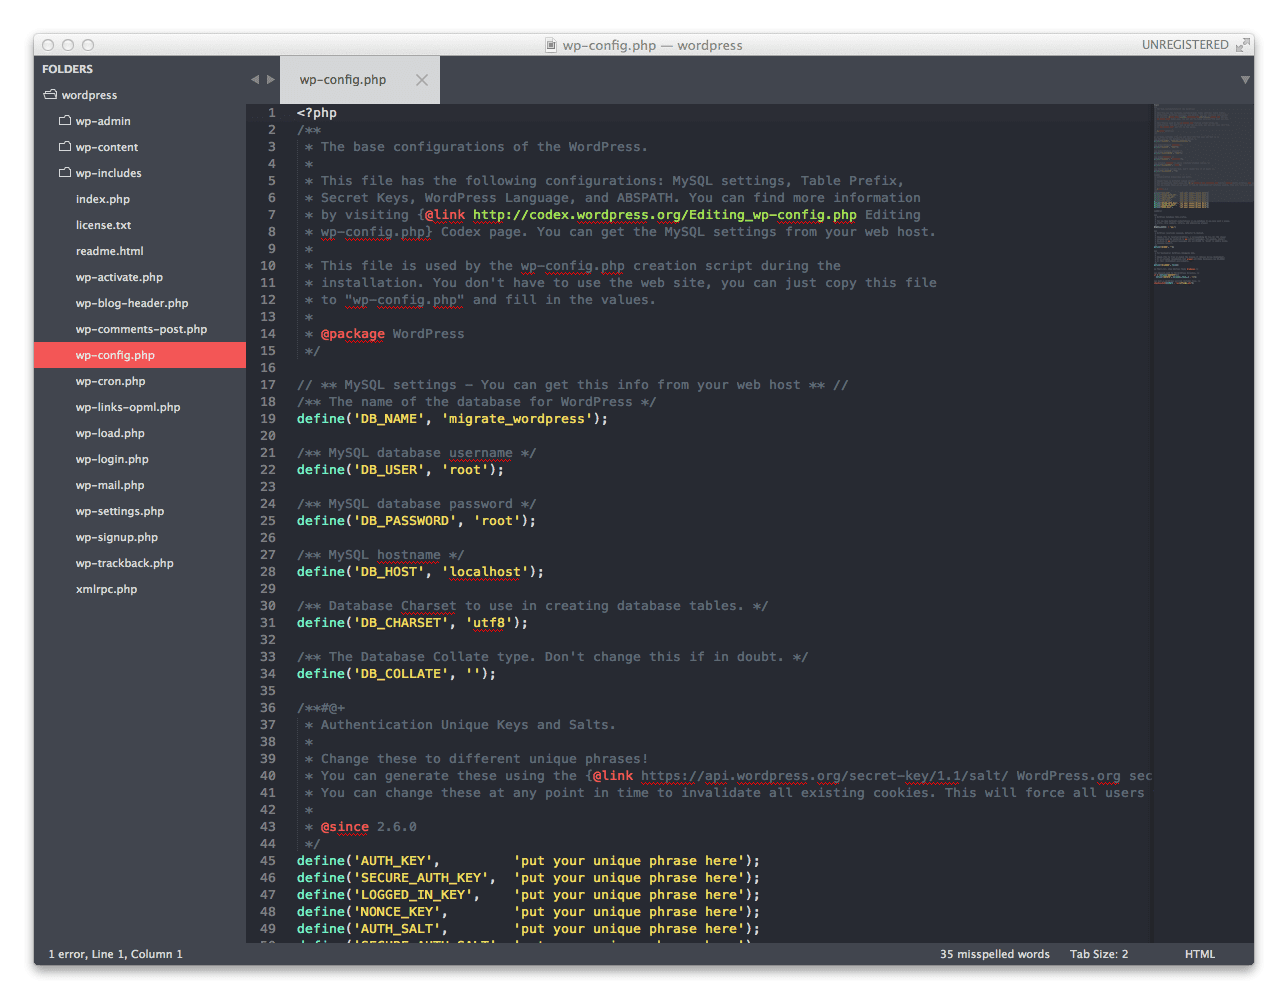
WordPress wp-config.php file.
If you look at the first line below the larger block of comments you should see a comment indicating what our database name is. You should see the equivalent inside your phpMyAdmin database list.
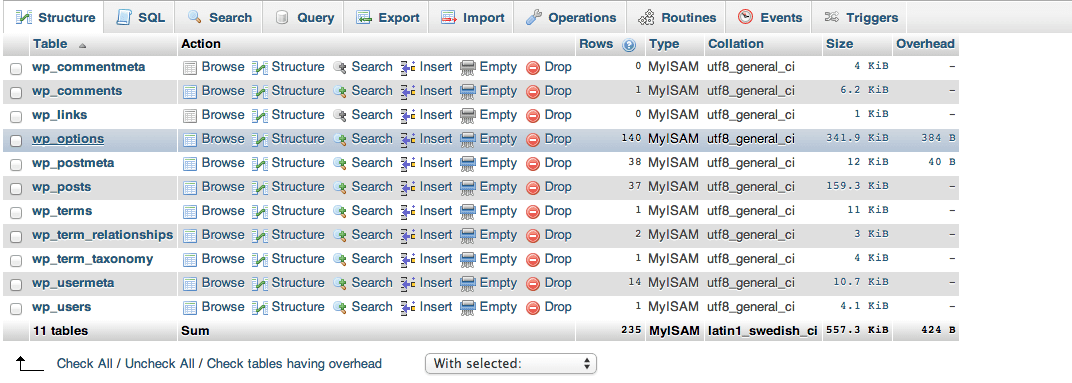
Here’s how the database looks on my end:
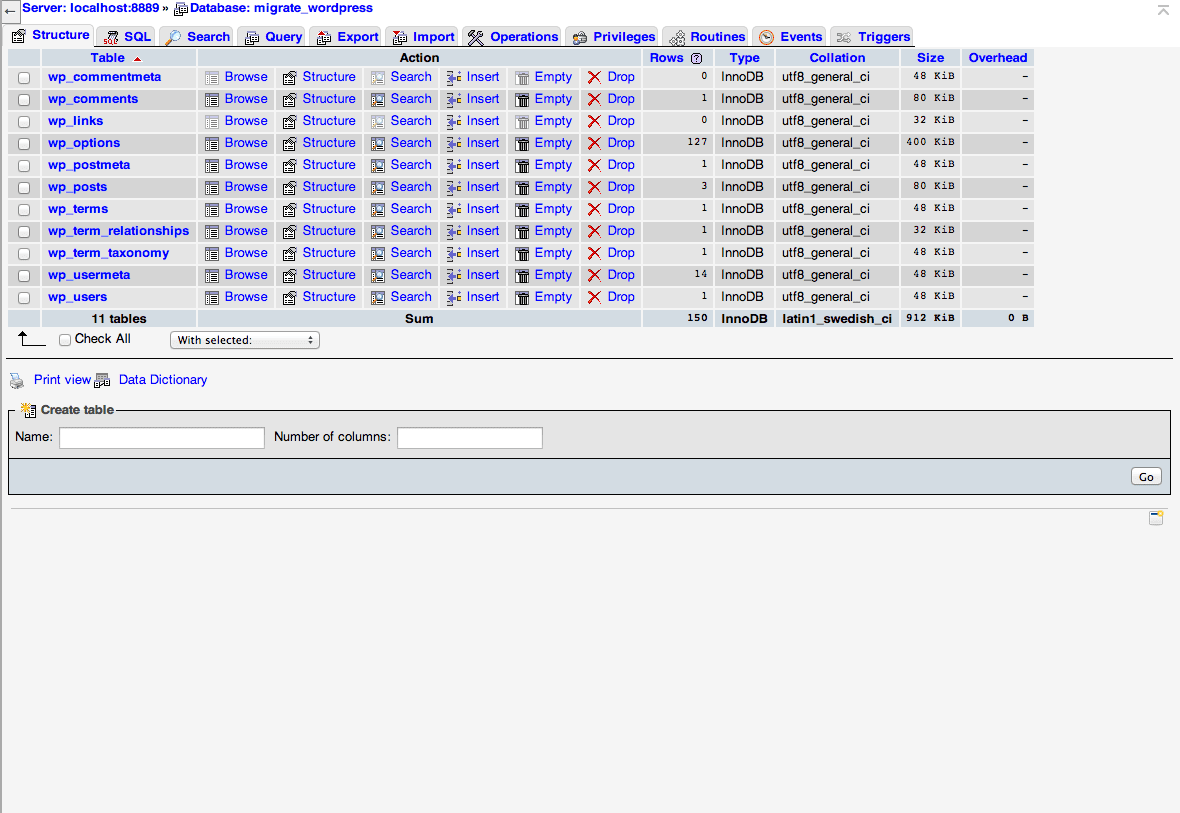
Our database and it’s contents
The database I used for this tutorial is called migrate_wordpress. Yours will obviously be different but the process I’ll go through is exactly the same.
With your database all set head to the Export tab and choose the Quick option. The rest of the settings can be left as defaults. Click go and a large chunk of SQL code will be generated. Copy the code and save it into a new file with a .sql extension. You can name the file however you please.
Now we have our database backed up. Any posts, images, or other data you generated during the life of your local WordPress installation can be reproduced if ever needed.
Note – If you already have a WordPresss site live on a testing directory of some sort then you can do the same thing we did here by backing up your files as well as the database.
Live Server Optimization
When you upload any file to a web server from a local installation, the file path to that file will always change. This is probably the trickiest endeavor when moving WordPress to a live server. WordPress relies on it’s permalink structure as defined in it’s general settings to operate correctly. In order to get our website live we need to make sure all the permalinks change to the proper path.
I’ll be using a subdomain of my own website to use as an example for this tutorial. You’ll need access to your web host to optimize your server for the new WordPress Installation. For this tutorial I’ll be installing a completely brand new WordPress site on a live server. The local installation will be copied to my server rather than creating a whole new WordPress installation first.
One-Click Installs
Most web host’s offer a one-click install of WordPress or other popular Content Management Systems. While these are really easy, I prefer to install WordPress on my own and the reason for this is that the web host will typically assign some really unique and hard to remember database names and passwords to your installation. While this is great for security, I can never remember these credentials. If you’re in a pinch then by all means feel free but I won’t be covering how to go about setting WordPress up this way in this specific tutorial.
Create a new database
In order for WordPress to function on the live server we need to add a database. Your web host provider will likely have a database section when you login to your control panel. You’ll want to create a new database and assign yourself as a user with all privileges. Every web host is different so If you can’t figure this part out you’ll need to look for support online. A lot of web host providers offer tutorials on topics such as this one.
For your site you will need to name the database with a unique name. For this tutorial I’ll just be naming my database migrate_wp
With your database created, you will need to login to your web host’s control panel and find your phpMyAdmin tool. This tool is almost identical to the one we used locally except you will likely be presented with a login form. When you access it you’ll see your new empty database.
Change wp-config.php
To get WordPress to connect to our live database correctly we need to modify our wp-config.php file. Add the credentials used for your web host to your local wp-config.php file. I won’t reveal my own credentials so I’ve added some placeholders which you can see below 🙂

WordPress wp-config.php file.
Upload Your Files
Now we need to upload our local site’s files to the web server. I’ll upload mine to a subdirectory for example purposes since my main root level website is already being used.
FTP access is a way to get access to certain directories on your web server. If you’re the admin of your site you can get complete access as well as share limited access to others. We may cover this feature in another tutorial.
The web server has a folder and file structure much like a regular computer. You use your FTP application to upload your files easily. If you are unsure how to get FTP access to your site then defer to any guides your web host provides on the matter.
I’ll use Transmit to copy my files from my local machine to my web server. You can use any FTP client. There are a lot of free ones out there. If you are for a high quality and easy to use free application I would recommend CyberDuck.
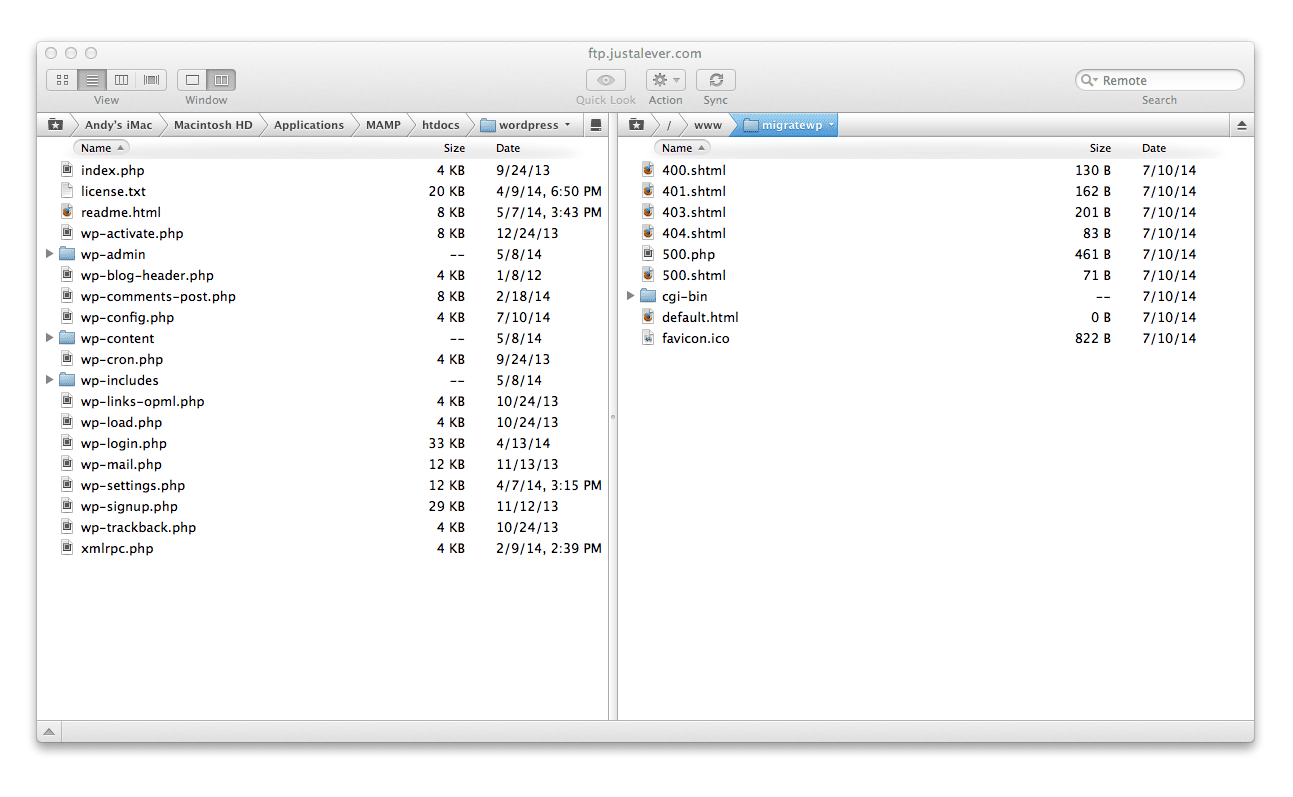
Our live and local site files.
On the left side of Transmit’s window I have my local site. On the right side I have my live site which is connected via FTP and my new directory or subdomain which I created earlier (migratewp). This directory, as I mentioned, is a sub-directory of my main website so it will display at http://justalever.com/migratewp when it’s fully functioning and live. Your site might be at the root level of your www or public_html folders on your website. Either folder leads to the same place so don’t let that confuse you. If you want your site to be at www.yoursitesname.comthen just add your local WordPress installation files to your www or public_html folder.

Uploading files to my web server.
Once your files finish uploading (this might take a few minutes) you should be able to navigate to your site at the address I spoke of above.
Since we created a brand new database on our live server WordPress will treat the upload as a first time installation.
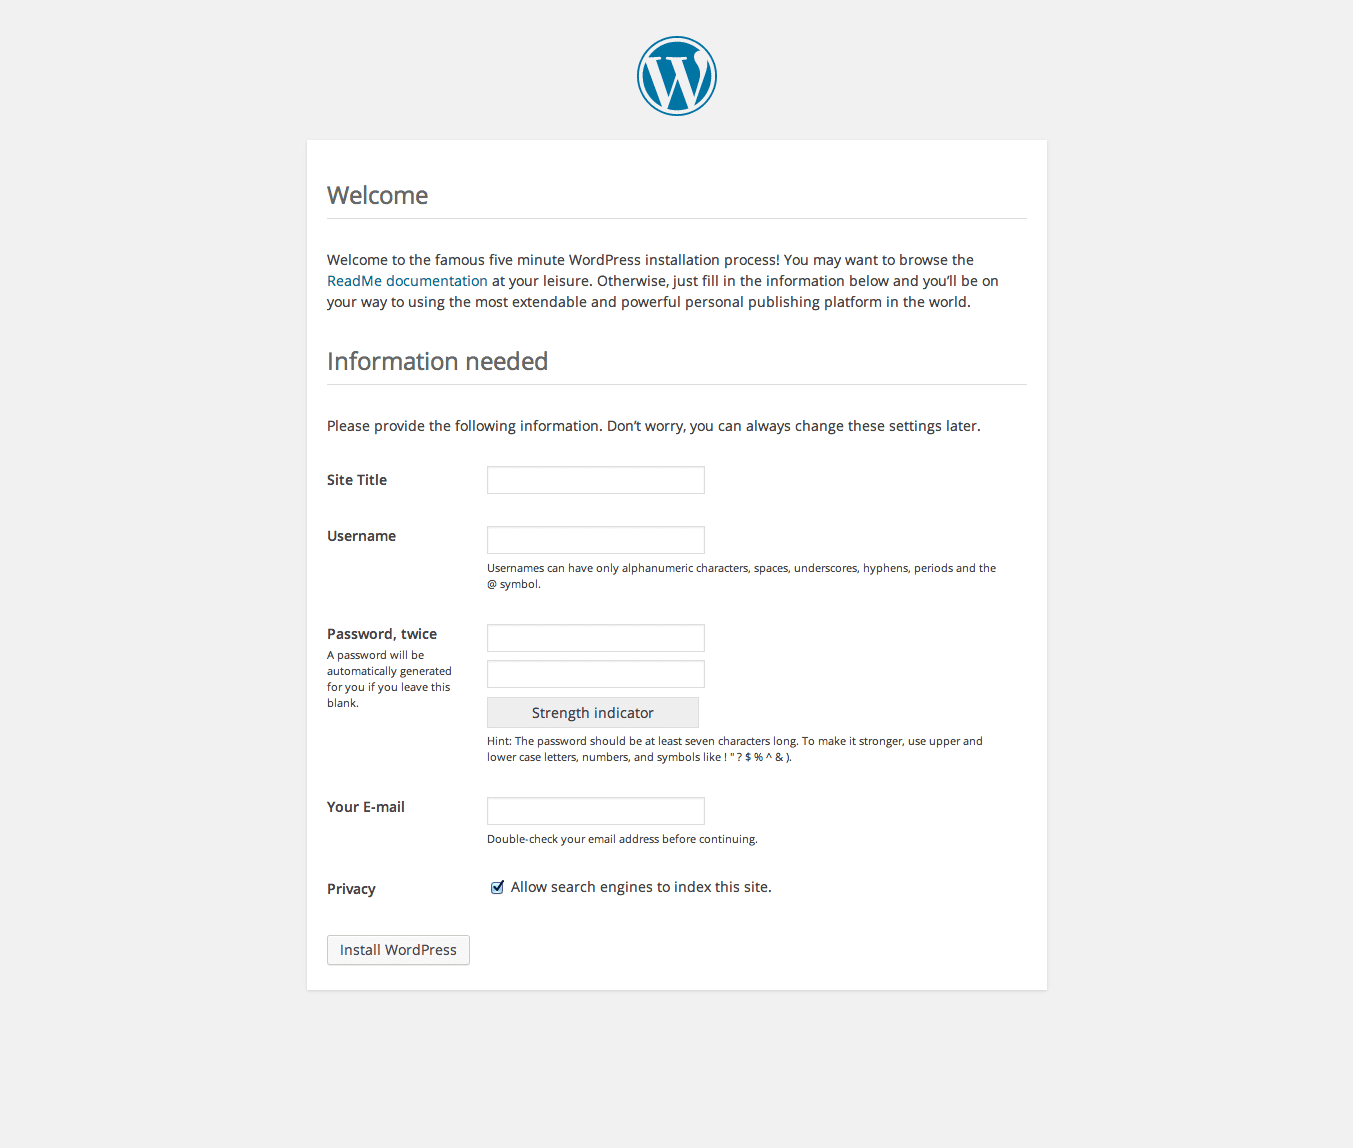
We are presented with the WordPress new installation screen because we have created a new database and added the WordPress core files for the first time.
If you’re following along you will need to setup your site by naming it and establishing a username and password. Once you do you can then login to your WordPress Admin area.
Link Structure
At this point we have our WordPress installation live on our site and functioning correctly.
There may be times where you have some stray links within your theme which you defined as non-dynamic links (these won’t automatically update ). These links will likely still have the http://localhost:8888 link url instead of what is live on your current site. There are several ways to go about updating these links which I’ll cover below.
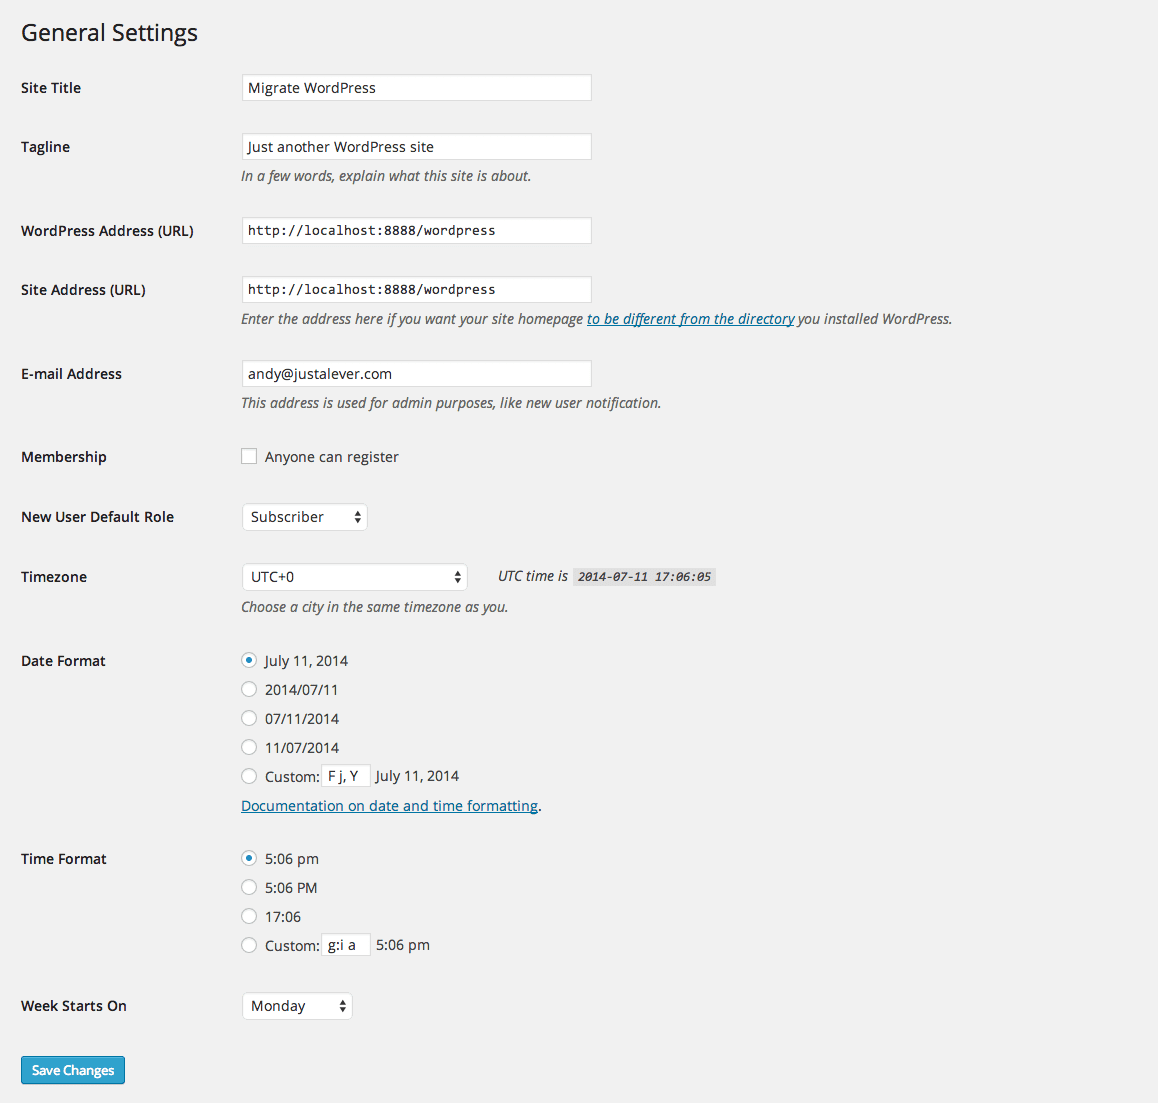
Before moving forward you will need to make sure that your site’s url structure is set to your liking within your General Settings inside your admin area. There’s a chance it can still have the url http://localhost:8888 or something different if your using a testing server that’s live already. If it does then now is the time to change it to your new url that your site lives on.
Edit your site URLs
If you navigate to your site after setting things you will probably get an error. WordPress is set up internally but the data inside our database is still pointing to our old url.
Editing the ‘wp_options’ database table
The more technical approach to changing your link structure can happen back inside your phpMyAdmin area. Head to your phpMyAdmin area and login from inside your web host control panel.
phpMyAdmin live on our Web Host control panel.
Find your database and click on it to browse its structure. Inside your database you should see a table called wp_options. Within this table is all of the data that is bundled with your WordPress site.
The options table that comes installed with WordPress.
Click on the wp_options to browse all the options it lists. You should see the top row option_name is your primary siteurl. You can click right on the row to edit the contents. If your “siteurl” is still set at a localhost link (http://localhost:8888/) you can change it to your live site’s URL now (http://yourwebsite.com).

Edit your site url if it’s different than your live site’s domain address.
A common error at this point is to assume you have updated all of your options to use your new url. We have one more option to change. You will need to go to the next page of options to find it.
The option name you are looking for will be the home option. Make sure to edit this field to include your new site url as well.
Update the home option value to include your new URL.
With these settings in place your links should update to your new URL thus making your site live.
Using a Plugin
An easier approach to changing the links throughout your WordPress site is to use a plugin. One that I tend to use is called Velvet Blues Update URLs.
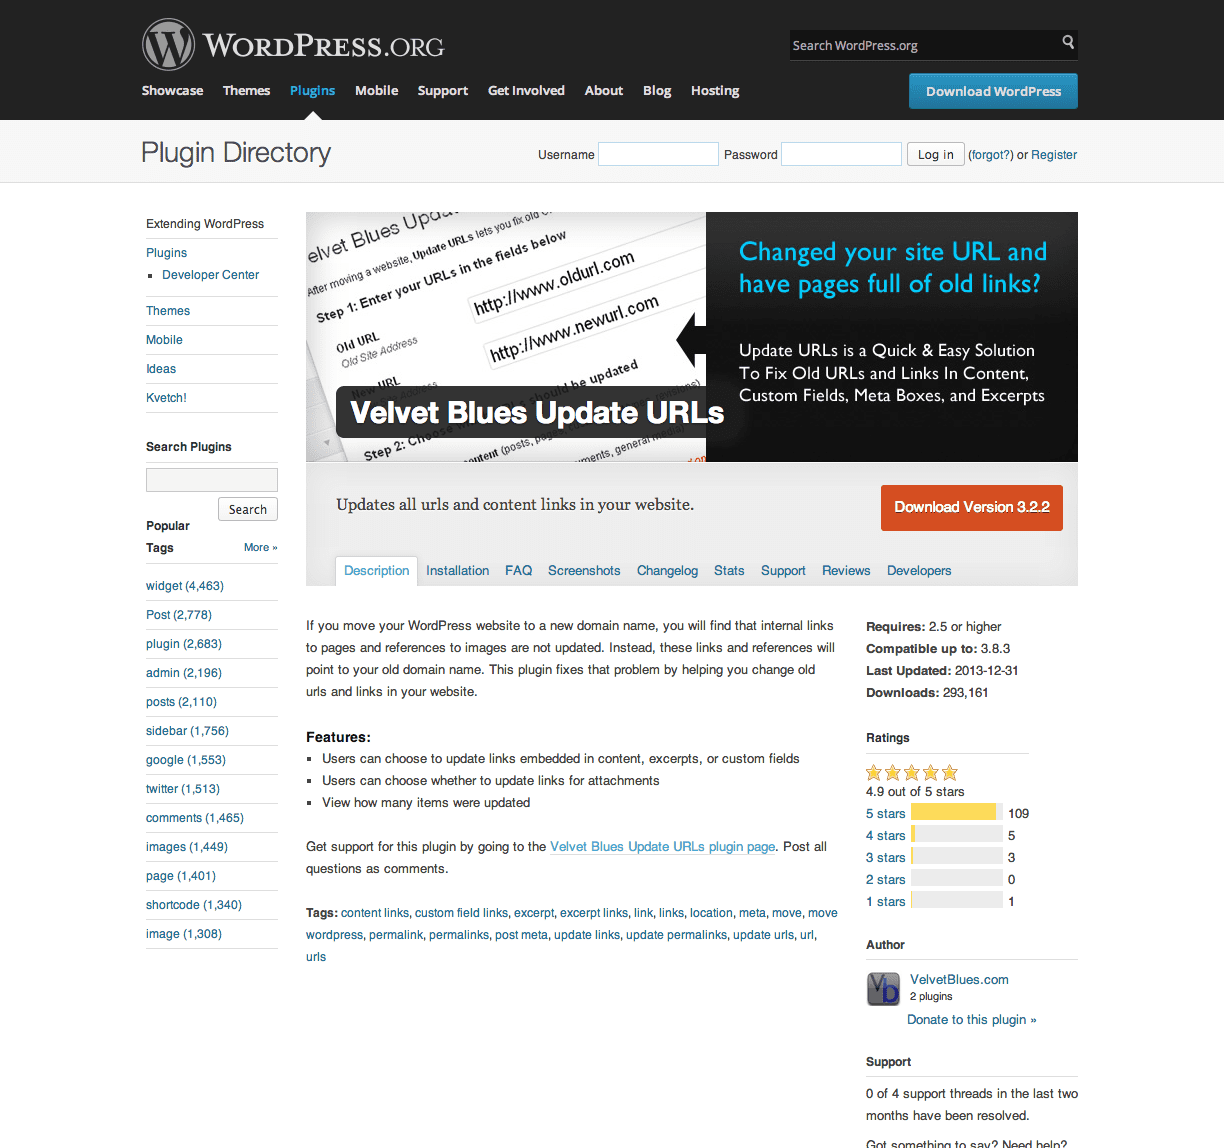
This plugin eliminates the need to mess with your database manually. If you are moving your site from a local installation to a new domain name on your web server this plugin will search and replace the links you supply it.

Update your urls using the Velvet Blues plugin.
Simply enter your old URL in the Old URL field and then your new URL in the New URL field. Then select which areas you want to update. Typically you can get away with selecting all the fields except Upadte ALL GUIDs simply because thats left for development sites.
Hopefully you won’t enter your URLs wrong but if by some chance you do be sure to make a backup of your database first. I covered how to go about doing this earlier.
After running the plugin you should notice all of your links update throughout your site. Some links that are hard coded by hand my have to be updated by hand if the plugin doesn’t quite find all of them.
It’s Alive
Our WordPress installation is live on our web server. We updated our links both within the admin area and inside our database. My site is now live and I’m a happy camper. Hopefully you are too!
Today I covered how to install a new version of WordPress on a live server. Some of you may have a development site that you use to test your WordPress sites on which is already live. In the event that you do the process of moving WordPress is extremely similar to this only you’ll be using an existing version of WordPress.
A great reference is the WordPress Codex itself for tips on Moving WordPress in the easiest way possible. There are a lot of things that can go wrong but they are usually quick fixes because it has to do with links and naming conventions. The more you move websites the better you become at it even though at first it seems extremely complicated.
I hope this helped anyone who has always wondered how to move a local installation to a live web server. It’s not all that hard but there is a checklist of items to remember when making the move. The key is to use common but unique naming conventions and make sure your links are all consistent.
Article thumbnail image by bgplanet / shutterstock.com


Awesome i face the site option change url from many days.thanks.everytime i click its goes and redirect to the main domain.but thanks alot its fixed after this.
Why your old blog posts don’t show images?
Is there anyway to get around creating a new database when migrating from localhost to live server?
The reason I ask is that my host does not provide the opportunity to create my own database – I have one and only one (maybe that’s why they’re called one.com?!…).
That makes it tricky if I have a running wordpress site on a live server but want to update it with a newer fresher site from localhost, right? Or am I missing something?
Can I somehow just overwrite the “old” database?
I love your blog and your tutorials. Of course I am an ET-customer, using Divi theme for several of my own websites. 🙂
That said, I’d love to see a tutorial on how to migrate an existing non-CMS website (Rapidweaver, in my case) over to a new wordpress installation. What would be the best way to build the new wordpress site, while maintaining the old one live? Use a WordPress subdirectory? Then what would be the best way to switch over when everything is ready? How would I keep my Google rankings? Questions like these. I am sure this would be an interesting topic to many readers of your blog. As there’s certainly no better place on the web than ElegantThemes blog to get informative instructions about all things WordPress. 🙂
Hello everybody. Thanks for the tutorial Andy, it was a tremendous help for me. I’ve followed every step you described and everything has gone well but there’s one thing i can’t understand about a url problem.
I can log in into the WP admin panel, get inside and see all the pages, users, posts and everything i had designed but when it comes to click and preview the web it shows nothing but a white blank page. So i can log and built but not preview. Do you guys know what’s the problem?
Thanks for the article, it was really helpful, you just forgot to mention that we should also import the SQL database that we saved from the localhost to the live server.
Andy,
This article was really helpful and the steps are clearly laid out for a true beginner. Everything went fine until I got to the very end and it didn’t work at all like I hoped. I have reread the steps, but I seem to be missing something between “backup your local wp database” and “create a new blank database on the live server.” My new live site looks nothing at all like the masonry grid portfolio that I’ve built on my local site. Don’t I need to “upload” my local database somehow? Apologies if I missed something here, or perhaps my particular site, with pre-established posts, requires a different type of blog migration.
Thanks again,
Stephen
Thanks for the tutorial, it’s always good to know how to do this without a plugin
When I first decided to set up a dev server, I installed MAMP. What a nightmare. There was very little documentation, few videos and so for anyone unfamiliar, it was a bust.
I now use the best software ever with the very best immediate support:
ServerPress
There’s a free version and a paid version. If you design sites for a living, you can’t be without ServerPress.
As for moving sites around and backing them up-BackupBuddy is worth it’s weight in gold.
I have enough learning curves everyday with sites so I don’t need to be jacking around with third-class software.
Many times I have to develop in localhost and then migrate it to live site. Thanks for the complete guide.
Thank you for posting this. This blog kicks ass.
I have a live site that has run out of storage, and because of this, I can’t run Duplicator. I really don’t want to pay my crappy host for more storage just so I can run it. I just want to migrate and get out of Dodge, if you know what I mean. : )
How would I execute the above process in reverse, meaning, manually go from a live server to MAMP?
Fabulous step by step tutorial Andy but these days I go live from day one and activate the “don’t index my site ” button in WordPress.
Then I set up the site at my leisure.
An alternative would be to go live and use the Elegant Themes “Anticipate” plugin.
http://www.elegantthemes.com/gallery/anticipate/
Either way you don’t have to worry about the transfer.
Another great tutorial. Every time I read your blog, I learn something new. After reading your post, now I can easily move a local WordPress installation to a live server. Thanks for the great share.
I just know there are a lot of ways. this information as an excellent reference
I use http://updraftplus.com/ which is supposed to be Multisite (WPMU) compatible. Didn’t try that yet but I have to in the near future… wish me luck :-).
Hi,
If you are on a Mac. I really suggest you to use Sequel Pro (http://www.sequelpro.com/), to manage your Database instead of phpmyadmin (totally free).
Much more easier and user friendly
I like the article to understand they way it works.
But I even more like the answers and hints to tools people use.
Always a good sharepoint as well, these Blog-Posts. THS!
I’ve used XAMPP and I dread this because of my previous experience and also elegant support always insist to see the live site (but things have changed now). Maybe I will give the duplicator plugin a try…ouch, I may need an head up how to use the plugin…
Your post is getting infectious just like Kevins… 🙂
Very good article for any beginner, Thanks for share.
What if I menggunalan XAMPP on localhost, is the same way?
thank you
Hello,
What app did you use to edit the wp-config file? Love the layout of it.
That is Sublime Text 2 with a custom theme called itg.flat.dark
excellent! This is the first article on this topic more clear and direct than ever read. Thank you!
Thanks and happy to hear it helped 🙂
I don’t think editing the wp_options table will catch instances of serialized strings. I use this script when migrating WordPress sites to do a search and replace on the database: https://interconnectit.com/products/search-and-replace-for-wordpress-databases/
+1 for the script Deborah mentioned. This has worked flawlessly for me every time.
Very true! There may be a time where you need to do a complete search and replace. I’ve used what you linked before and it works wonders. Thanks for sharing!
In the past I did it this way, but once I used the free Duplicator plugin, migrating my websites is fun!
Thanks for the article, but wow, what a huge number of steps any of which could be missed or go wrong.
I personally use the Plugin “BackUpBuddy”.
It does all the backing up on the local/test website in one quick and easy step and creates a zip file All I have to do then on the live site is create a database, ftp the zip file to the root directory (or where the live WordPress is to be installed) run the import file that is created with the original backup, tell the import program what the new database credentials are and bingo, your test website is now live !
This program automatically updates all the links applicable to the new site and then deletes its installation program at completion.
Certainly the best backup/transfer program out there, and I have used a few.
Cheers,
Nice Article
Desktop server shortens this into a few simple steps. It even has a live import if your hosting provider allows it!
I export as a Zip in desktop server, do a blank word-press install on live domain, import the database over the blank default install, ftp files from zip folder, change wp-config to match server and bingo its live!
Could not be any easier…
I could not live without Elegant Themes and Desktop Server, both completely 100% Vital to my sanity and income
WP Migrate Pro is a good solution.
I also can recomend Duplicator
Yes, Duplicator is my favorite plugin when I want to migrate my website from localhost to the internet. It is very simple, free, and quite useful.
Obviously this is all good information, and for anyone just getting going it’s really good to understand how to manually manage/migrate your database. However, many of these steps can be skipped with the use of “WP MigrateDB Pro” (https://deliciousbrains.com/wp-migrate-db-pro). It’s a paid plugin, but well worth it. Plus, if you’re doing it professionally anyways then it should pay for itself over and over (much like your purchase of Elegant Themes). Just my $0.02
I use the plugin XCloner. It works really well for me going from server to server
the plugin duplicator does everything for you – it’s an easy solution….
Duplicator plugin saves sooooo much time. Yep, 5 minutes. Done.
Seriously, Duplicator makes this a 5 minute two, or three, step process. It is my favourite WP plugin.
I create a daily backup with it which backups the complete site folder structure, including non-wp folders, and the wp database. I can copy a live site to localhost and vice-versa in a few minutes.
I agree, the Duplicator plugin is the easiest way to go. On very big sites I exclude the uploads folder and move it manually. Nice article though, interesting stuff.