

Every week, we provide you with new and free Divi layout packs which you can use for your next project. For one of the layout packs, we also share a use case that’ll help you take your website to the next level.
This week, as part of our ongoing Divi design initiative, we’re going to show you how to turn layouts into reusable wireframes using Divi’s Food Catering Layout Pack. Wireframes are great for the starting process of building a website. They help you decide on the overall structure and design style of a website. They can also help get a client’s opinion on a design style without having to tailor everything in advance.
Let’s get to it!
- 1 Preview
-
2
Turn Layout into Wireframe
- 2.1 Open Food Catering Landing Page with Visual Builder
- 2.2 Remove Section & Fullwidth Header Background Images, Background Colors & Gradient Backgrounds
- 2.3 Give Alternating Sections a Gray Background Color Instead
- 2.4 Remove all Color in Design Elements using Modified Styles Filter
- 2.5 Remove Extra Design Settings (Such as Box Shadow)
- 2.6 Give Highlighted Section Same Background Color as CTAs
- 2.7 Determine Image Dimensions
- 2.8 Create Placeholders with Dimensions
- 2.9 Replace Images with Placeholders
- 3 Making the Wireframe Easily Reusable
- 4 Preview
- 5 Final Thoughts
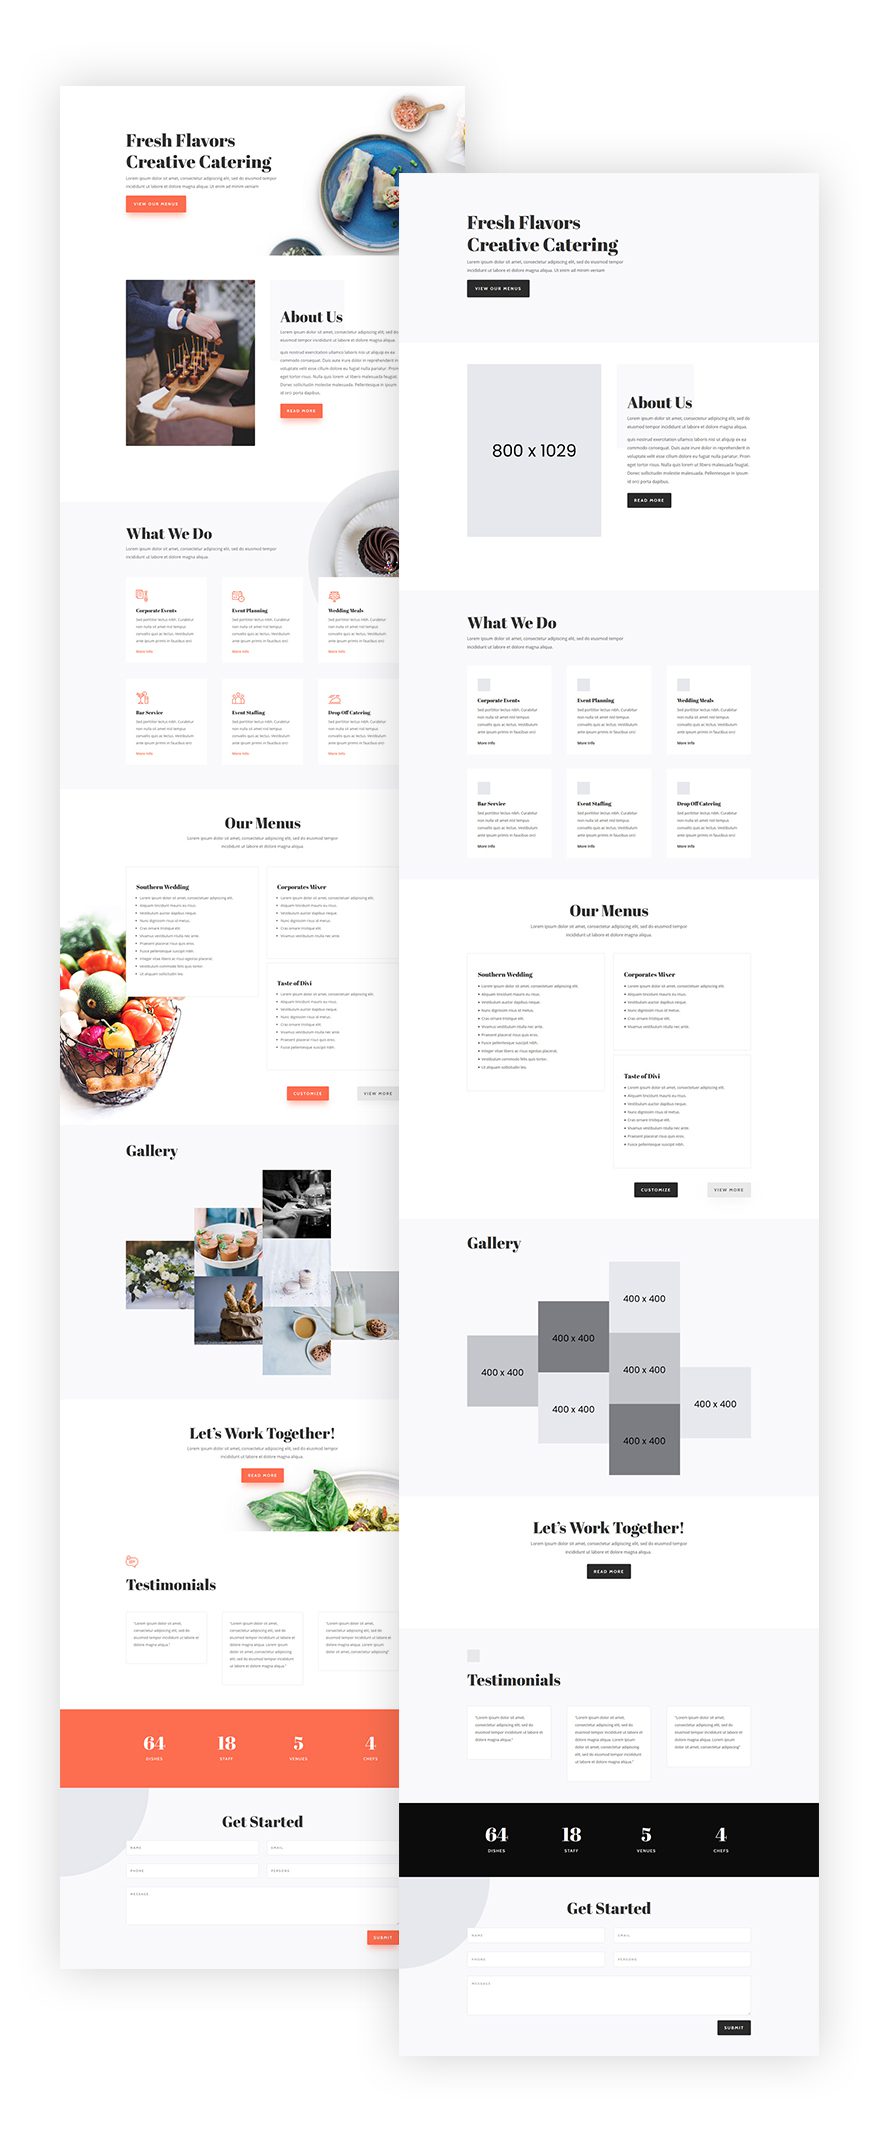
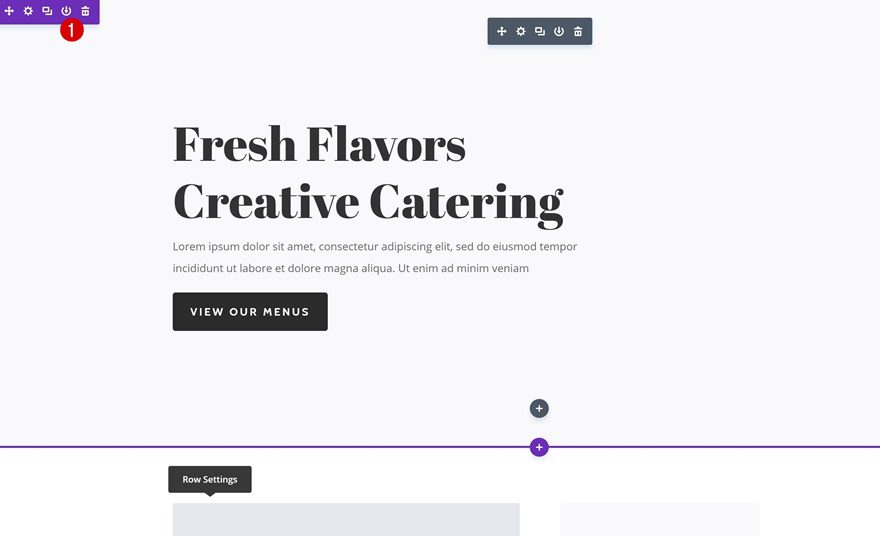
Preview
Before we dive into it, let’s take a look at the end result we’ll create.
Turn Layout into Wireframe
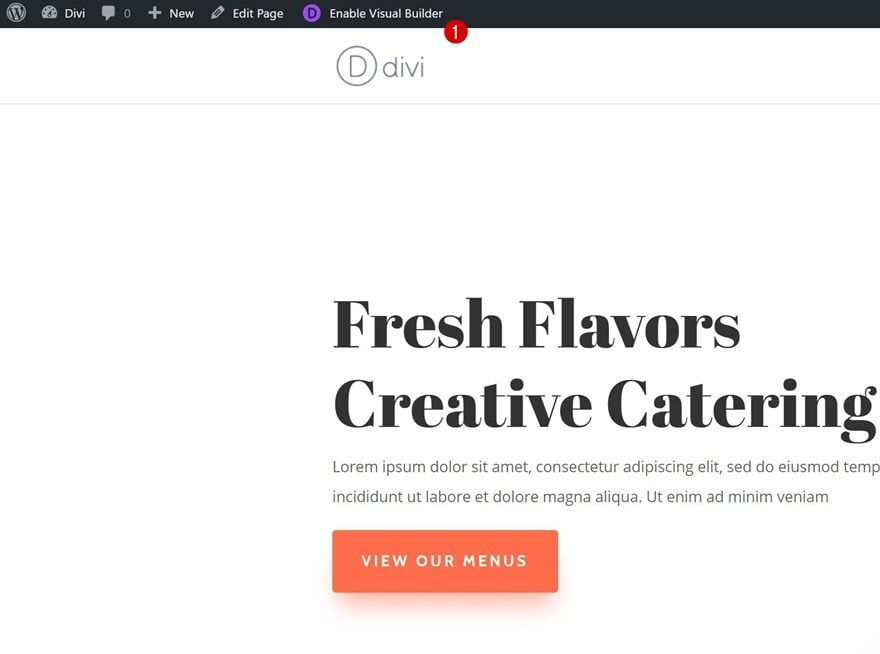
Open Food Catering Landing Page with Visual Builder
Go ahead and open the landing page you’ve created using Divi’s Food Catering Layout Pack.
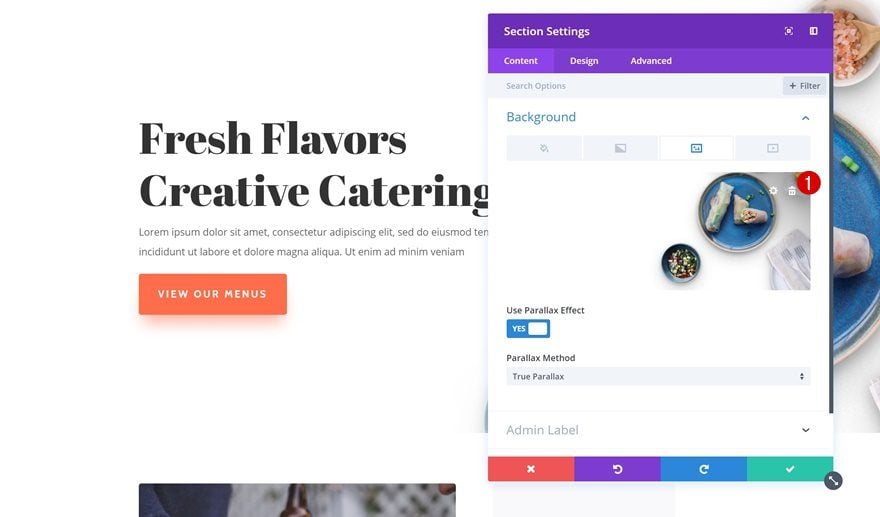
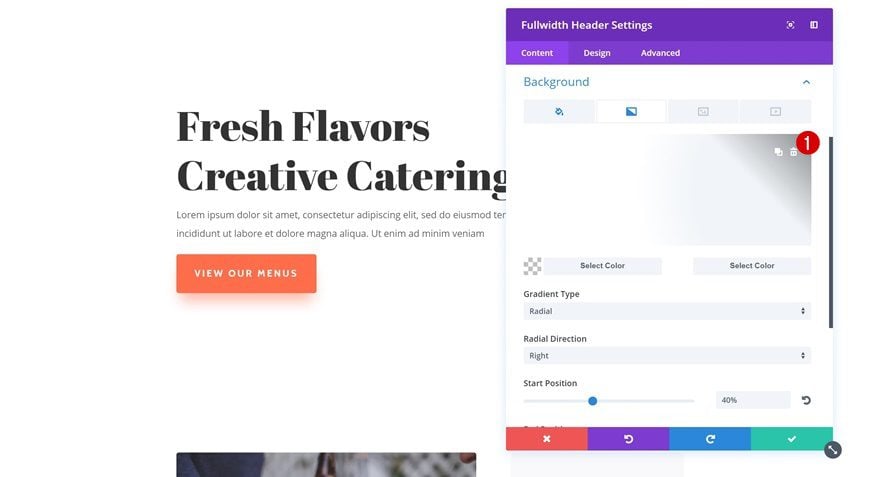
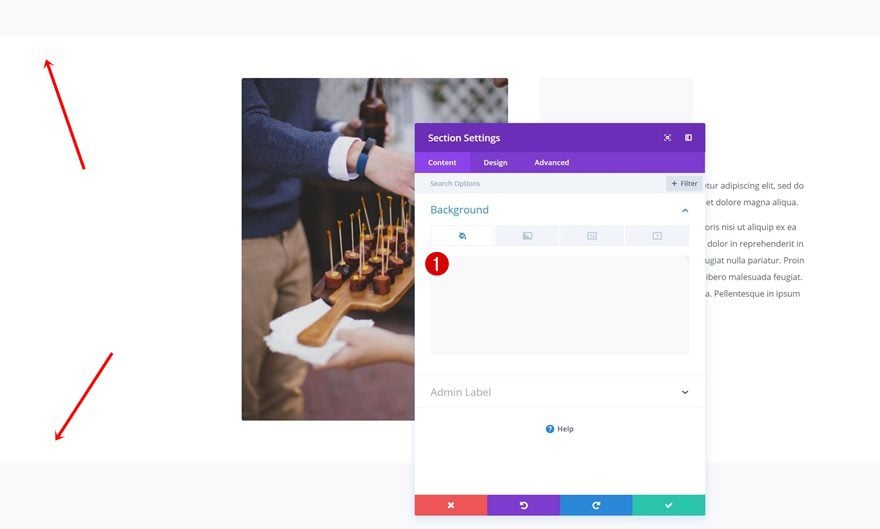
Remove Section & Fullwidth Header Background Images, Background Colors & Gradient Backgrounds
The first step to creating a wireframe is removing all the background images, gradient backgrounds and background colors of the sections on your page and the Fullwidth Header Module in the hero section.
Give Alternating Sections a Gray Background Color Instead
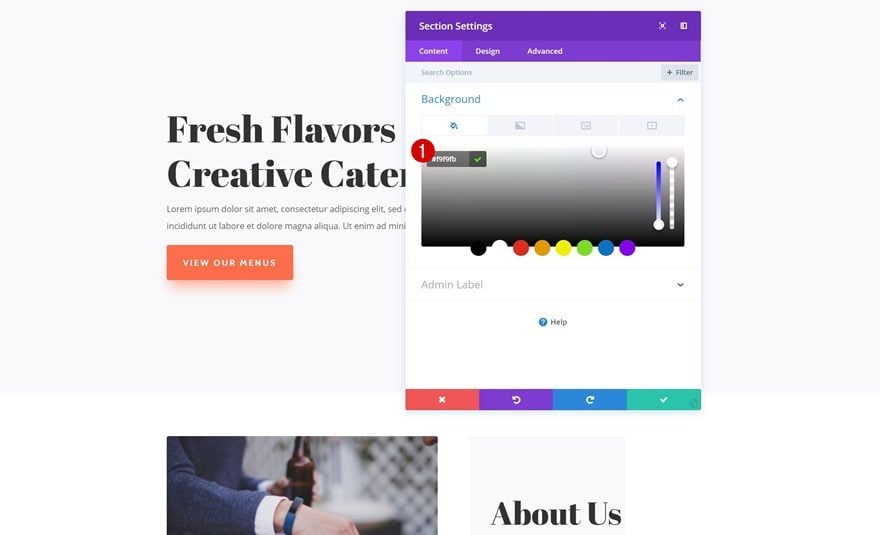
To help determine the different sections in your page design, go ahead and give each one of the alternating sections a ‘#f9f9fb’ background color. Later on, when you use a wireframe to create a page, you’ll be able to use the Find & Replace feature to add the color palette to your page seamlessly.
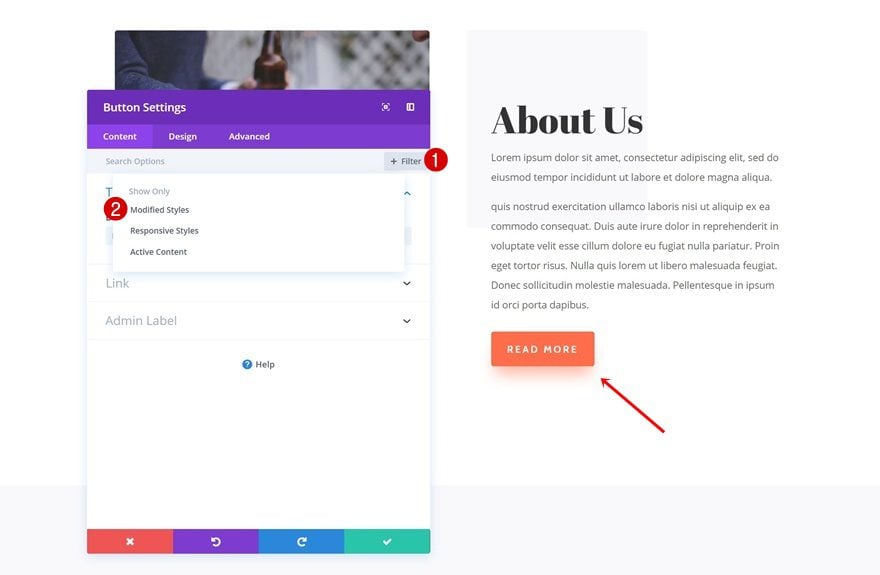
Remove all Color in Design Elements using Modified Styles Filter
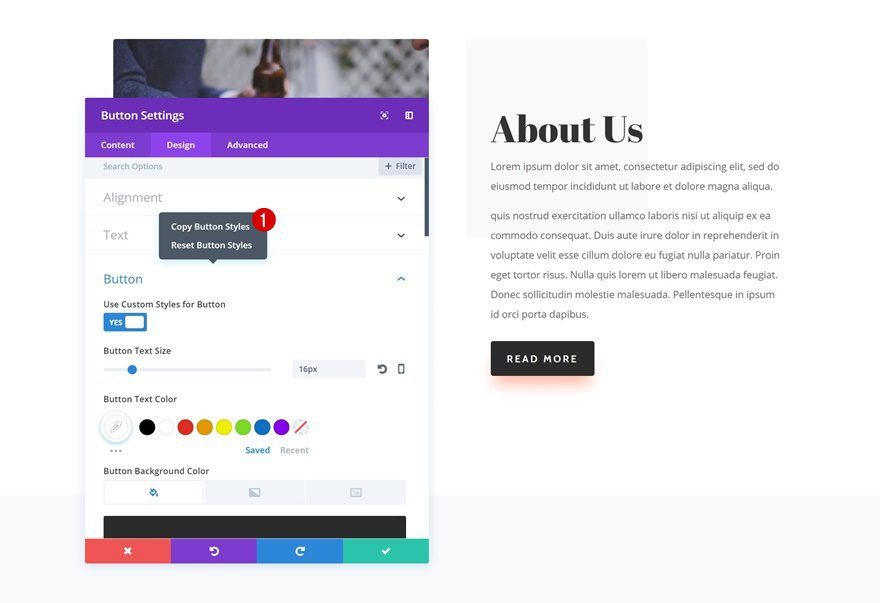
Enable Modified Styles Filter on Button Module
We’re going to get rid of the color palette that’s being used as well. That way, we won’t be influenced by it when building a page. Open one of the Button Modules on your page and enable the Modified Styles Filter to see all the current settings.
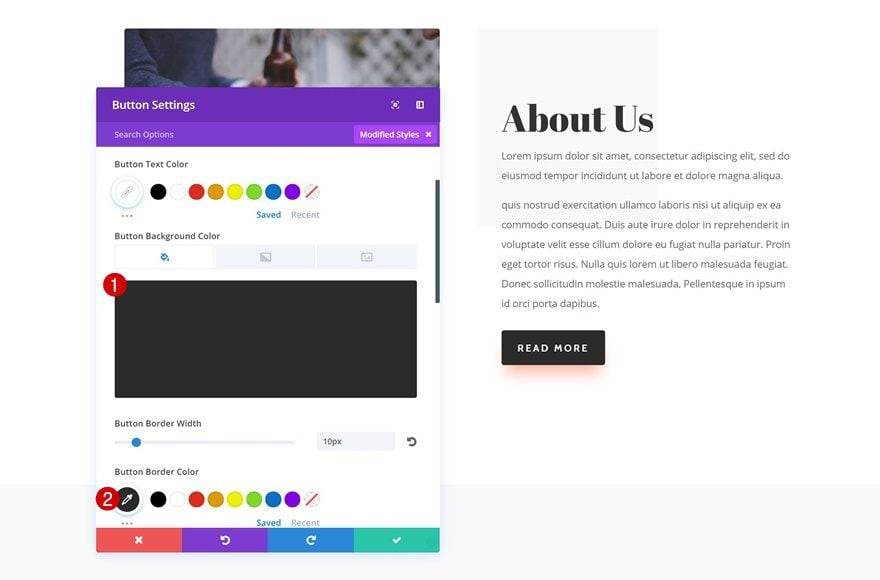
Give Button Module Dark Background & Border Color
Change both the Button Background Color and Button Border Color into ‘#2b2b2b’.
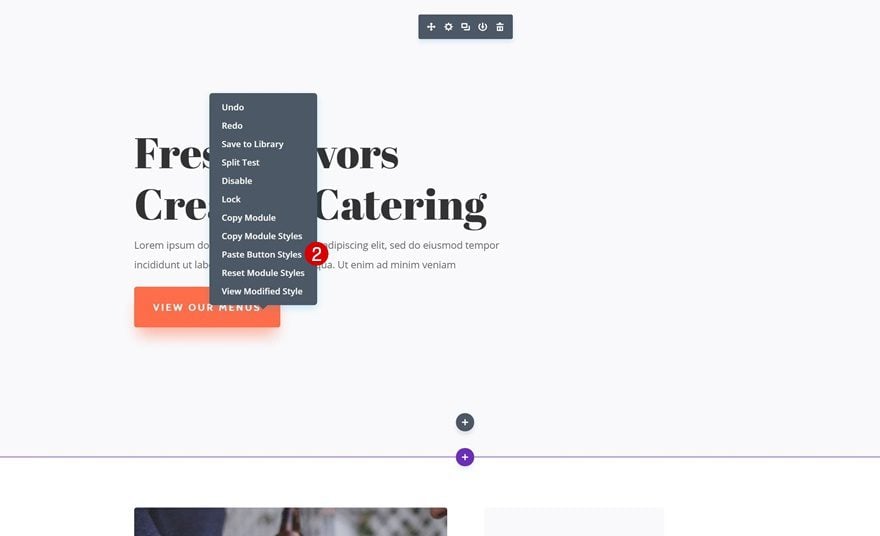
Copy Button Styles & Apply to Other Buttons
Continue by copying the Button Styles by right-clicking the button settings and clicking on ‘Copy Button Styles’. Then, add the Button Styles to each one of the remaining Button Modules on the page.
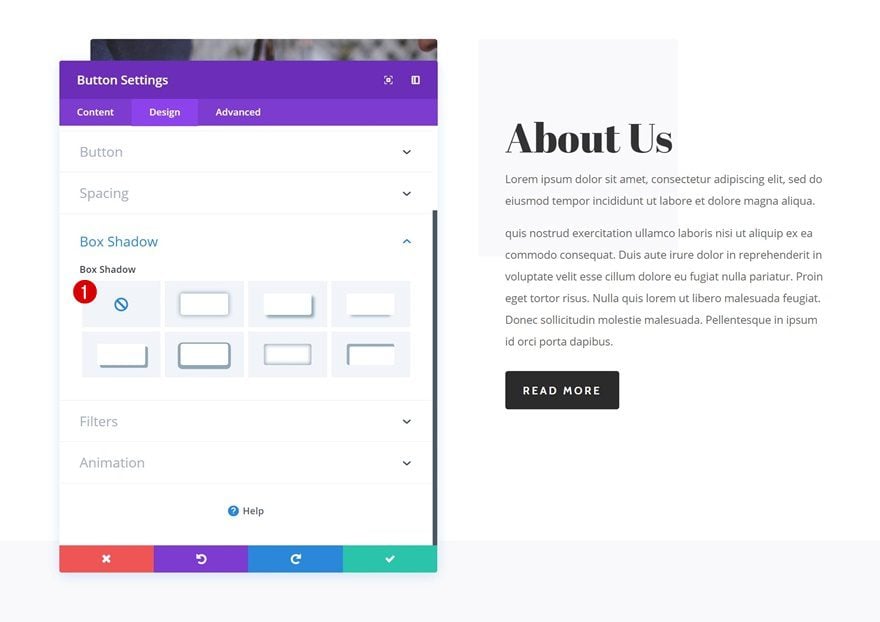
Remove Extra Design Settings (Such as Box Shadow)
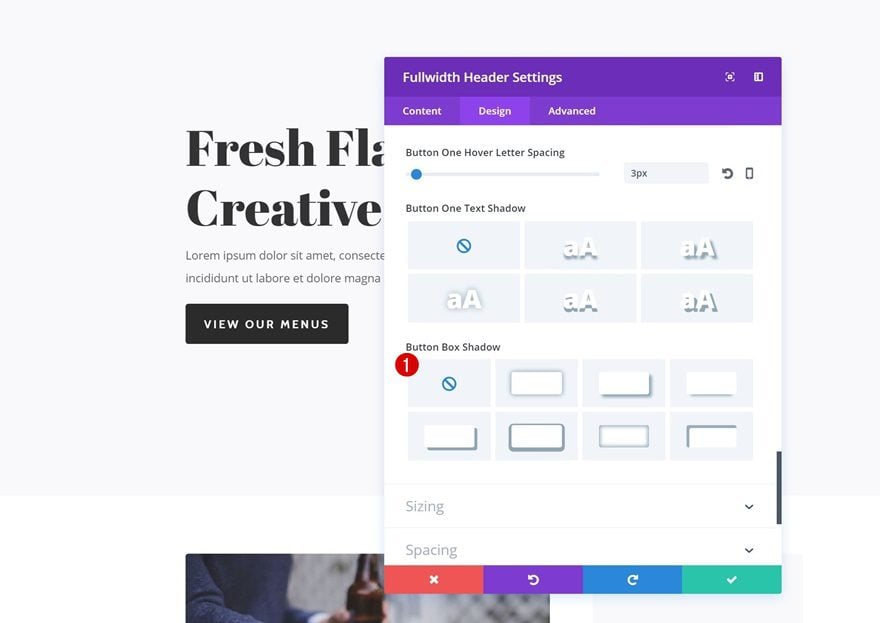
Remove Button Box Shadow
We’re removing additional elements, such as Box Shadow, as well. Open the same Button Module you were working on and remove the box shadow completely.
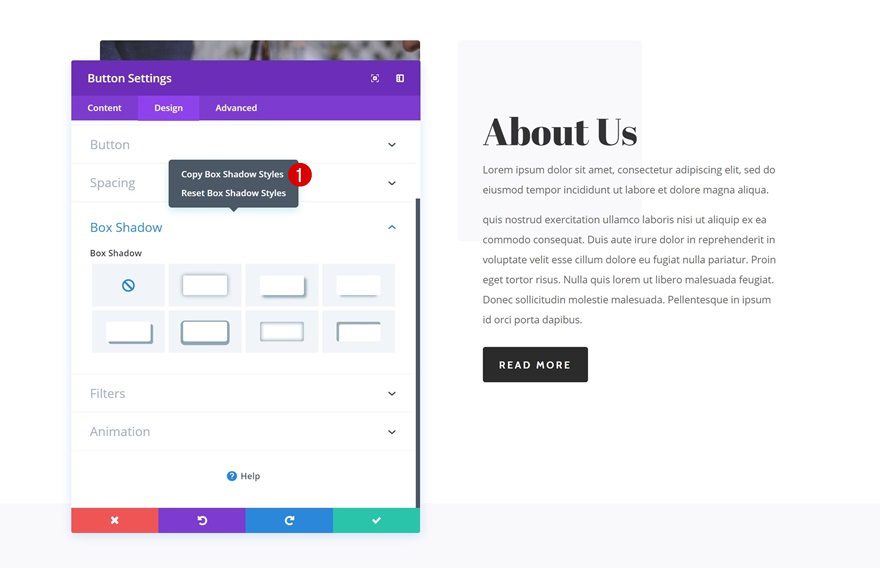
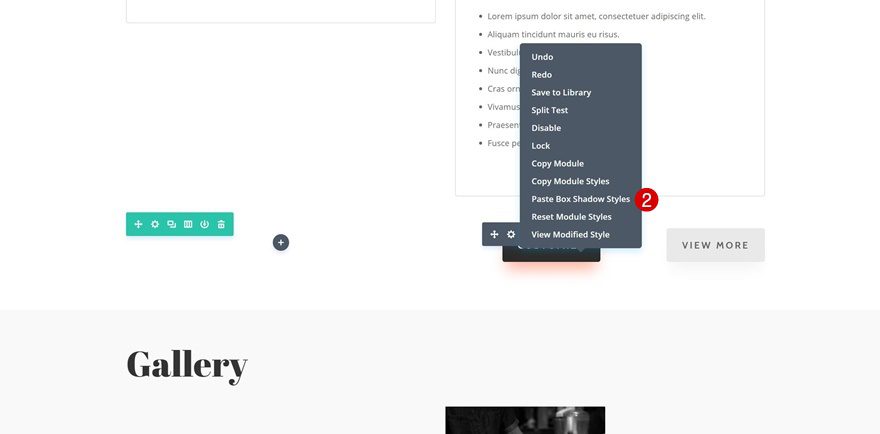
Copy Button Module Box Shadow Settings
Copy the Box Shadow Styles of this Button Module and add it to the remaining Button Modules as well.
Remove Box Shadow Manually in Hero & Contact Section
The only two buttons that need manual removal of the Box Shadow are the one included in the Fullwidth Header Module and Contact Module. These buttons are part of a module with several design elements, that’s why we need to remove them manually.
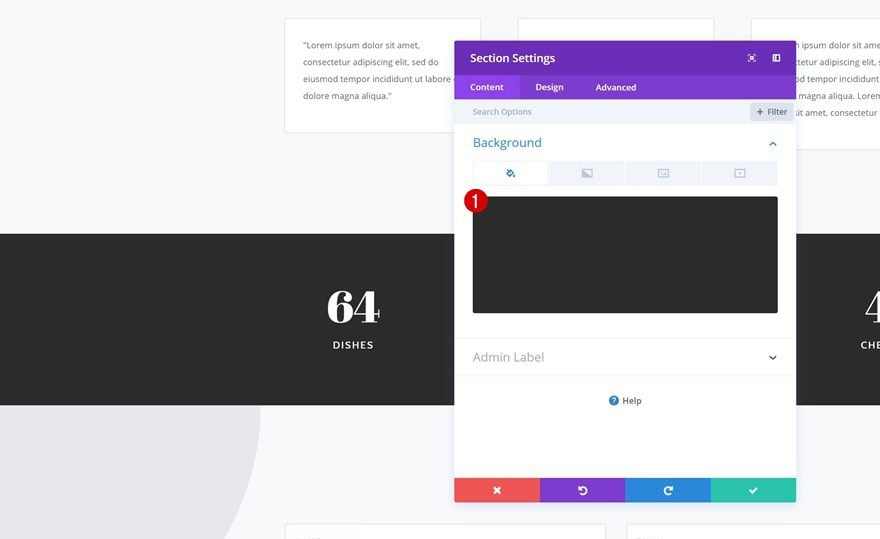
Give Highlighted Section Same Background Color as CTAs
Then, scroll down until you come across the ‘highlighted’ section. Here, use the ‘#2b2b2b’ section background color. The same color was used for the CTAs.
Determine Image Dimensions
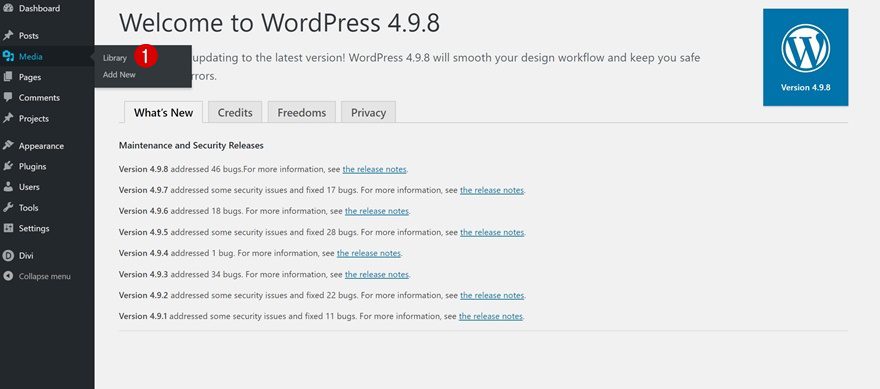
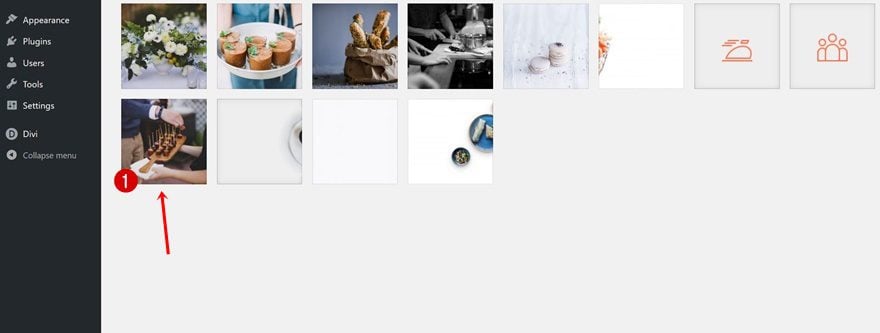
Go to Media Library
To remove the layout topic of our layout entirely, we’re going to replace all the Image Modules with placeholders containing the needed image dimensions. To find these dimensions, go to your Media Library.
Open Used Images Individually
Open each one of the images that are included on your page separately.
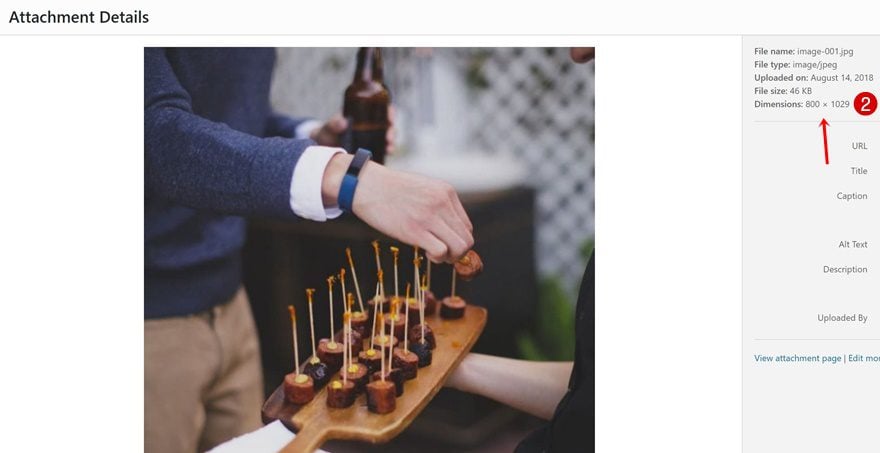
Write Down the Different Dimensions of Images on Page
Once you do, you’ll be able to see the dimensions of that image in particular. Keep track of all the dimensions you need on your page by writing them down somewhere before going to the next step.
Create Placeholders with Dimensions
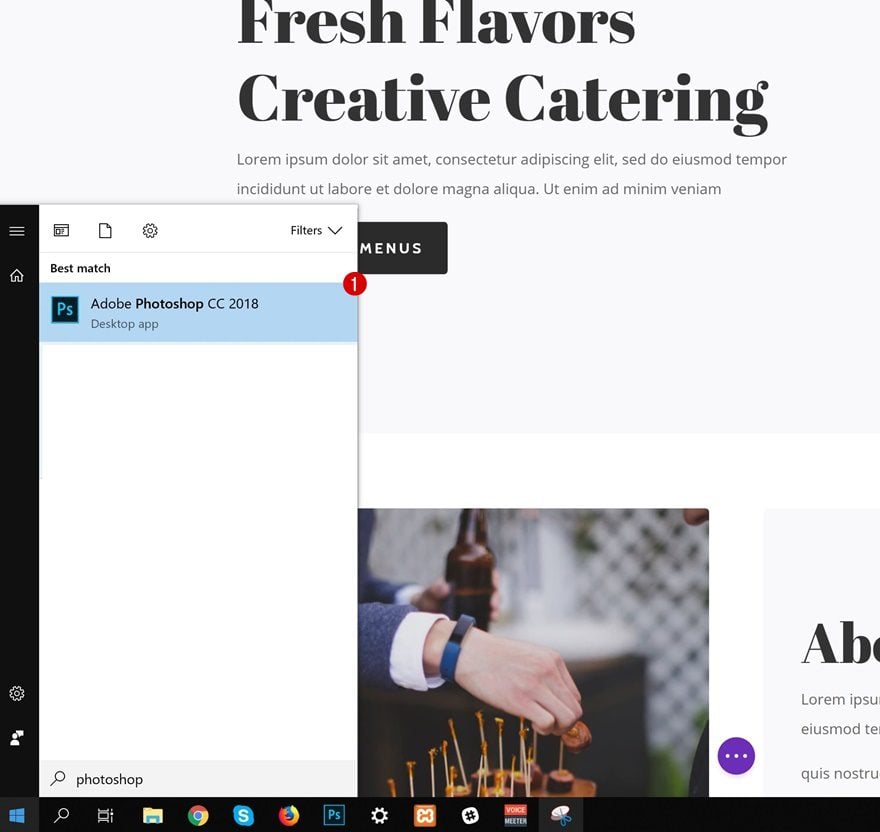
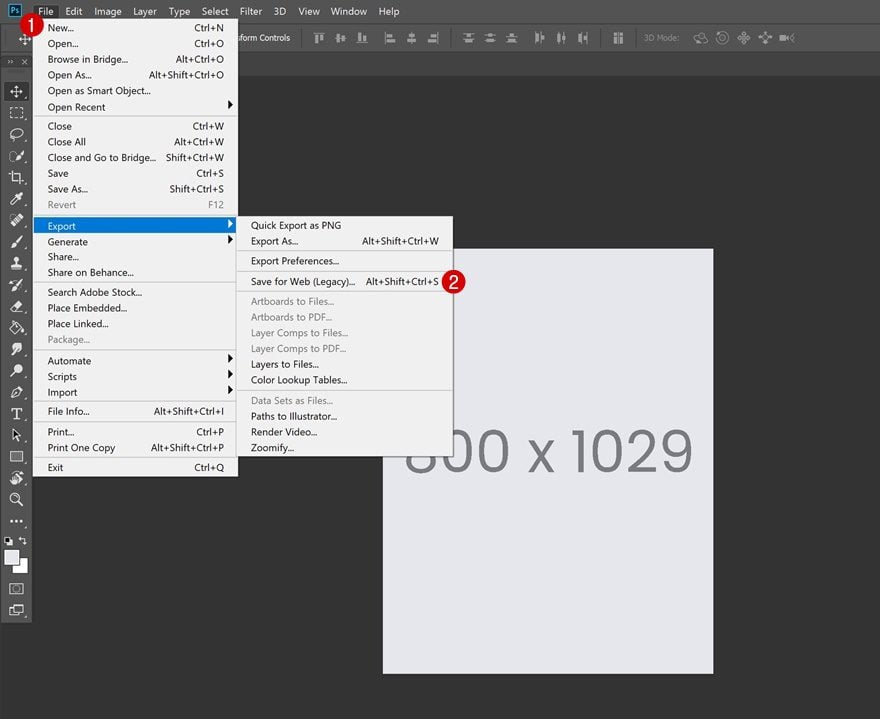
Open Photoshop
Time to create the placeholders! Open Photoshop or any other image editing software.
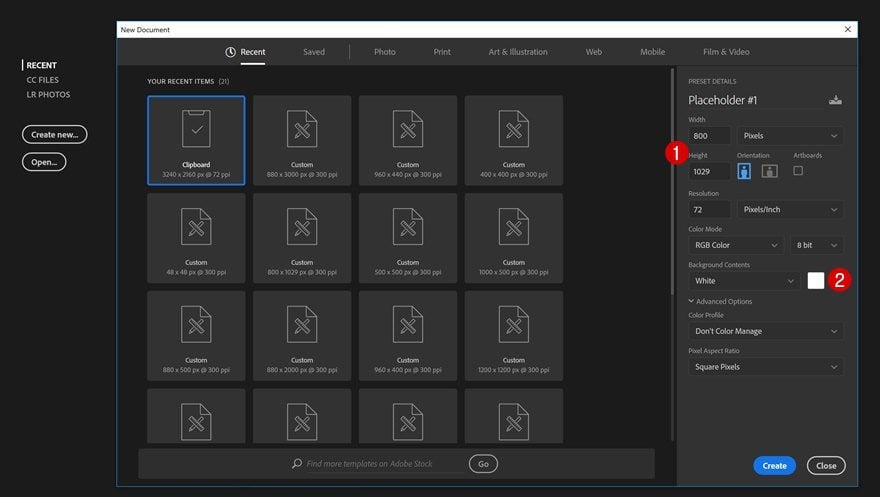
Create New Projects for Dimensions
Create a new project for every set of dimensions you have on your page. In our case, we’ll need separate project for each one of the following dimensions:
- 800 x 1029
- 400 x 400
- 48 x 48
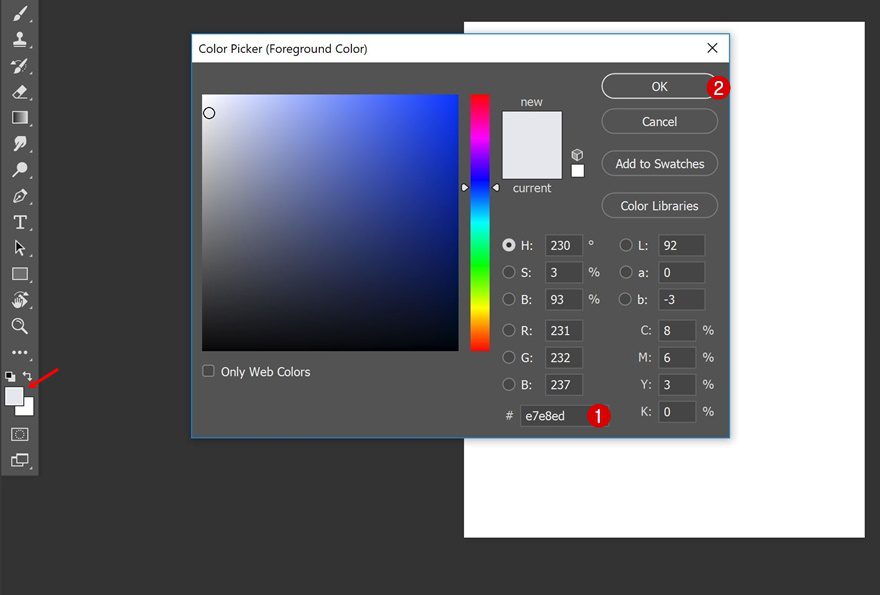
Pick Gray Color
Choose ‘#e7e8ed’ as your color.
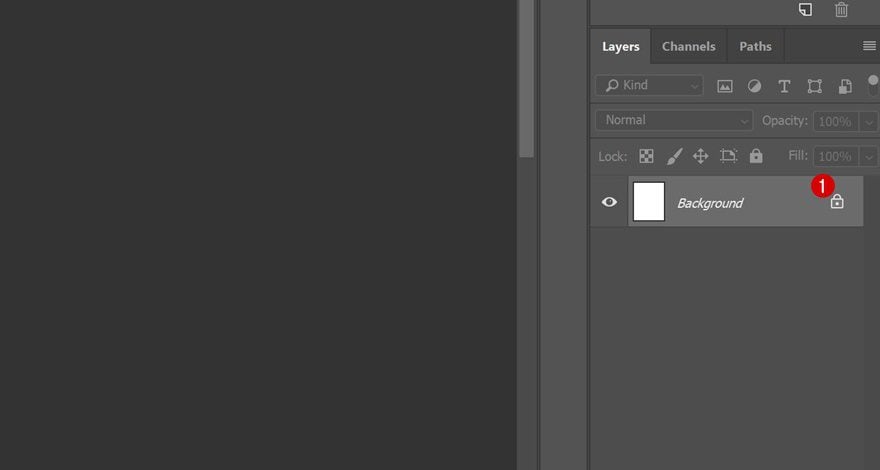
Unlock Background Layer
Unlock your Background layer as well.
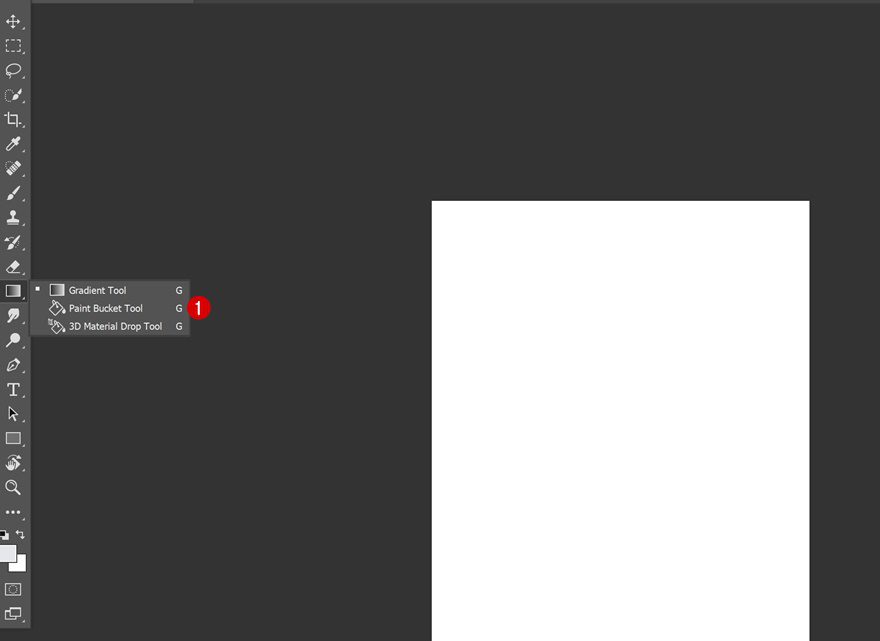
Select Paint Bucket Tool & Add Color to Layer
Then, use the Paint Bucket Tool to color your canvas gray.
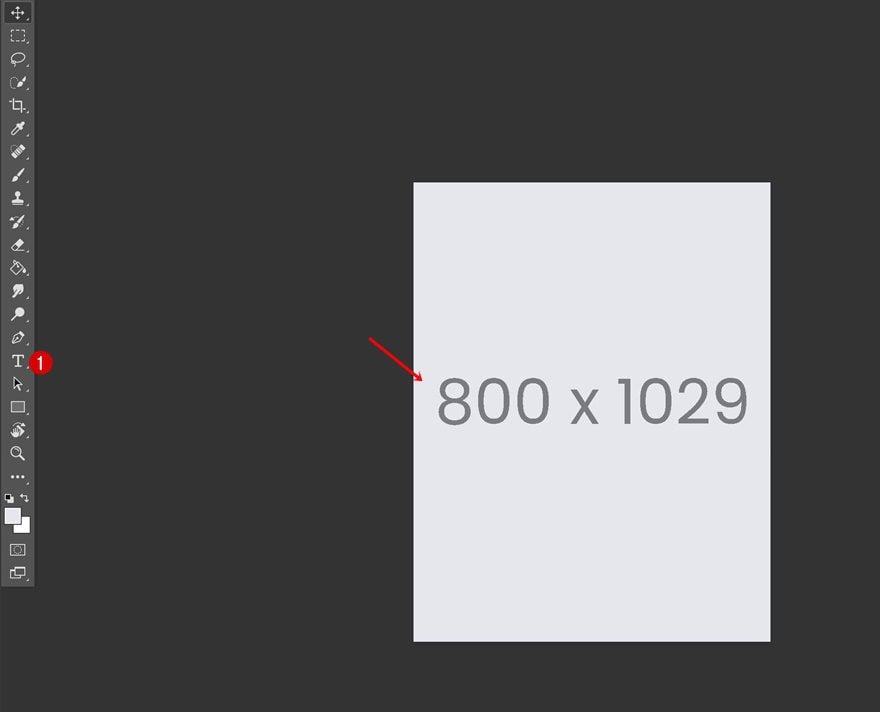
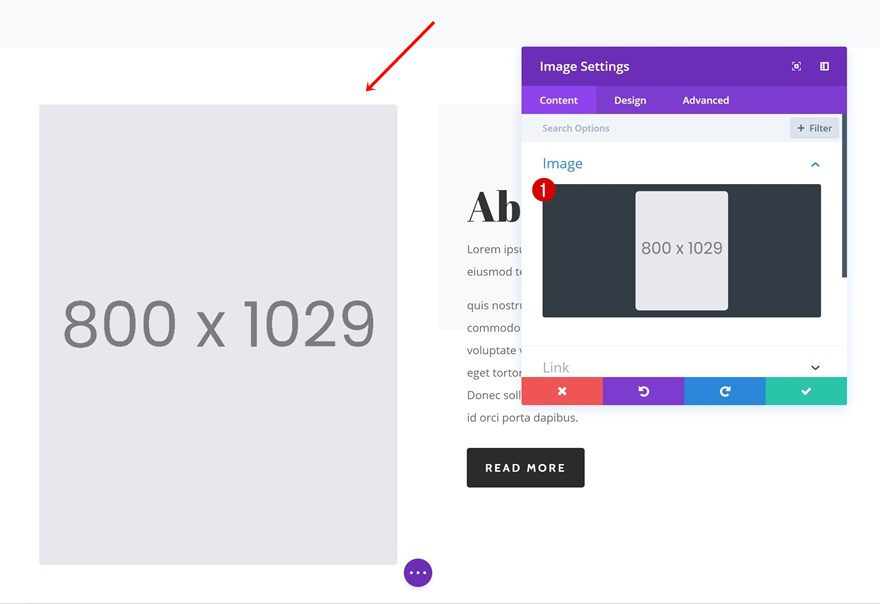
Add Text with Dimensions
To help you keep track the image dimensions, you can also add the dimensions in the middle of your placeholder. That way, you’ll know which image dimensions you’ll need for your page once you’re editing the images that you’ll replace them with.
Save for Web
Once you’re done, save your image placeholder for web.
Repeat for Each One of the Image Dimensions on Page
Repeat these steps for each one of the set of dimensions on your page. For this page, you’ll need three different sets in total:
- 800 x 1029 (about us section
- 400 x 400 (gallery section)
- 48 x 48 (icons)
Replace Images with Placeholders
Once you’ve exported all your image placeholders, go ahead and replace the images.
Making the Wireframe Easily Reusable
Create a Wireframe Map on Computer
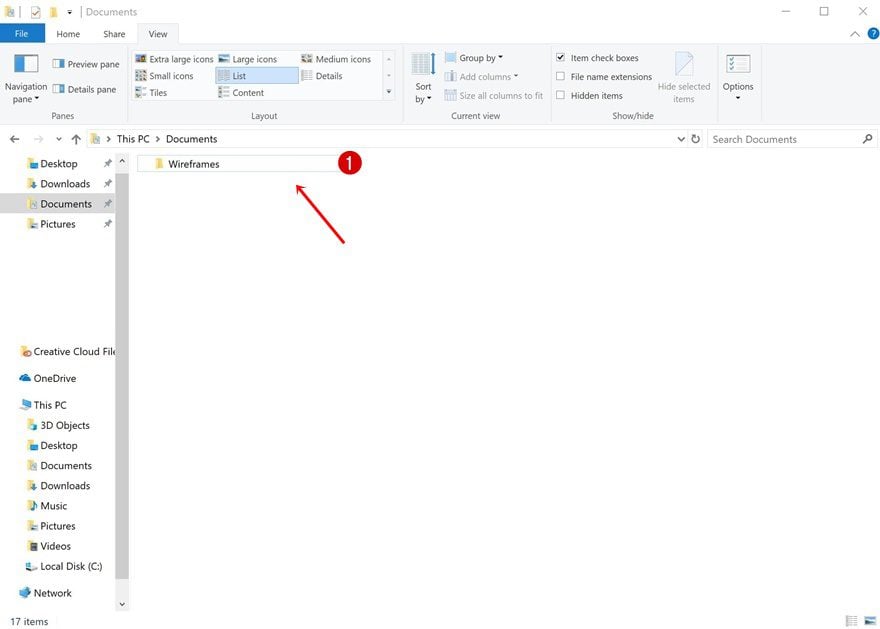
After you’re done creating a wireframe, it’s recommended you save the appearance of it somewhere. Create a new folder somewhere on your computer.
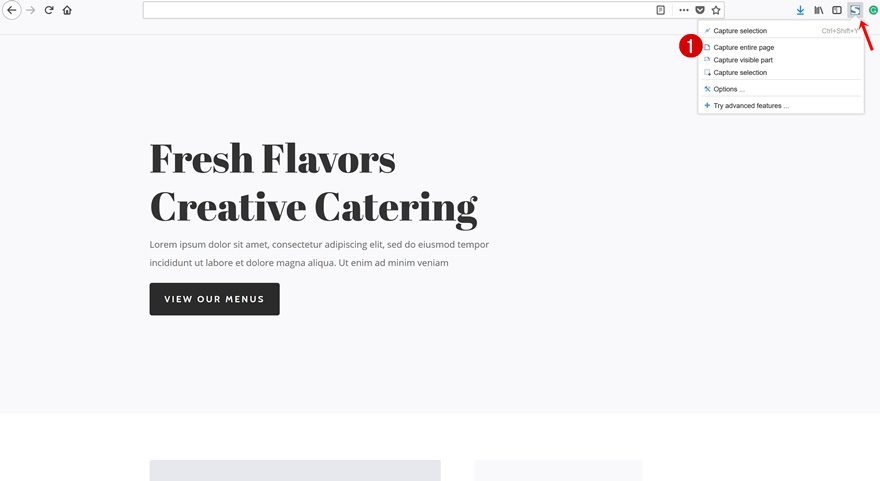
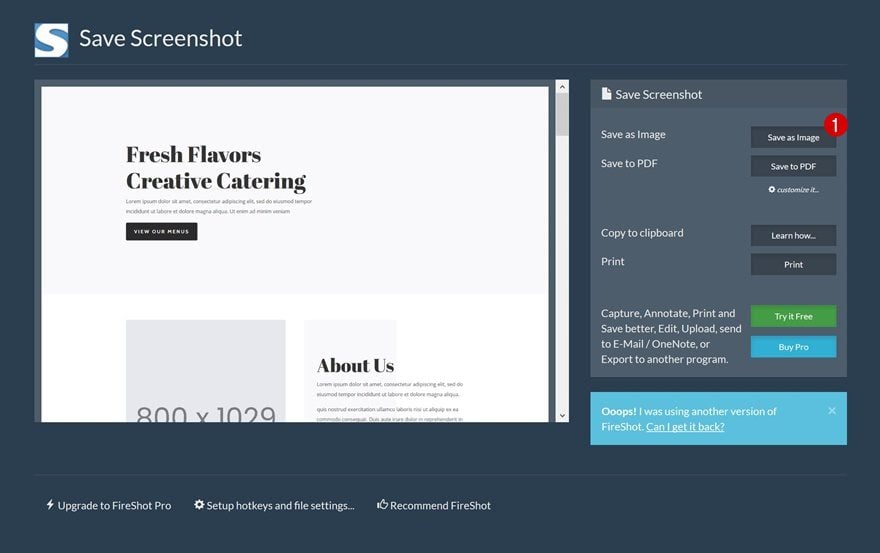
Screen Capture Layout & Save Locally
Then, use your screen capture add-on/extension of choice to capture your page. In the images below, we’ve used the FireShot add-on for Mozilla Firefox. Make sure that when you save your screenshot, you give it a proper name.
Save Layout to Library with the Same Name
Use the same name you’ve used for your screenshot to save the wireframe layout to your Divi Library. This allows you to take a look at the wireframe on your computer before uploading it to one of your pages.

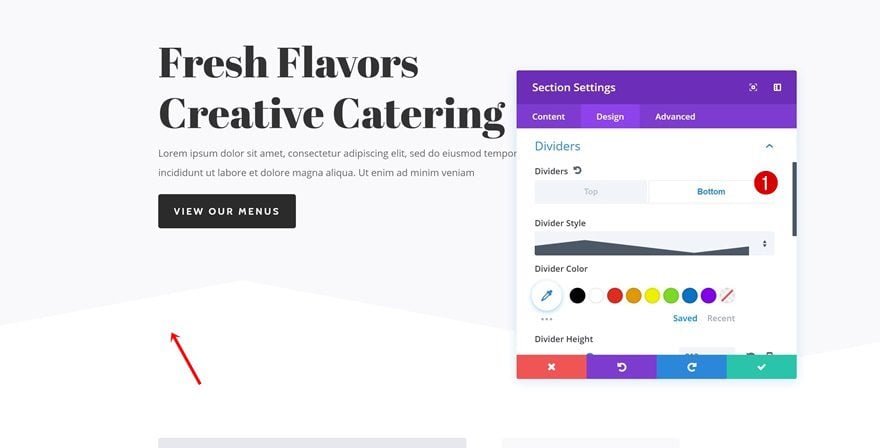
Change Design Settings for Personalized Wireframed
Add Section Dividers
You’re not limited to creating one wireframe per page. You can easily tweak the design settings to create new wireframes. You can play around with the section dividers, for instance, to create unique designs.
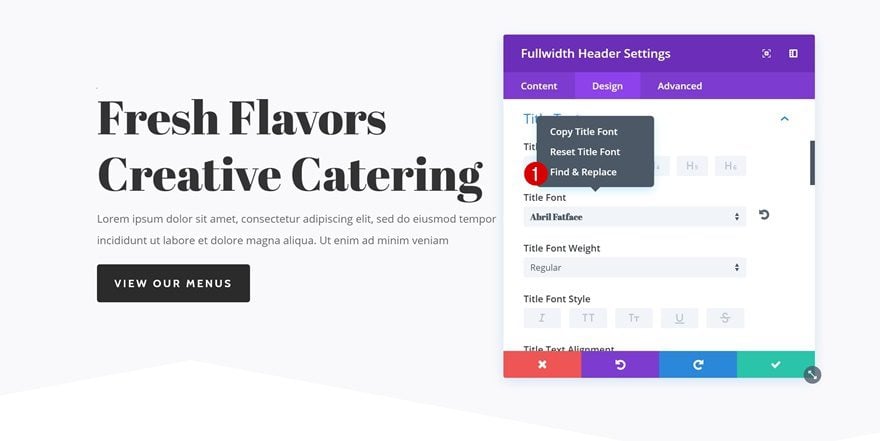
Play Around with the Typography
Enable Find & Replace on Heading Font
Or, you can also play around with the typography. Open the Fullwidth Header Module in your hero section and right click on the Title Font. Continue by enabling the Find & Replace feature.
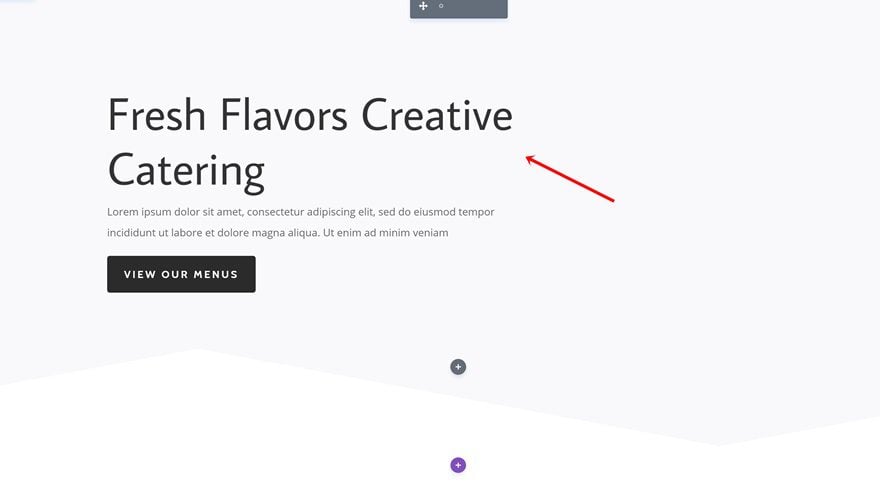
Change Font
Change the font that is being used on your page to another one and you have a brand new wireframe!

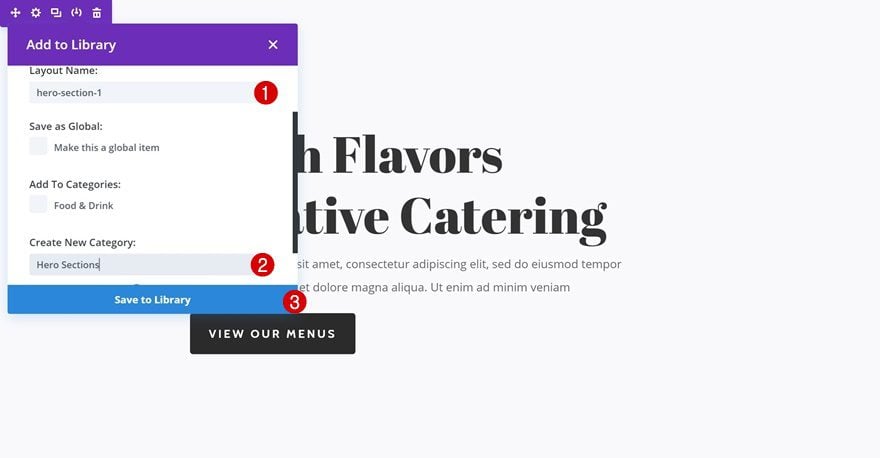
Save Separate Design Elements Using Categories
Click on ‘Add to Library’ Icon
Another thing you can do is save particular design elements on your page separately. Say, for instance, you want to create a collection of hero sections, you can easily add your hero section to your Divi Library.
Add New Category & Give Design Element a Name
To have a more organized structure, continue by adding a new category of sections called ‘Hero Sections’ so you can easily find the hero section of your choice and explore all the designs you have in store.
Preview
Now that we’ve gone through all steps, let’s take a final look at the end result.
Final Thoughts
In this use case blog post, we’ve shown you how to turn Divi layouts into reusable wireframes. Turning layouts into wireframes helps you maintain the overall view on how you want a website structure to look. They’re also excellent for briefing the design style to a client in the first stage of the website building process. If you have any questions or suggestions, make sure you leave a comment in the comment section!


Nice idea. Seeing structure without local colour and imagery does allow you to appreciate the design elements in a different way and provide another layer of inspiration that might otherwise be missed.
Suggestion – Would be handy to have the image URL available in the V Builder as one of the right click items (copy image URL) – rather than having to go back to the media, find the images somewhere in the grid, click item, to look it up.
It would be very helpful, if every Layout pack would include a single page with all Wireframe elements.
My thoughts also. It would even be my preference (to have them as wireframe rather than with images, colours etc pre-designed).
Great stuff Donjete. I’ve been a Graphic Designer for 30 years and layout is always critical. By neutralizing irrelevant imagery and graphics, you help your self as well as your clients to better focus on their needs. And great tips on building your own placeholders. It’s like learning math using a pencil instead of a calculator.
This will also help in supplying wireframe visuals to clients for approval! You could always screenshot the wireframe and send that to the client having already built the site in the background!
Mmm, maybe it’s me but I don’t see the benefit of doing this. You can also just show the layout pack to customers, with images and all, and tell them it will all be customized to their brand colors etc.
No need of photoshop, dummyimage(dot)com makes the images in split second
My suggestion would be to use placeholder.com instead of having to create placeholder images manually. Simple insert the relevant url and the placeholder is added dynamically
Thanks for the great suggestion and helpful tutorial!
I do similar steps already. I really like the idea of putting sizes on the placeholder images. A clean imageless wireframe in a design project helps keep focus on the layout and relays the images size needs to the client. Great tip!