

Every week, we provide you with new and free Divi layout packs which you can use for your next project. For one of the layout packs, we also share a use case that’ll help you take your website to the next level.
This week, as part of our ongoing Divi design initiative, we’re going to show you how to share private content with clients using Divi’s free Life Coach Layout Pack and a plugin. In fact, you can use this method on any website you create with WordPress. But for life coaches, in particular, this is an excellent way to keep users involved in training sessions. It allows them to access and download video sessions through your website and eases the communication between you and your clients. Concretely, we’ll go through all of the following steps:
- Setting up the Ultimate Member plugin for memberships
- Including membership pages on your website
- Uploading videos to Vimeo and creating password protection for them
- Using the Ultimate Member plugin’s Private Content extension to share private content with users individually. This includes sharing a password, a link to the Vimeo video and a download button which will lead to an external platform where people can download their video session
Let’s get to it!
- 1 Part 1: Setting up the Ultimate Member Plugin & Private Content Extension
- 2 Part 2: Include Membership Pages in Primary Menu
- 3 Part 3: Upload Videos to Vimeo with Password Protection
- 4 Part 4: Upload Videos to Your Cloud of Choice for Download
- 5 Part 5: Create Private Content for Users
- 6 Final Thoughts
Part 1: Setting up the Ultimate Member Plugin & Private Content Extension
Install & Activate the Free Ultimate Member Plugin
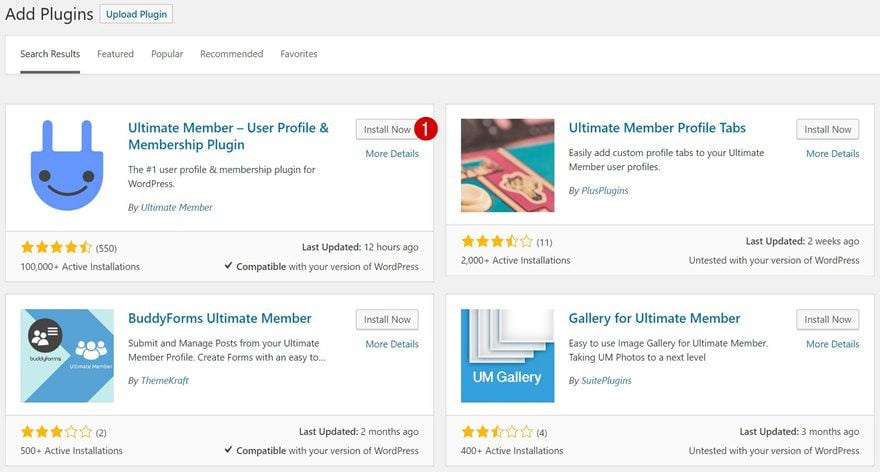
We’ll start off by installing the free Ultimate Member plugin. Go to your Plugins > Add New > Search for the Ultimate Member Plugin > Click on the ‘Install Now’ button. After doing so, make sure that you activate the plugin right away as well.
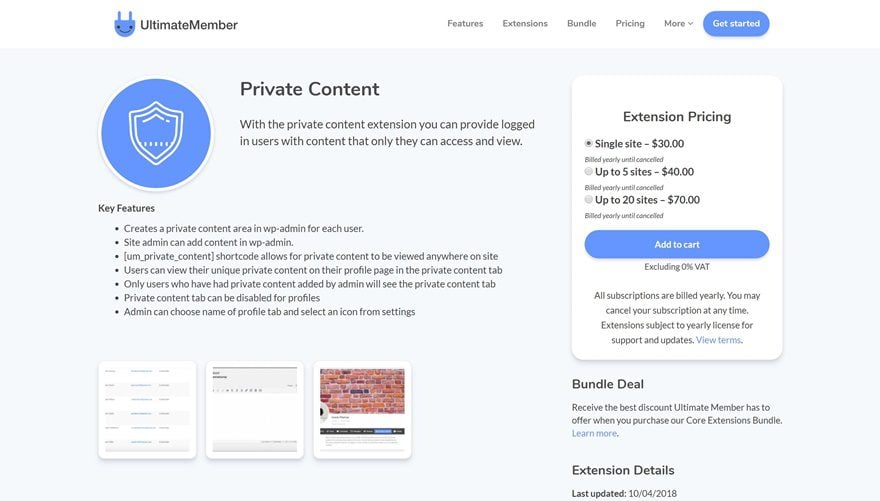
Purchase, Upload & Activate the Private Content Extension
To share information with clients individually and privately, you’ll need to purchase the Private Content extension for the Ultimate Member plugin. This extension adds private content to a user’s profile page. It goes without saying that this content can only be viewed by the user in question. If you’re looking for a free alternative, it might be worth checking out the WP Private Content Plus plugin.
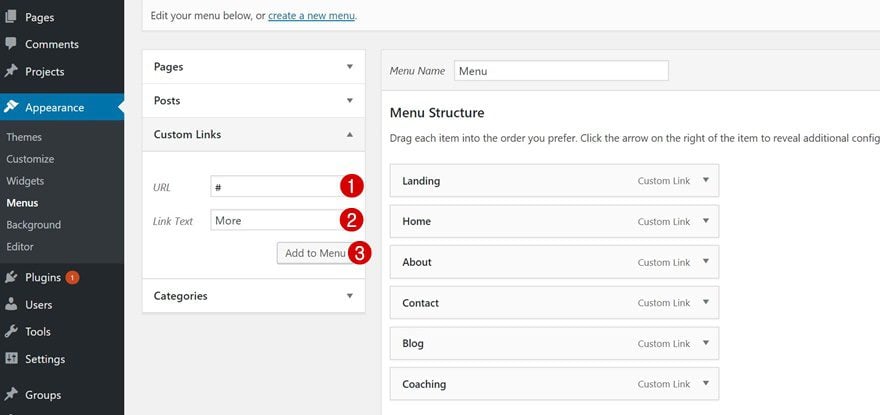
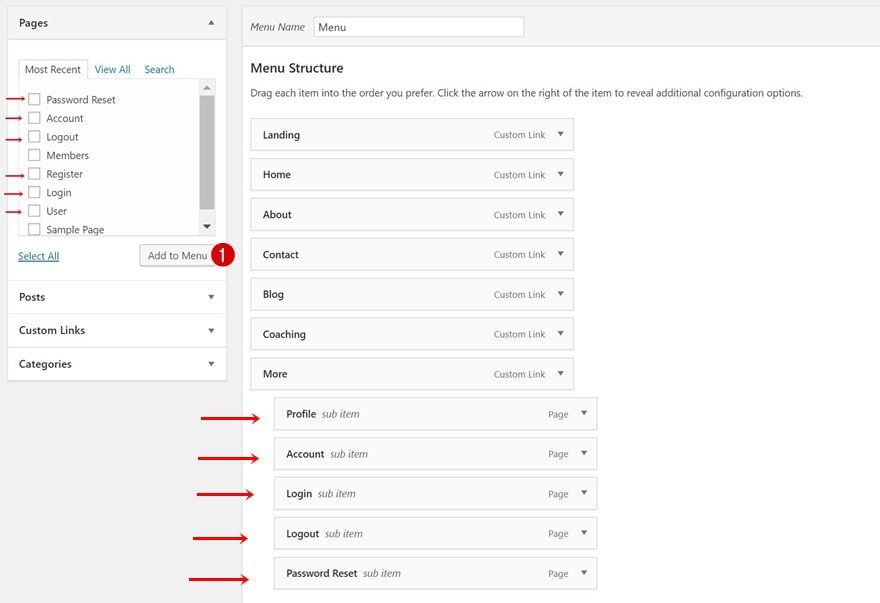
Once you’ve installed the free Ultimate Member plugin, you’ll notice that new pages have been added to your website. These pages are essential for users who want to access their account on your website. However, we don’t want to overload our primary menu bar with membership-related pages. That’s why we’ll add a ‘more’ menu item first and use this to add the membership pages as submenu items. When adding a custom link to your menu, you’ll need to add a URL. Just type down a ‘#’ symbol.
Once you’ve added the menu item go ahead and delete the ‘#’ symbol you’ve added. This will make the menu item unclickable.
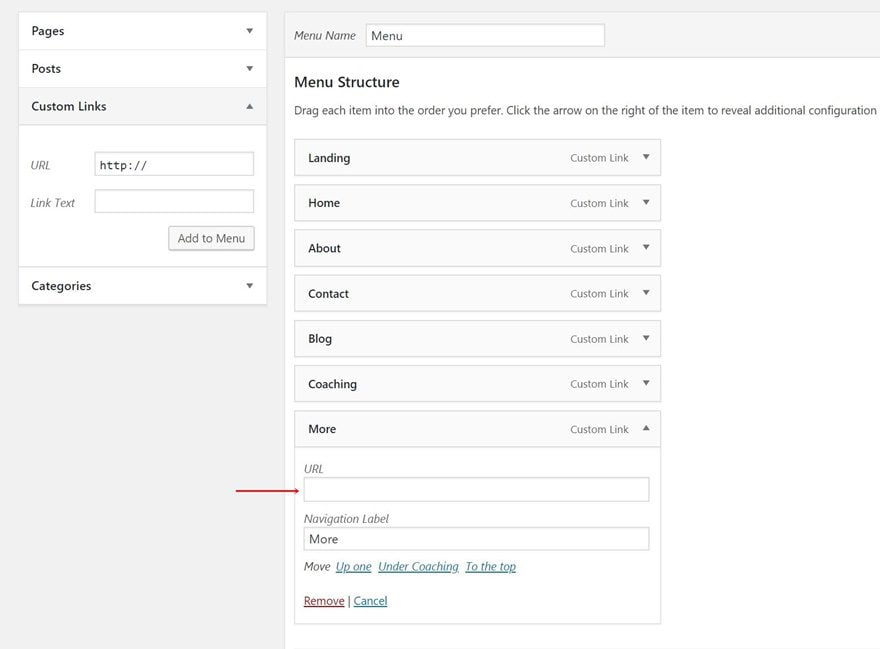
Continue by adding all of the membership pages as submenu items to your ‘more’ menu item.
Part 3: Upload Videos to Vimeo with Password Protection
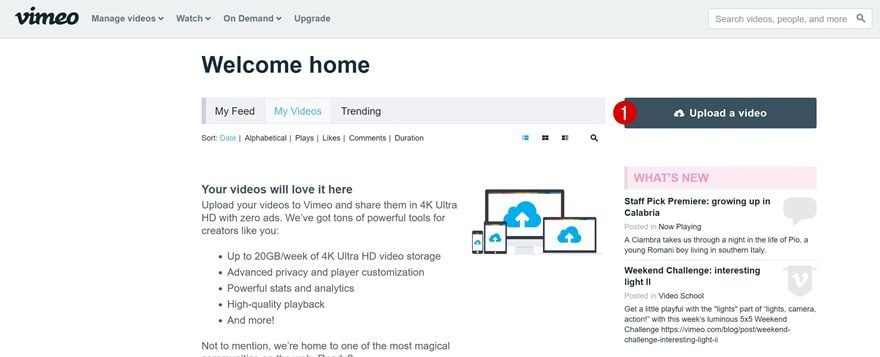
Upload a Video to Vimeo
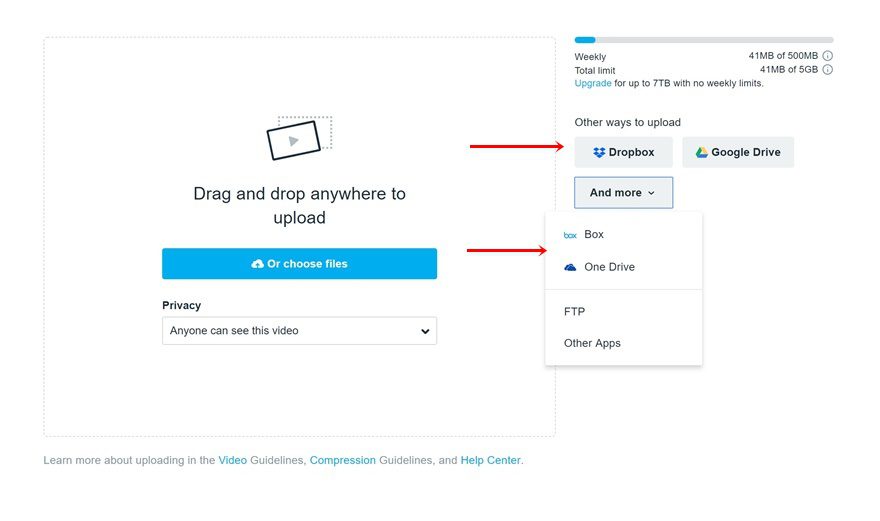
Now, for each one of the video sessions you want to share with clients, we recommend using Vimeo. Vimeo allows you to use password protection for the videos you upload. The first thing you’ll need to do is upload a video by clicking on the ‘Upload a video’ button on the dashboard of your Vimeo account.
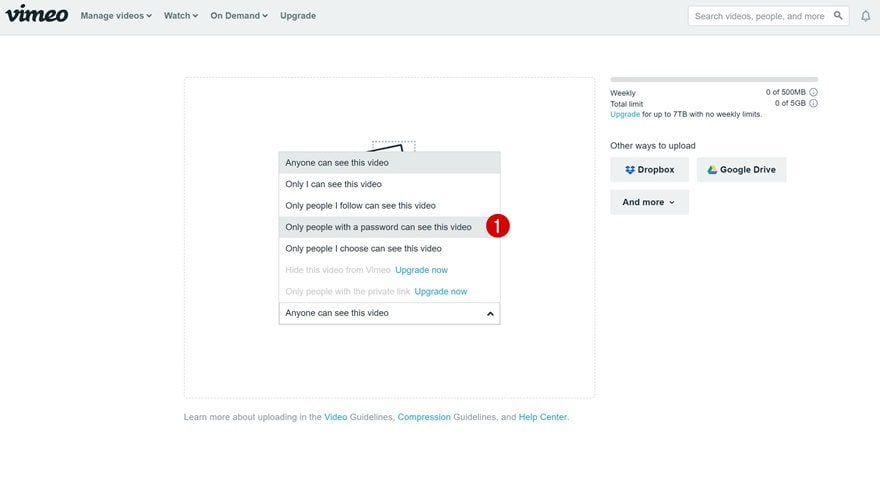
Choose Password Protection
You can upload video files directly from your computer or from a cloud of choice.
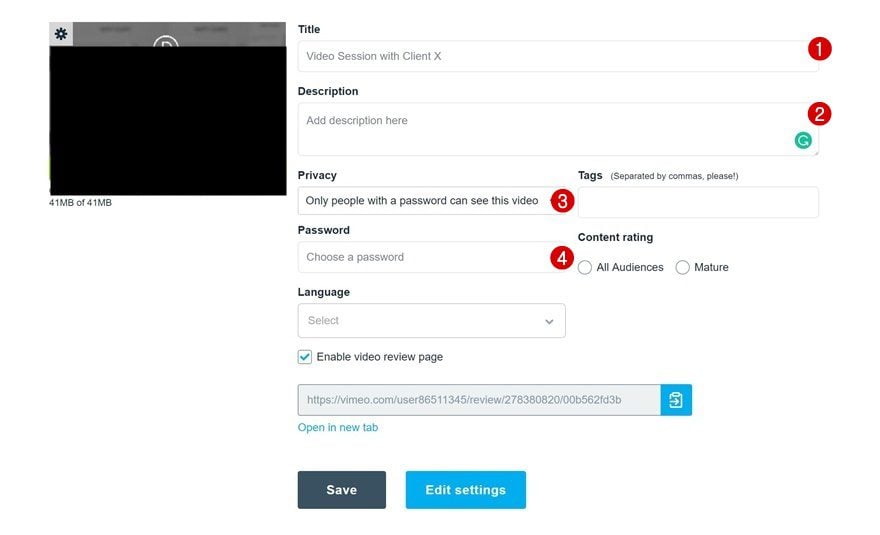
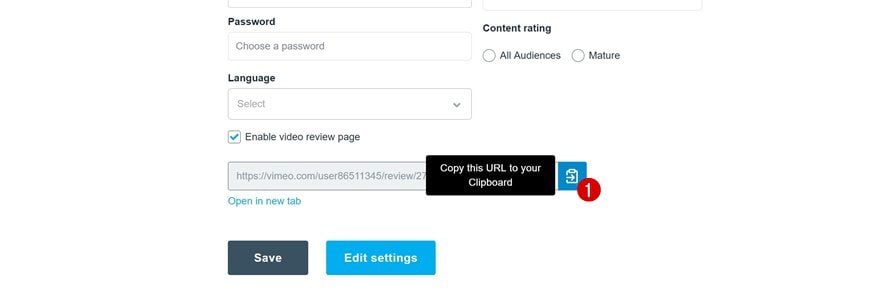
Choose Password & Add Video Details
Once you upload a video, add the video details and choose a password which you will share with your client.
Copy Video Link & Save it Somewhere
The last thing you’ll need to do is copy the link of your video along with the password you’ve chosen. Later in this post, we’ll need both these details.
Part 4: Upload Videos to Your Cloud of Choice for Download
Cloud Options Linked to Vimeo
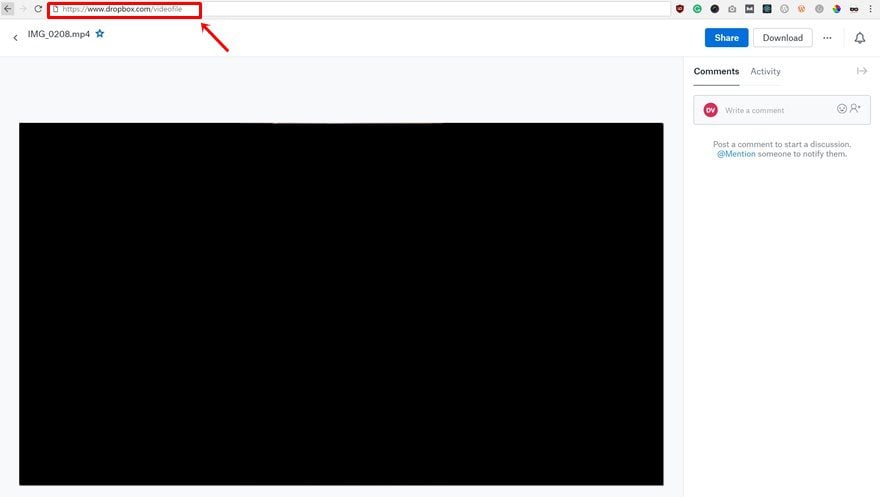
In the private content that we’ll share with users, we’re going to include two buttons. One for viewing the video online and another one for downloading the video. Of course, we’re not going to upload these videos to our WordPress website but use an online cloud instead. Dropbox, Google Drive and One Drive are great solutions that give you some free storage to start off with. You can also directly upload videos from these clouds to your Vimeo account.
Copy Video Download Link & Save it Somewhere
Whichever cloud option you go with, once you upload your video, save the link. You’ll need to repeat this step for each one of the clients you have.
Part 5: Create Private Content for Users
Open User’s Private Content Page
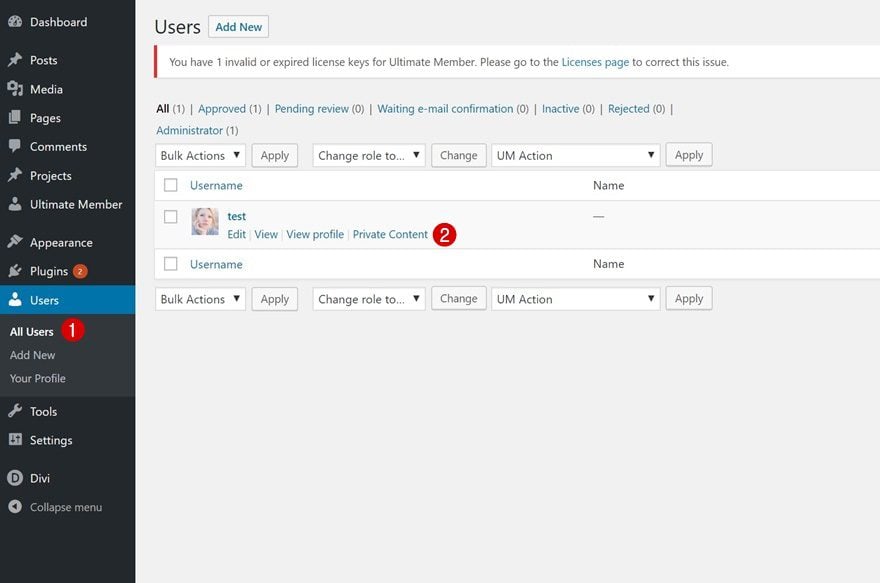
Now that we have both a view and download link within reach, we can now start adding the private content. You’ll need to add private content to each one of your users individually. The content you share will only be visible to that user in particular. They can access it after logging in and going to the profile page. To share private content with a user, go to Users > All Users > Select ‘Private Content.’
Add Private Content
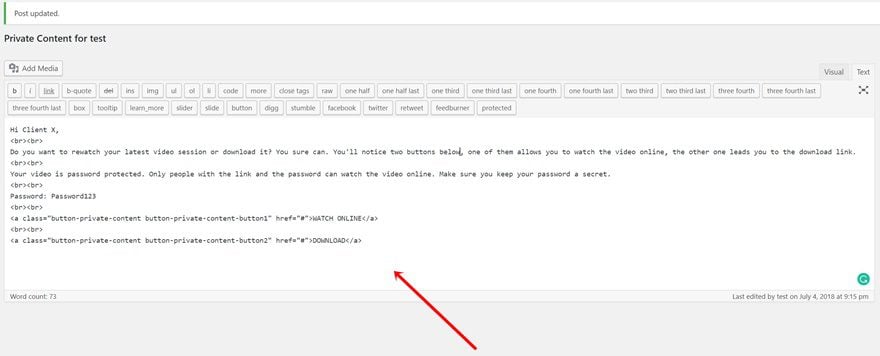
I recommend using a template if you’re going to repeat this step for each one of your clients. I’ve created a sample template below where you can simply replace the password and add a watch online and download link between the href quotes.
Hi Client X,
<br>
Do you want to rewatch our latest video session or download it? You sure can. You can find two buttons below, one of them allows you to watch the video online, the other one leads you to the download link.<br>
<br>
Your video is password protected. Only people with the link and the password can watch the video online. Make sure you keep your password a secret.<br>
<br>
Password: Password123<br>
<br>
<a class="button-private-content button-private-content-button1" href="#">WATCH ONLINE</a>
<br><br>
<a class="button-private-content button-private-content-button2" href="#">DOWNLOAD</a>
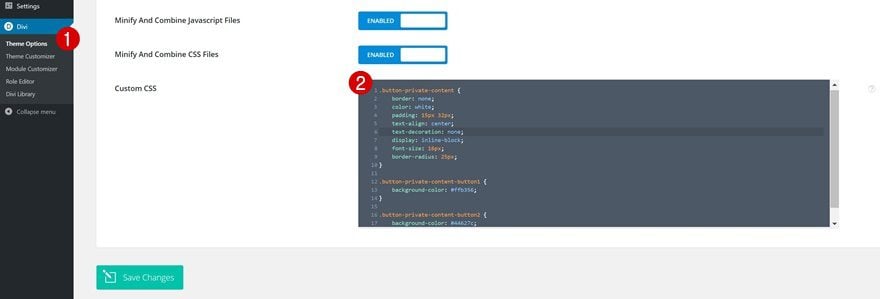
Last but not least, we’ll need to style our buttons. If you’re using the template above, you can add the following Custom CSS code to your website by going to Divi > Theme Options > Scrolling down to the Custom CSS box > Adding the following lines of CSS Code:
.button-private-content {
border: none;
color: white;
padding: 15px 32px;
text-align: center;
text-decoration: none;
display: inline-block;
font-size: 16px;
border-radius: 25px;
}

.button-private-content-button1 {
background-color: #ffb356;
}

.button-private-content-button2 {
background-color: #44627c;
}
Result
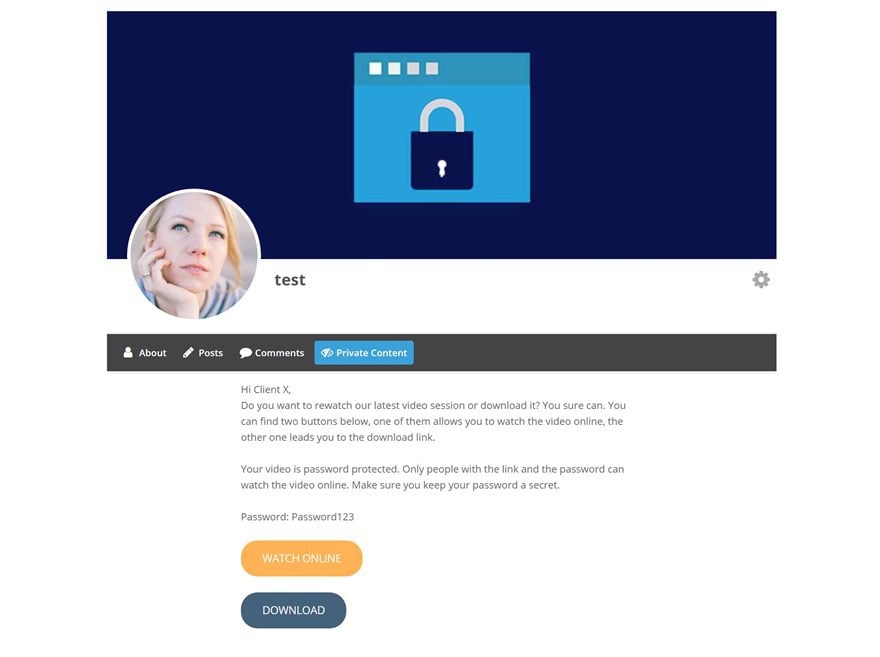
Once users go to their profile page, they’ll see a tab called ‘Private Content’ where they can see all the private content. As you can notice, there are two buttons included. One of them will lead to the Vimeo link and the other to the download link.
Final Thoughts
In this use case blog post, we’ve shown you how to share private content with clients using Divi’s Life Coach Layout Pack, the Ultimate Member plugin and the Private Content extension. Managing clients on your website can lead to better communication and higher client satisfaction. Clients can access and download video sessions through your website without having to send emails back and forth. If you have any questions or suggestions, make sure you leave a comment in the comment section below!
Featured Image by Dinosoft Labs / shutterstock.com


what is the difference between doing this and creating a private page on wordpress (with a password)?
The difference is the password pages on Divi have been broken form months and months. They format full width and blow up the page. Many of us (Divi customers) asked Support for passwor pages to be fixed and got the standard “It is on the list, but more pressing updates take priority.”
When I checked the other day our requests are still ignored, but you can drag and drop files now! 😉
It seems there are too many problems with this plugin Ultimate Member plugin (reviews), so won’t try this solution
Is this the only option? I mean to pay anually for a third part service?
Love the private videos idea. Thanks for the thorough explanation.
Or you could just use the Free “Igniteup” plugin if the whole site was in production ( under development) and just give the client the Skip link from the plugin settings menu, then anyone withe the secret Skip link can view the published content. For anybody else the site redirects to the home page which is a coming soon or maintenance mode page. You can set a template up or style your own. It’s a really good plugin and it’s Free.
wow, amazing article. Thanks sir for sharing this to us.
Thanks for the Article very helpful indeed. My cousins gonna be happy with this.
Has anyone incorporated 2FA into these private pages? I am concerned that a single access email and password can too easily be shared. I would love if there is a way to incorporate 2FA to lock it down to one user.
For instance this:
https://www.miniorange.com/2-factor-authentication-for-wordpress
Thanks.
Really great article, thanks for sharing with us ET! I’ve needed this a few times in the past, so will keep this bookmarked.
Great Idea, Great Stuff, Great Tutorial! However, any help/guide for the other plugin, i.e. the WP Private Content Plus plugin? Thanks a lot!
JESUS, LORD. I think ET is monitoring what I’m googling. I was just considering having a wordpress for my students where only the members could see the content that I share with them individually, like a gradebook, or a doc.
Thanks for the article.
They do use a Facebook pixel for tracking. Though I’m not seeing a sign of a Google tracking method right off hand. Though it does feel that way sometimes, lol!
Can you tell me if anyone is using this private content for their real estate business? I like the concept but wondering how I can incorporate this into a real estate website. I was thinking possibly private pages with homes listed but to view a visitor needs to sign up??
Hi, a Clever clue! Could you let us know your web site?