
")
In one of the latest Divi posts, we’ve shown you how to make hidden row content appear on hover. Today, we’ll show you how to use the same type of approach to reveal column content instead. The approach we’ll handle is similar and will allow you to create all kinds of designs that have a nice hover effect on desktop, but work well for smaller screen sizes without hover options as well.
We hope this tutorial will inspire you to create all kinds of interactive designs for the websites you build! At the end of the post, you’ll be able to download the JSON file and tweak it to your needs.
Let’s get to it!
- 1 Preview
-
2
Let’s Start Recreating!
- 2.1 Add New Regular Section
- 2.2 Add New Row
- 2.3 Add Text Module #1 to Column 1
- 2.4 Add Text Module #2 to Column 1
- 2.5 Add Button Module to Column 1
- 2.6 Clone Modules in Column 1 Twice & Place Duplicates in Remaining Columns
- 2.7 Add Overlay Text Module to Column 1
- 2.8 Clone Overlay Text Module Twice & Place Duplicates in Remaining Columns
- 3 Download The Section for FREE
- 4 Download For Free
- 5 You have successfully subscribed. Please check your email address to confirm your subscription and get access to free weekly Divi layout packs!
- 6 Preview
- 7 Final Thoughts
Preview
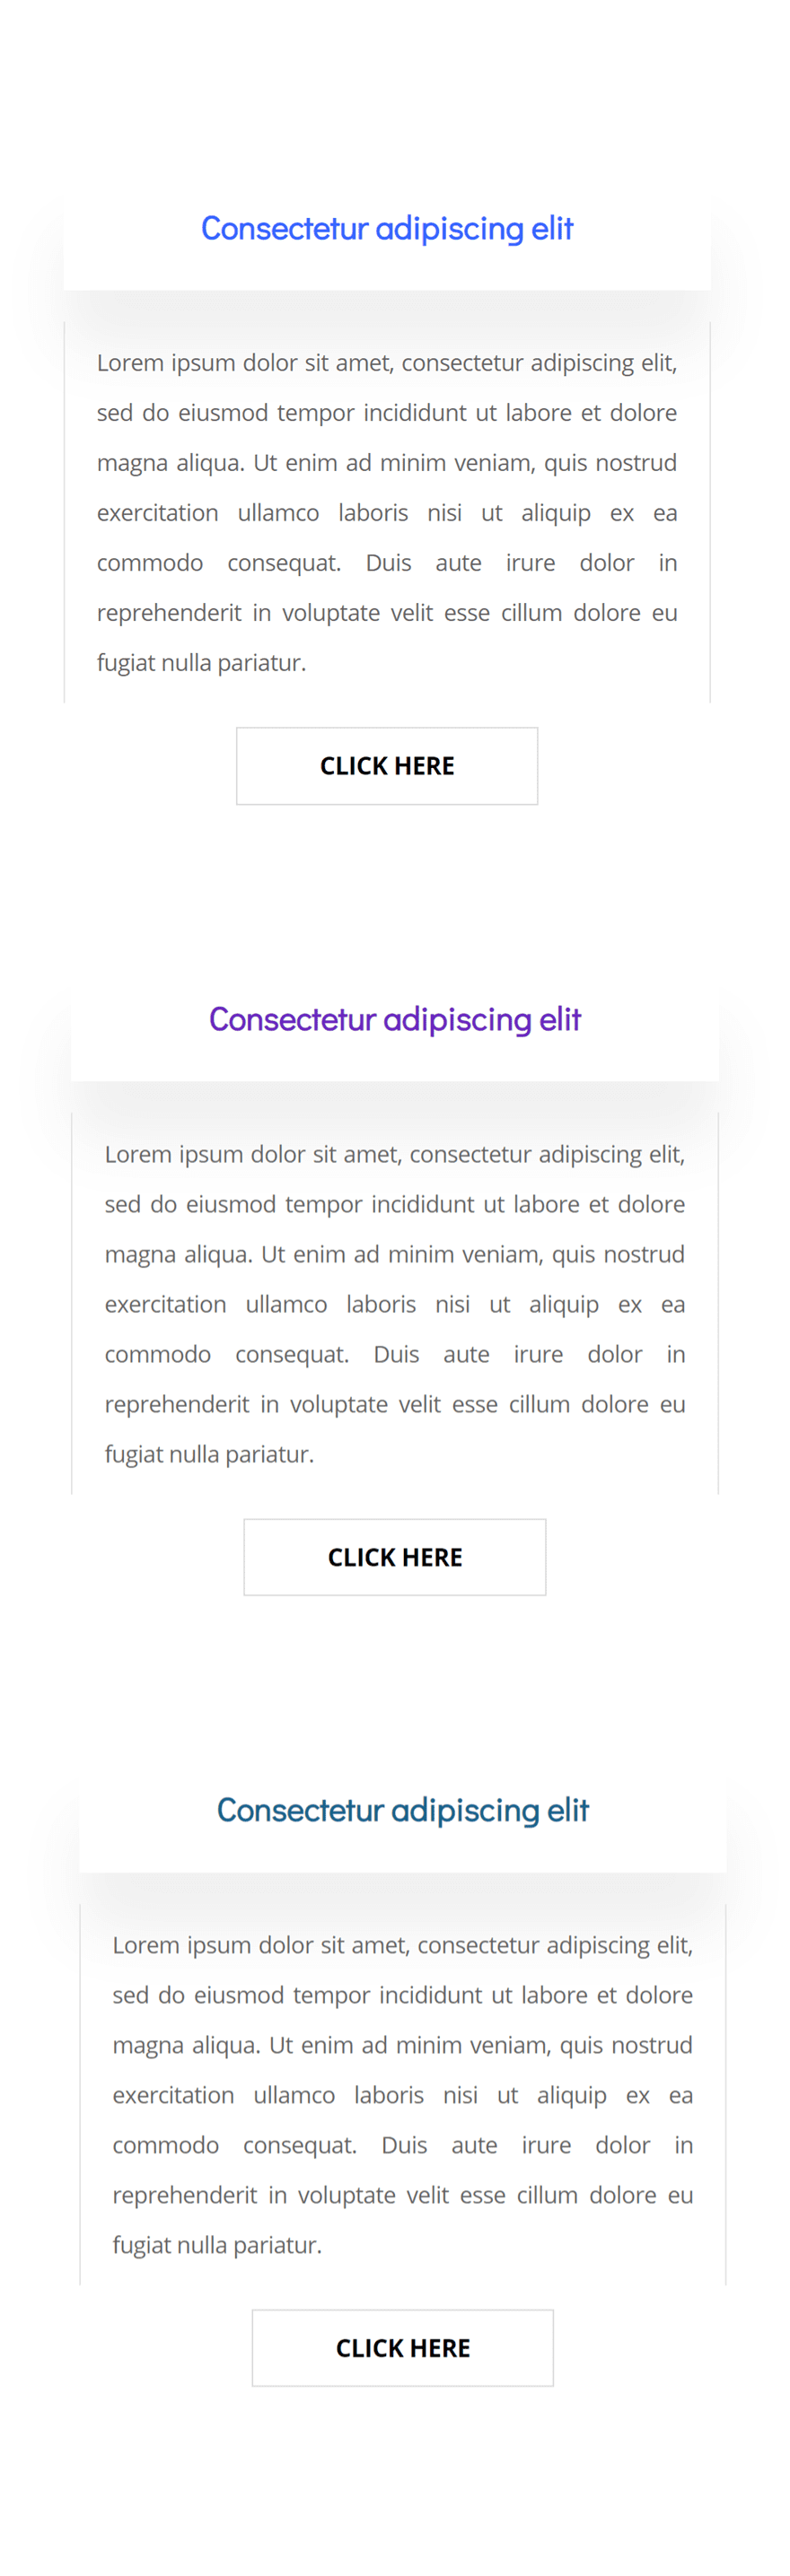
Before we dive into the tutorial, let’s take a quick look at the outcome on different screen sizes.
Desktop
As you can notice in the GIF below, we have a smooth hover transition that reveals column content on hover.

Mobile
On smaller screen sizes, on the other hand, the column content will already be shown without the need for hovering.
Let’s Start Recreating!
Subscribe To Our Youtube Channel
Add New Regular Section
Spacing
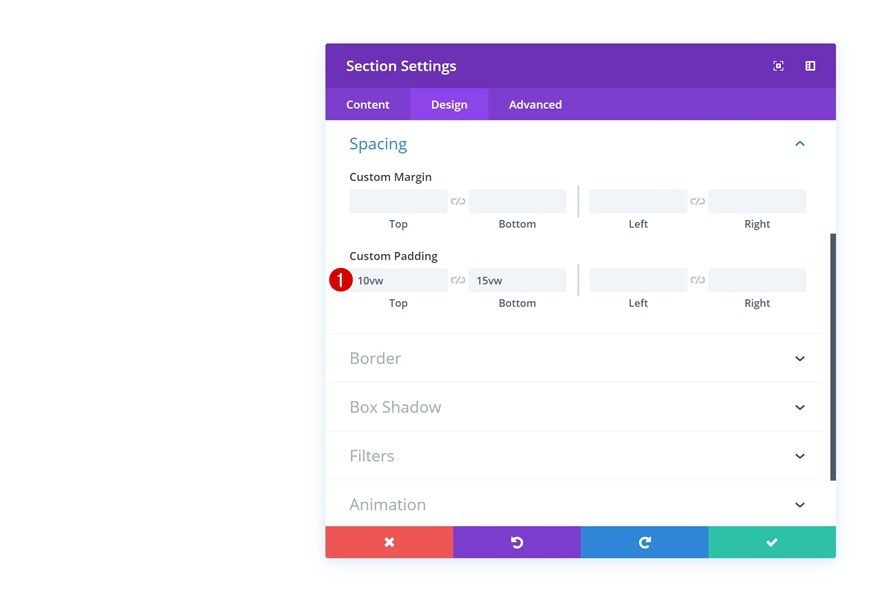
Open a new or existing page and add a regular section to it. Open the section settings and add some top and bottom custom padding in the spacing settings.
- Top Padding: 10vw
- Bottom Padding: 15vw
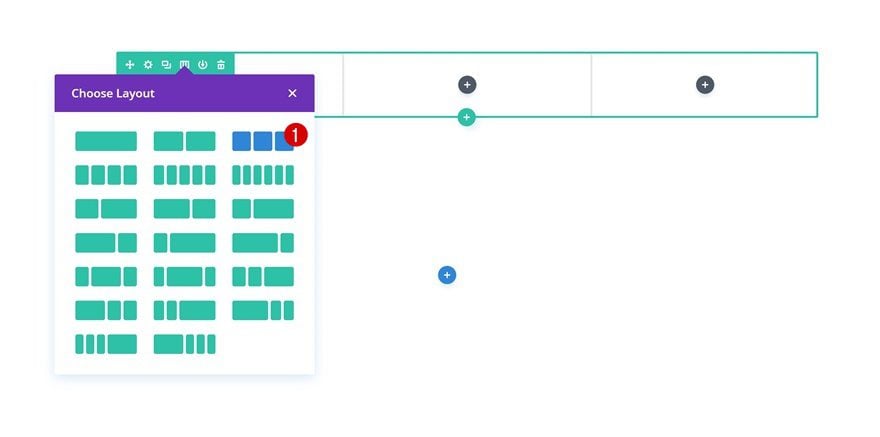
Add New Row
Column Structure
Continue by adding a new row to the section using the following column structure:
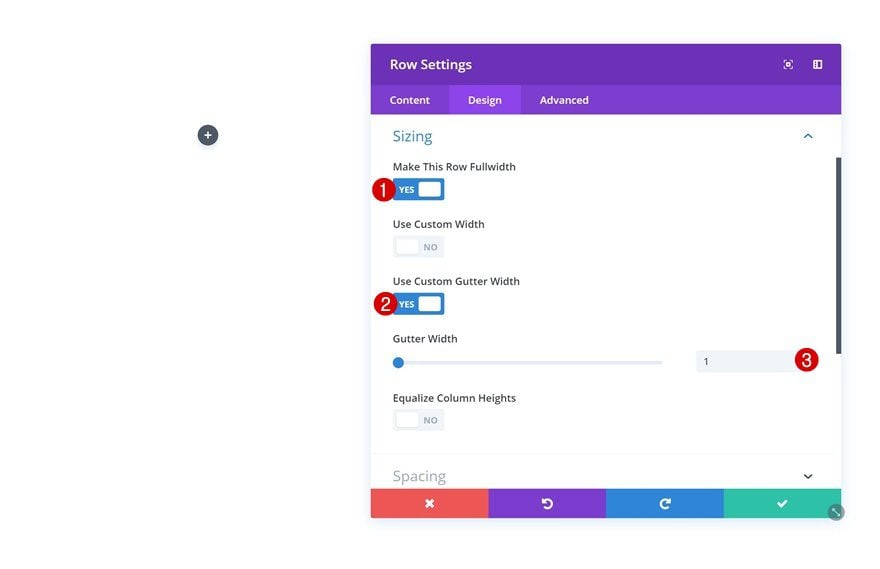
Sizing
Without adding any modules yet, open the row settings and make some changes to the sizing settings. These settings will allow the row to take up the entire width of the screen and it’ll also help remove all the space between columns.
- Make This Row Fullwidth: Yes
- Use Custom Gutter Width: Yes
- Gutter Width: 1
Spacing
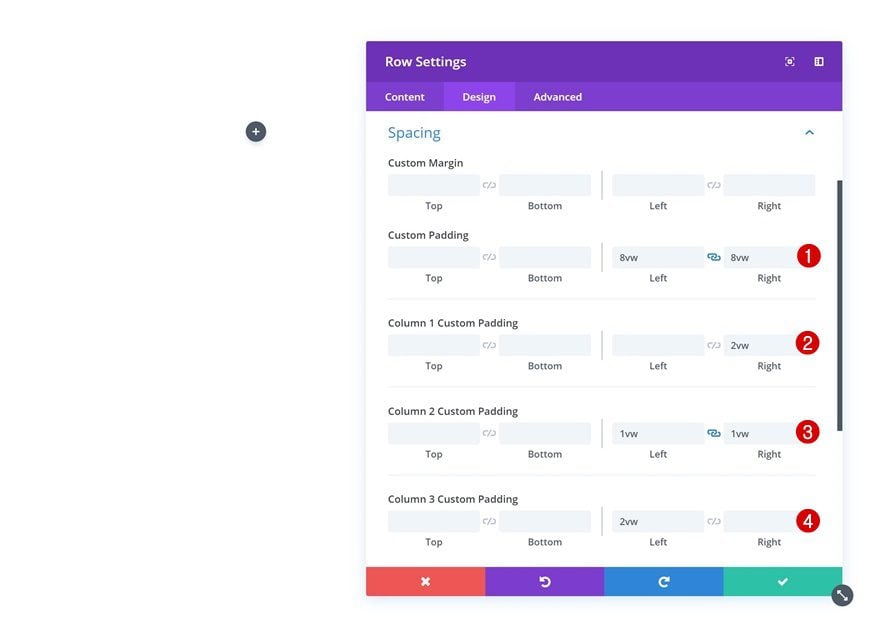
Go to the spacing settings of the row next. Here, we’re going to substitute the space we’ve removed in the previous step by adding custom padding values.
- Left Padding: 8vw
- Right Padding: 8vw
- Column 1 Right Padding: 2vw
- Column 2 Left Padding: 1vw
- Column 2 Right Padding: 1vw
- Column 3 Left Padding: 2vw
Add Text Module #1 to Column 1
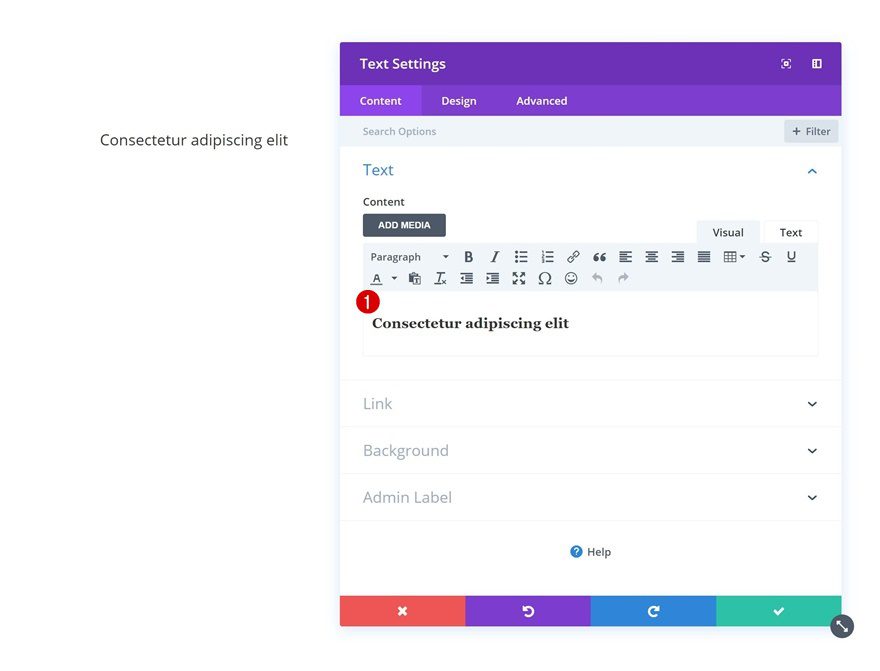
Add Content
Time to start adding modules! Start with a Text Module in column 1. Add some H3 content of choice.
H3 Text Settings
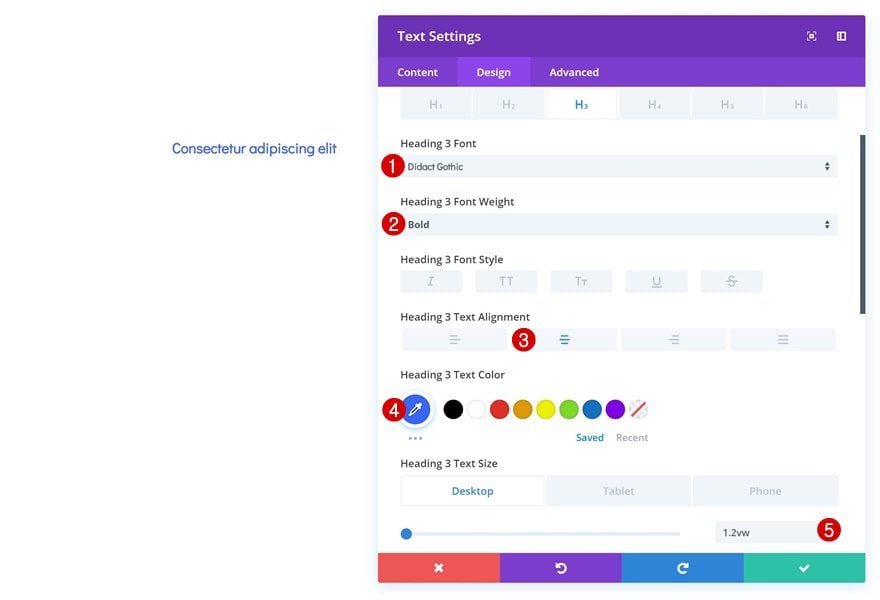
Then, go to the heading text settings and make some changes to the appearance of the H3 content.
- Heading 3 Font: Didact Gothic
- Heading 3 Font Weight: Bold
- Heading 3 Text Alignment: Center
- Heading 3 Text Color: #3567ff
- Heading 3 Text Size: 1.2vw (Desktop), 20px (Tablet & Phone)
Spacing
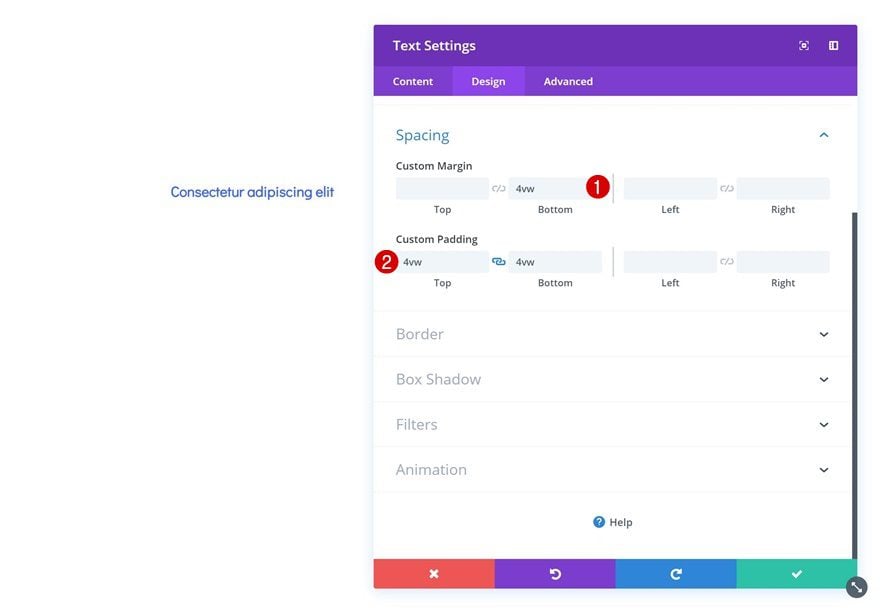
Add some custom spacing values to the Text Module next.
- Bottom Margin: 4vw
- Top Padding: 4vw
- Bottom Padding: 4vw
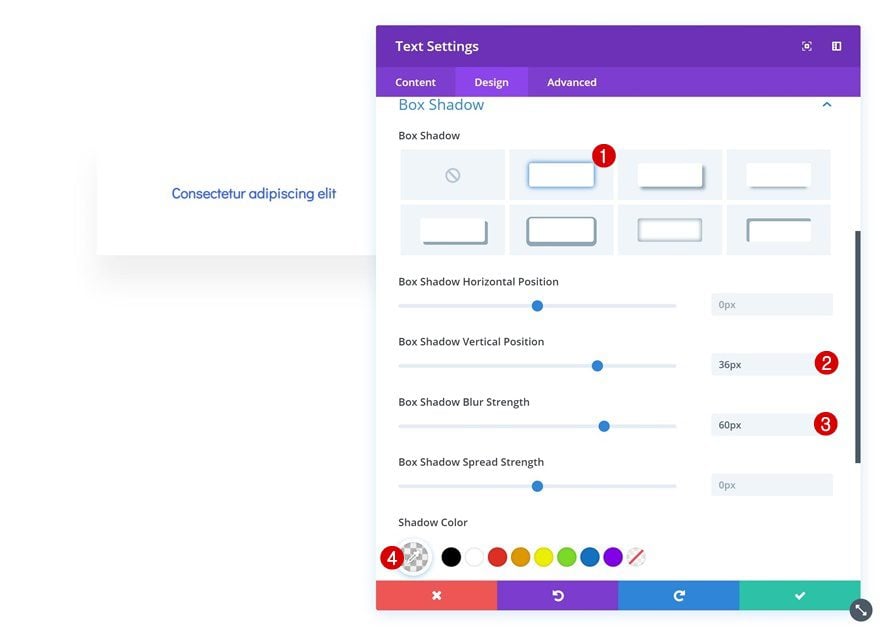
Box Shadow
And give the module a subtle box shadow.
- Box Shadow Vertical Position: 36px
- Box Shadow Blur Strength: 60px
- Shadow Color: rgba(0,0,0,0.06)
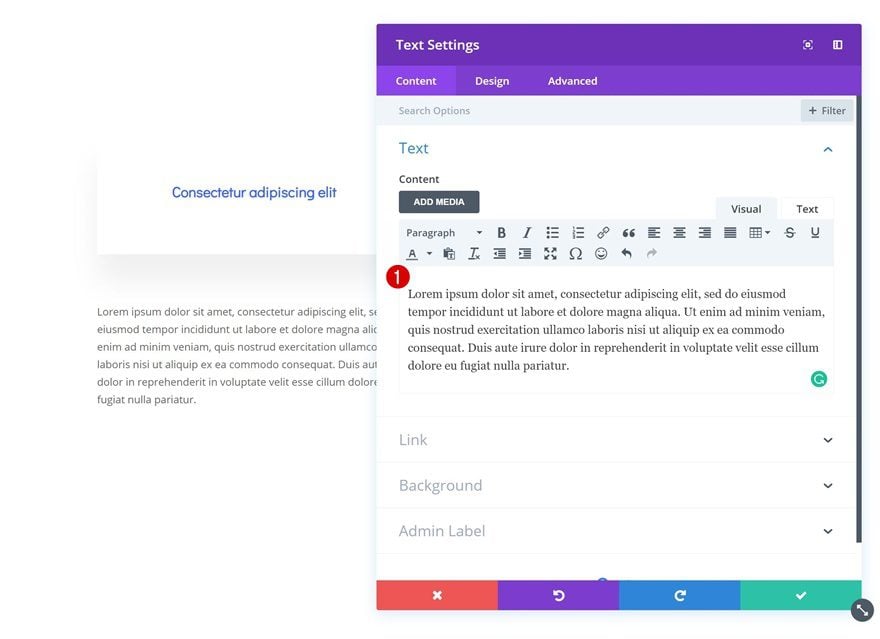
Add Text Module #2 to Column 1
Add Content
Continue by adding another Text Module right below the previous one. Add some paragraph content of choice.
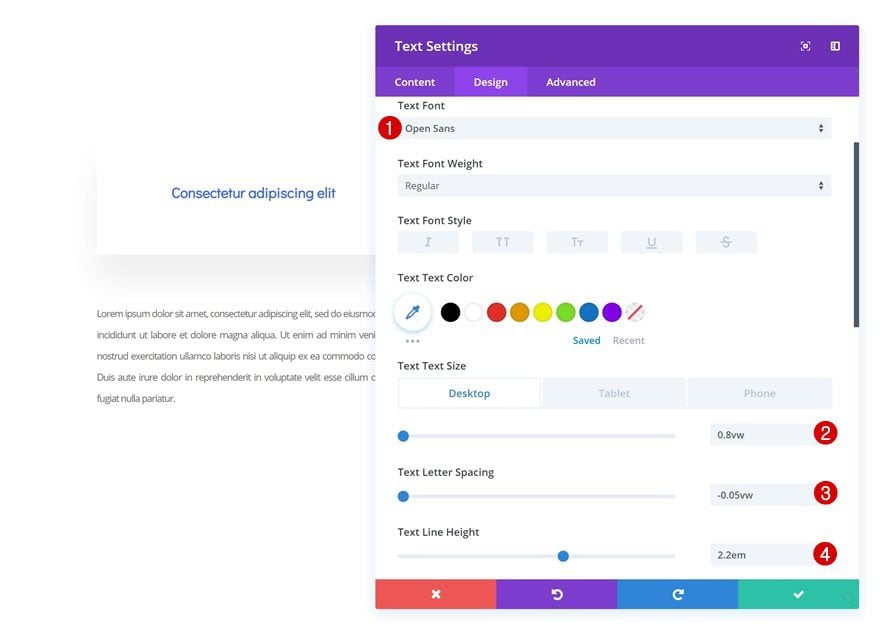
Text Settings
Then, go to the design tab and make some changes to the text settings.
- Text Font: Open Sans
- Text Size: 0.8vw (Desktop), 14px (Tablet & Phone)
- Text Letter Spacing: -0.05vw
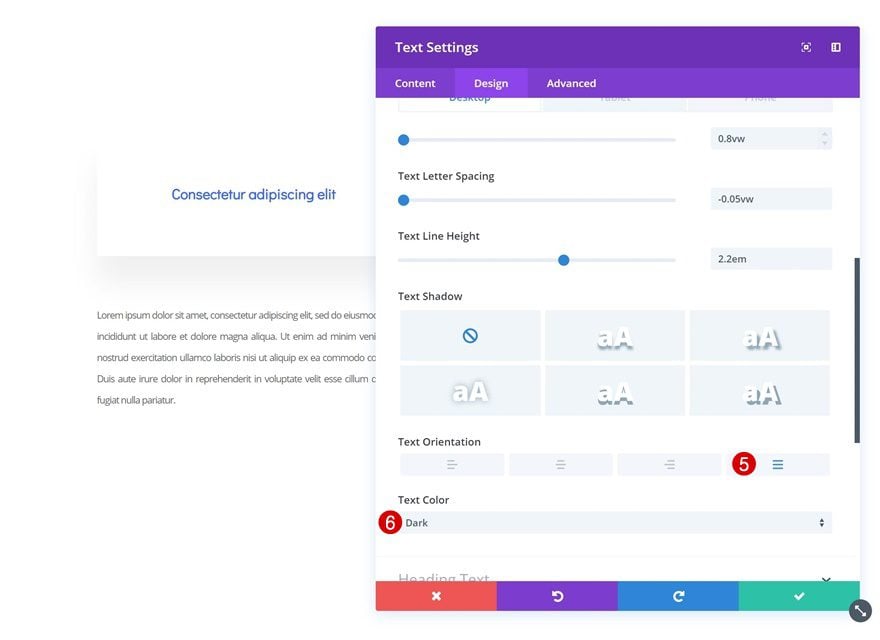
- Text Line Height: 2.2em
- Text Orientation: Justified
- Text Color: Dark
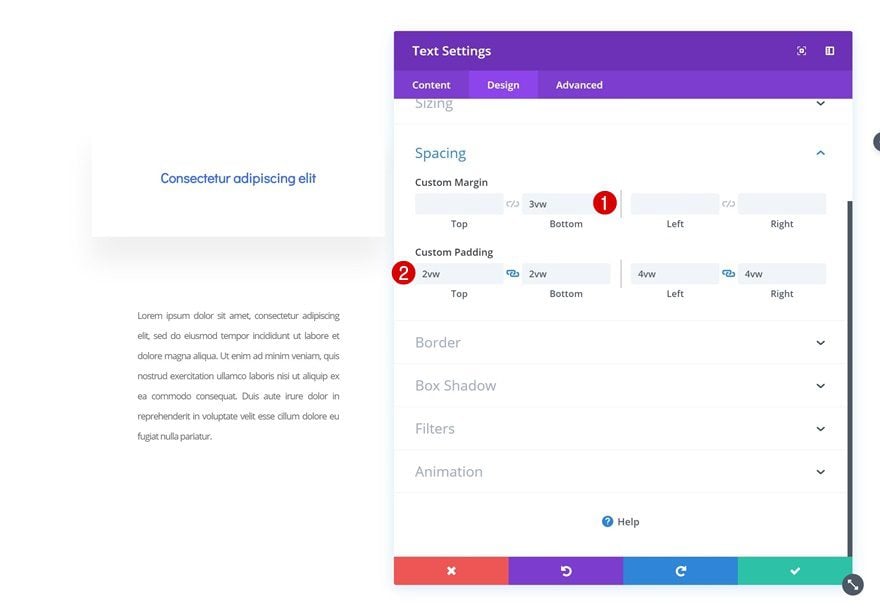
Spacing
Play around with the custom margin and padding values in the spacing settings as well.
- Bottom Margin: 3vw
- Top Padding: 2vw
- Bottom Padding: 2vw
- Left Padding: 4vw
- Right Padding: 4vw
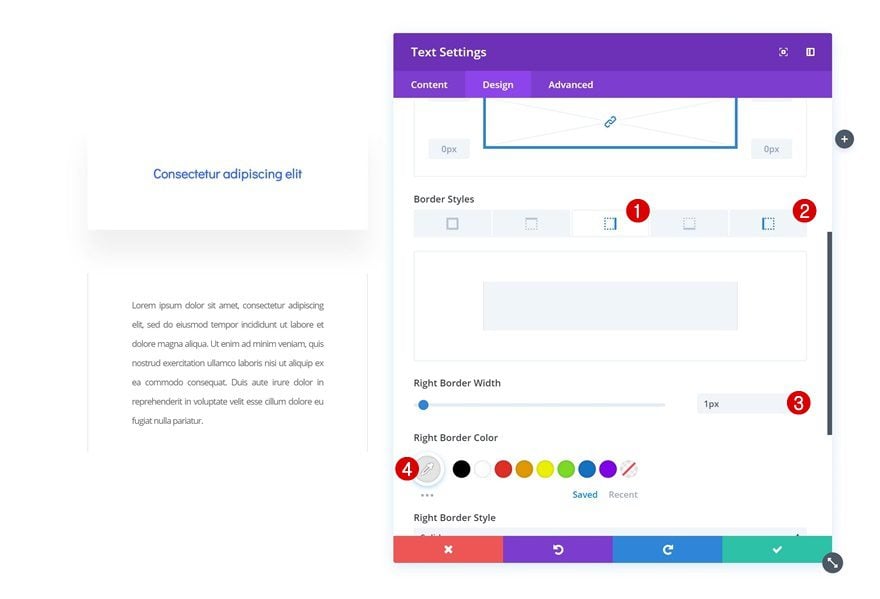
Border
And add a left and right border to the module using the following settings:
- Right Border Width: 1px
- Right Border Color: #e5e5e5
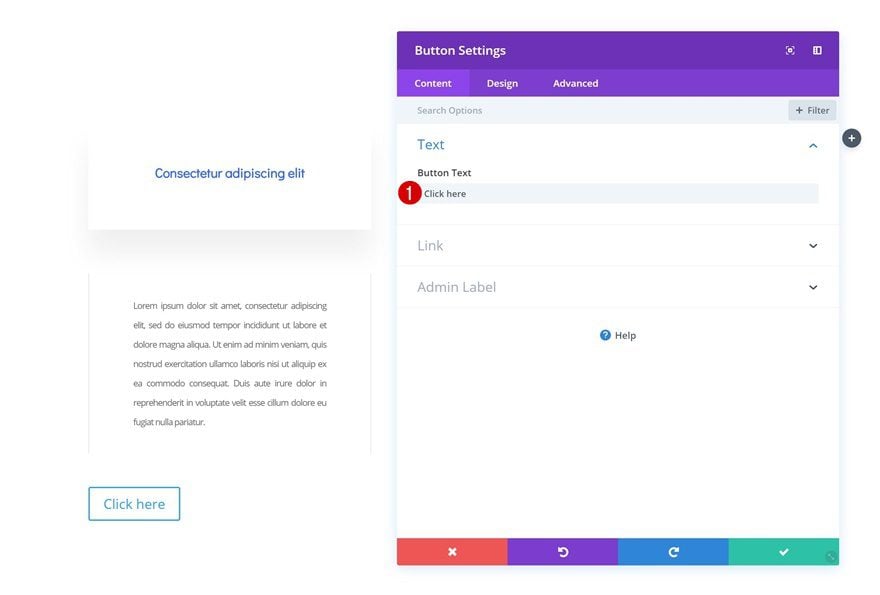
Add Copy
The next module we need in the first column is a Button Module. Add some copy of your choice.
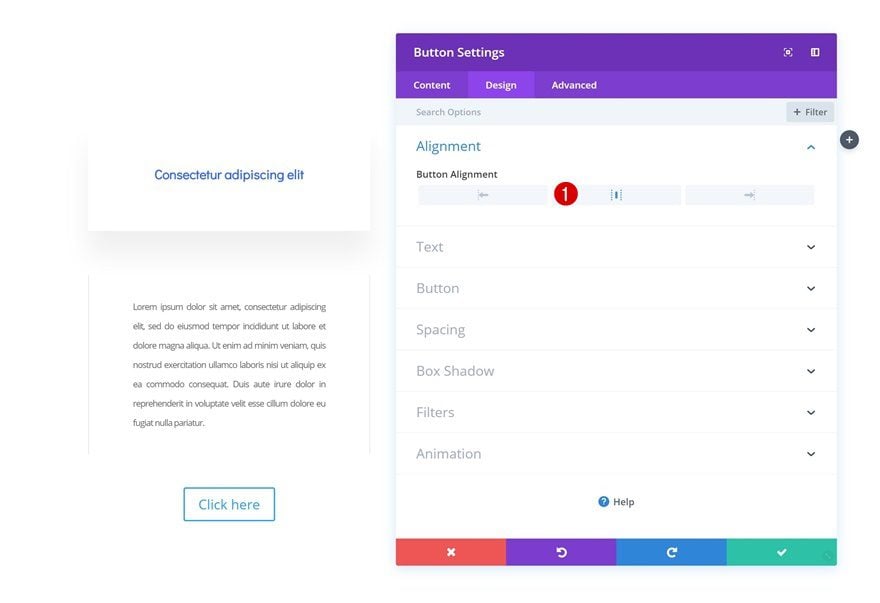
Alignment
Then, go to the design tab and change the button alignment to center.
- Button Alignment: Center
Button Settings
Continue by opening the button settings and change the appearance of the button to make it match with the overall design we’re aiming to achieve.
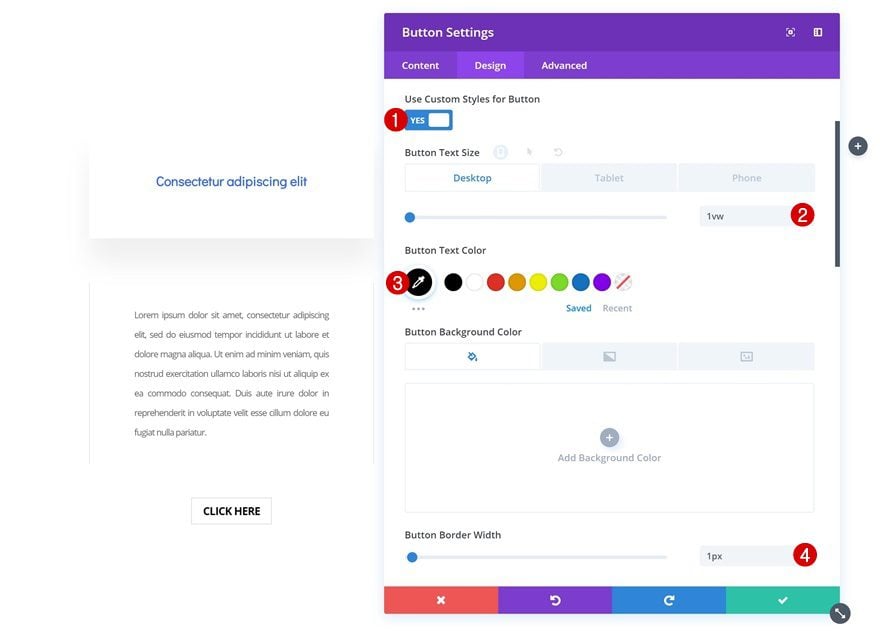
- Use Custom Styles for Button: Yes
- Button Text Size: 1vw (Desktop), 15px (Tablet & Phone)
- Button Text Color: #000000
- Button Border Width: 1px
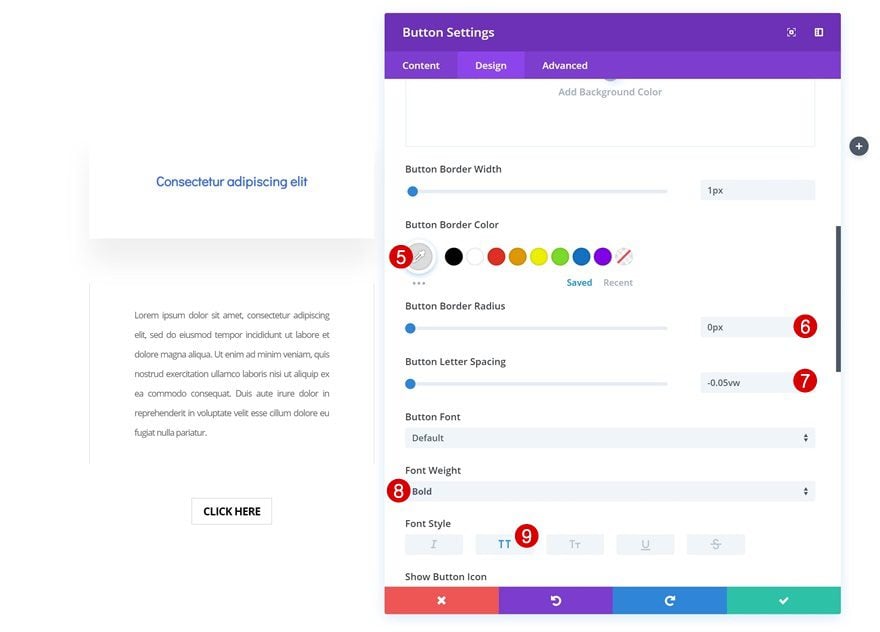
- Button Border Color: #dddddd
- Button Border Radius: 0px
- Button Letter Spacing: -0.05vw
- Font Weight: Bold
- Font Style: Uppercase
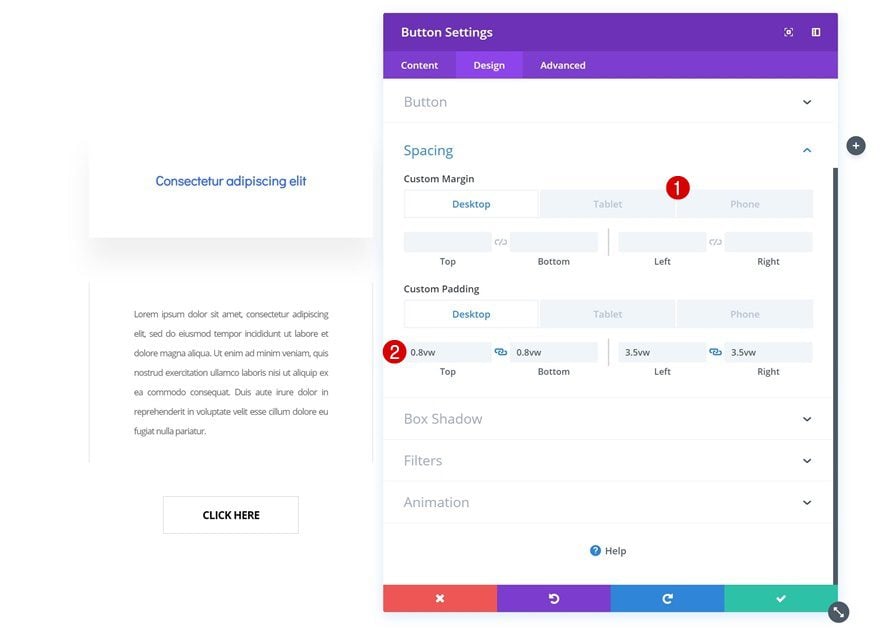
Spacing
Play around with the spacing values of the Button Module too.
- Bottom Margin: 100px (Tablet & Phone)
- Top Padding: 0.8vw (Desktop), 10px (Tablet & Phone)
- Bottom Padding: 0.8vw (Desktop), 10px (Tablet & Phone)
- Left Padding: 3.5vw (Desktop), 50px (Tablet & Phone)
- Right Padding: 3.5vw (Desktop), 50px (Tablet & Phone)
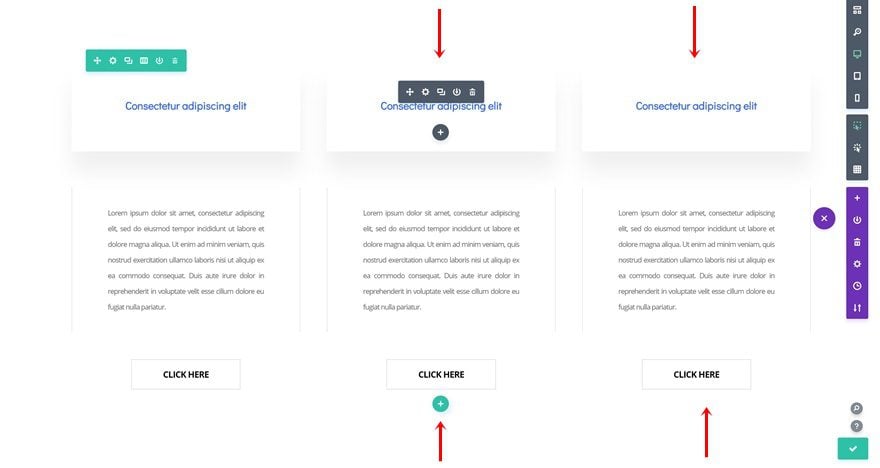
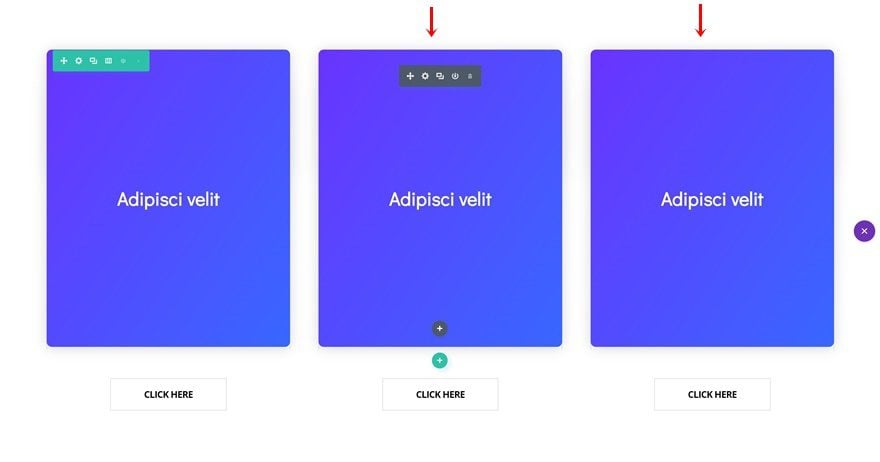
Clone Modules in Column 1 Twice & Place Duplicates in Remaining Columns
Once you’re done adding the three different modules to column 1, you can go ahead and clone each one of the modules twice. Place the duplicates in the two remaining columns to achieve the same design in each one of the columns.
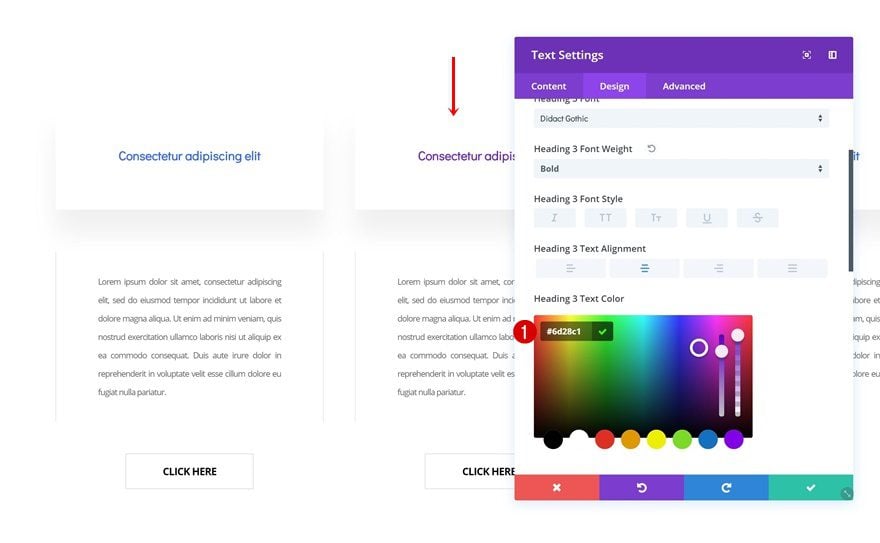
Change Text Color of Text Module #1 in Column 2
Open the first Text Module in column 2 and change the text color.
- Heading 3 Text Color: #6d28c1
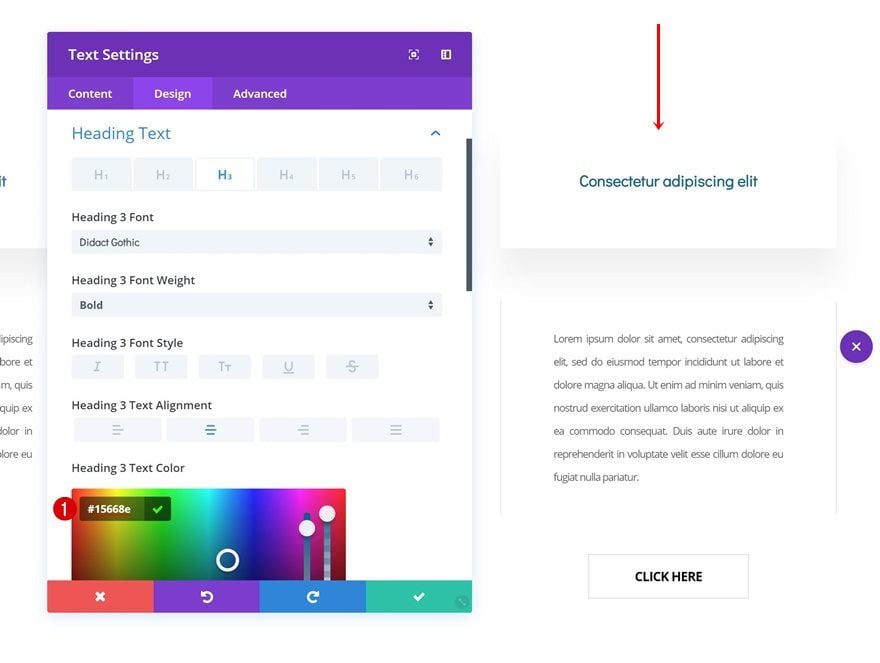
Change Text Color of Text Module #1 in Column 3
Do the same thing for the first Text Module in the third column.
- Heading 3 Text Color: #15668e
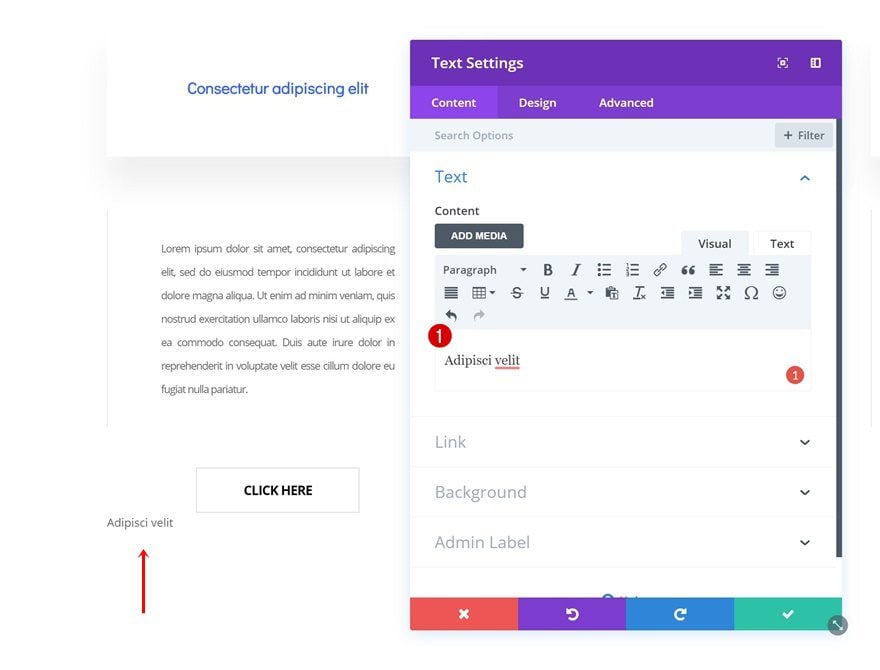
Add Overlay Text Module to Column 1
Add Content
Now that we have all the column content we need, we can add the overlapping element that’ll hide the content before hovering. To achieve this, we’re going to use another Text Module. Go ahead and add another one to the first column. Make sure this is the last module in the column. Add some content of your choice.
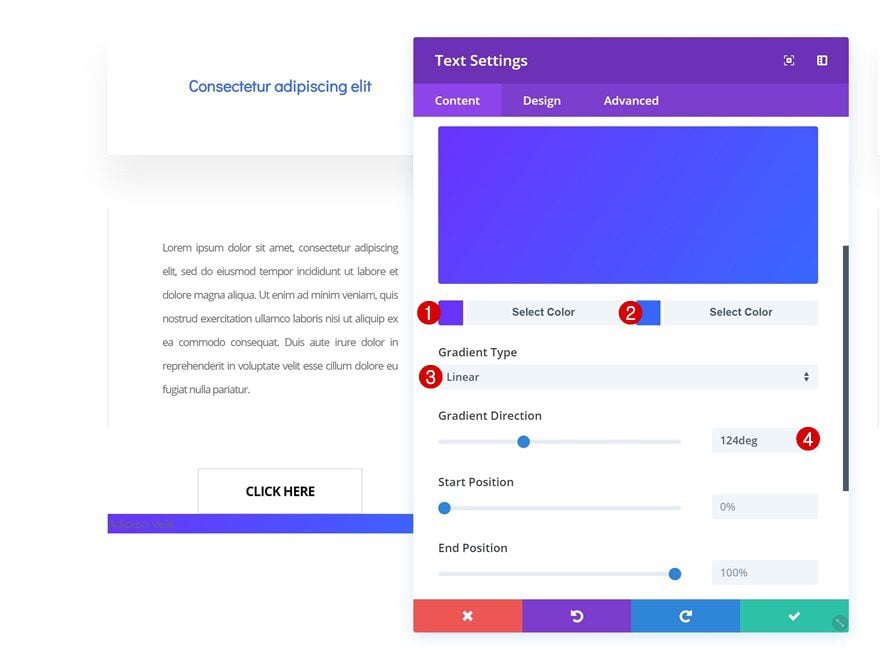
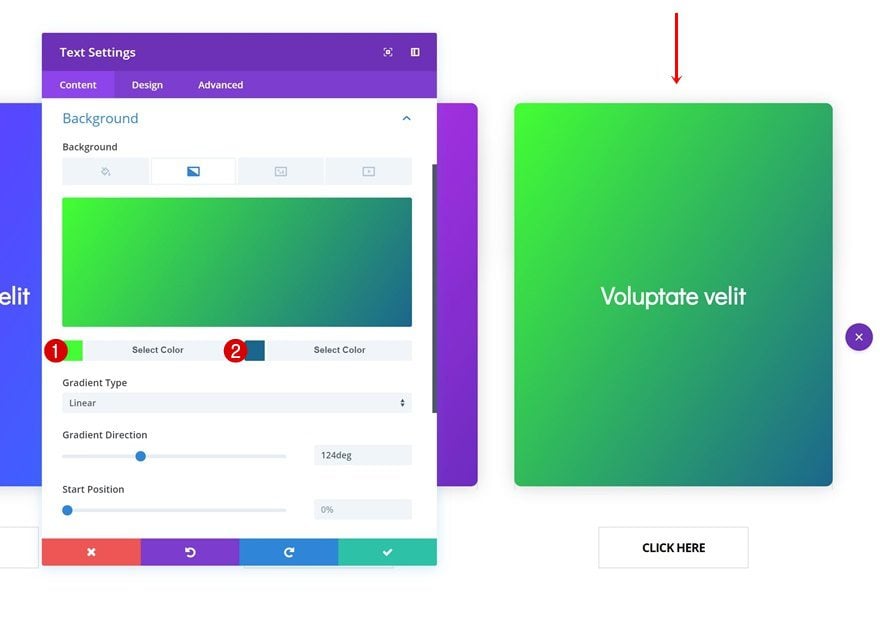
Gradient Background
Continue by adding a gradient background to the module.
- Color 1: #6a30ff
- Color 2: #3567ff
- Gradient Direction: 124deg
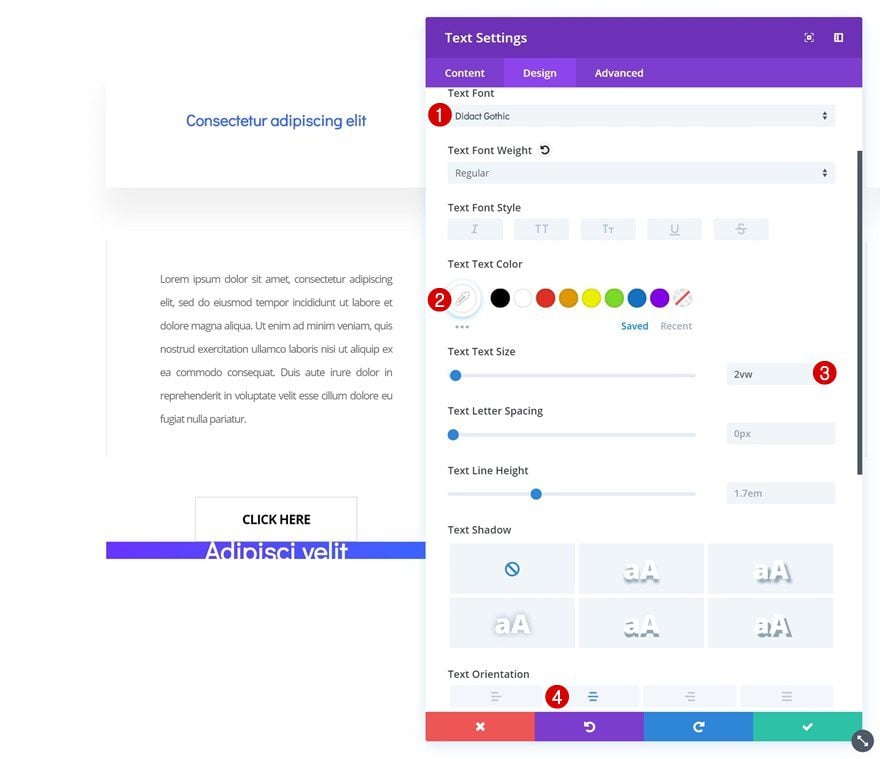
Text Settings
Change the text settings next.
- Text Font: Didact Gothic
- Text Color: #ffffff
- Text Size: 2vw
- Text Orientation: Center
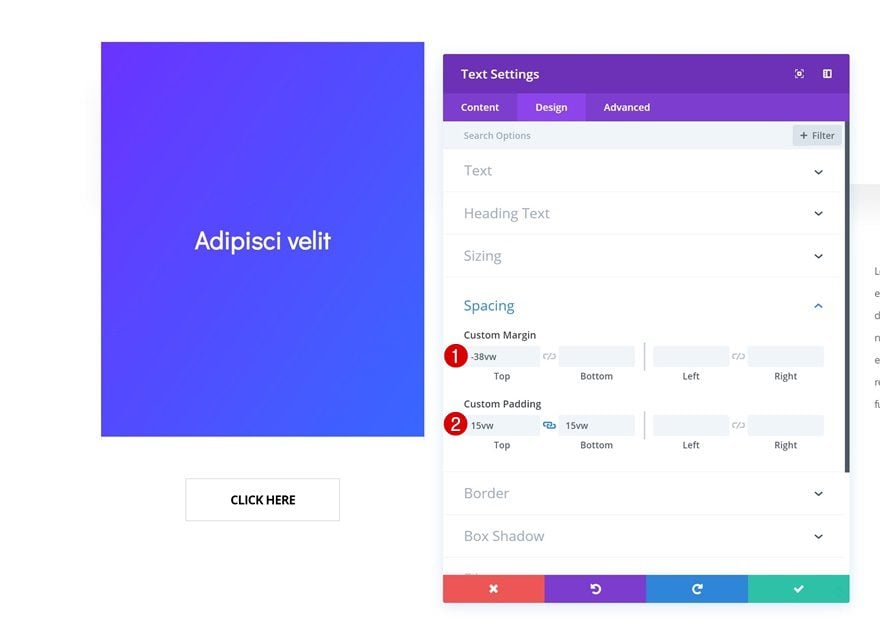
Spacing
And create a shape out of the module by adding some custom padding values. We’re also adding some negative top margin to create the overlap between this module and the column content. The content you hide behind the Text Module will not be clickable. That’s why it’s important to keep the call to action, such as the button in our example, visible without hover.
- Top Margin: -38vw
- Top Padding: 15vw
- Bottom Padding: 15vw
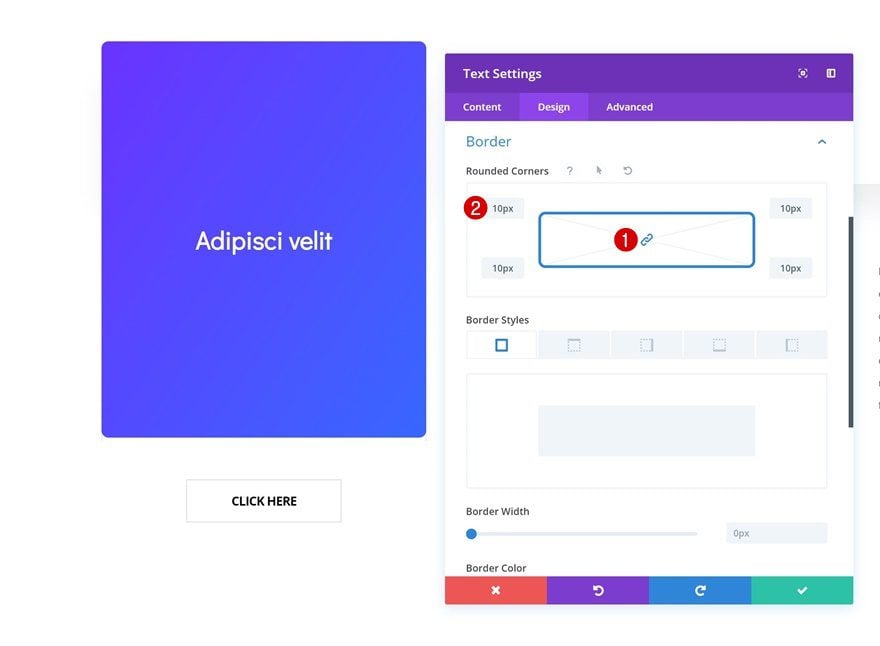
Border
Add some rounded corners to the Text Module next.
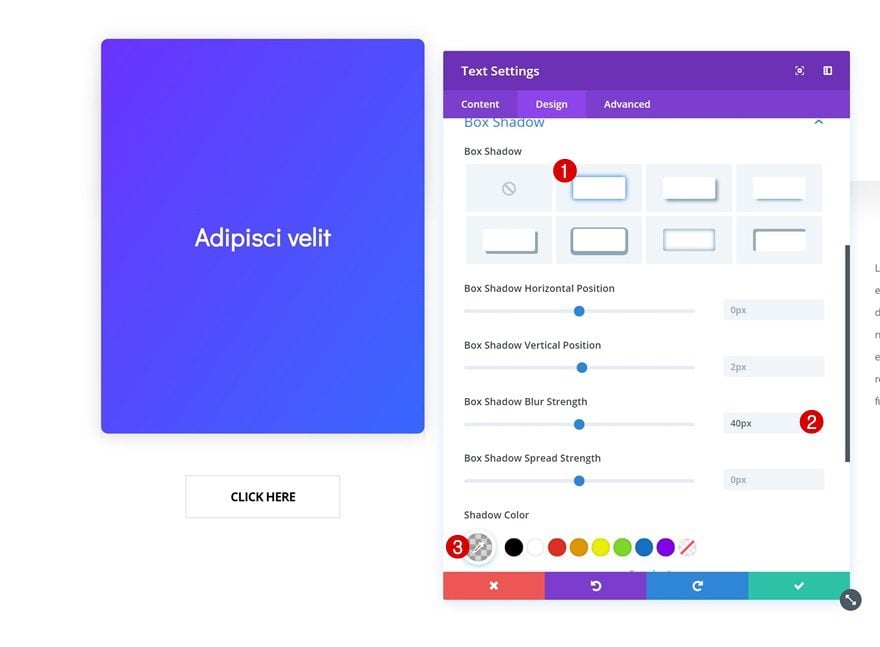
Box Shadow
Along with a subtle box shadow.
- Box Shadow Blur Strength: 40px
- Shadow Color: rgba(0,0,0,0.16)
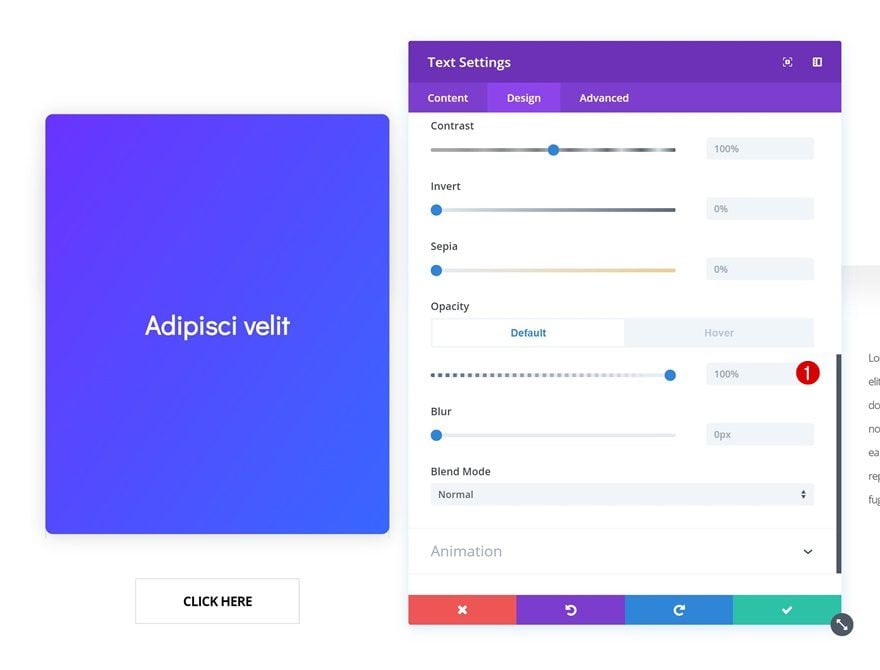
Default Filters
Then, go to the filters settings and make sure the opacity is ‘100%’ by default.
- Opacity: 100%
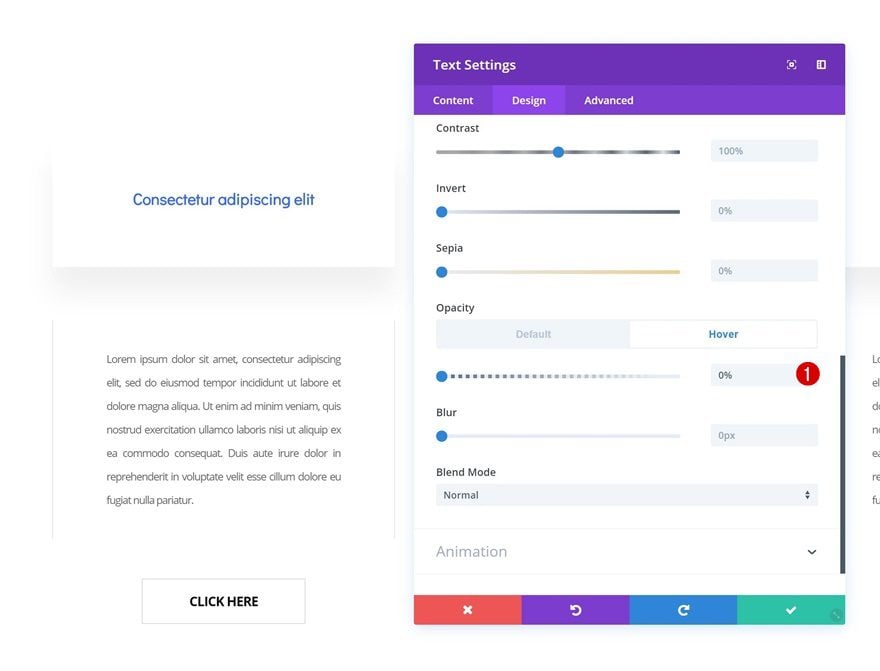
Hover Filters
Change the opacity on hover to ‘0%’. This will make the module disappear and will allow all the column content to appear instead.
- Opacity: 0%
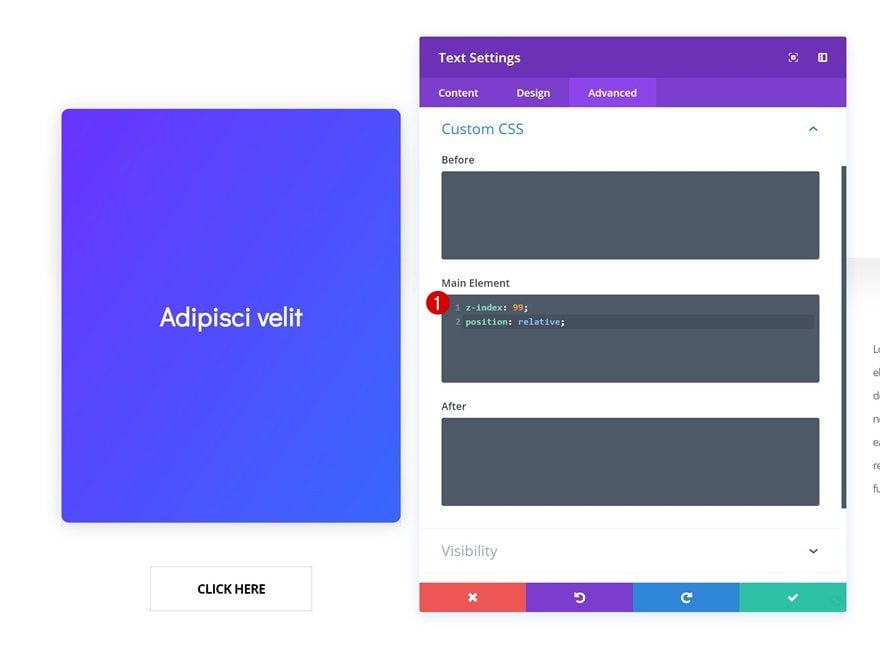
Custom CSS
To make sure the Text Module remains on top of all column content, add two lines of CSS code in the advanced tab of the Text Module.
z-index: 99;
position: relative
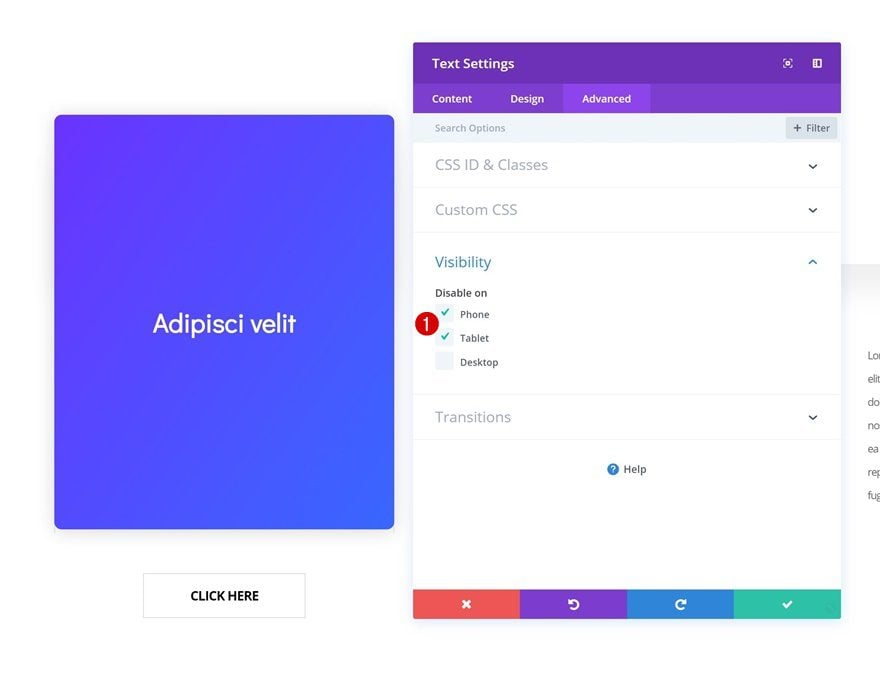
Visibility
And hide the entire module on tablet and phone. As mentioned at the beginning of this post, we’re showing all column content on smaller screen sizes to make sure the user experience visitors have is good.
Clone Overlay Text Module Twice & Place Duplicates in Remaining Columns
Once you’re done modifying the overlay Text Module, go ahead and clone it twice. Place each one of the duplicates in the two remaining columns.
Change Gradient Background of Overlay Text Module in Column 2
Change the gradient background color of the first duplicate.
- Color 1: #d530ff
- Color 2: #6d28c1

Change Gradient Background of Overlay Text Module in Column 3
And do the same for the second duplicate as well.
- Color 1: #41ff30
- Color 2: #15668e
Download The Section for FREE
To lay your hands on the column reveal section, you will first need to download it using the button below. To gain access to the download you will need to subscribe to our newsletter by using the form below. As a new subscriber, you will receive even more Divi goodness and a free Divi Layout pack every Monday! If you’re already on the list, simply enter your email address below and click download. You will not be “resubscribed” or receive extra emails.

Preview
Desktop
Mobile
Final Thoughts
In this post, we’ve shown you how to reveal column content on hover. You can use this approach for any kind of website you create to add an extra level of interaction. If you have any questions or suggestions, make sure you leave a comment in the comment section below!


Really enjoyed the premise of the post. I am not able to make in work with the latest Divi update though. VM settings don’t appear and CSS code has no effect. If there is an update I’d love to have access.
I love this, and created a ‘reveal’ using an image overlay, but it’s not stable using the Edge browser. It just flickers and goes back to opaque. Is there a workaround for Edge?
thank you for sharing it. It is very helpful and i was looking for it.
Thanks for the great tutorial, Donjete. You are really creative.
Thank you for this article
Downloading the file is also a good idea
Tutorials for Divi and Extra are my favourite contents in Elegantthemes blog. Thank You very much for this and for link to download examples.
Thank you for sharing the valuable information.
This is a great content, Donjete. Thank you for making it simple and supplying a download link. 🙂
Donjete,
Thanks for sharing. This looks fantastic. Will try this on an upcoming project.
i like this !
This is great, Donjete, thanks for taking the time to share…
You’re welcome, Chris! Happy to hear that. 🙂
Can be done from Image to Image instead of text?
Yes, you can make it work with any kind of modules you use if you adjust settings accordingly! 🙂
Thanks Donjete for such a simple and interesting post
It’s my pleasure, happy you enjoyed the post! 🙂
this blog helped me alot, i recently made a website by using divi and that was easy but i dont know much about the functions, and your blog helped me out, thanks for the information you shared keep it up.
Hey, great and super useful. I even love the bold colors used 🙂
Happy you like it, Alexander! 🙂
Thank you for making it simple and supplying a download link.
You’re welcome, Chris! 🙂